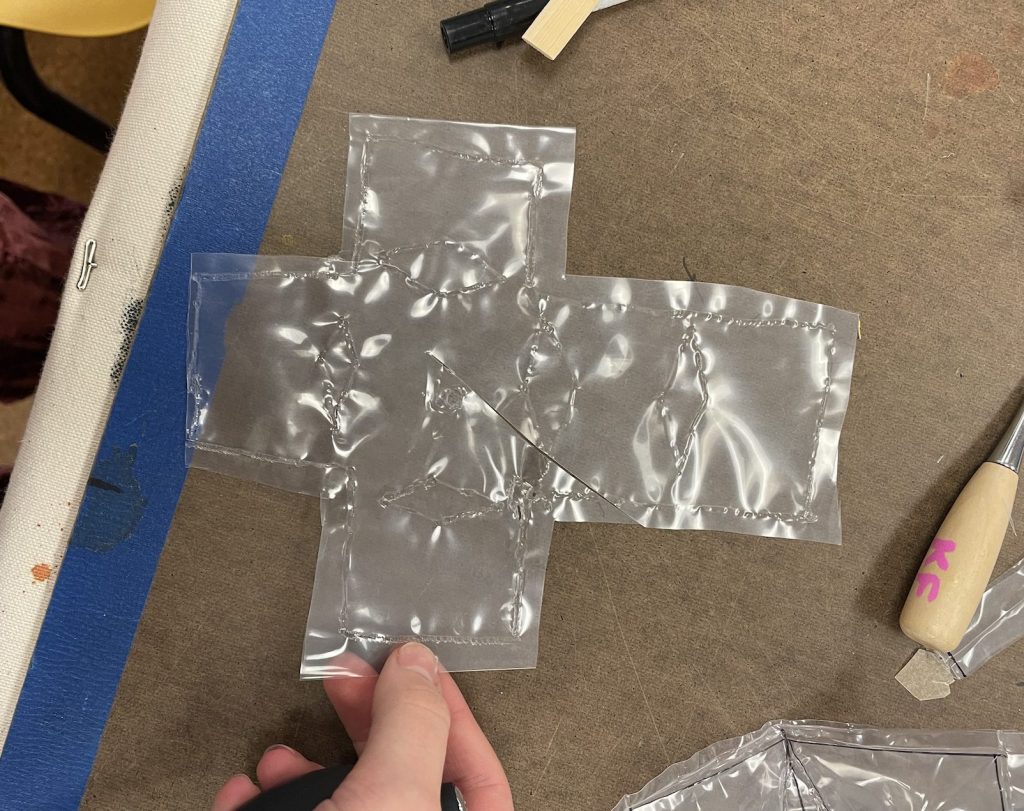
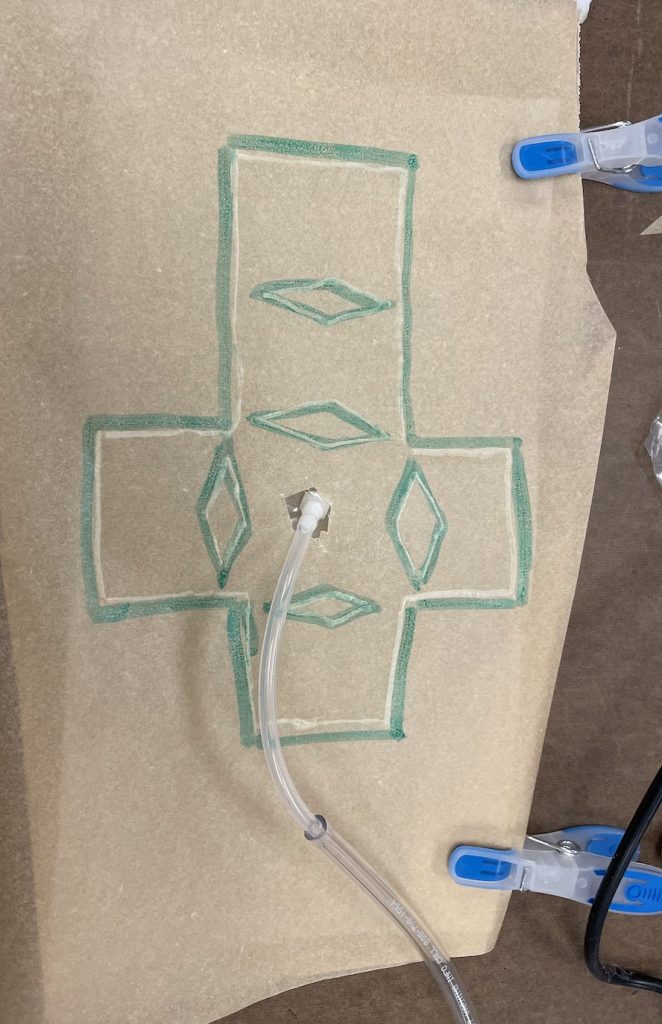
For this assignment I decided to play around with methods to make the pneumatic pieces curl up. I spent a lot of time iterating and failing at attempts to create movement in these pieces. The first one is shown below and is my cube pattern. I tried this pattern twice and both unfortunately failed. However I got a great sense of how the air dissipates within the plastic and how to consistently weld each seam shut.
- Cube Pattern
The next two are my successful experiments with a “curling” kind of actuation. Videos are below.
In order to make a pneumatically actuated piece that “curls” as it folds, follow the following instructions.
- Cut a rectangle out of the given plastic.
- Seal the sides, insert the pump and fastener.
- Seal the ends.
- Use a sharpie to draw diagonal lines across the shorter length of the plastic. as you move from the “base”(the opening for the air pump”), change the angle of the diagonal to be more and more shallow.
- Heat seal along those drawn lines, using a resistance piece to keep airflow holes at approximately the center of each line.
Leave a Reply
You must be logged in to post a comment.