I wanted to focus on creating regular and abstract shapes with explorations on connection methods using the vinyl heat press. The first inflatable is a square pillow, the second is an abstract blob, and the third is a triangular prism.
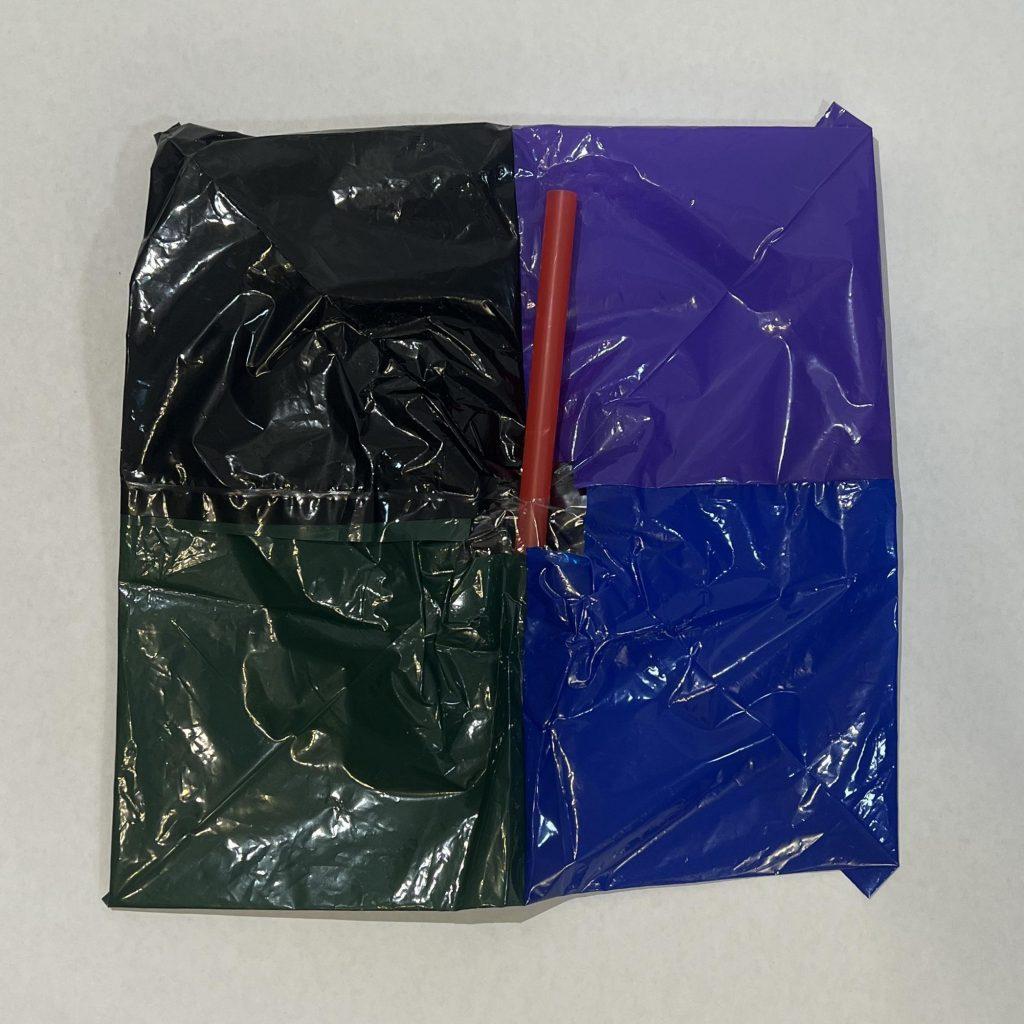
improv one
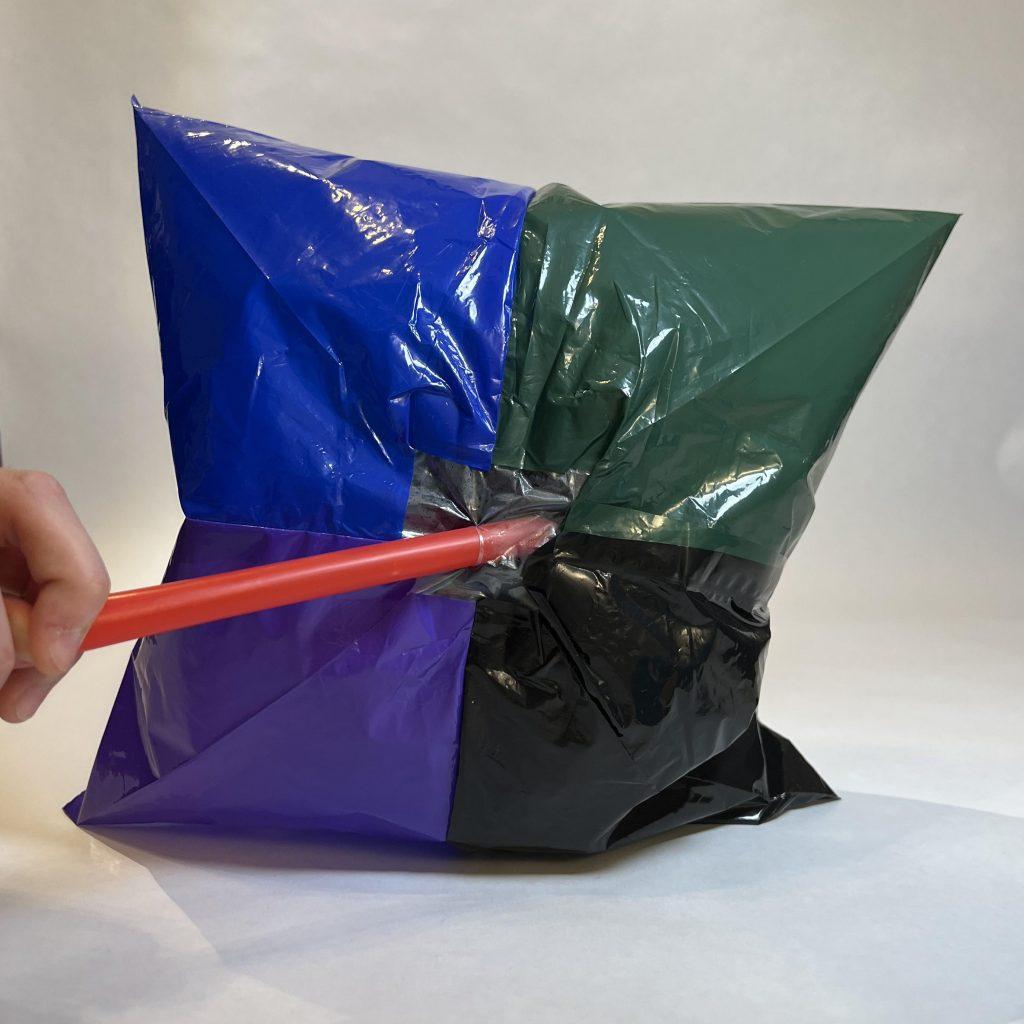
For my first one, I chose to use four corners of the given plastic vinyl bags and connect them together to create a 2D square. For three out of the four connections, I used the vinyl heat press to create hems on the inside, and for the last connection I used the same method for an outside seam. After connecting all four, I realized that there was a square shaped hole in the center due to how I cut the corners off the plastic bags. I cut a small square piece in clear and black to close the top and bottom with double sided tape on the inside of the inflatable.
improv two
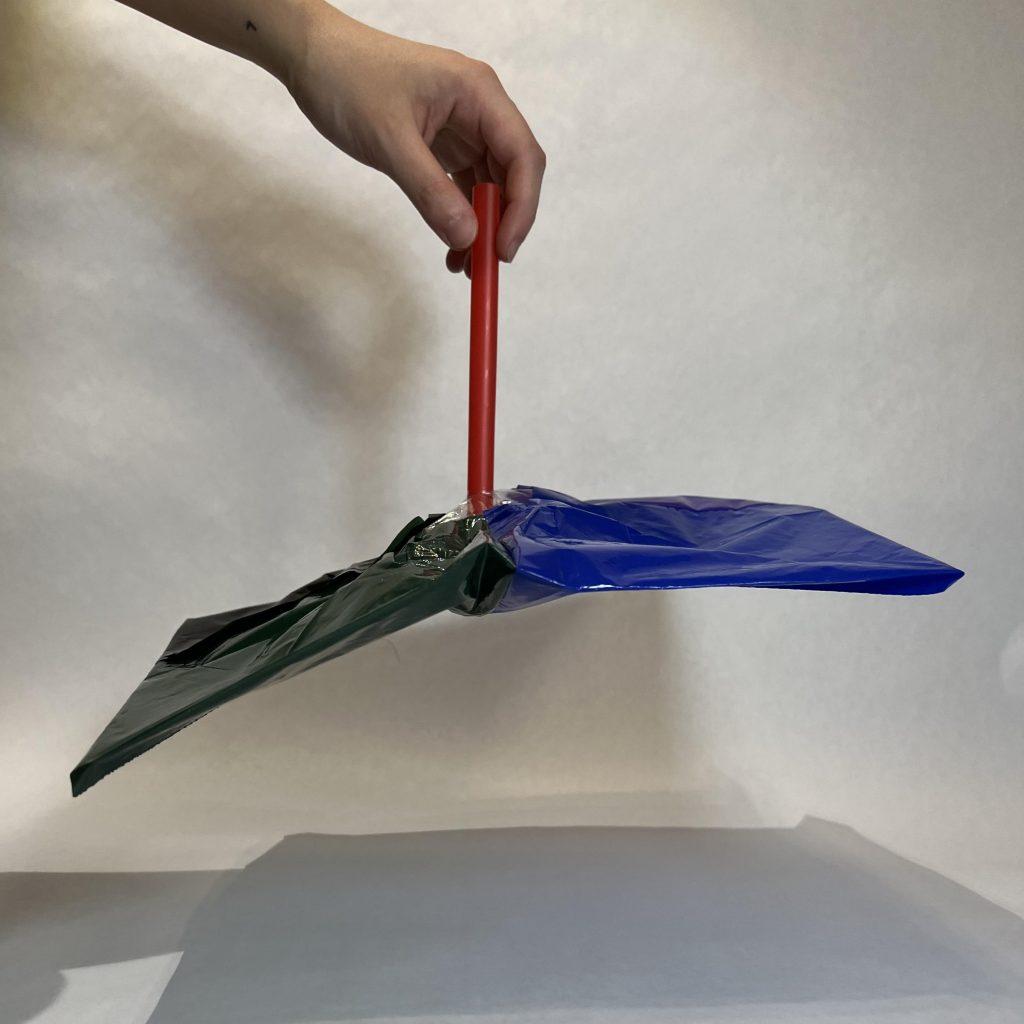
In my second inflatable, I found scraps from my classmate’s inflatable. I used pieces that were big enough and cut sides that were straight to match to another scrap. Choosing not to pay attention to the overall shape, I connected sides that were similar length with wide yellow tape. When the connected piece was big enough, I folded the piece to align the seams in a way that would create sharp edges in the inflated structure.
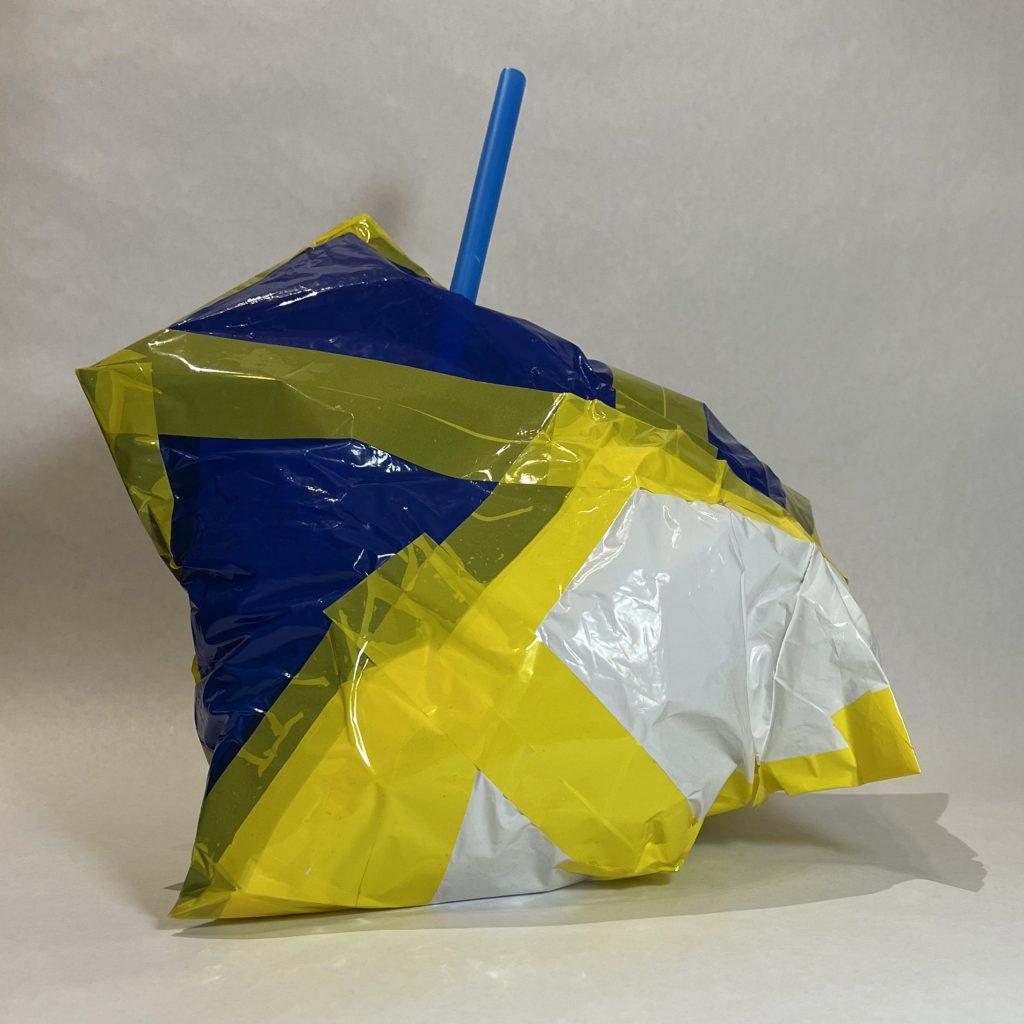
The challenge of this inflatable was closing the structure with edges that were angled in a way that could be attached without much excess. Because I did not want to manipulate the scraps much except some refined cutting, I had to keep improvising on where to connect the seams.
In this second improv work, I learned from those who were working near me. My classmate who was working beside me was finding many holes in her taped inflatable and I decided to make my third inflatable with the vinyl heat press, like the first one.
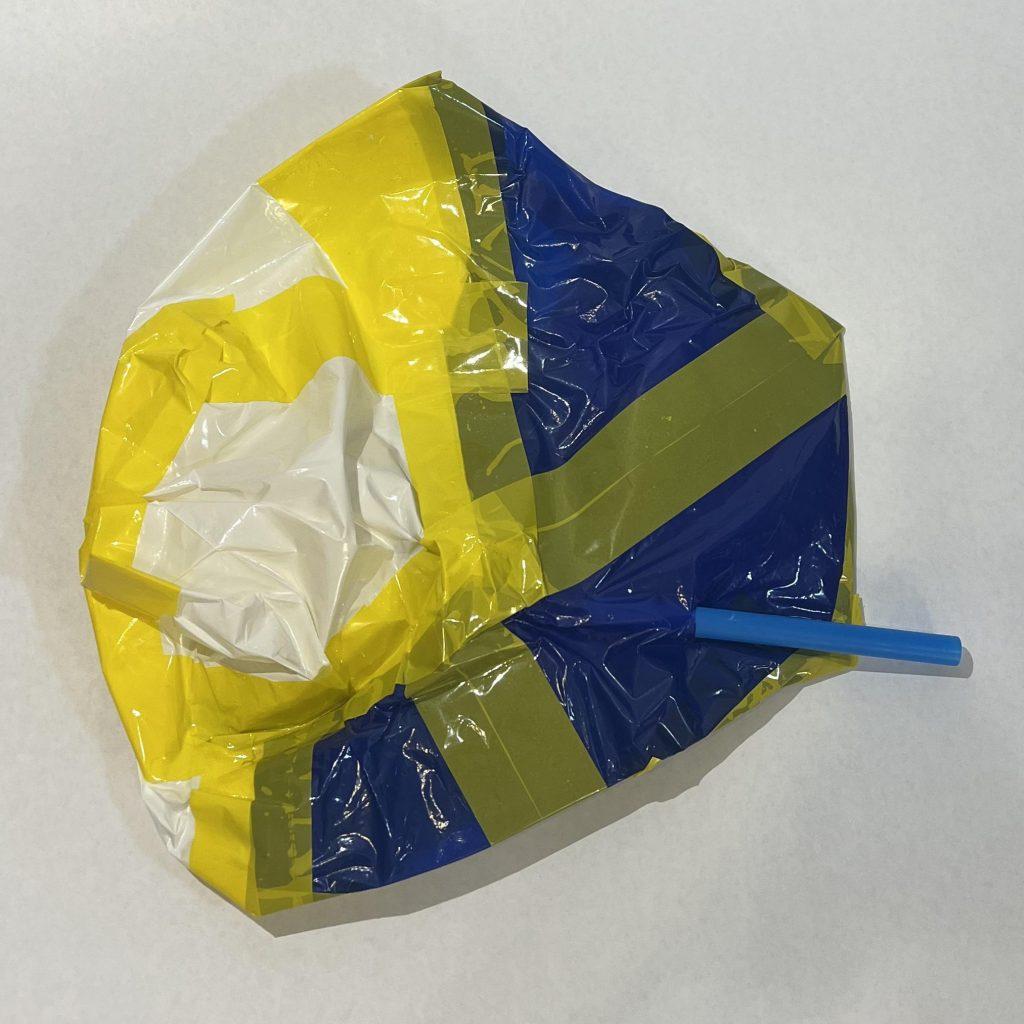
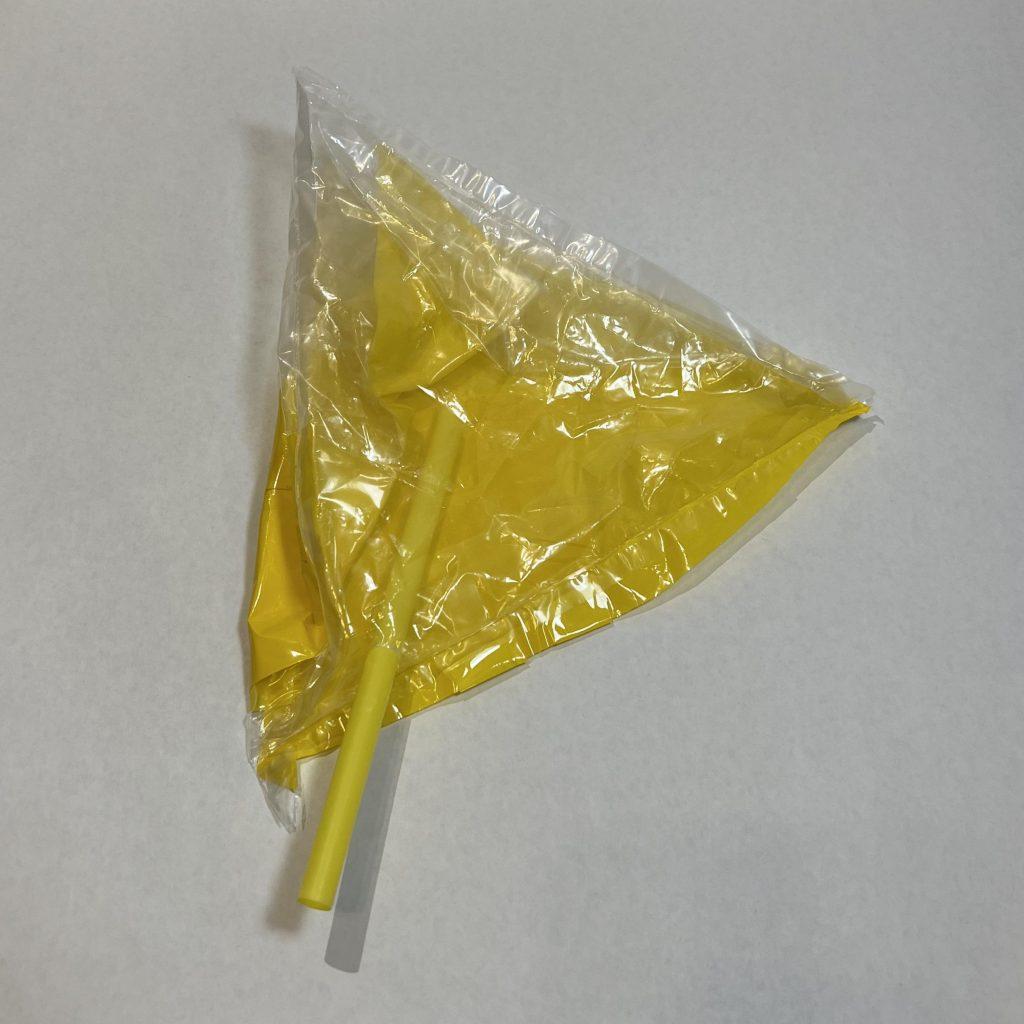
improv three
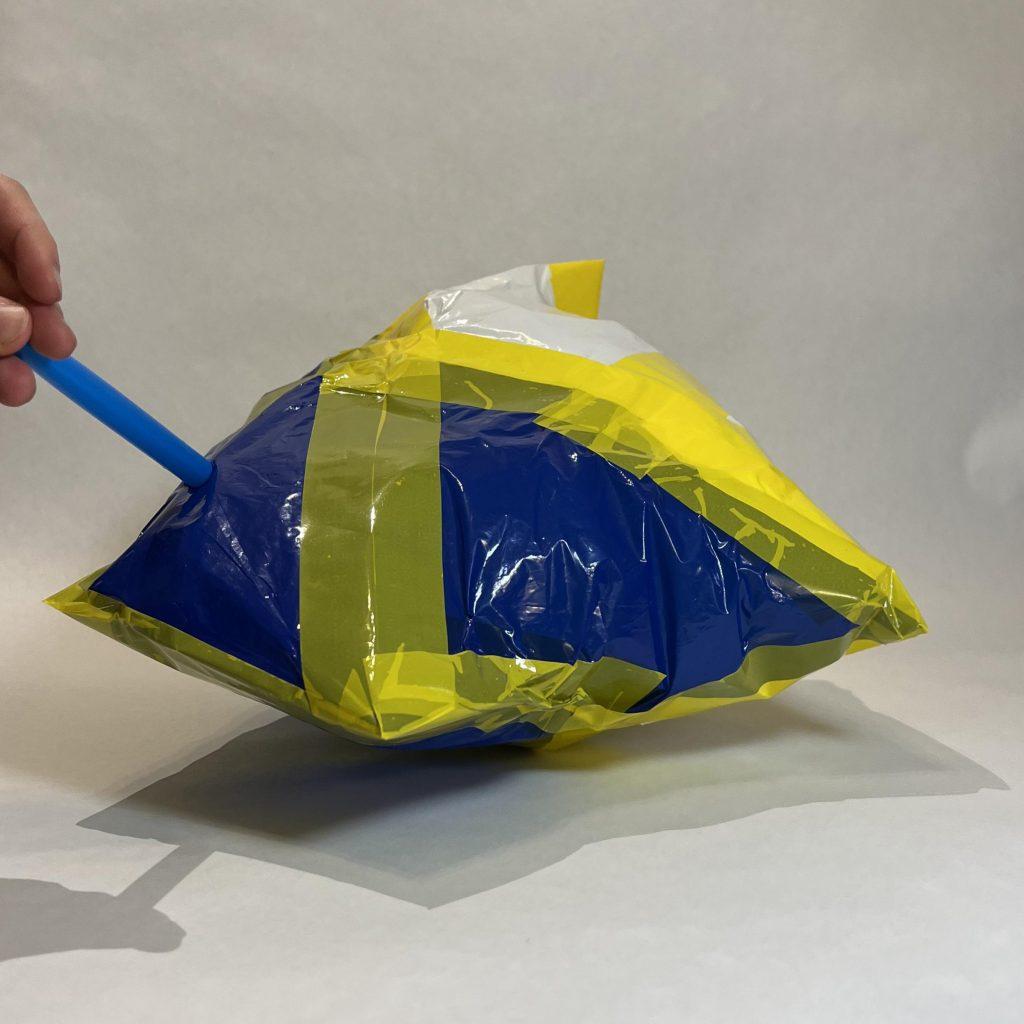
My last inflatable was made using clear and yellow vinyl plastic sheets that were heat sealed together. I wanted to create a triangular inflated structure as further exploration on geometric shapes, like my first one. To start, I cut one piece of triangle from a yellow sheet and two sheets from a clear plastic bag. I used a heat clamp to connect the three triangles with seams on the inside.
After standing it up in a triangular shape, I decided that I wanted the last triangle to be a bleed of both colors so I cut pieces from the scraps of the big triangles. I used wide yellow tape to join the clear and yellow pieces and create a bigger triangle. Using the heat clamp, I sealed the triangles together with inside seams except for the last.
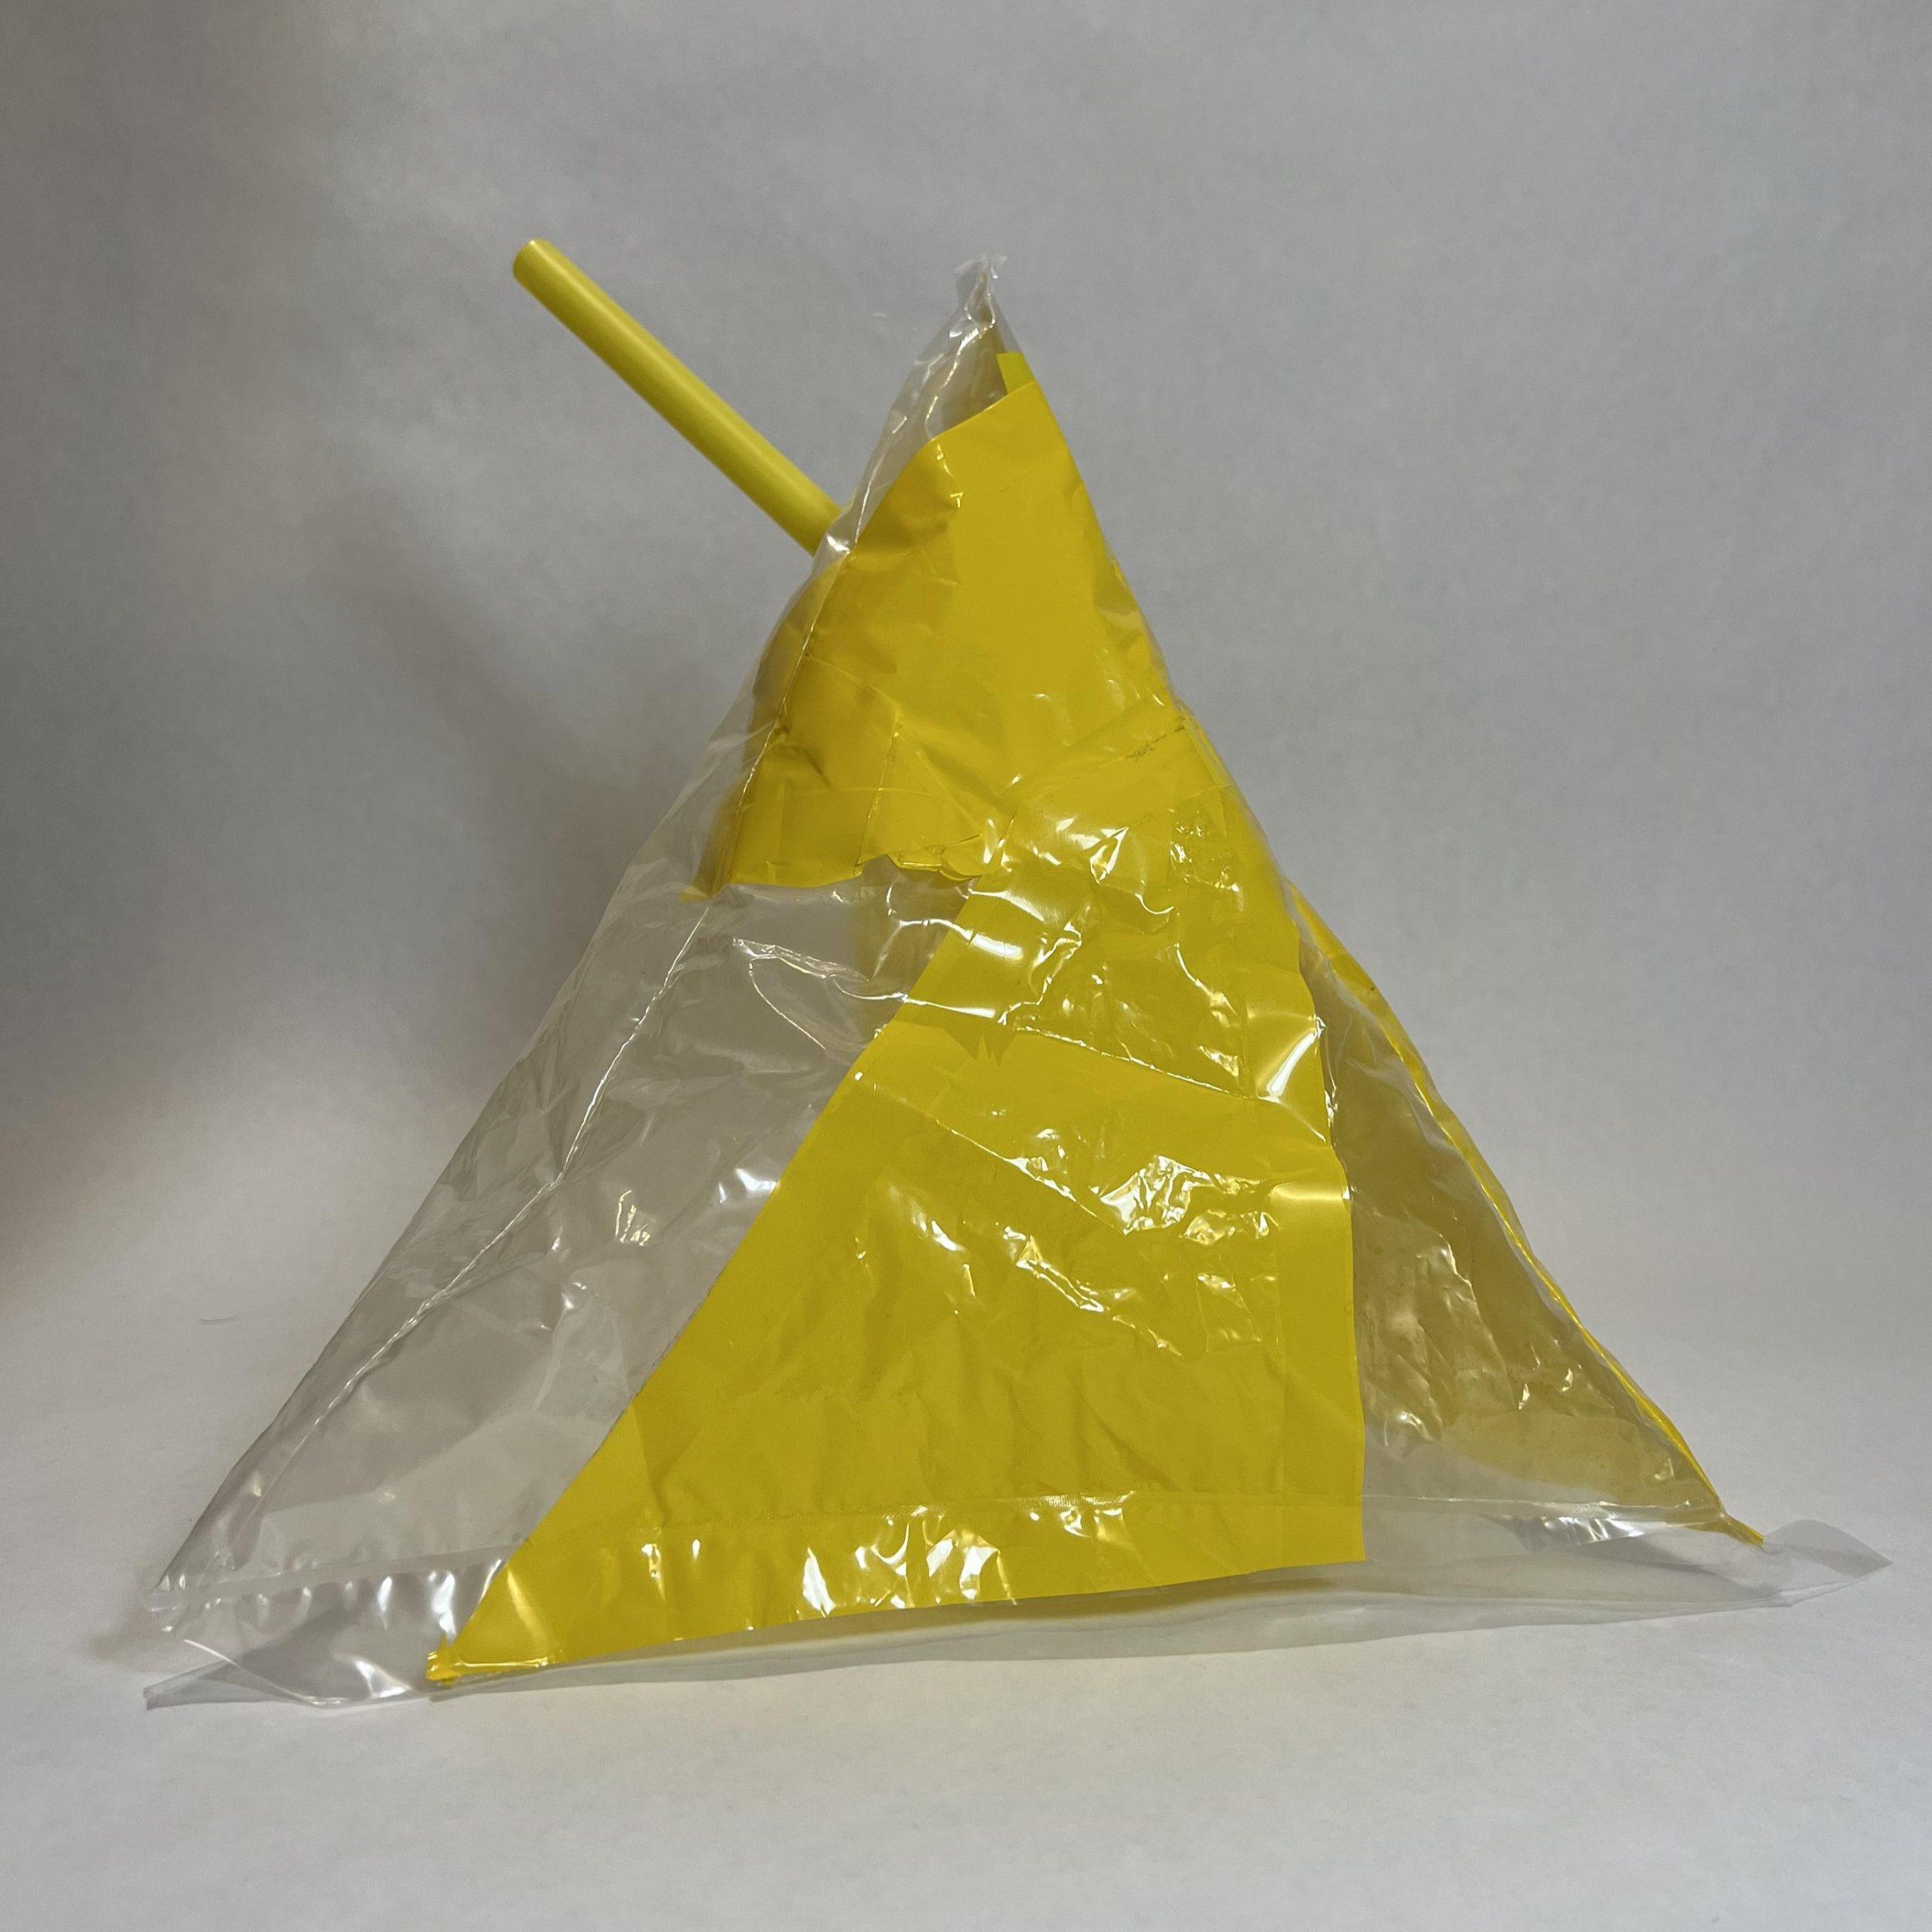
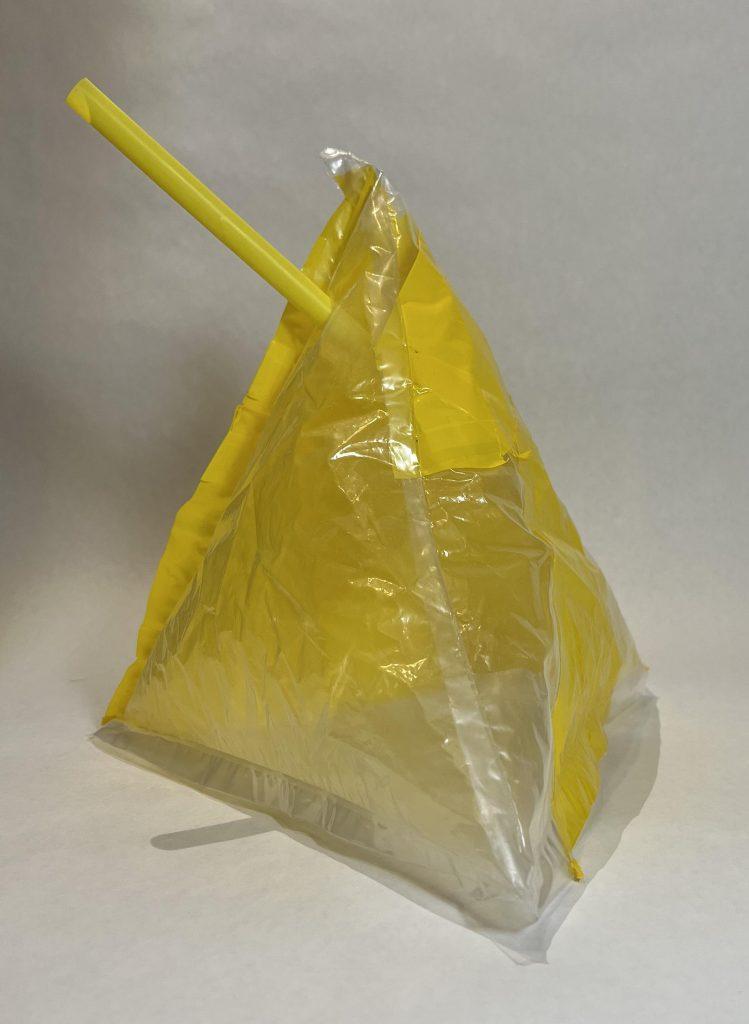
For me, this was the most successful improvised inflatable out of the three. It went according to my expectations and inflated to the triangular shape perfectly. I also found the inside and outside seams to blow up in different ways and found this to be something I want to further explore.
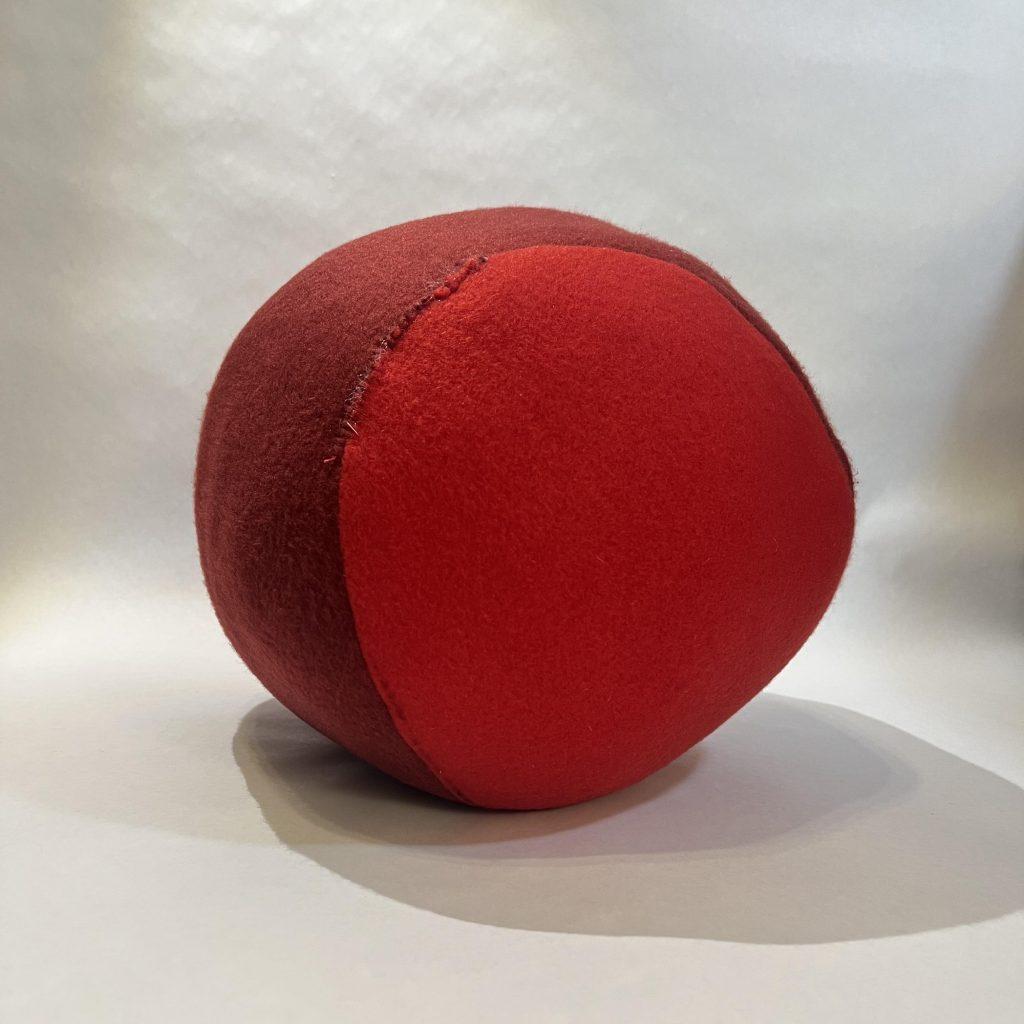
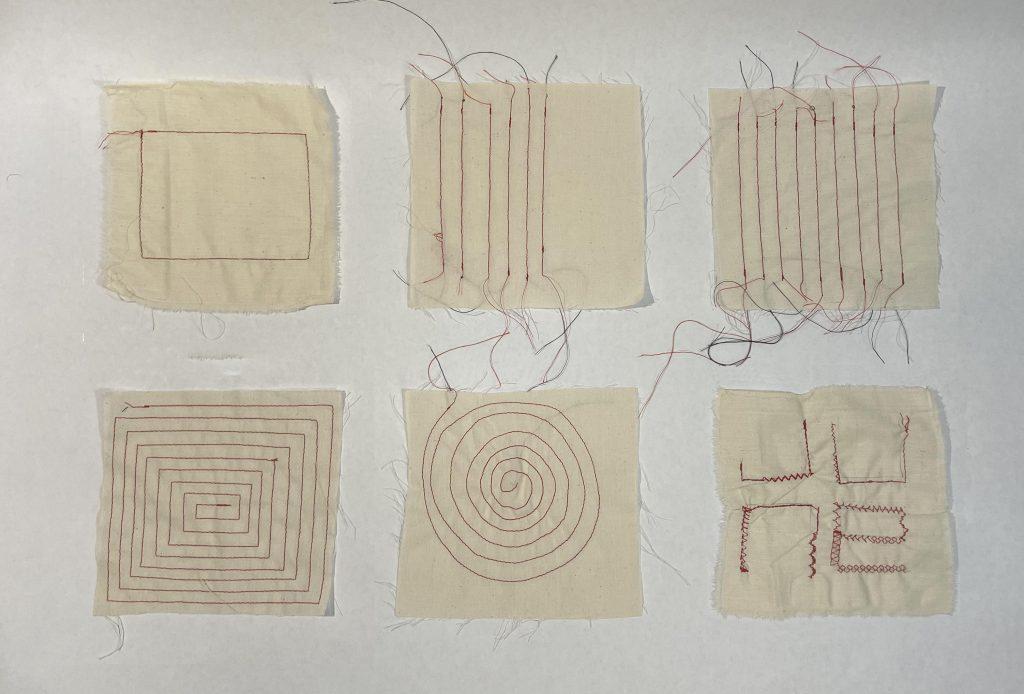
sewing practice (6)
sewn sphere (2)