Music Tower – Elisa Pinkowitz

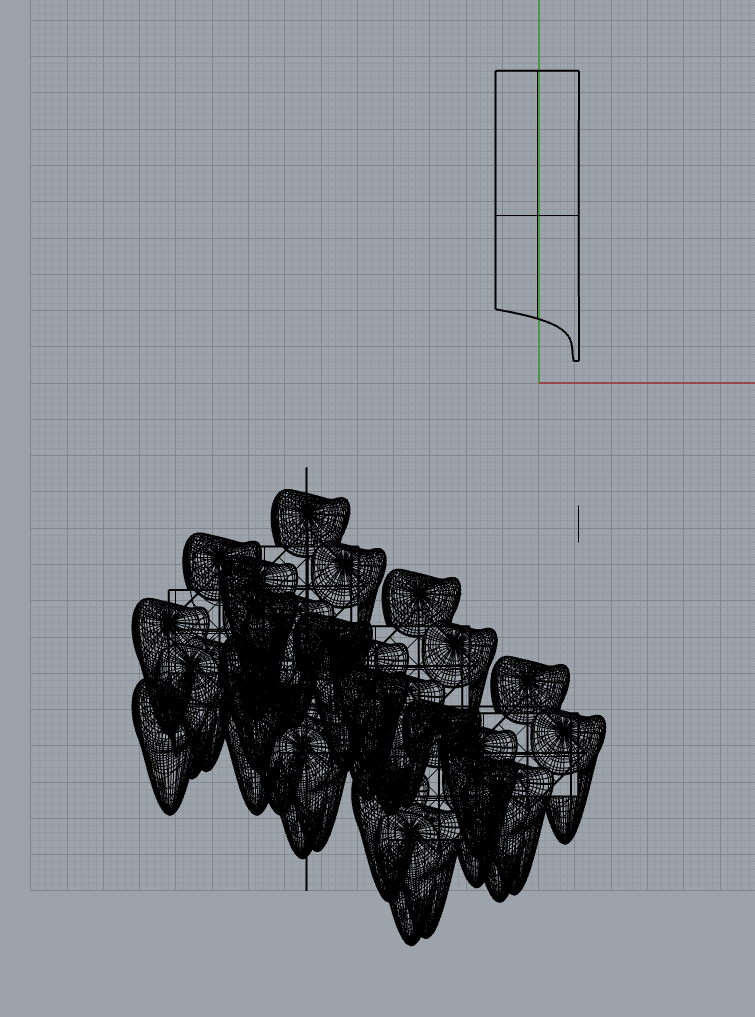
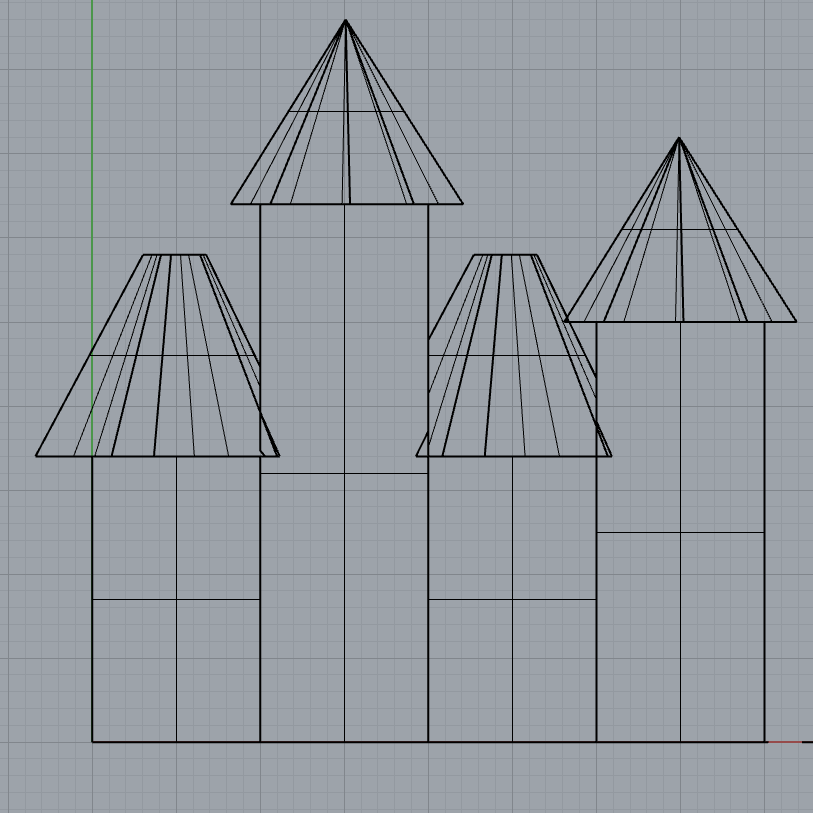
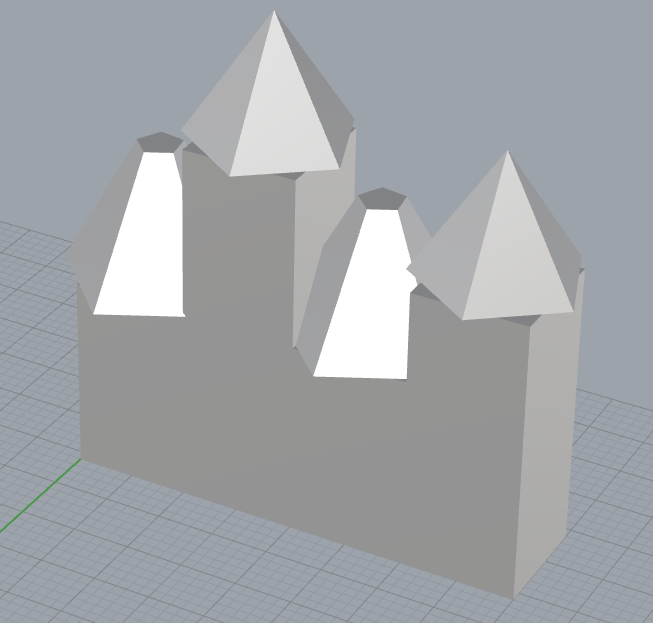
Perspective View:

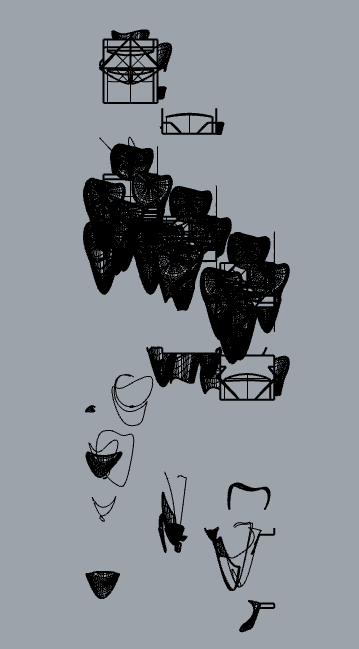
Unrolled Pattern:

The object is having difficulty unrolling.

Link to Rhino File: https://drive.google.com/file/d/1ZTsZ0Ss1UrQz-oi1Dw-ucEEFmZdM-t-d/view?usp=sharing

Link to Music:

This music tower is based around the song “Castle on the Hill” by Ed Sheeran which reminisces on his youth. I took the literal parts of the song by creating a castle and the hill, but added windows to represent looking back on your youth.

Push/Pull Objects – Elisa Pinkowitz

In each of my push/pull explorations I ended up somewhere different than I initially planned. Instead of restarting any of my objects I decided to let my creativity run free and change my ideas as my object changed. I knew my best work would be done when I let the objects speak for themselves instead of trying to force a specific thing to form.

Object 1 – Bow

Visual Portfolio, Posts & Image Gallery for WordPress

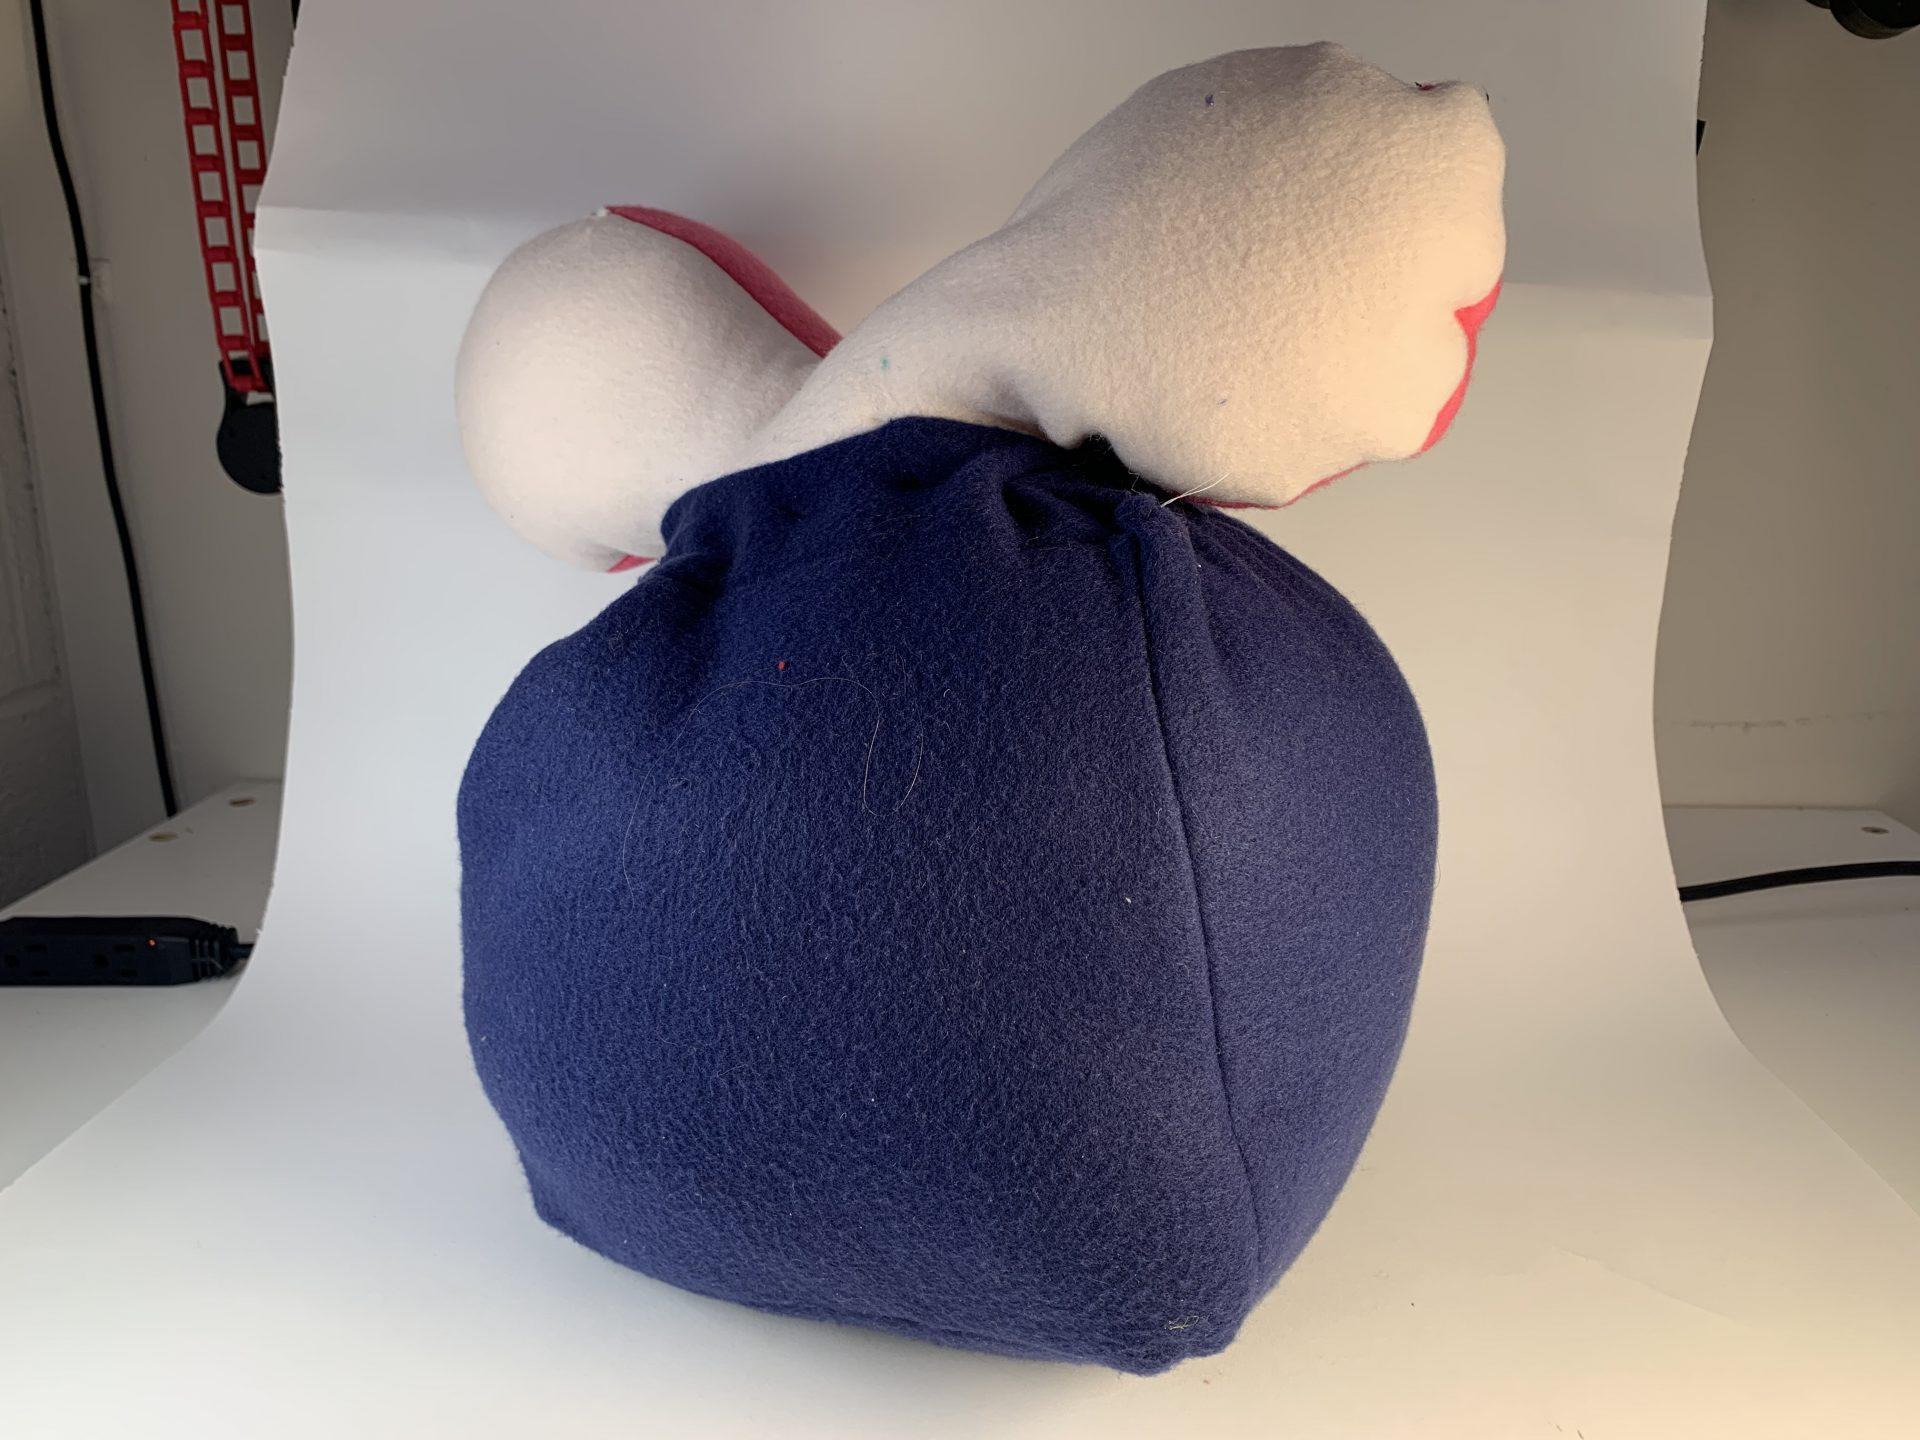
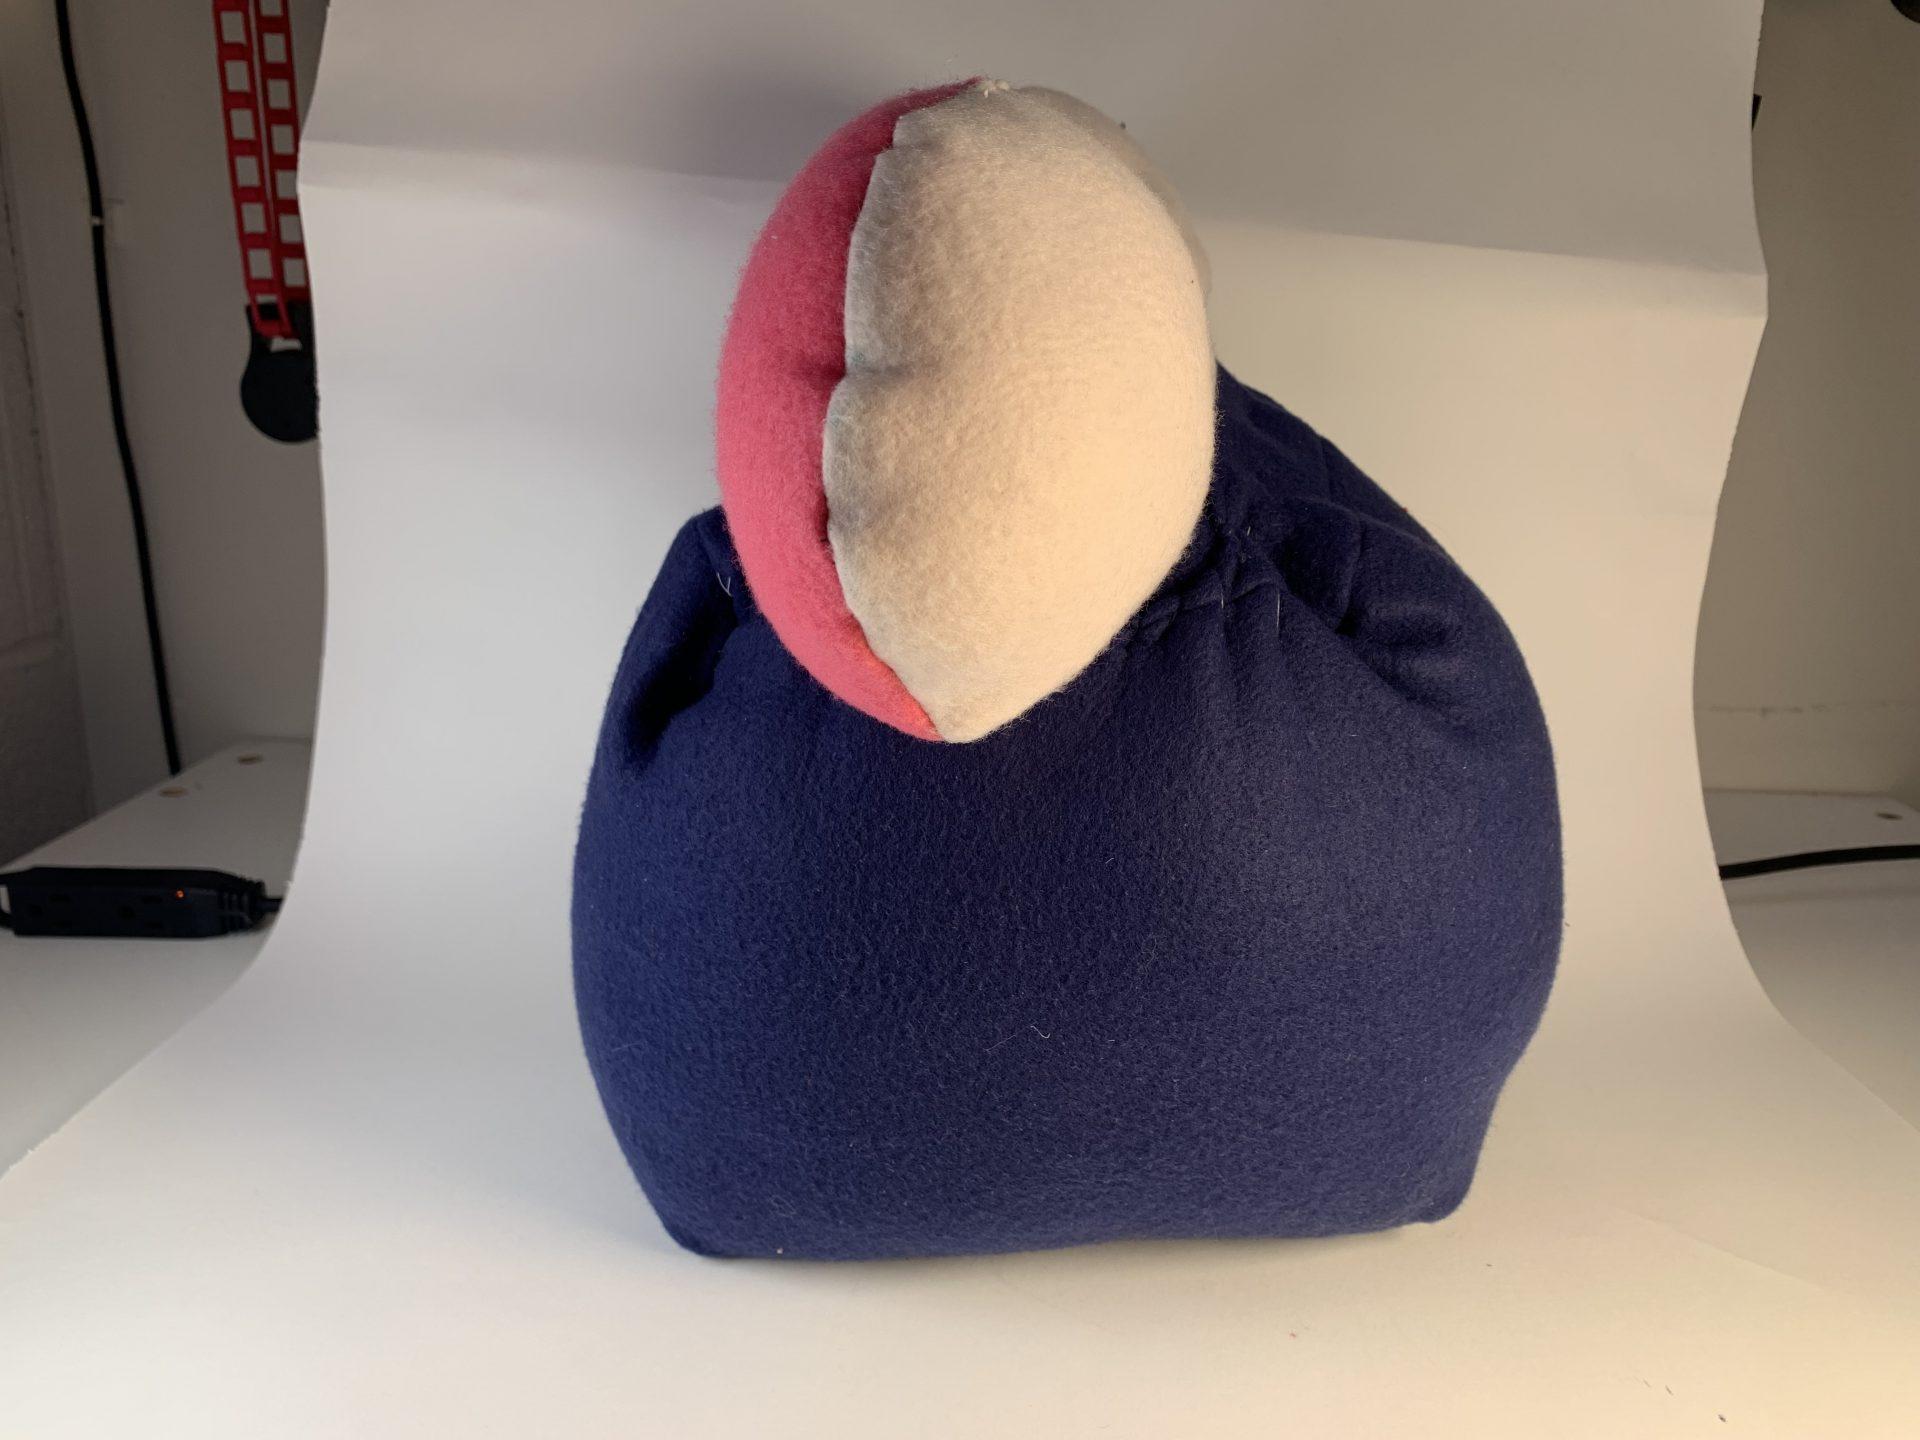
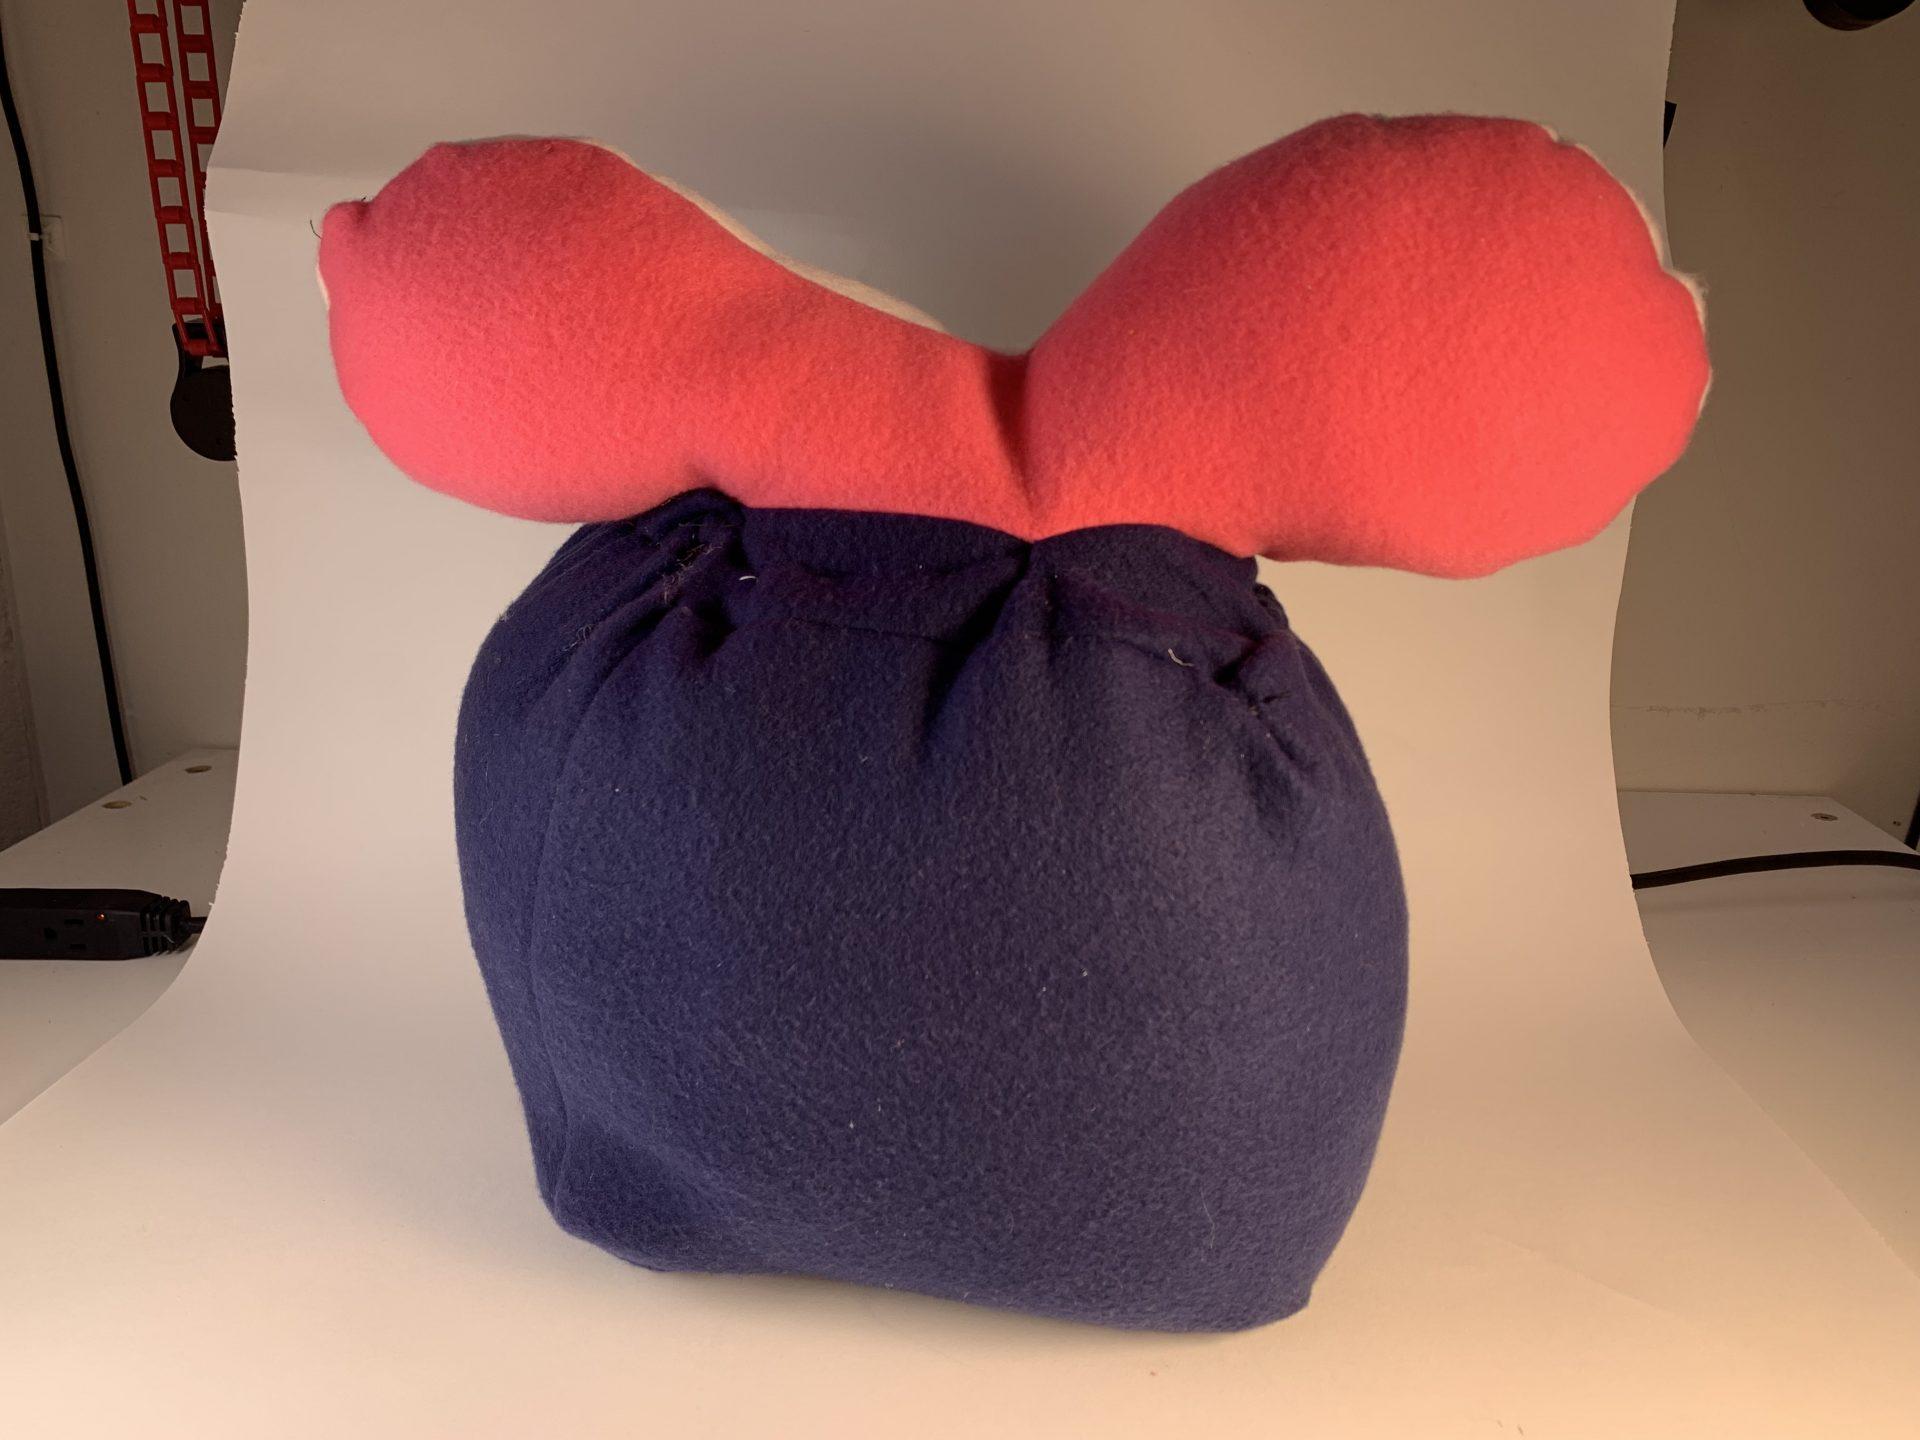
For my first object, I intended to have a cube with a sphere attached on top. As simple as this is, I made a silly mistake putting together my form and instead of a sphere I began forming a bow or bone shape. I thought about ripping all the seams and forming the sphere I intended, but I liked the idea of this abnormal object being formed from that of a template for a regular object. In the end, I ended up with a sphere with a bow on top, which reminds me of Minnie Mouse. In addition, when I was hand stitching to close my object after stuffing it, one of the sides ended up a bit scrunched. Instead of redoing this, I decided to make all the sides look bunched because repetition makes it look intentional. While this first object was pretty simple in both look and execution, the few bumps in the process helped me feel the beauty in the creative process and let my future objects take me wherever they wanted in formation.

Object 2 – Abstract

Visual Portfolio, Posts & Image Gallery for WordPress

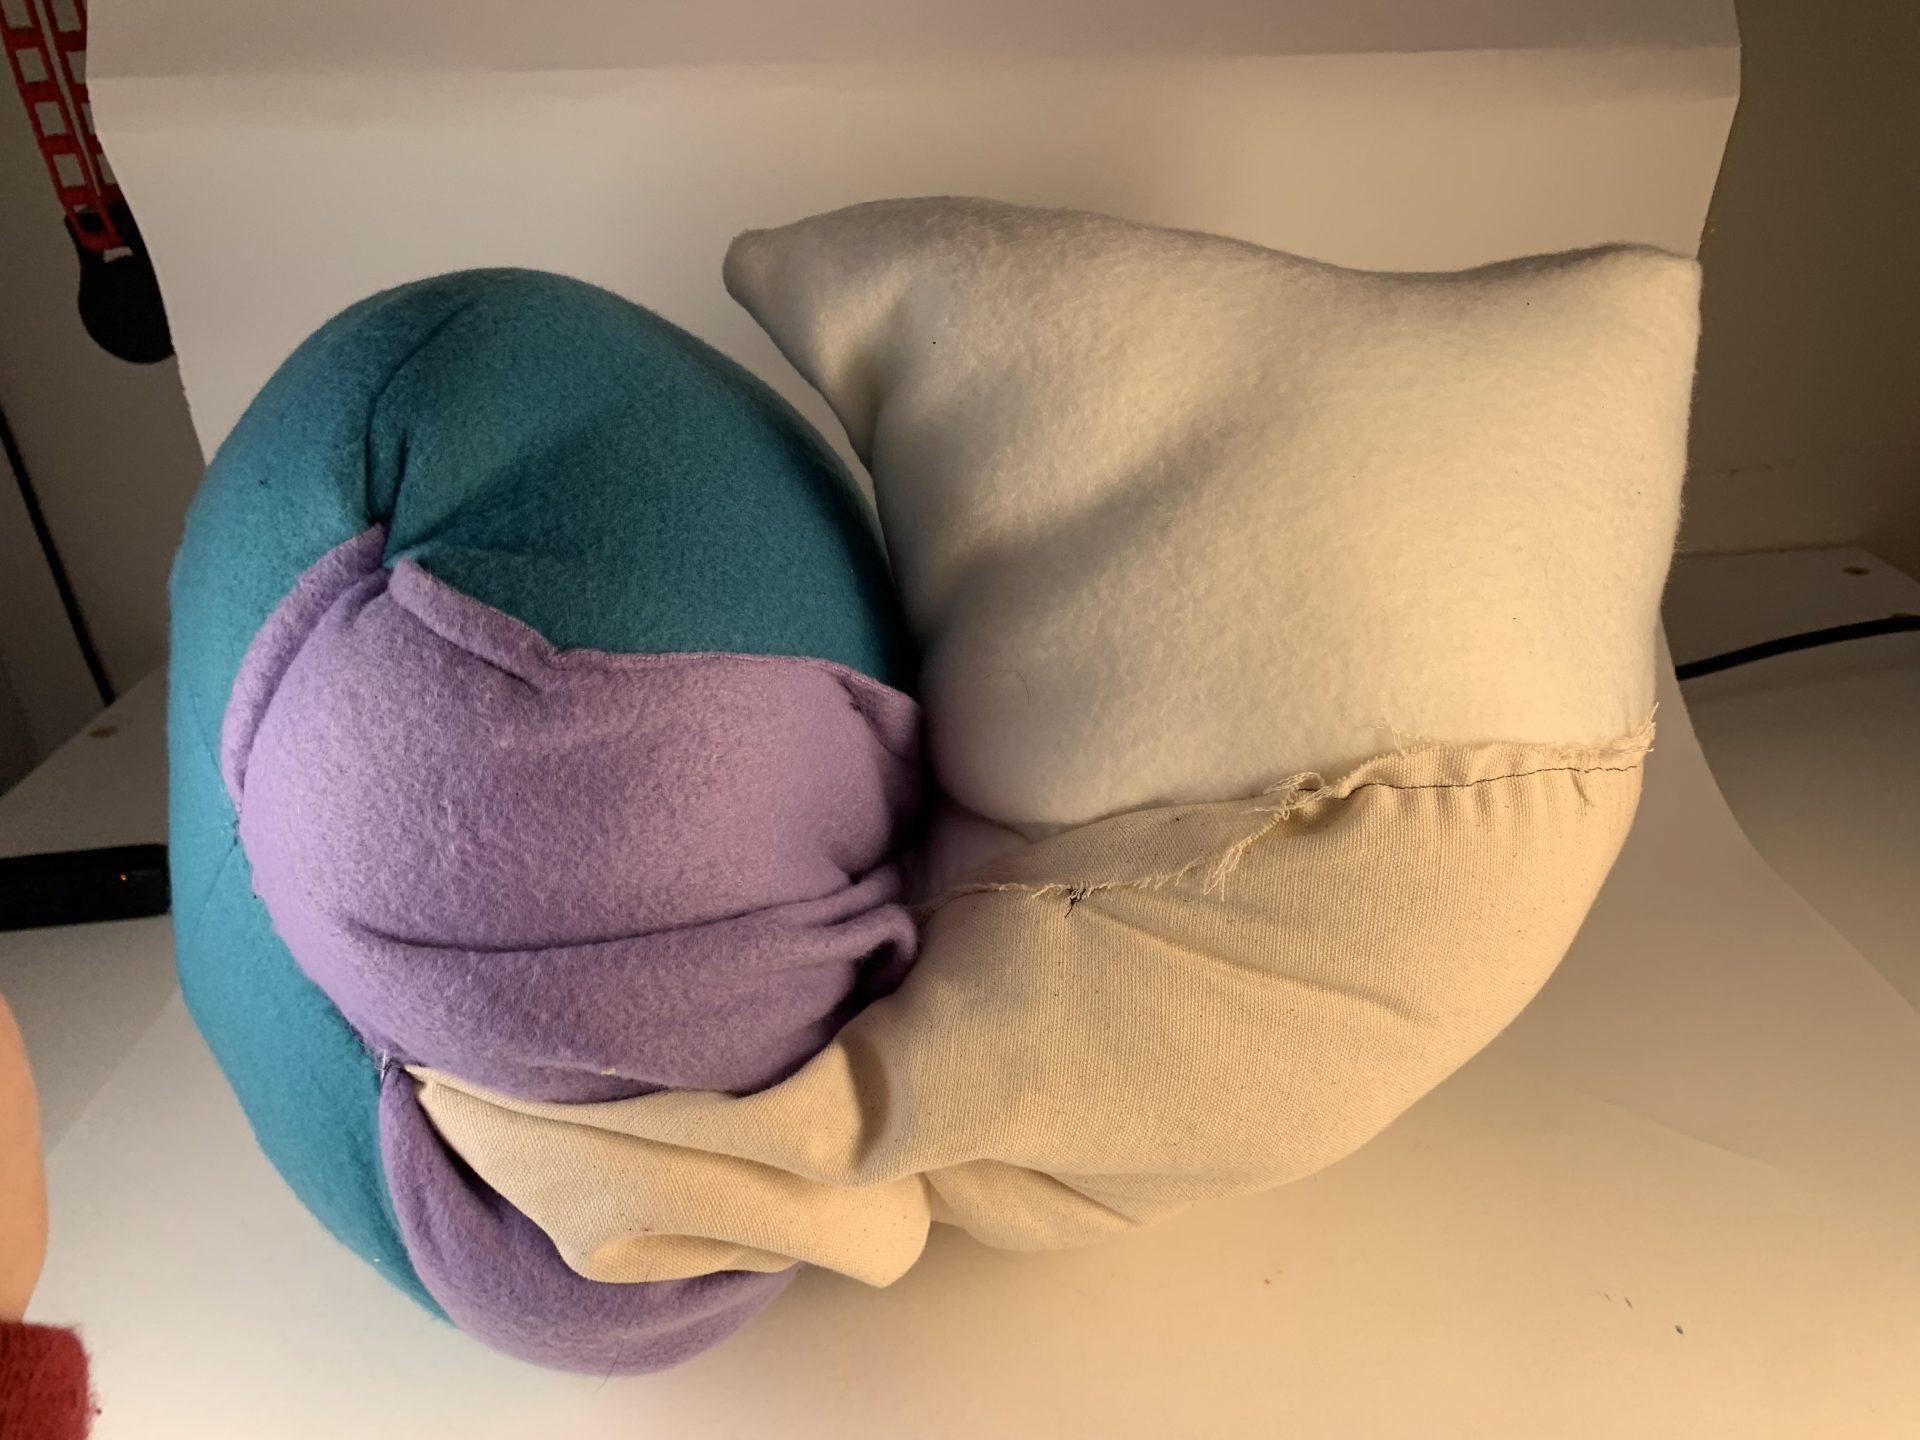
For my second object, I started with the form for a sphere and a cone. At the very beginning I was thinking about separating the two pieces of the sphere and somehow placing a zipper in between them. I also tried darting the cone which was made out of muslin but more pieces than expected ended up sewn together. I used both the purple and white fabric to help connect the shape and see where I ended up. After my initial vision, I had no idea what my object would end up to be but enjoyed seeing obvious forms such as the sphere combined with the more unique forms the other three fabrics helped form. Additionally, while it is not a functional tunnel, there is a part where the purple fabric has a bit of movement between the two sides, a concept I would further explore with both more time and more knowledge on how it is possible to execute.

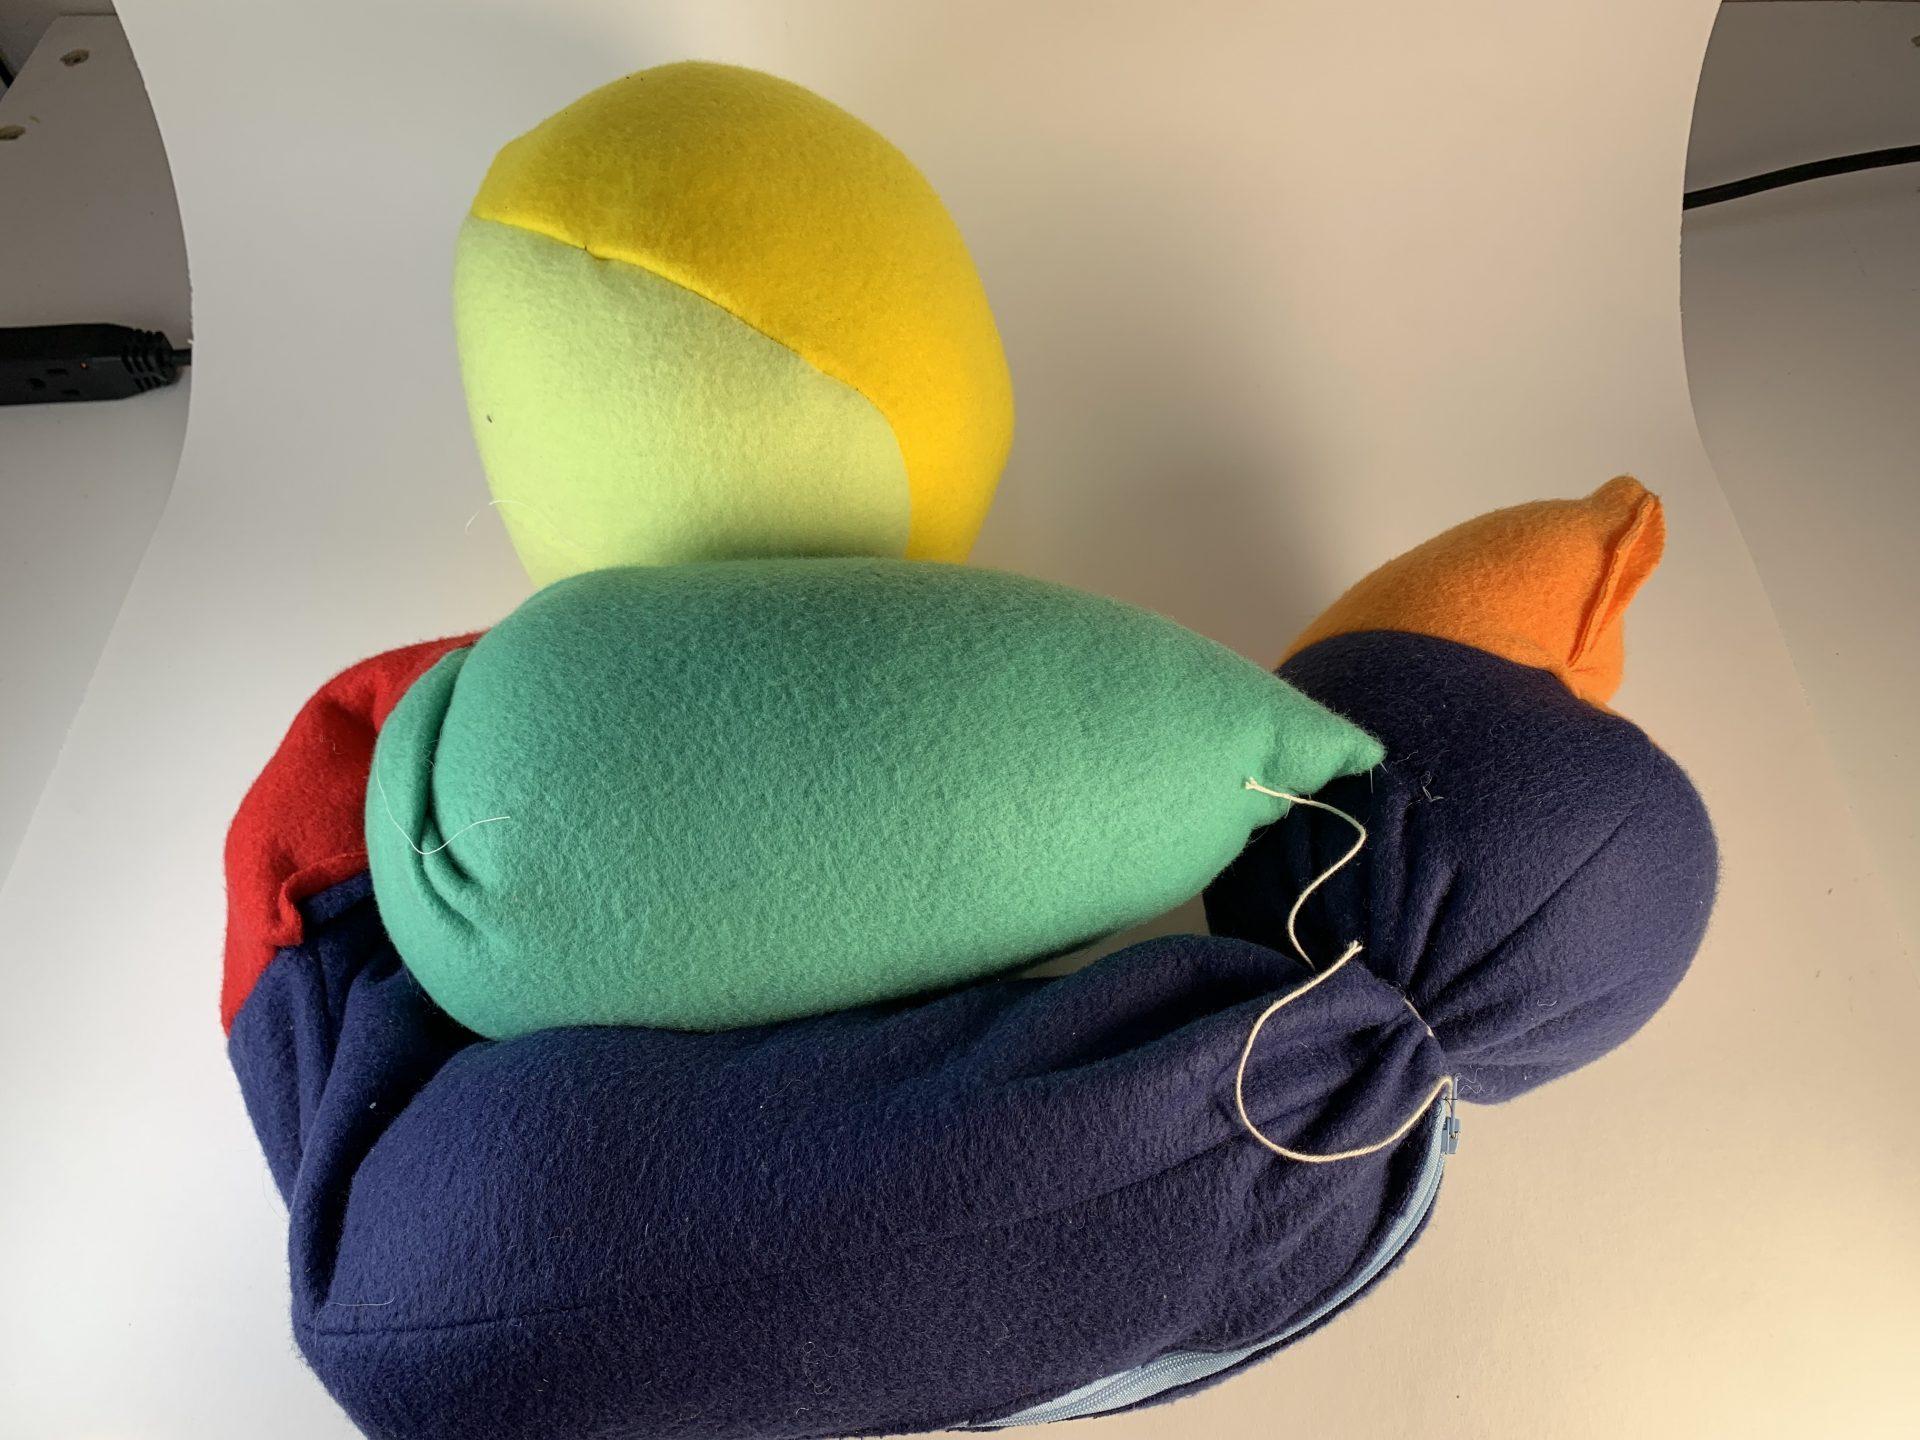
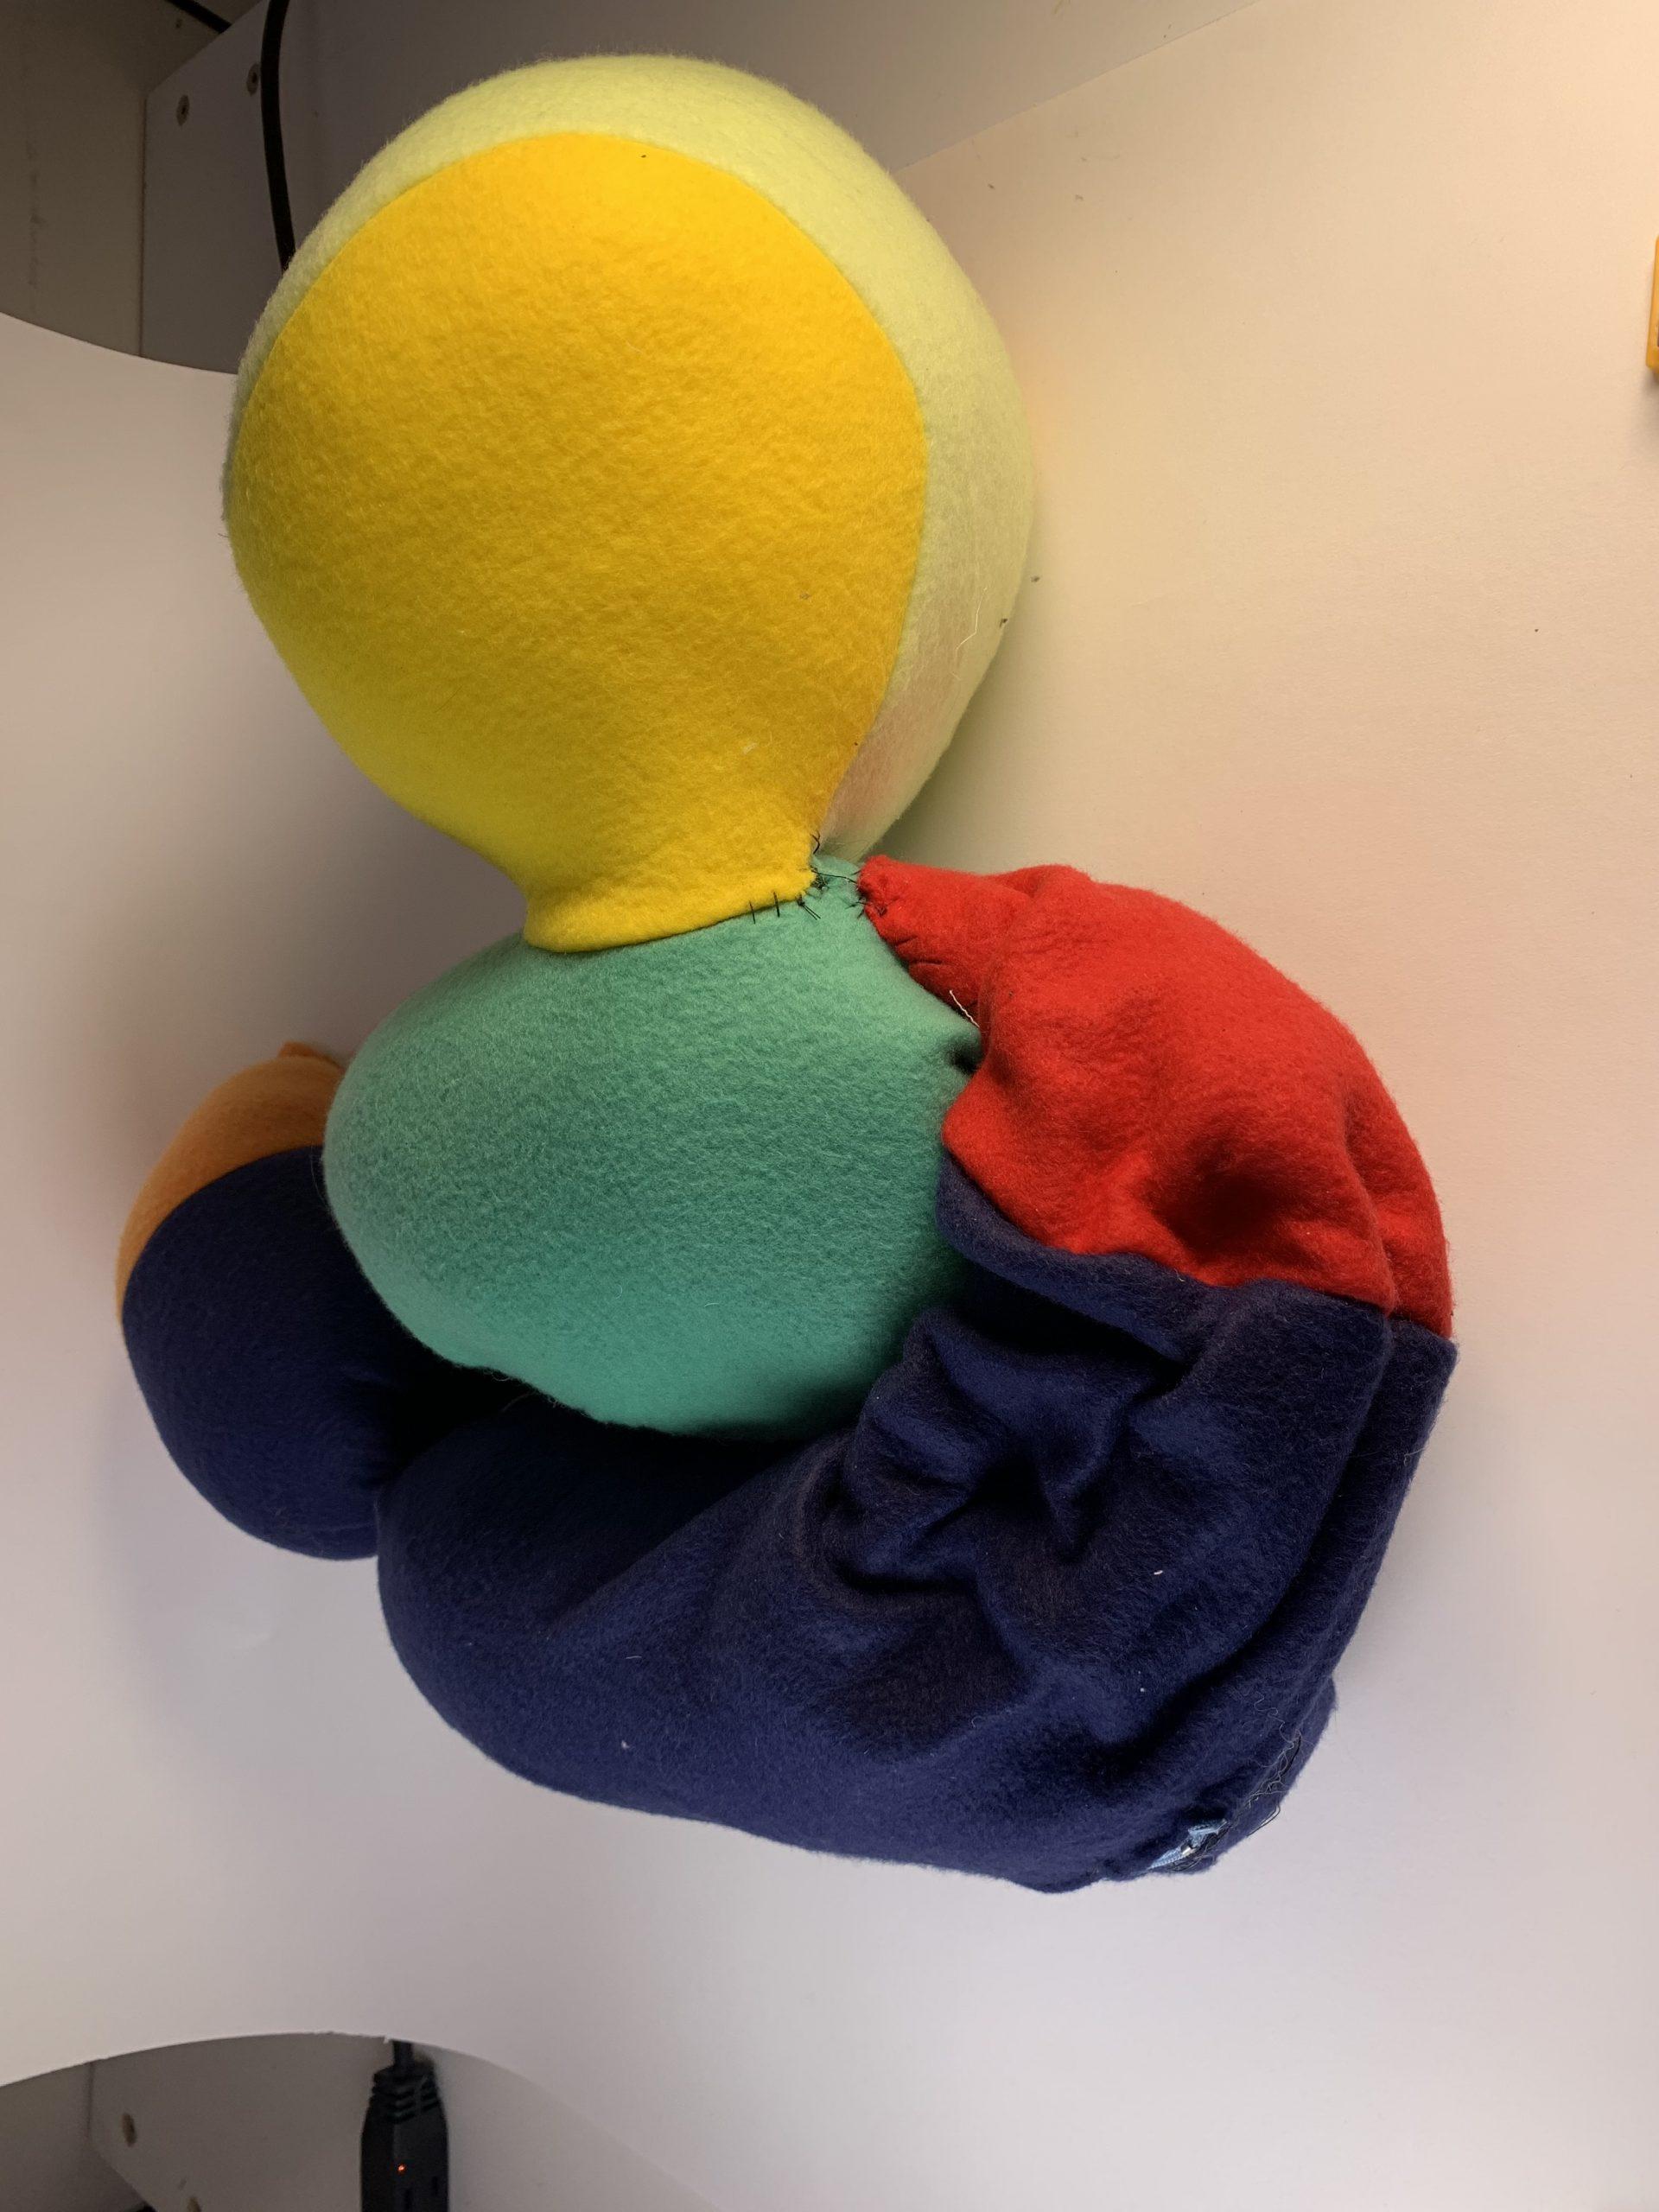
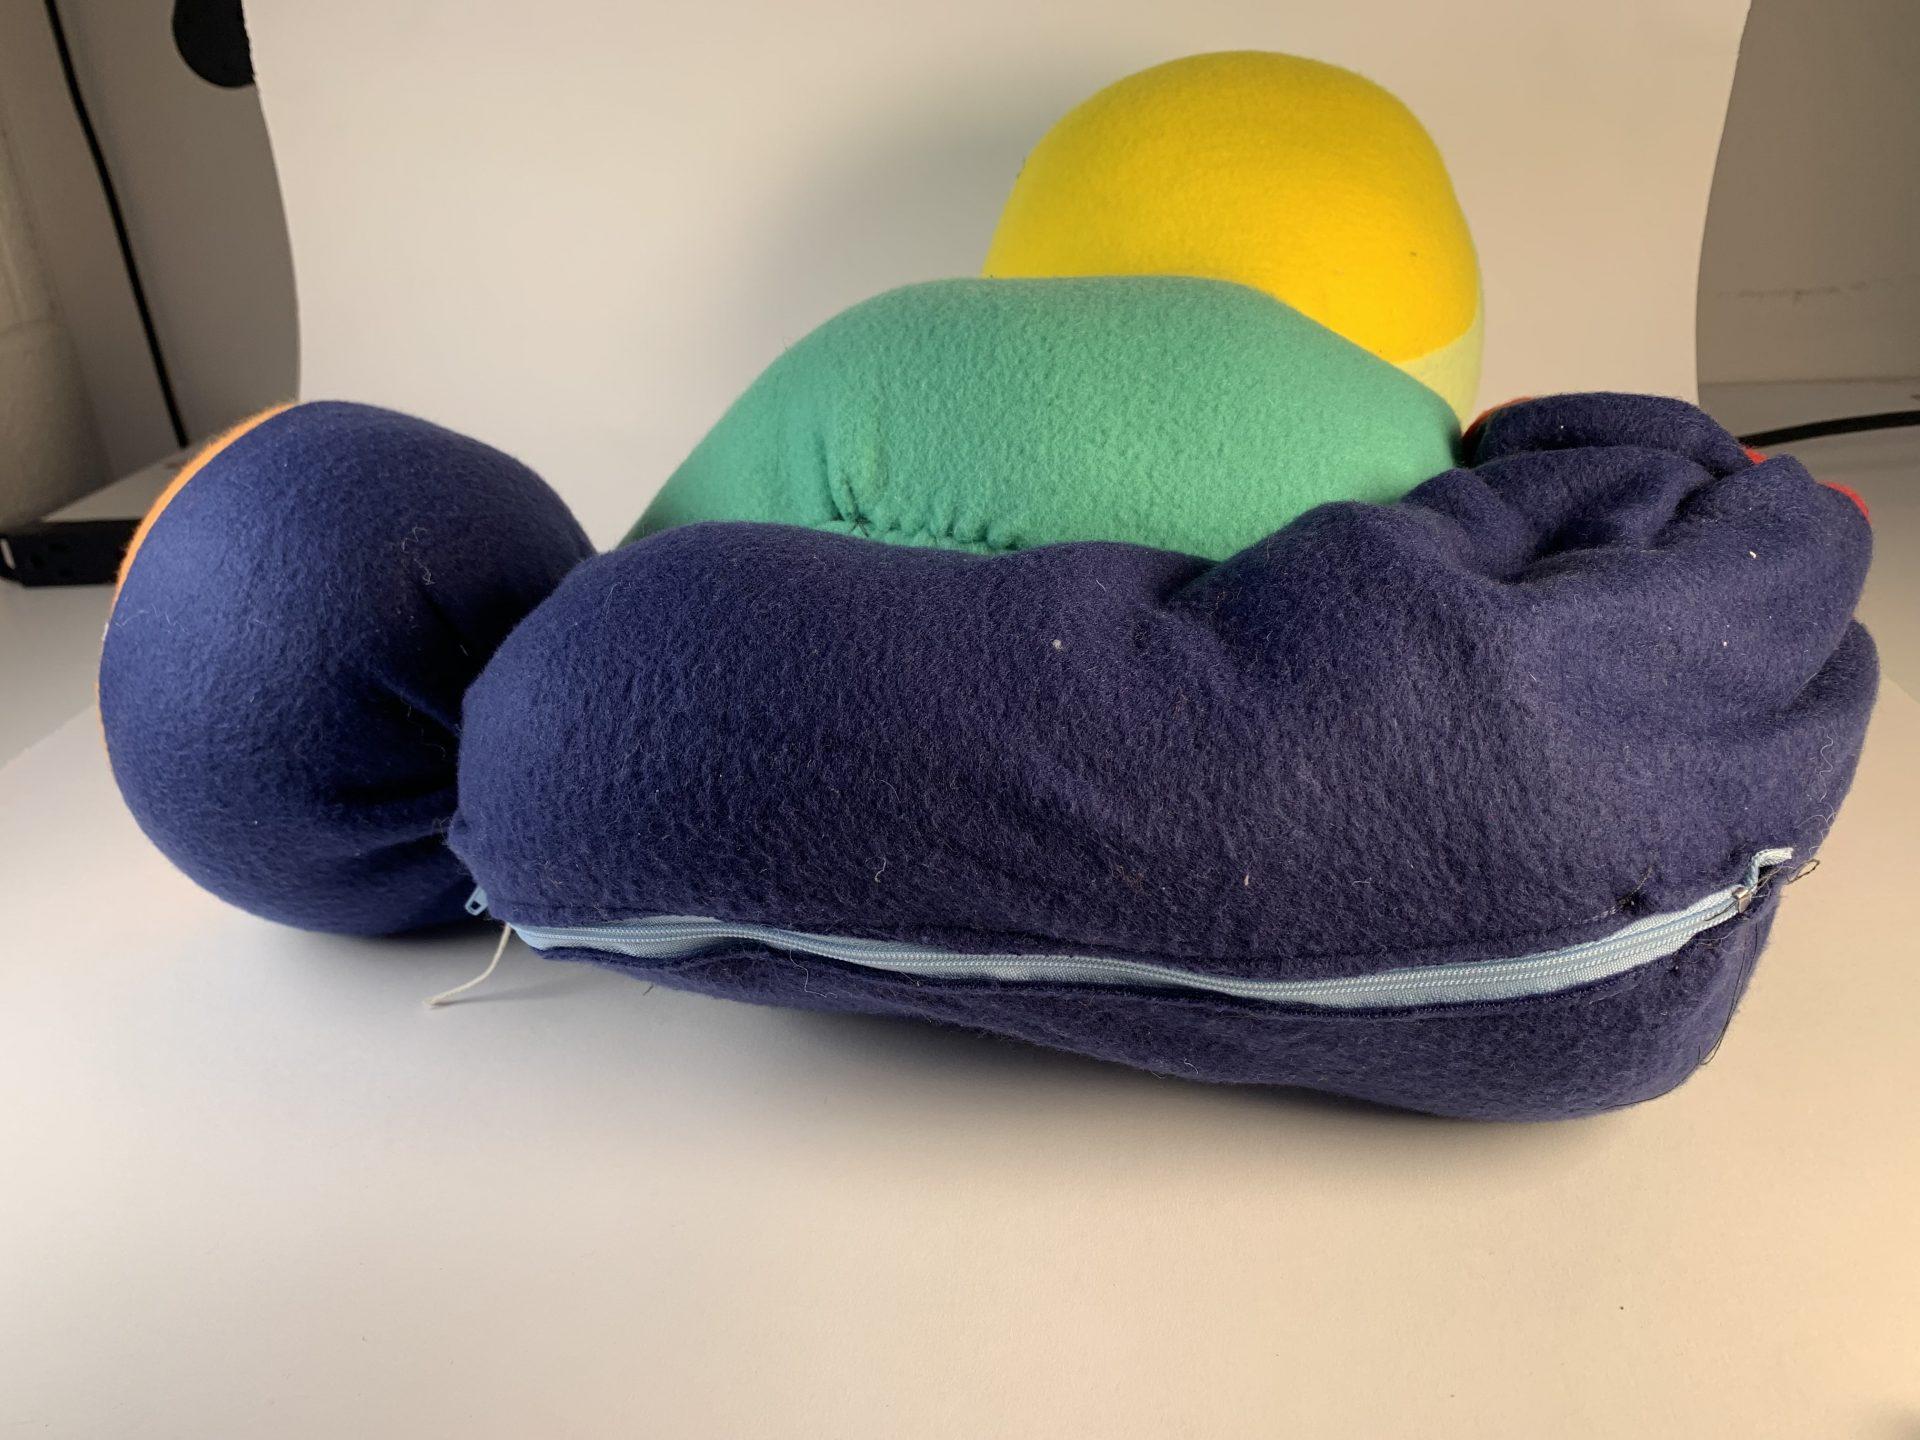
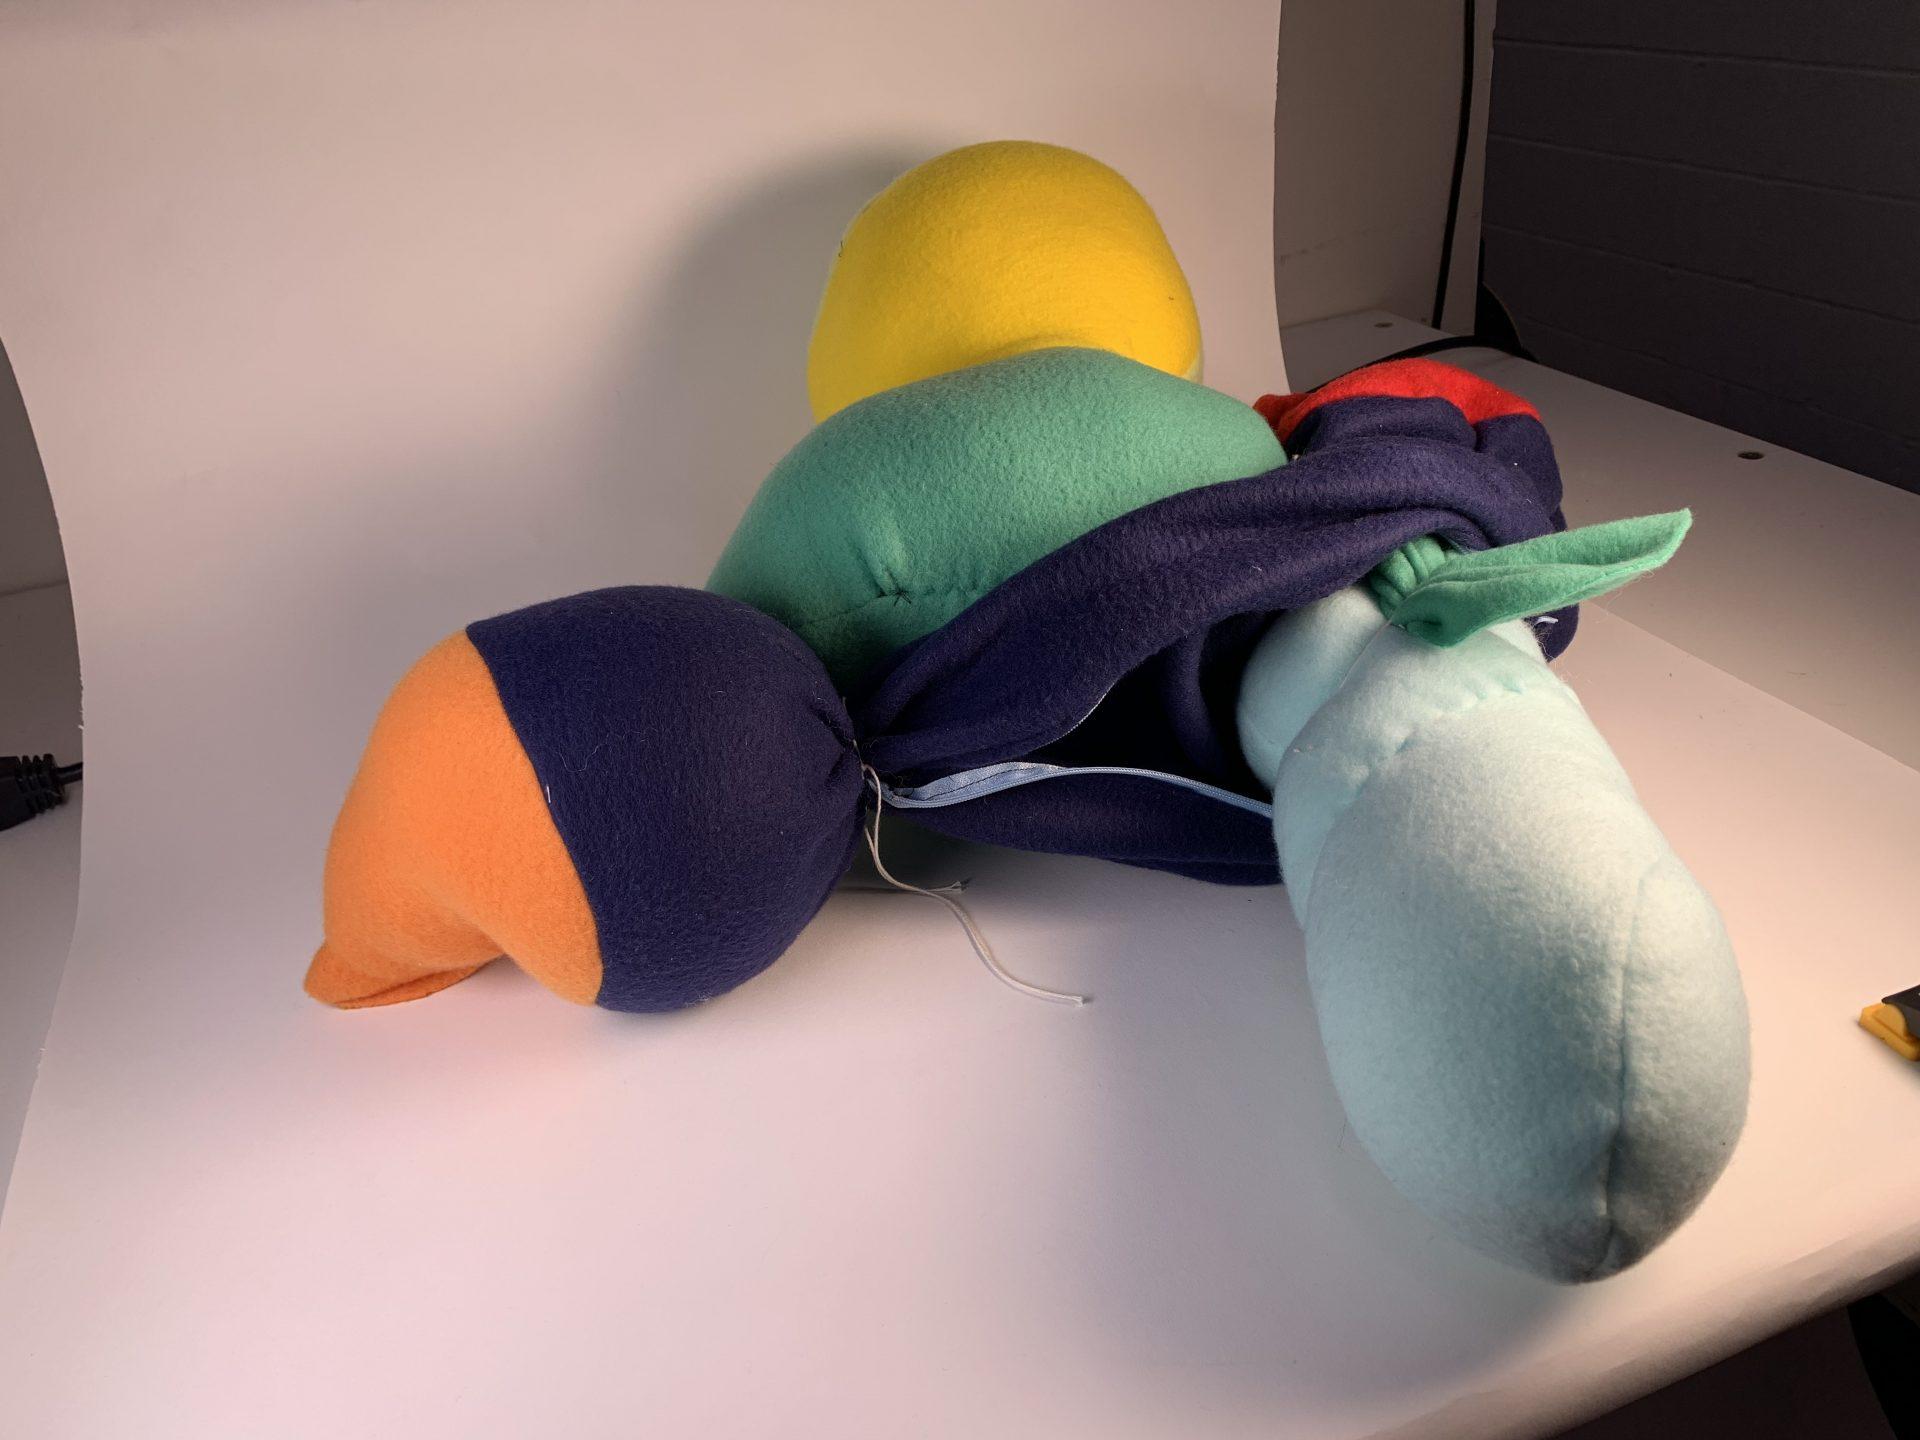
Object 3 – Zipper

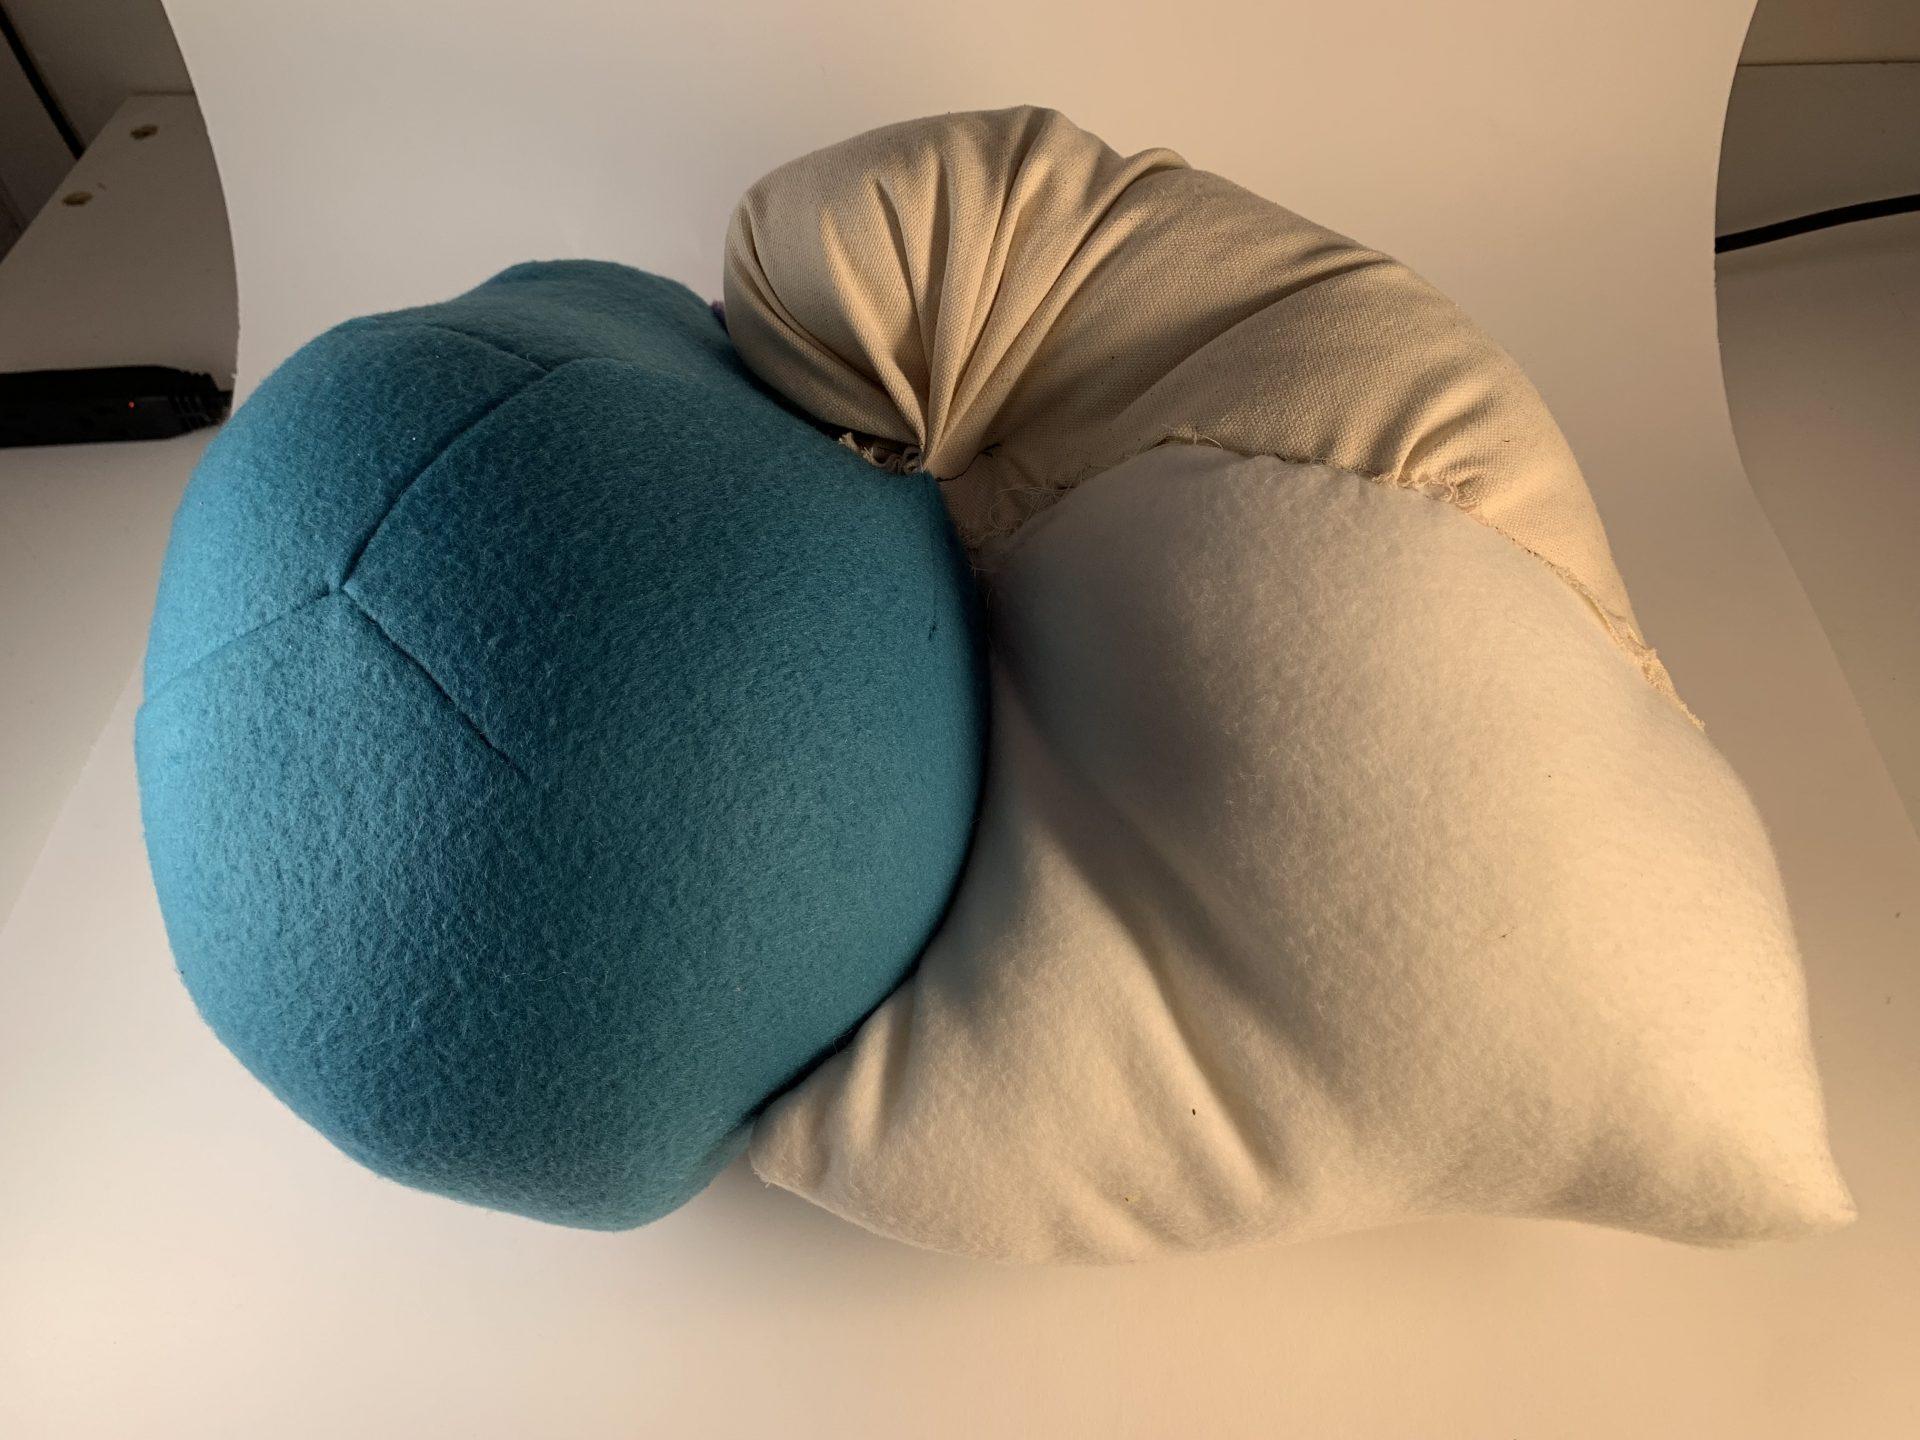
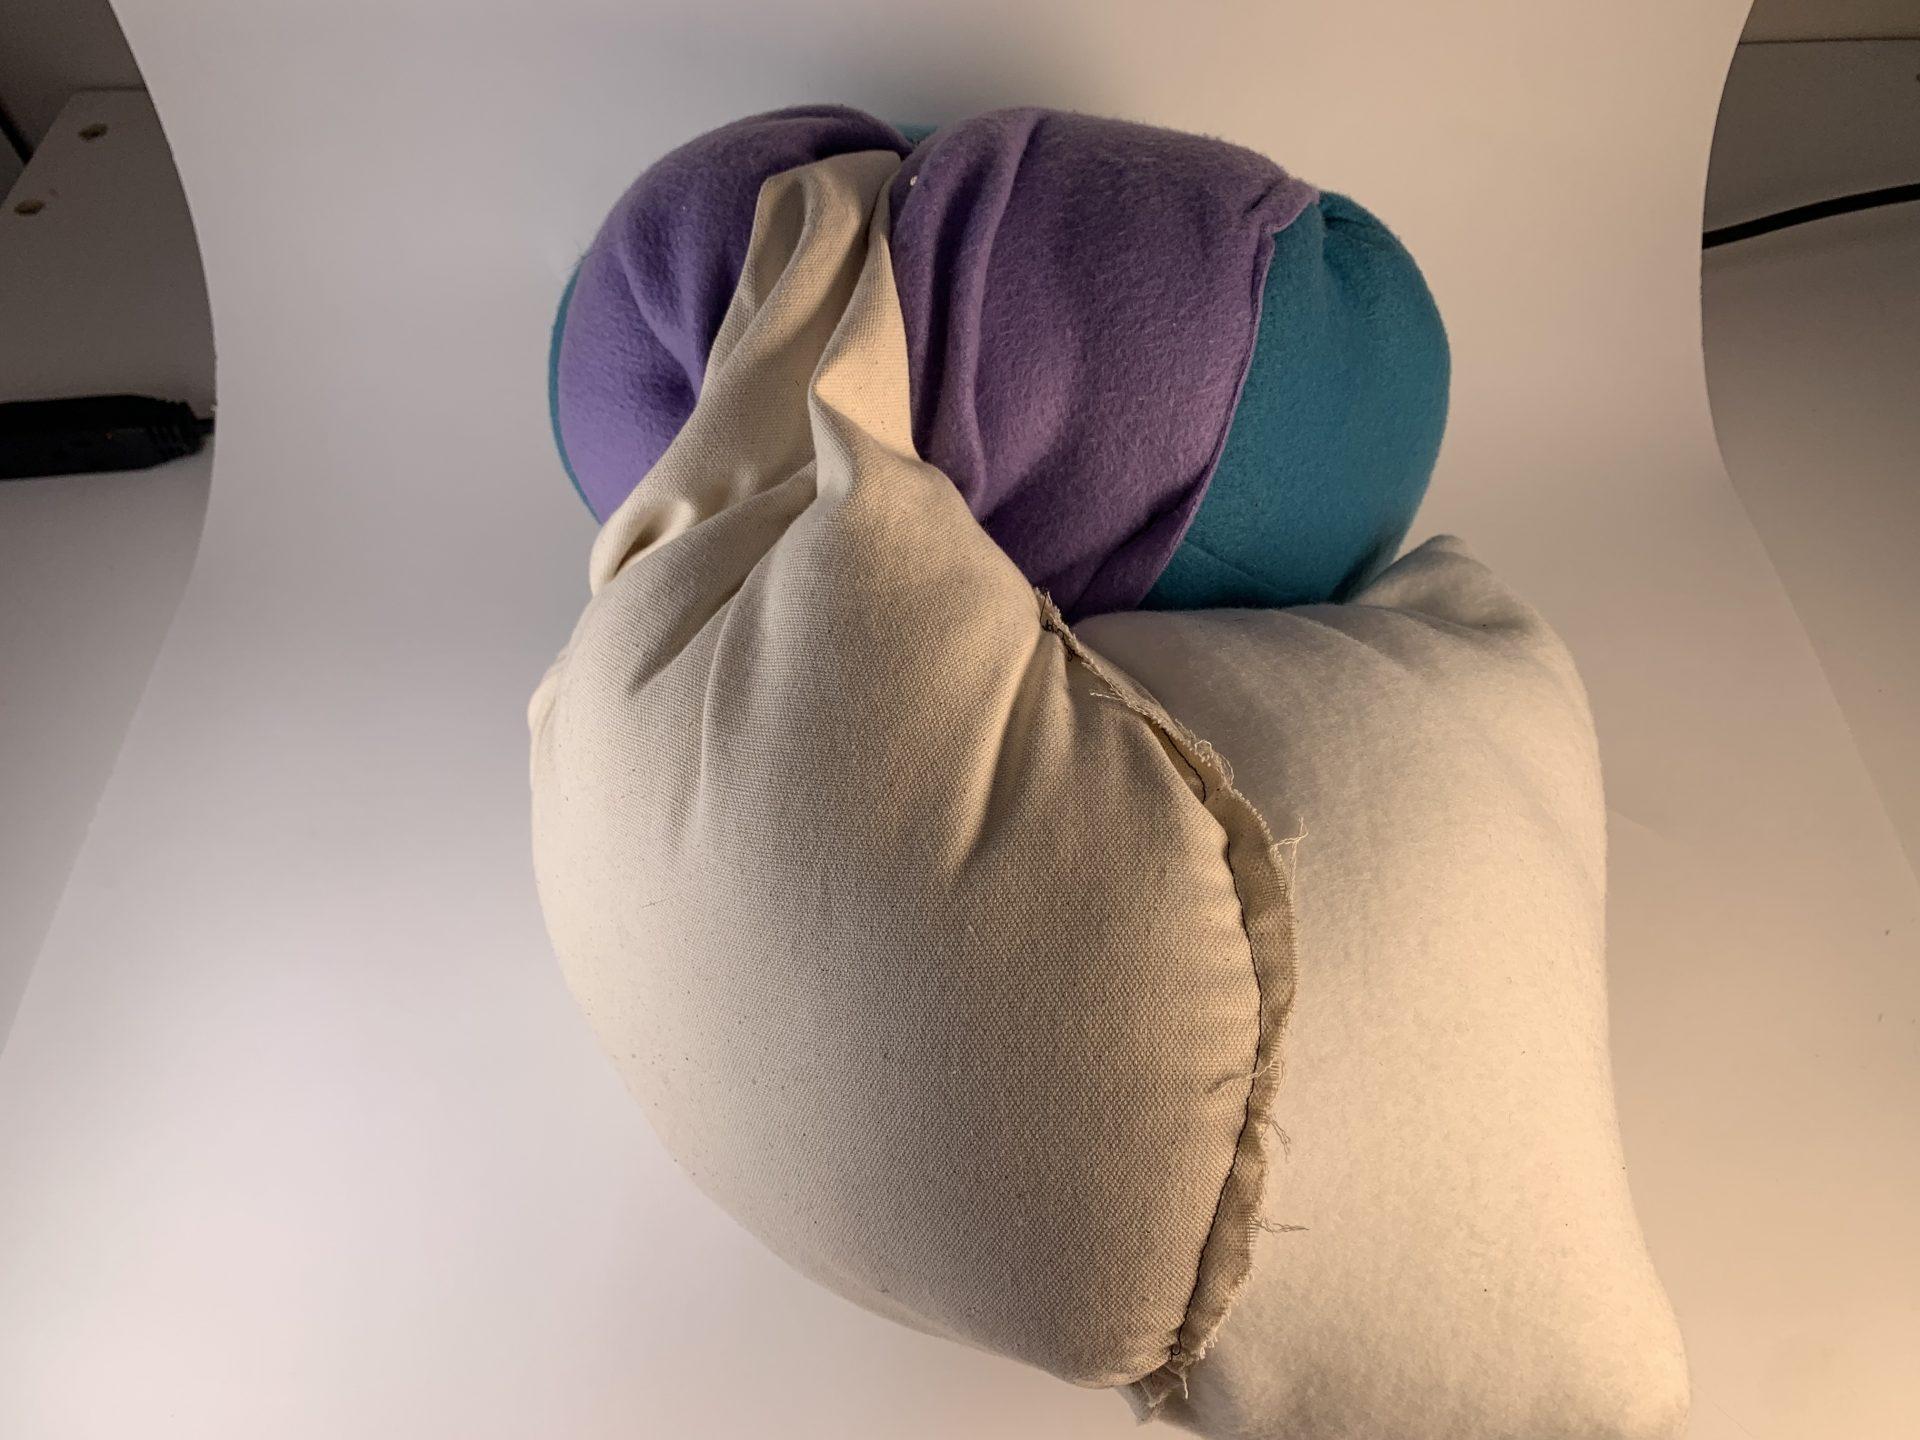
For my third object, I started with the forms of a sphere, a cone, and a cylinder. My plan was to attach all three of these forms together. As I sewed the cone, I realized there was an extra flap of fabric from wrapping a circle into a cone shape and I wondered if this piece could be a useful way to attach the forms together. When sewing the cone, I ended up deciding to close the bottom instead of adding a circular base, creating something resembling a pocket. The first two objects I attached together were the sphere and the cone, hiding the point at the top of the cone. I then tried to sew the cylinder separately and ran into trouble when I discovered the circular bases were too big for the column of the cylinder and sewed one of the sides into a beak looking shape. I was also still determined to add a zipper so I added one along the column. I wanted to fill it with an object so I once again used the sphere form and made an ellipse shape I was able to store in the zipper compartment. Going back to the flap that was leftover earlier, I used that to tie my new small object to keep it attached to the form. I also tied a portion of the cylinder so it could be partially stuffed without getting any poly-fil on the inner object. The final step I did was create a spiral with my object and sew some of the different shapes together. 

Overall, I let the creative process take over in the creation of all three of my objects. They each ended up in a different place than I initially intended, but I like my objects more than the initial ideas I thought of. If in the future I want to be exact with the forms I create, I would be more intentional with planning each step prior to beginning my work. 

Improvisation Inflatables – Elisa Pinkowitz

For this improvisation inflatables assignment, I approached each of my inflatables in a different way. I began with an idea in my mind for my first inflatable to see if I could achieve what I expected my inflatable to look like. For my second inflatable I picked one shape cut in different sizes and saw what I would end up with if I attached the pieces in a random pattern. For my third inflatable I decided to cut all my pieces to the same size and shape and see what would happen if I interlocked the pieces in a random way. For each of the inflatables, I decided to work with only two colors to see how the colors worked together when blown up.

Inflatable 1: Beach Ball?

Visual Portfolio, Posts & Image Gallery for WordPress

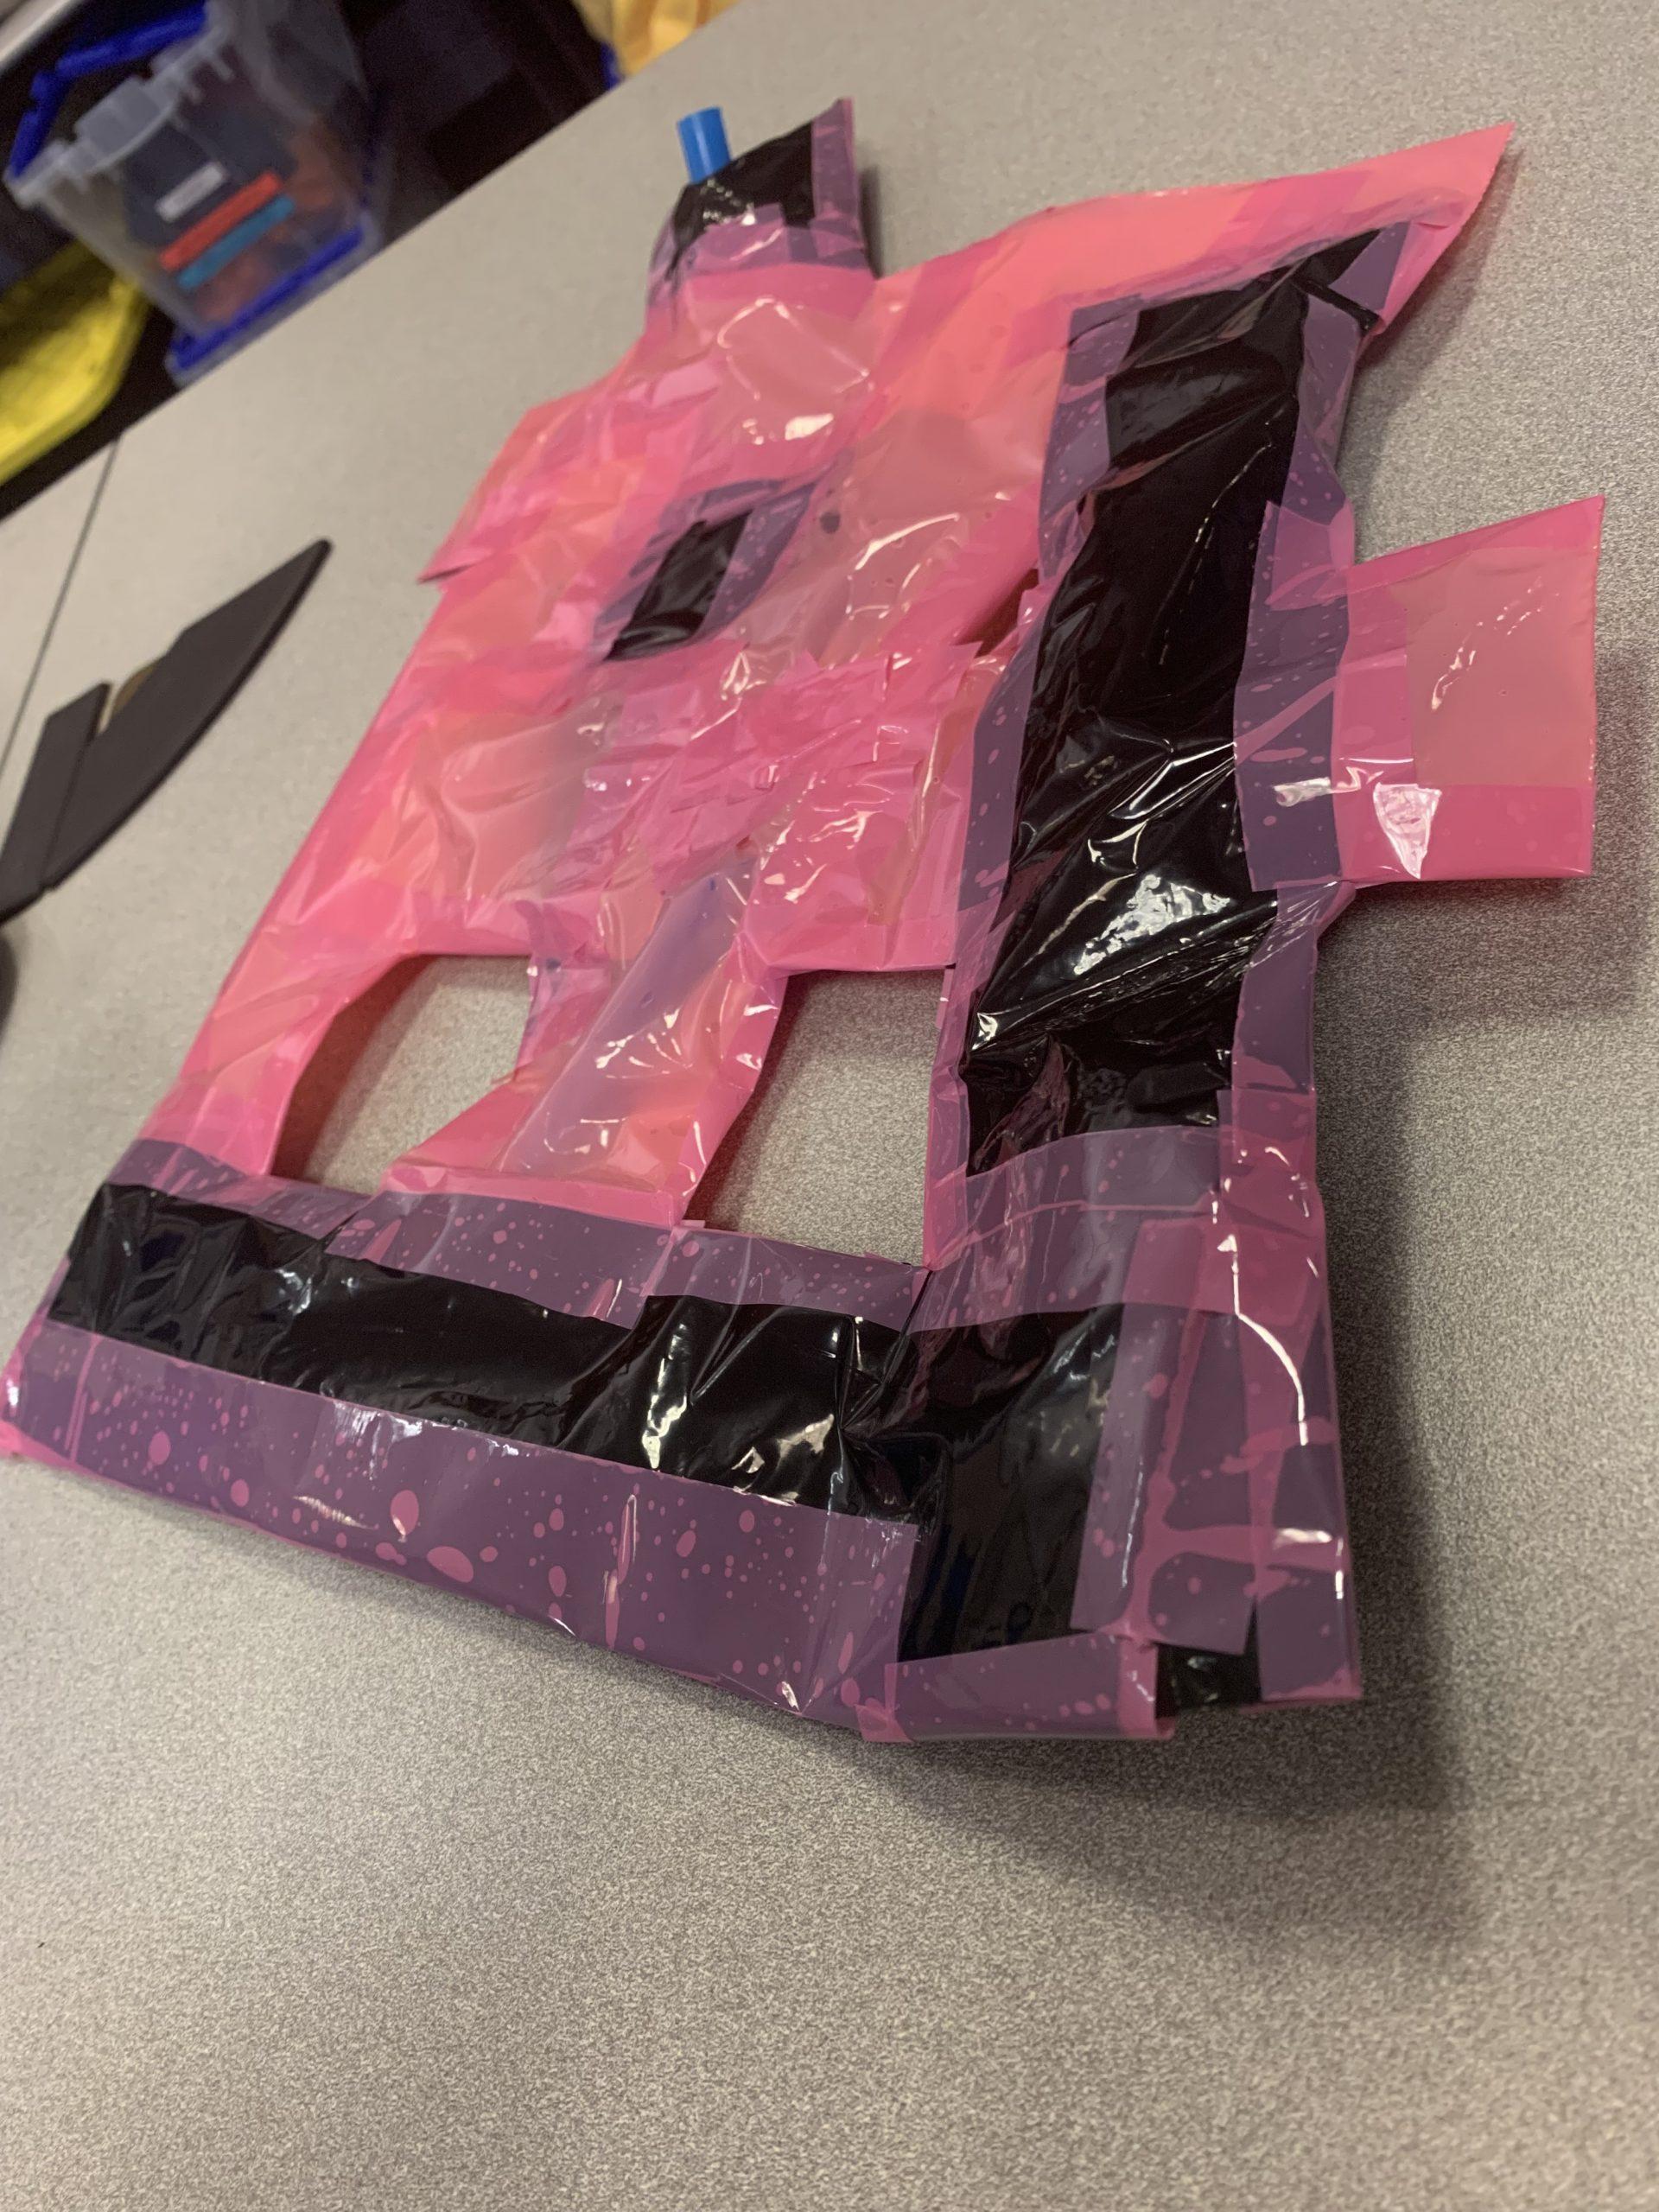
For my first inflatable, I was inspired by a beach ball. I wanted to have a plan for the inflatable to see if my plan came to fruition once I attached all the pieces together. I had six rectangular strips plus two circular pieces to match all the beach balls I have seen. What I discovered is that my circular pieces were too small compared to the rectangular pieces so I ended up more with an ellipsoid than a sphere. I attached the rectangular pieces to the circular ones in a spoked pattern and discovered the difficulty with attaching the rectangular pieces together since they were not lined up end to end. Once everything was attached including the circular pieces at either end, I noticed that my inflatable wouldn’t inflate. Due to the different shapes, the attachment wasn’t perfect and I ended up with small gaps that made it so the inflatable wouldn’t blow up. After some patchwork, it ended up working. I learned to embrace the unknown of the inflatables. While I expected to have a beach ball shape at the end, I’m glad I ended up with an ellipsoid because it embodies the element of surprise that sometimes occurs when an inflatable goes from flat to being blown up. 

Inflatable 2: Triangles

Visual Portfolio, Posts & Image Gallery for WordPress

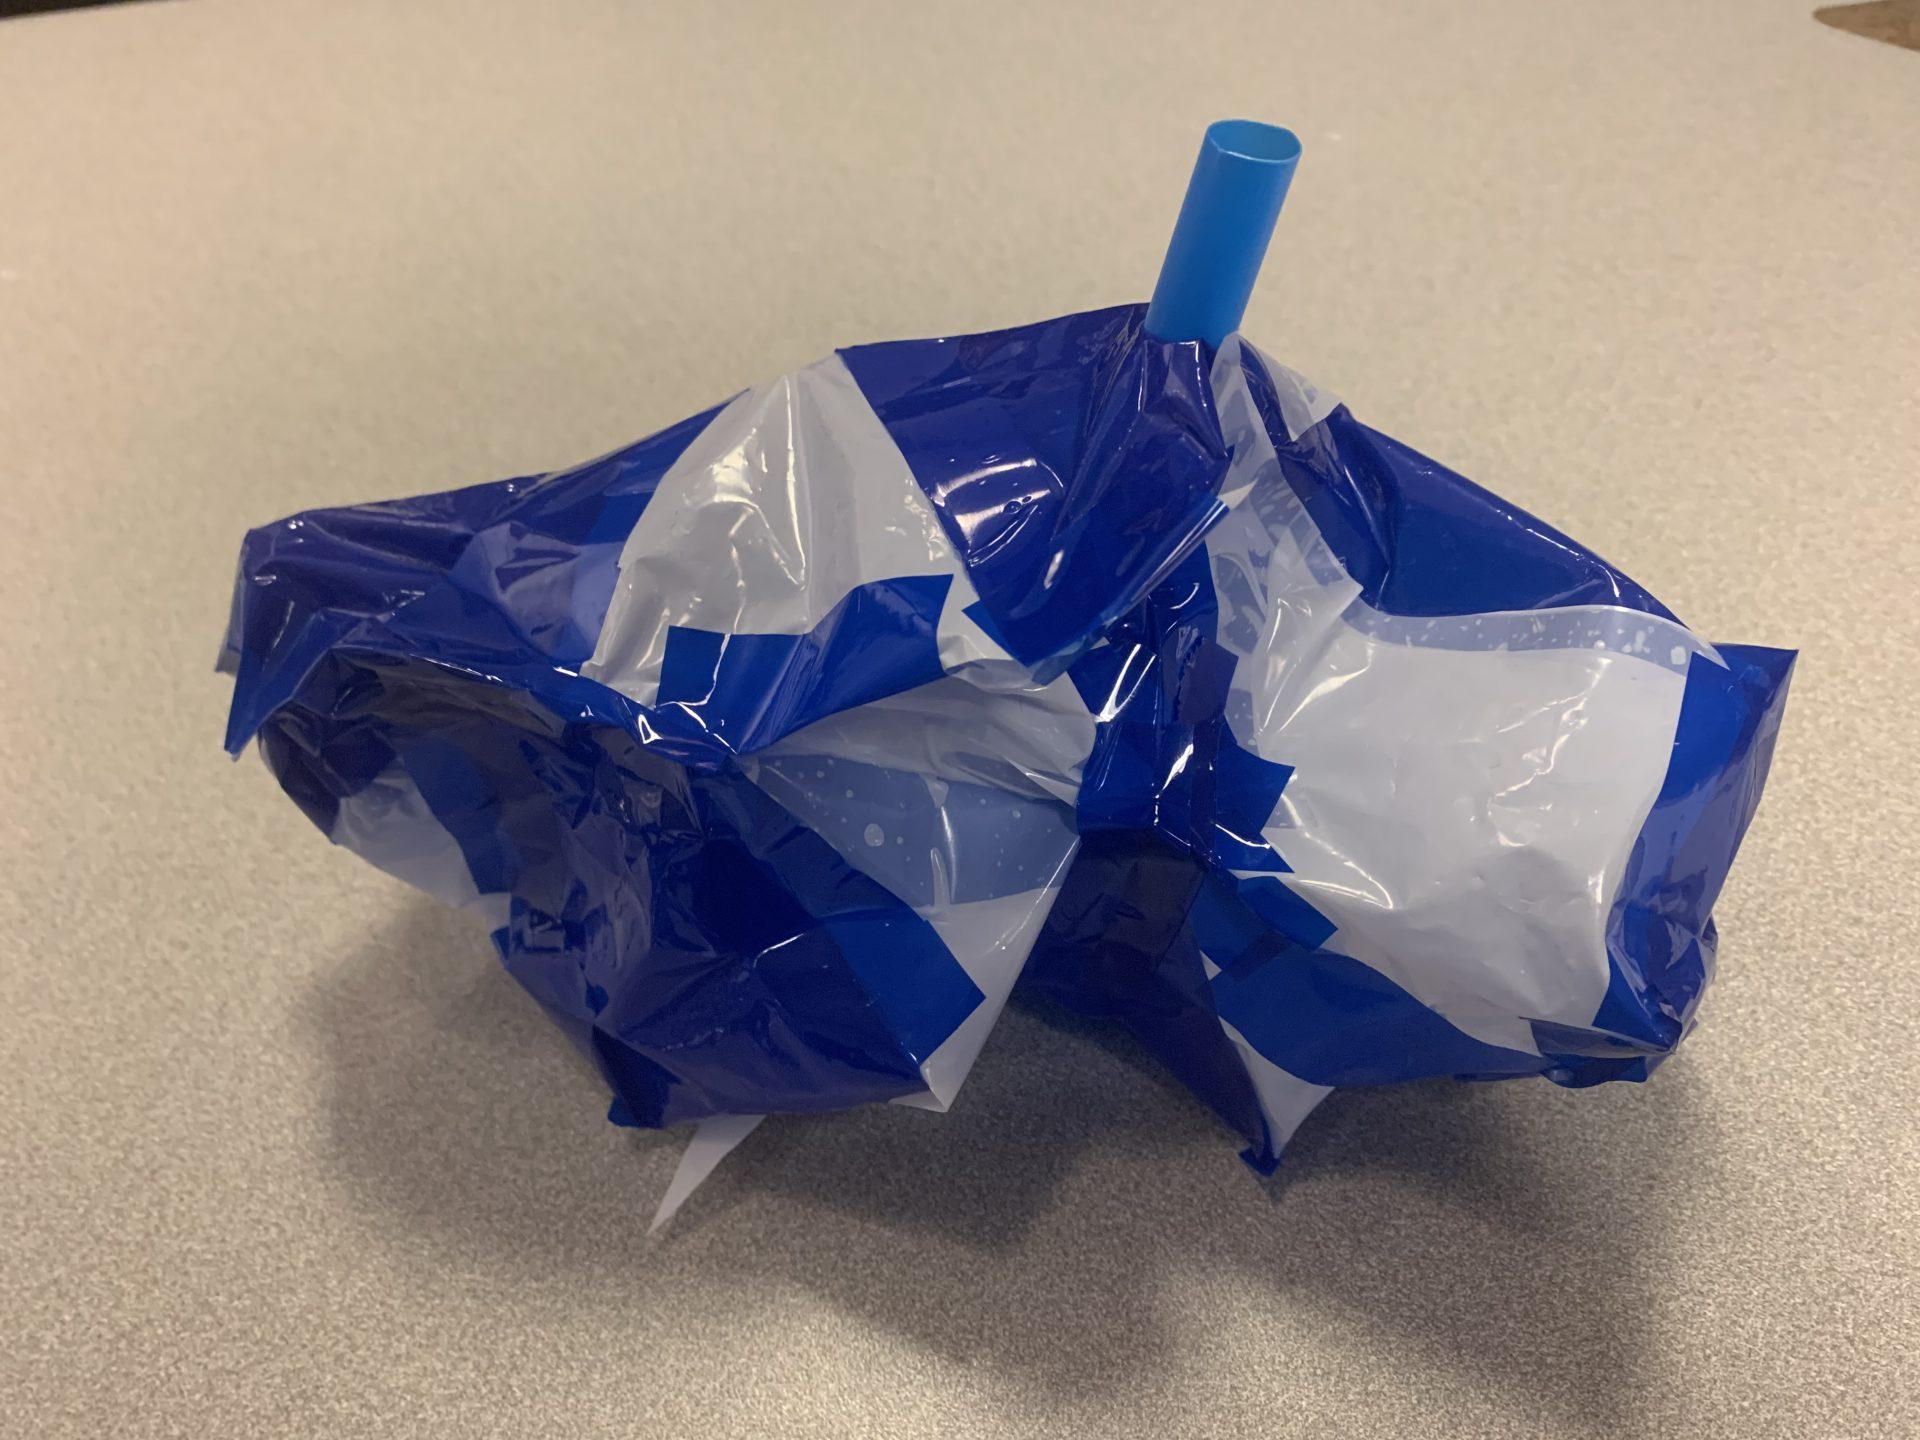
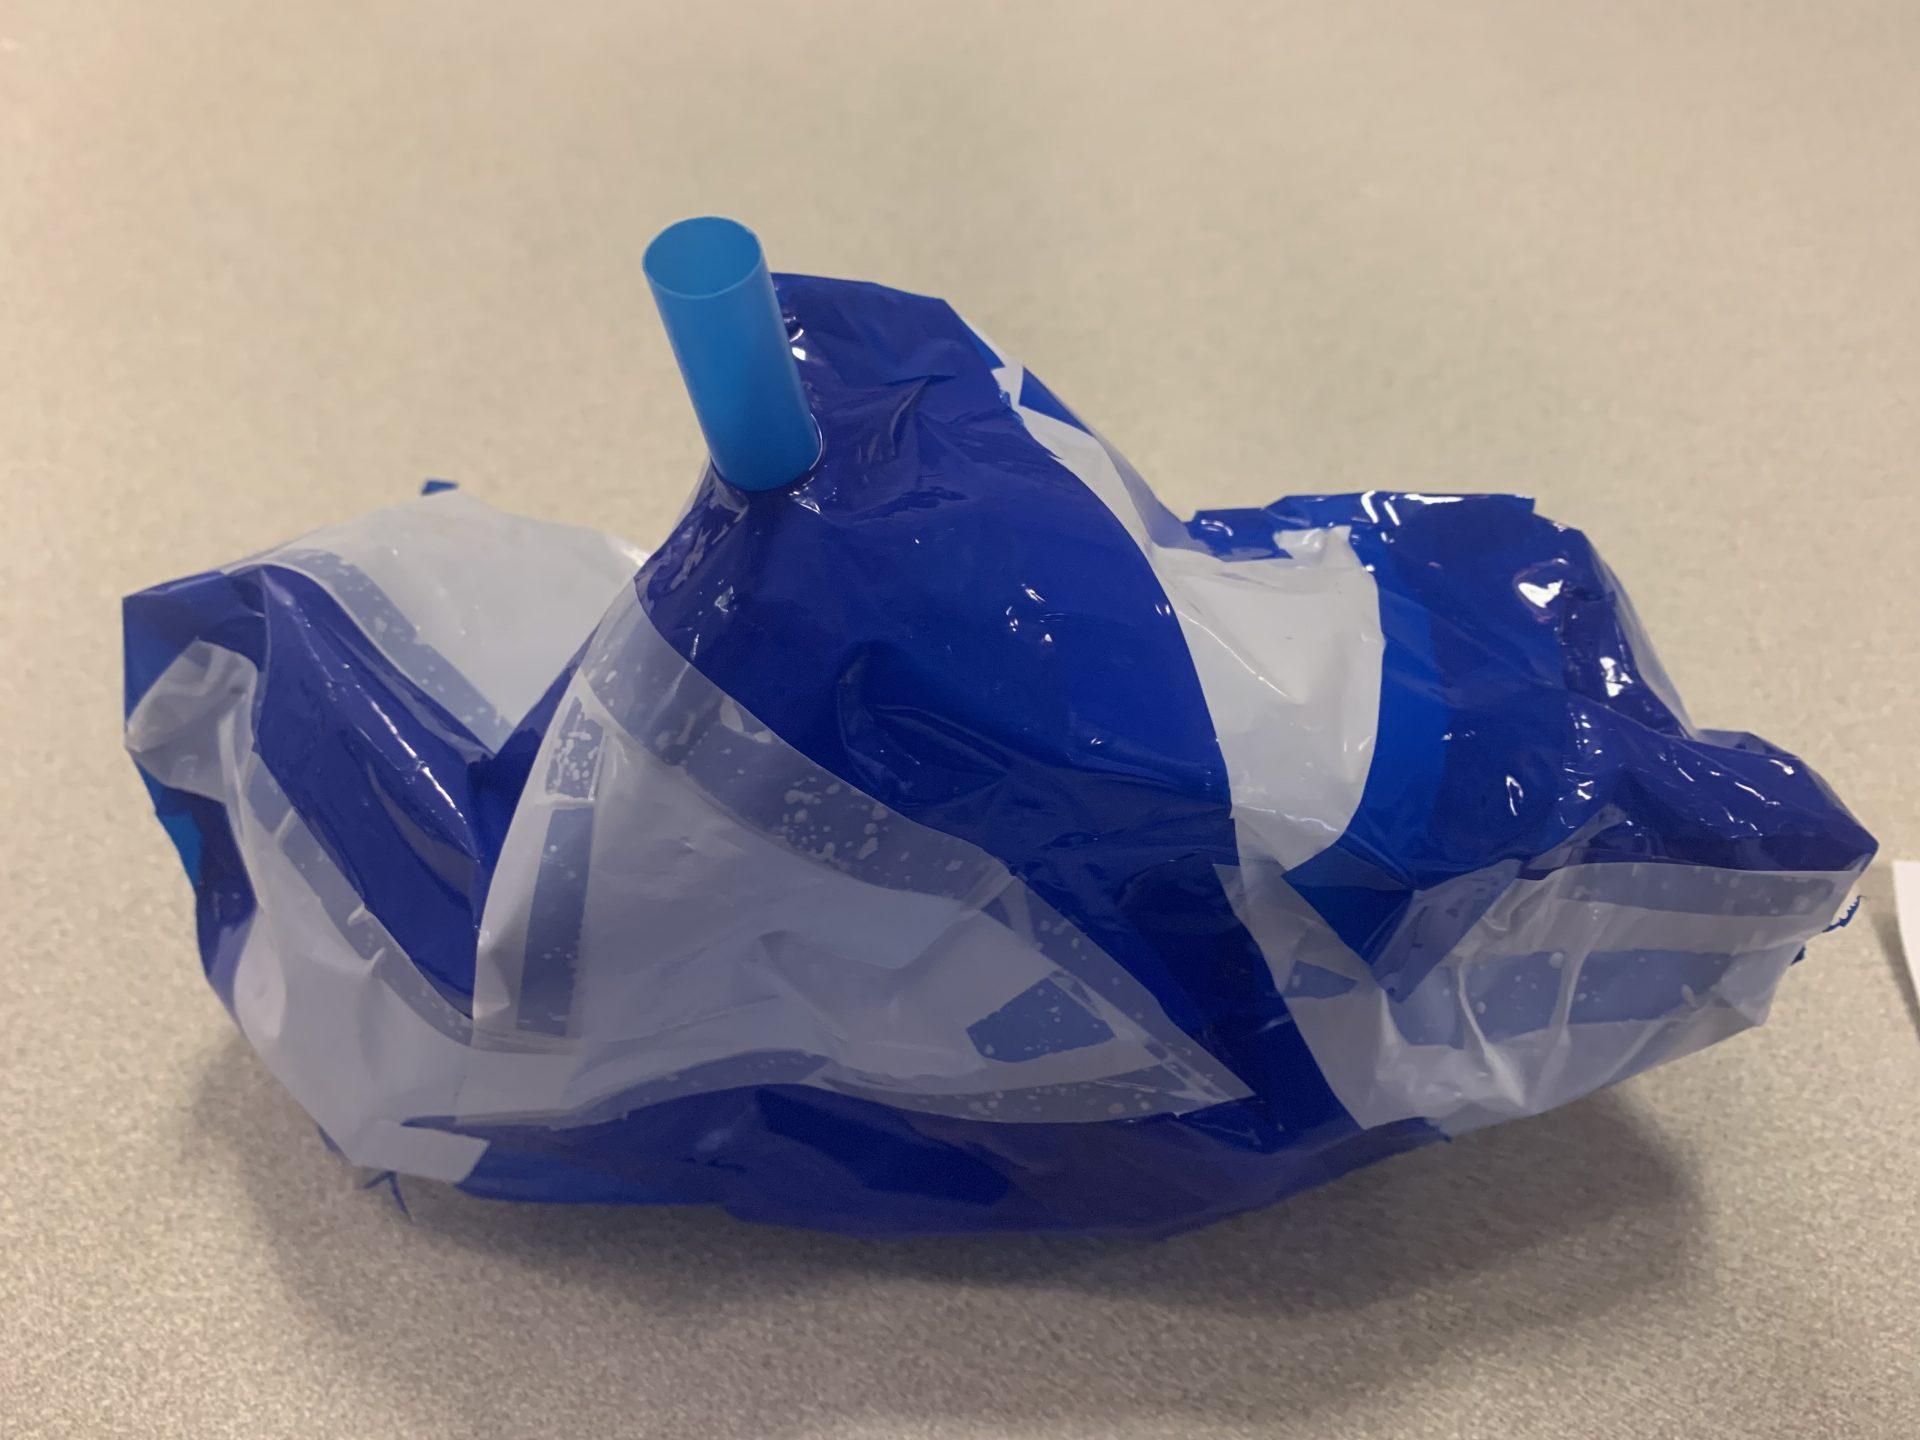
For my second inflatable, I decided to create different sized triangles and attach them together. I started by attaching them flat on the table, and then moved to picking random pieces across from one another to attach together. I never knew where the shape of the object was going and entirely trusted the process on this one. The biggest challenge was after I started making the object three-dimensional, it was hard to avoid gaps when trying to close the inflatable. Once I moved past this obstacle, I was surprised to see an inflatable that somewhat resembles a boat. When the inflatable was flat, I would have never guessed it would end up boat shaped. I believe this is the true beauty of inflatables, they can surprise you at every stage of the process. 

Inflatable 3: Weaving

Visual Portfolio, Posts & Image Gallery for WordPress

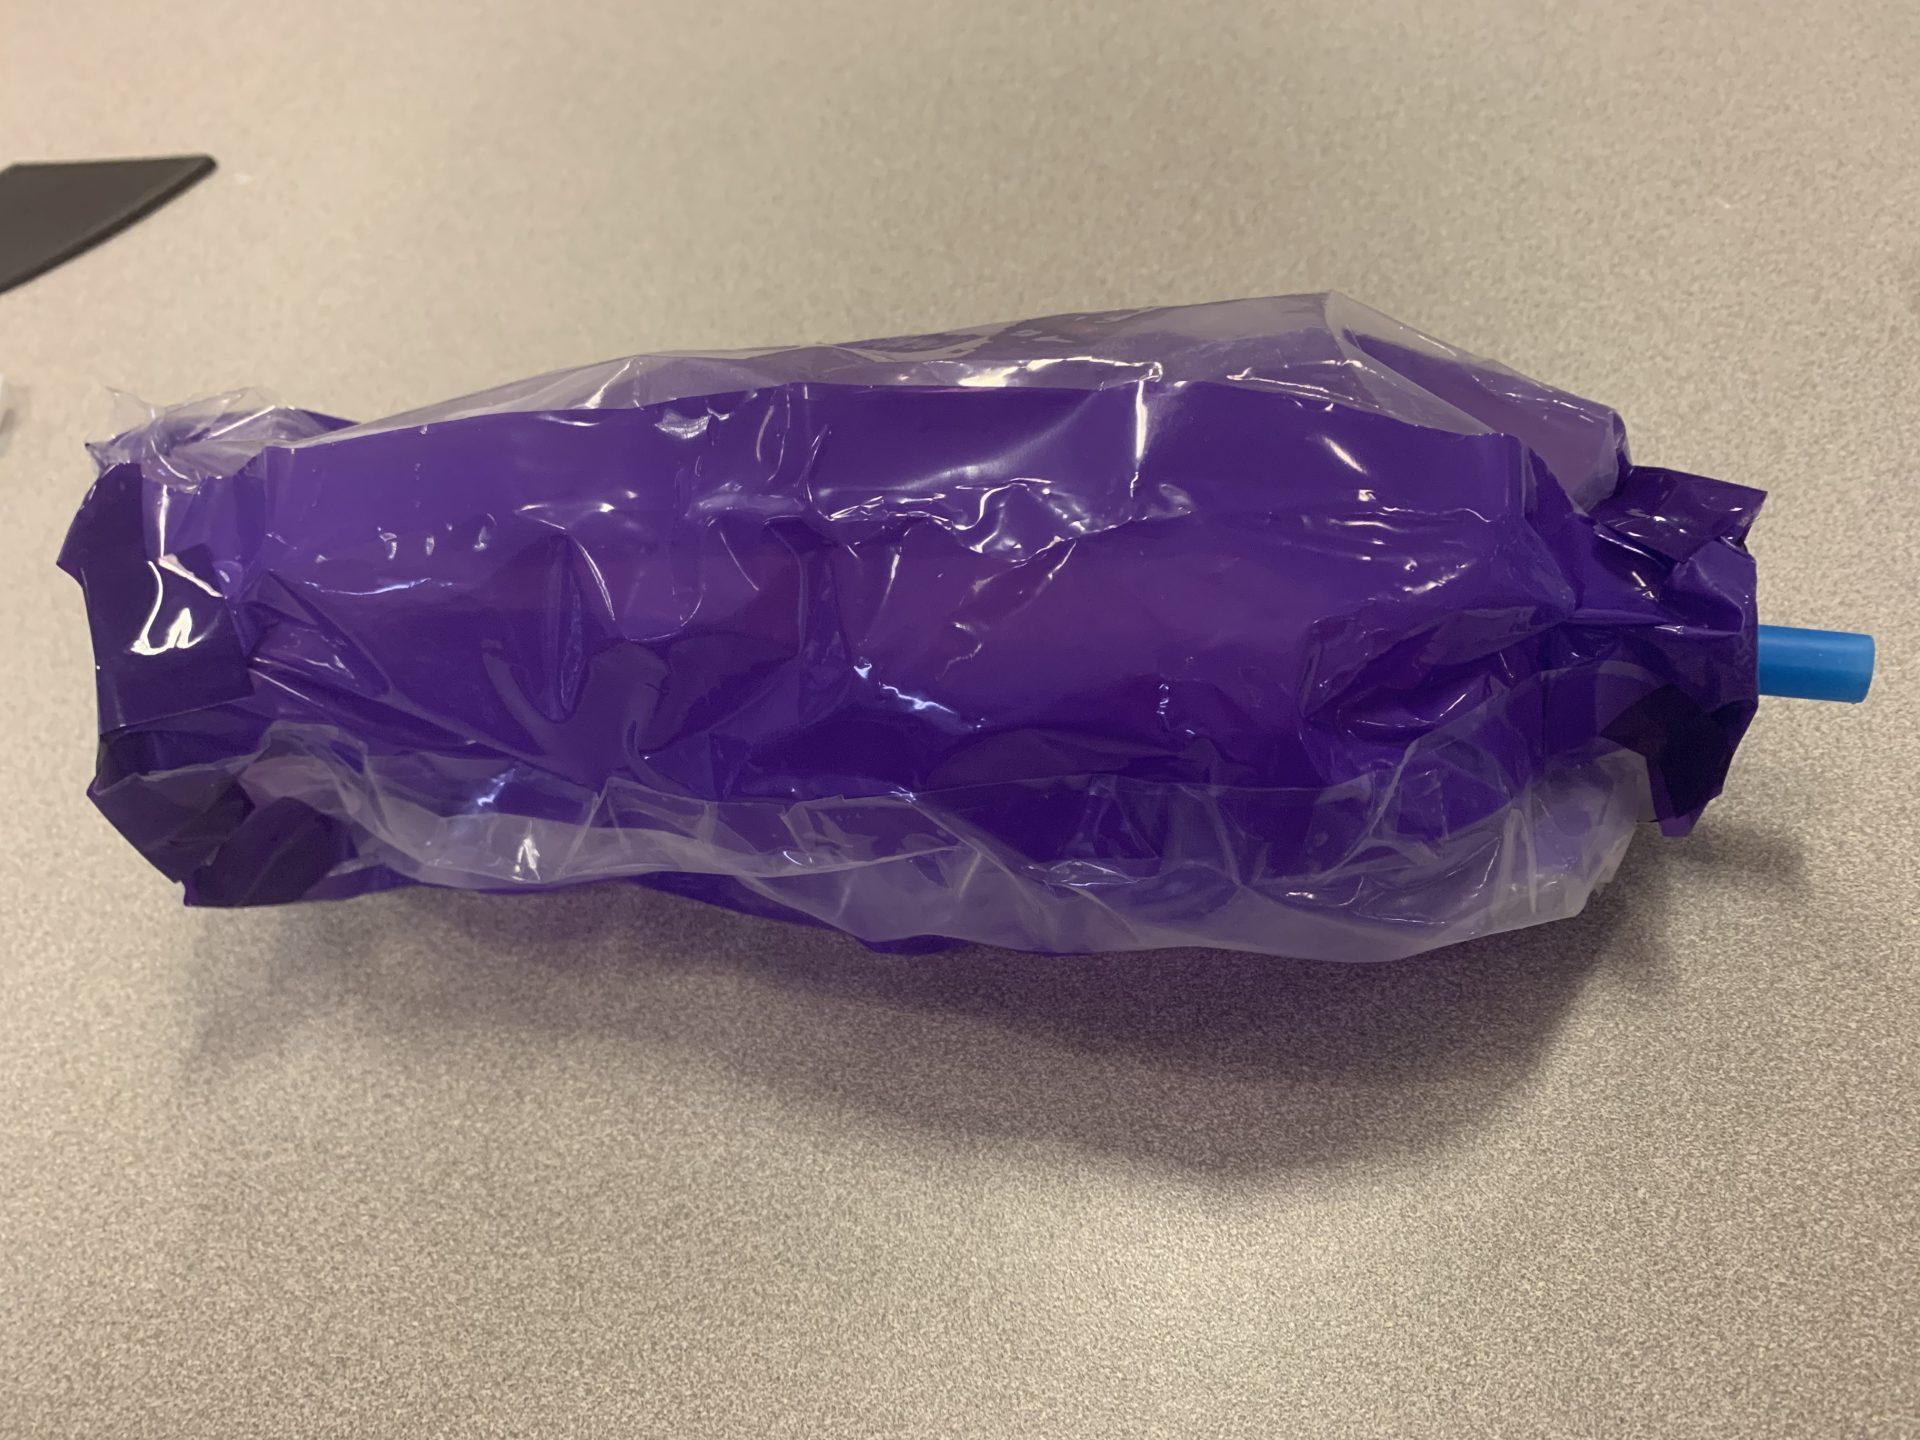
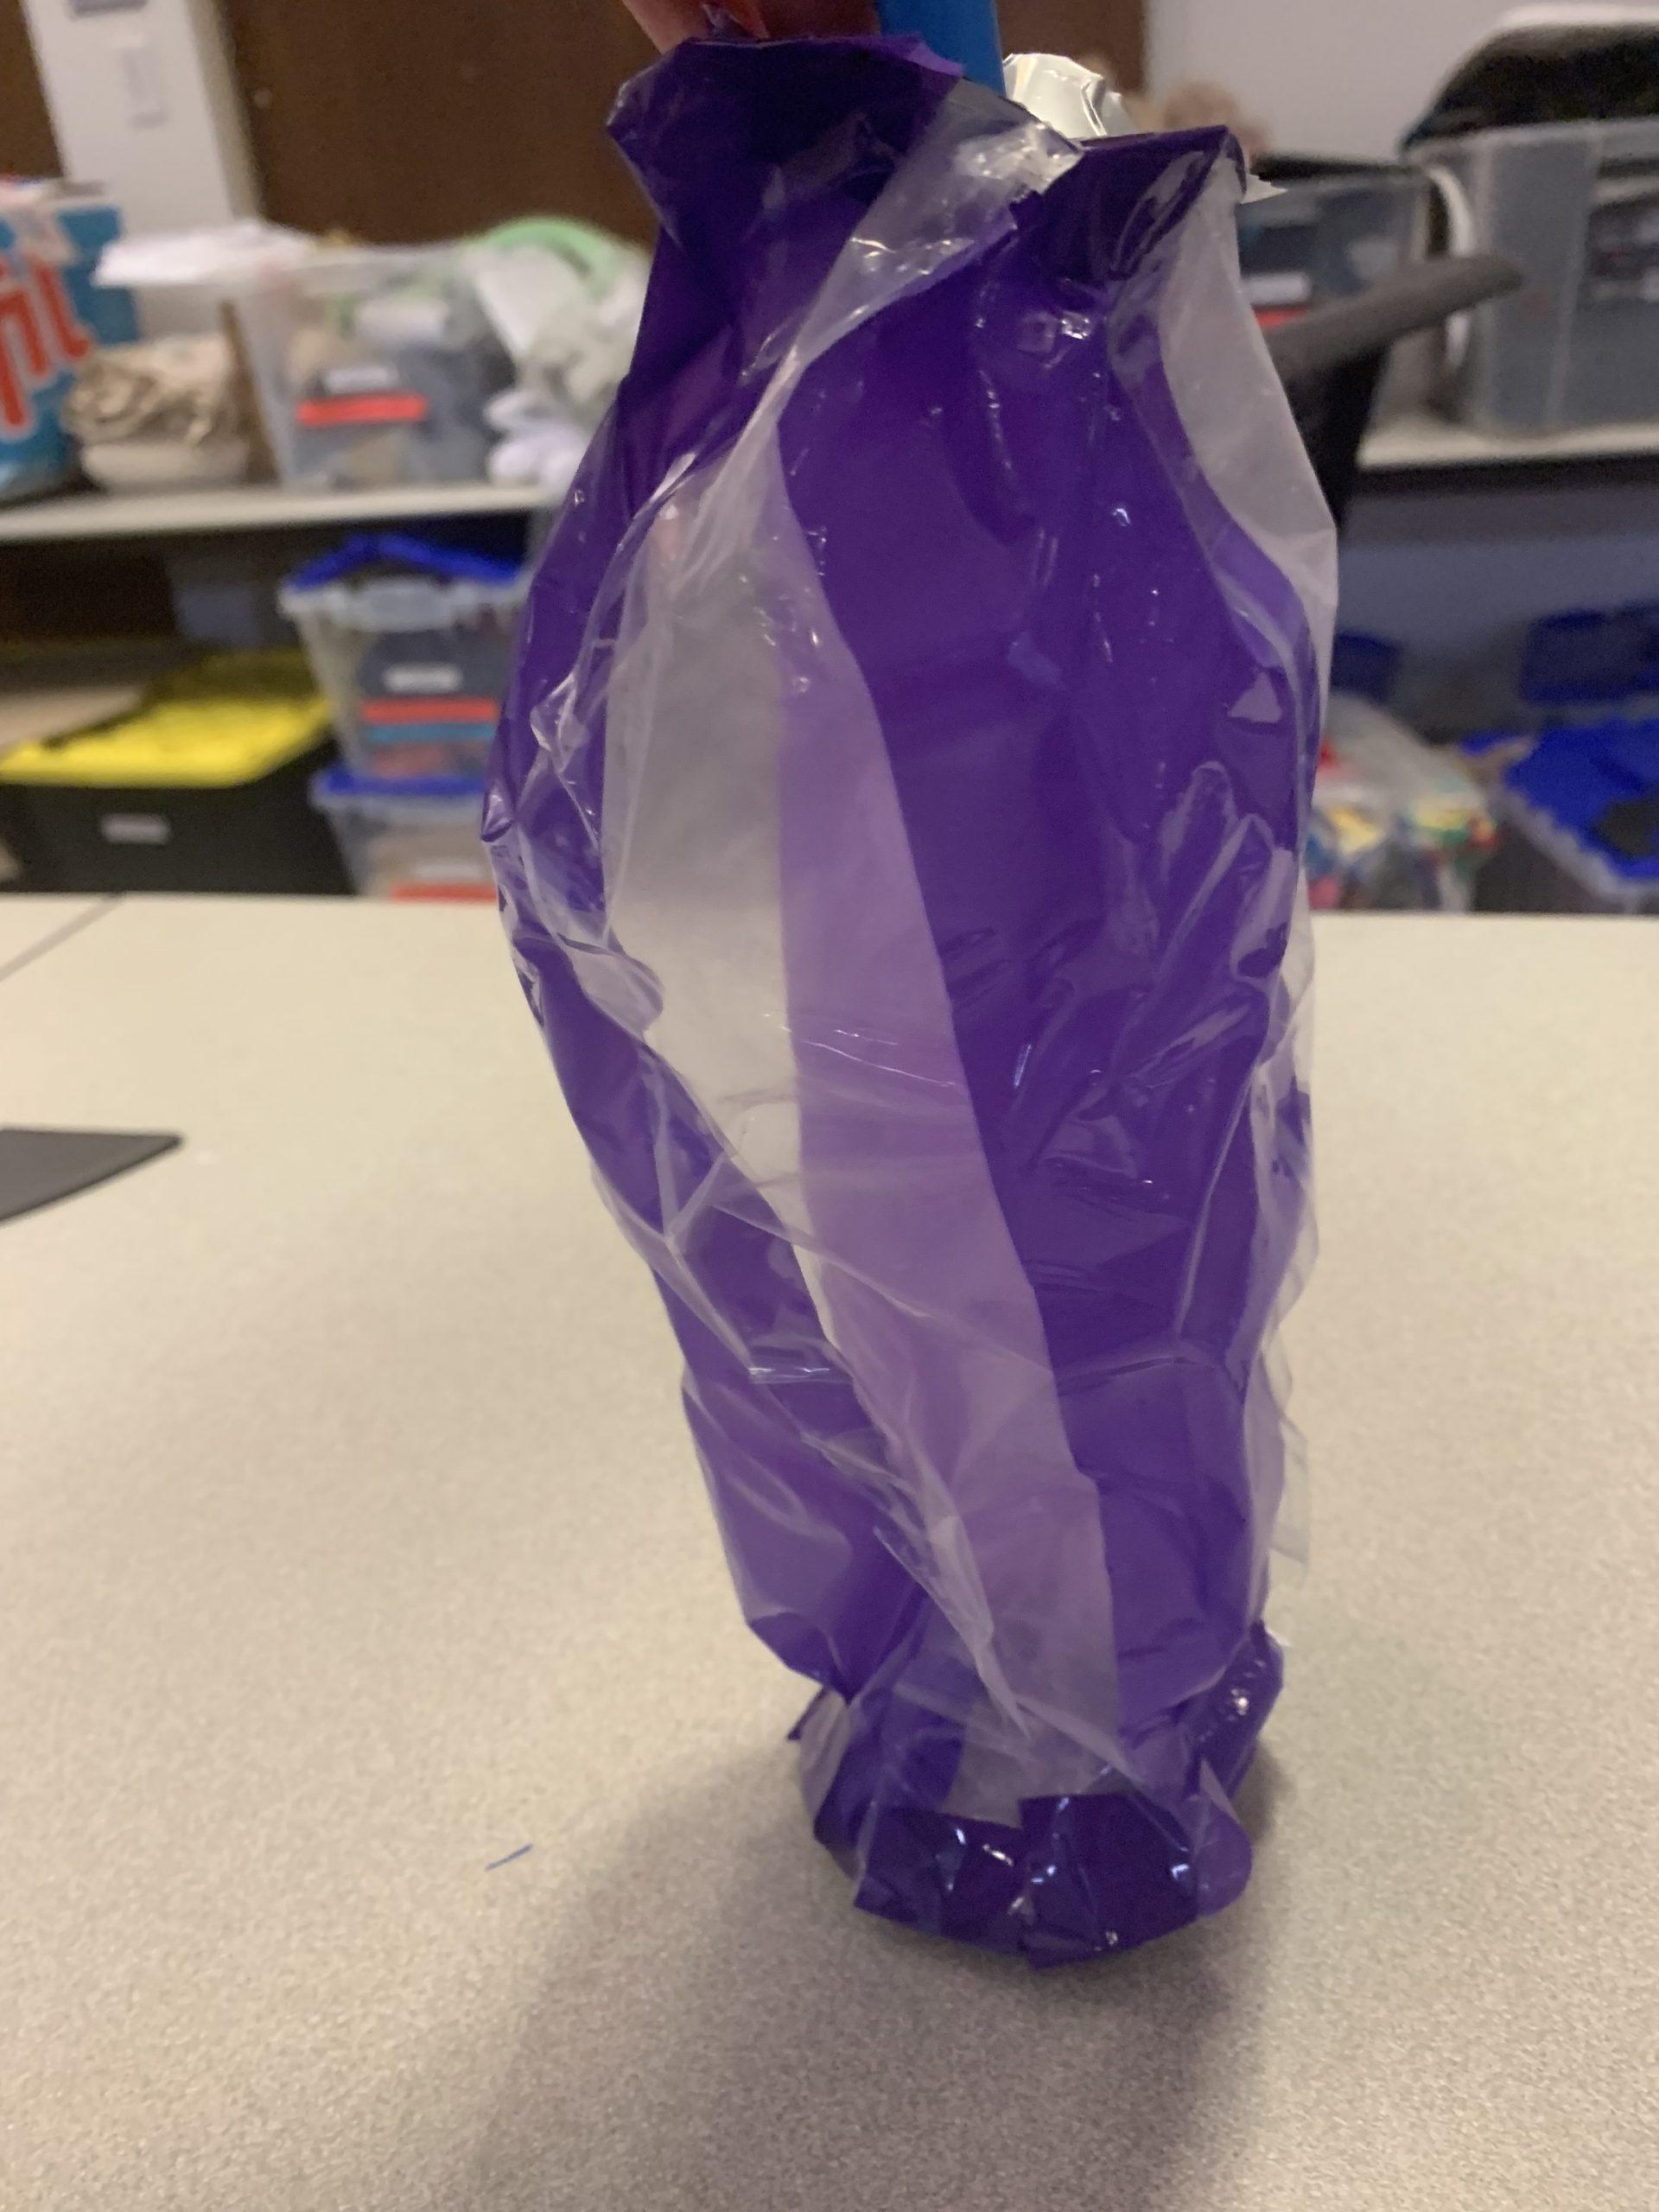
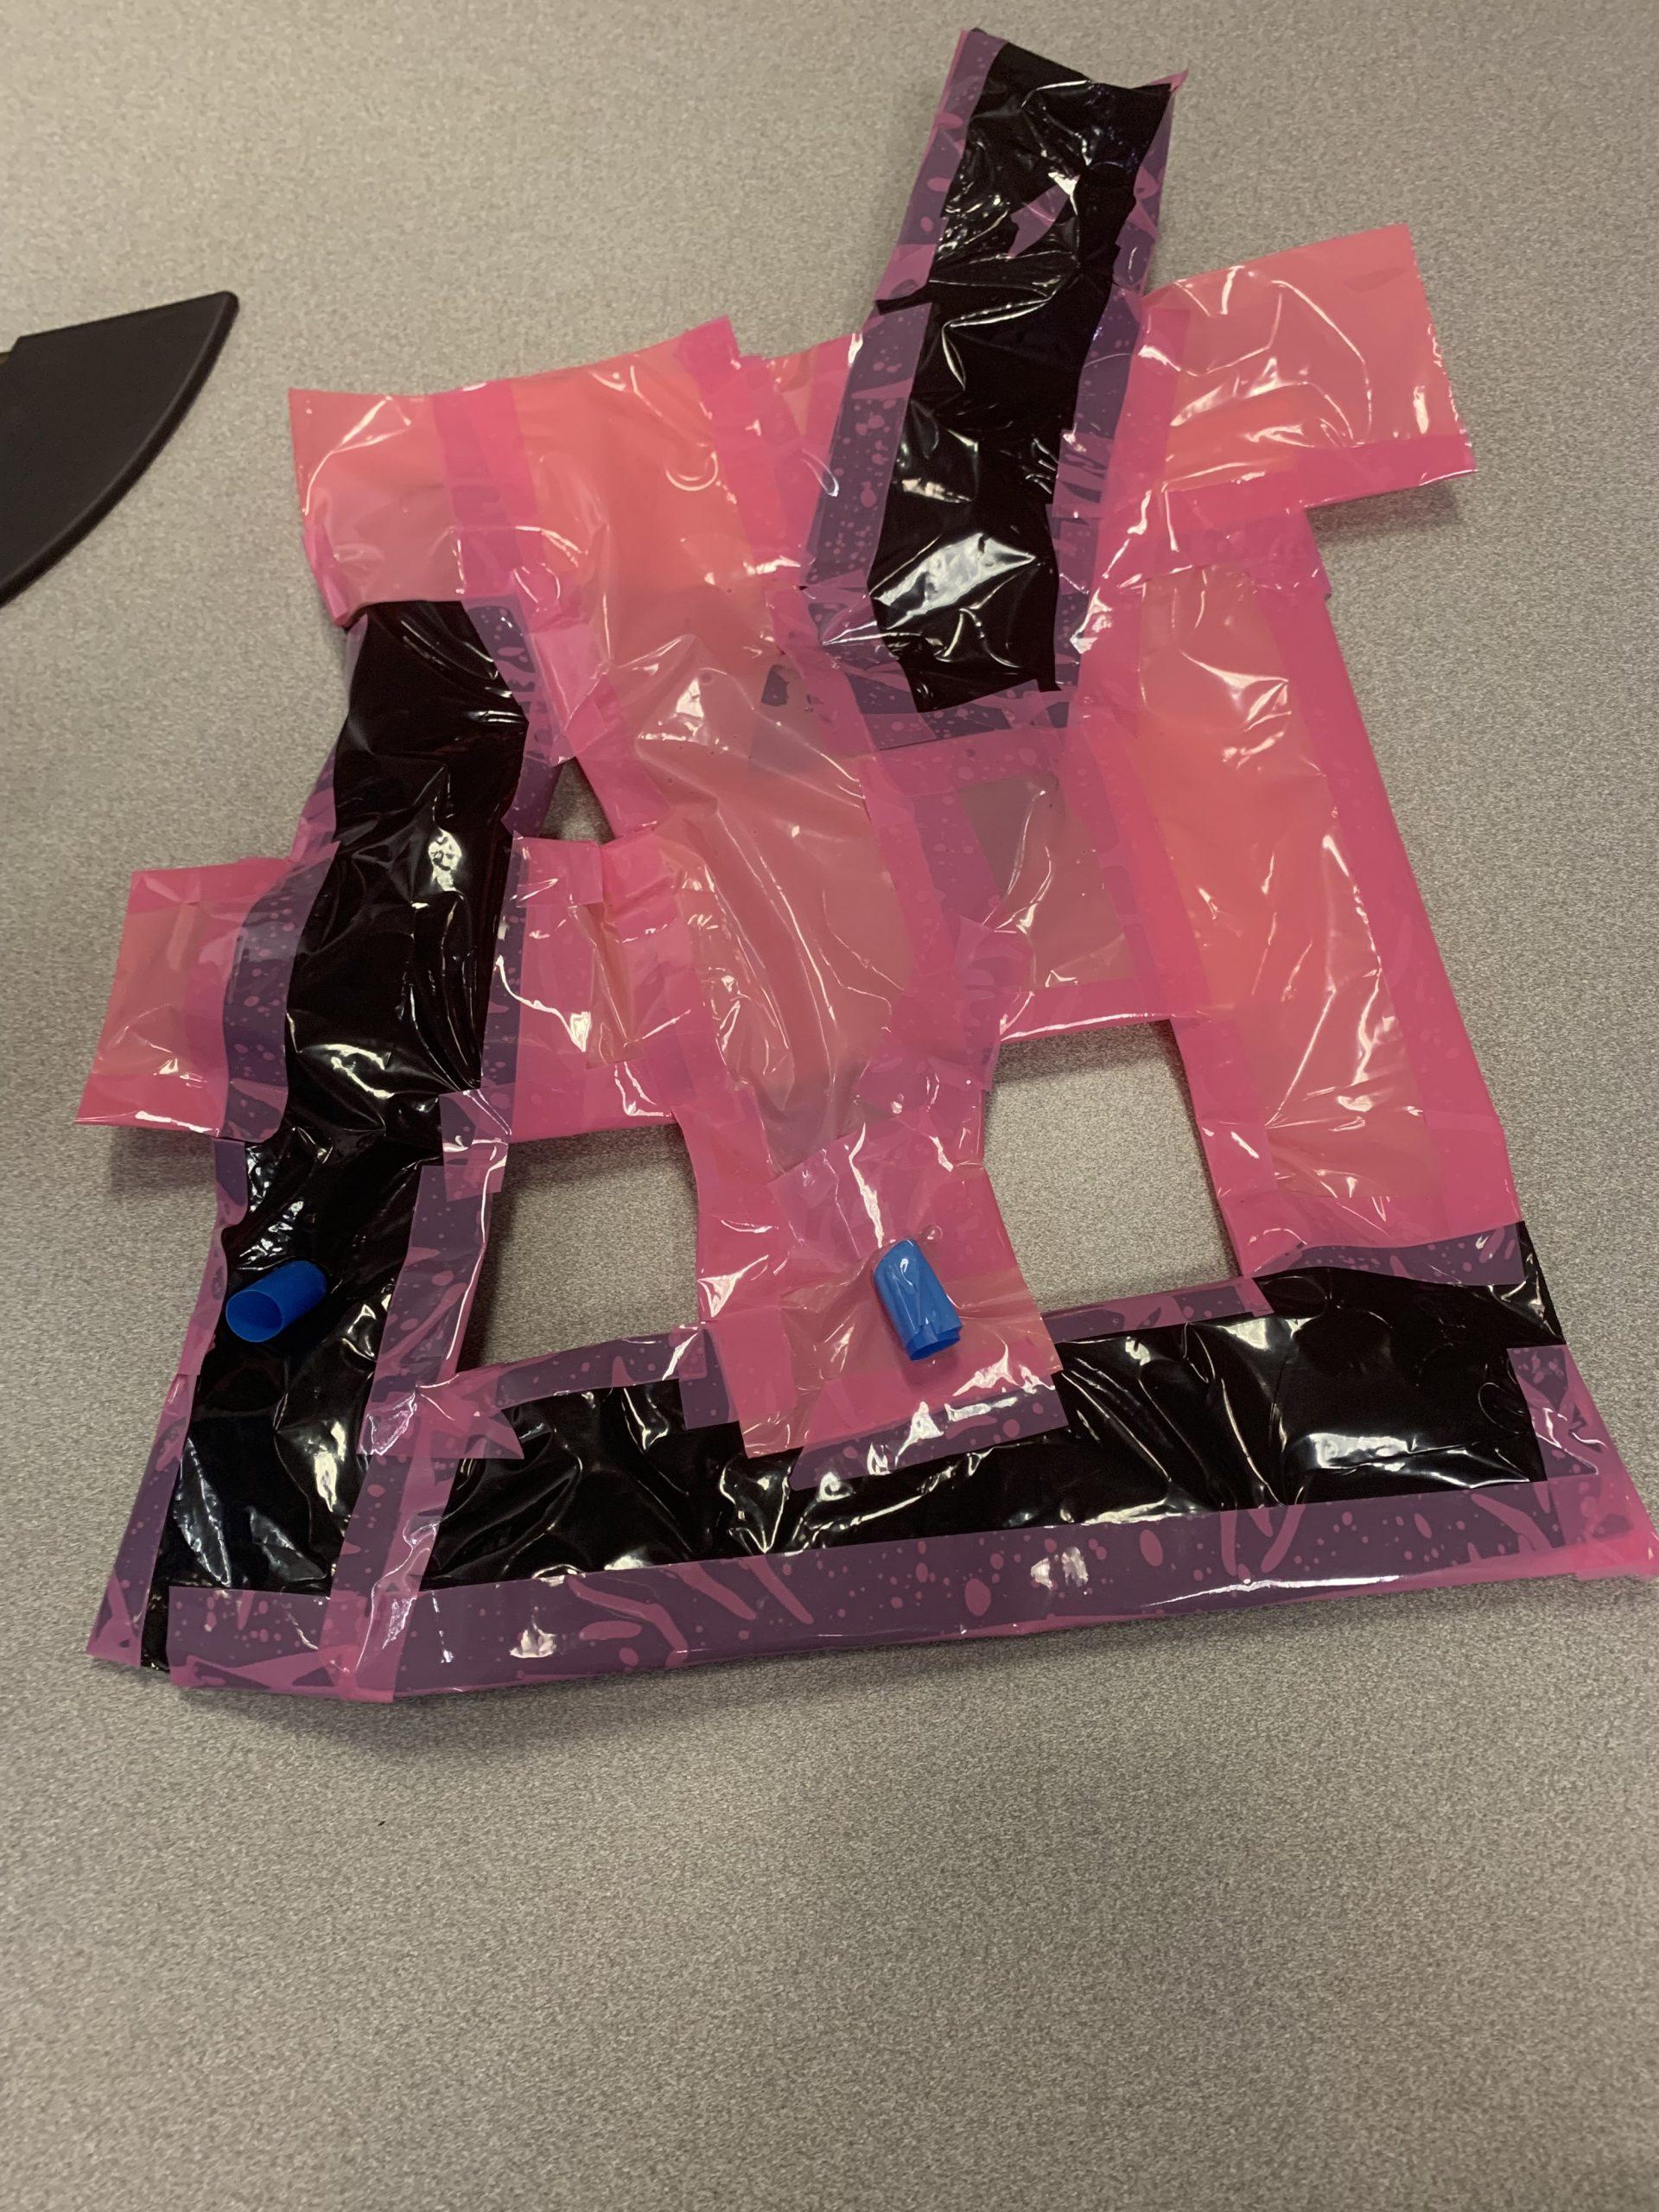
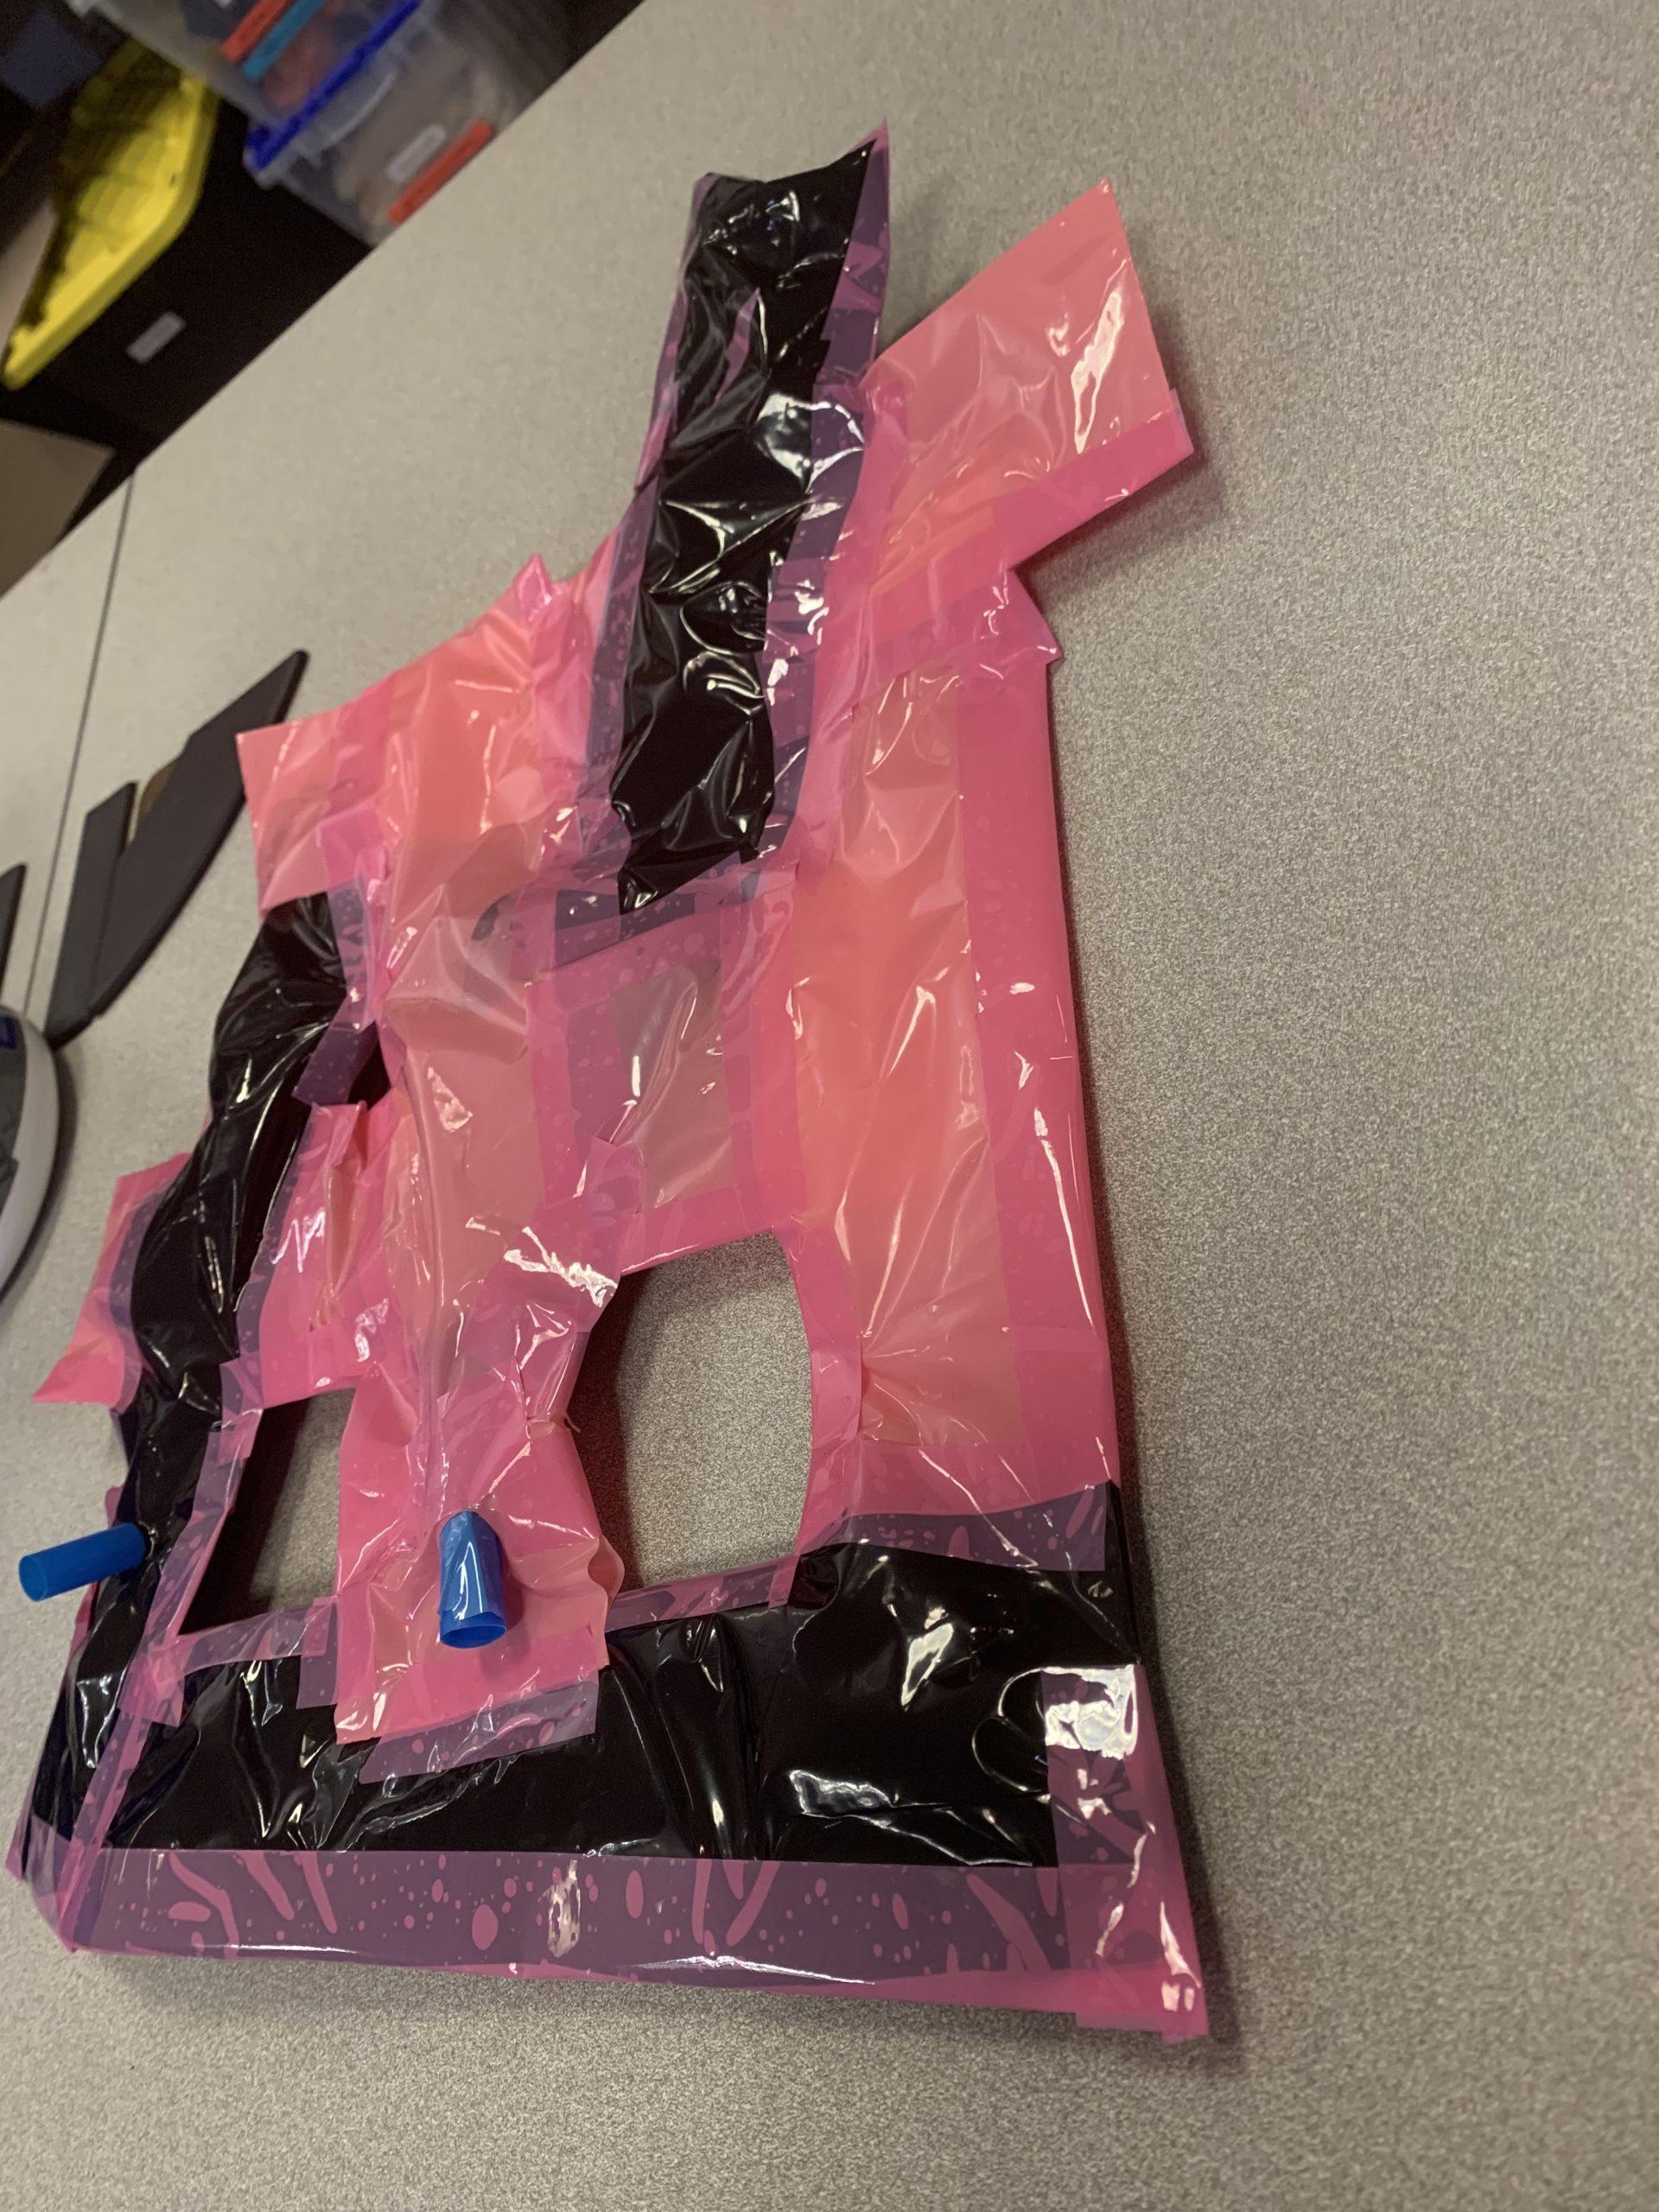
For my final inflatable, I cut multiple same sized rectangular strips. My idea here was to weave the rectangular stips through one another to see how it would affect the entirety of the inflatable. My hypothesis was the inflatable would blow up in multiple sections instead of all at once. The first challenge I hit in this was ensuring the inside of the inflatable was open between sections so the entirety of it could be blown up. On the contrary, I also had to locate every small spot on the outside to make sure there were no holes to let air escape. The next challenge was actually blowing up the inflatable. To get the entire thing to inflate would use a lot more air than my human lungs could provide. To mitigate this, I added multiple straws and blew up the inflatable from multiple different sides. In the end, I watched as a straw in one section ended up also blowing up other sections. Until it actually was blown up, I was unsure if this weaving pattern would actually work or if I would accidentally be blocking off areas from being blown up. 

Overall, I feel each of these inflatables showcased my creativity in different ways. I was able to explore different techniques to create three distinctly different and unique inflatables. 

Sewing Samples:

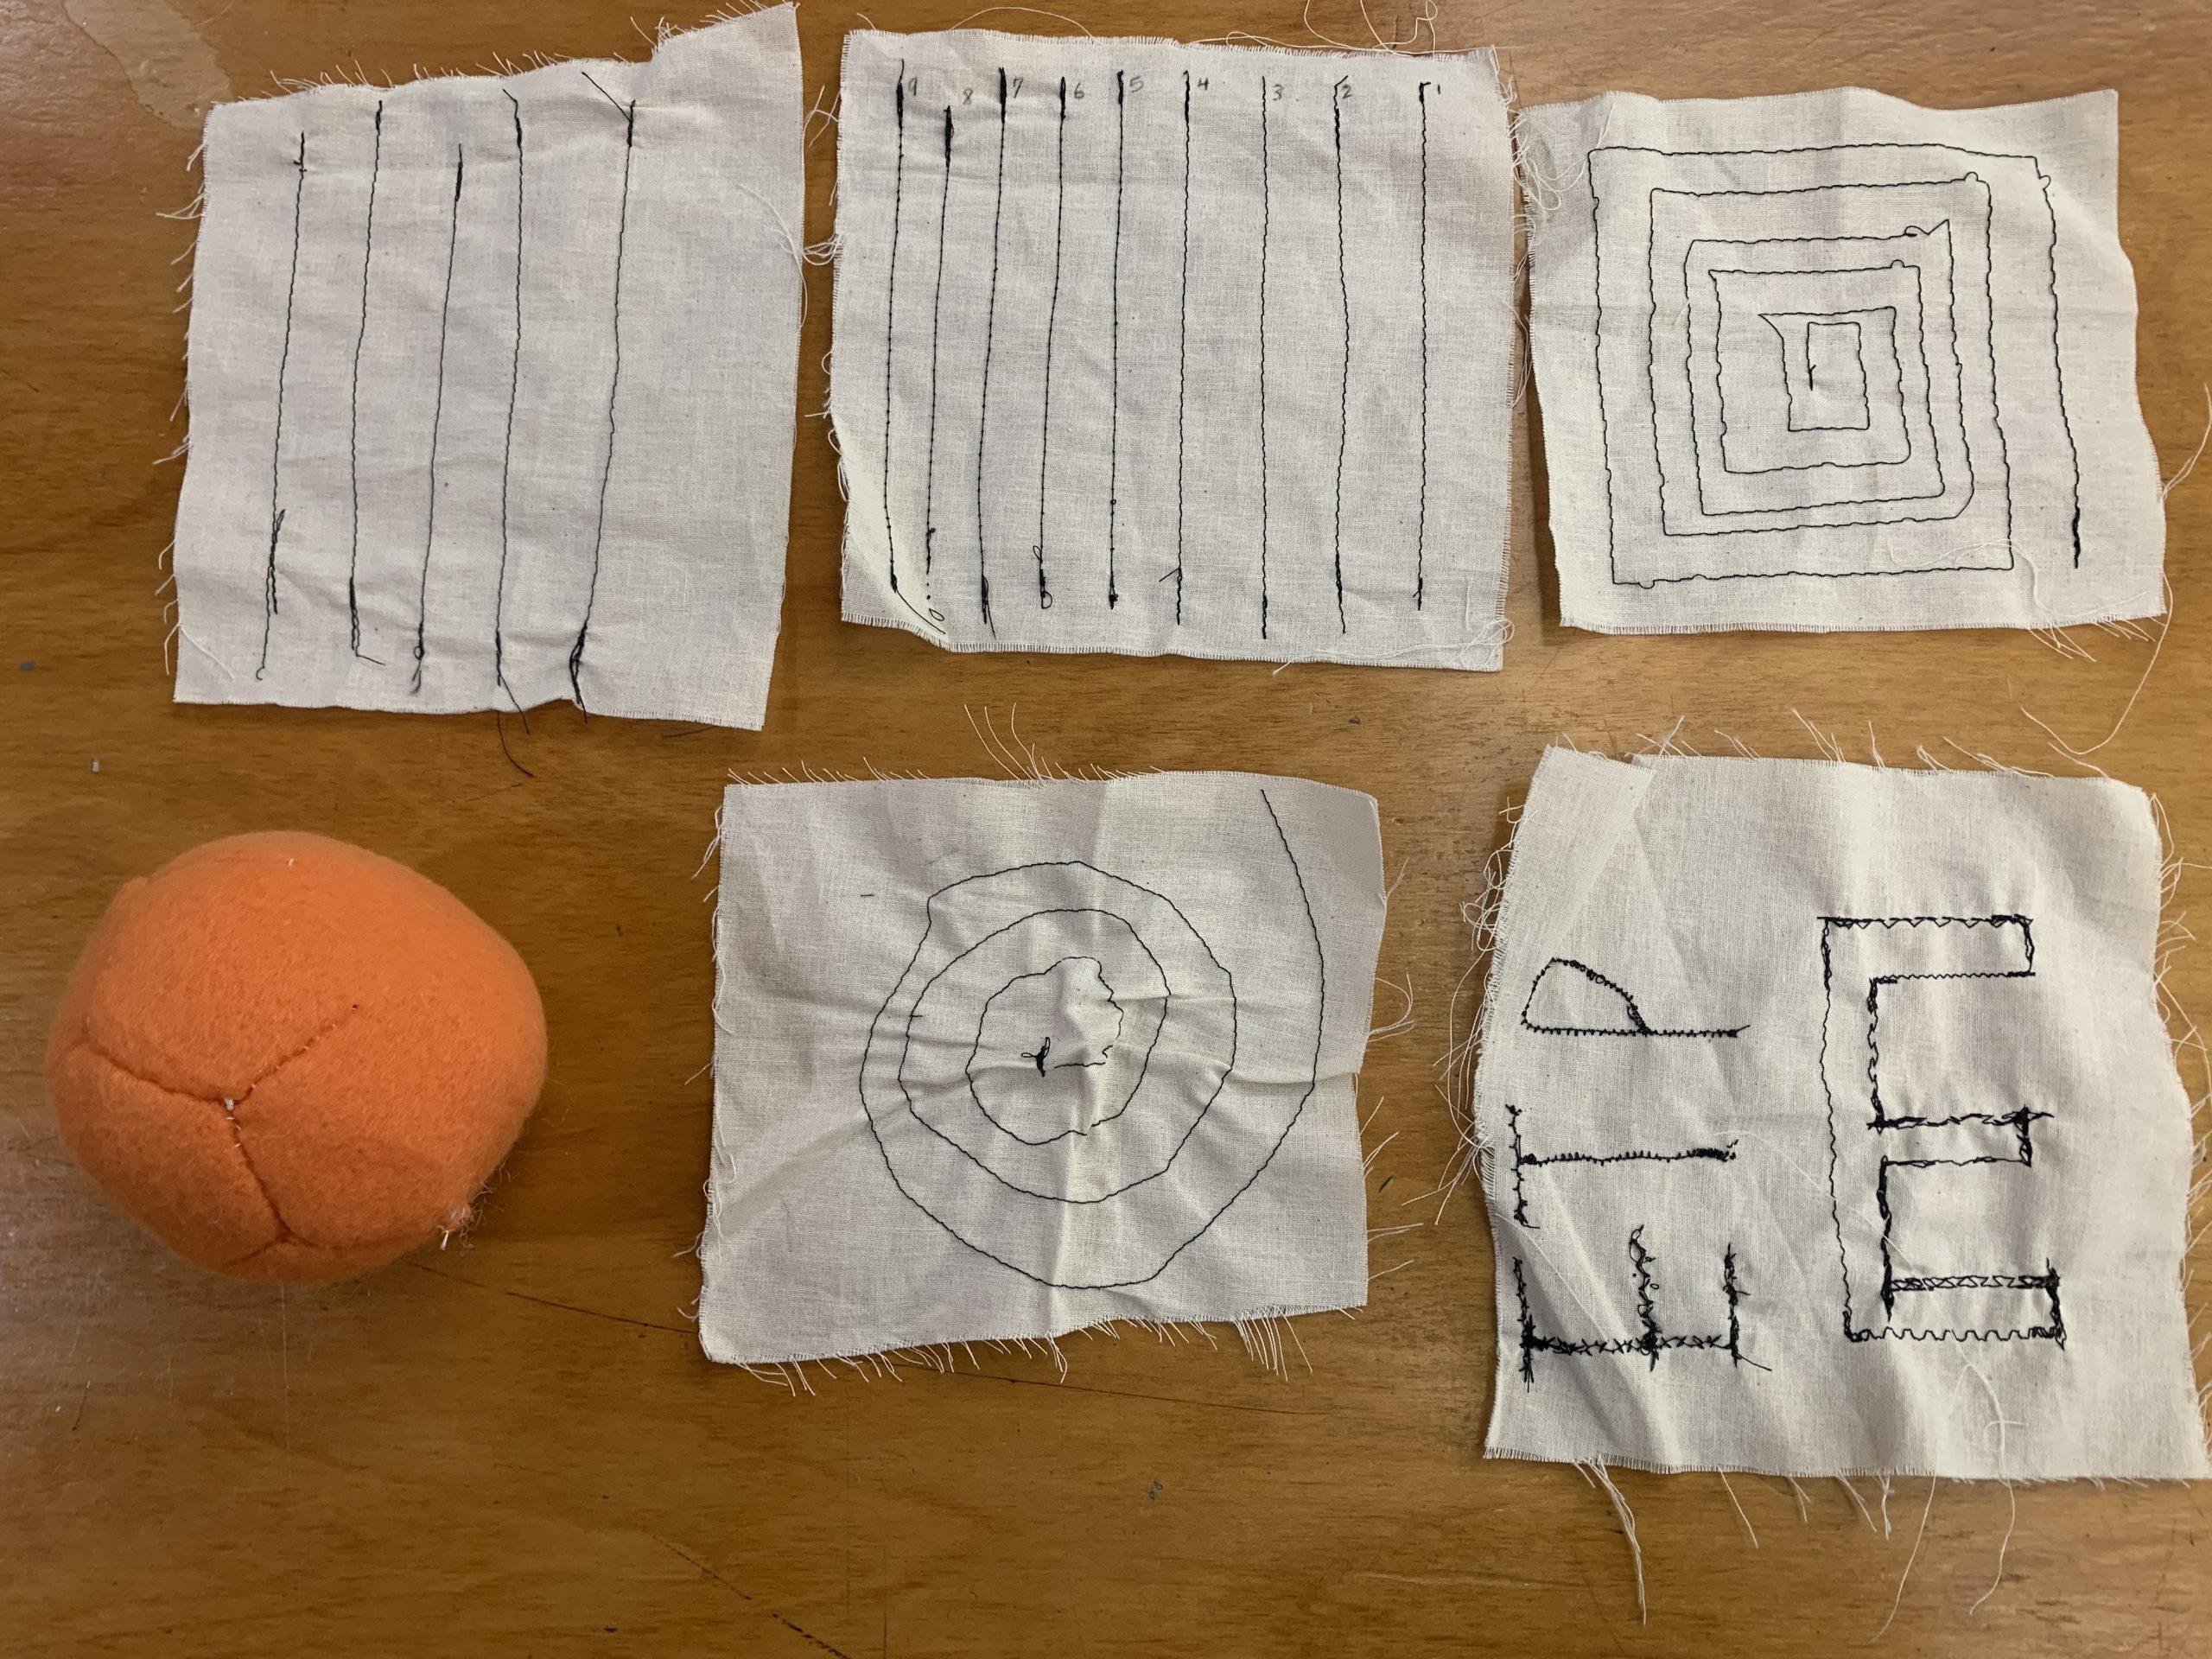
6 Sewing Samples: Straight Stitch, Tension Test, Square Spiral, Orange Ball, Spiral, Initials