In each of my push/pull explorations I ended up somewhere different than I initially planned. Instead of restarting any of my objects I decided to let my creativity run free and change my ideas as my object changed. I knew my best work would be done when I let the objects speak for themselves instead of trying to force a specific thing to form.
Object 1 – Bow
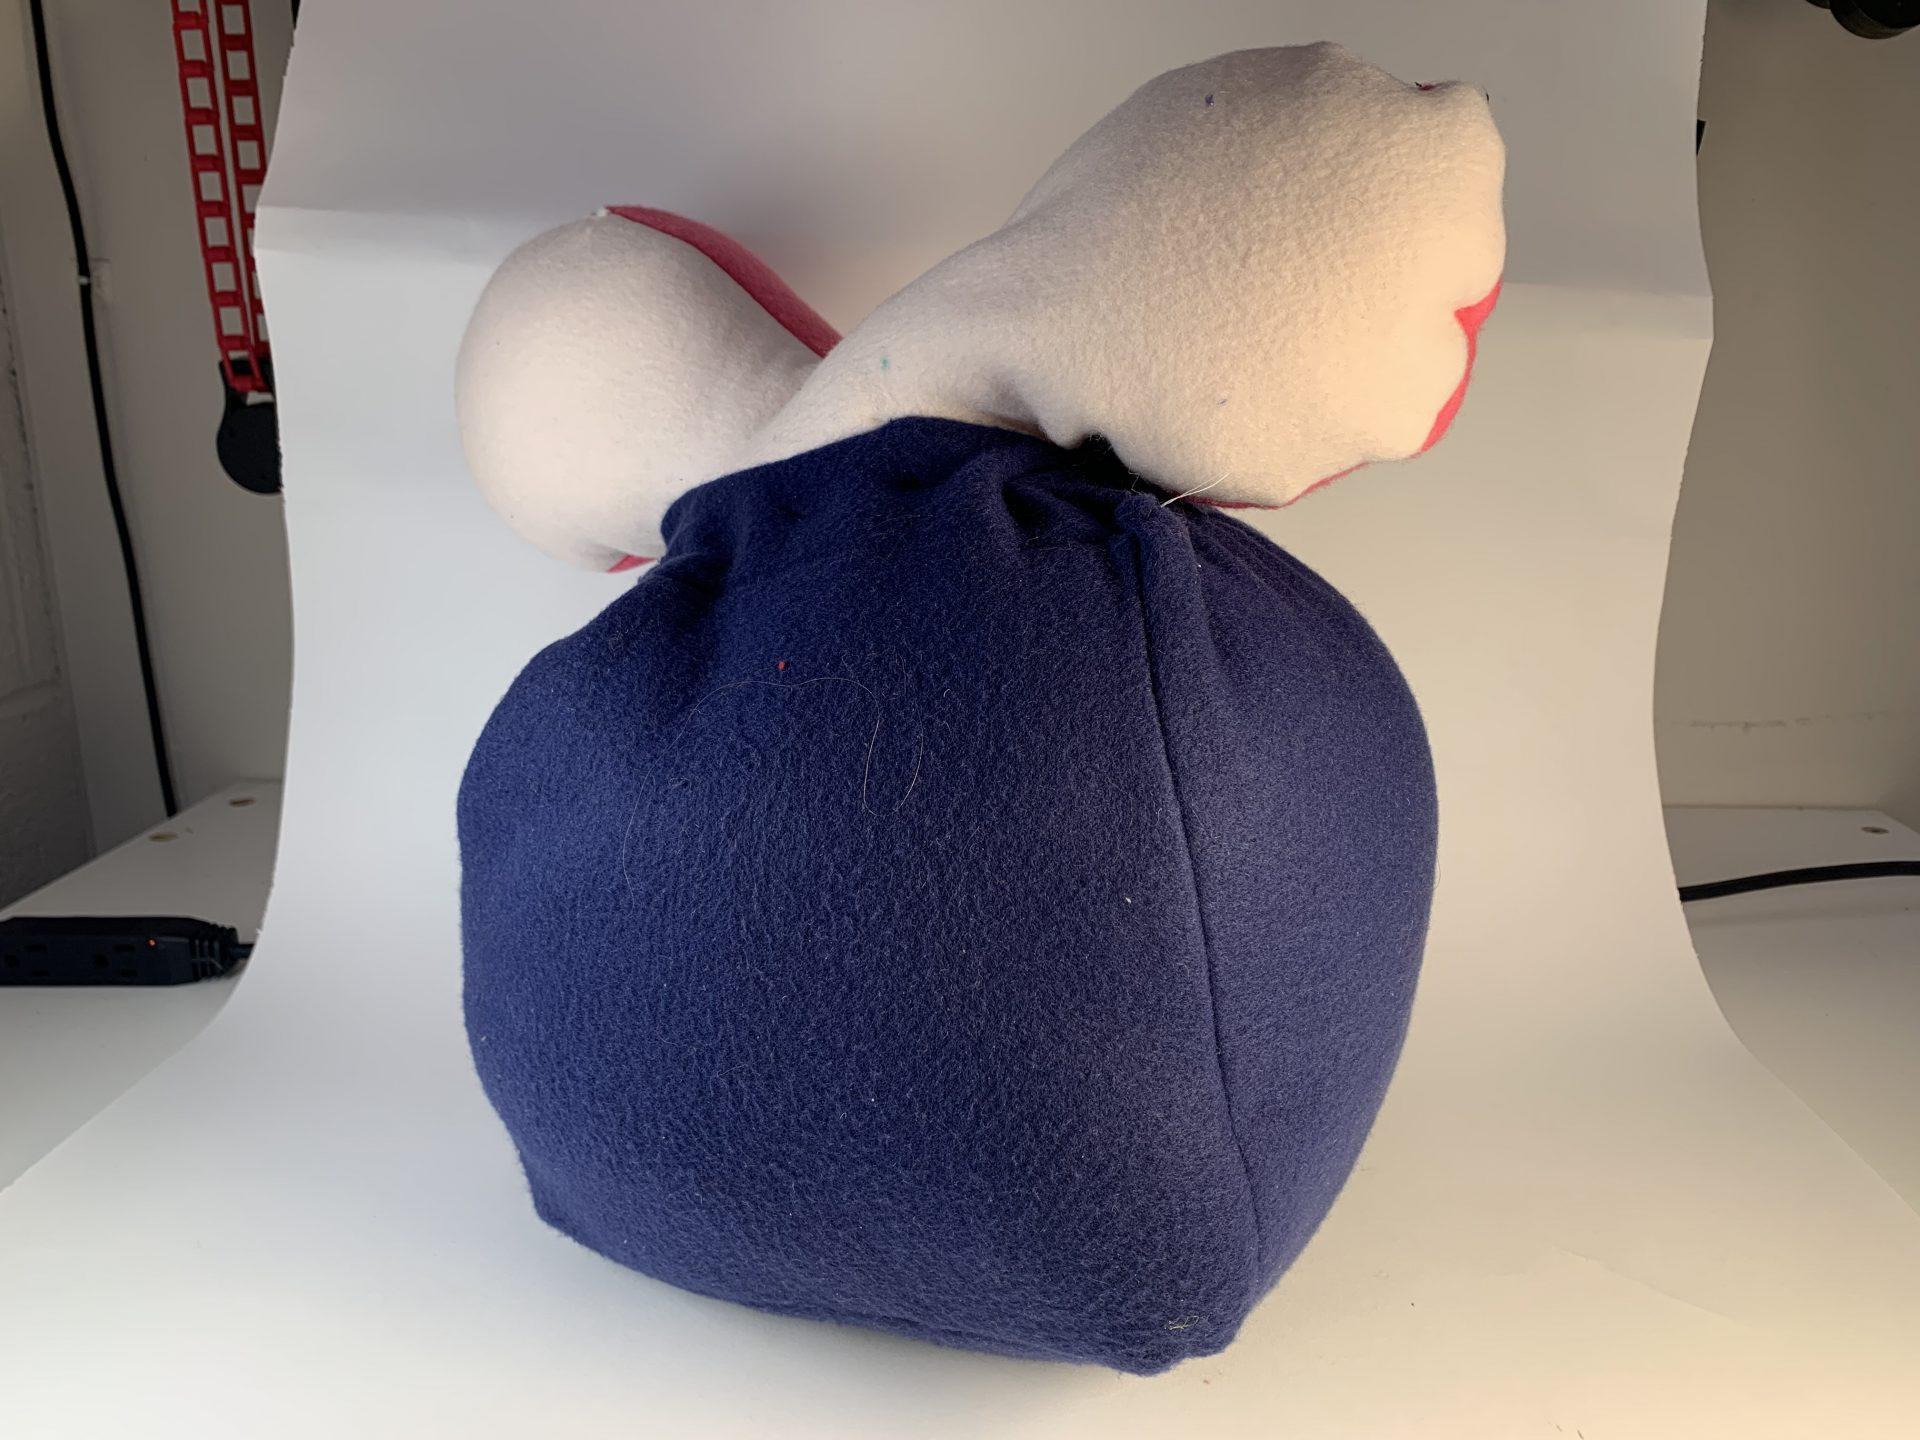
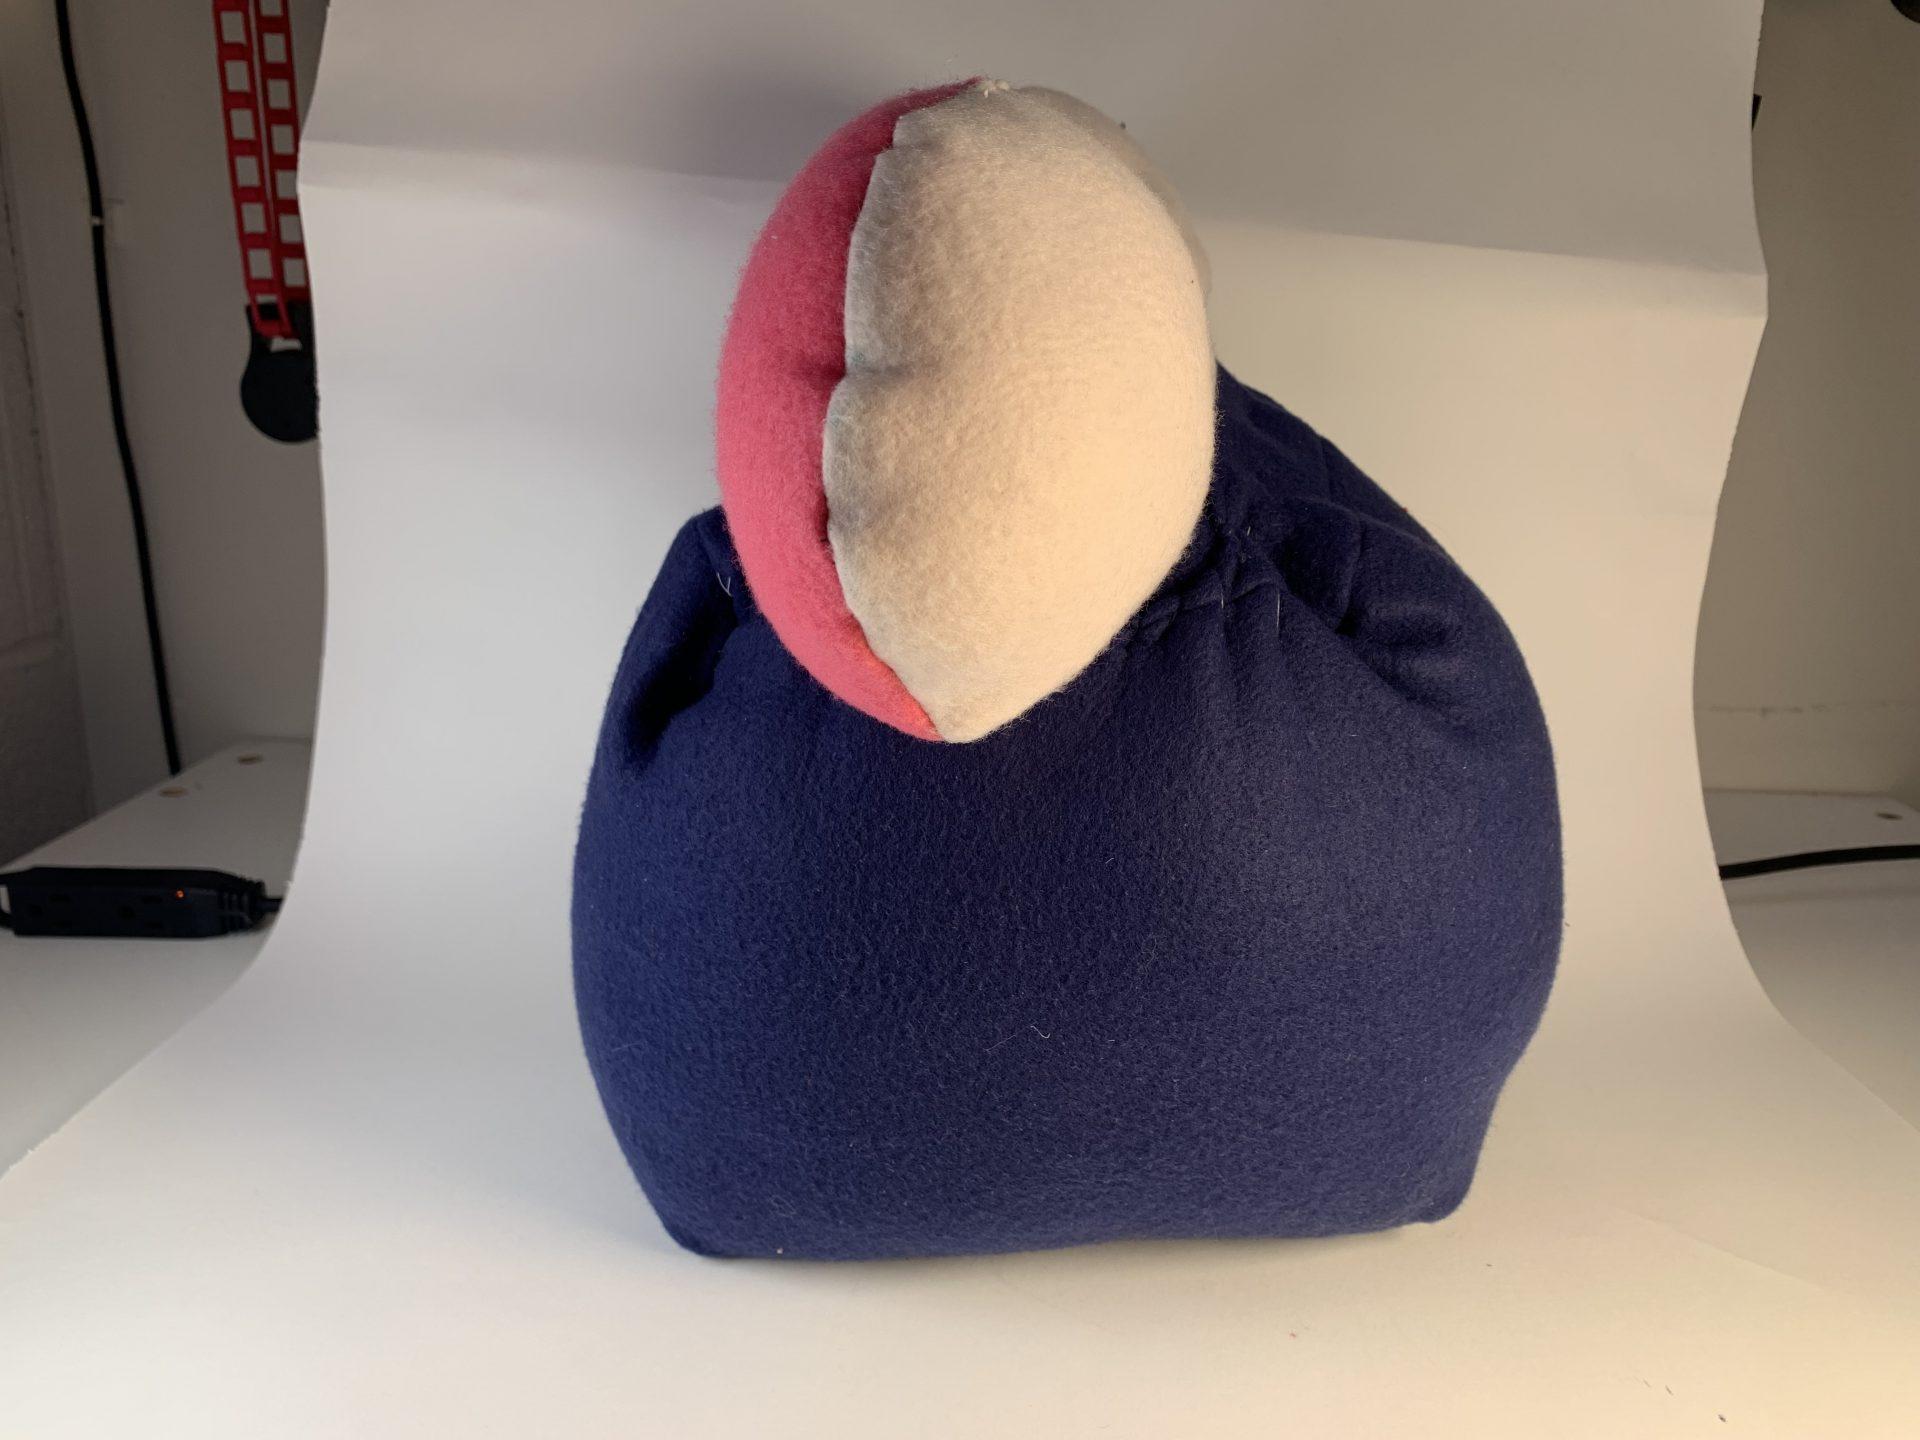
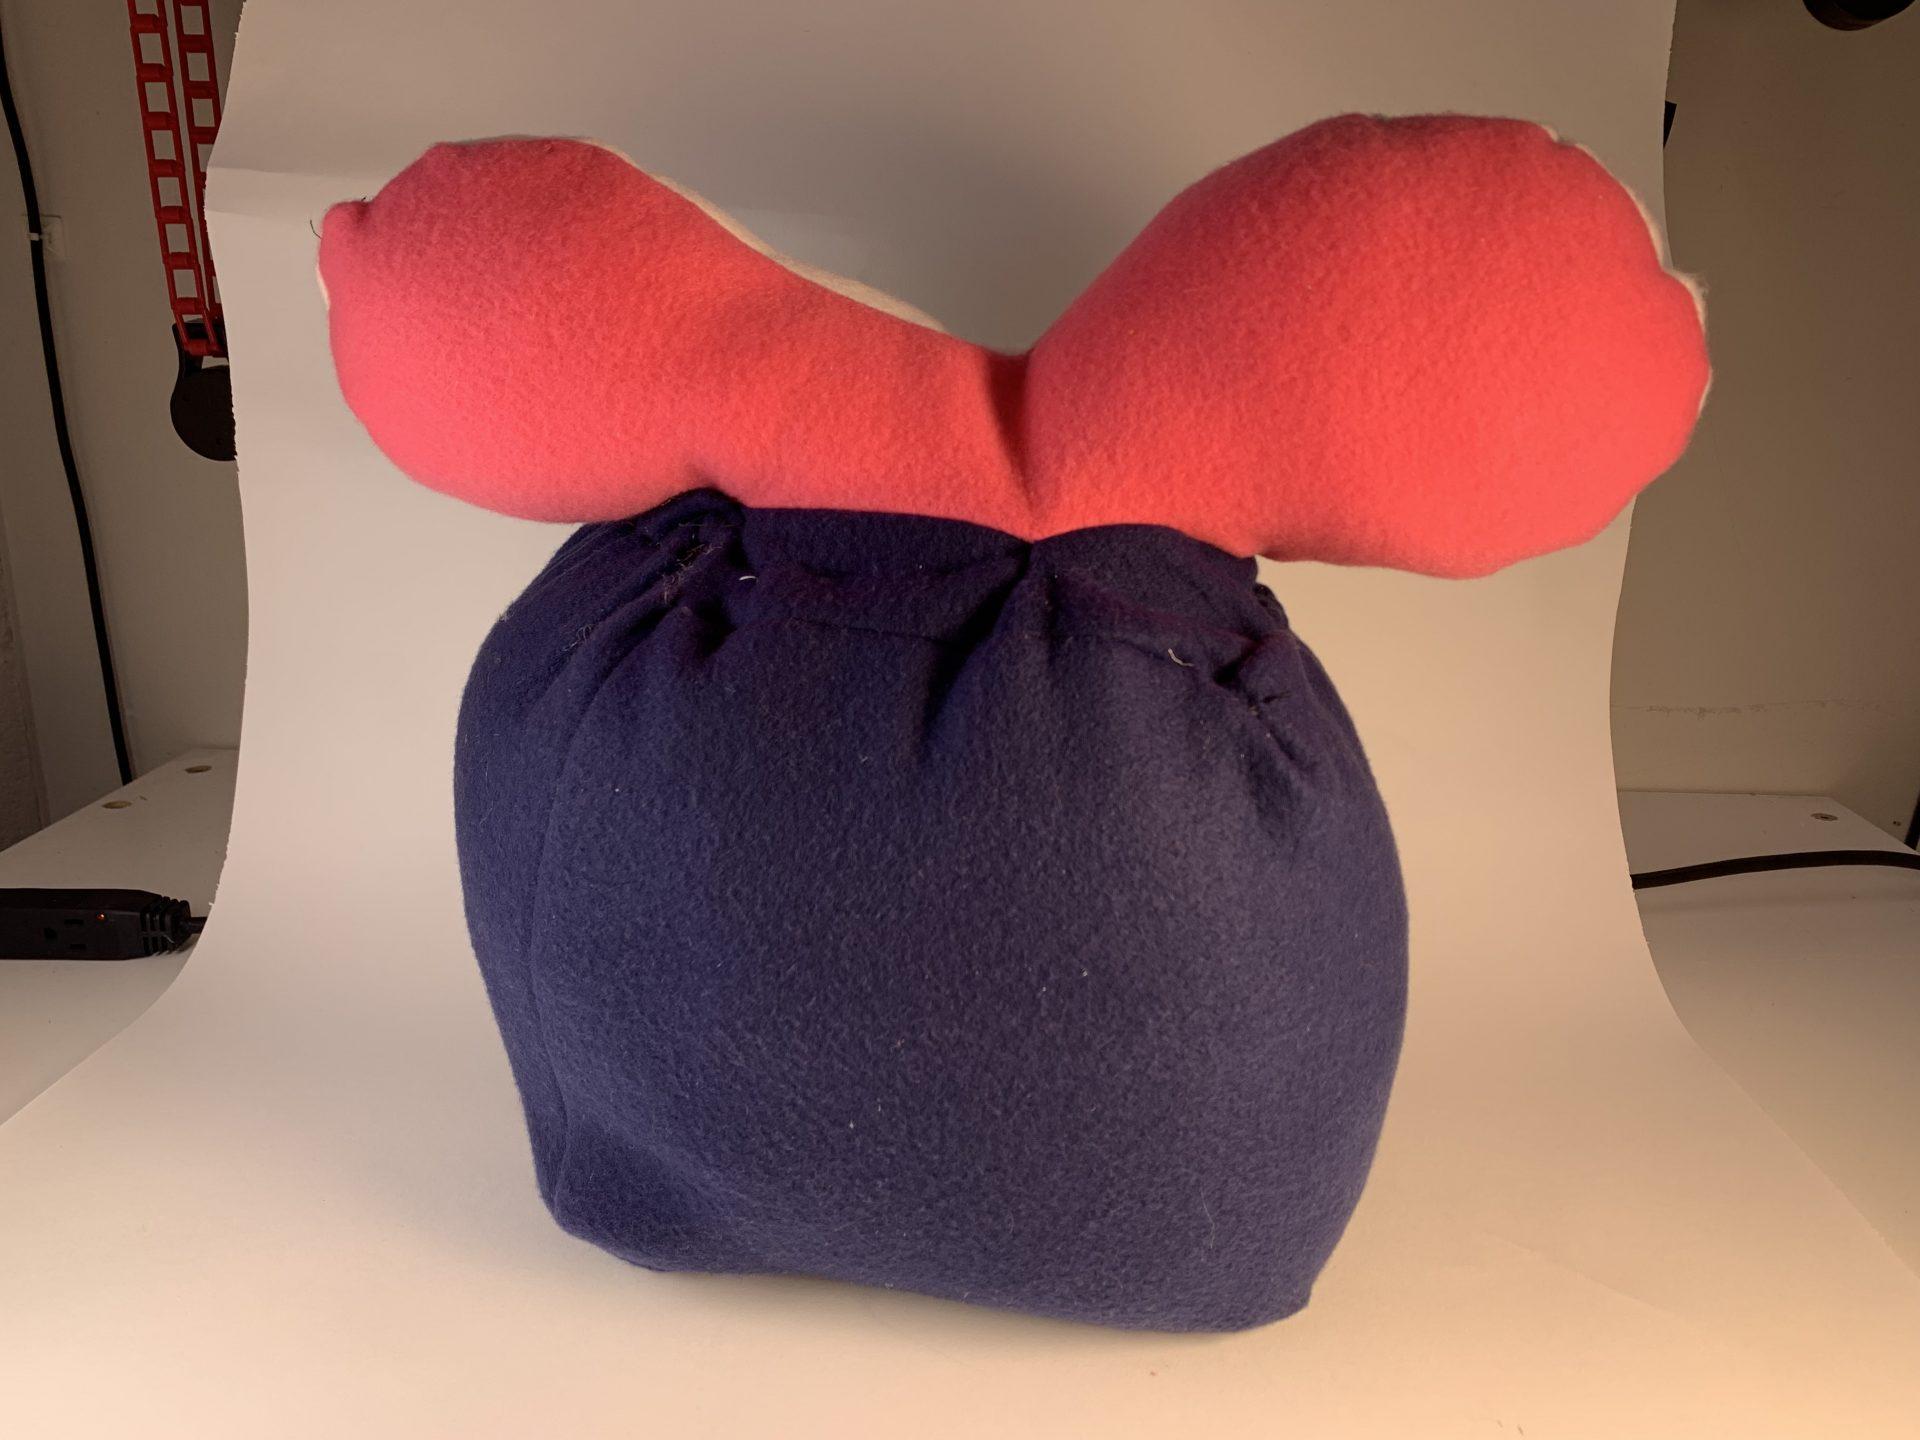
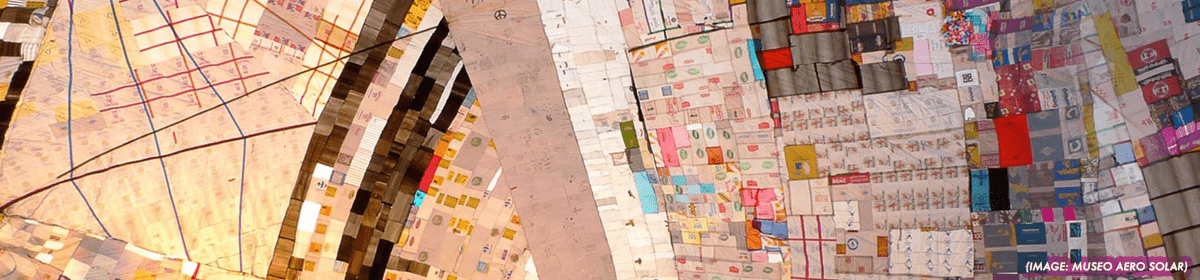
For my first object, I intended to have a cube with a sphere attached on top. As simple as this is, I made a silly mistake putting together my form and instead of a sphere I began forming a bow or bone shape. I thought about ripping all the seams and forming the sphere I intended, but I liked the idea of this abnormal object being formed from that of a template for a regular object. In the end, I ended up with a sphere with a bow on top, which reminds me of Minnie Mouse. In addition, when I was hand stitching to close my object after stuffing it, one of the sides ended up a bit scrunched. Instead of redoing this, I decided to make all the sides look bunched because repetition makes it look intentional. While this first object was pretty simple in both look and execution, the few bumps in the process helped me feel the beauty in the creative process and let my future objects take me wherever they wanted in formation.
Object 2 – Abstract
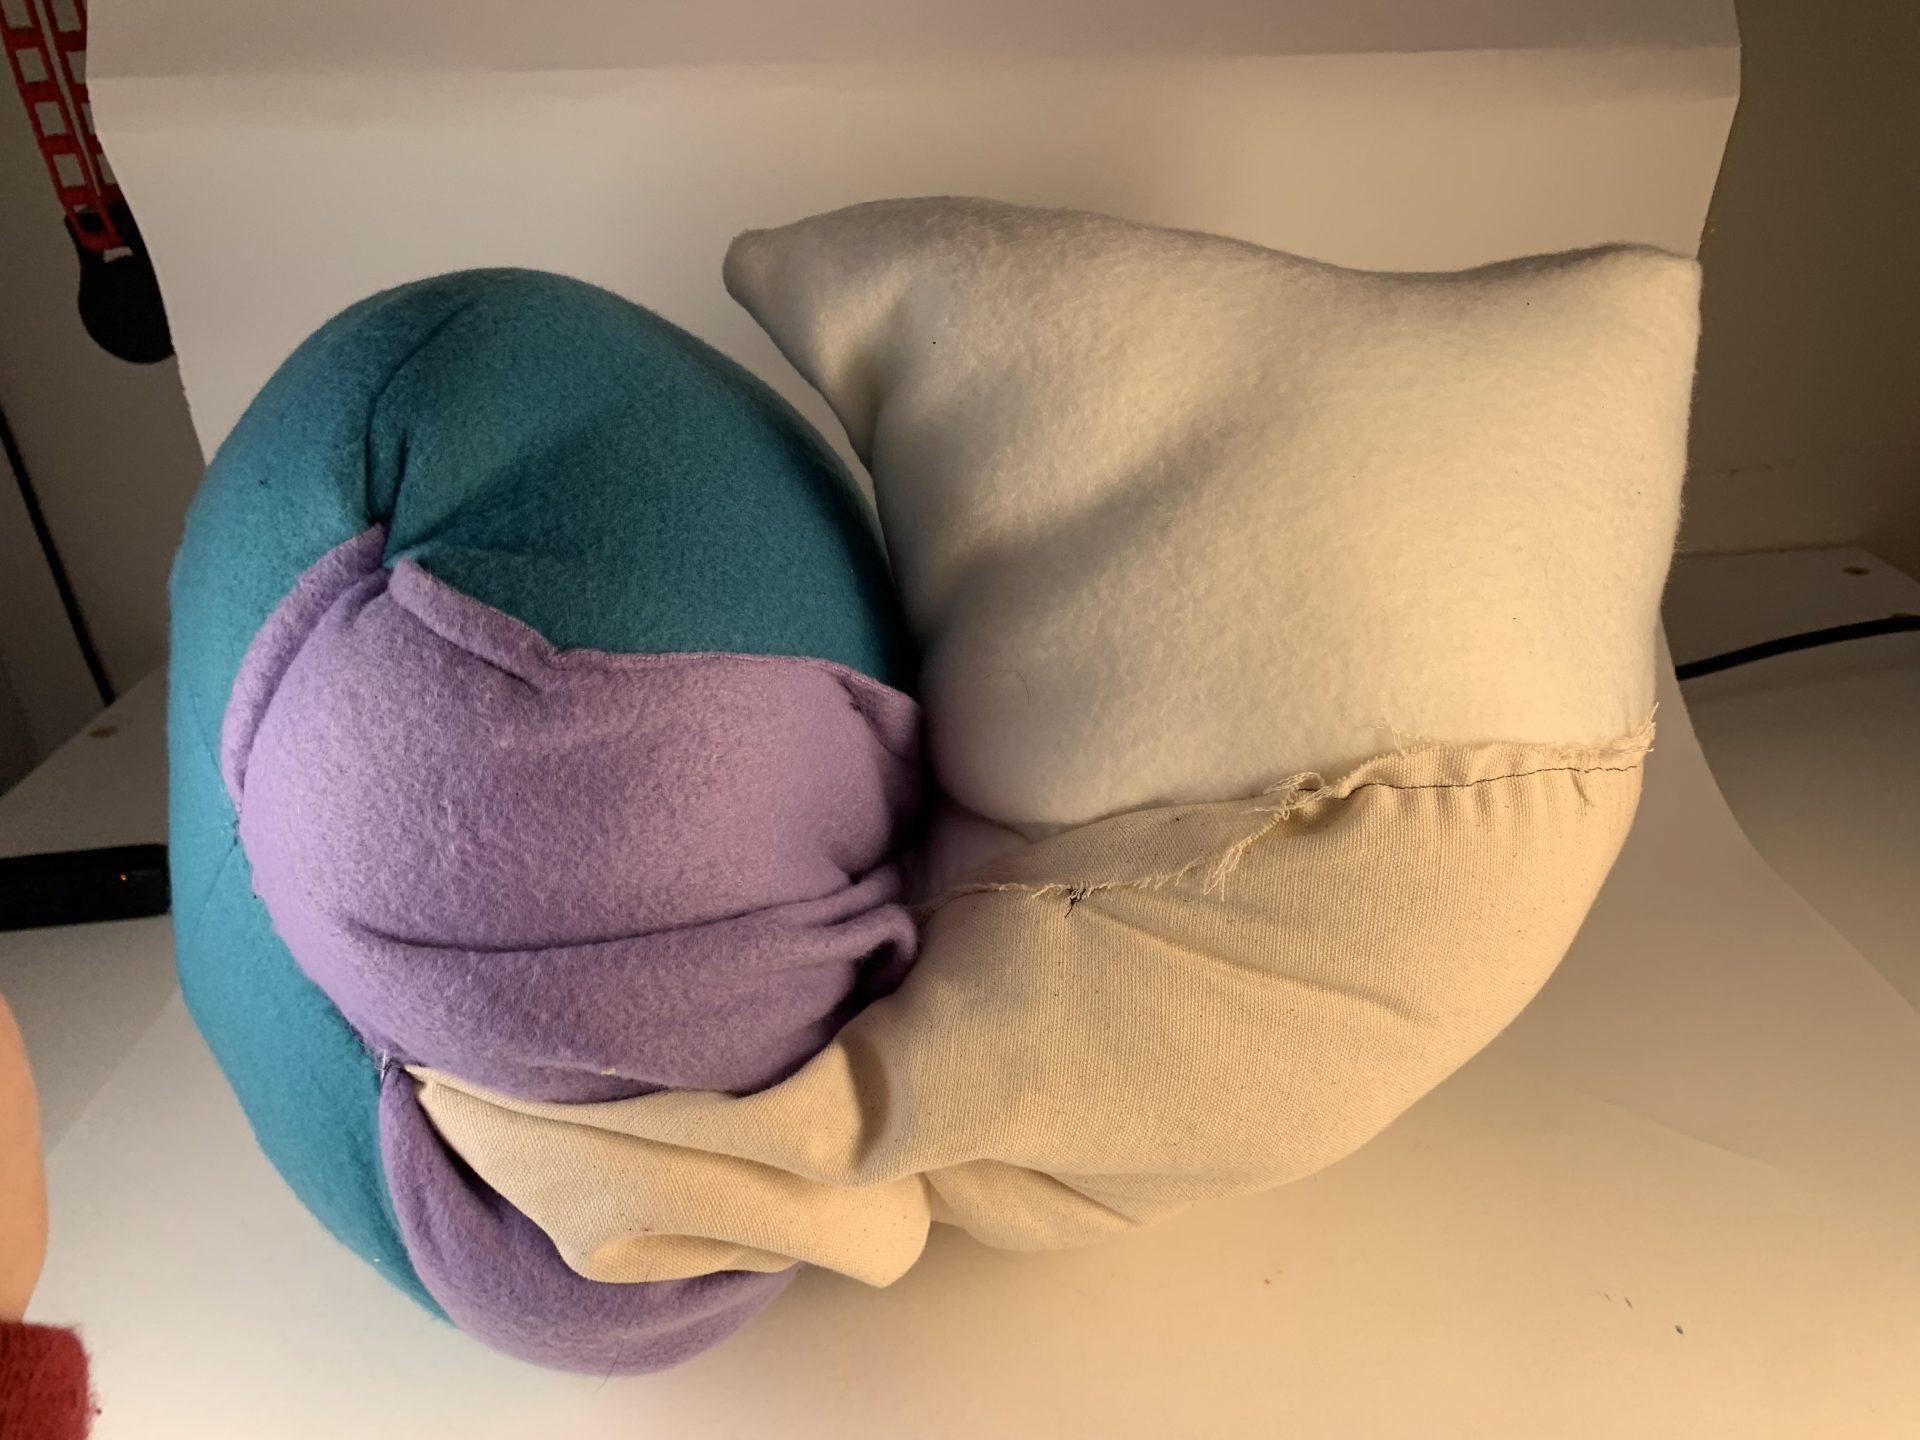
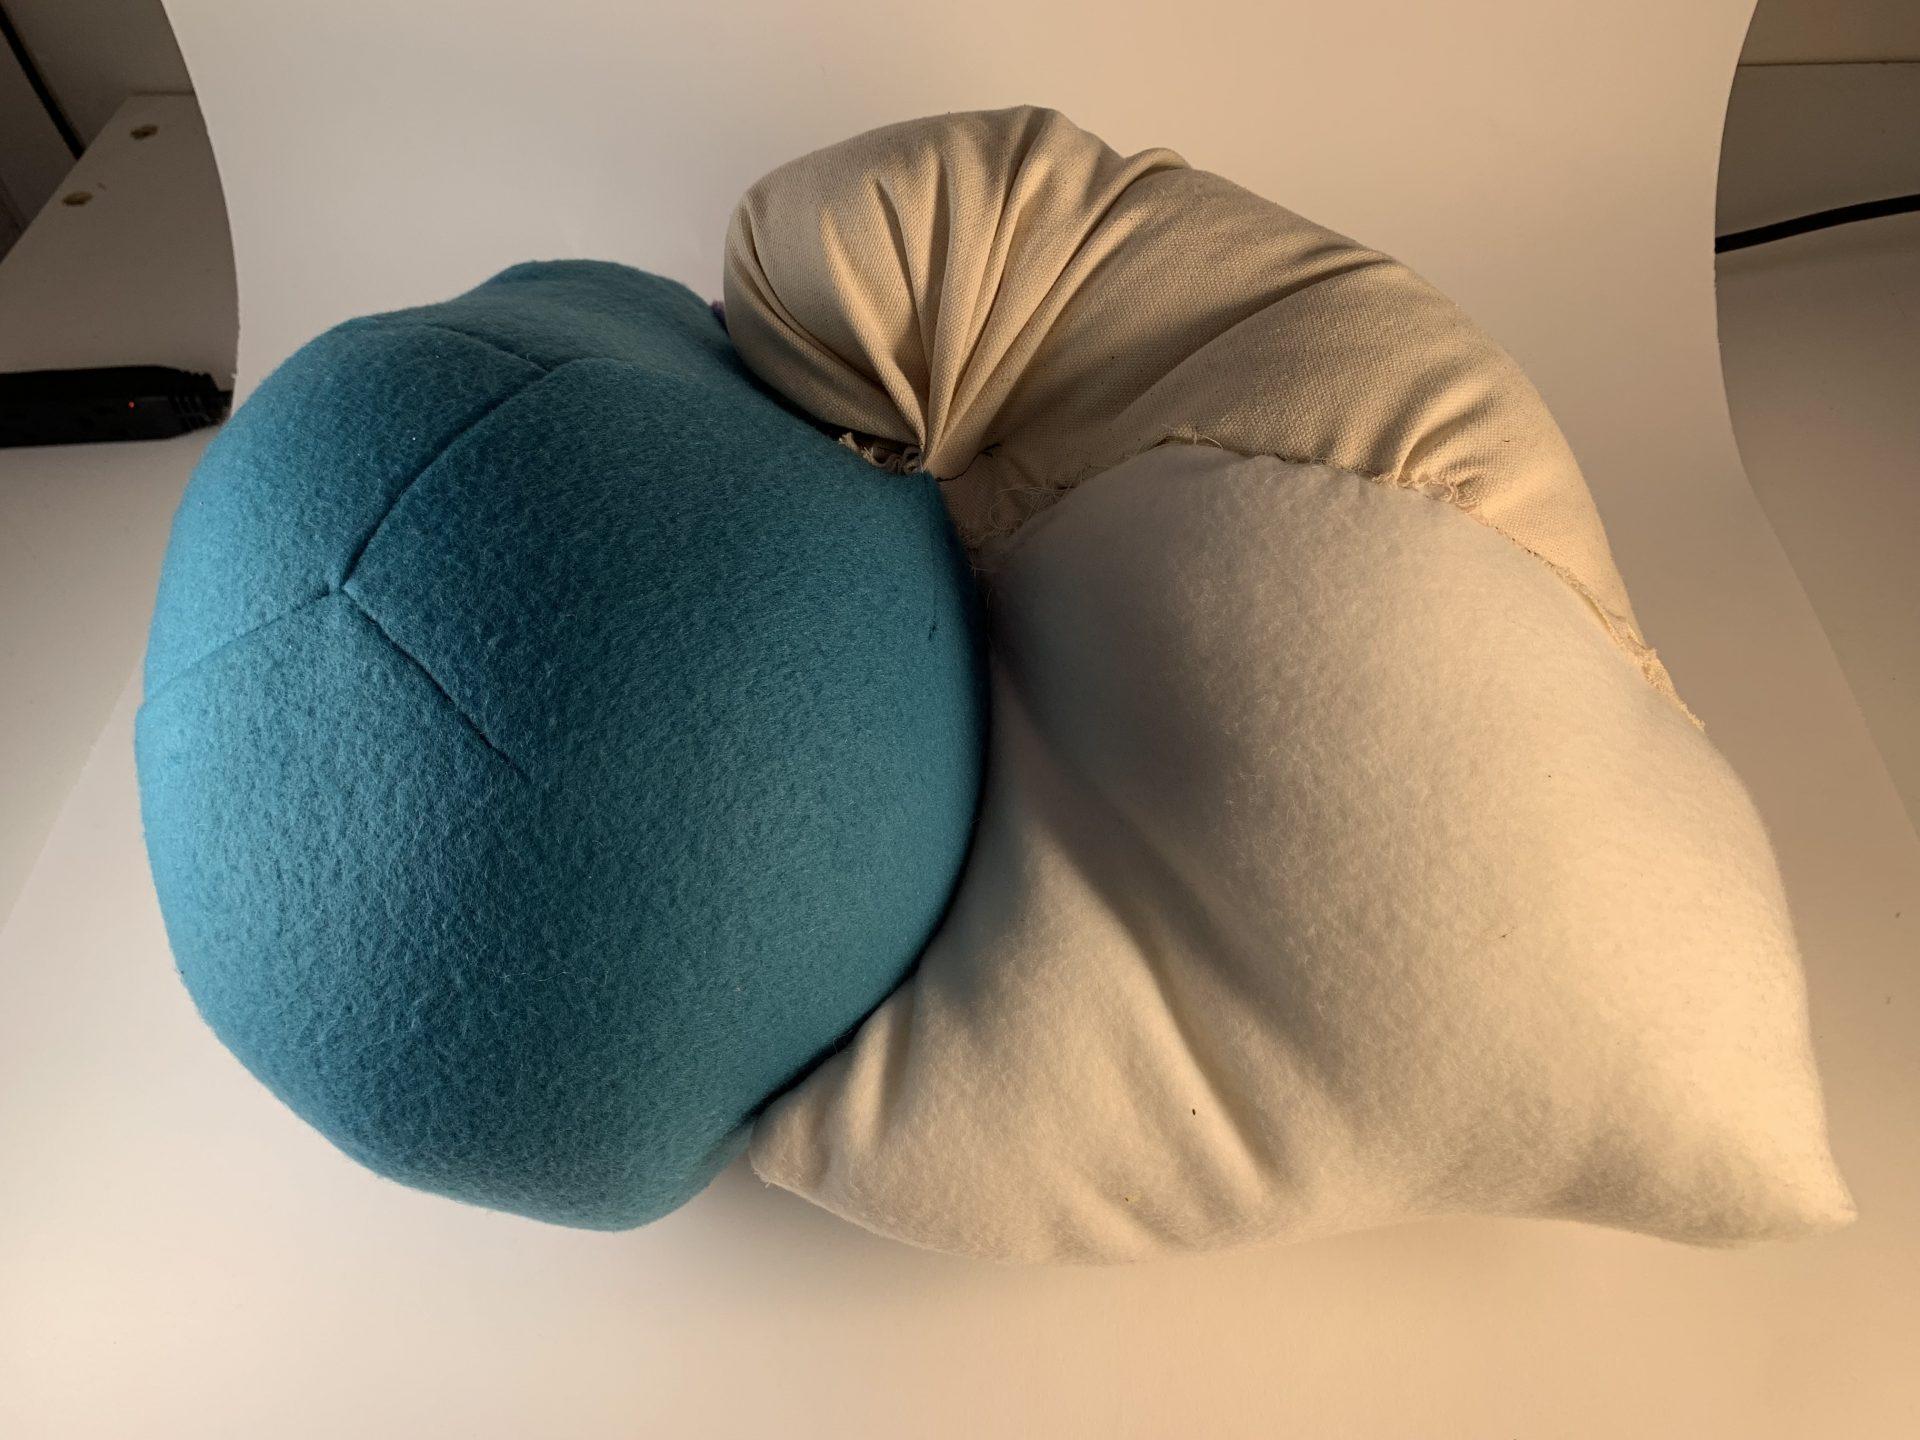
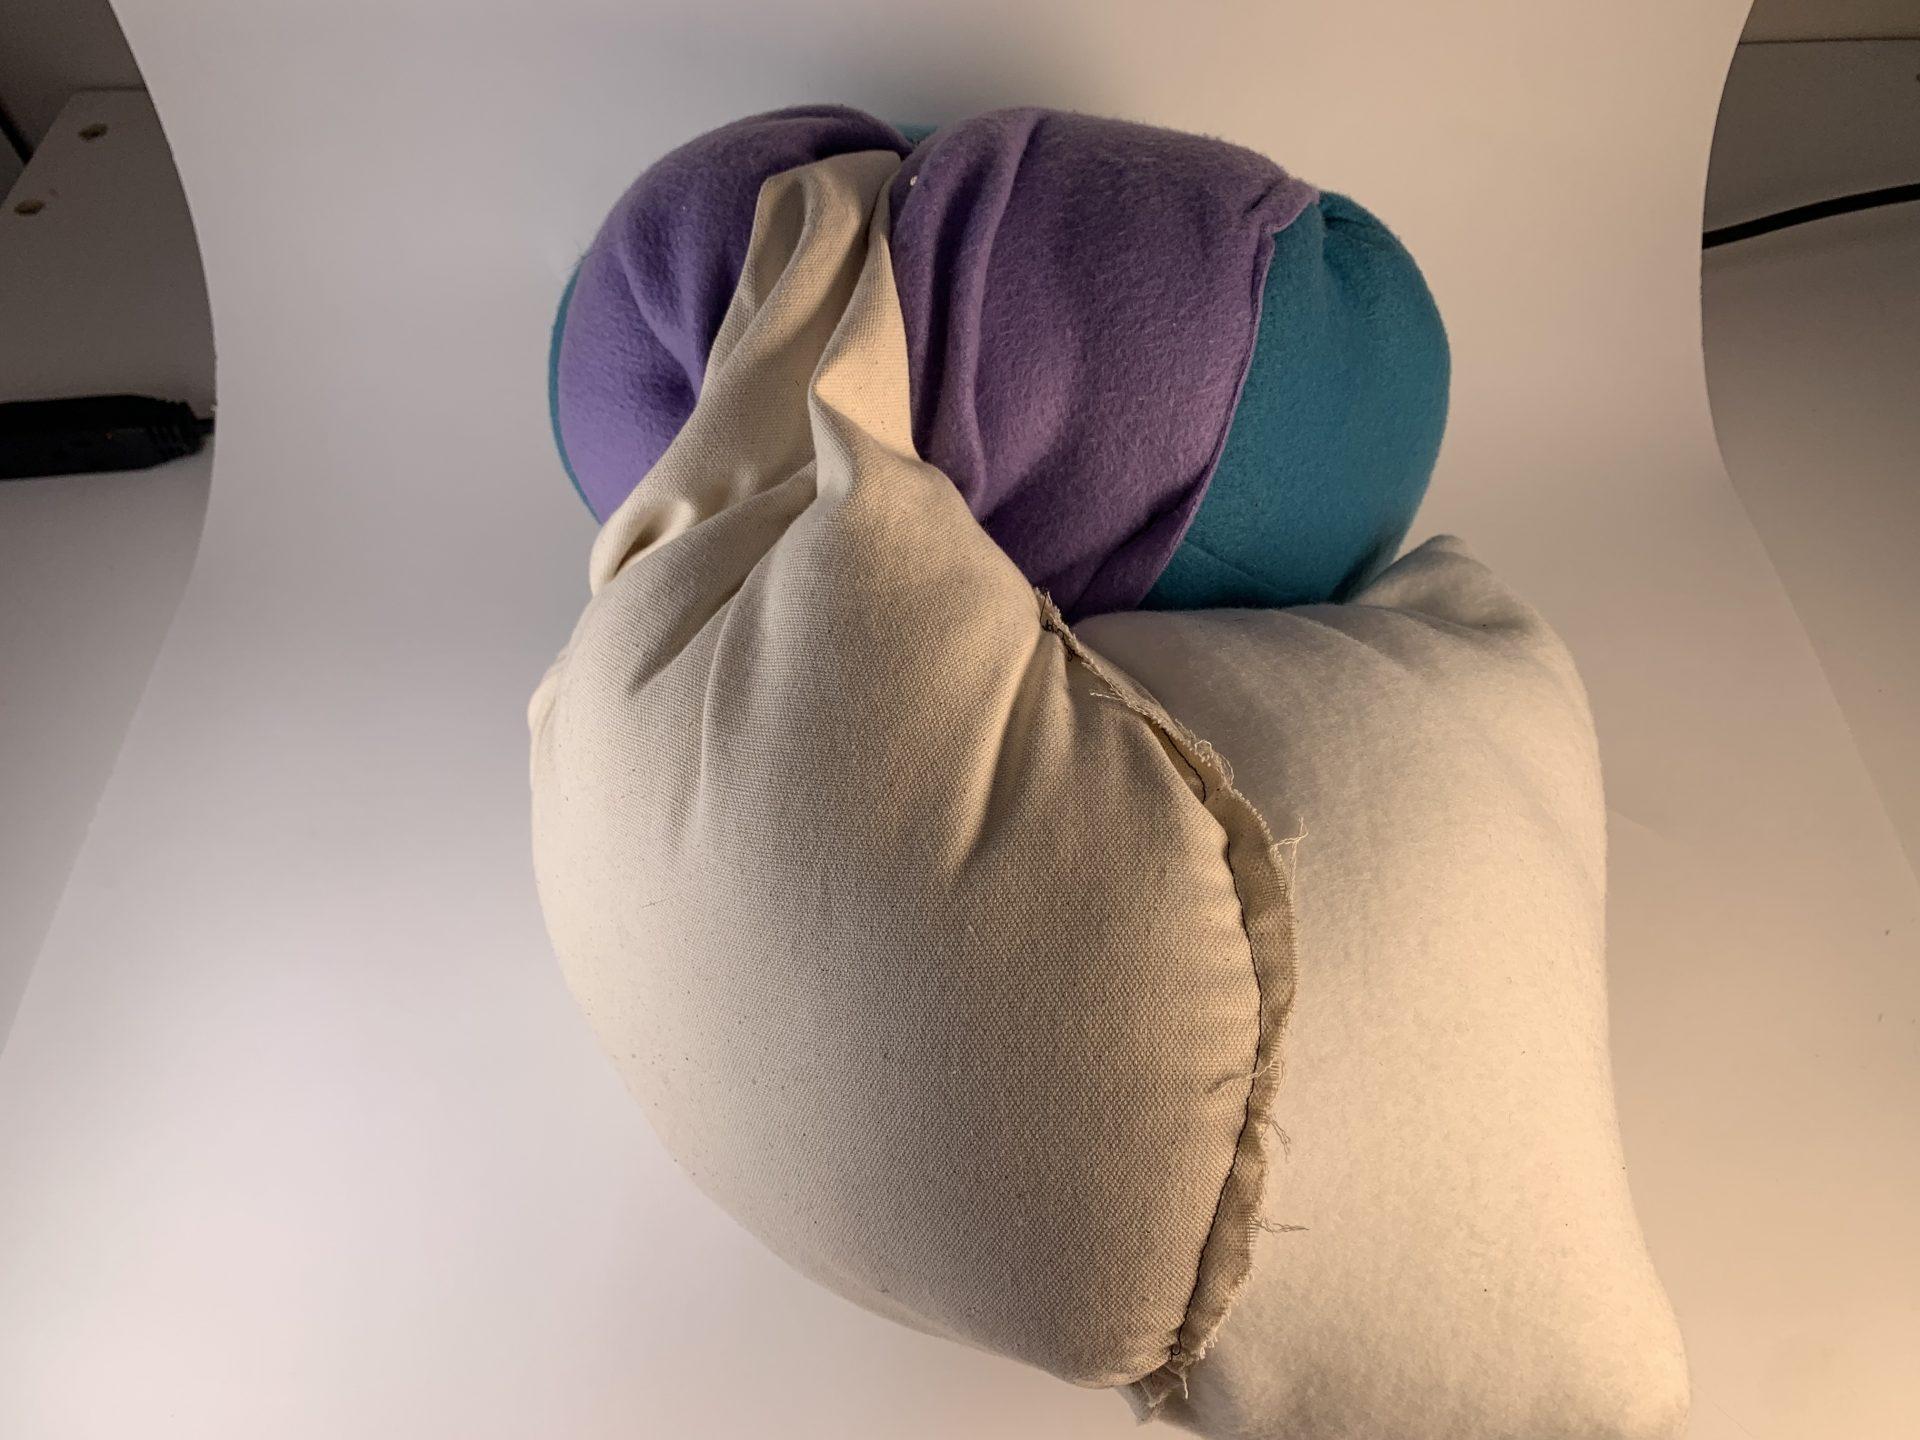
For my second object, I started with the form for a sphere and a cone. At the very beginning I was thinking about separating the two pieces of the sphere and somehow placing a zipper in between them. I also tried darting the cone which was made out of muslin but more pieces than expected ended up sewn together. I used both the purple and white fabric to help connect the shape and see where I ended up. After my initial vision, I had no idea what my object would end up to be but enjoyed seeing obvious forms such as the sphere combined with the more unique forms the other three fabrics helped form. Additionally, while it is not a functional tunnel, there is a part where the purple fabric has a bit of movement between the two sides, a concept I would further explore with both more time and more knowledge on how it is possible to execute.
Object 3 – Zipper
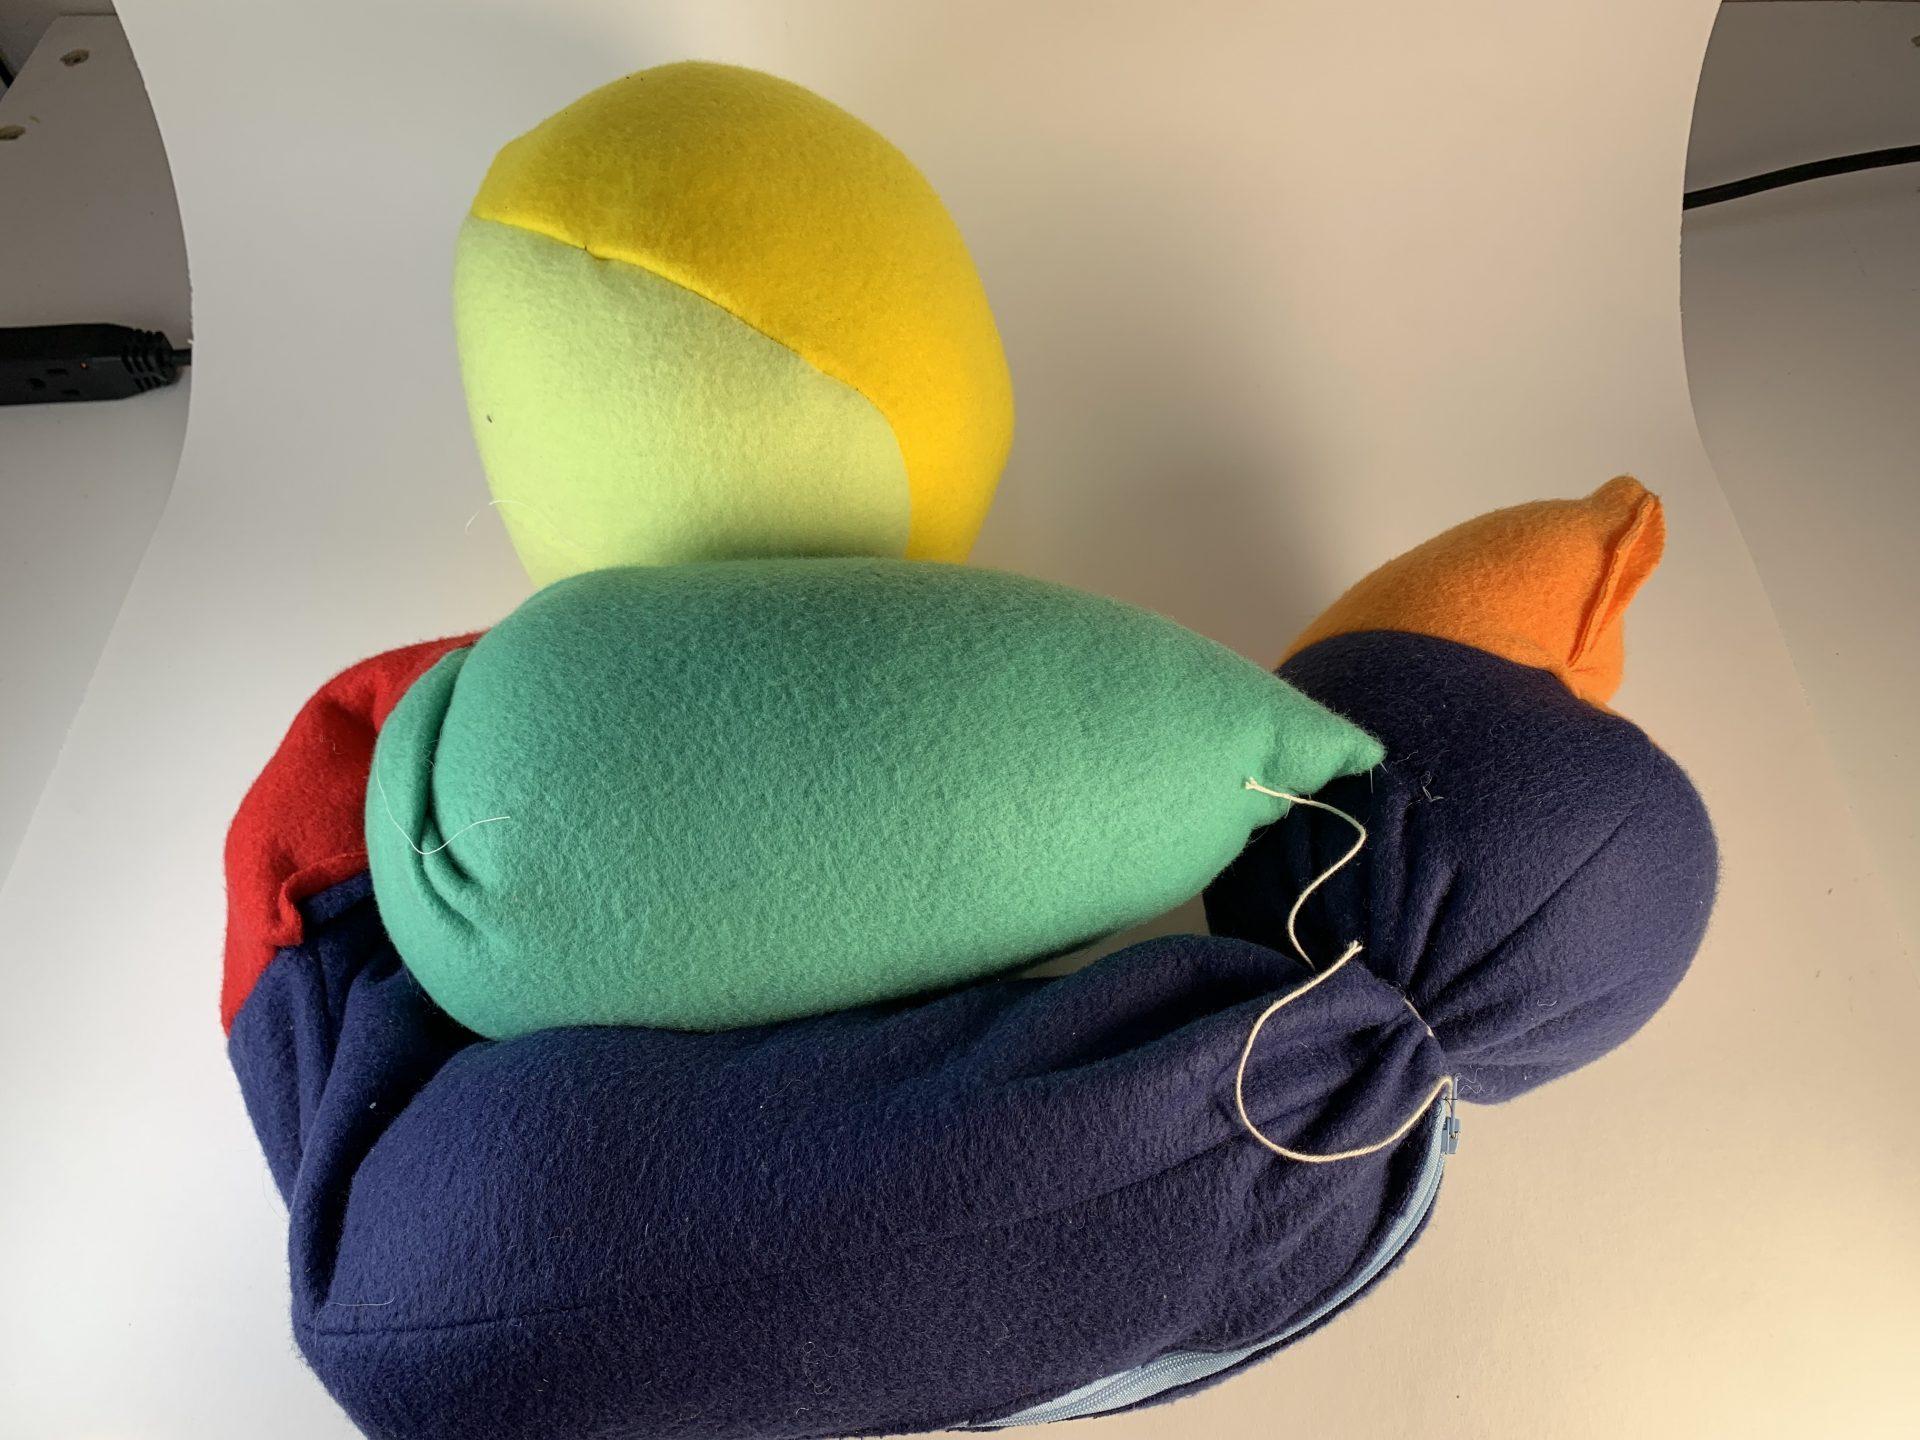
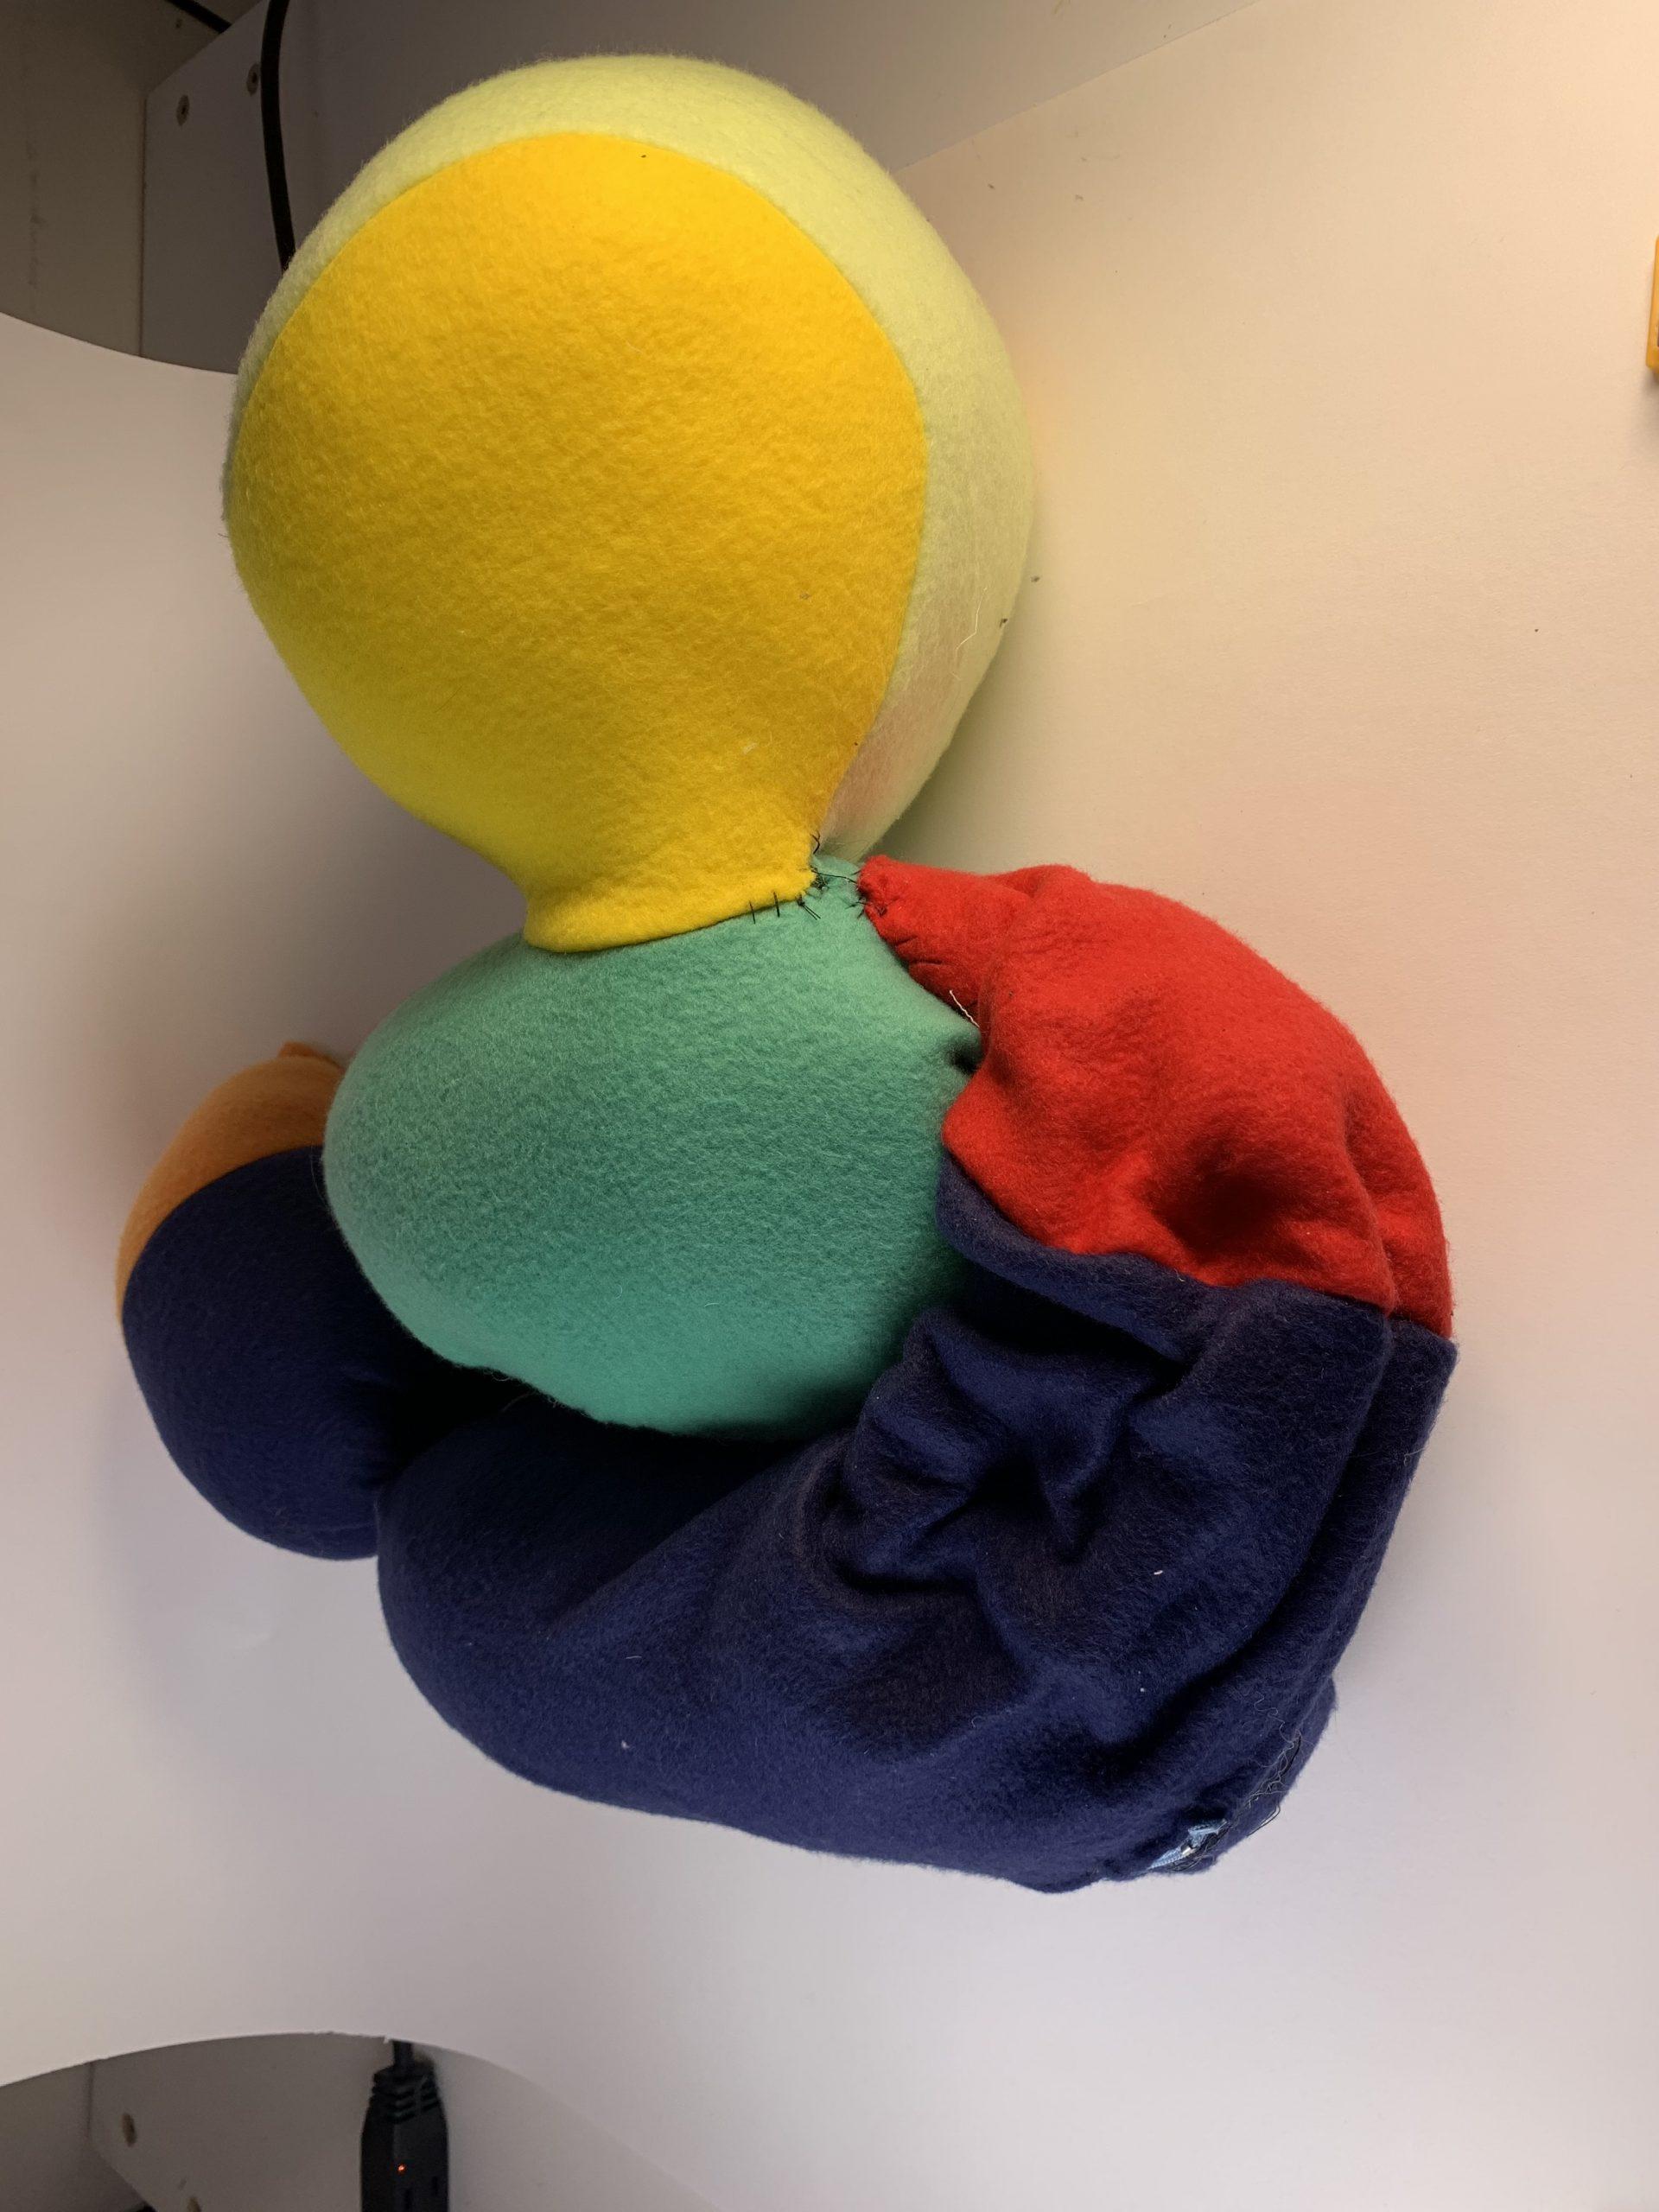
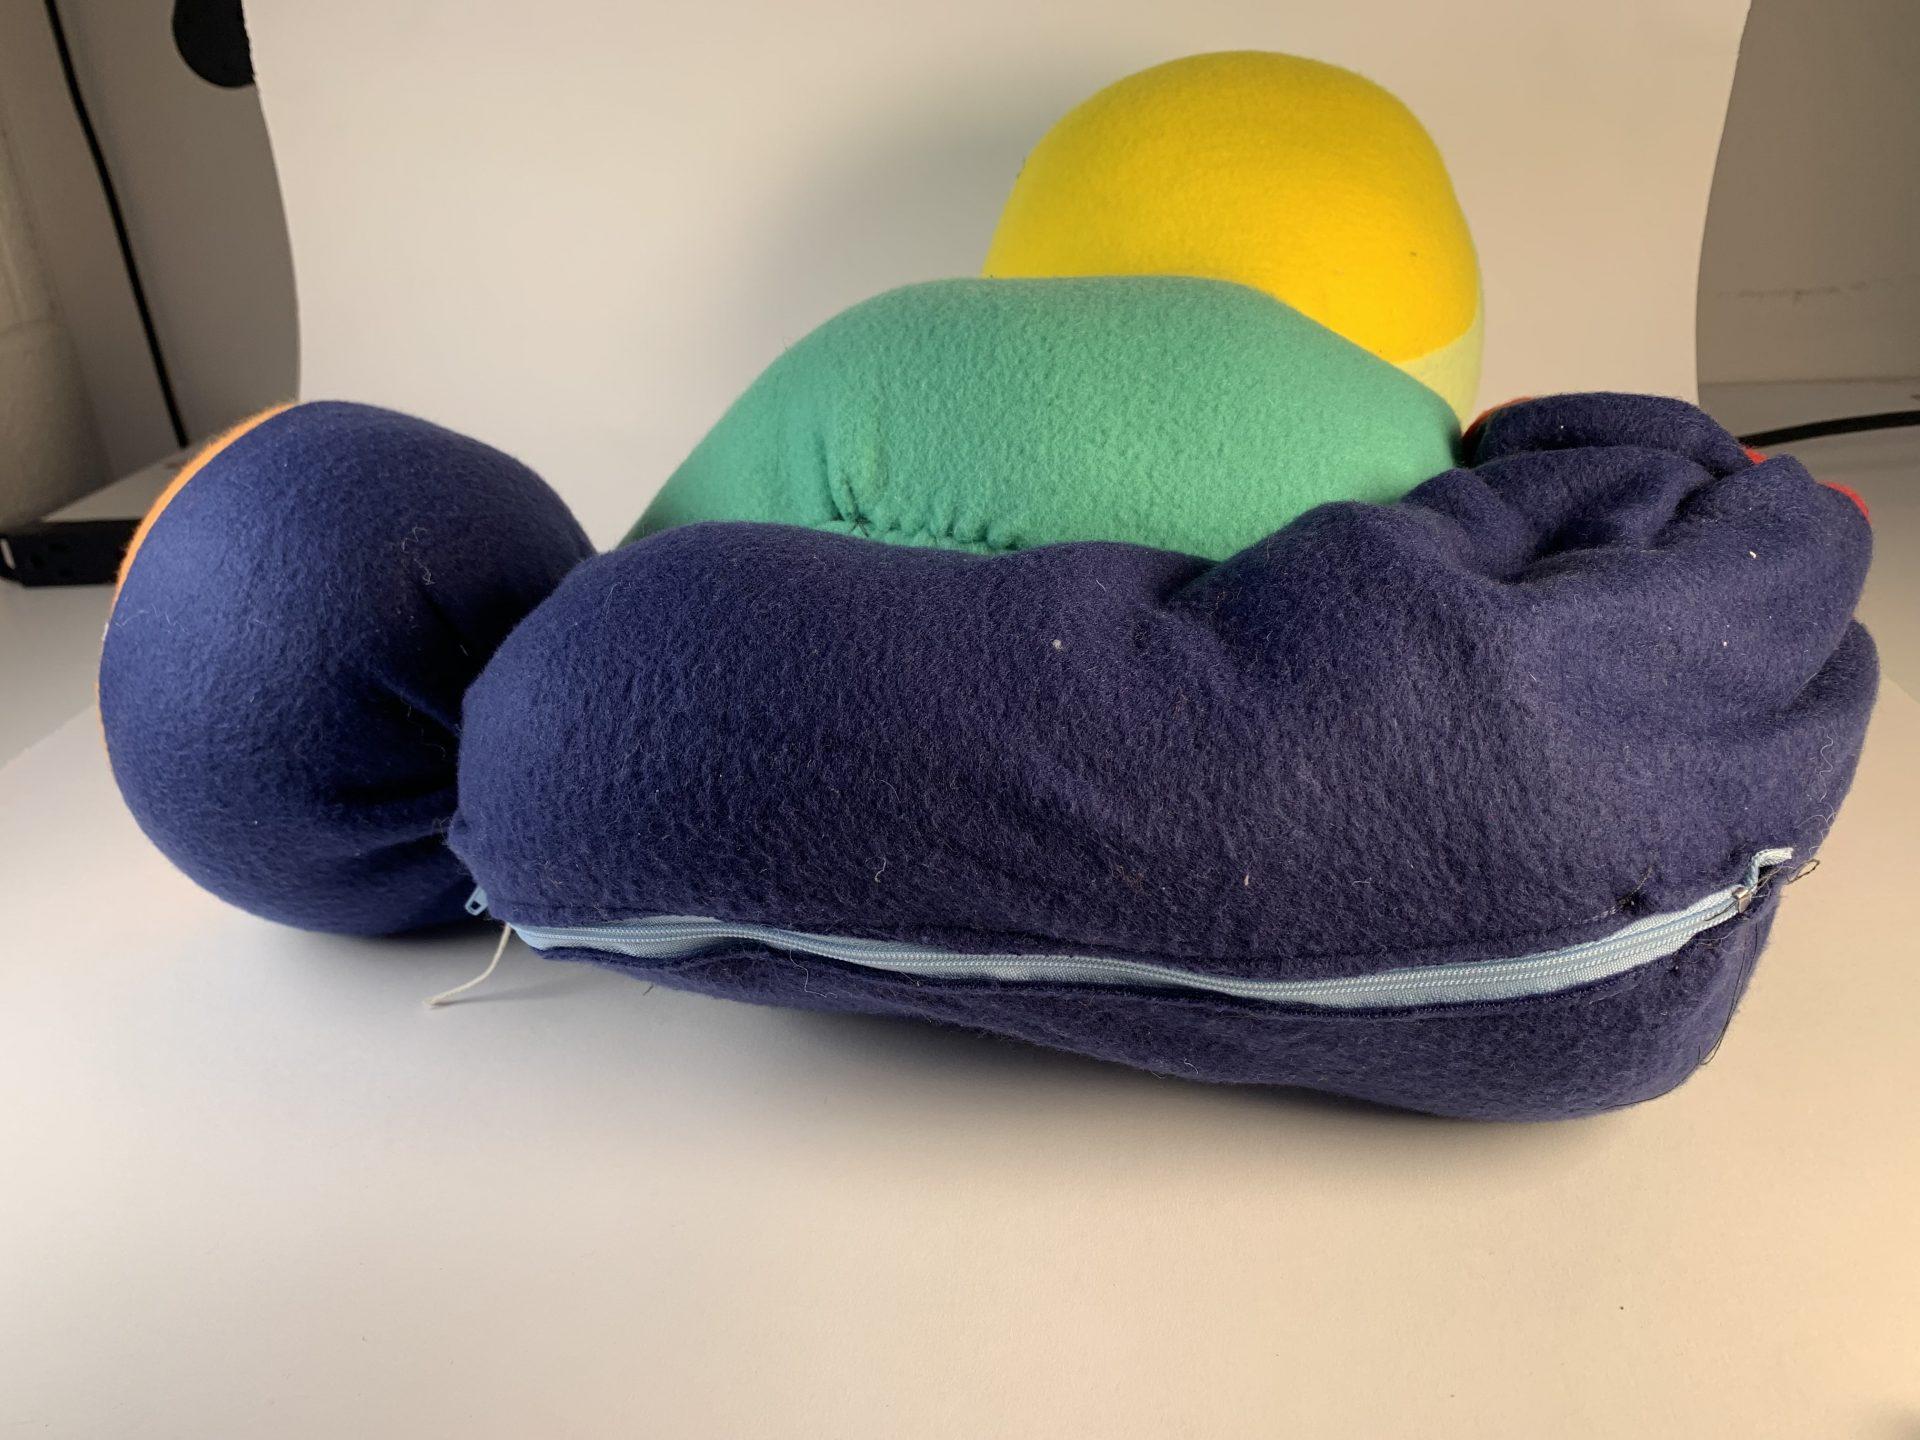
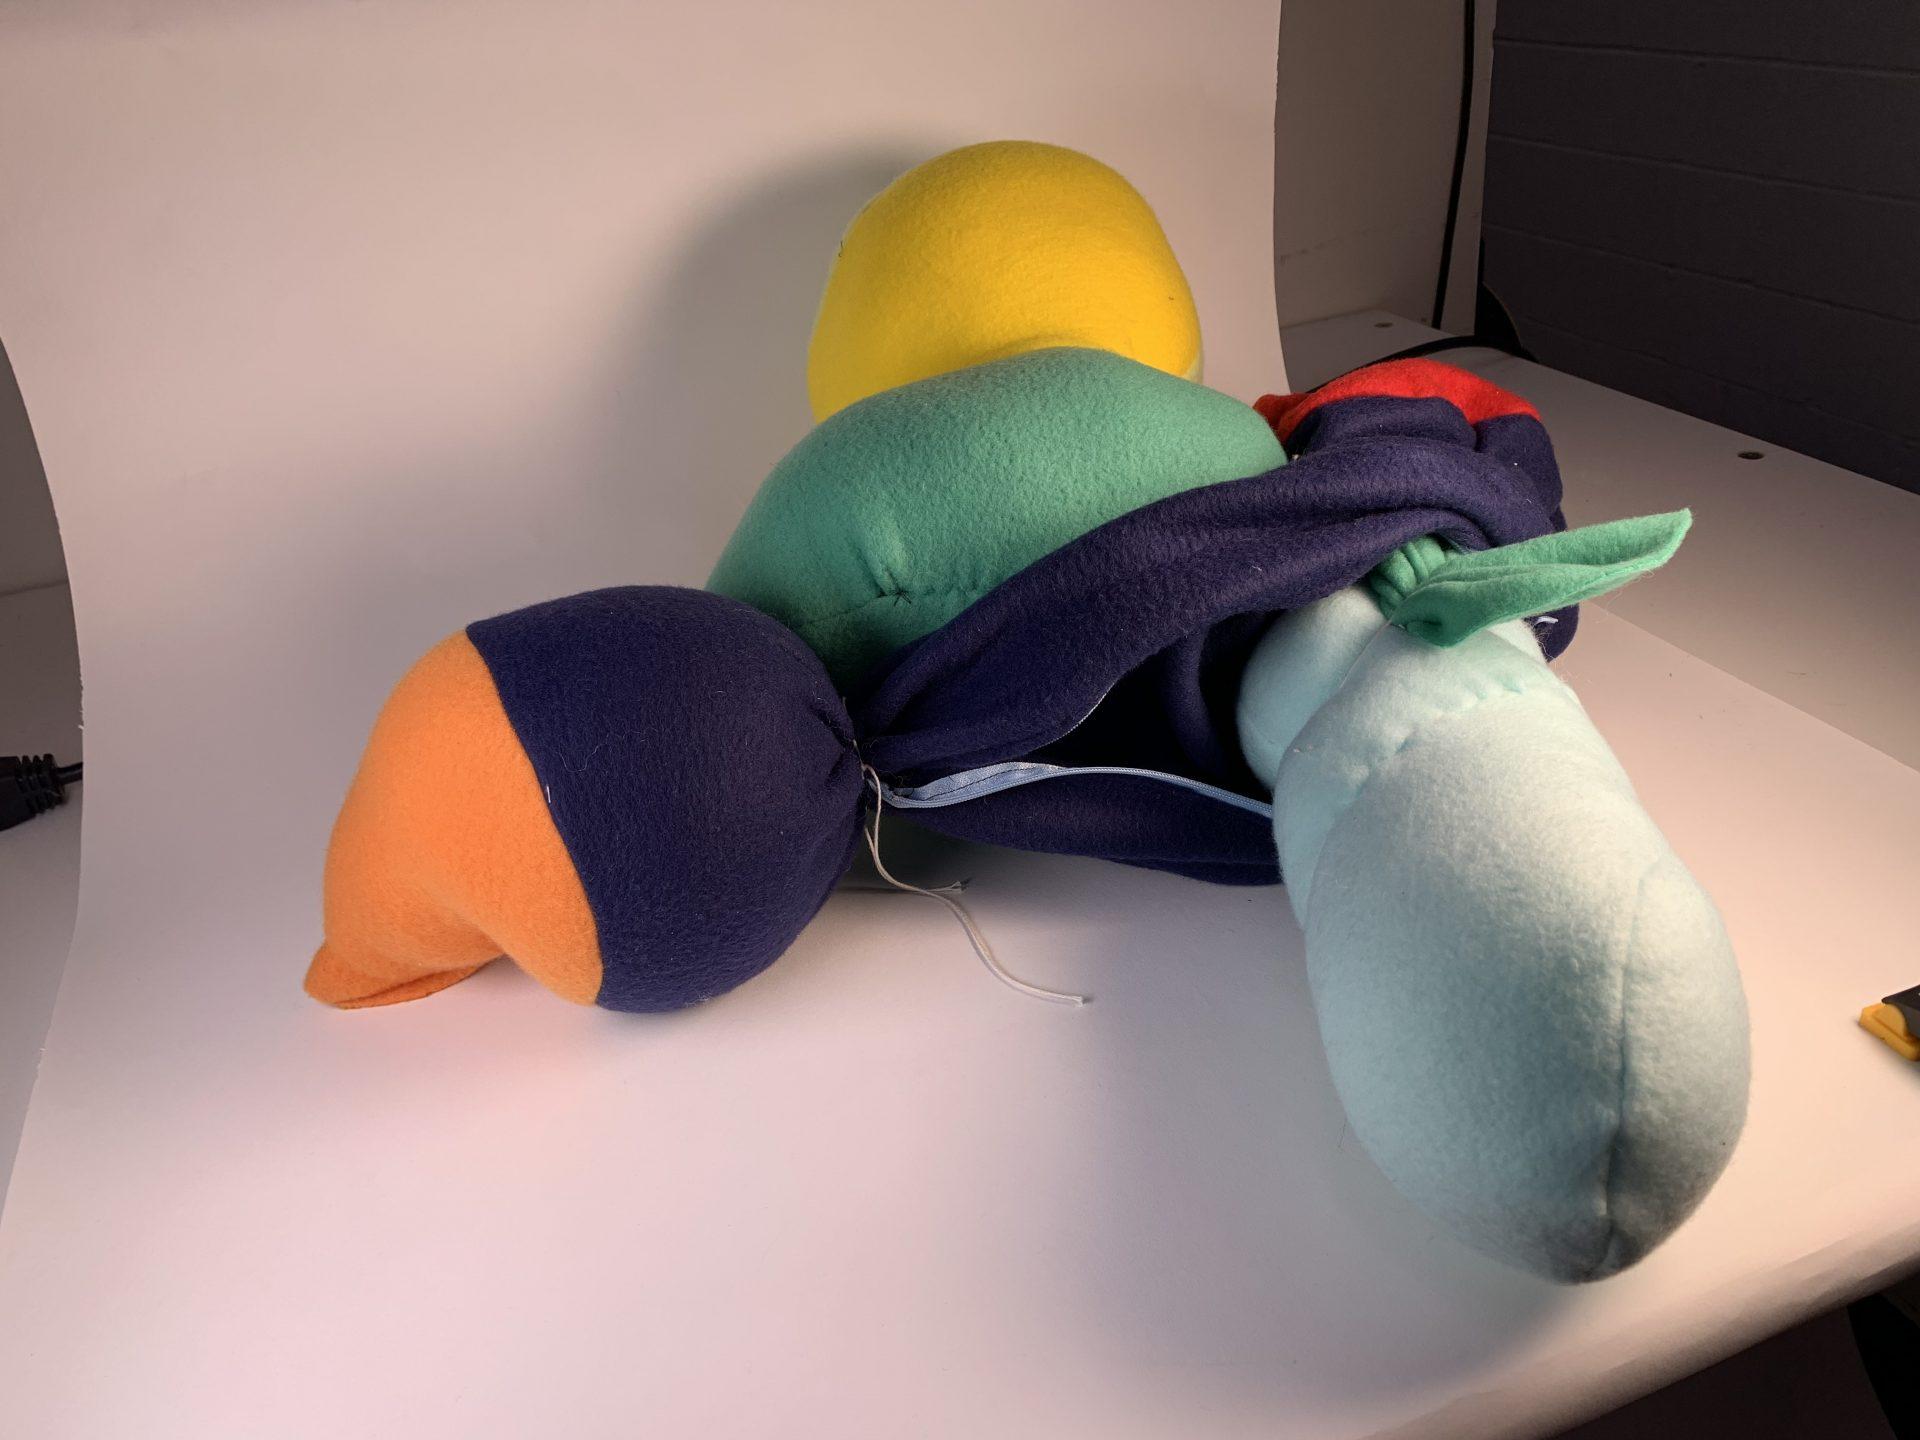
For my third object, I started with the forms of a sphere, a cone, and a cylinder. My plan was to attach all three of these forms together. As I sewed the cone, I realized there was an extra flap of fabric from wrapping a circle into a cone shape and I wondered if this piece could be a useful way to attach the forms together. When sewing the cone, I ended up deciding to close the bottom instead of adding a circular base, creating something resembling a pocket. The first two objects I attached together were the sphere and the cone, hiding the point at the top of the cone. I then tried to sew the cylinder separately and ran into trouble when I discovered the circular bases were too big for the column of the cylinder and sewed one of the sides into a beak looking shape. I was also still determined to add a zipper so I added one along the column. I wanted to fill it with an object so I once again used the sphere form and made an ellipse shape I was able to store in the zipper compartment. Going back to the flap that was leftover earlier, I used that to tie my new small object to keep it attached to the form. I also tied a portion of the cylinder so it could be partially stuffed without getting any poly-fil on the inner object. The final step I did was create a spiral with my object and sew some of the different shapes together.
Overall, I let the creative process take over in the creation of all three of my objects. They each ended up in a different place than I initially intended, but I like my objects more than the initial ideas I thought of. If in the future I want to be exact with the forms I create, I would be more intentional with planning each step prior to beginning my work.