


Experience:
I’m definitely on the slower end when it comes to patterning and sewing, but I was able to mostly account for that – and I had a pretty positive experience making these! I spent a lot of time in the inital steps, reading Pattern Magic and watching other slash and spread tutorials to ensure I got it right which I believe paid off!
Successes/Mistakes:
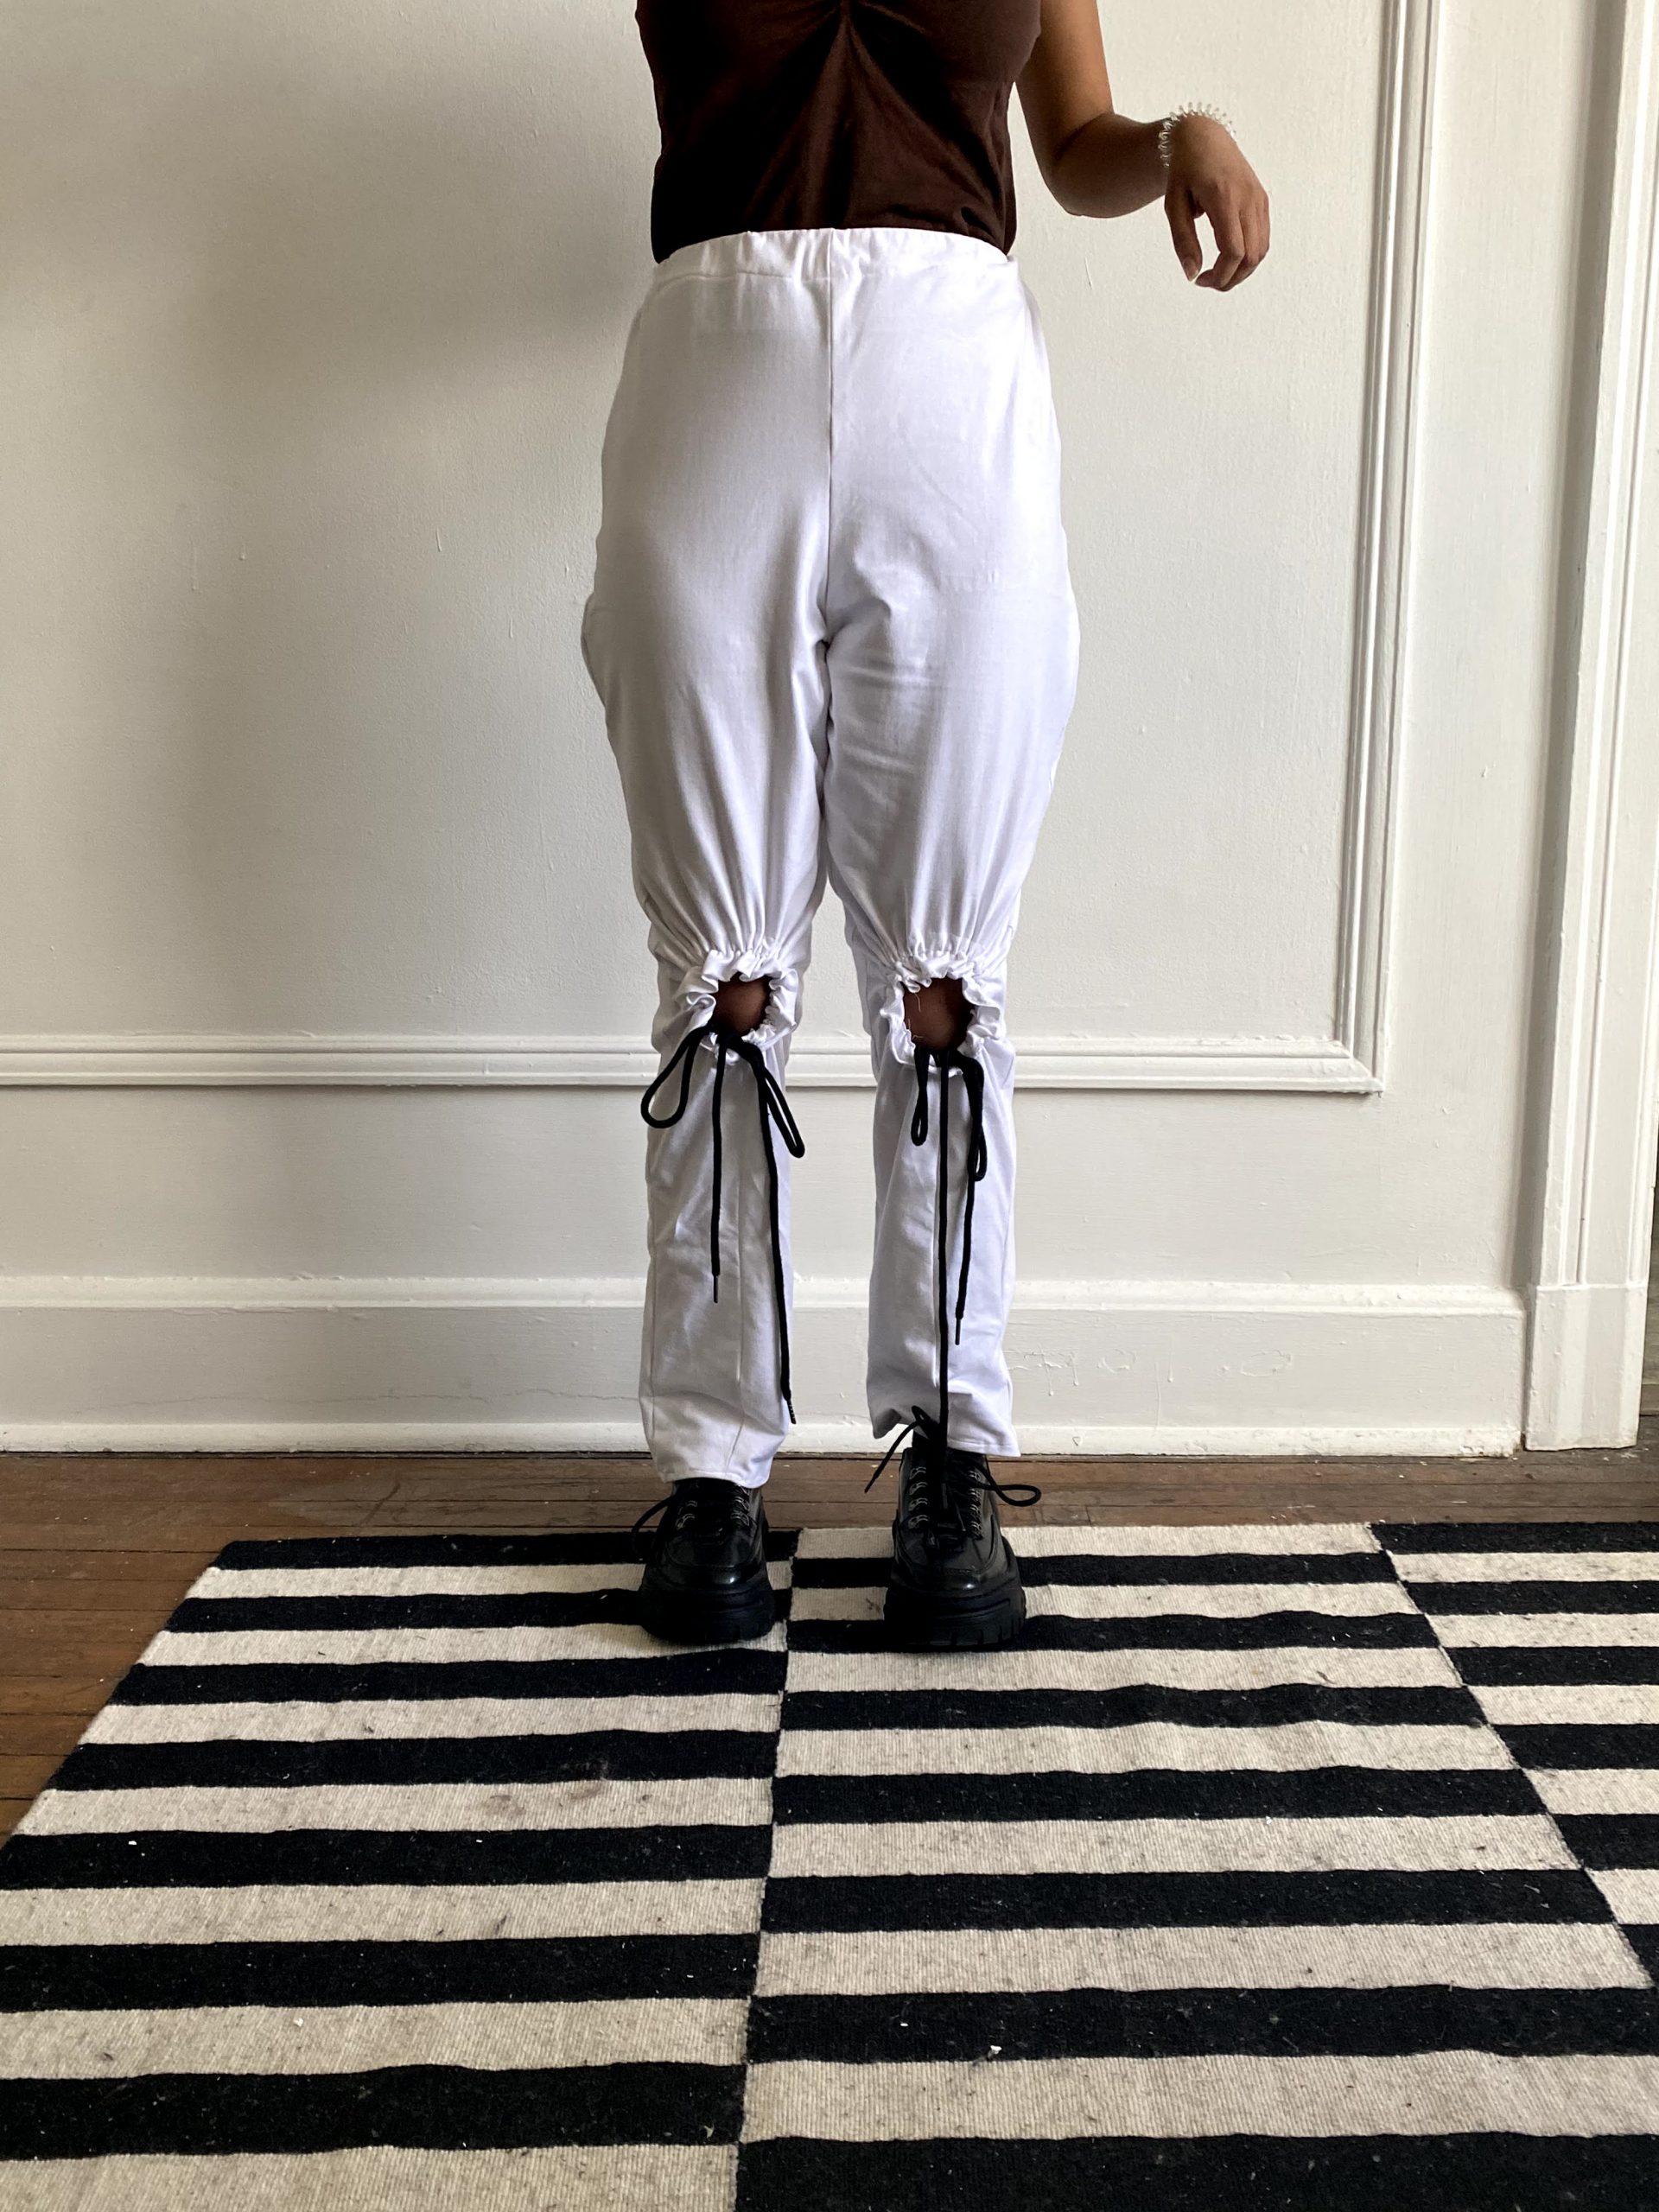
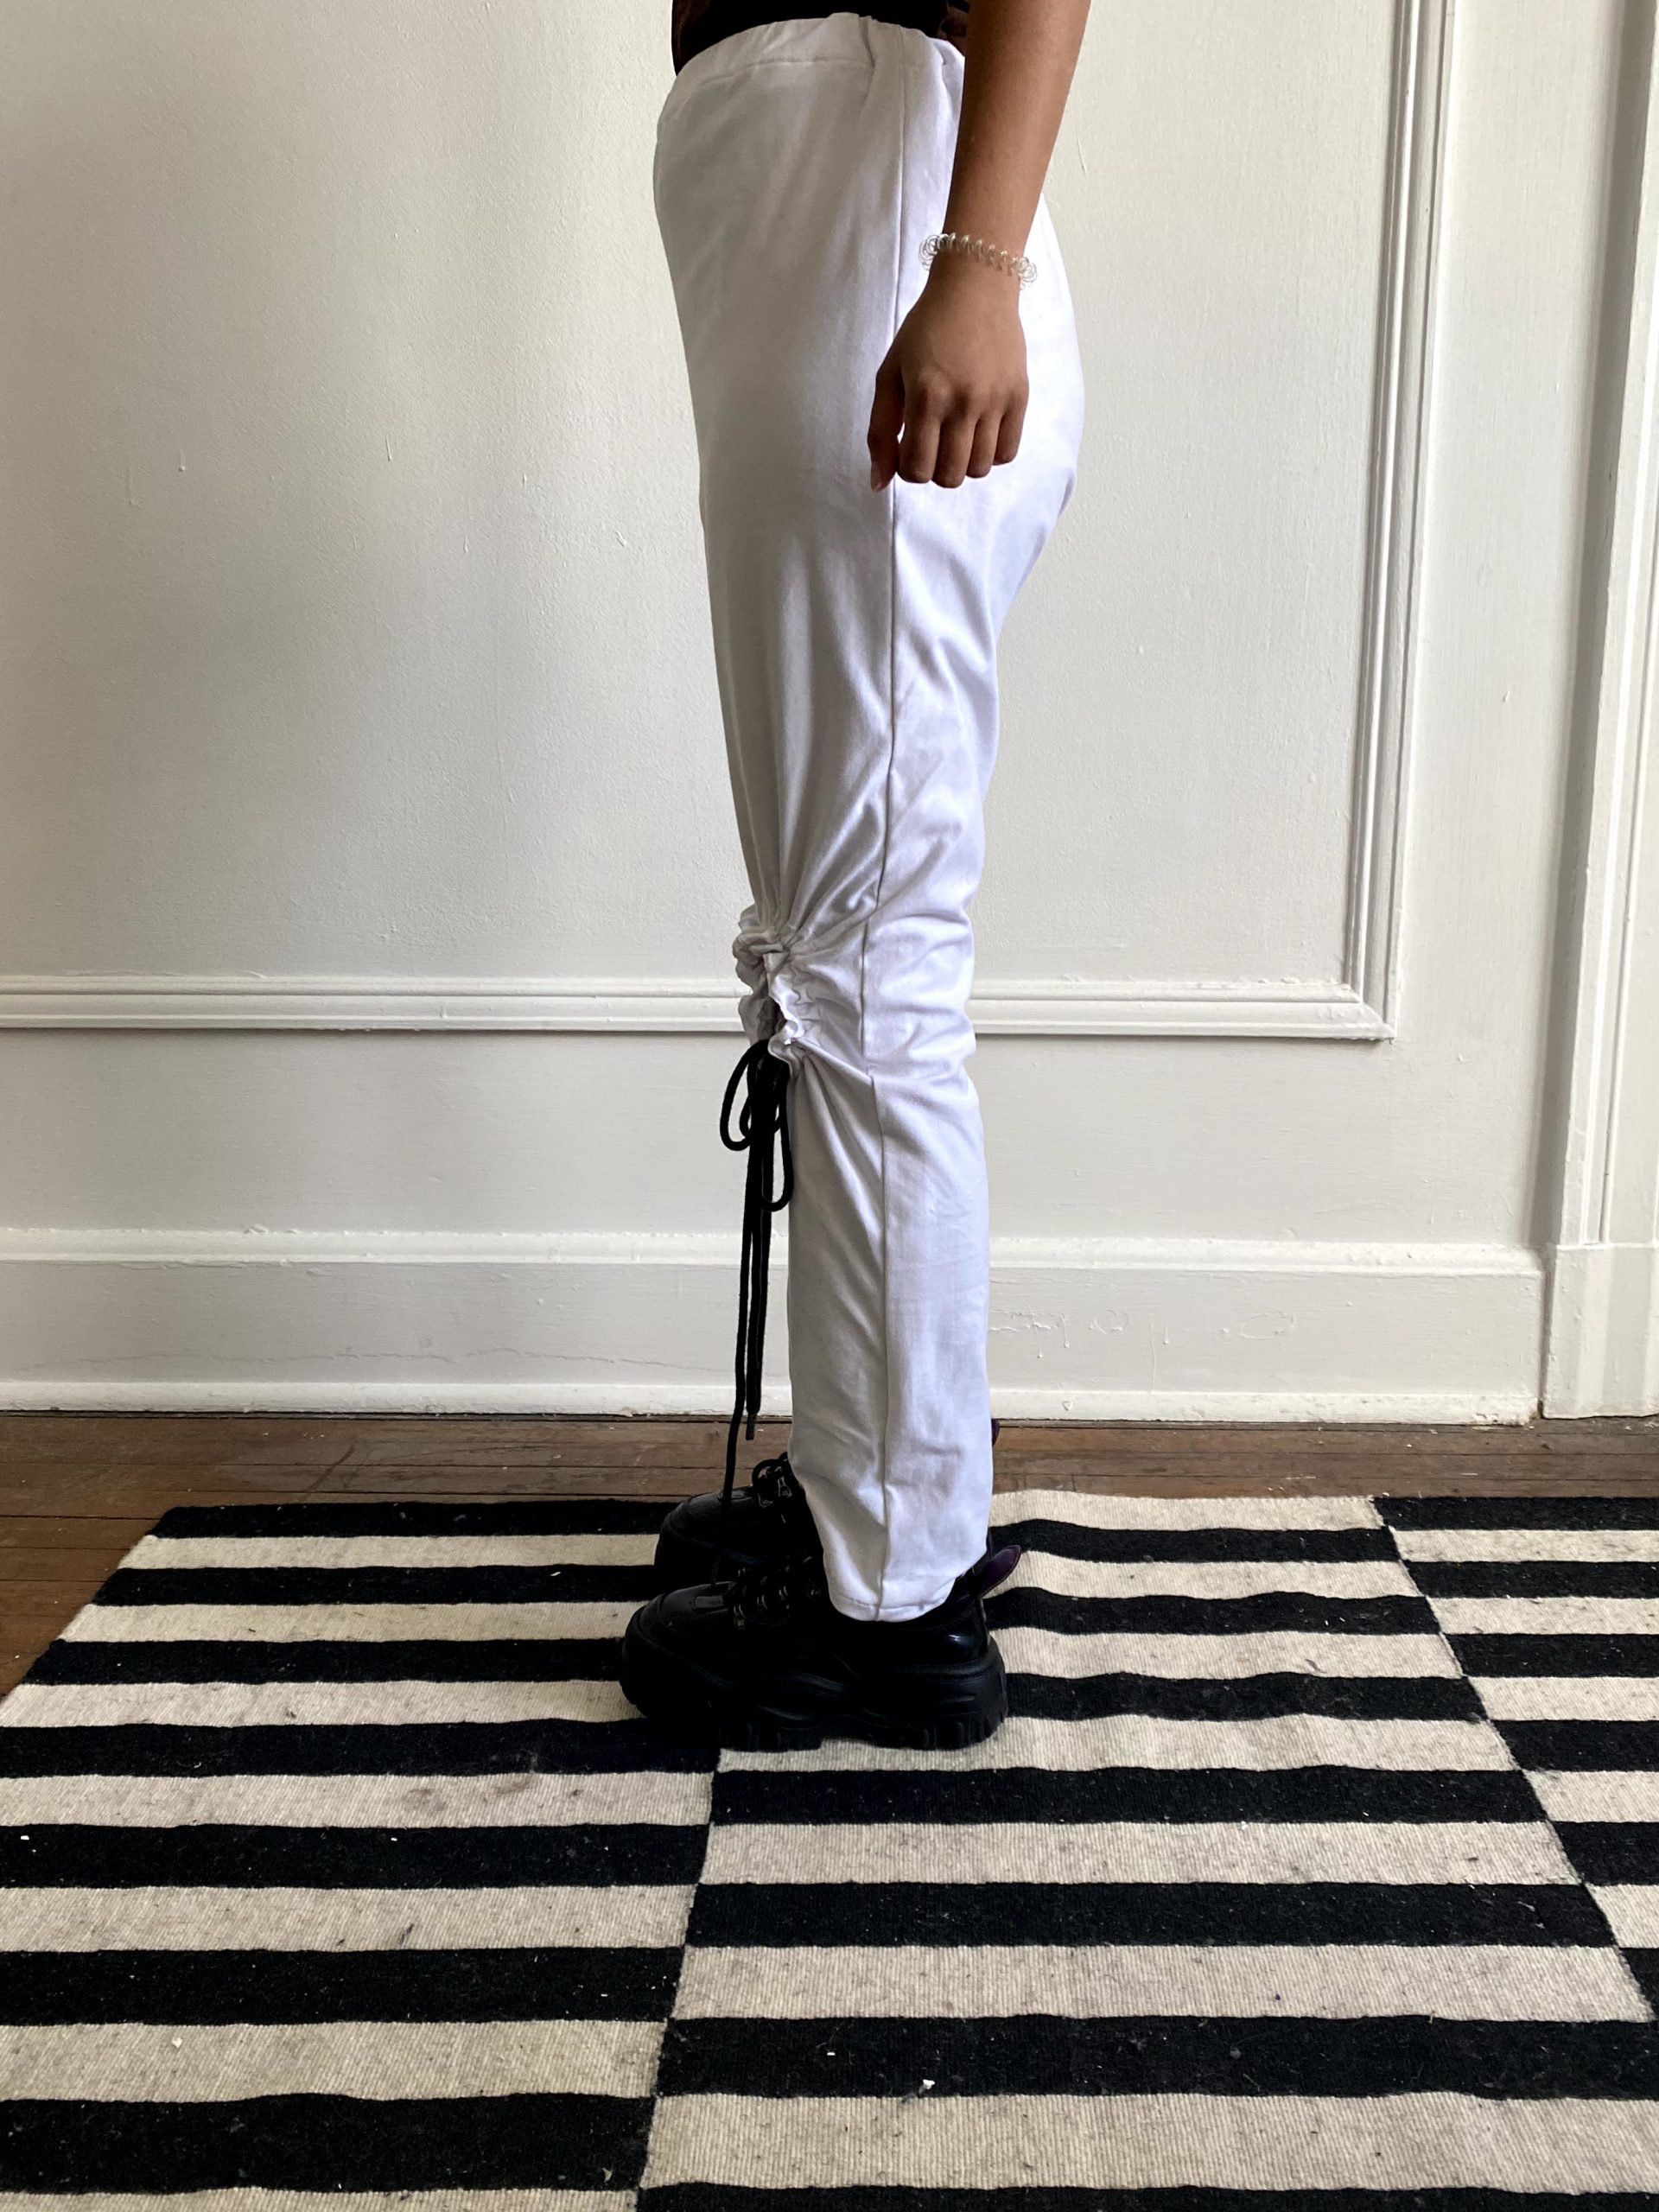
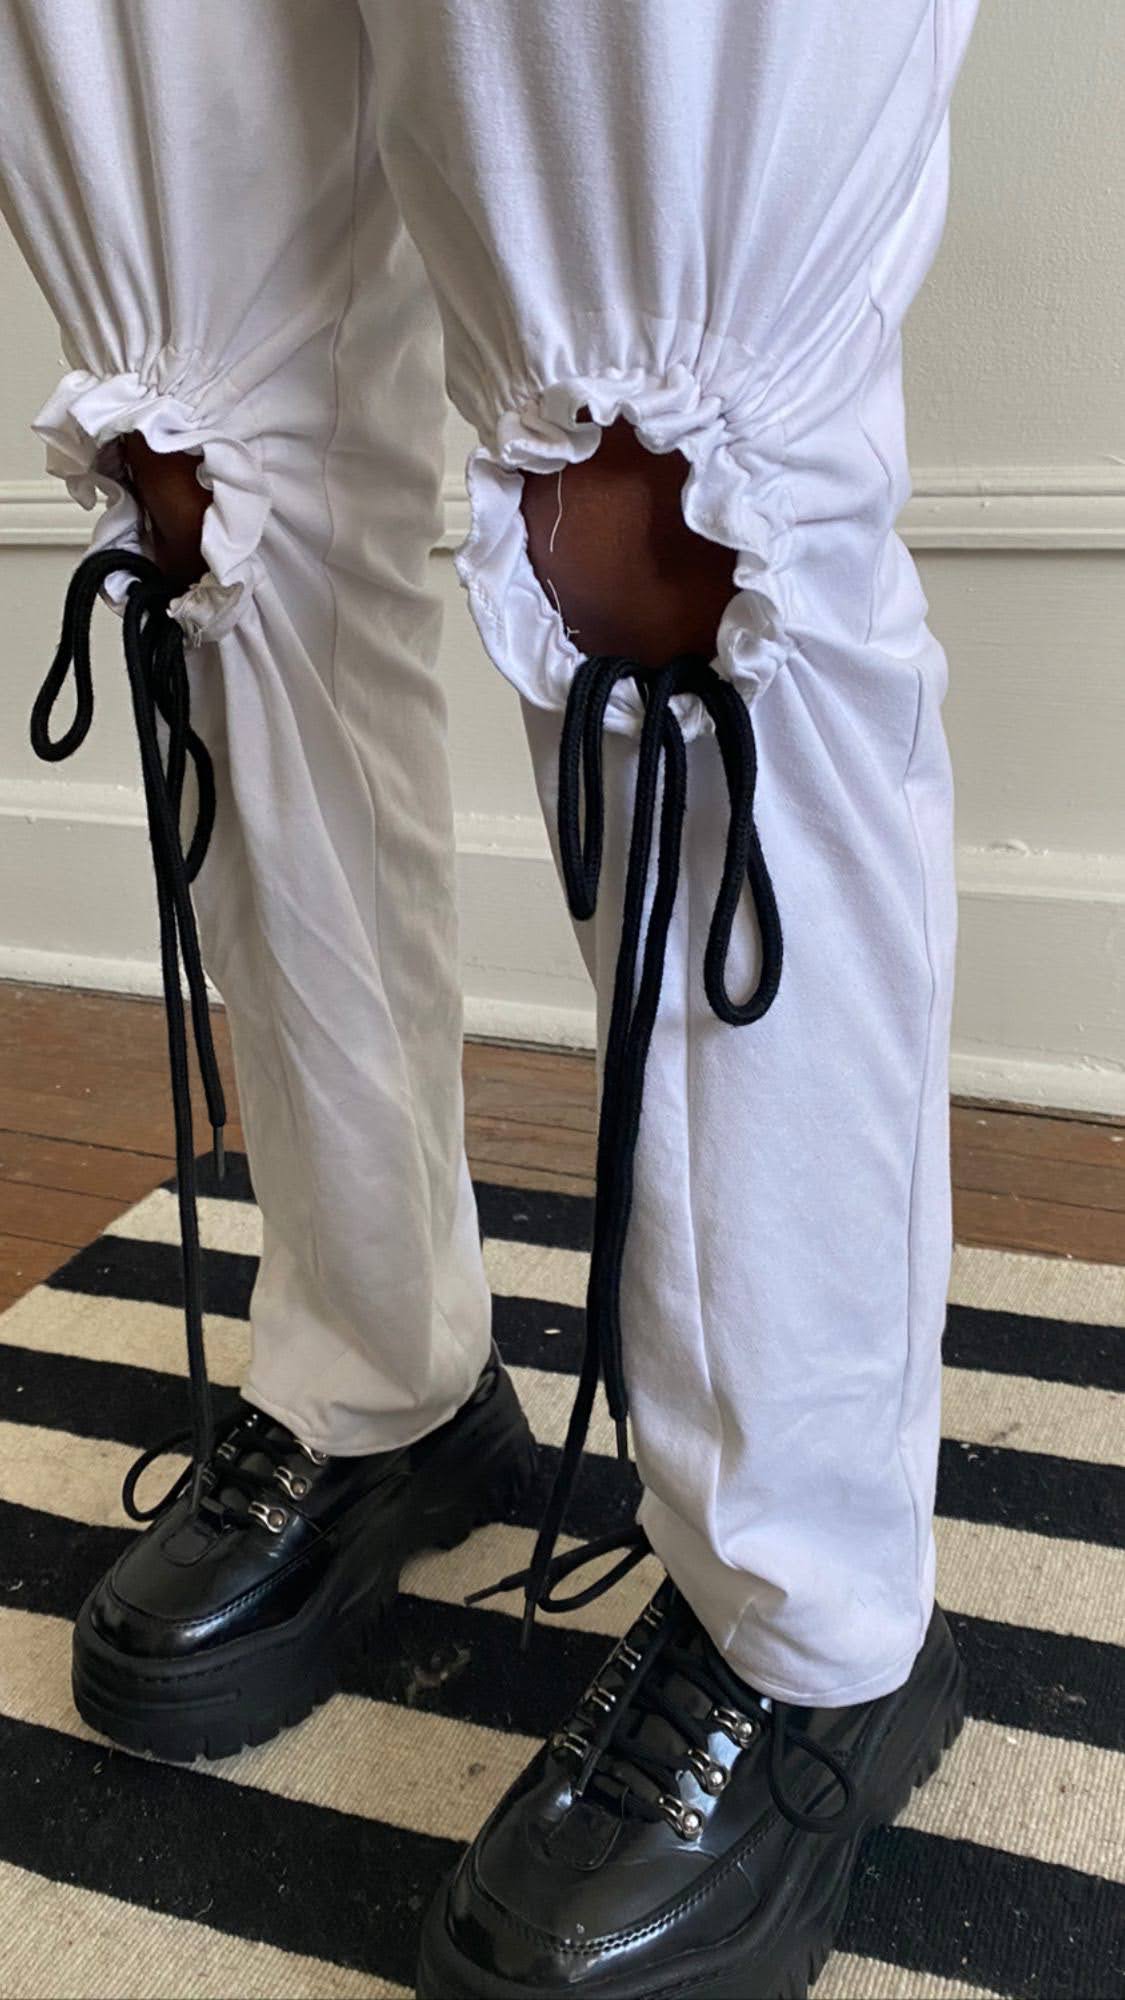
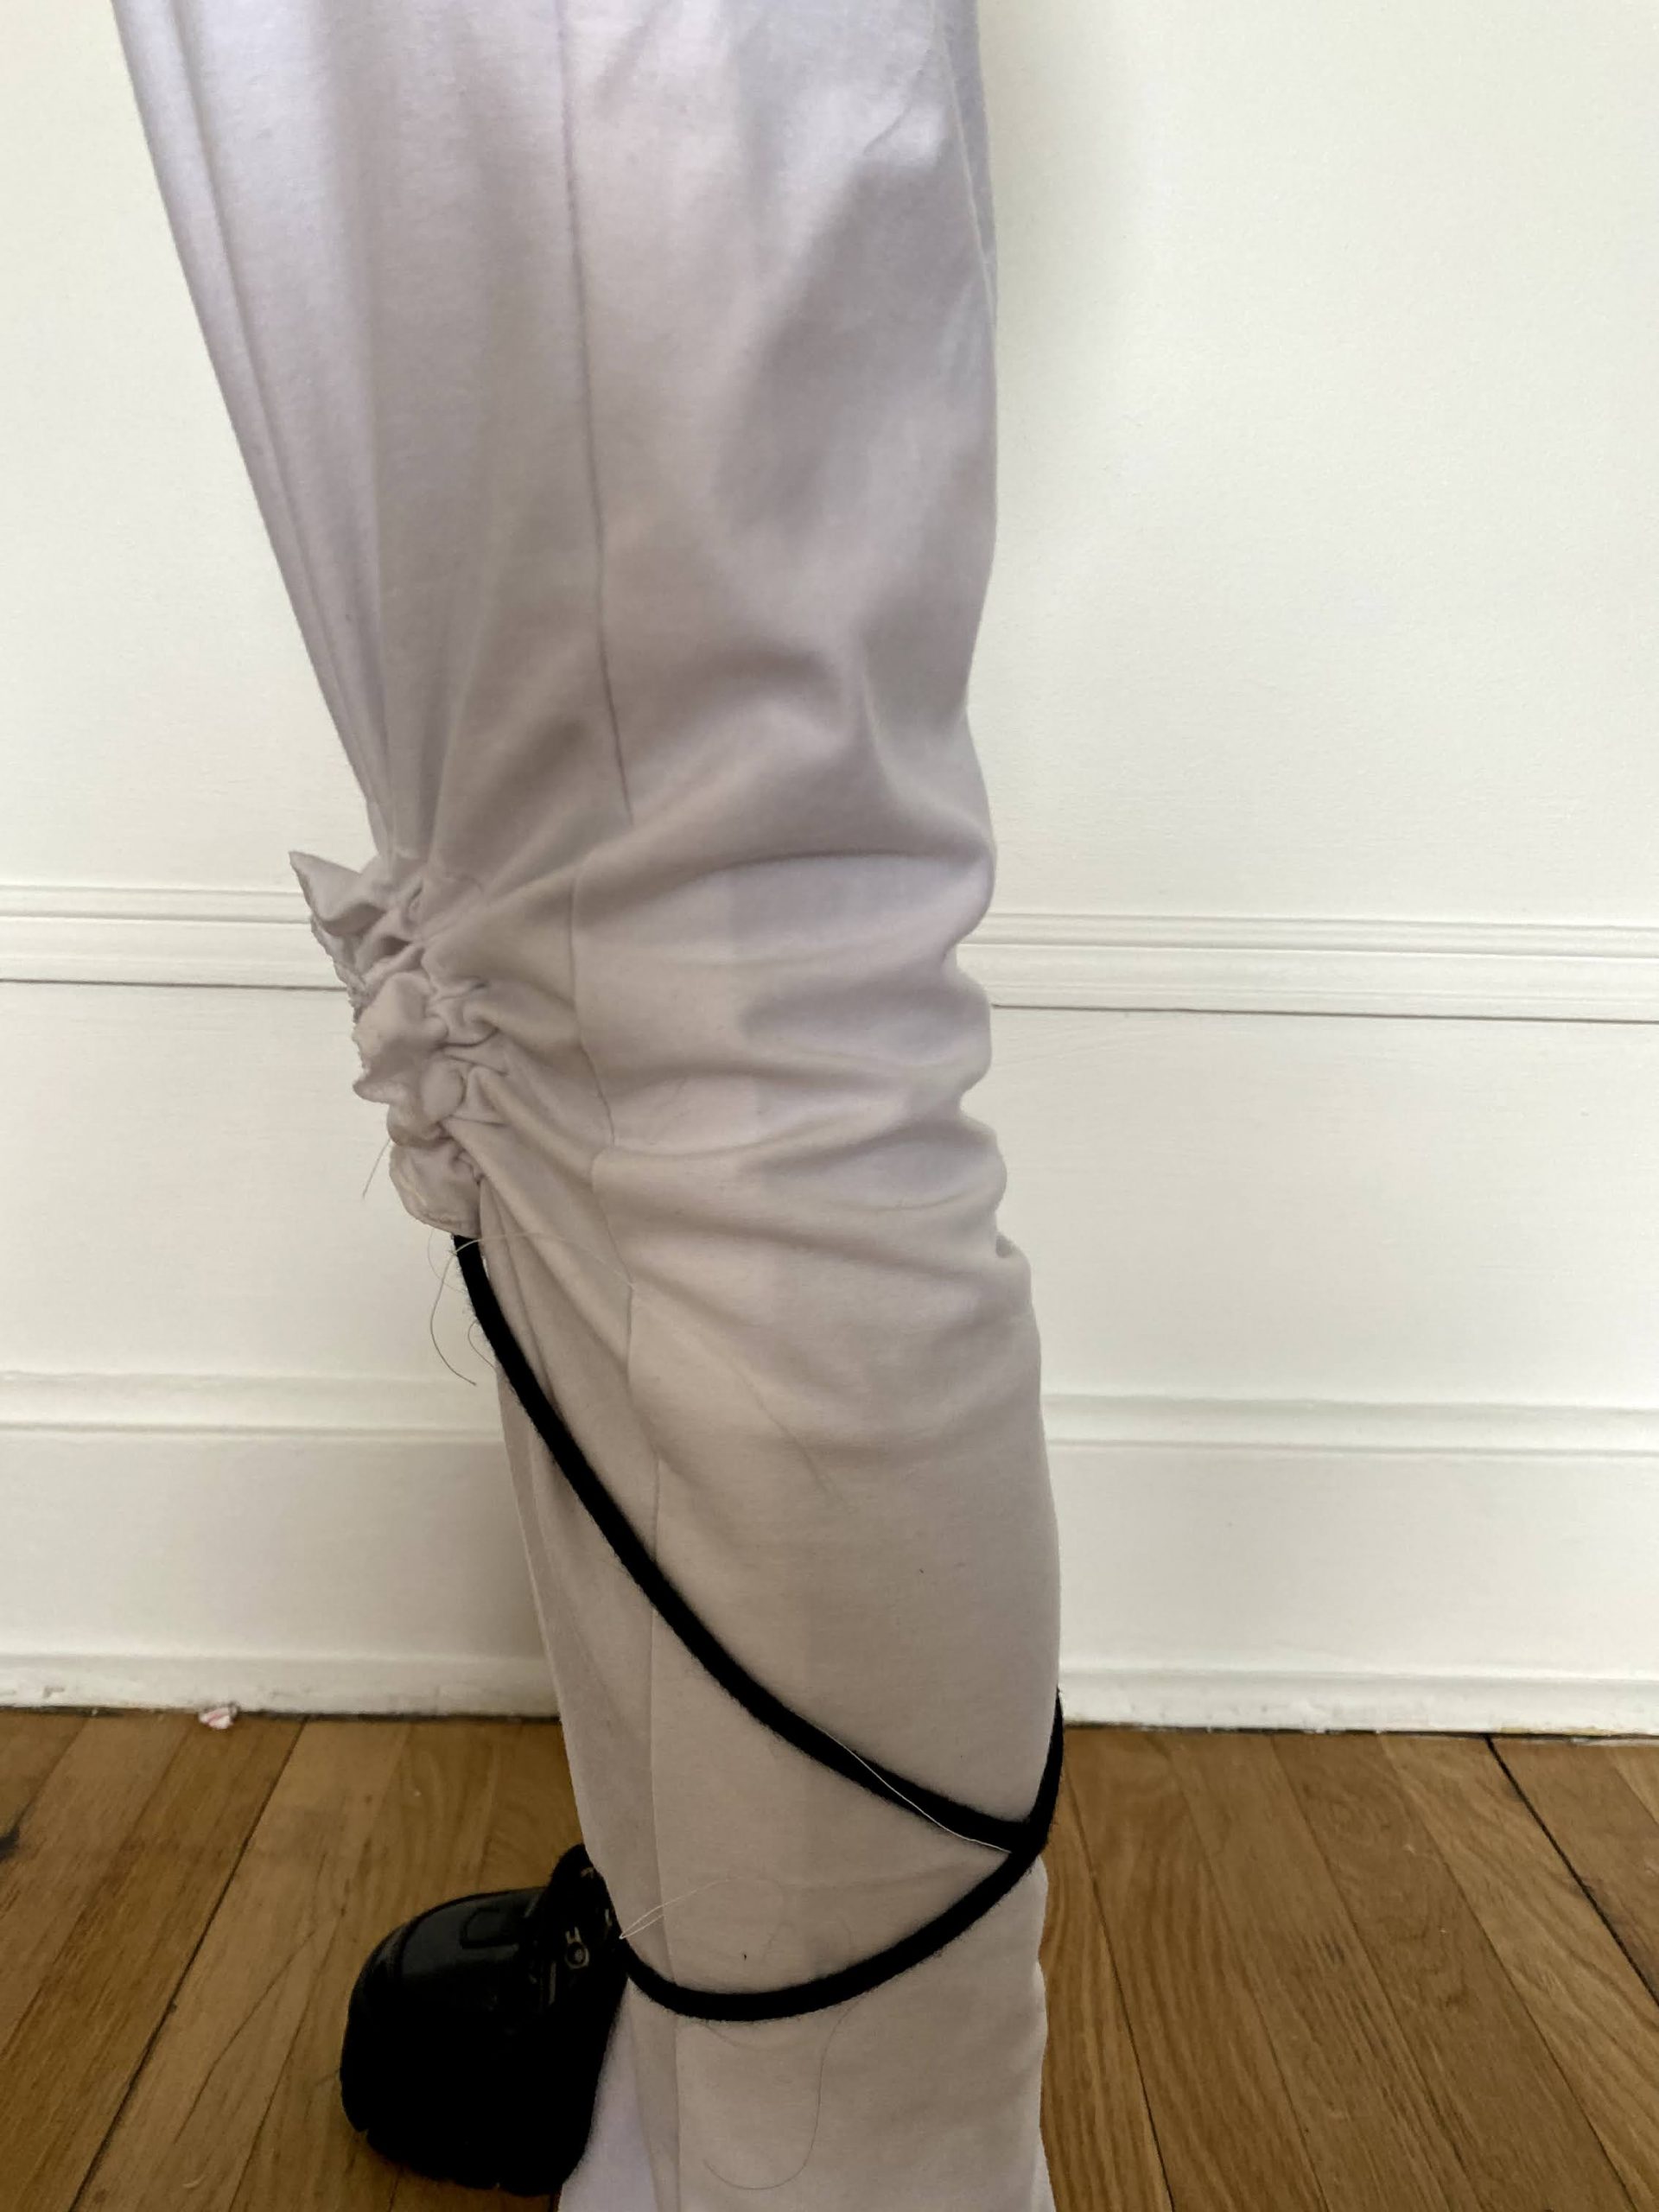
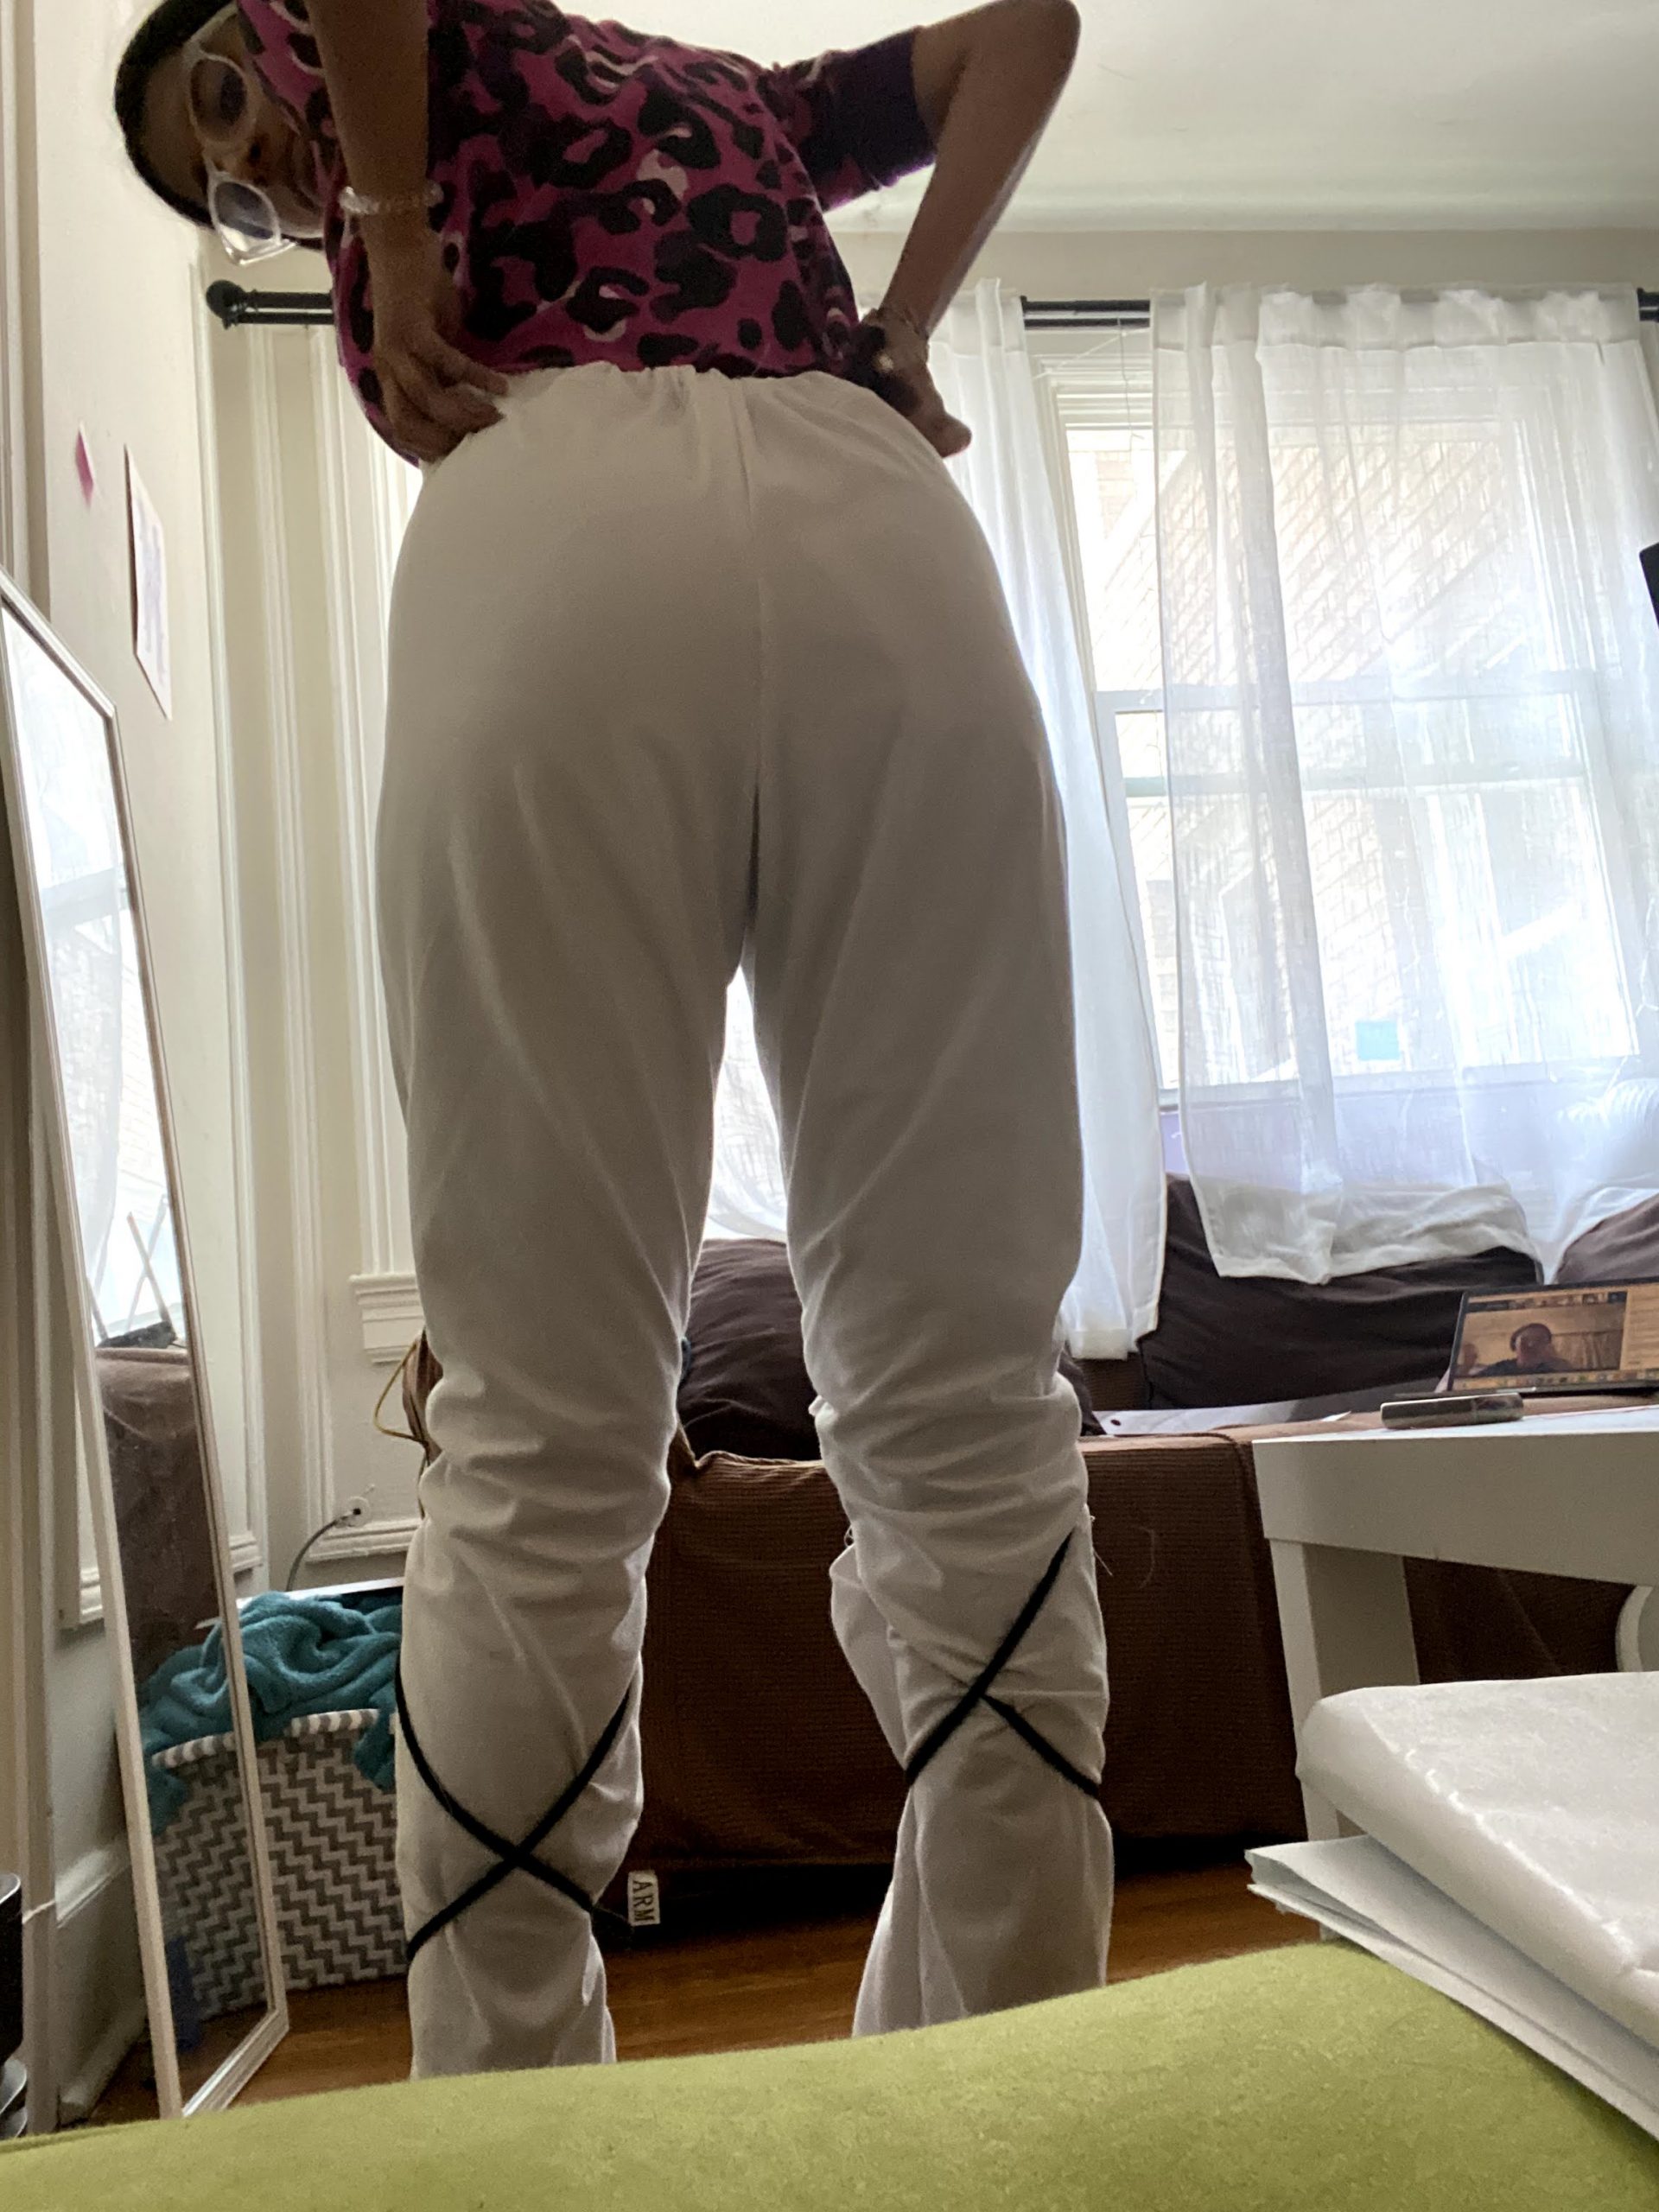
When patterning, I was quite worried about the knee placement and size, as well as, the gather element of the piece. It worked out perfectly, with the knee hole being large enough for me to bend, and it hits at the knee when gathered and ungathered.
I think I choose the right fabric for this piece. That being said, I think during the patterning phase, I think I could have kept into account that the fabric had stretch to make a slightly more form fitting garment.
Future direction
I hope to dye this garment! I wanted to possibly due a light brown, and I bought white drawstring that I will dye a contrasting color!
In terms of other garments, I hope to make more pants! I had originally planned to do more holes, without gathers, randomly placed around the pant and I think I would like to make a pair of pants with lots of these holes, but without the gather. I want to try experimenting with more mesh-like fabrics in the future as well.


Experience:
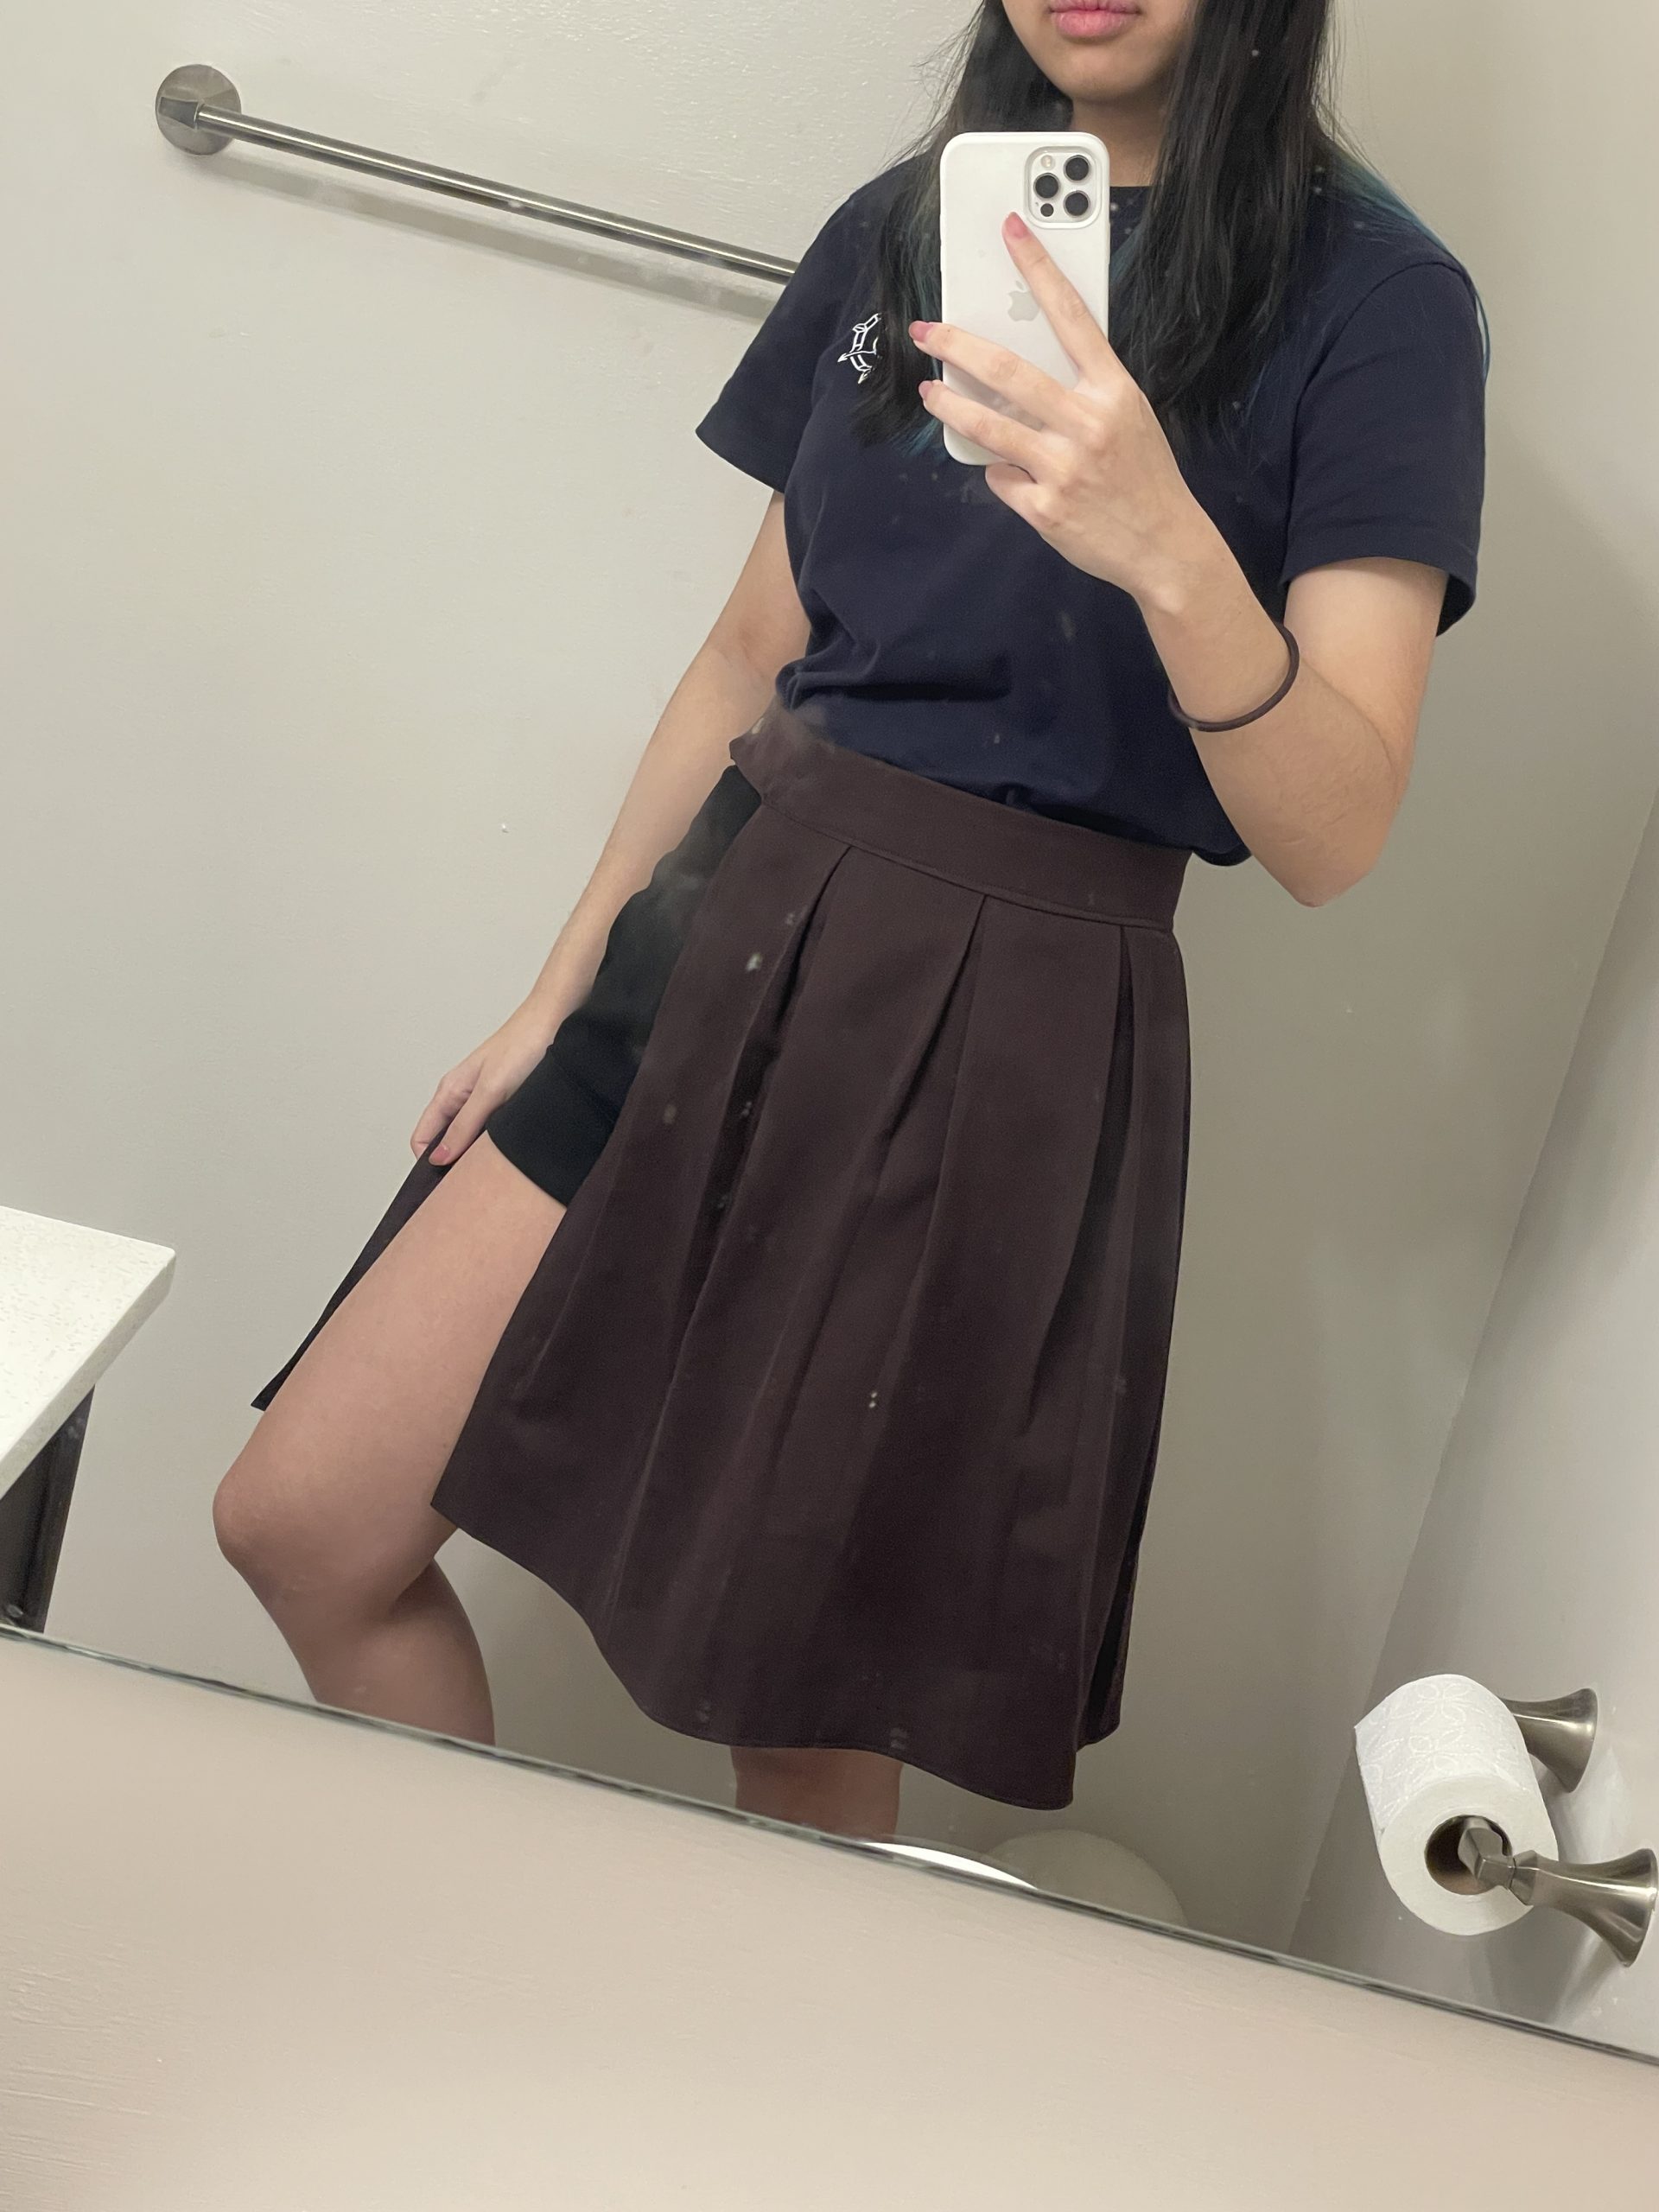
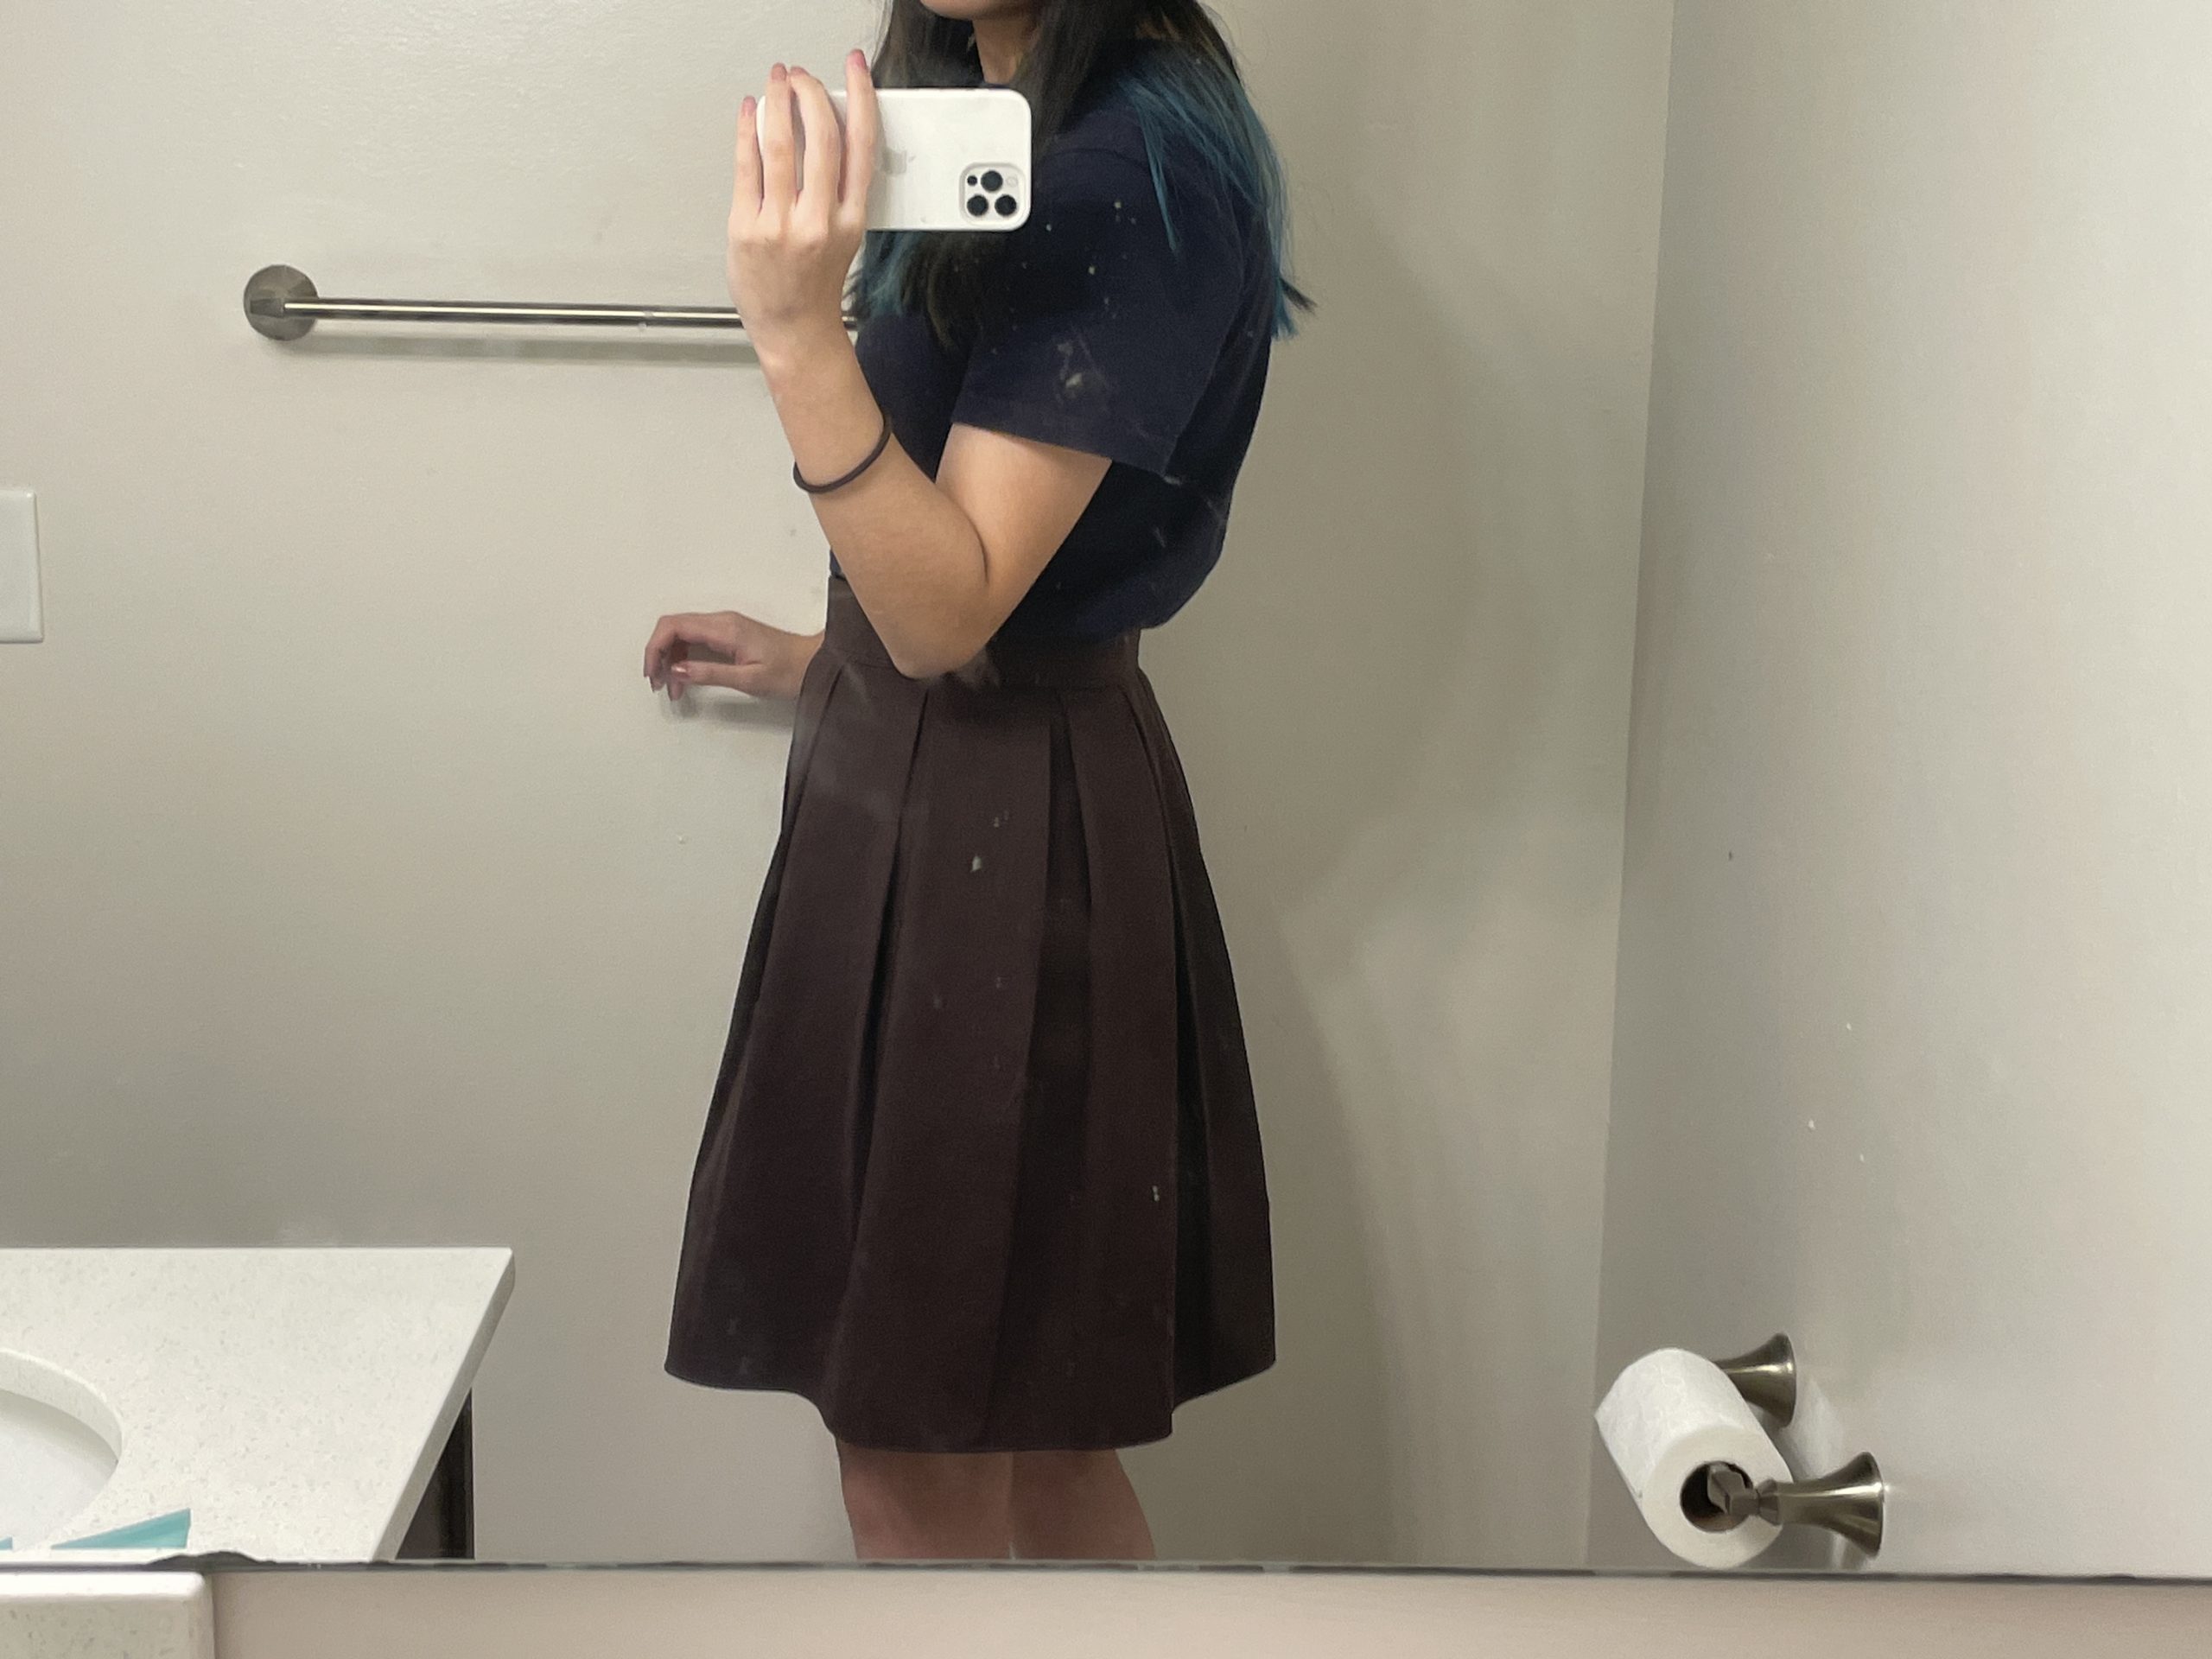
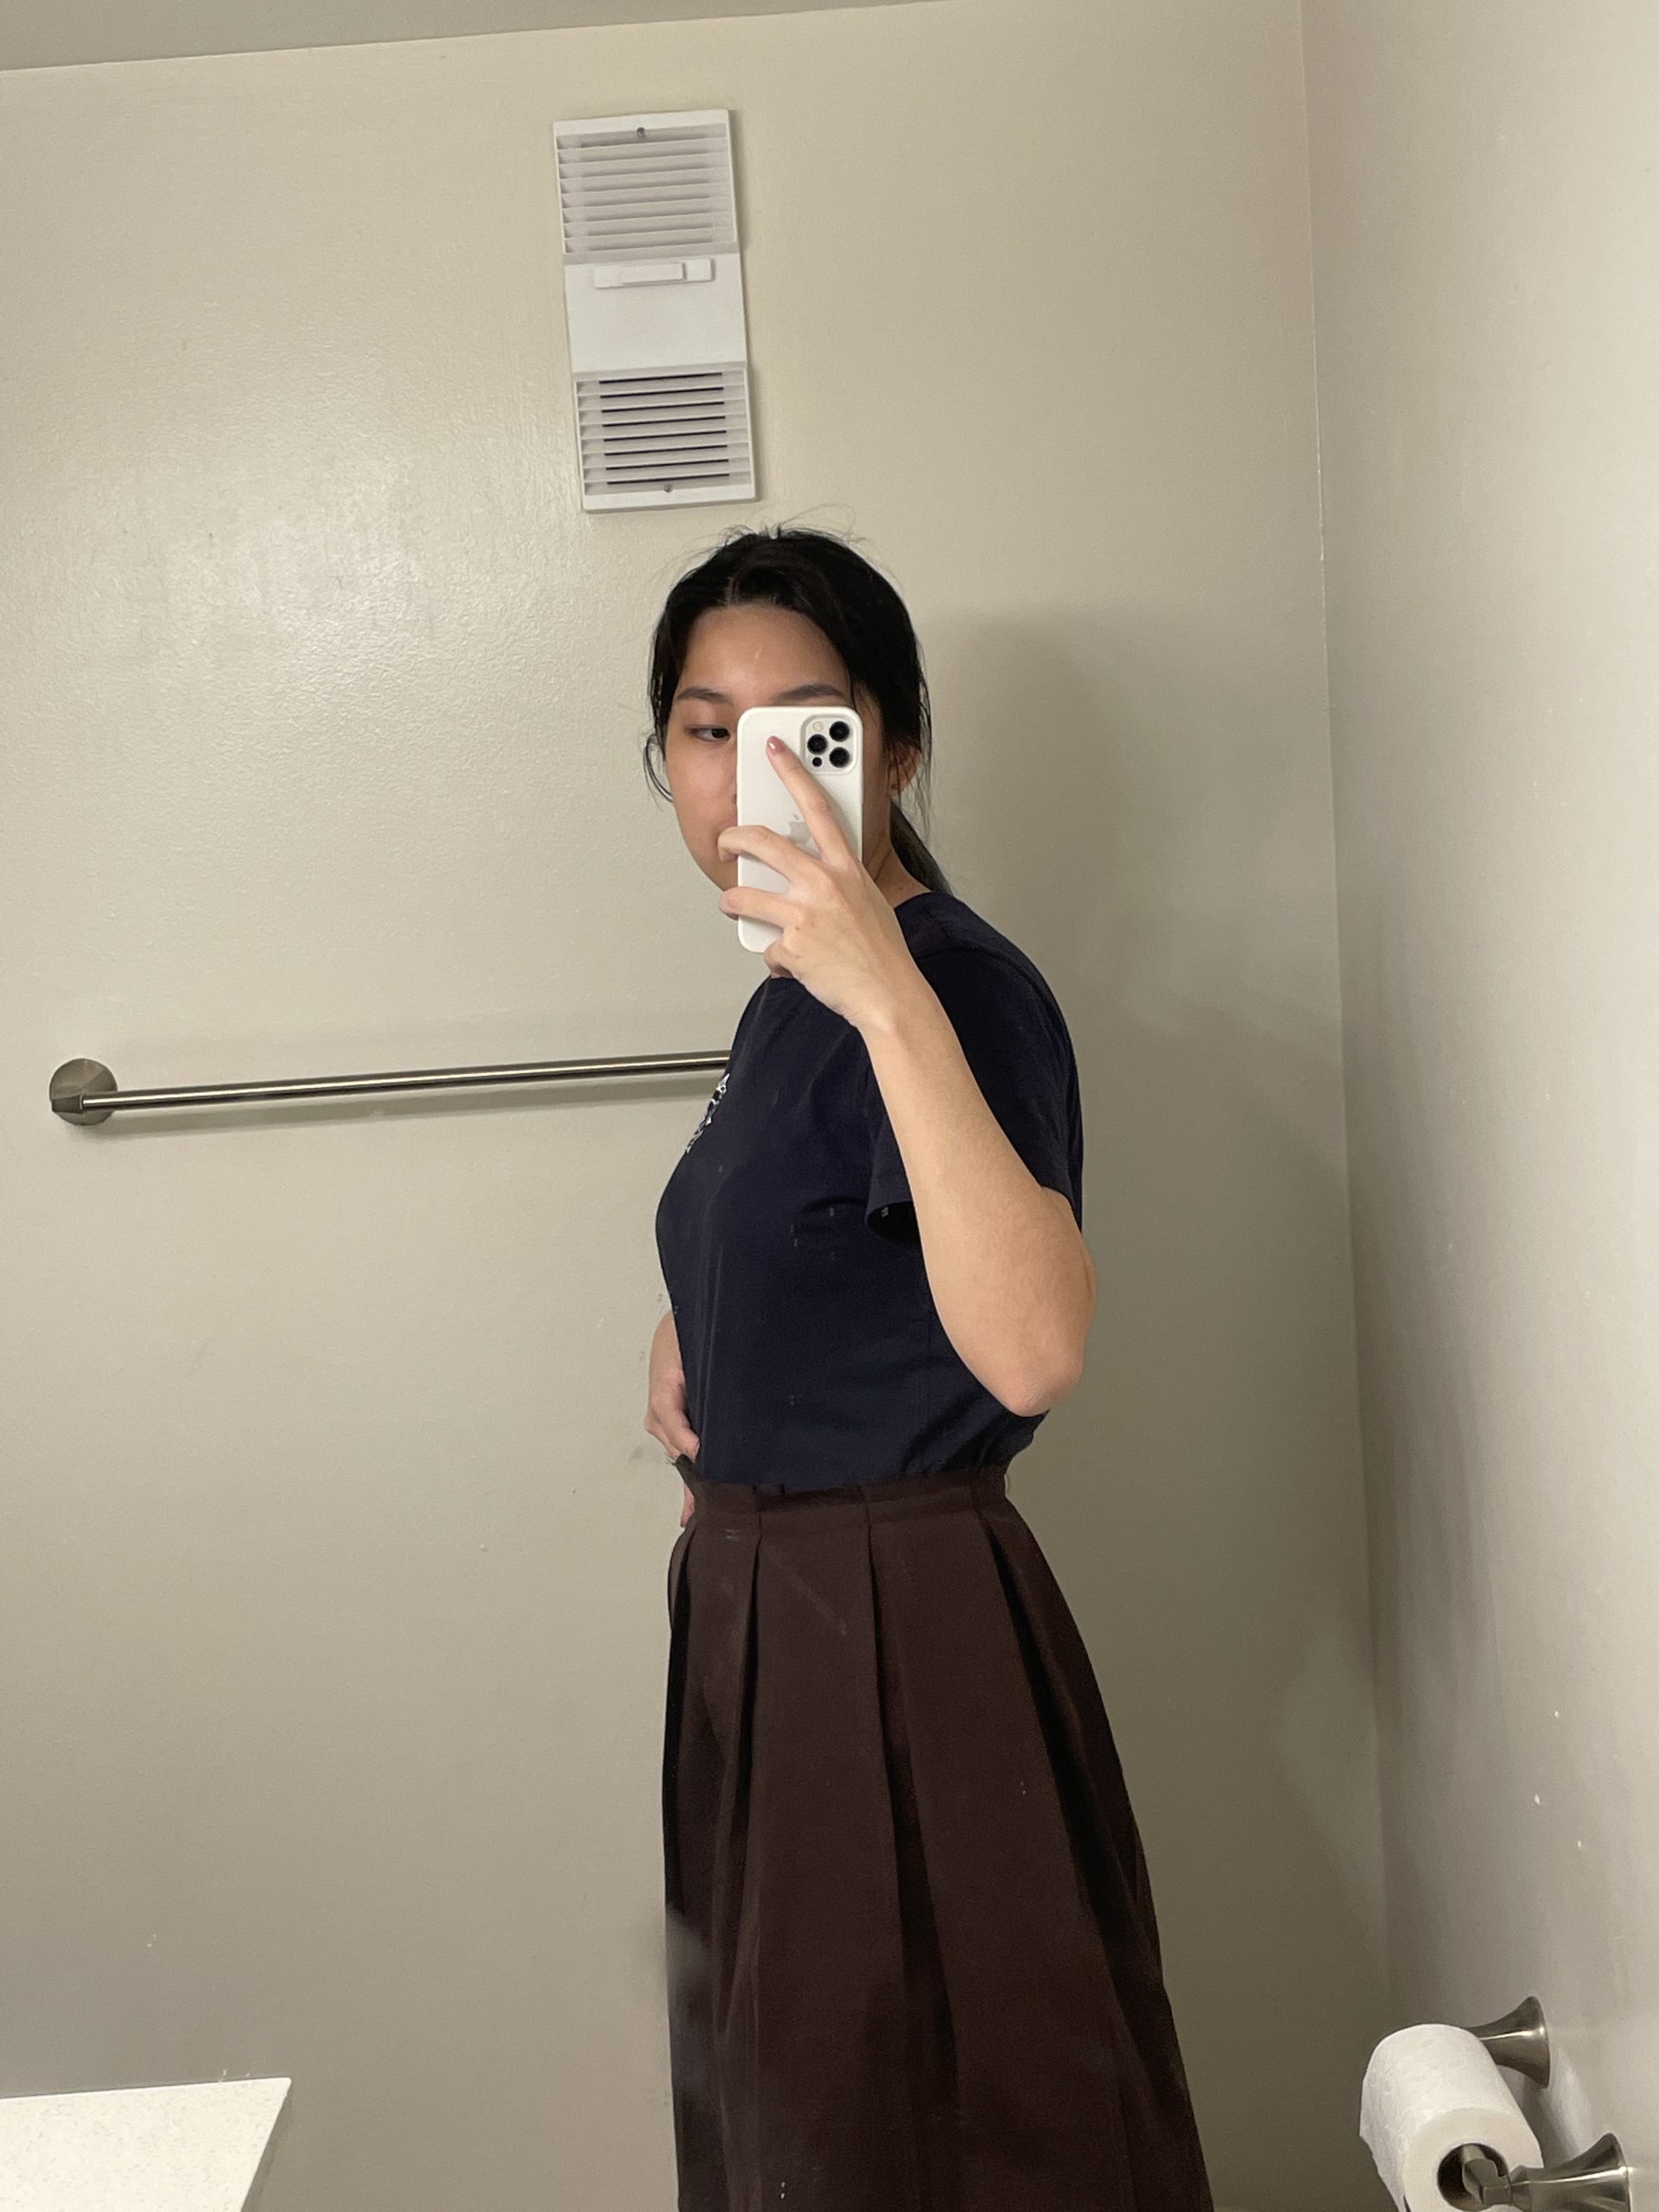
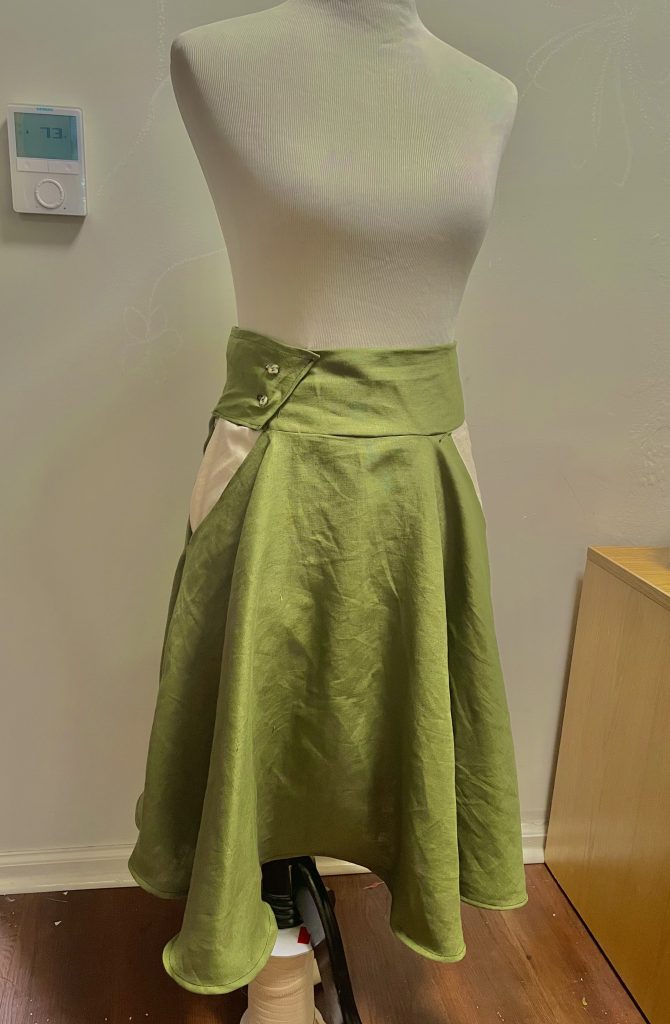
I’ve always wanted to make a skirt, and so I thought this was so fun and satisfying to make (especially when hemming and adding waistband).
Successes/Mistakes:
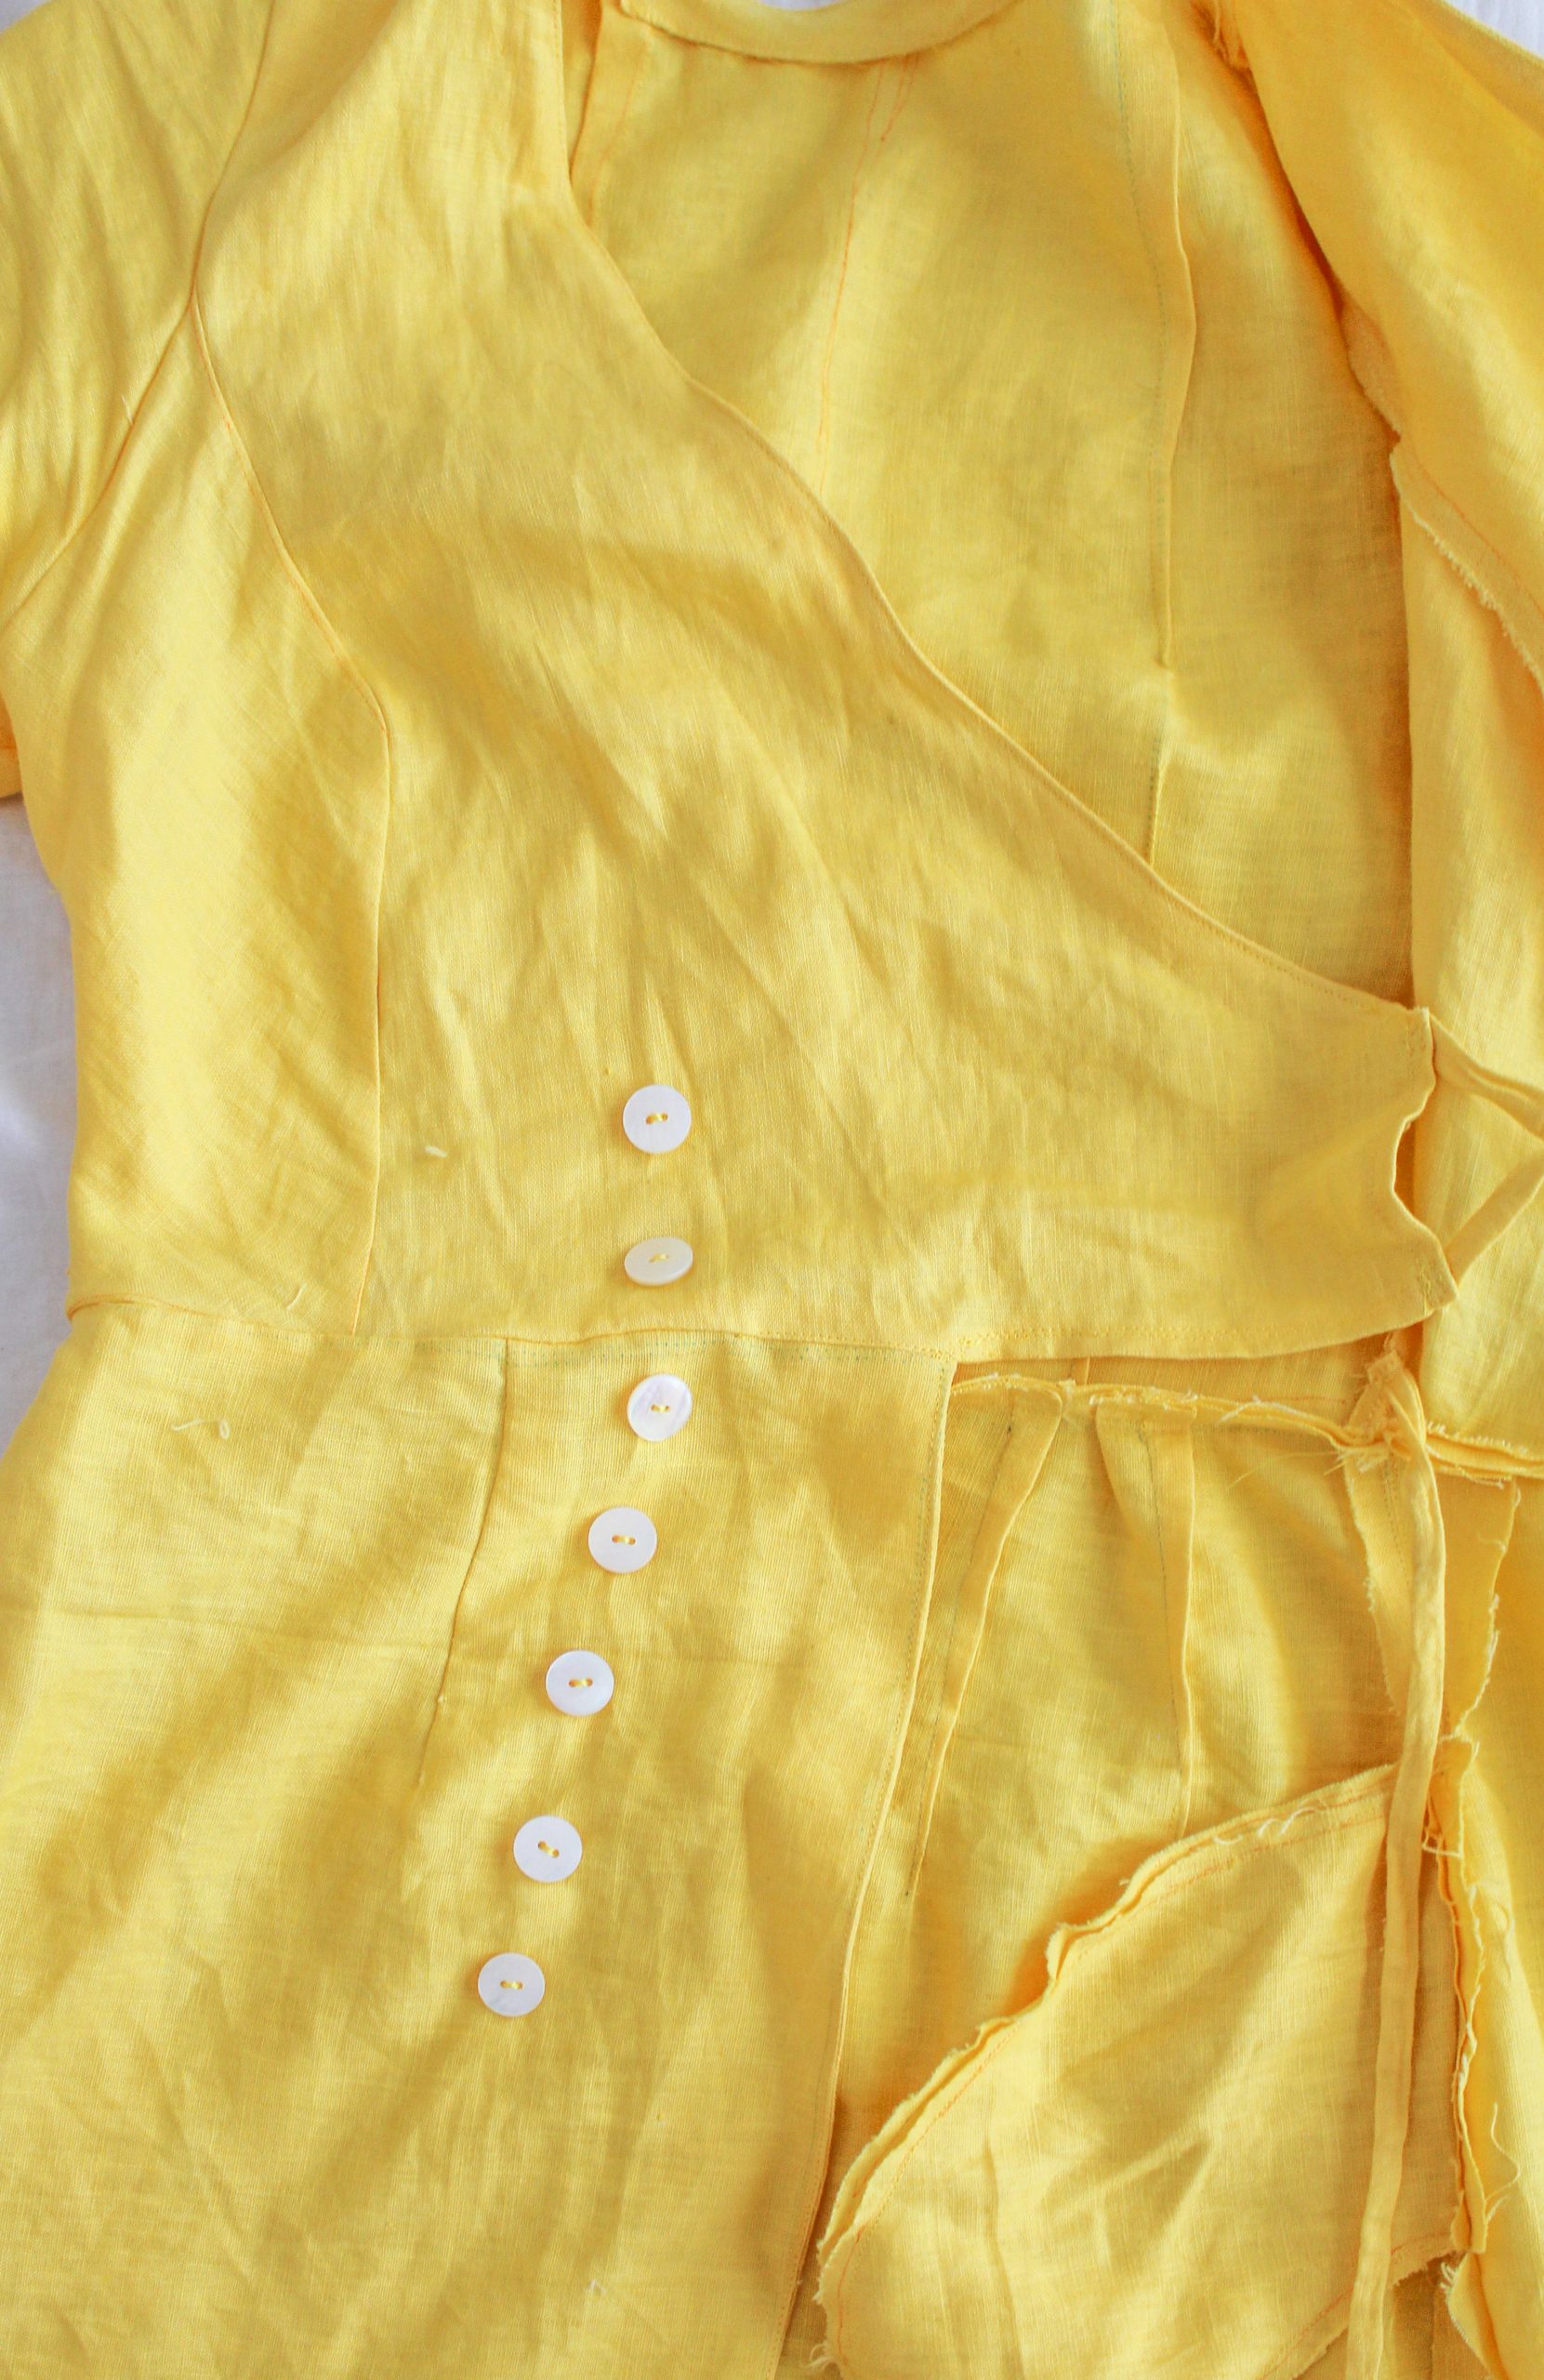
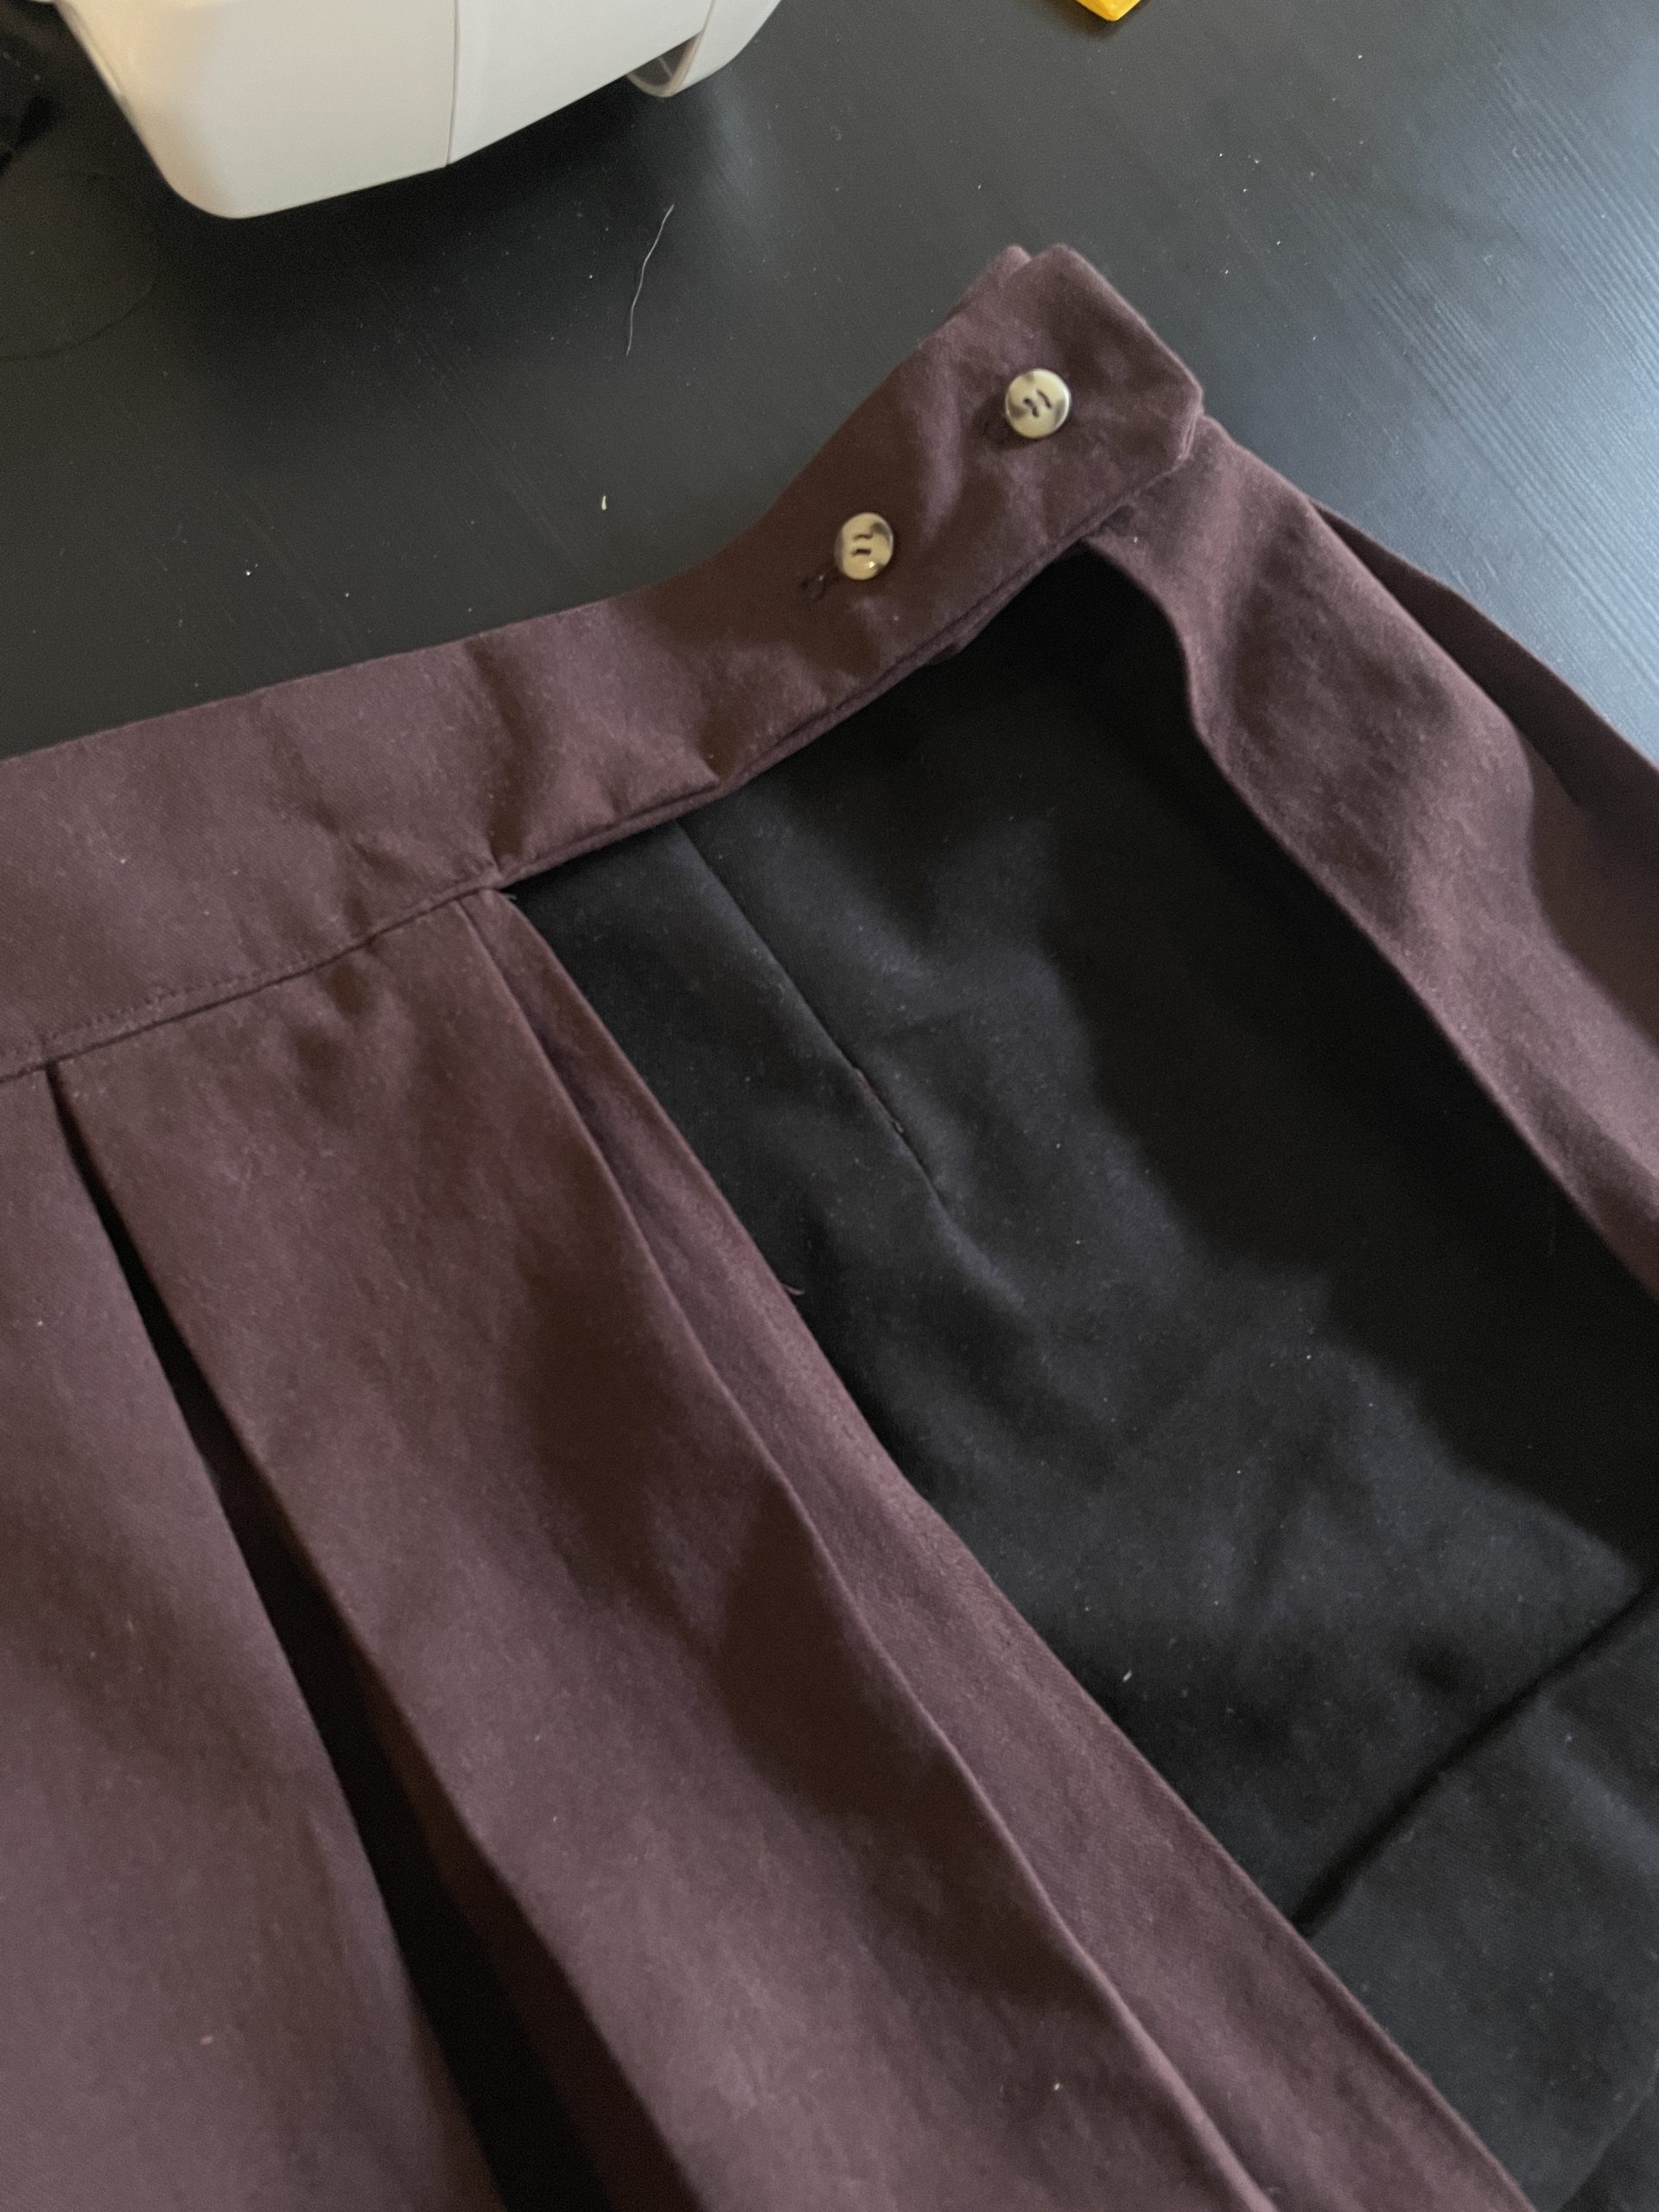
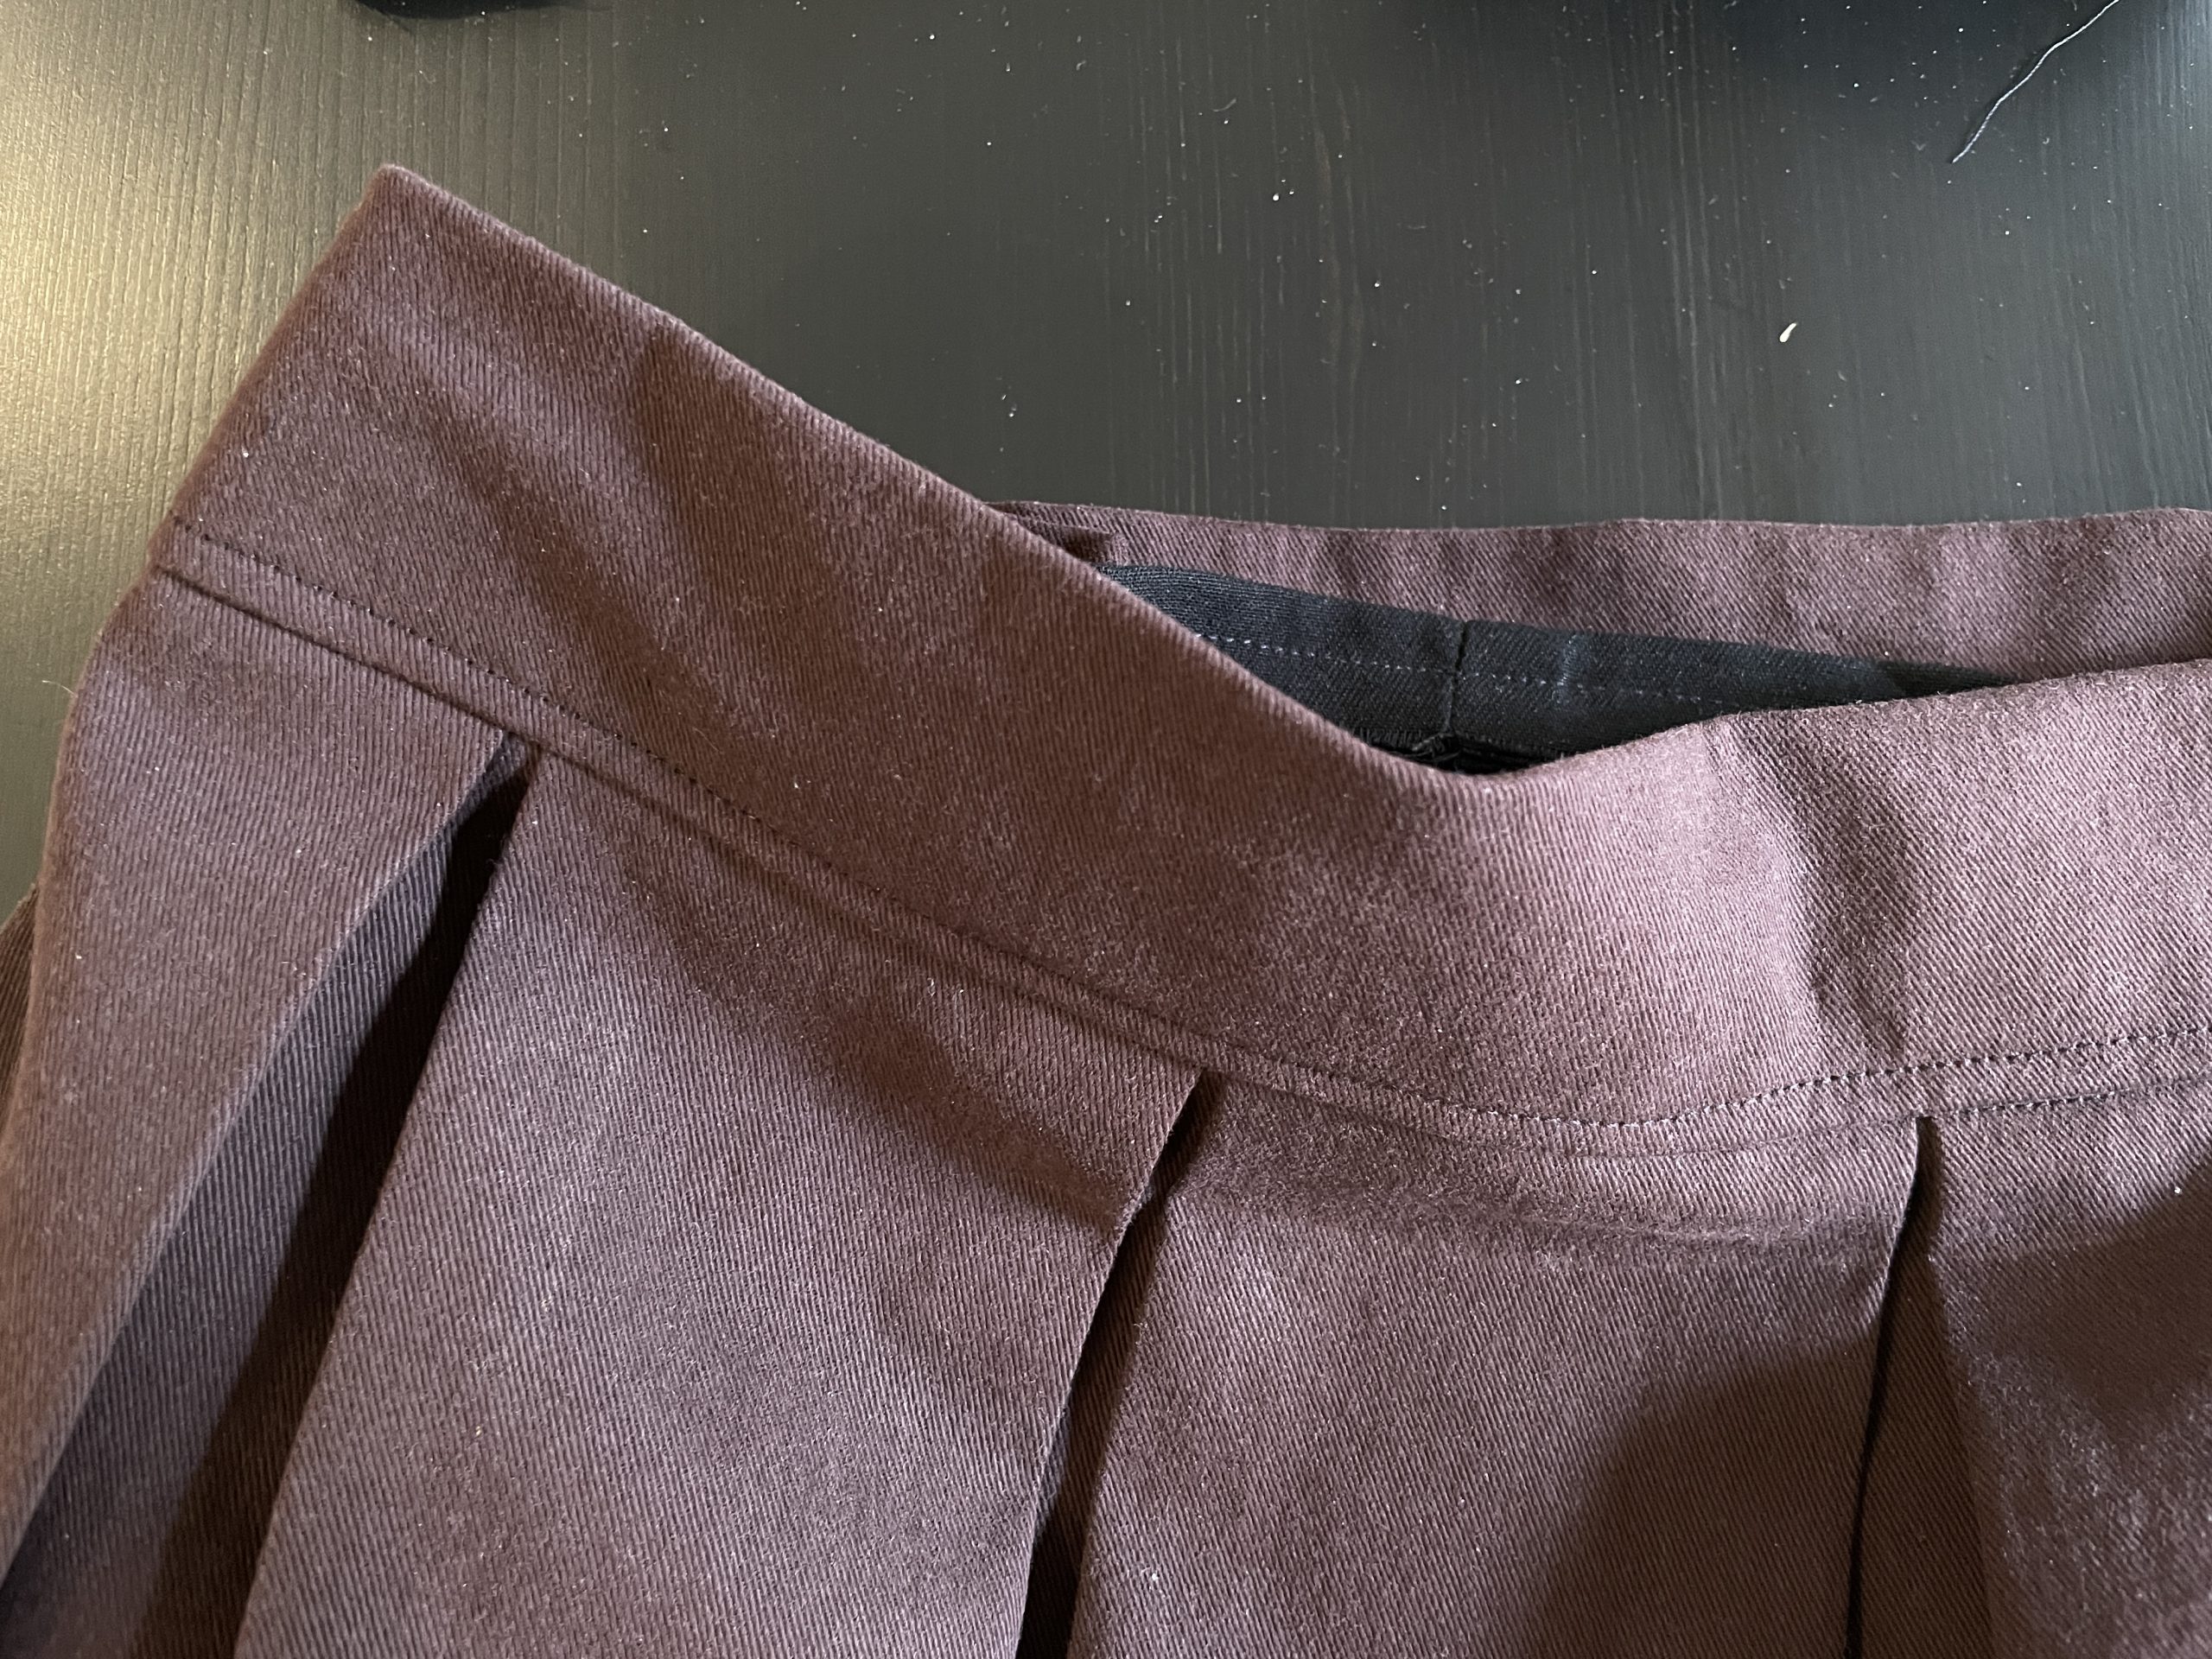
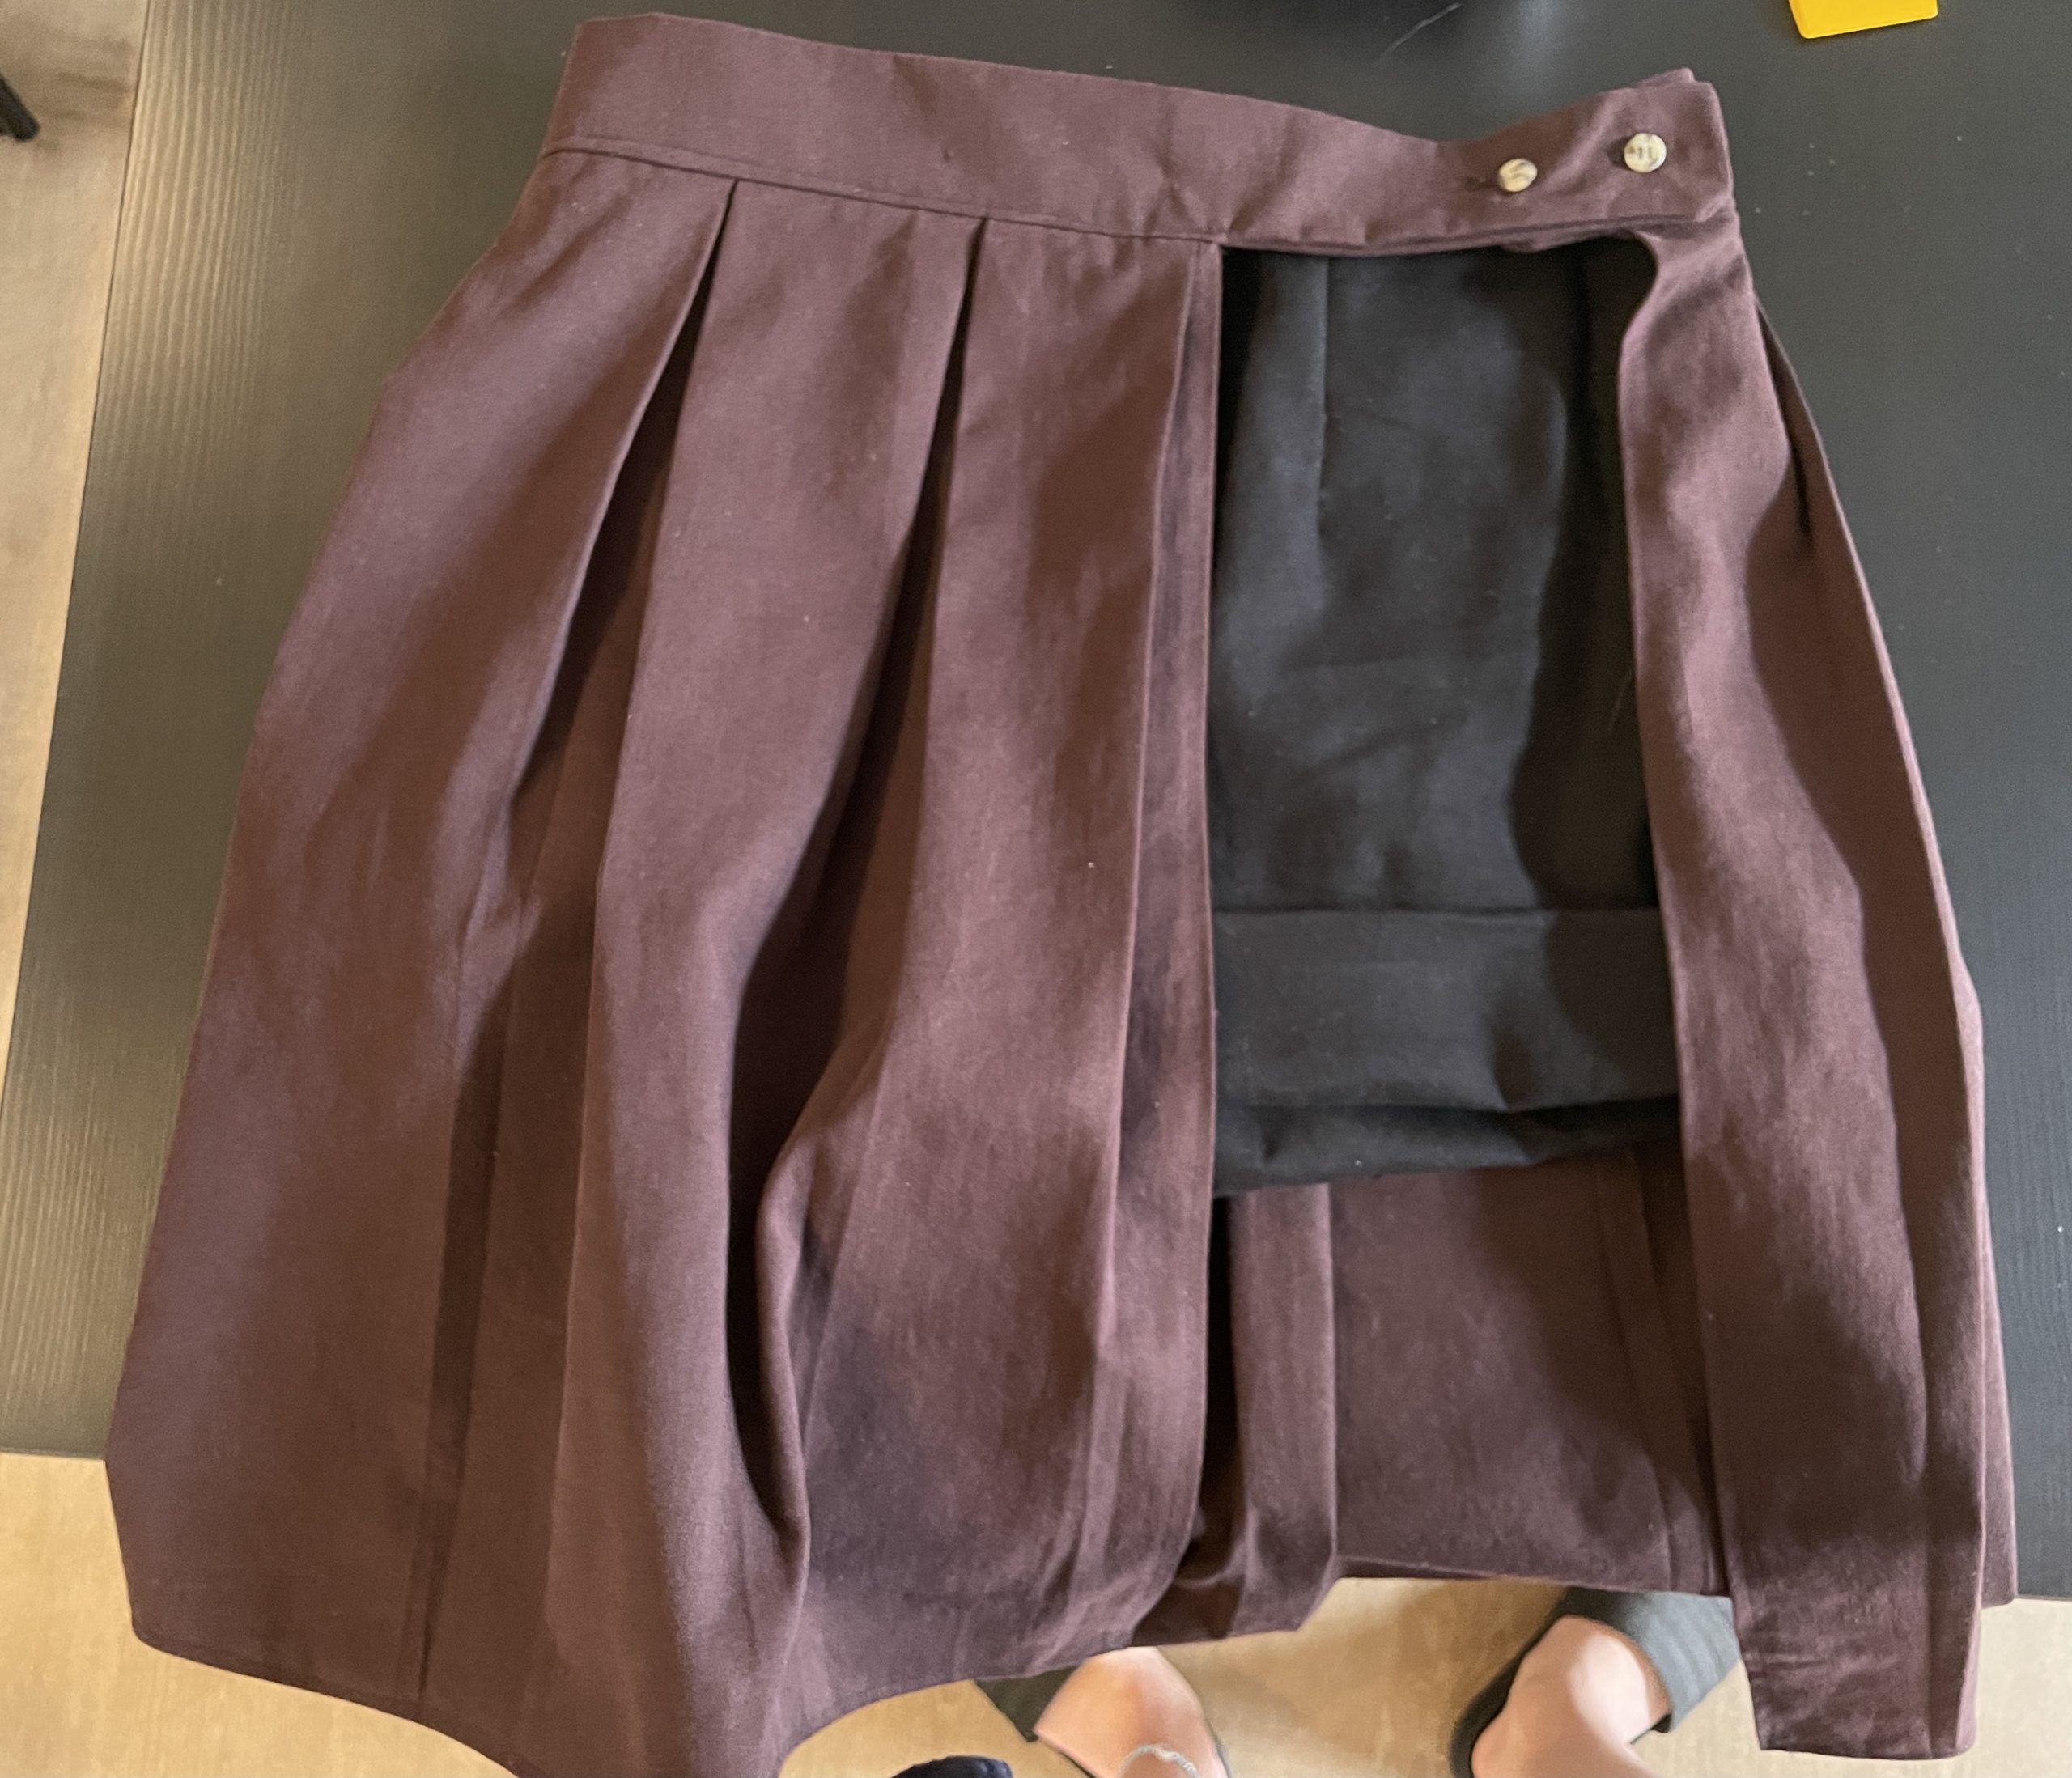
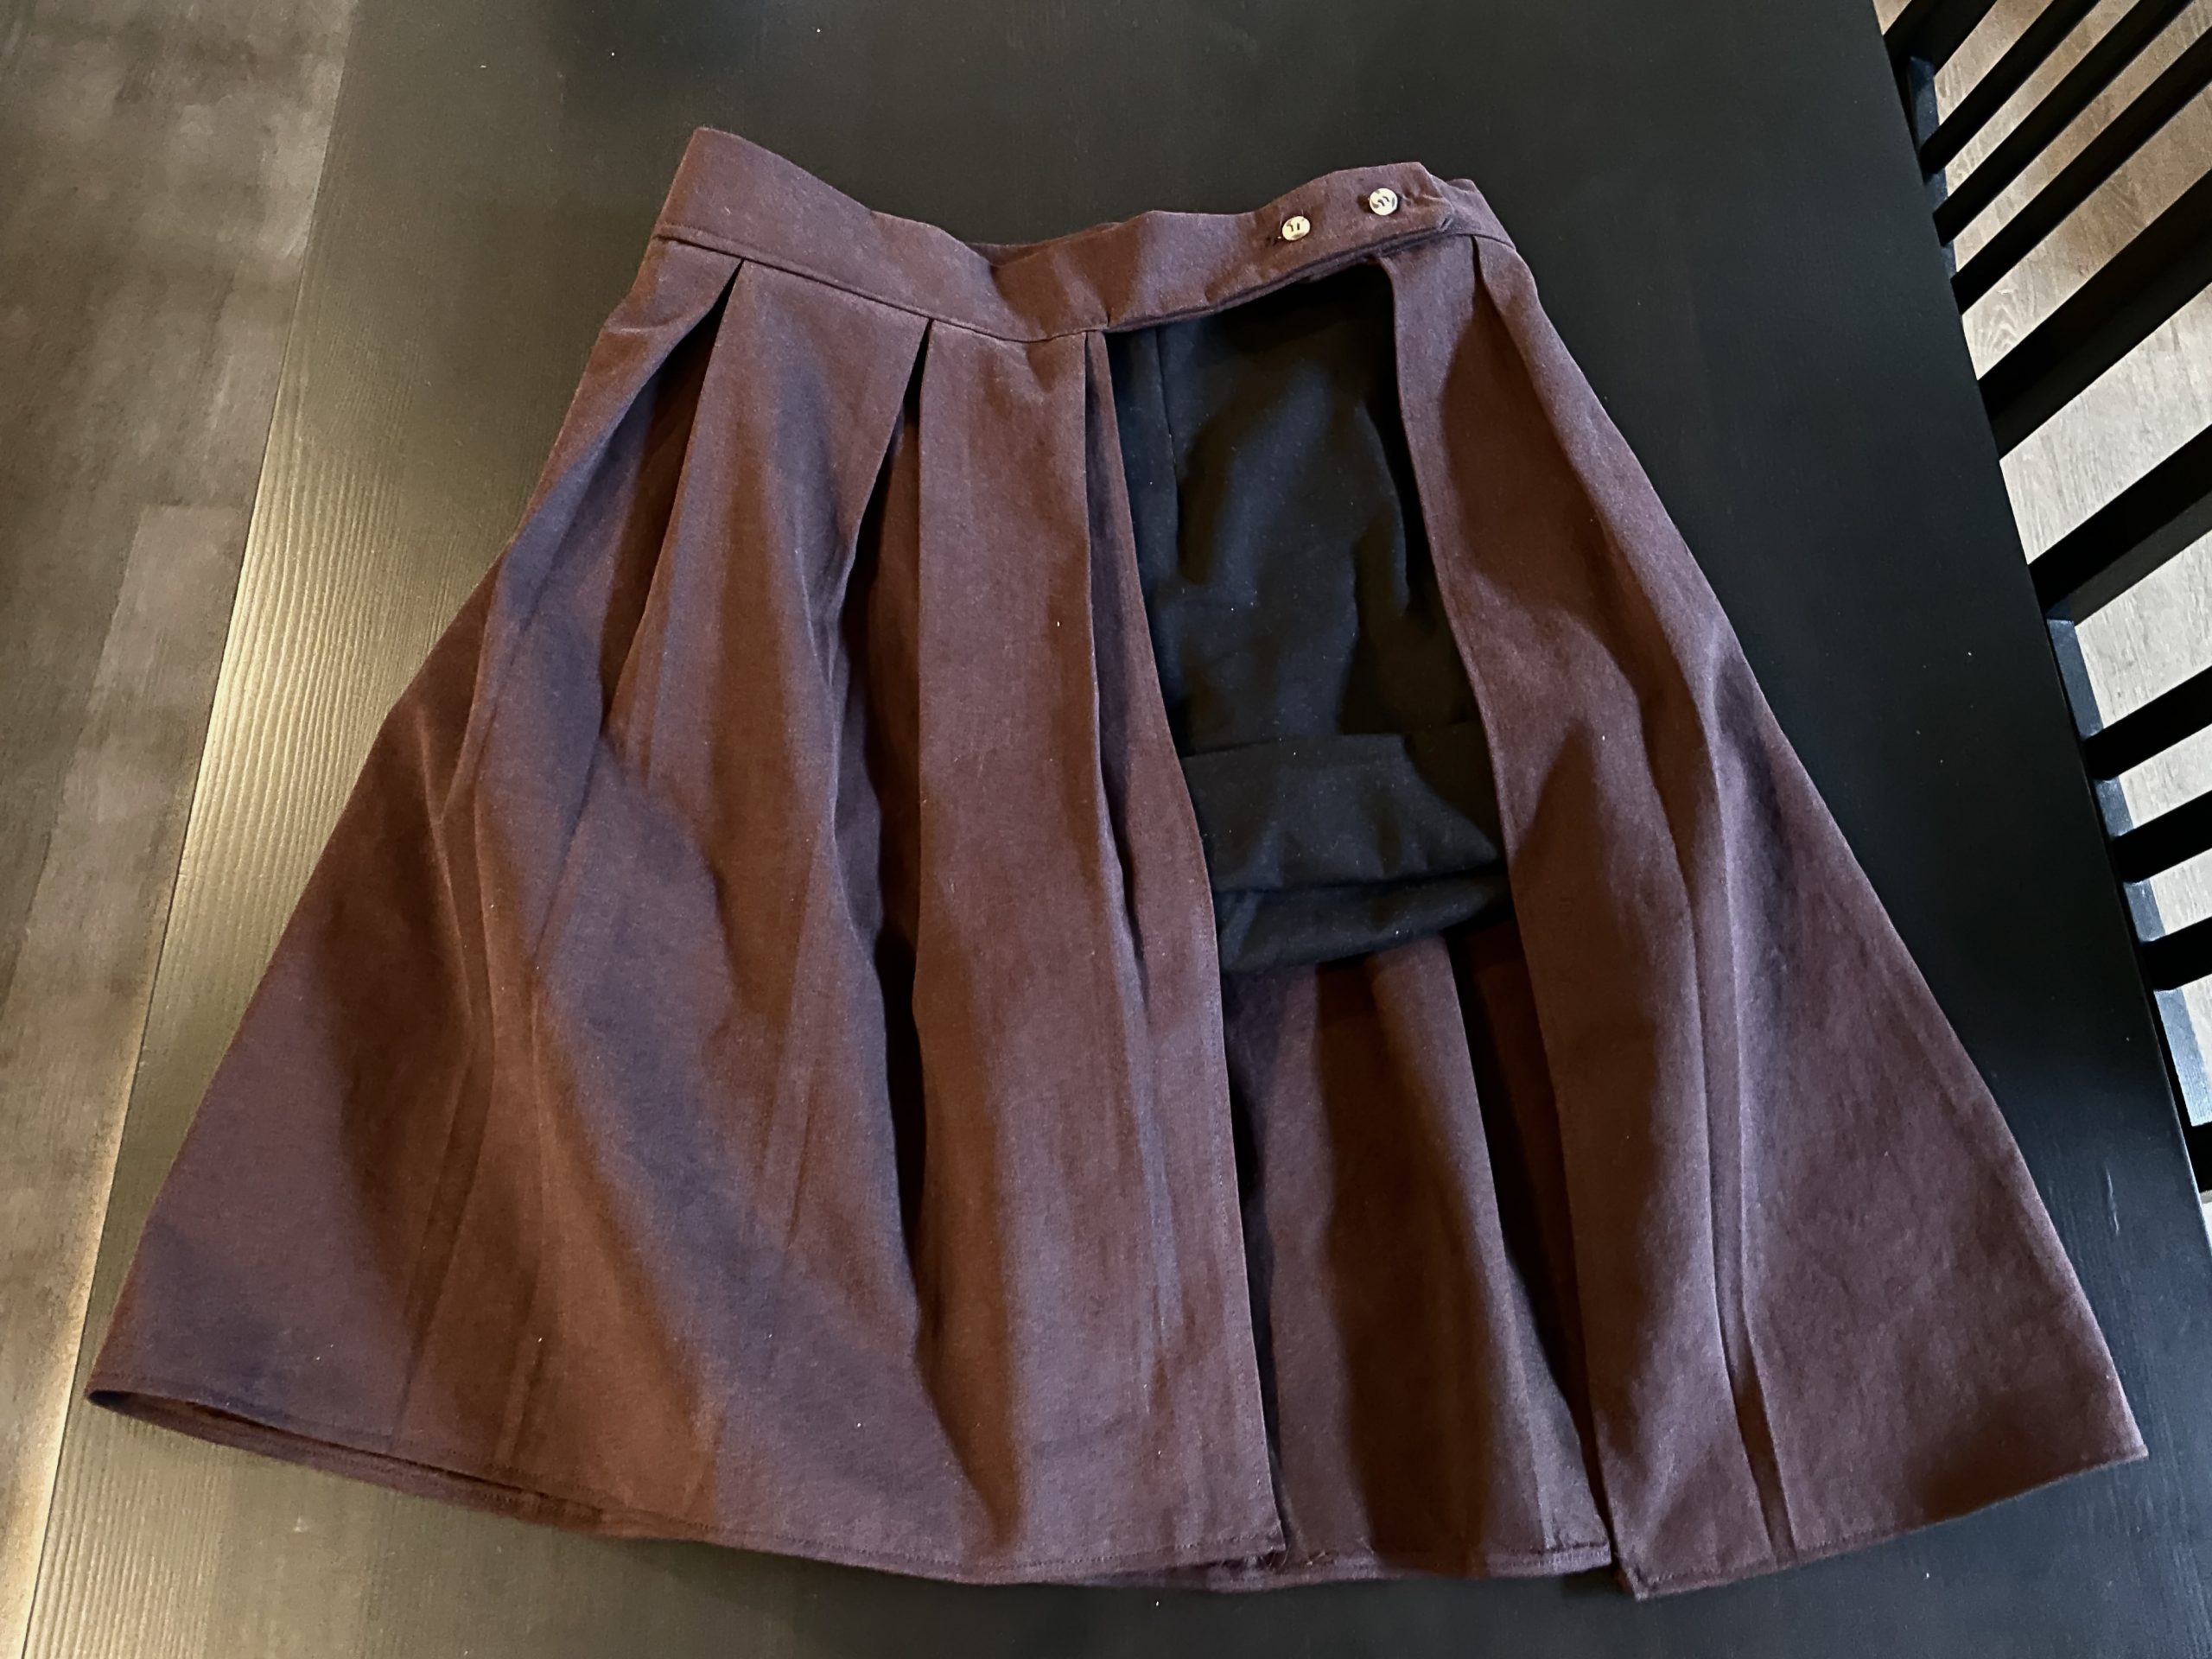
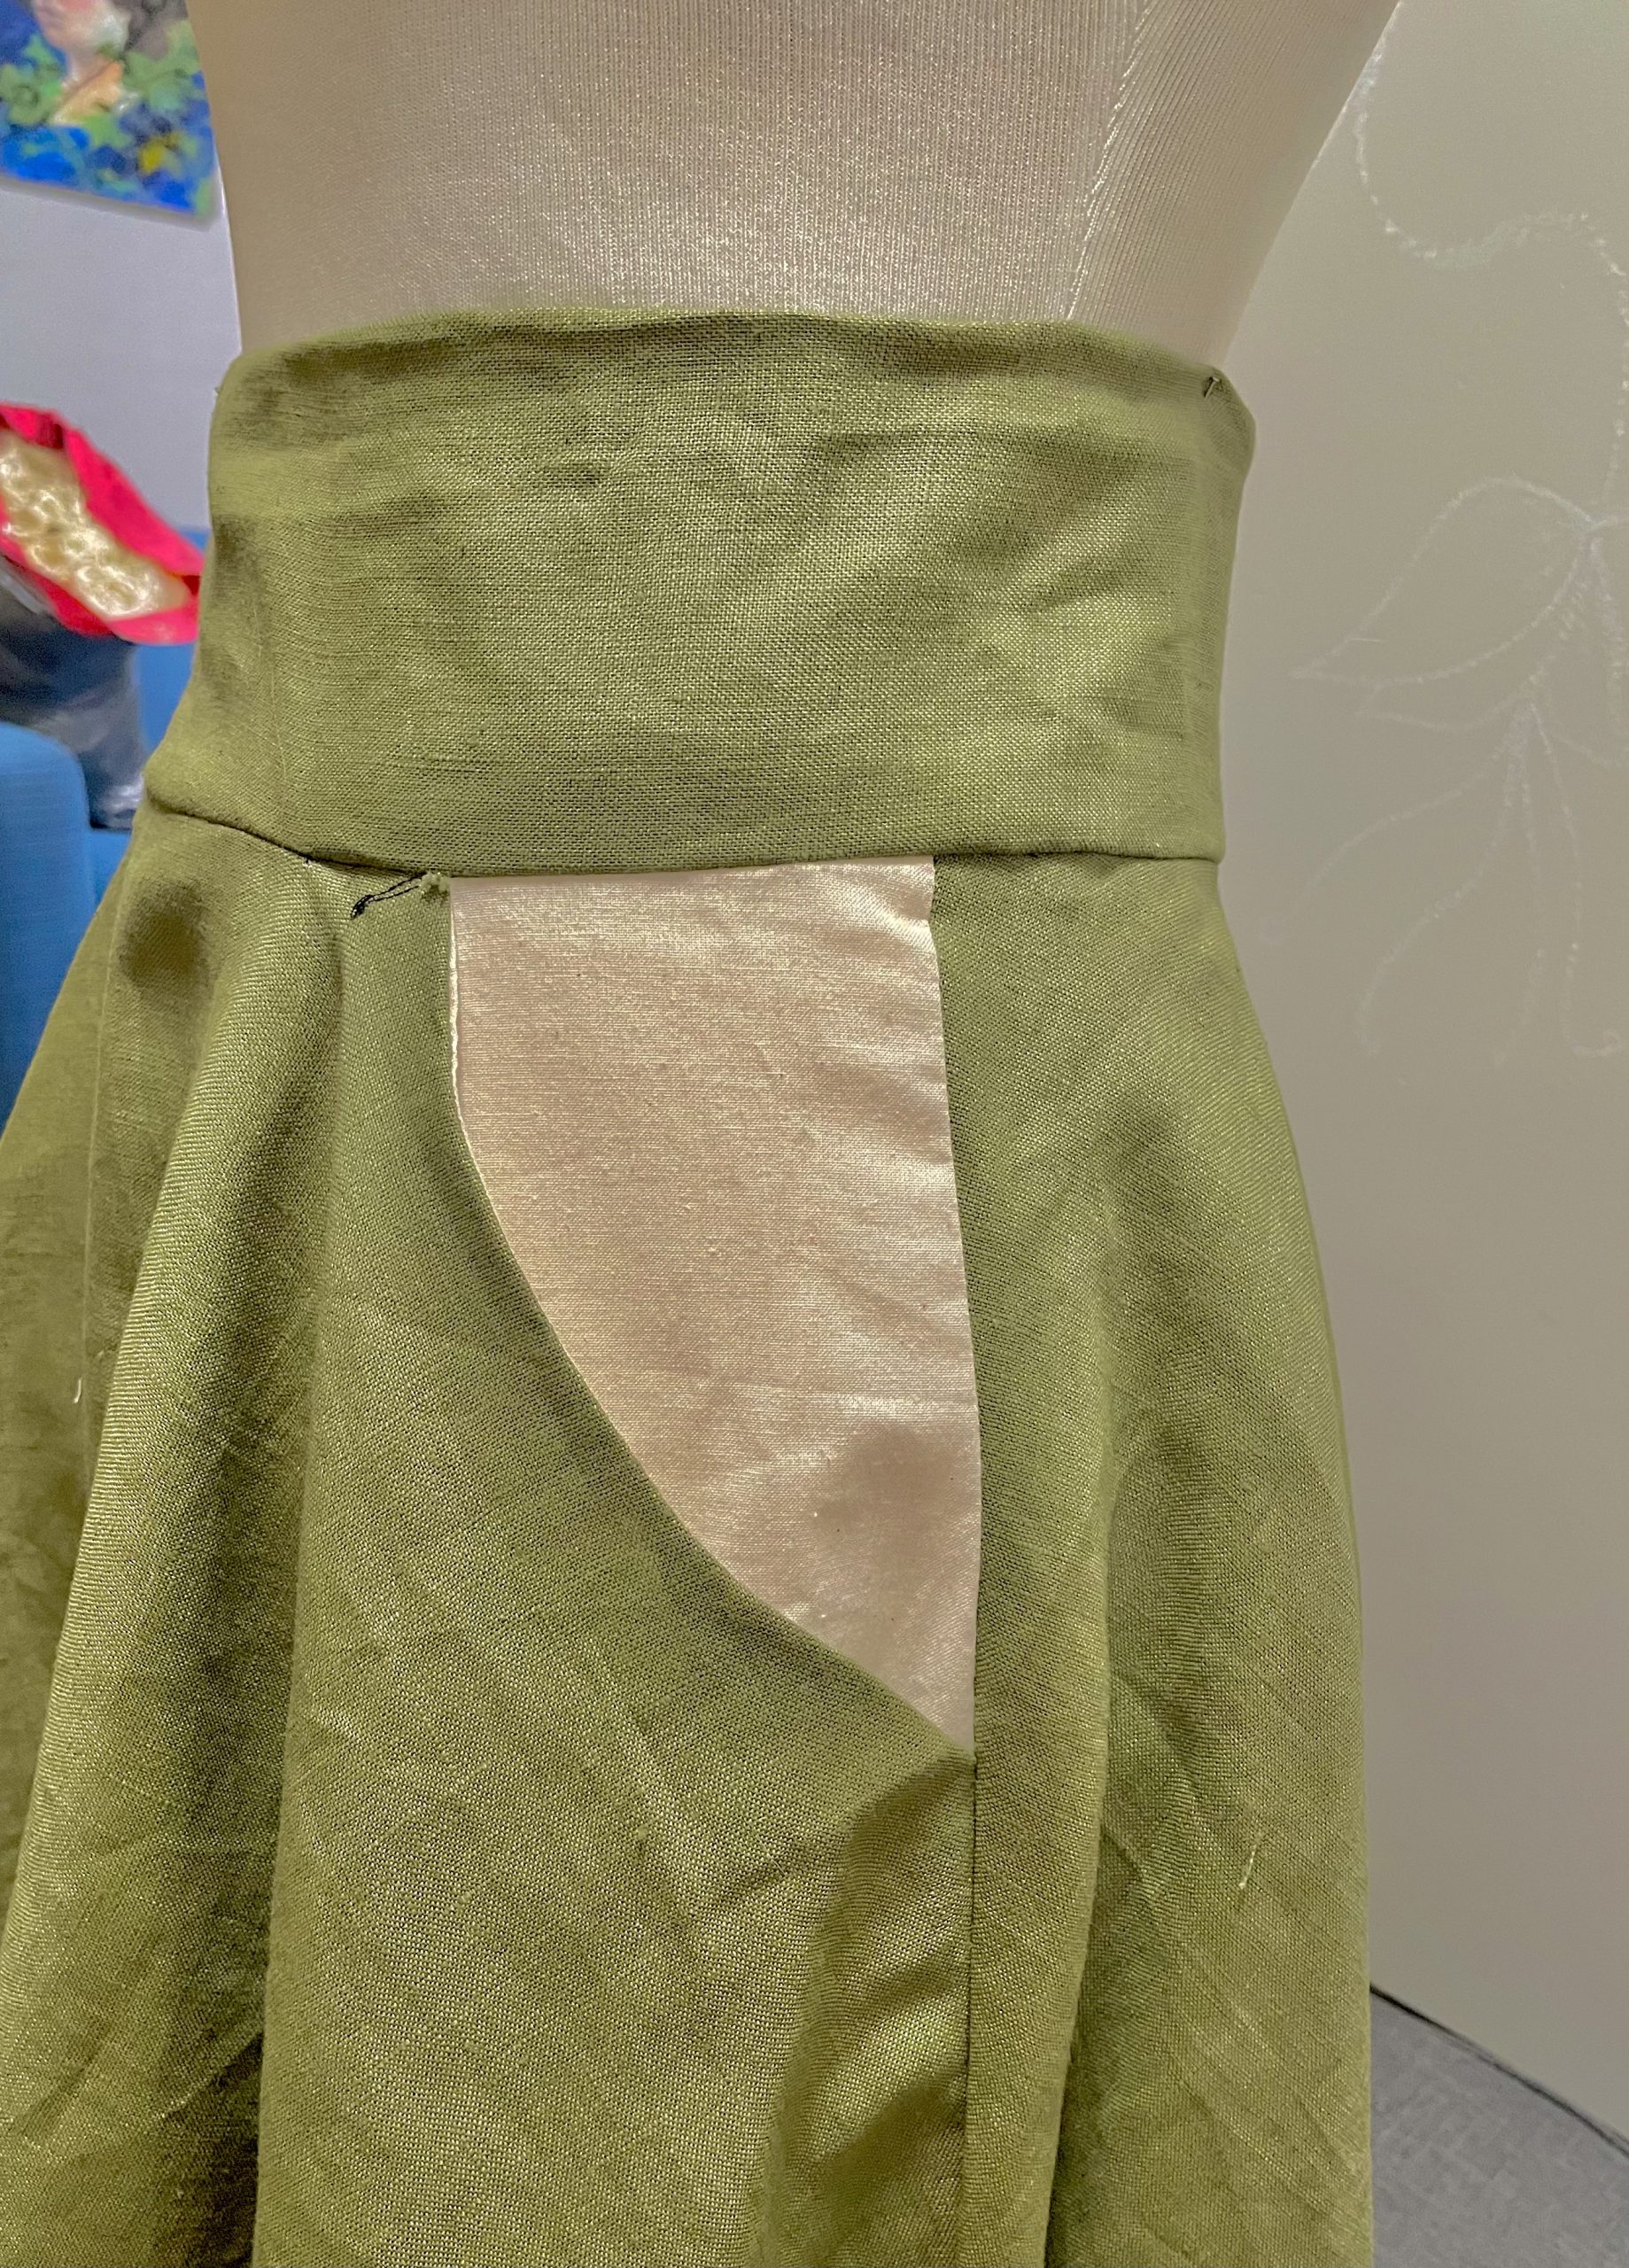
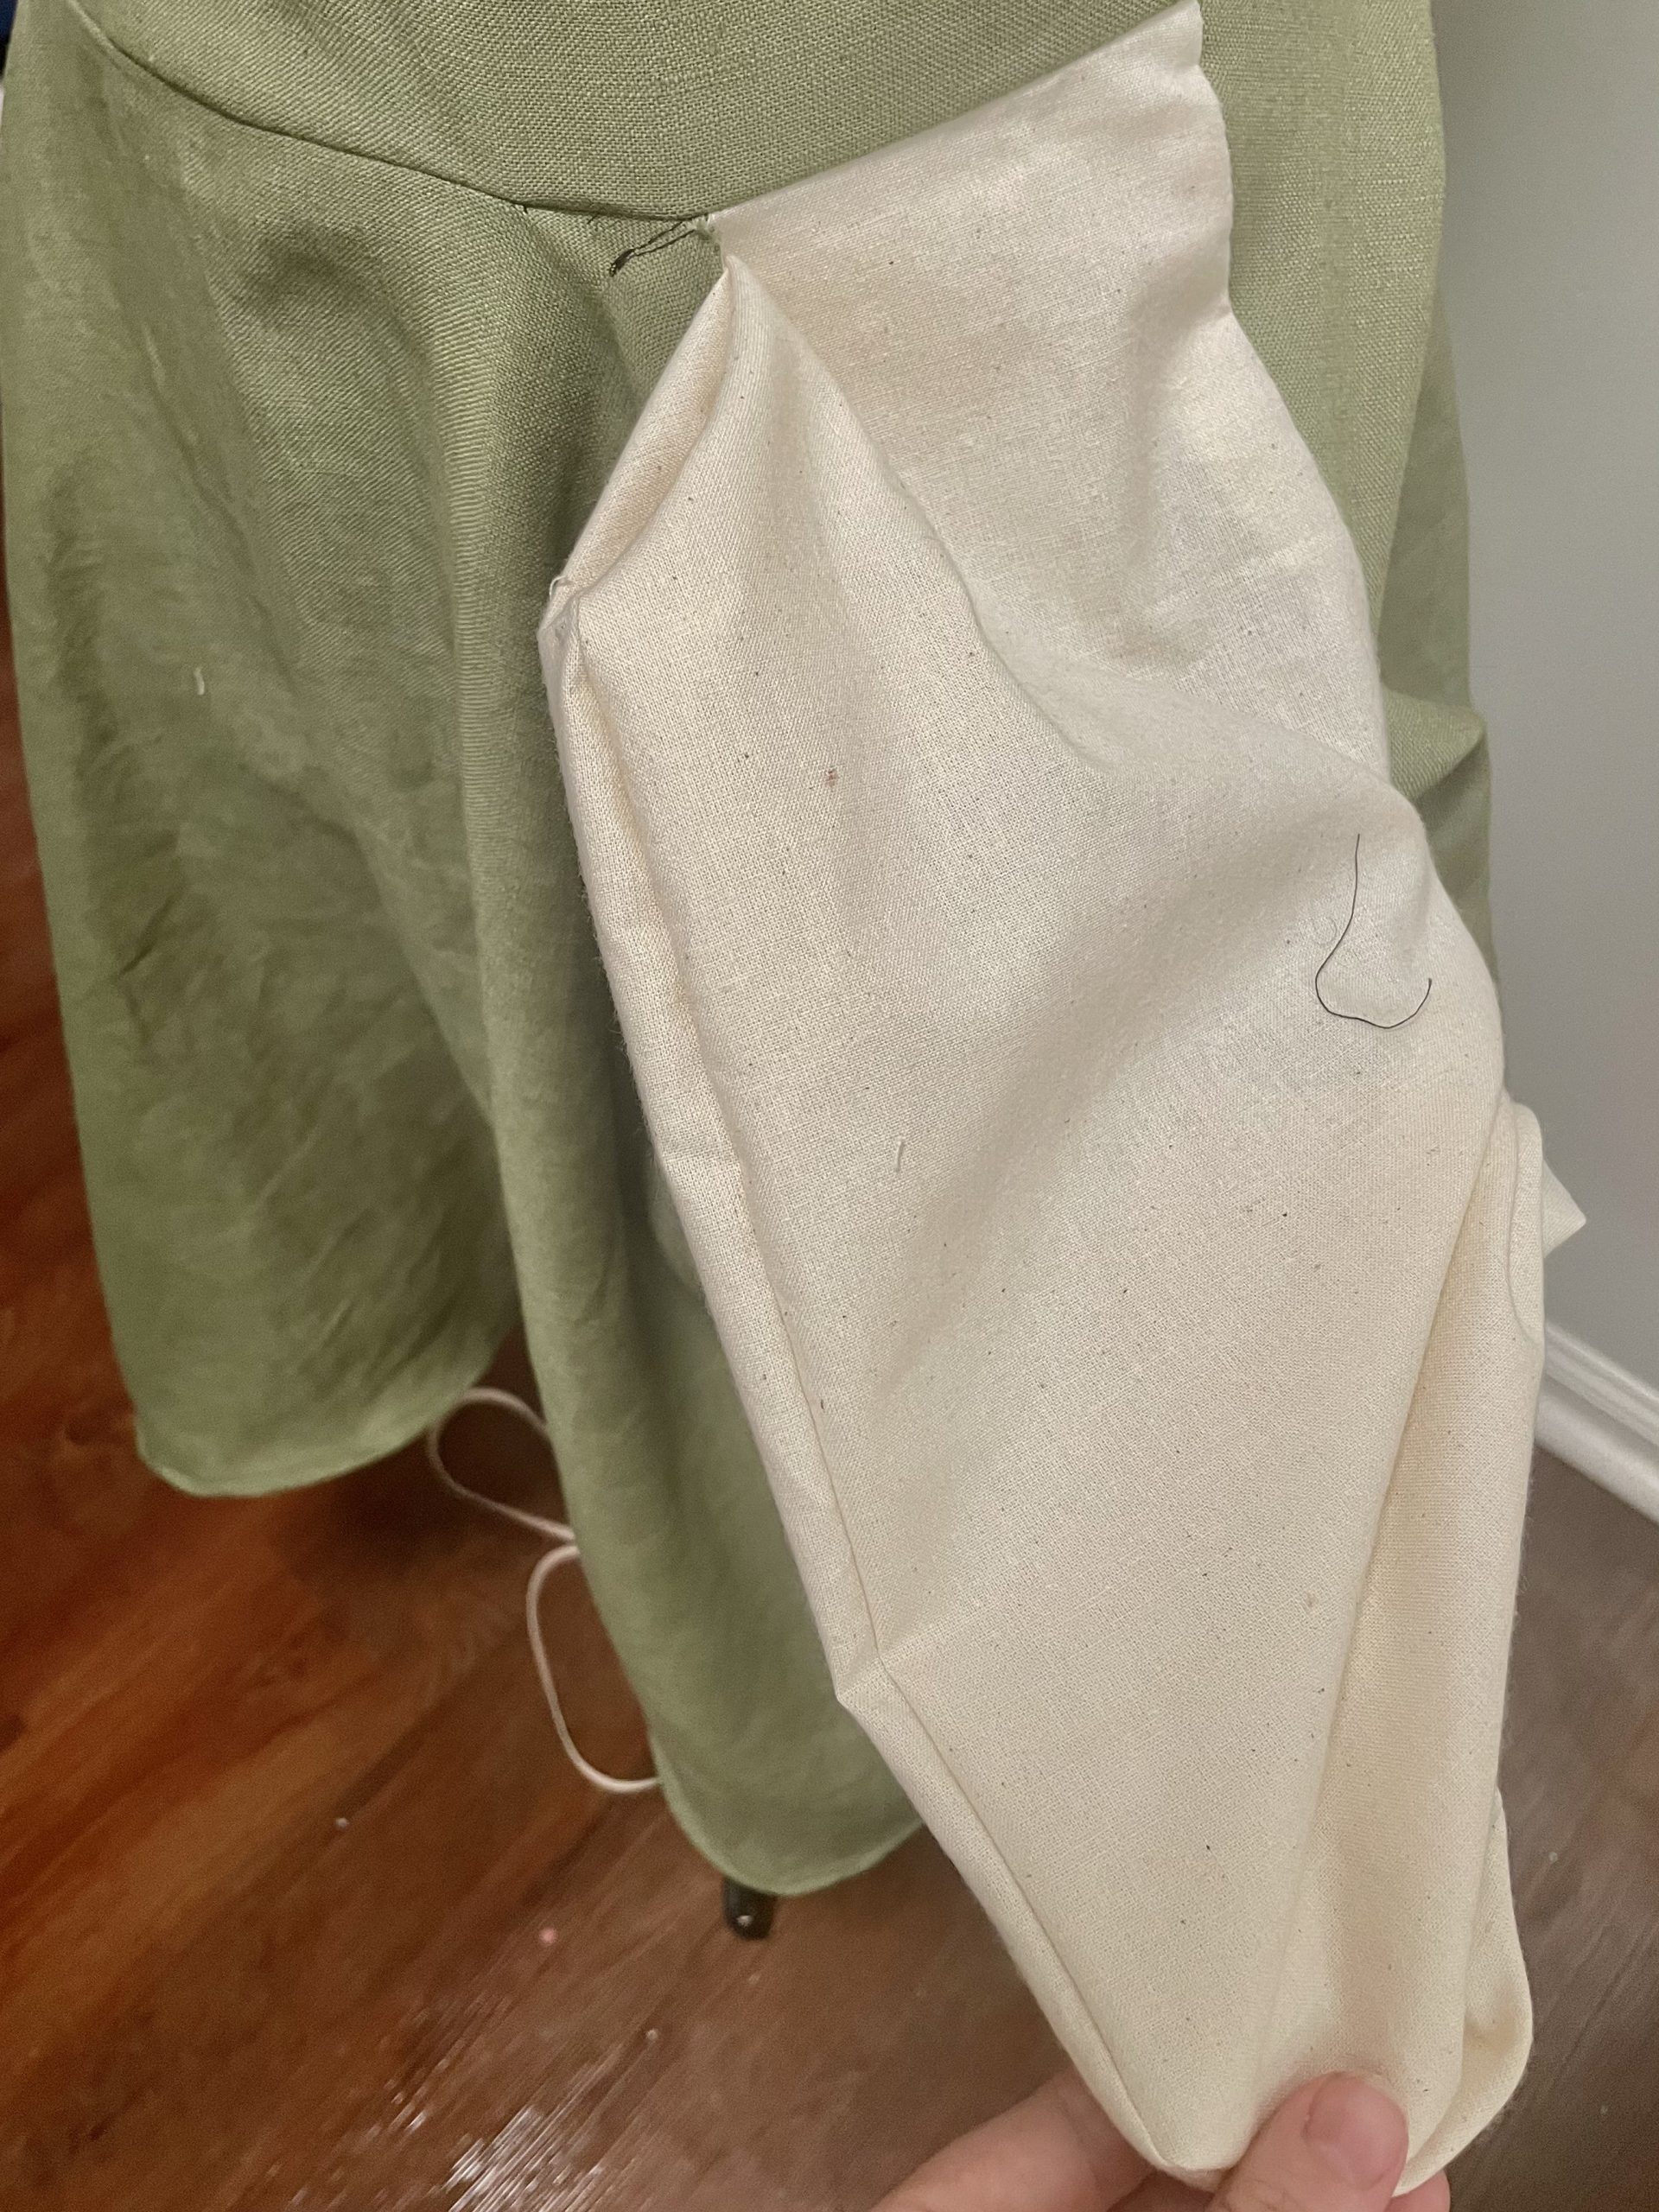
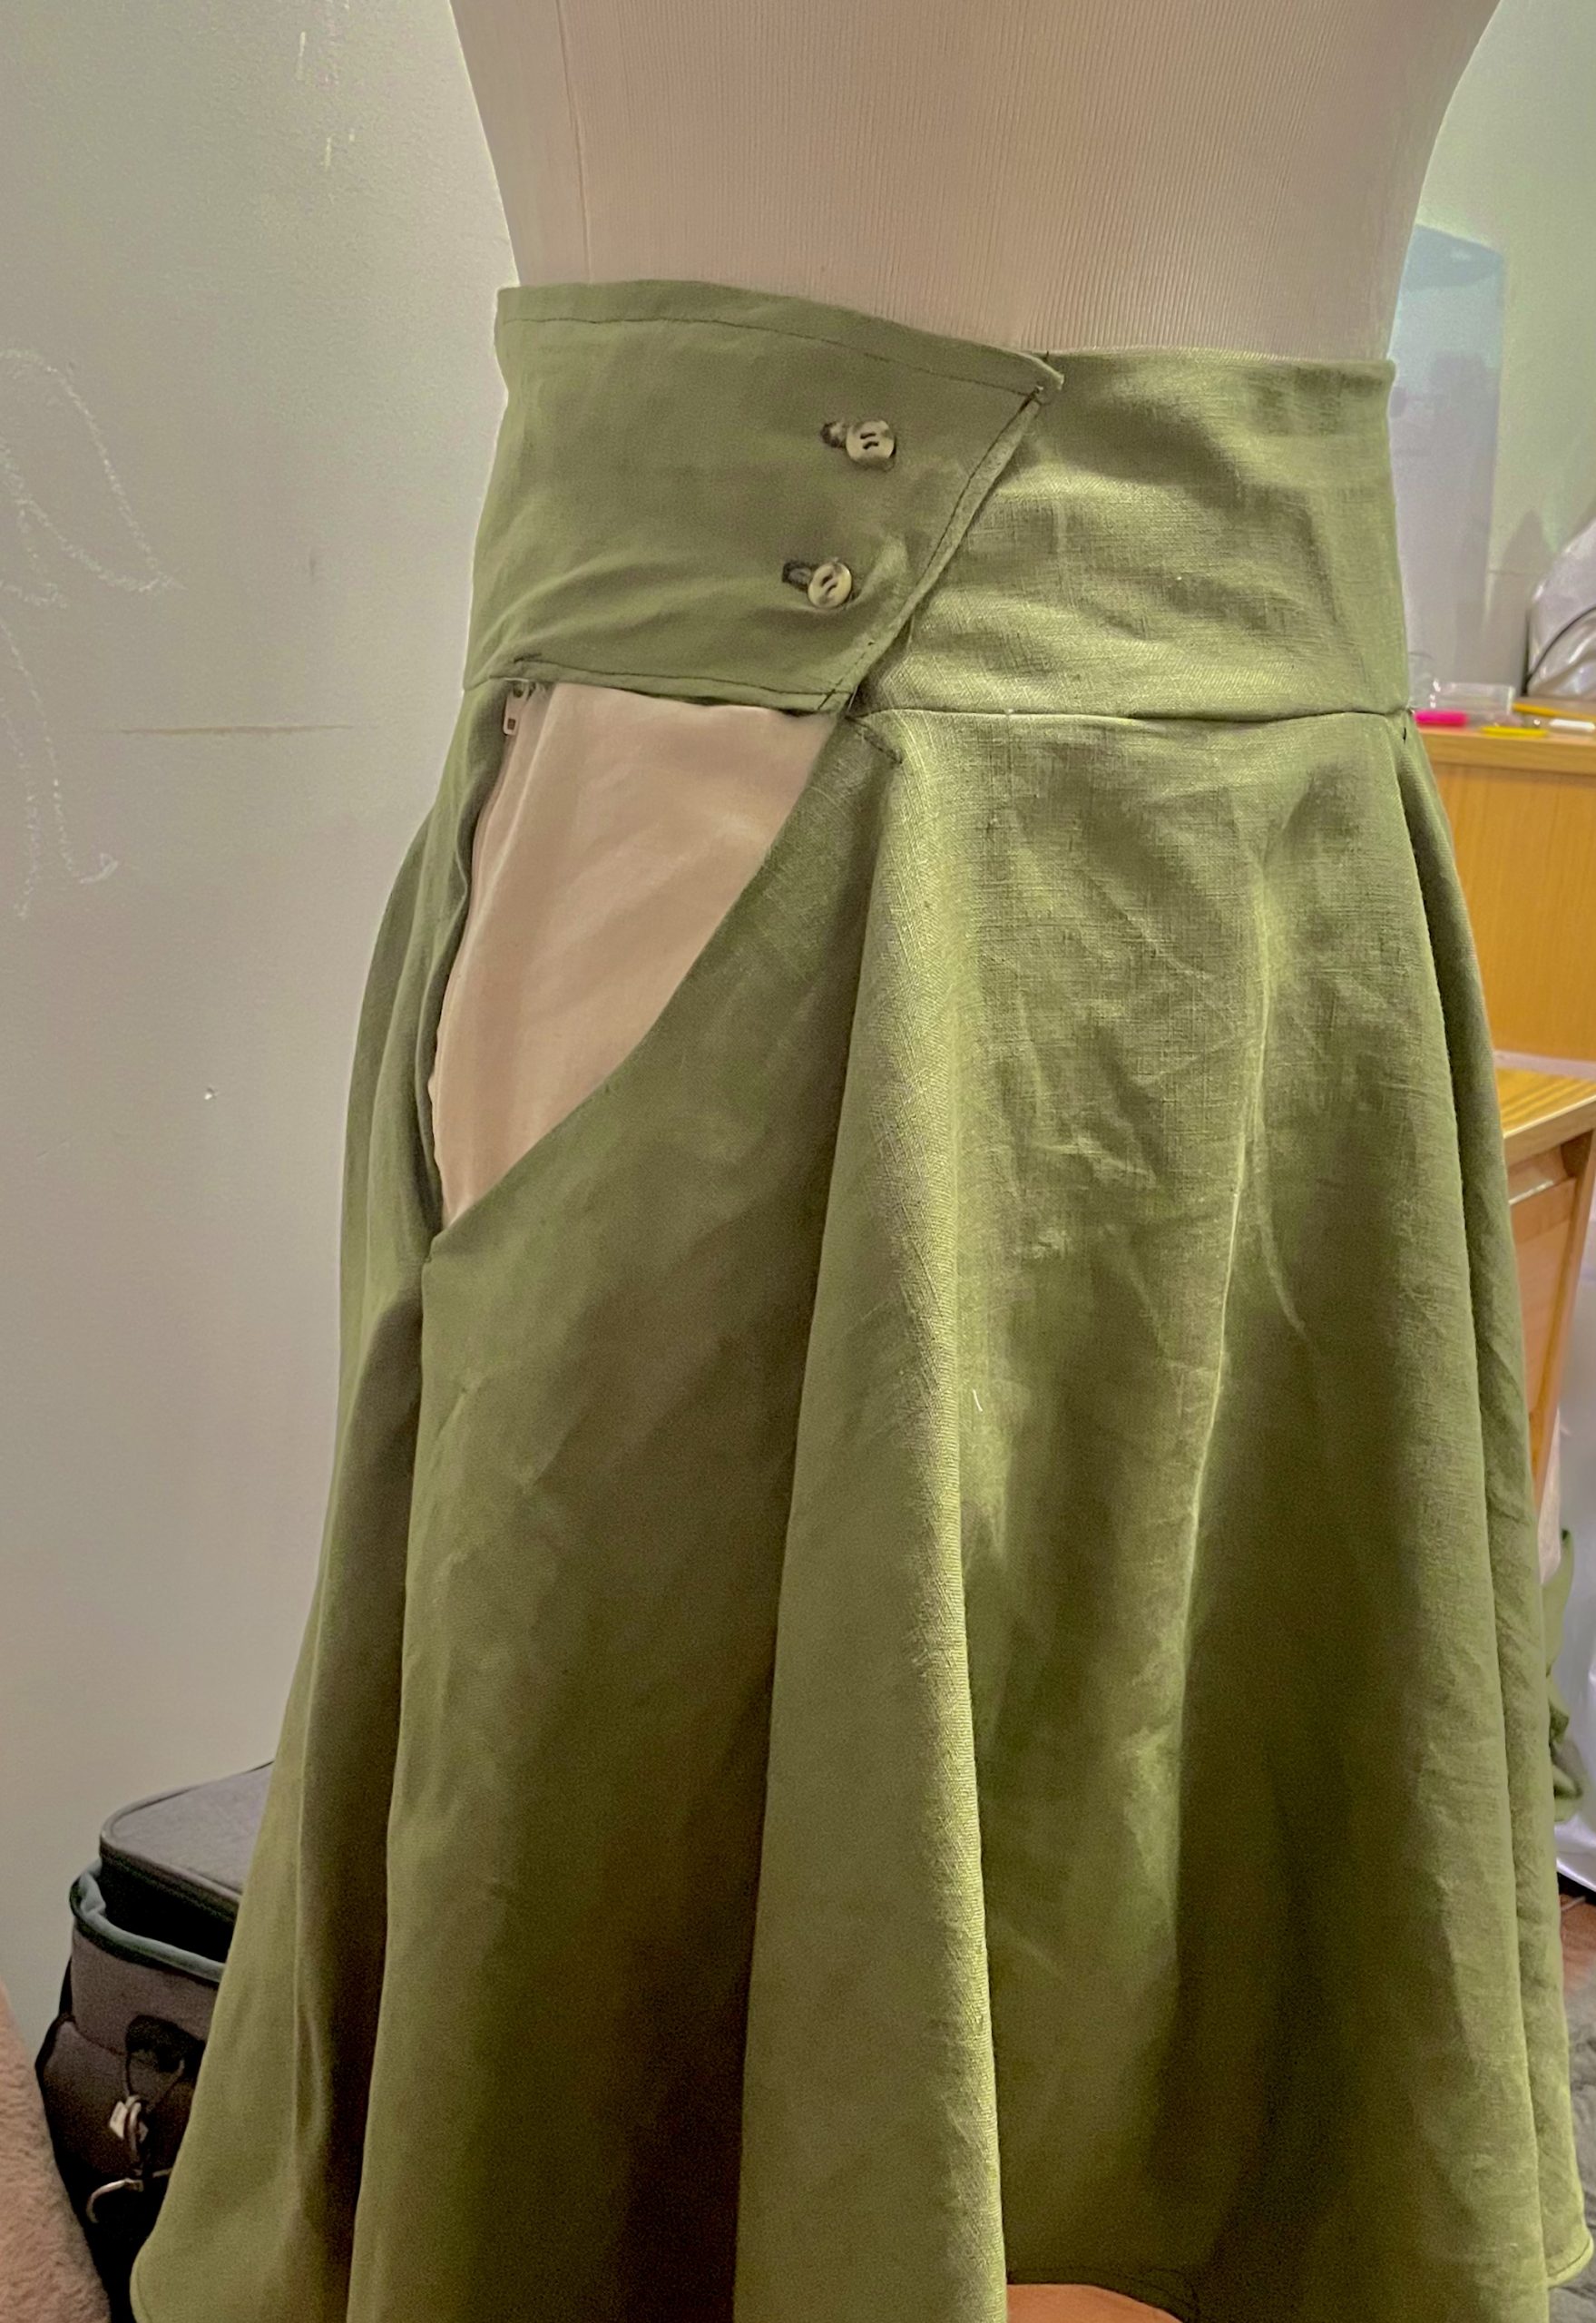
Since I wanted it to feel more ‘casual’, I wanted to add a gap/slit so the shorts can peek through in the original plan. This was my first time making a pleated skirt and I underestimated how much fabric I really needed so I had to refold the pleats a bit to make it feel more natural. Even though the fabric didn’t turn out to be as flowy as I wanted, I’m happy that ironing out the pleats more made it look nicer (it used to balloon a bit). The school girl pleated skirt look also turned out nicer than I thought (although it strayed a bit from the original intention). I also liked how the waistband turned out. I think if I were to make this again, I’d definitely opt for bigger buttons and maybe use white thread to add some accent some hemlines to match the white zipper.
Future Direction:
I definitely want to try make another pleated skirt with a more thinner, flowy material! Hopefully the pleats won’t be as harsh, but I definitely like the idea of creating more clothing that’d I wear casually.
Also, I have a couple process pictures here:

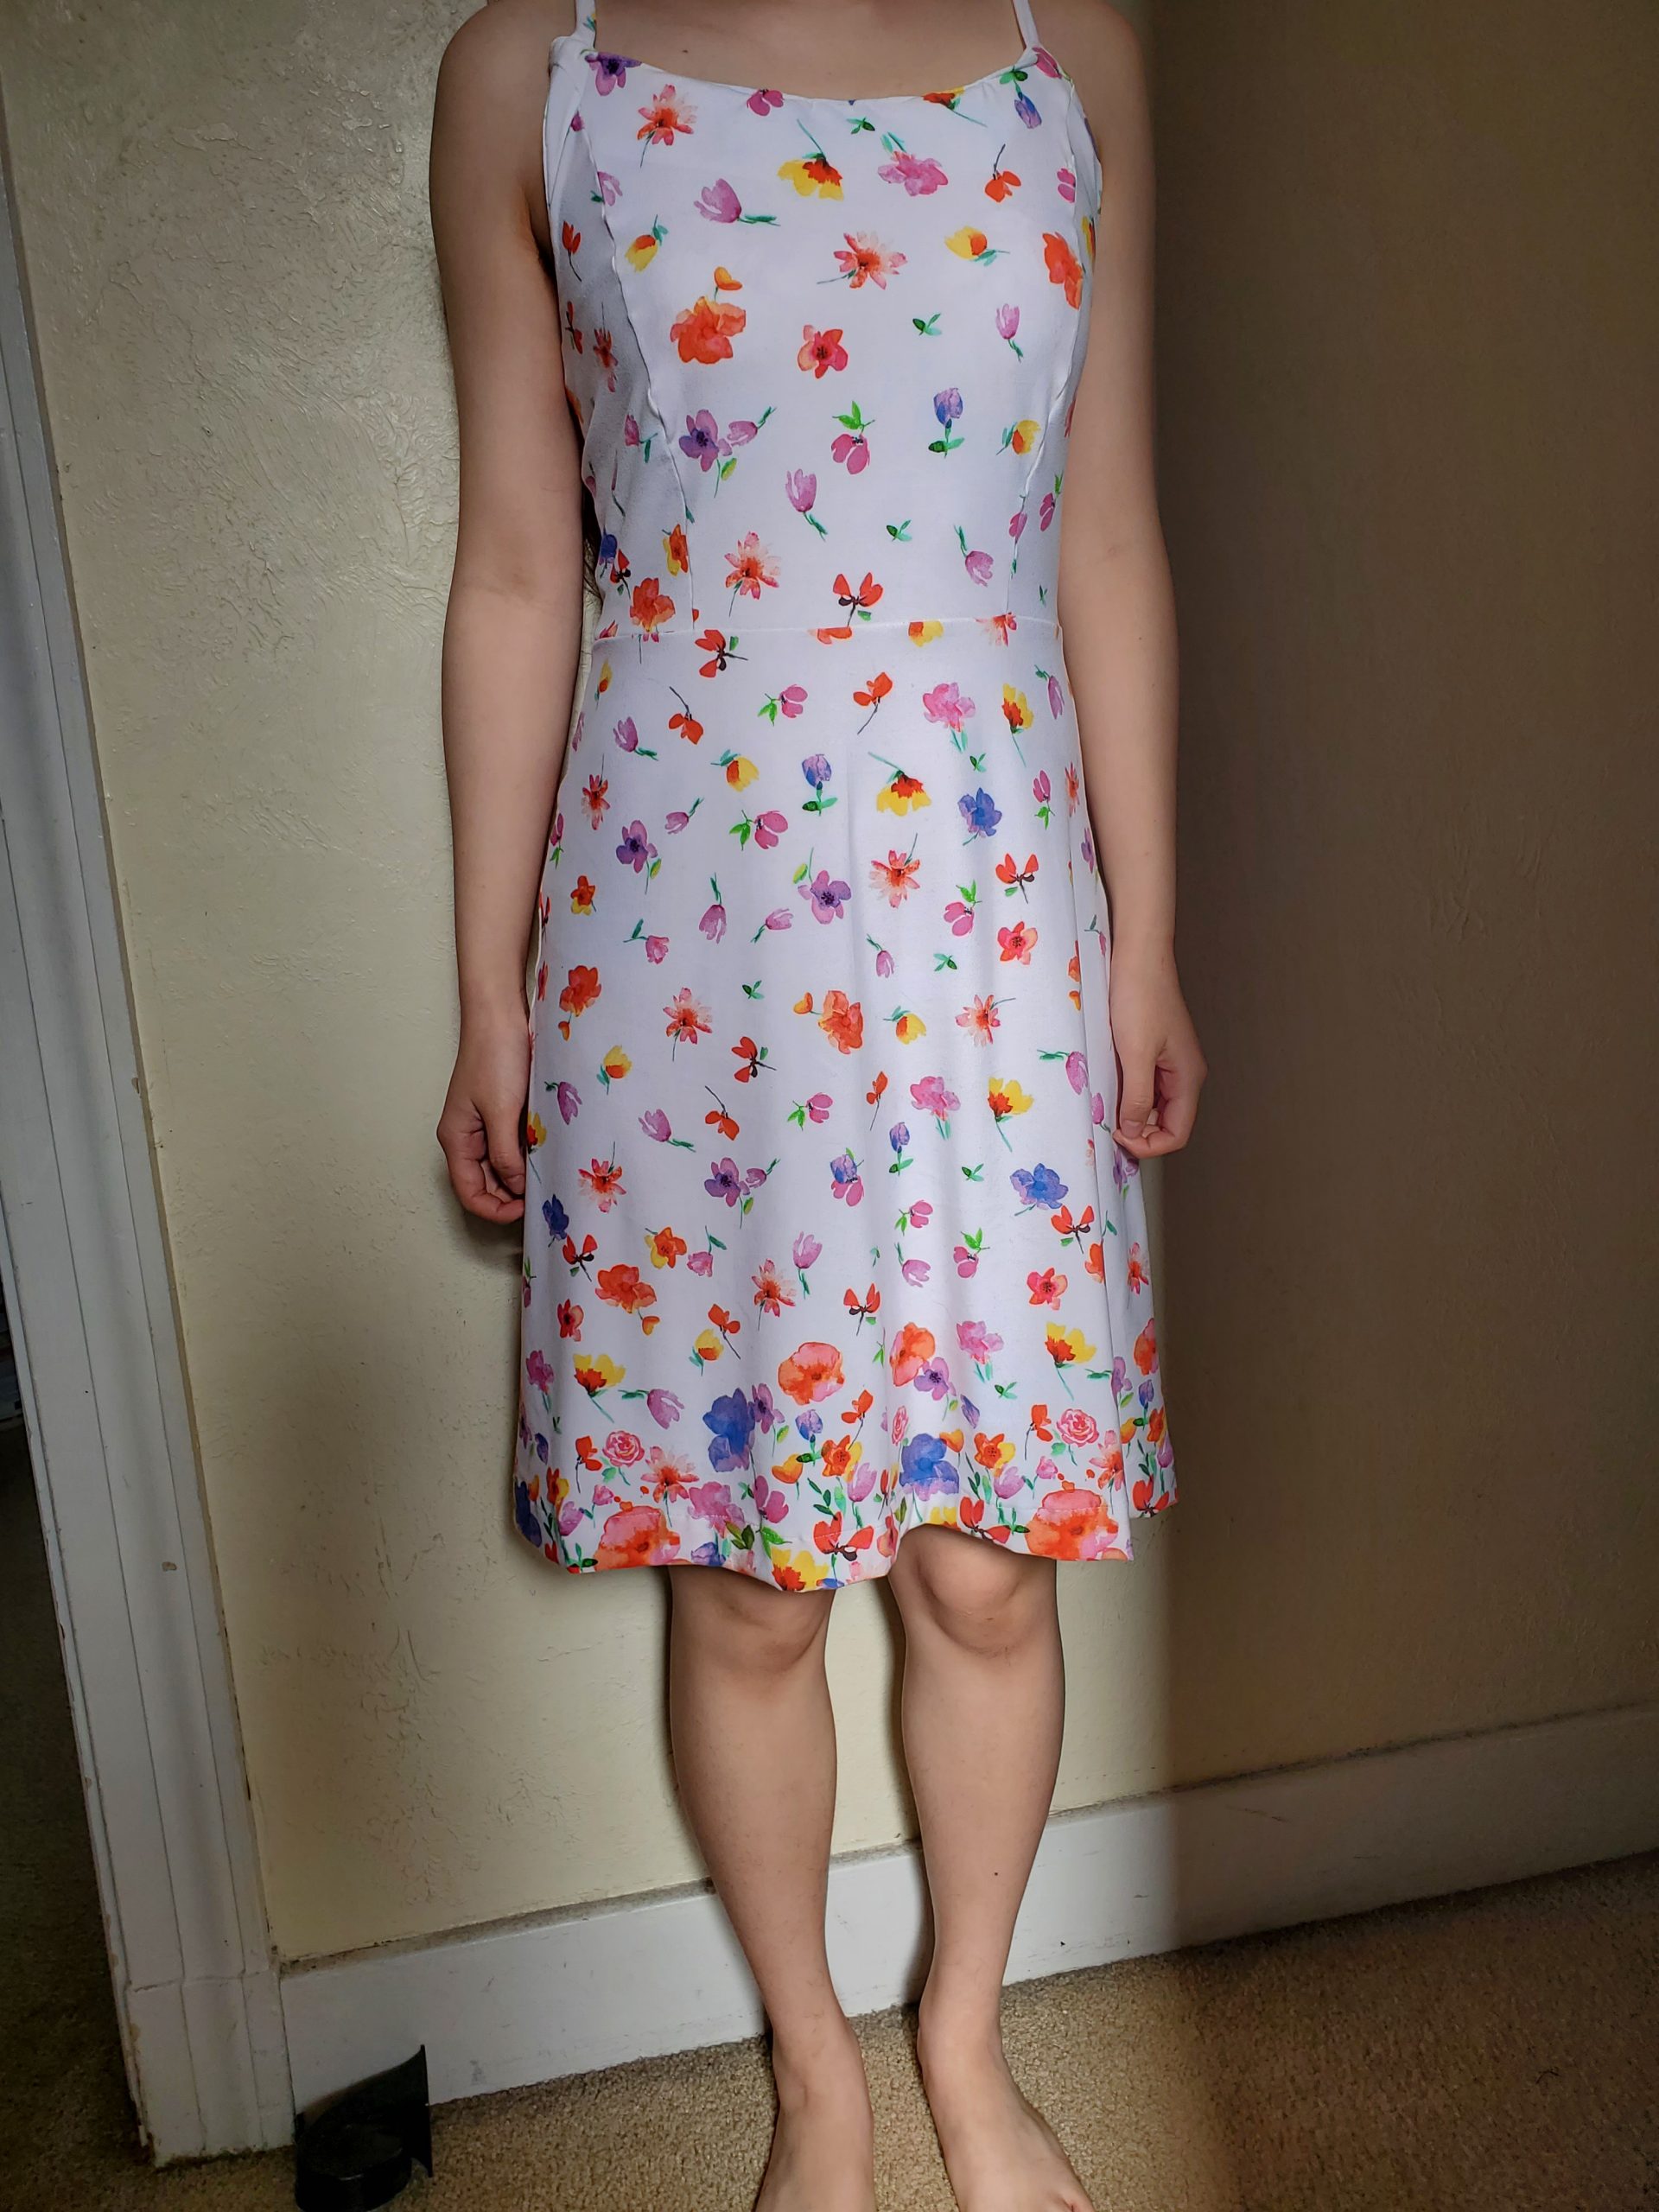
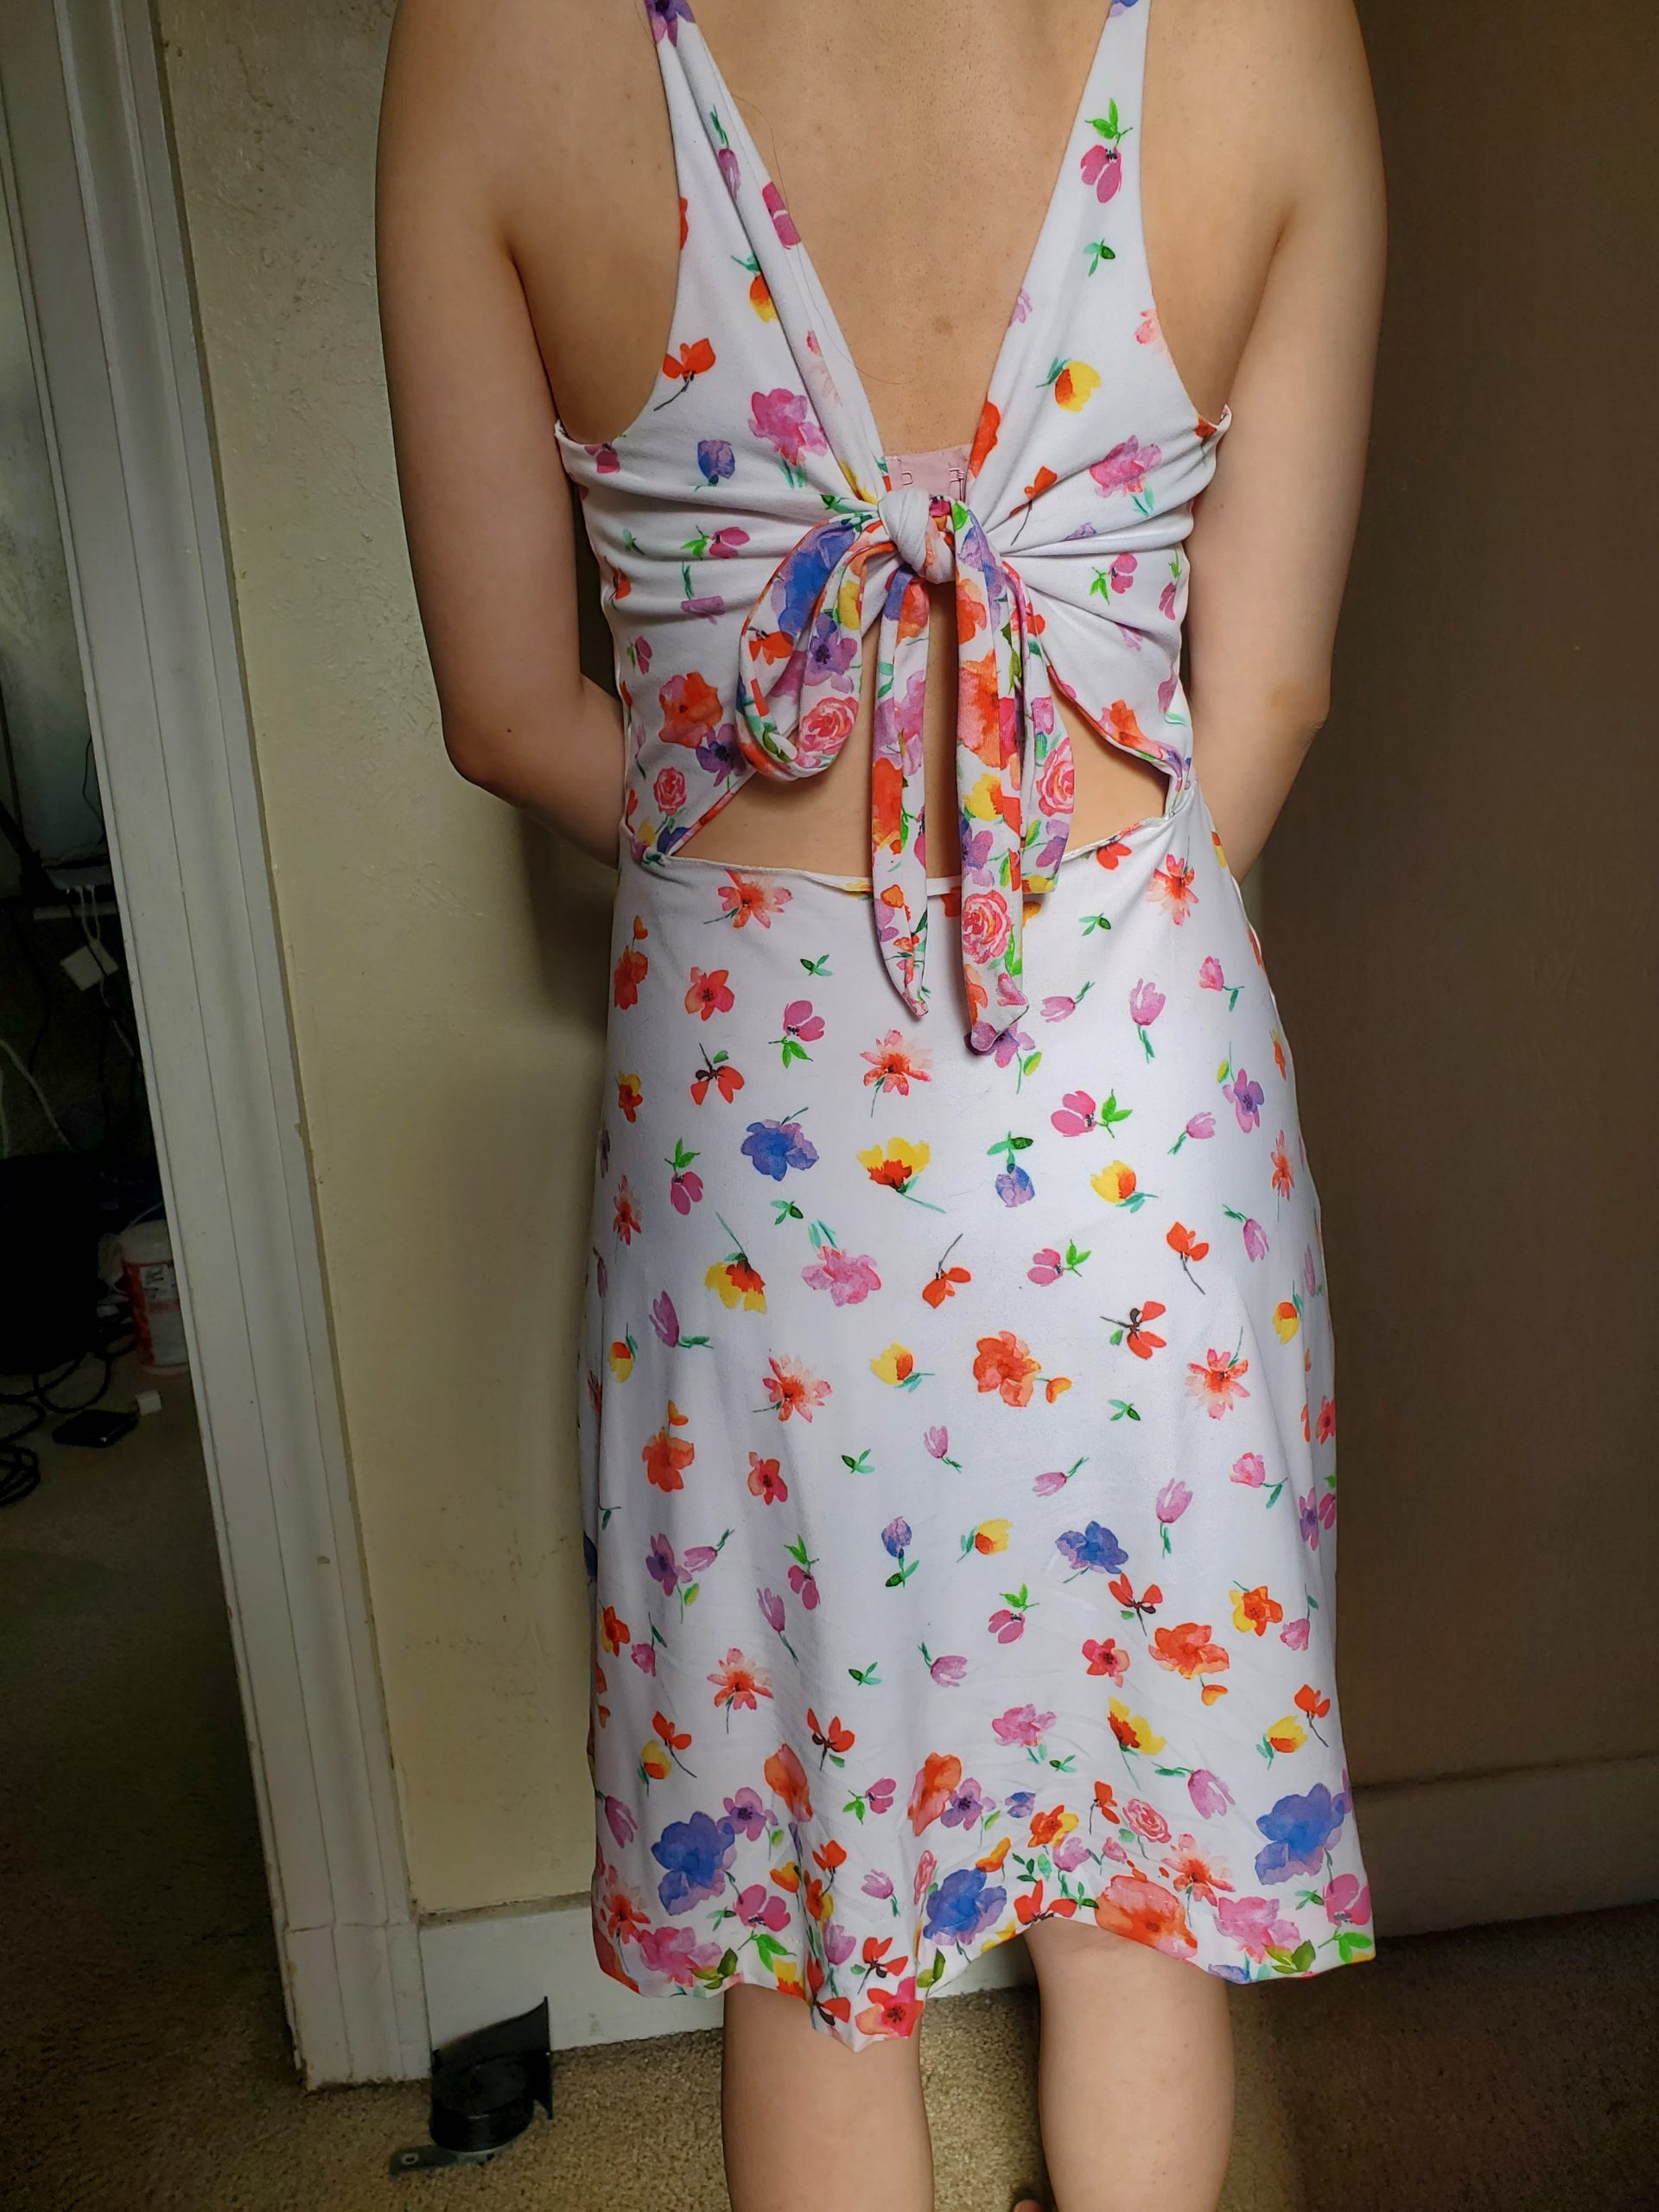
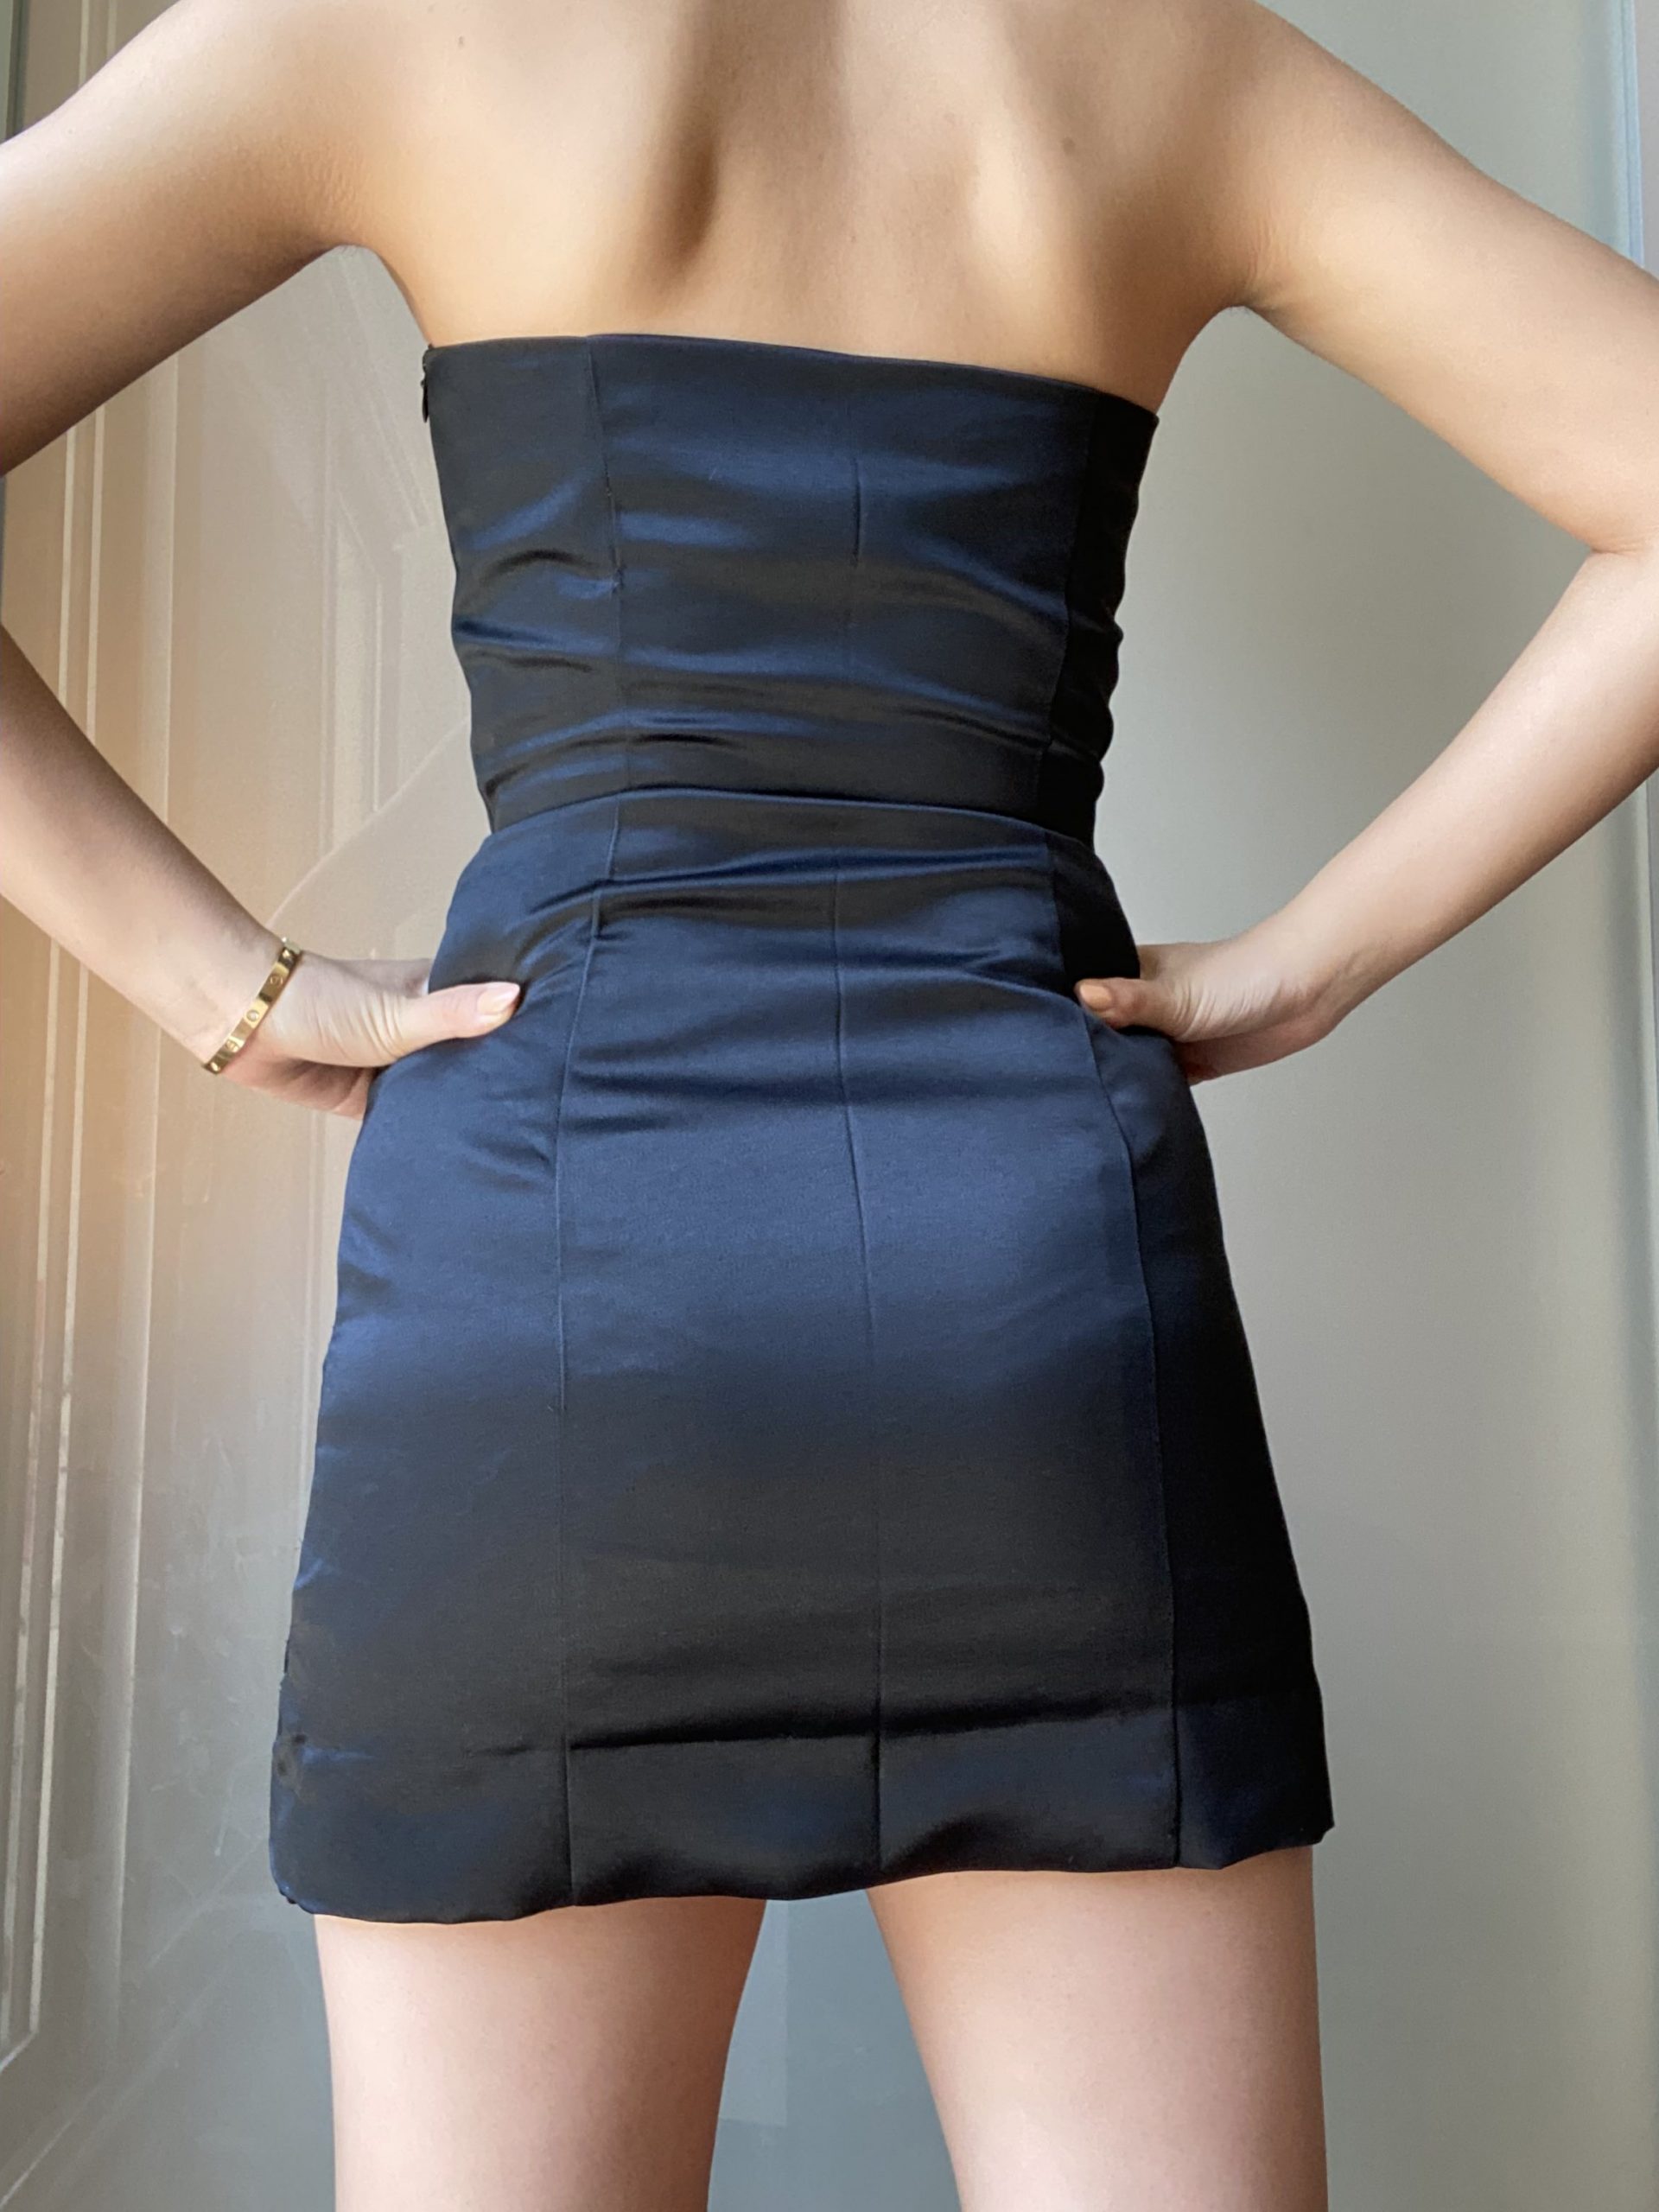
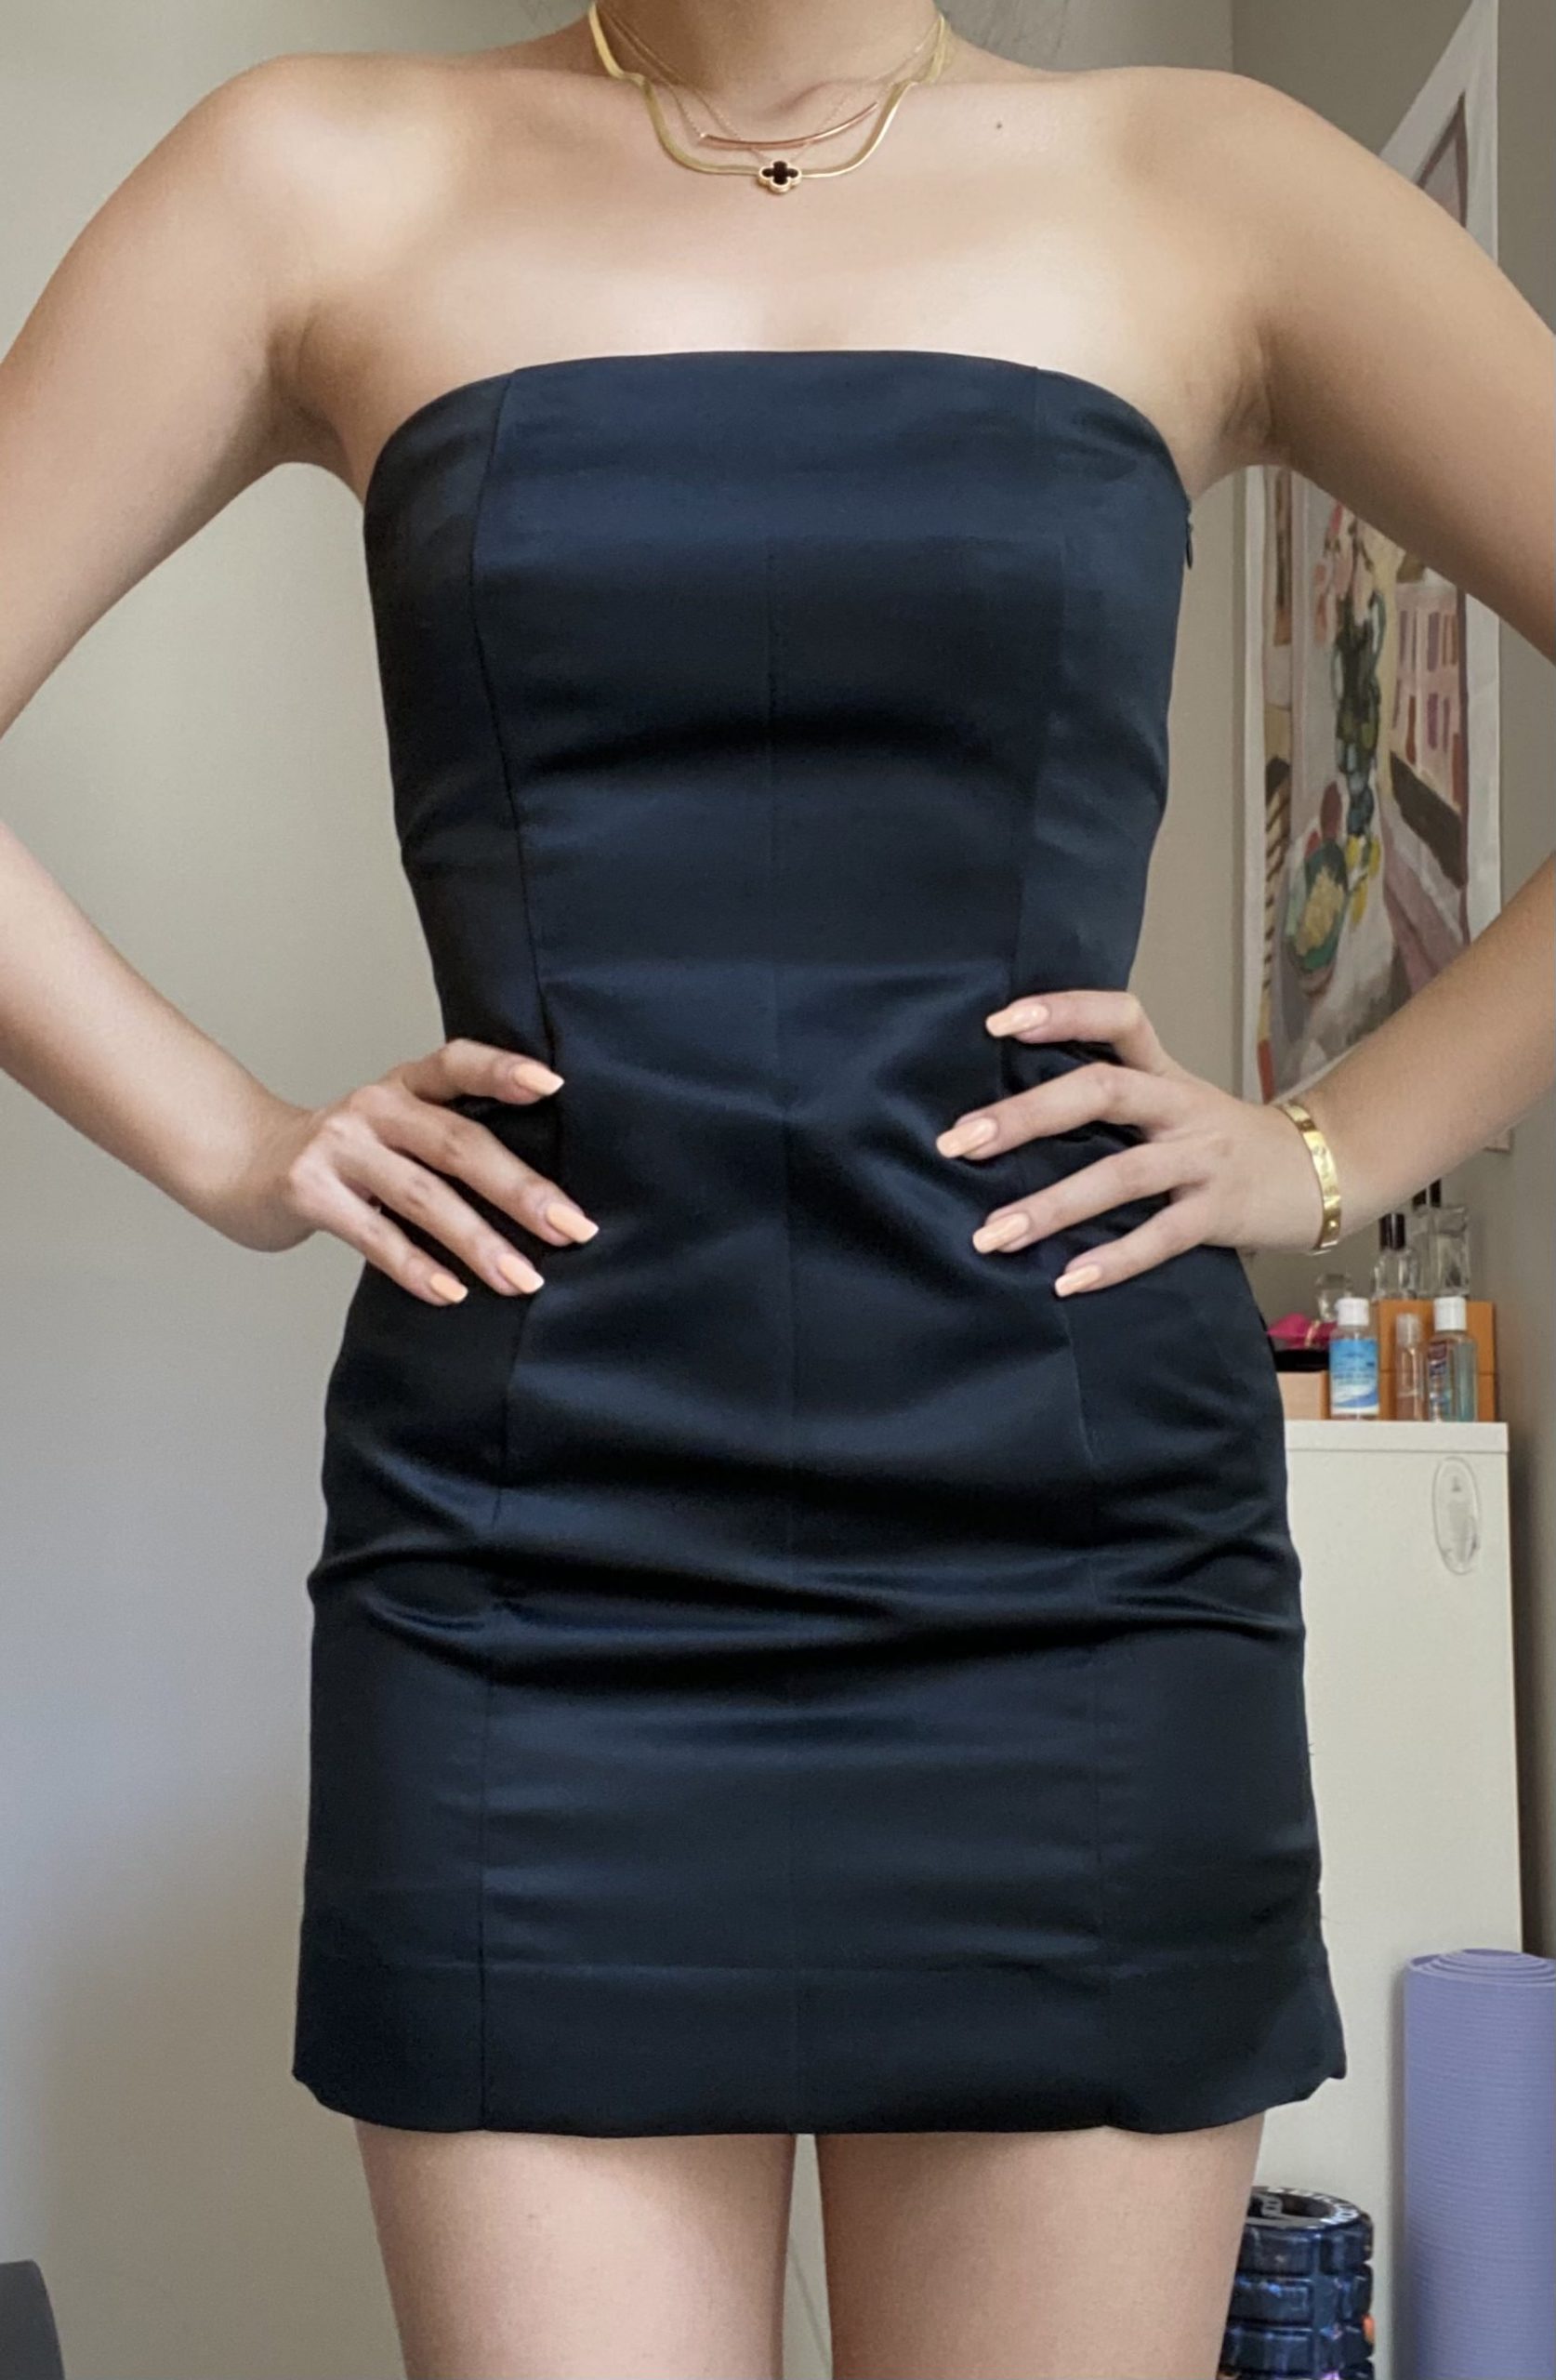
Disclaimer: I couldn’t photograph the garment on myself very well so it’s on a mannequin that isn’t quite the same shape/size as me
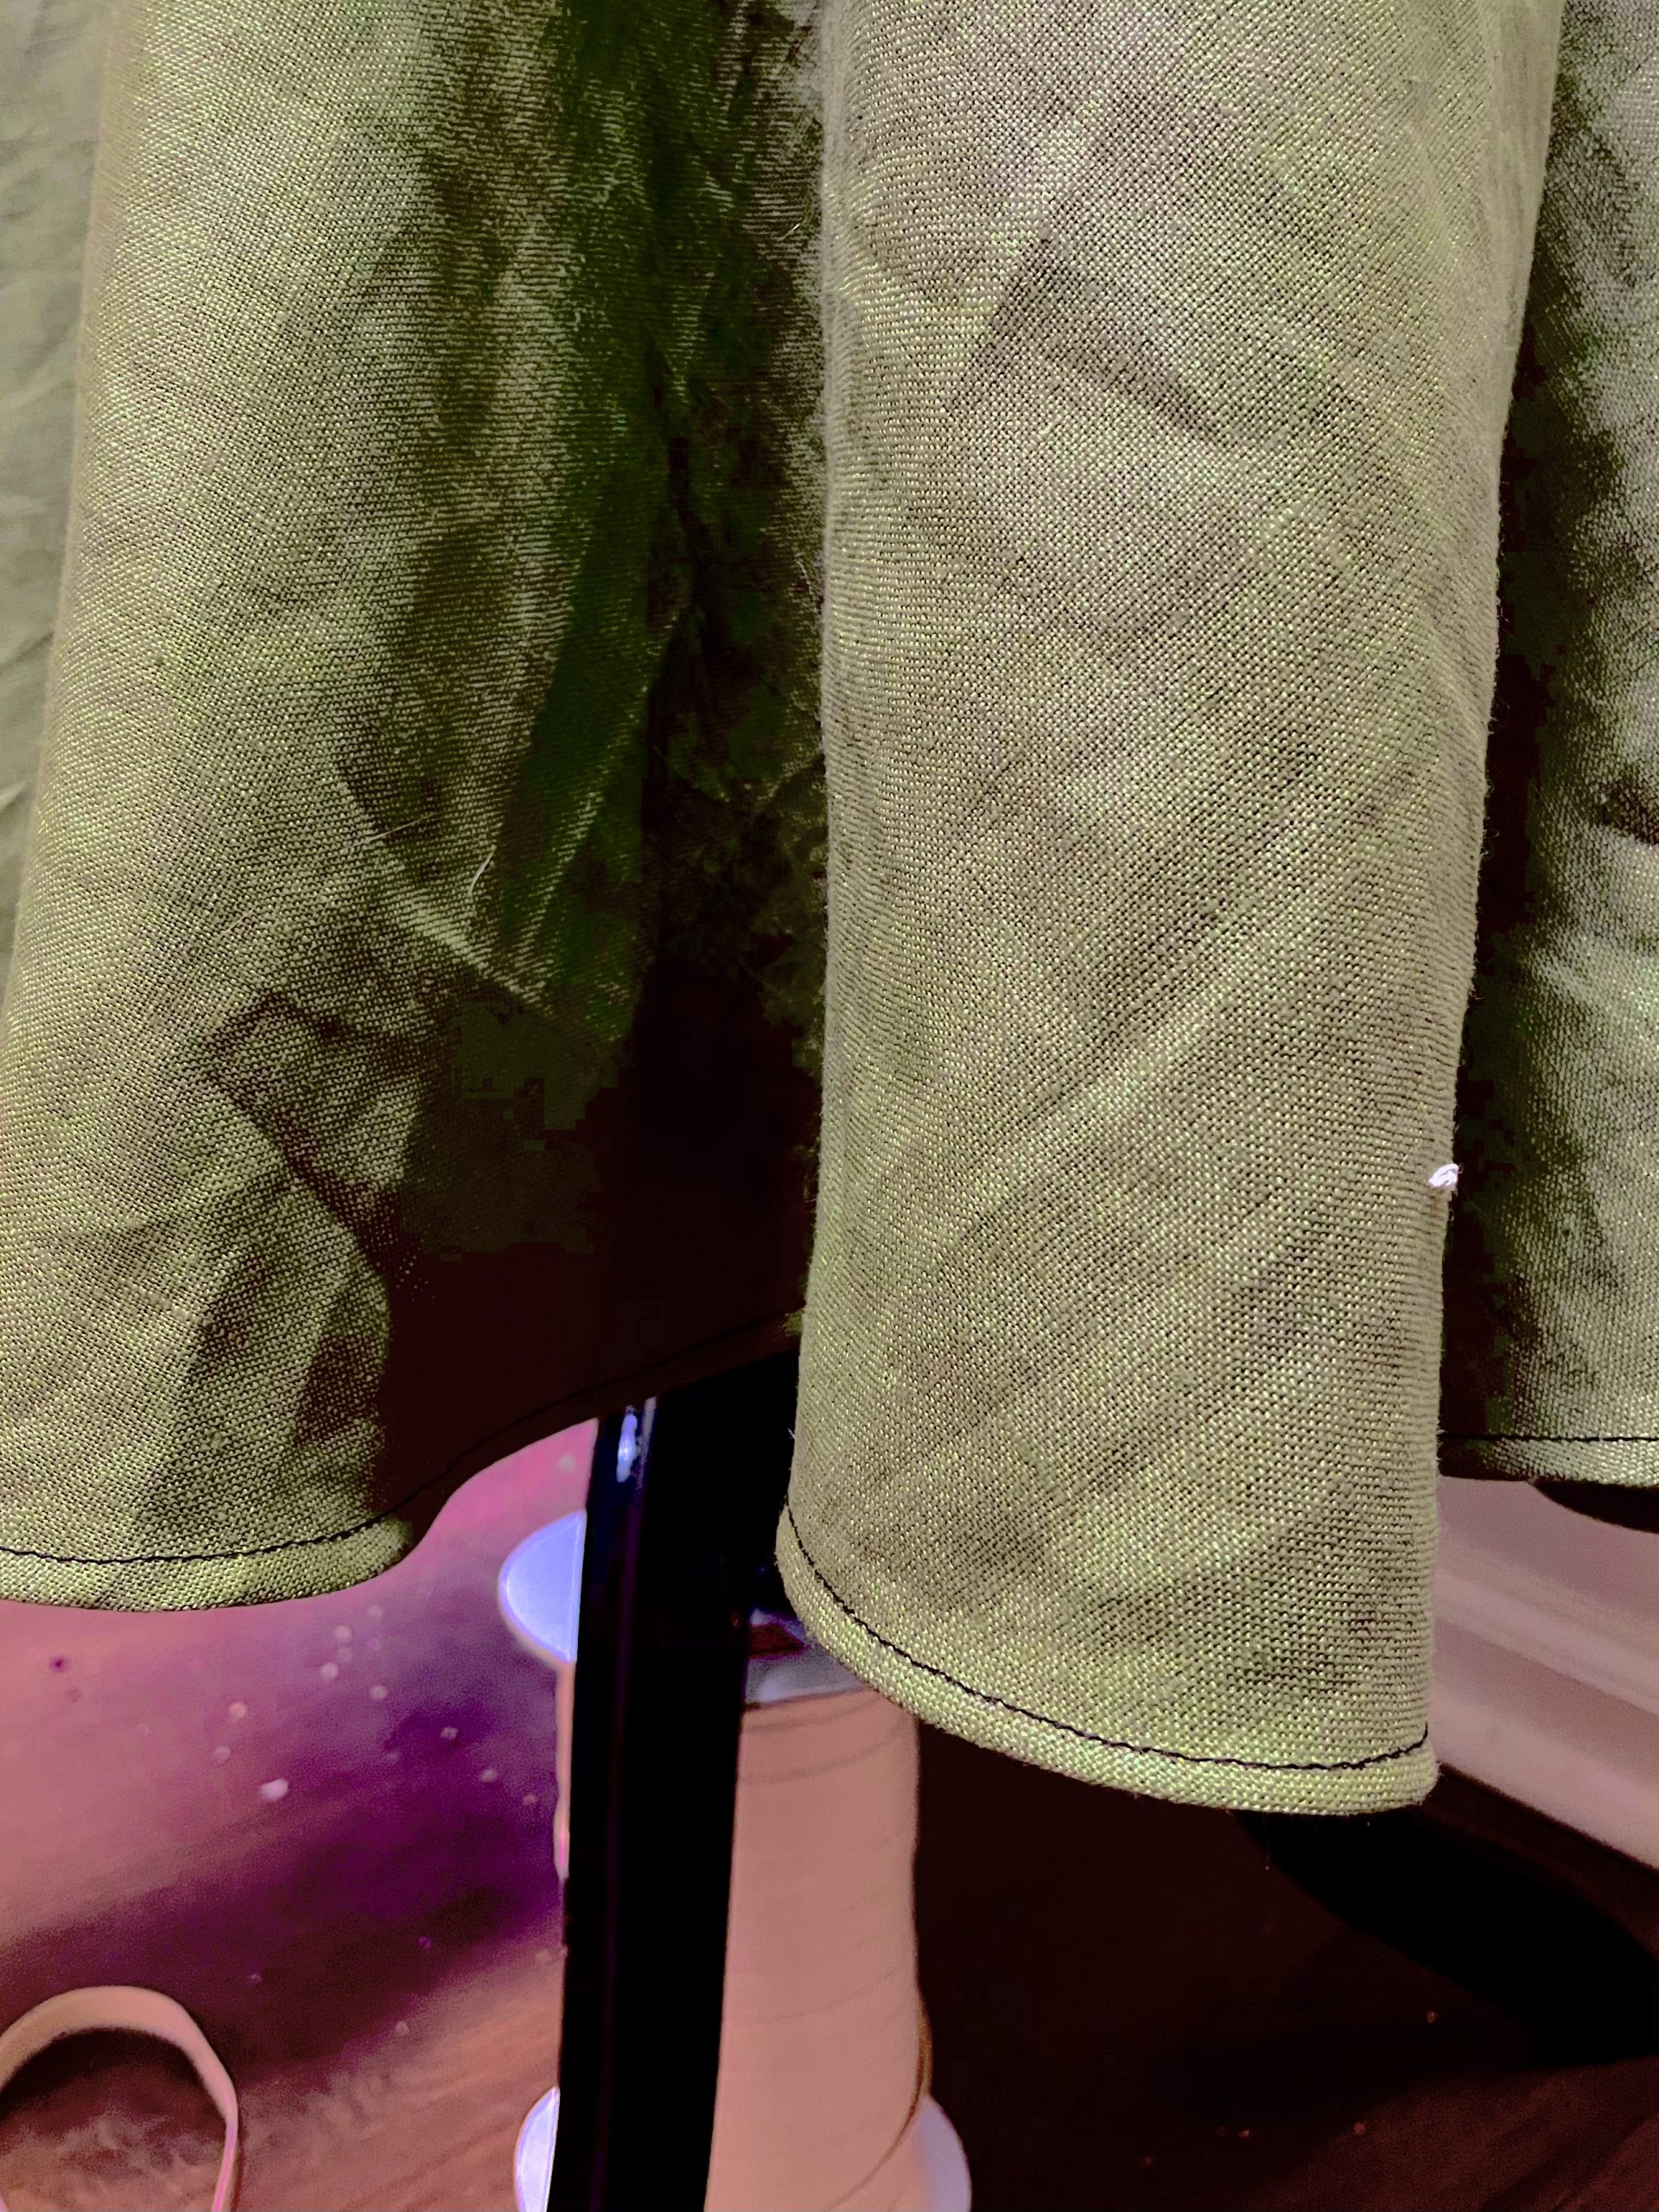
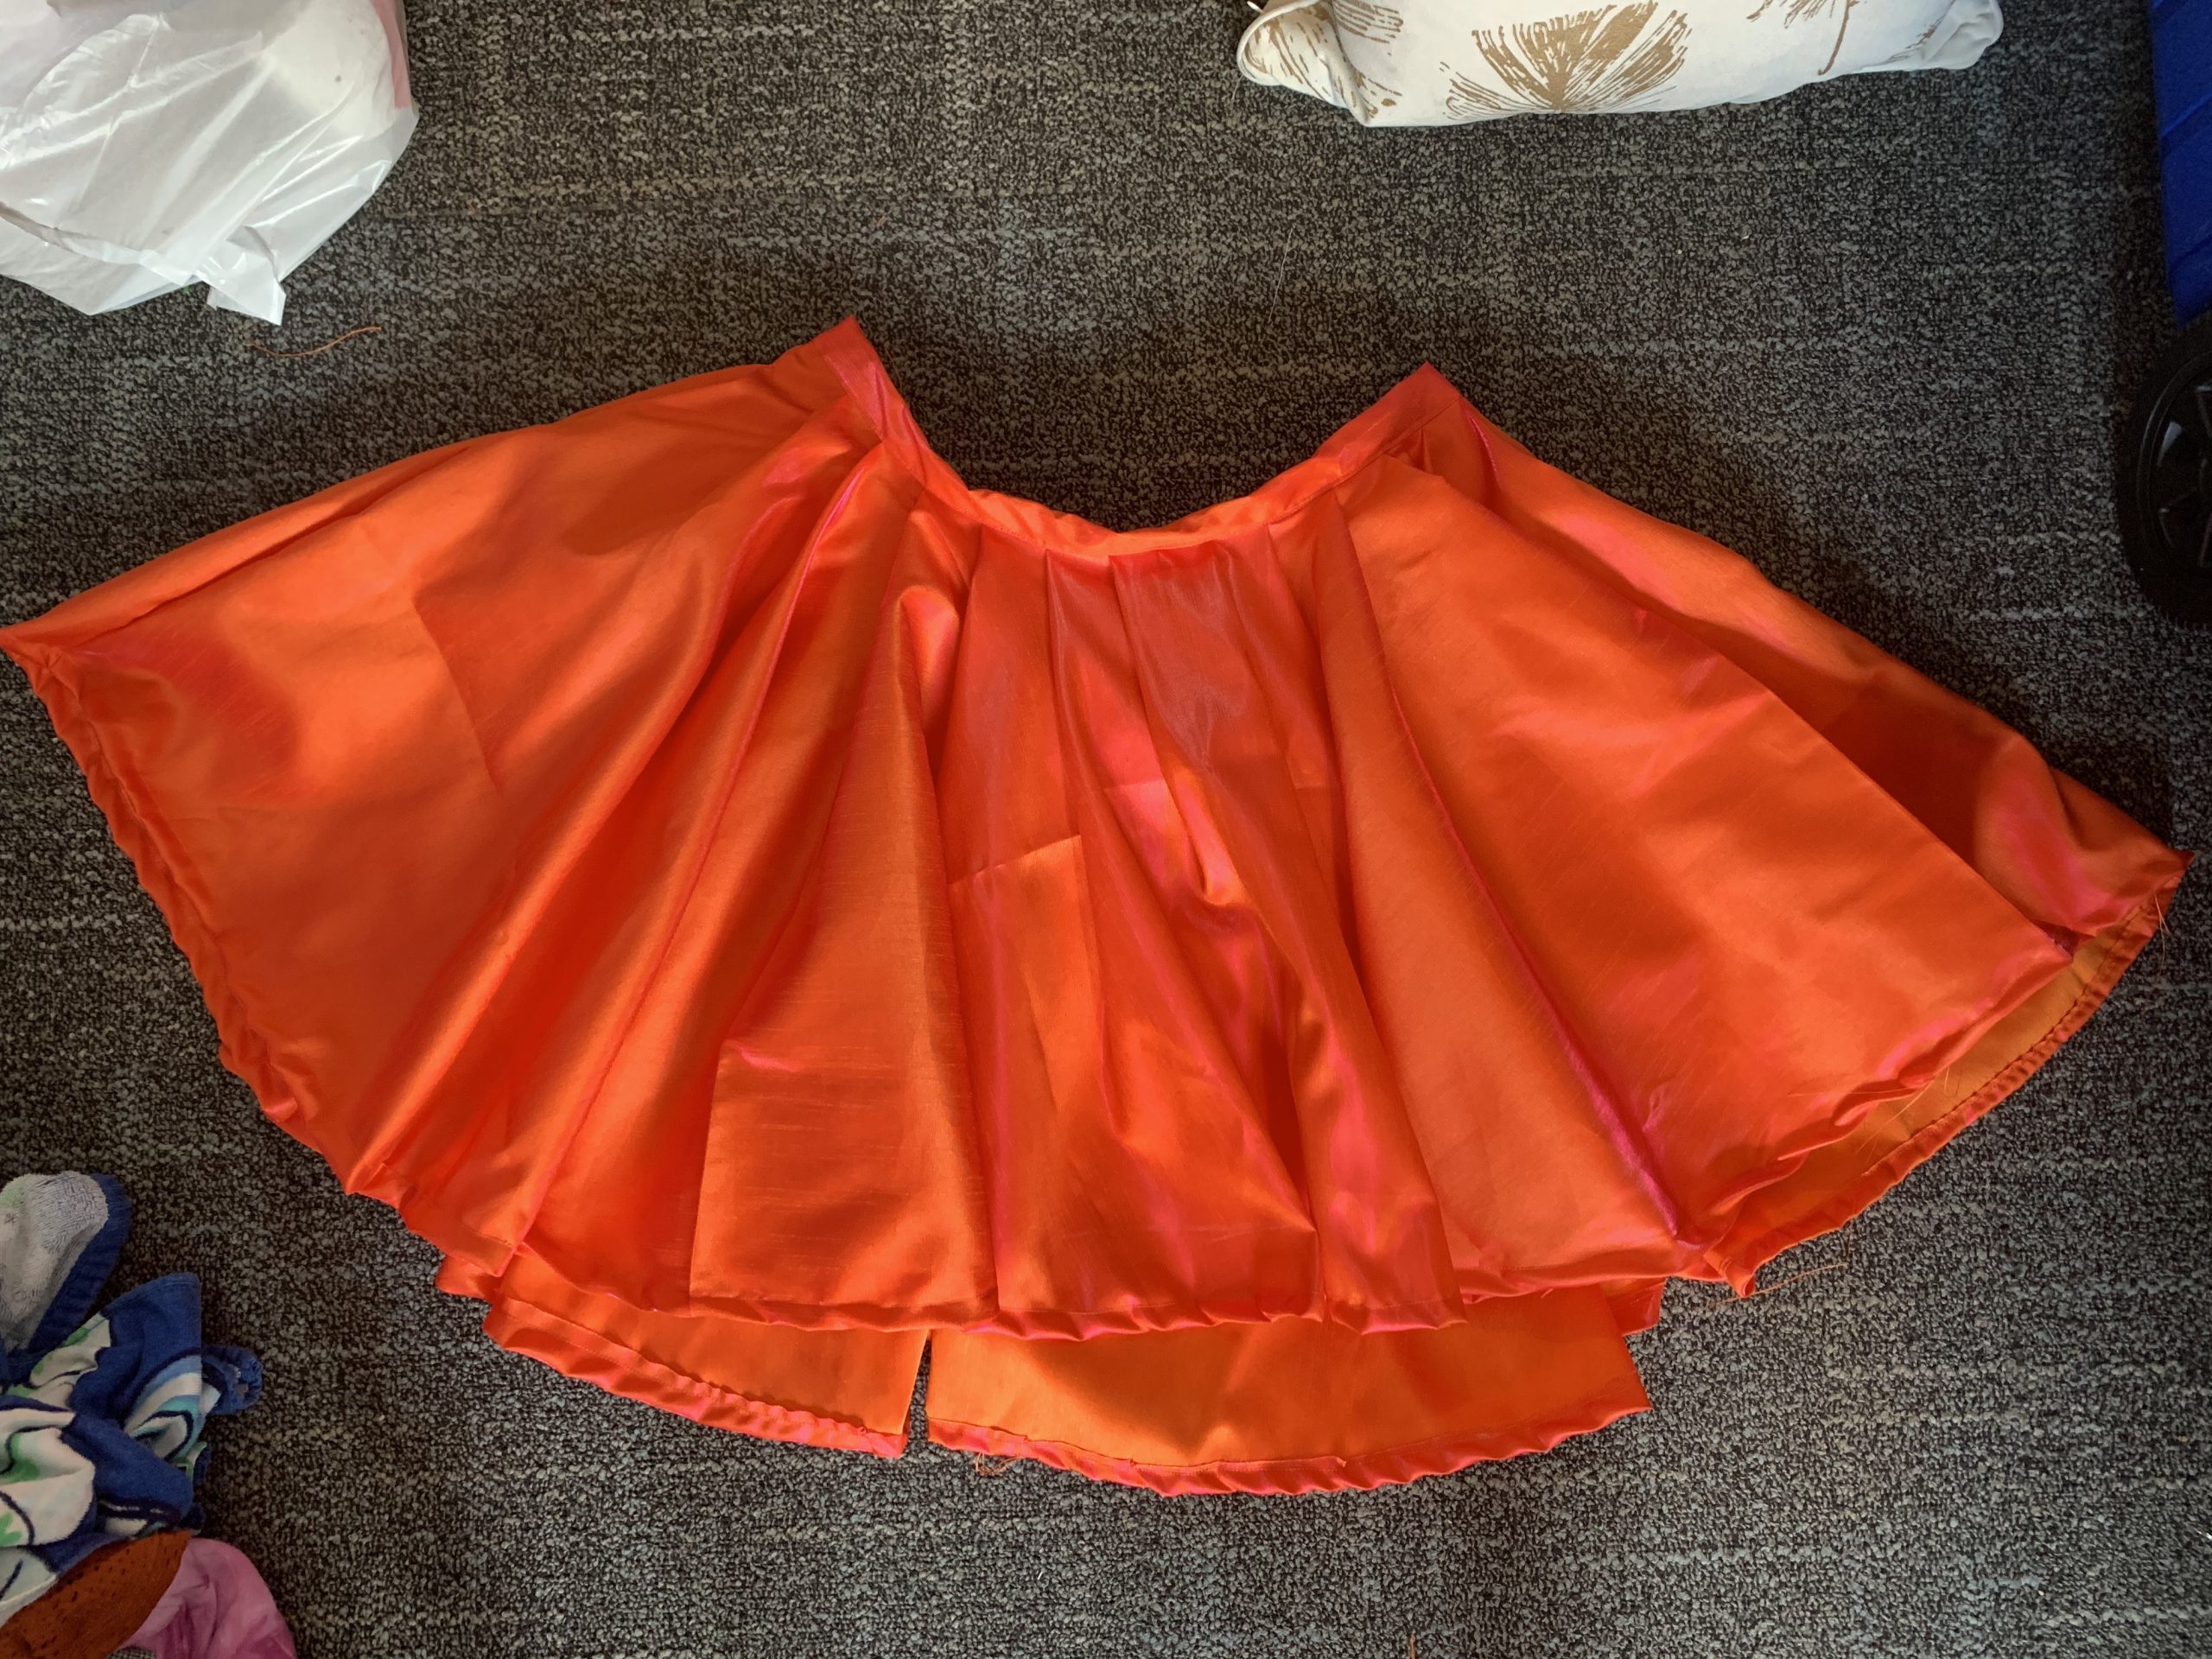

Experience:
The experience of patterning and crafting a garment in my room was very hard. Usually, I would have access to tables for laying out and cutting fabric but that was not the case and I think it made the experience very difficult. Also, learning about how to fit patterns to the fabric was hard. I ended up having to shorten the skirt pattern to fit which I did feel limited the flow of the skirt. It would have been nice to have more of a high-low skirt that what it looks like.
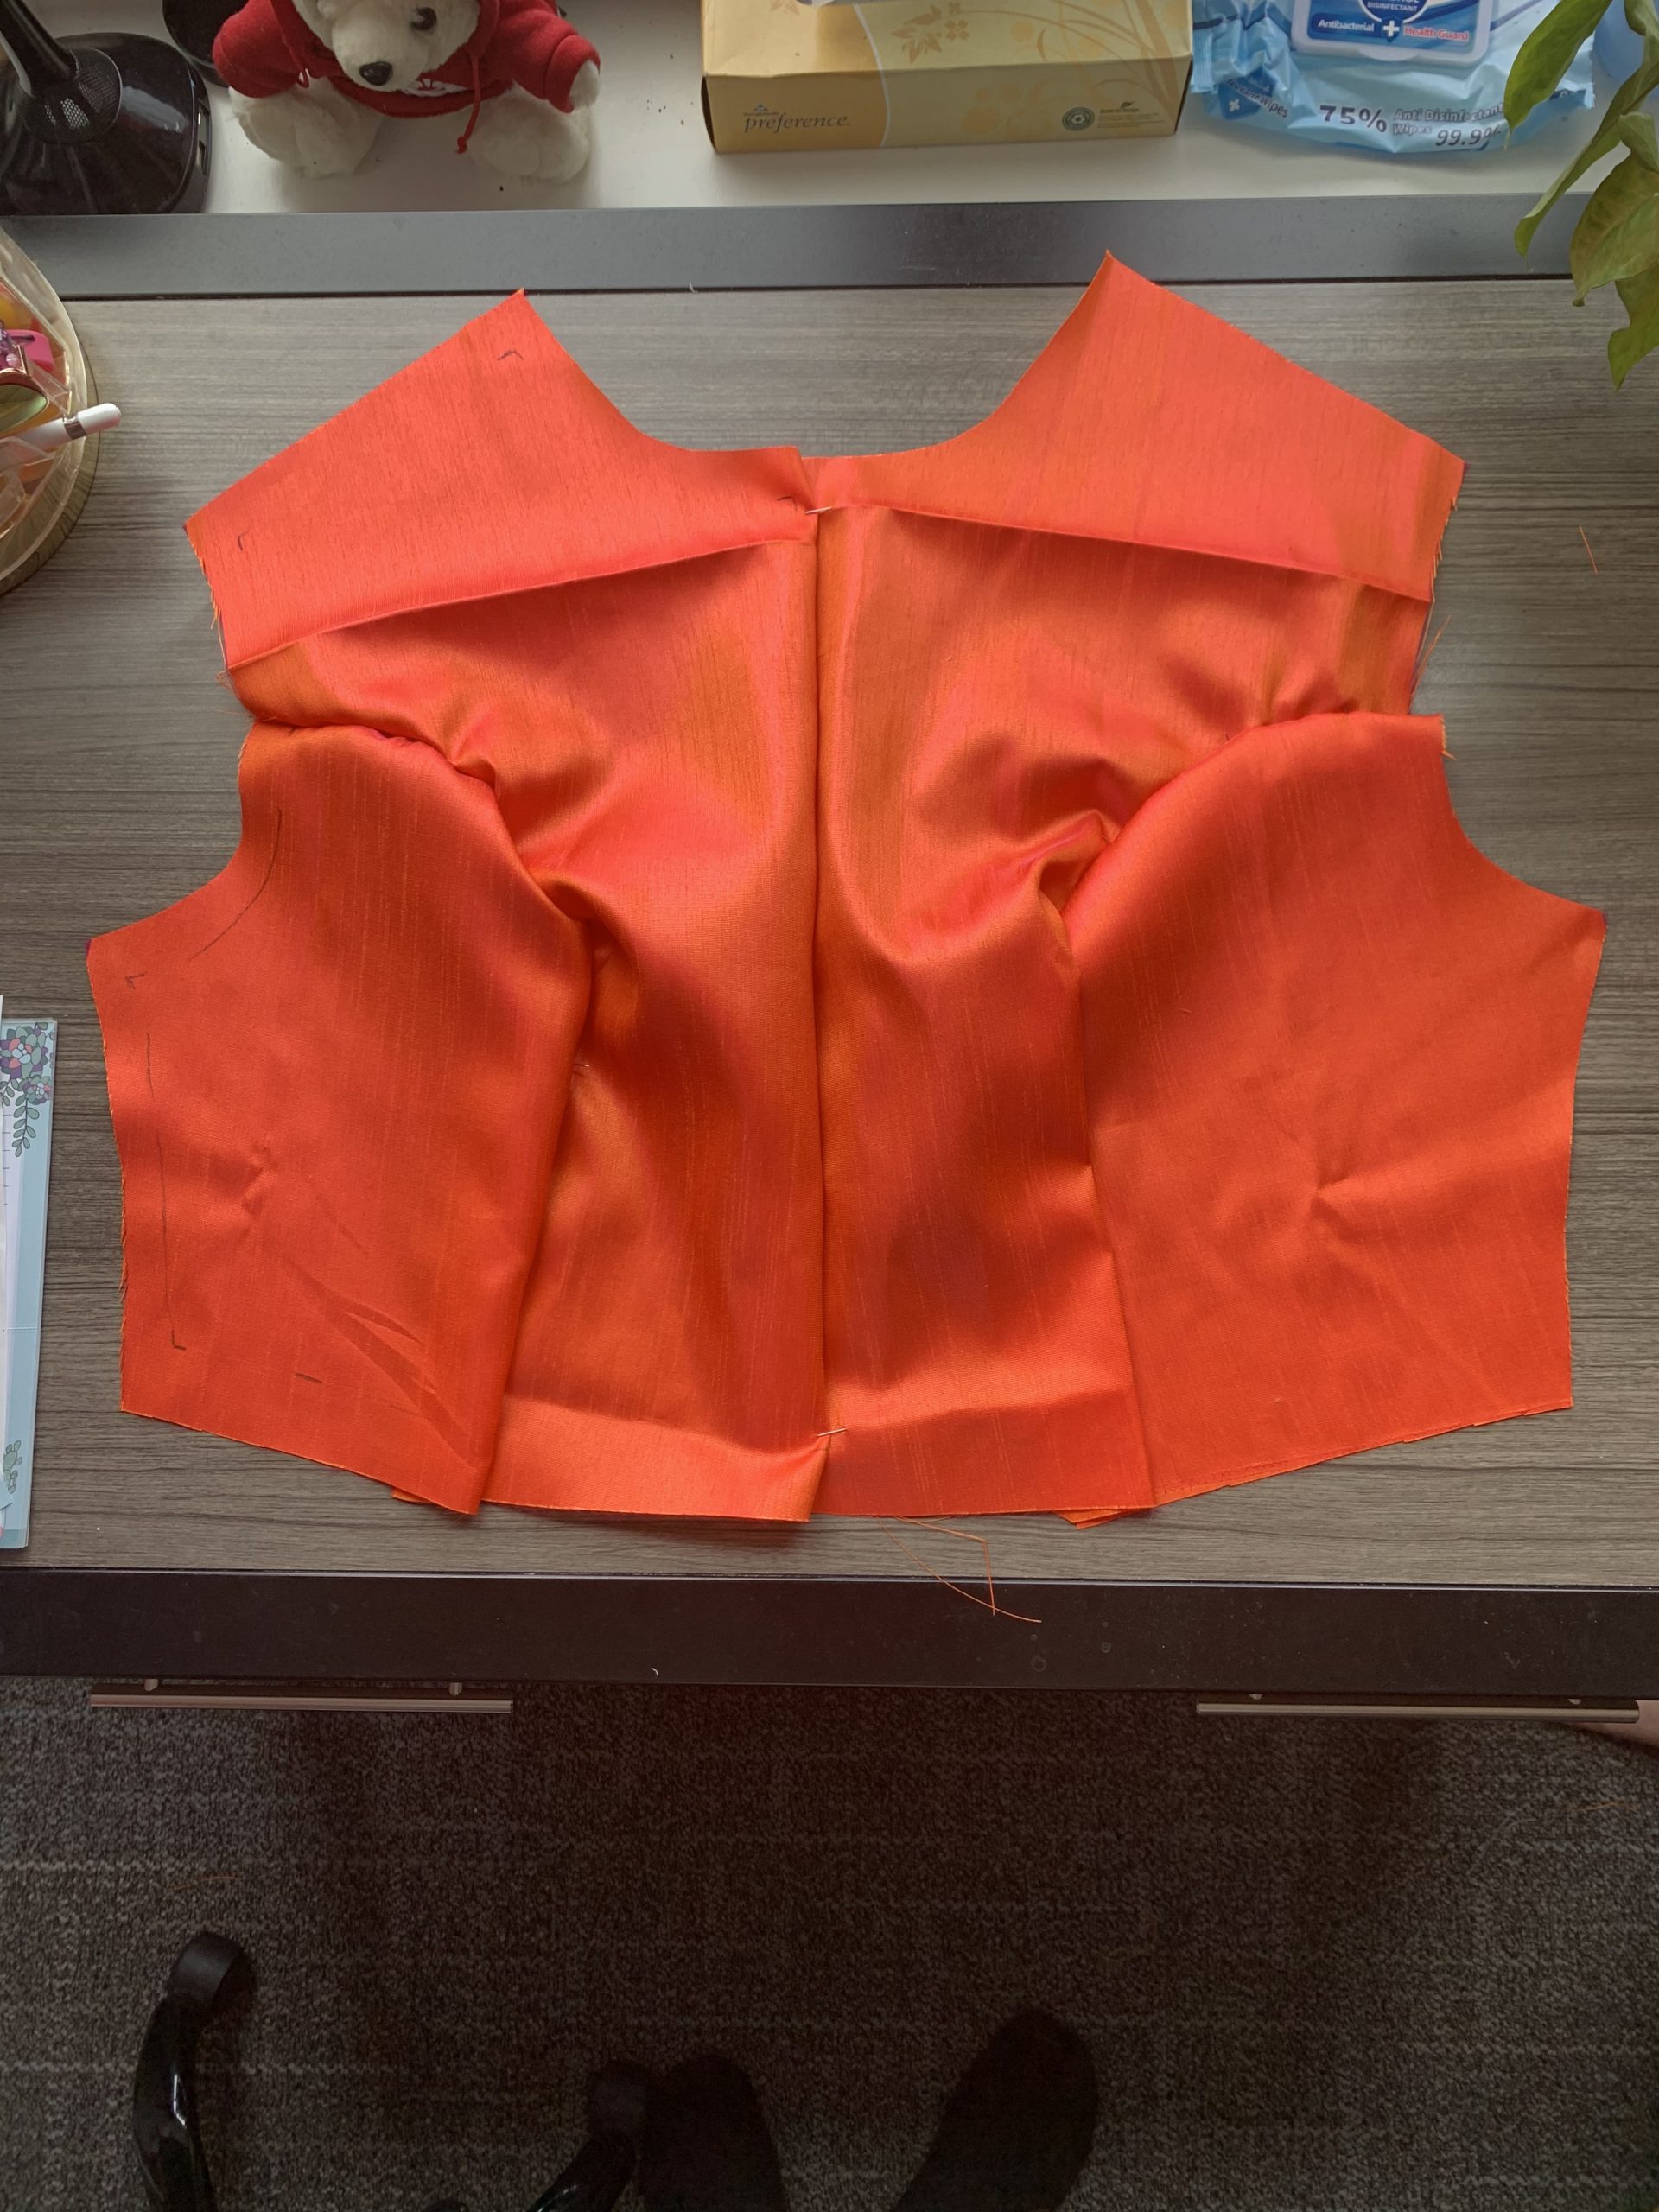
The bodice is still in progress and I plan to finish with the sewing machines in A31 on Monday.
Successes and Mistakes:
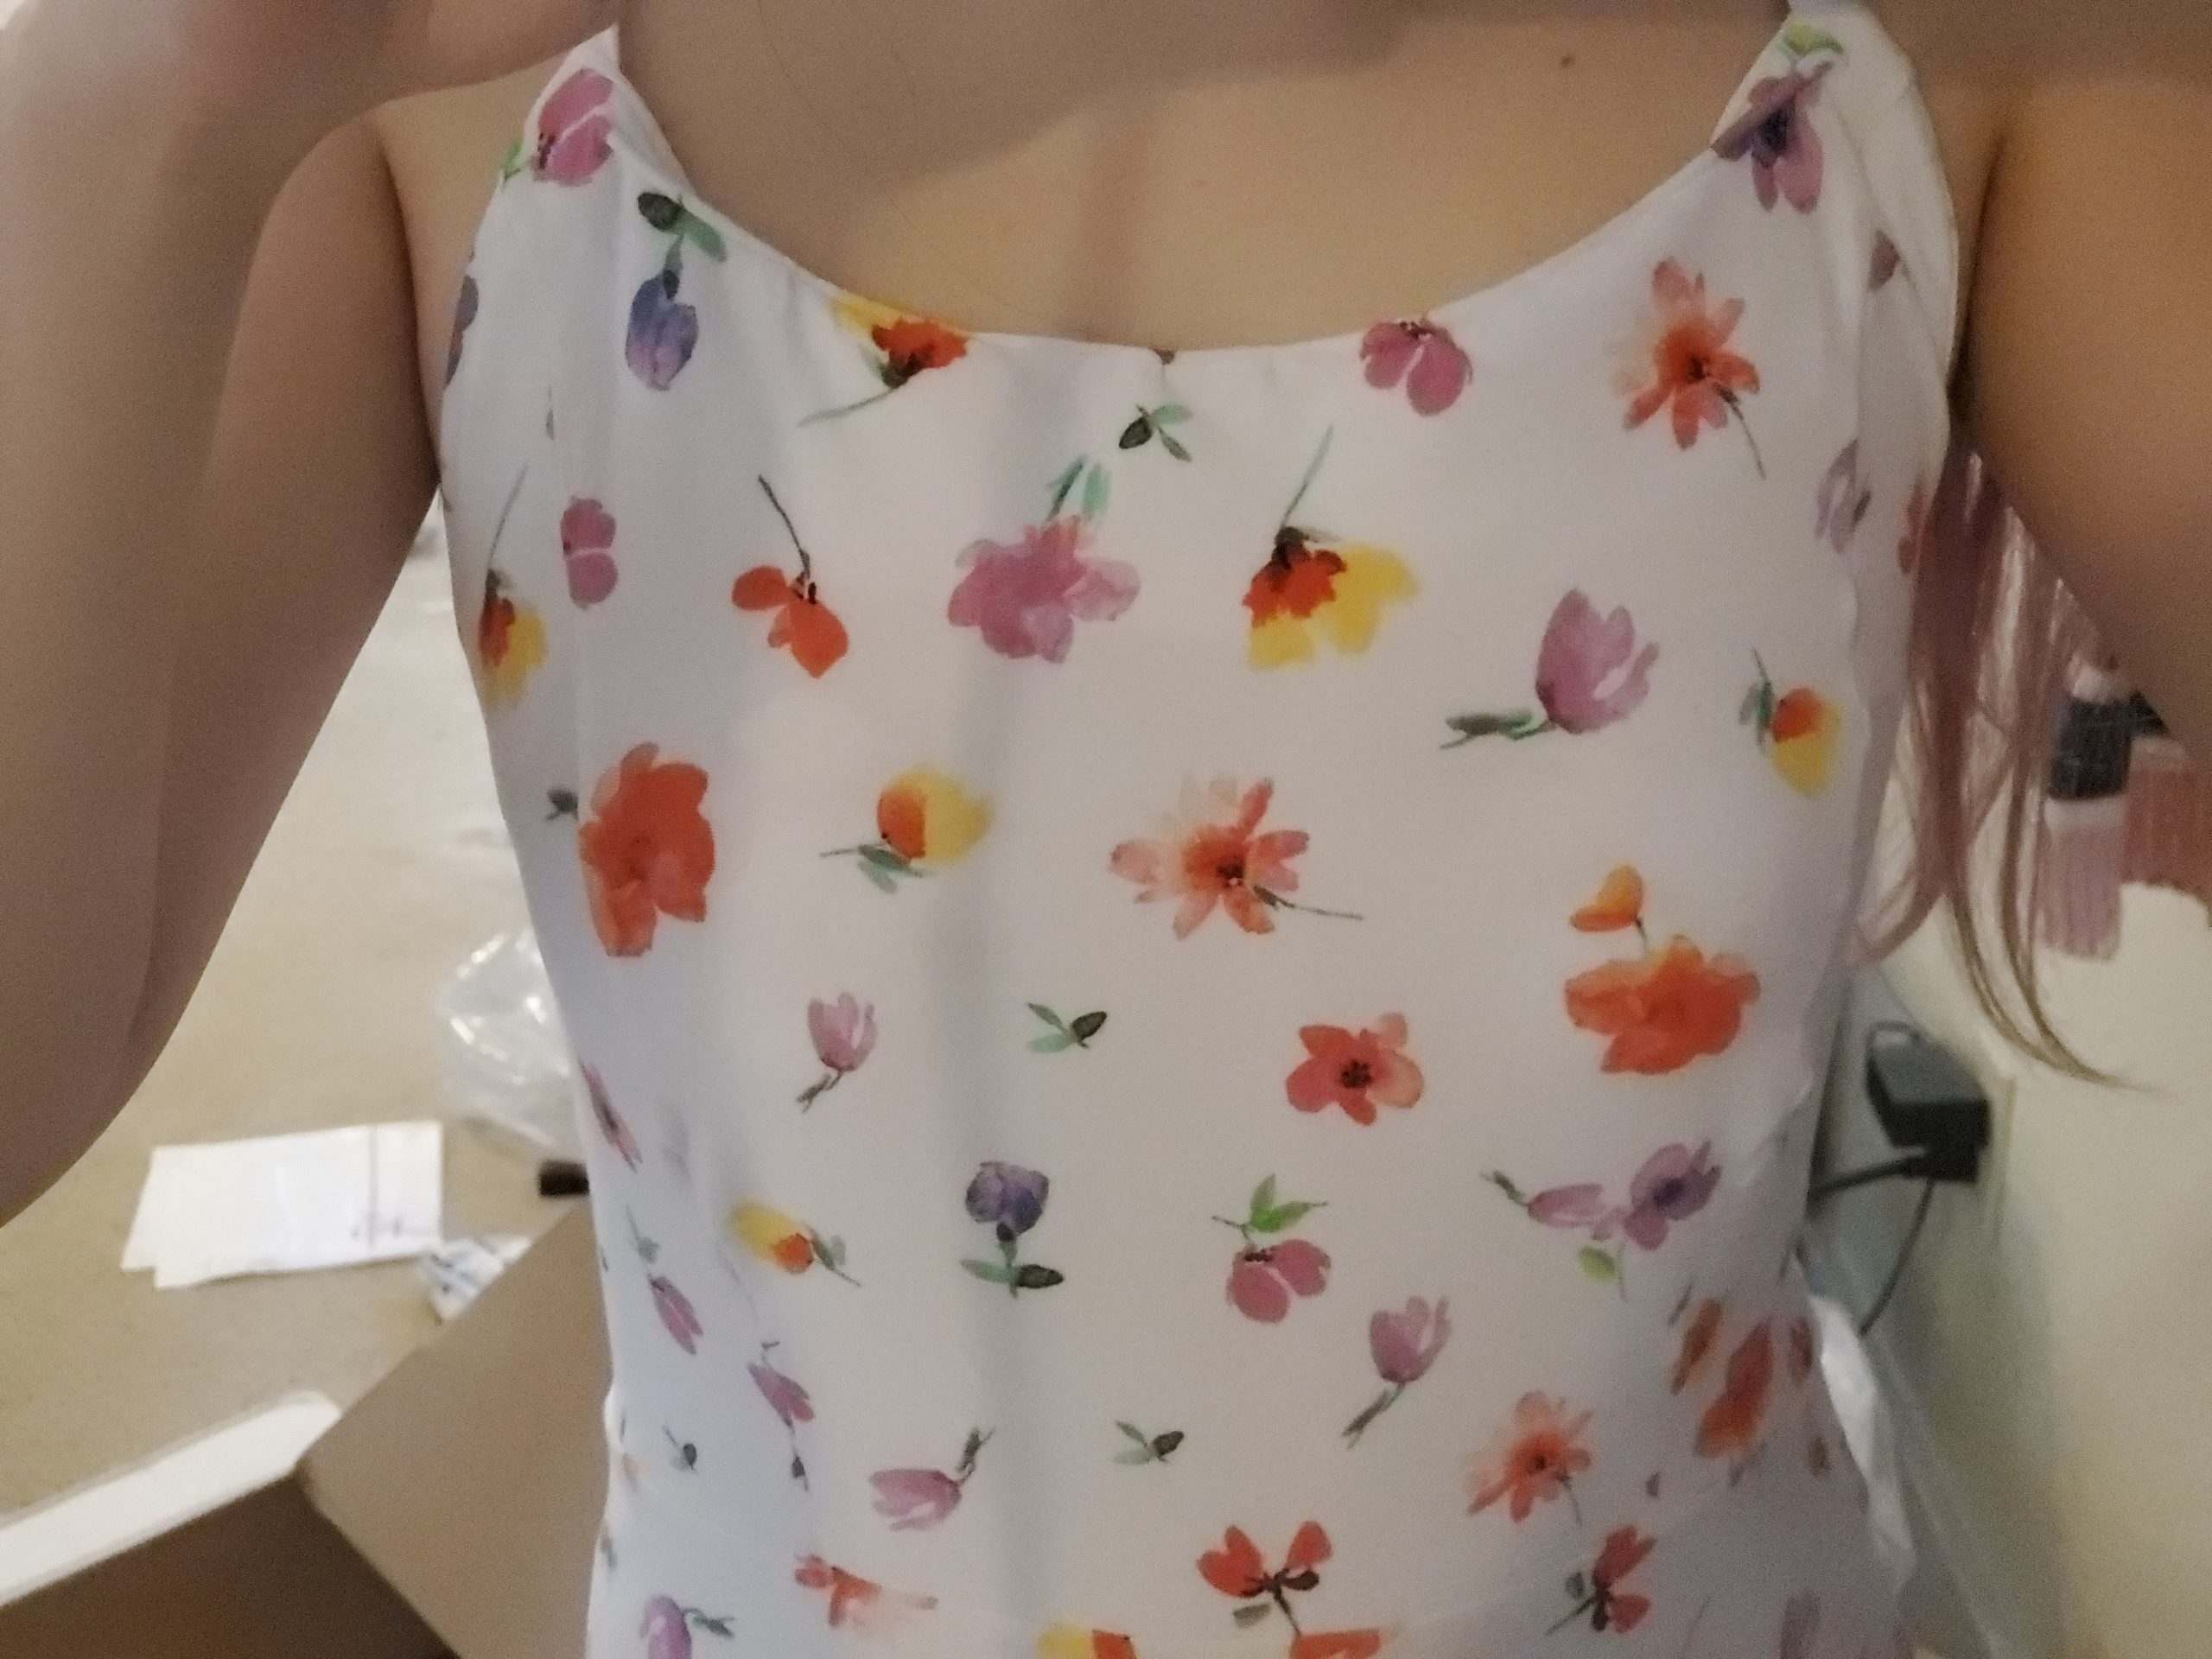
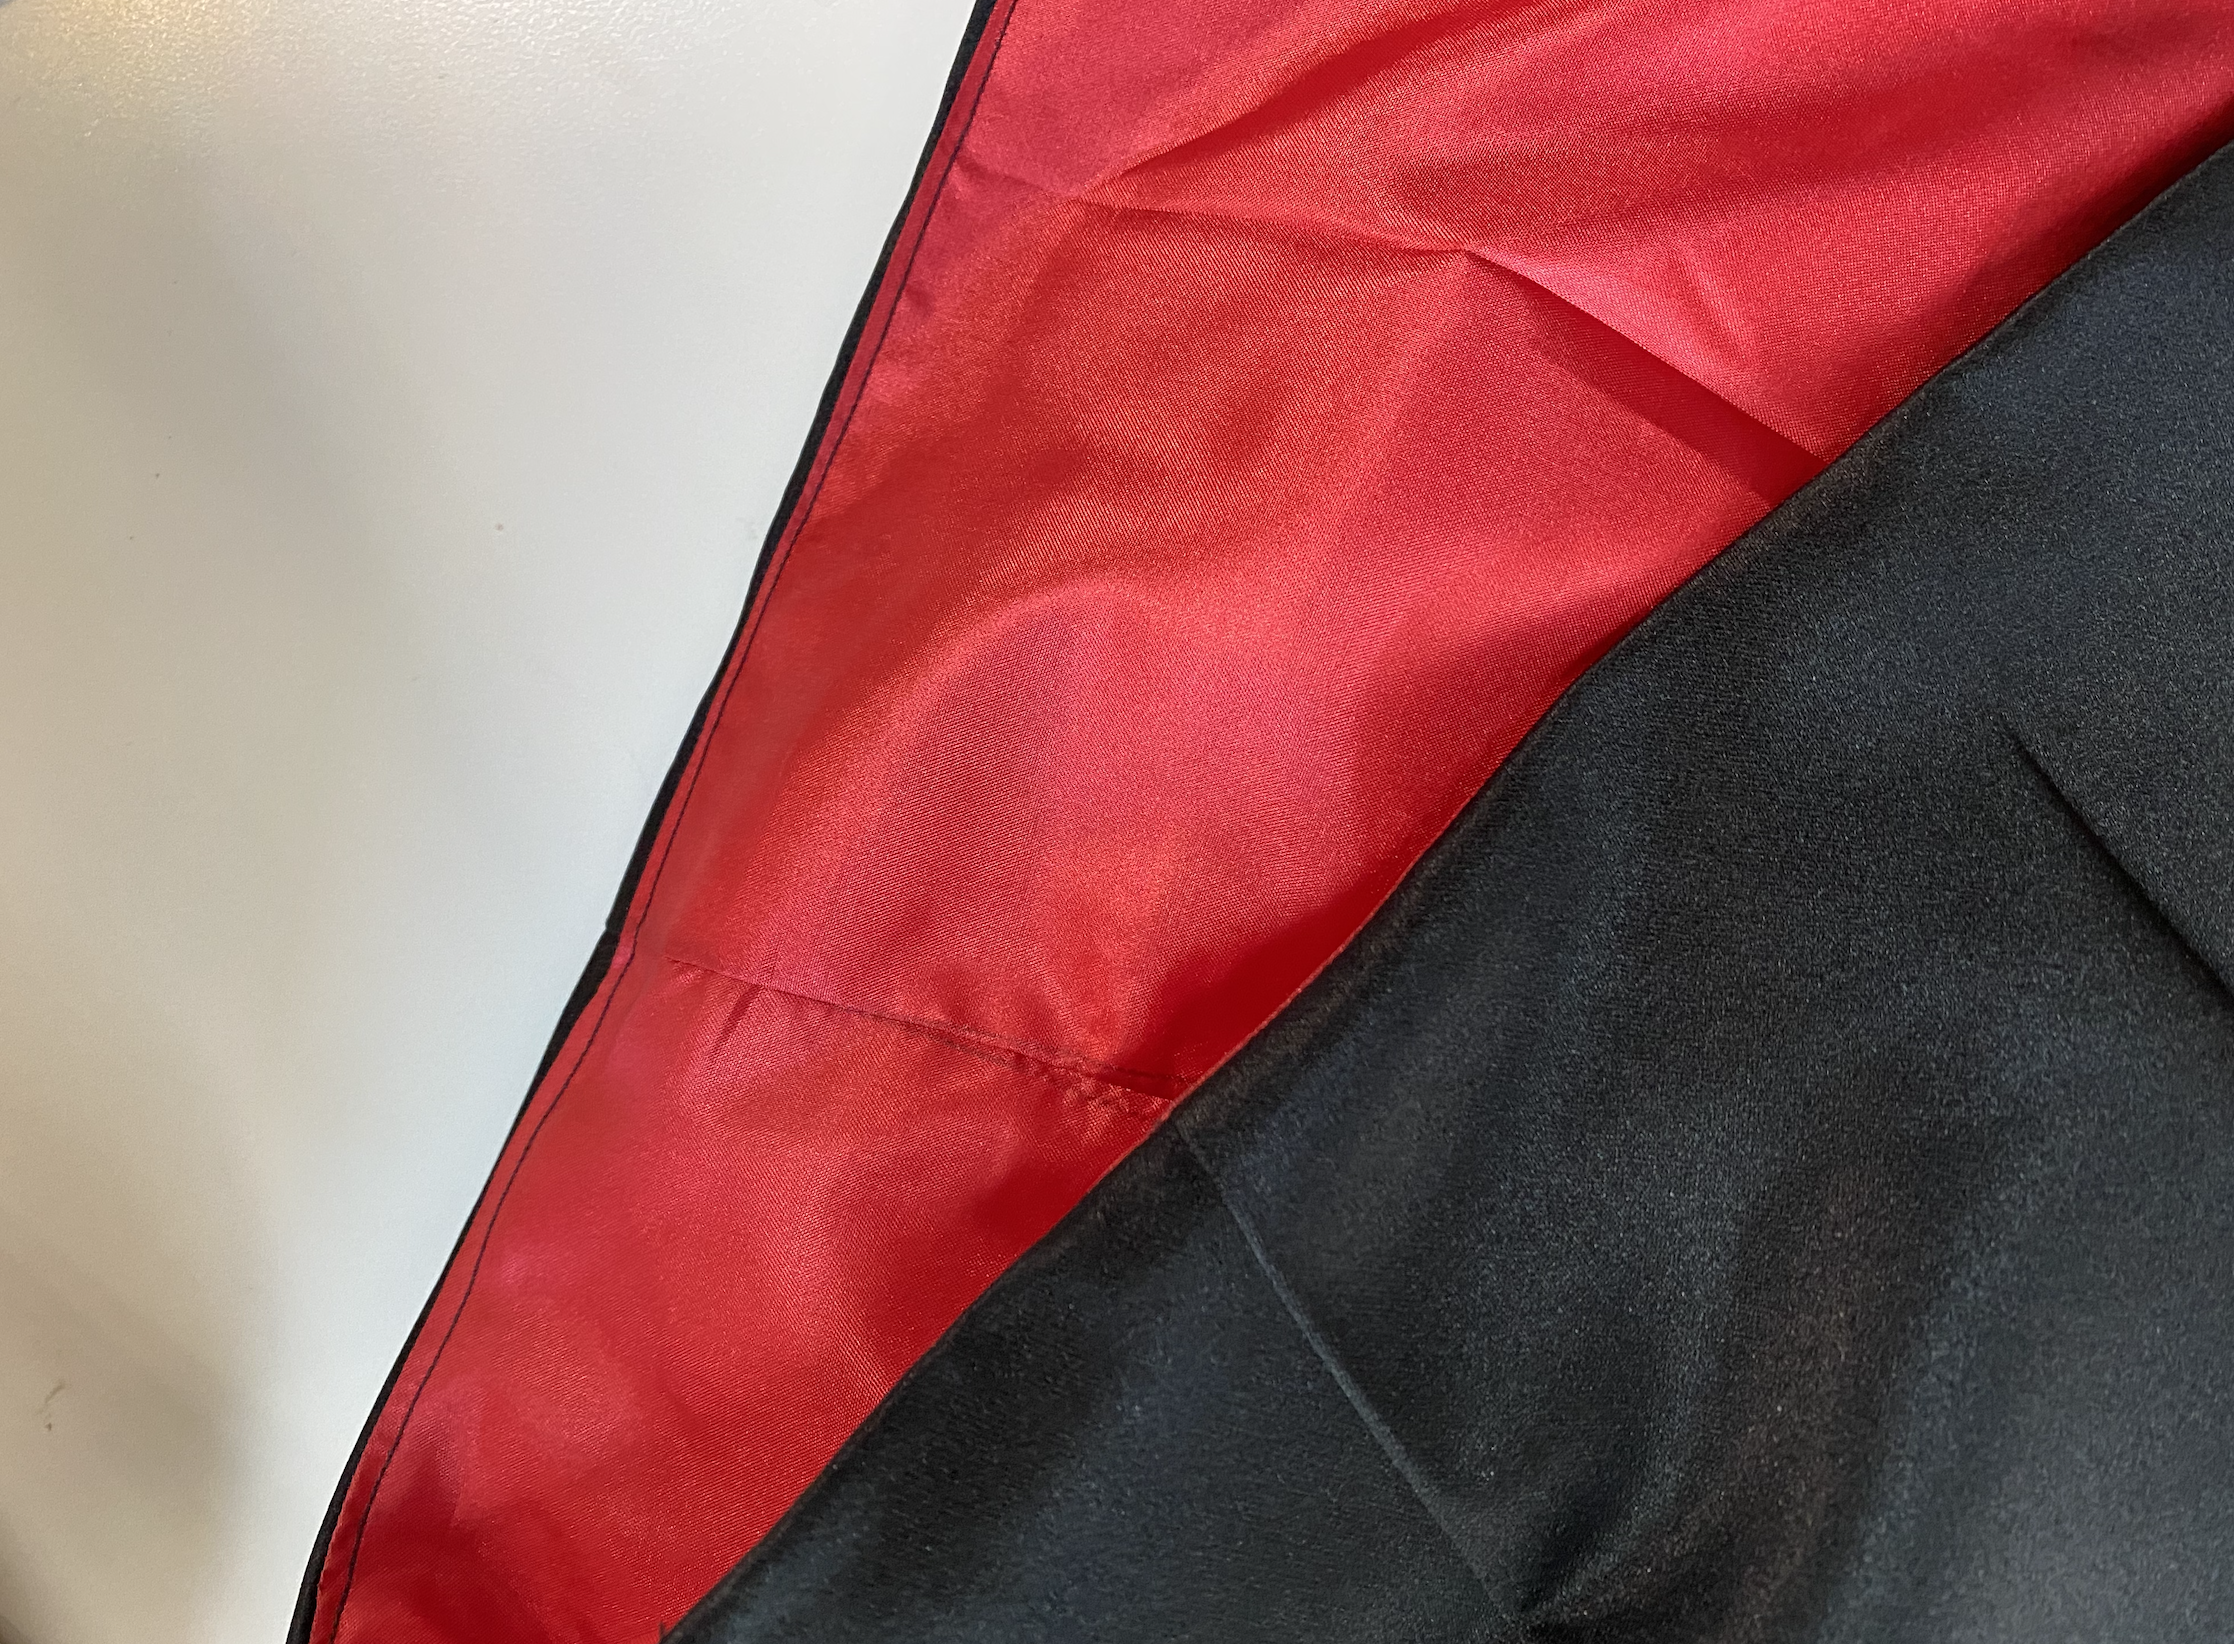
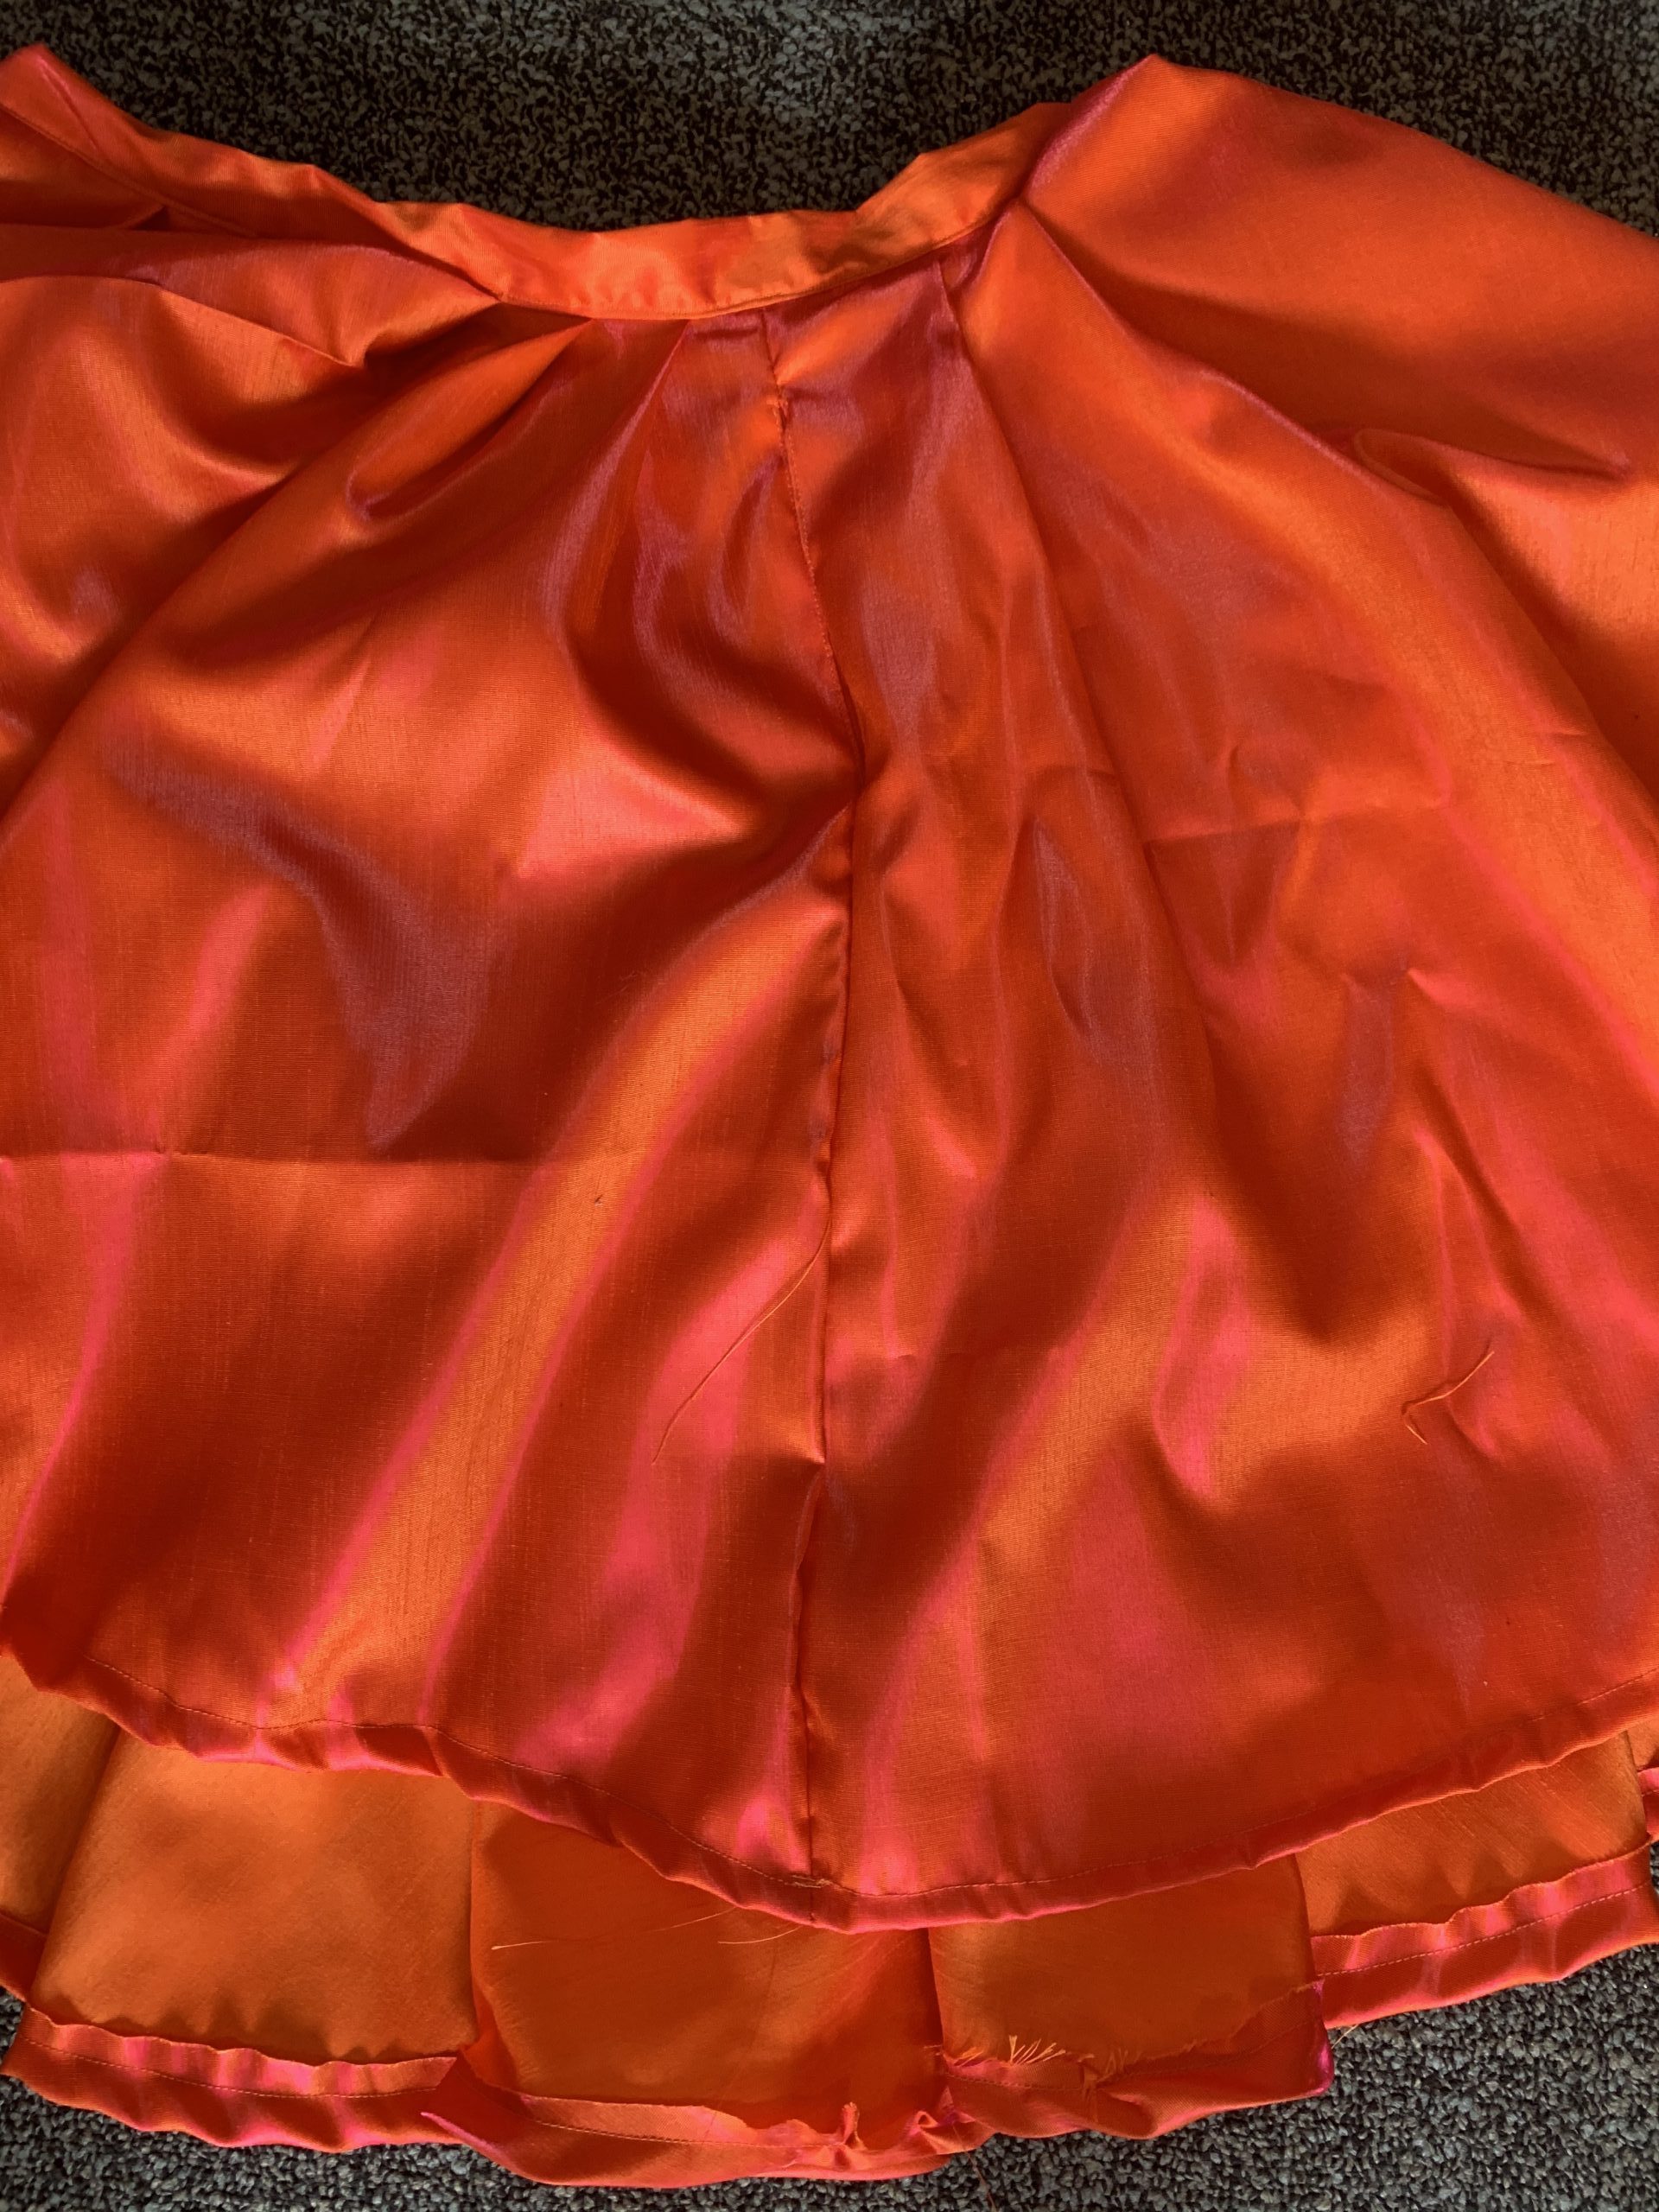
I had never done a zipper in a garment and I think I successfully did that with a skirt and waistband and bodice top. Before, I have had issues with sewing backwards or wrong side up, but I had successfully sewn everything with the good side facing out. The pockets are lovely but just facing back instead. I also had success with fitting the skirt to my waist on the first try. The curved areas on the bodice were very hard pin and sew but I accomplished that! I just have to put the whole bodice together.
I did have a few mistakes which is okay! I sewed the pockets in the wrong direction as they are facing backward. The small sewing lines are not perfect as they are very shaky. There are also areas of bunching of thread that could be fixed. I also wish the finishing on the skirt was better. It was so much skirt to handle, I would need more time to get something to help and complete the edge to look better.
Future Direction:
I would say that this work can be expanded towards the future will doing a longer skirt and getting a nice edge finish on that. I also think it is a step toward making a full gown again. The ones I have done in the past had corset fronts and open skirts, the full covered gown would be interesting to explore. Lastly, I would love to learn the details like beading or lace work. I think I need to further develop my patience with garment making and something like that would be exciting to learn and execute.
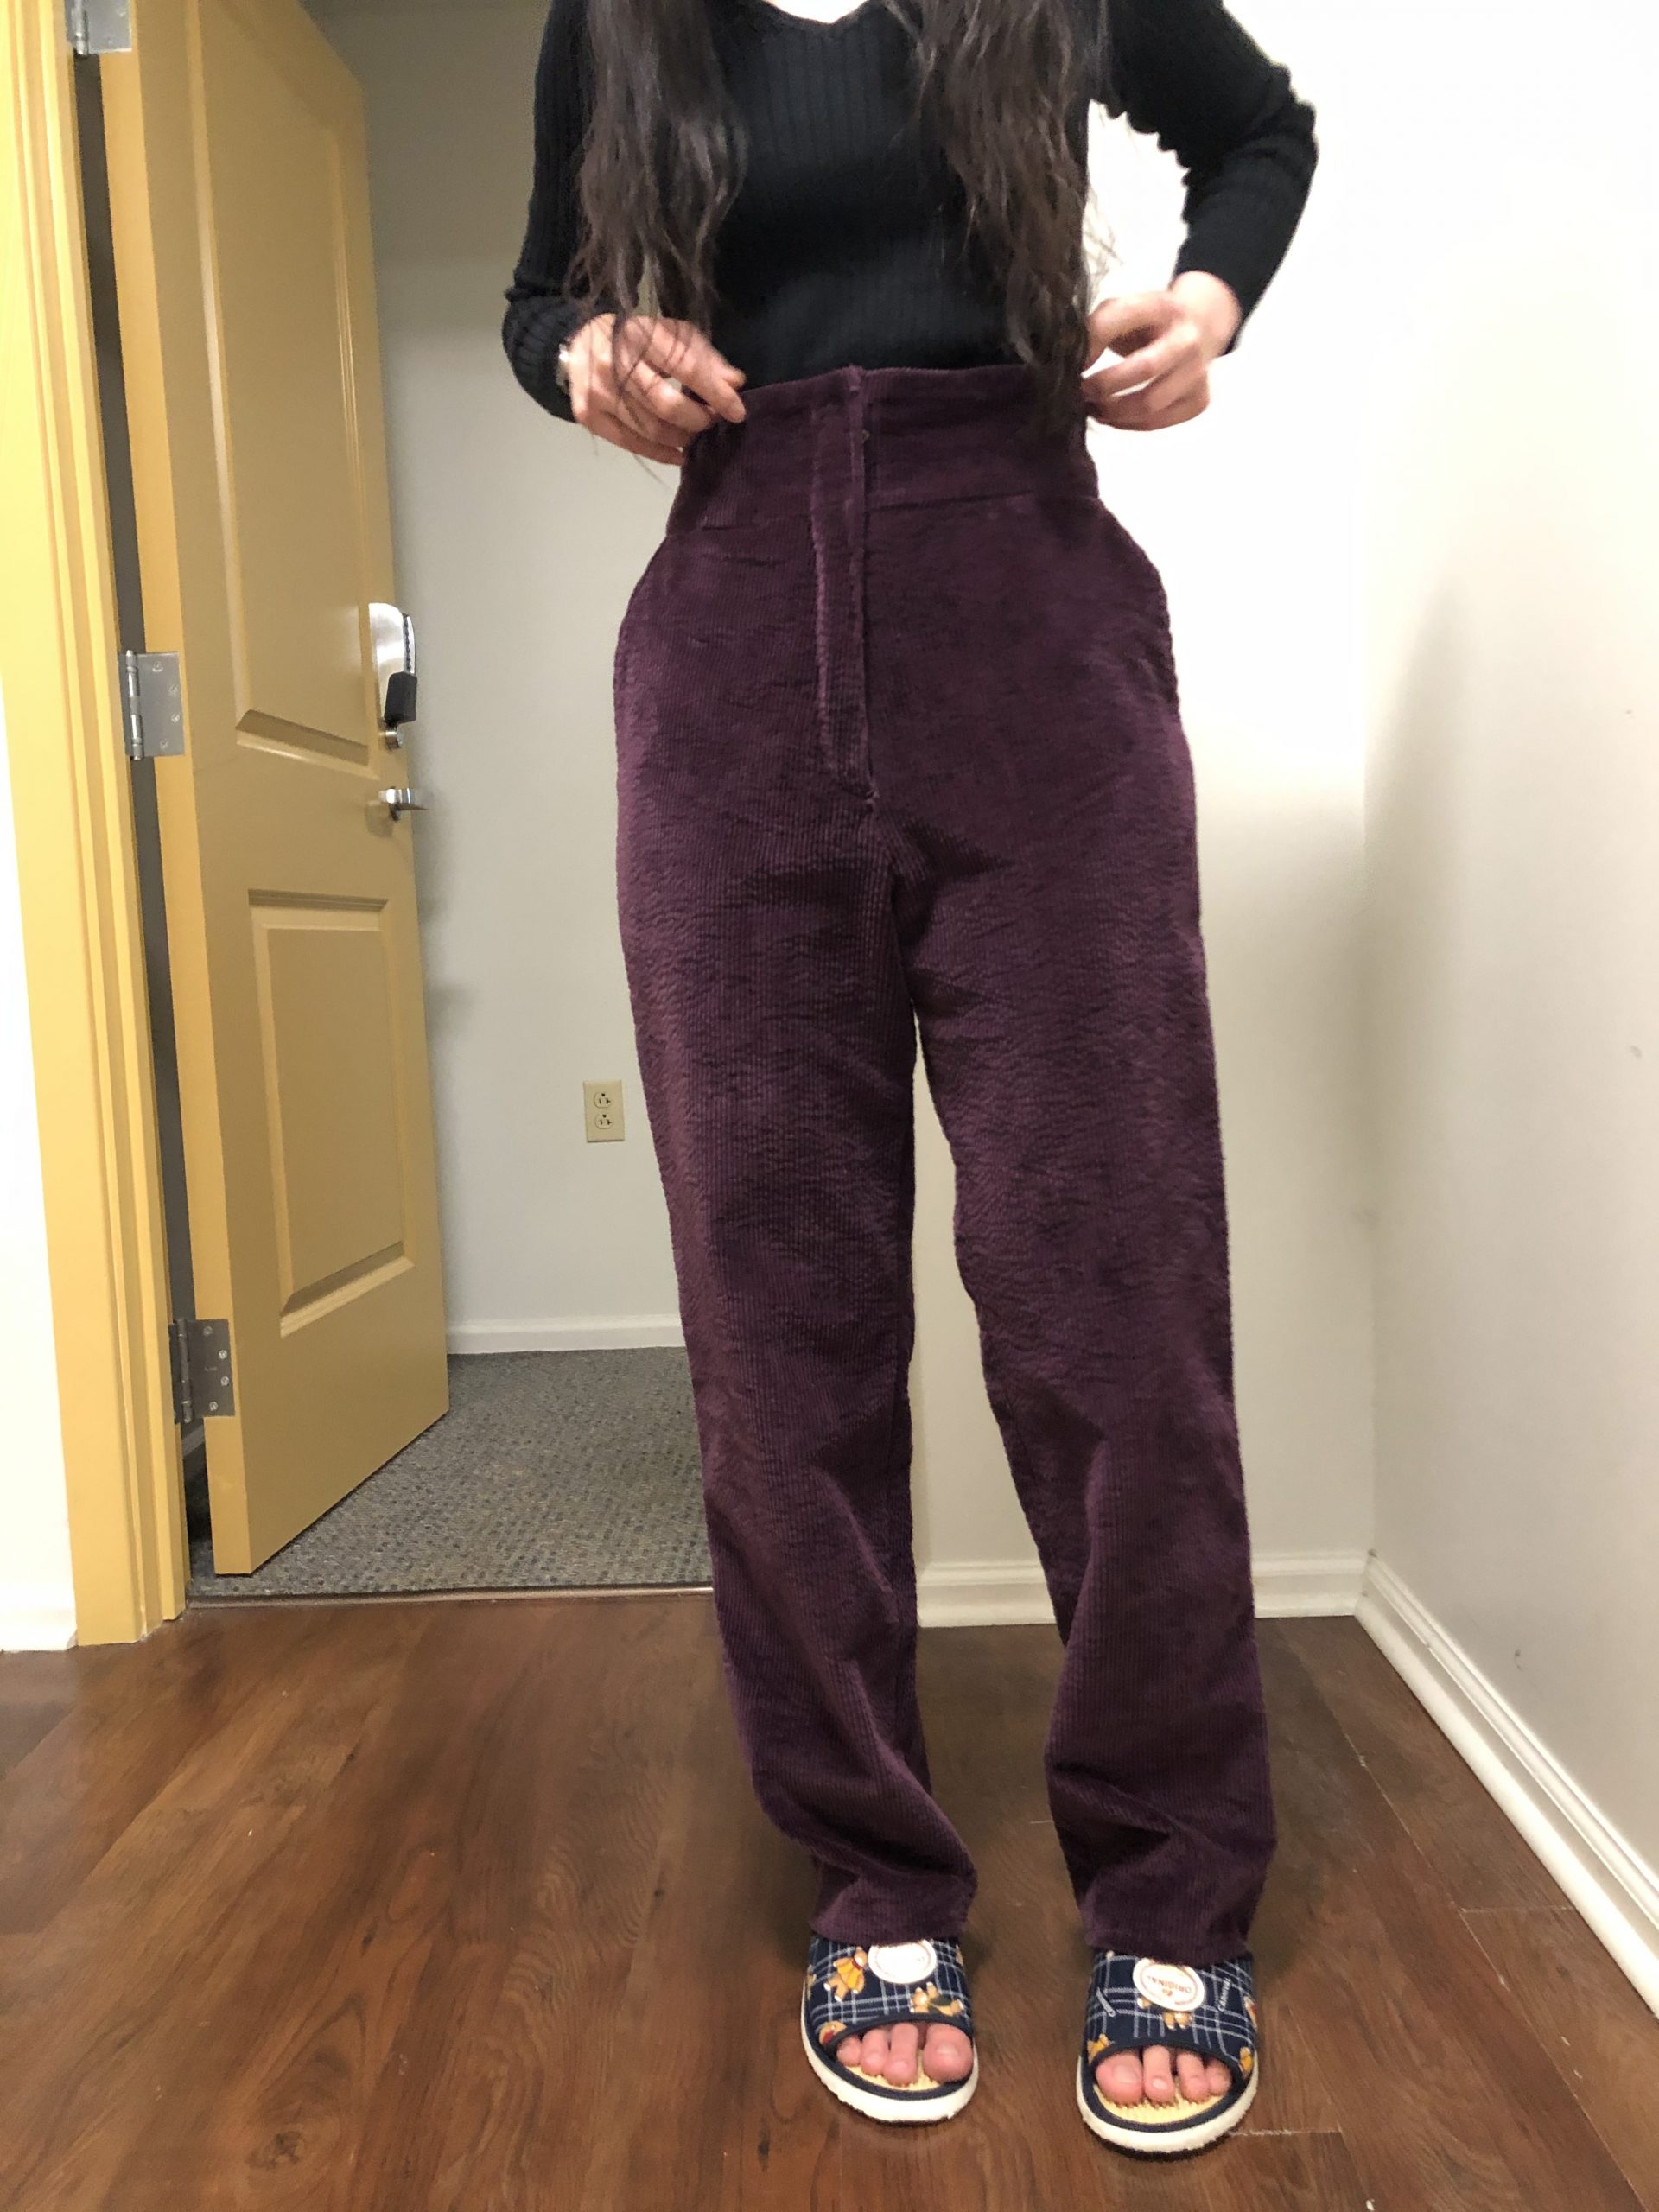
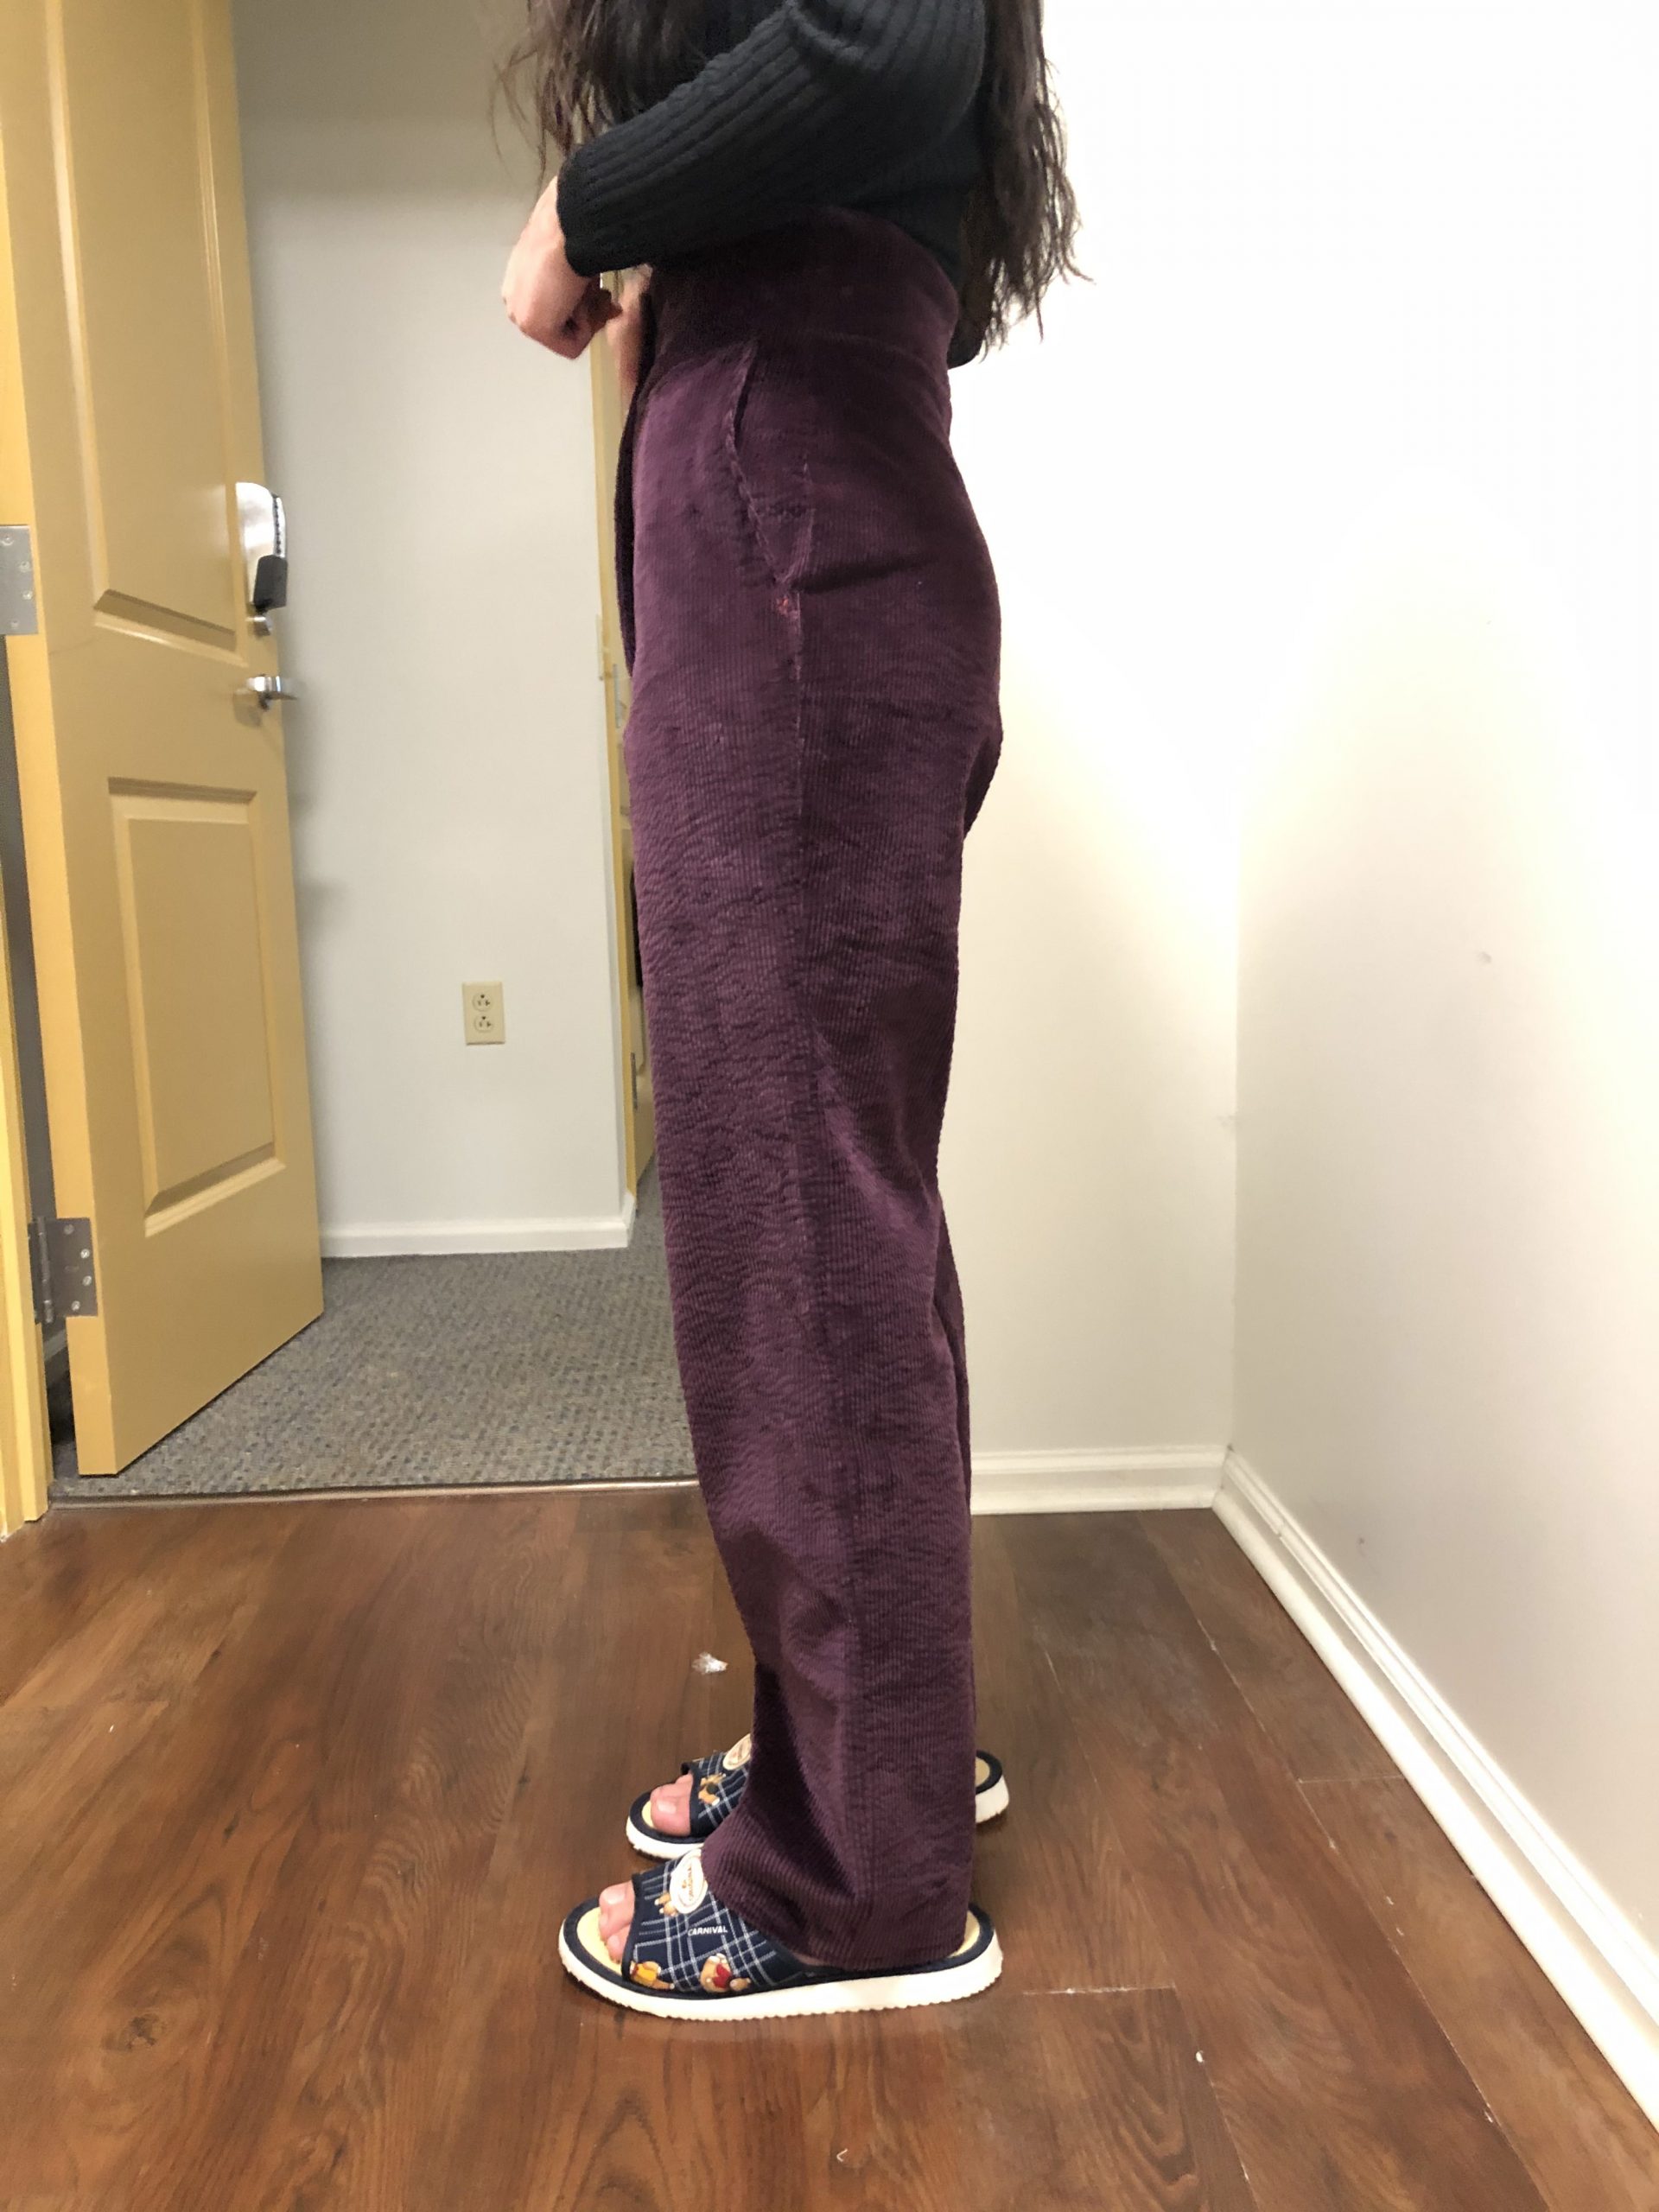
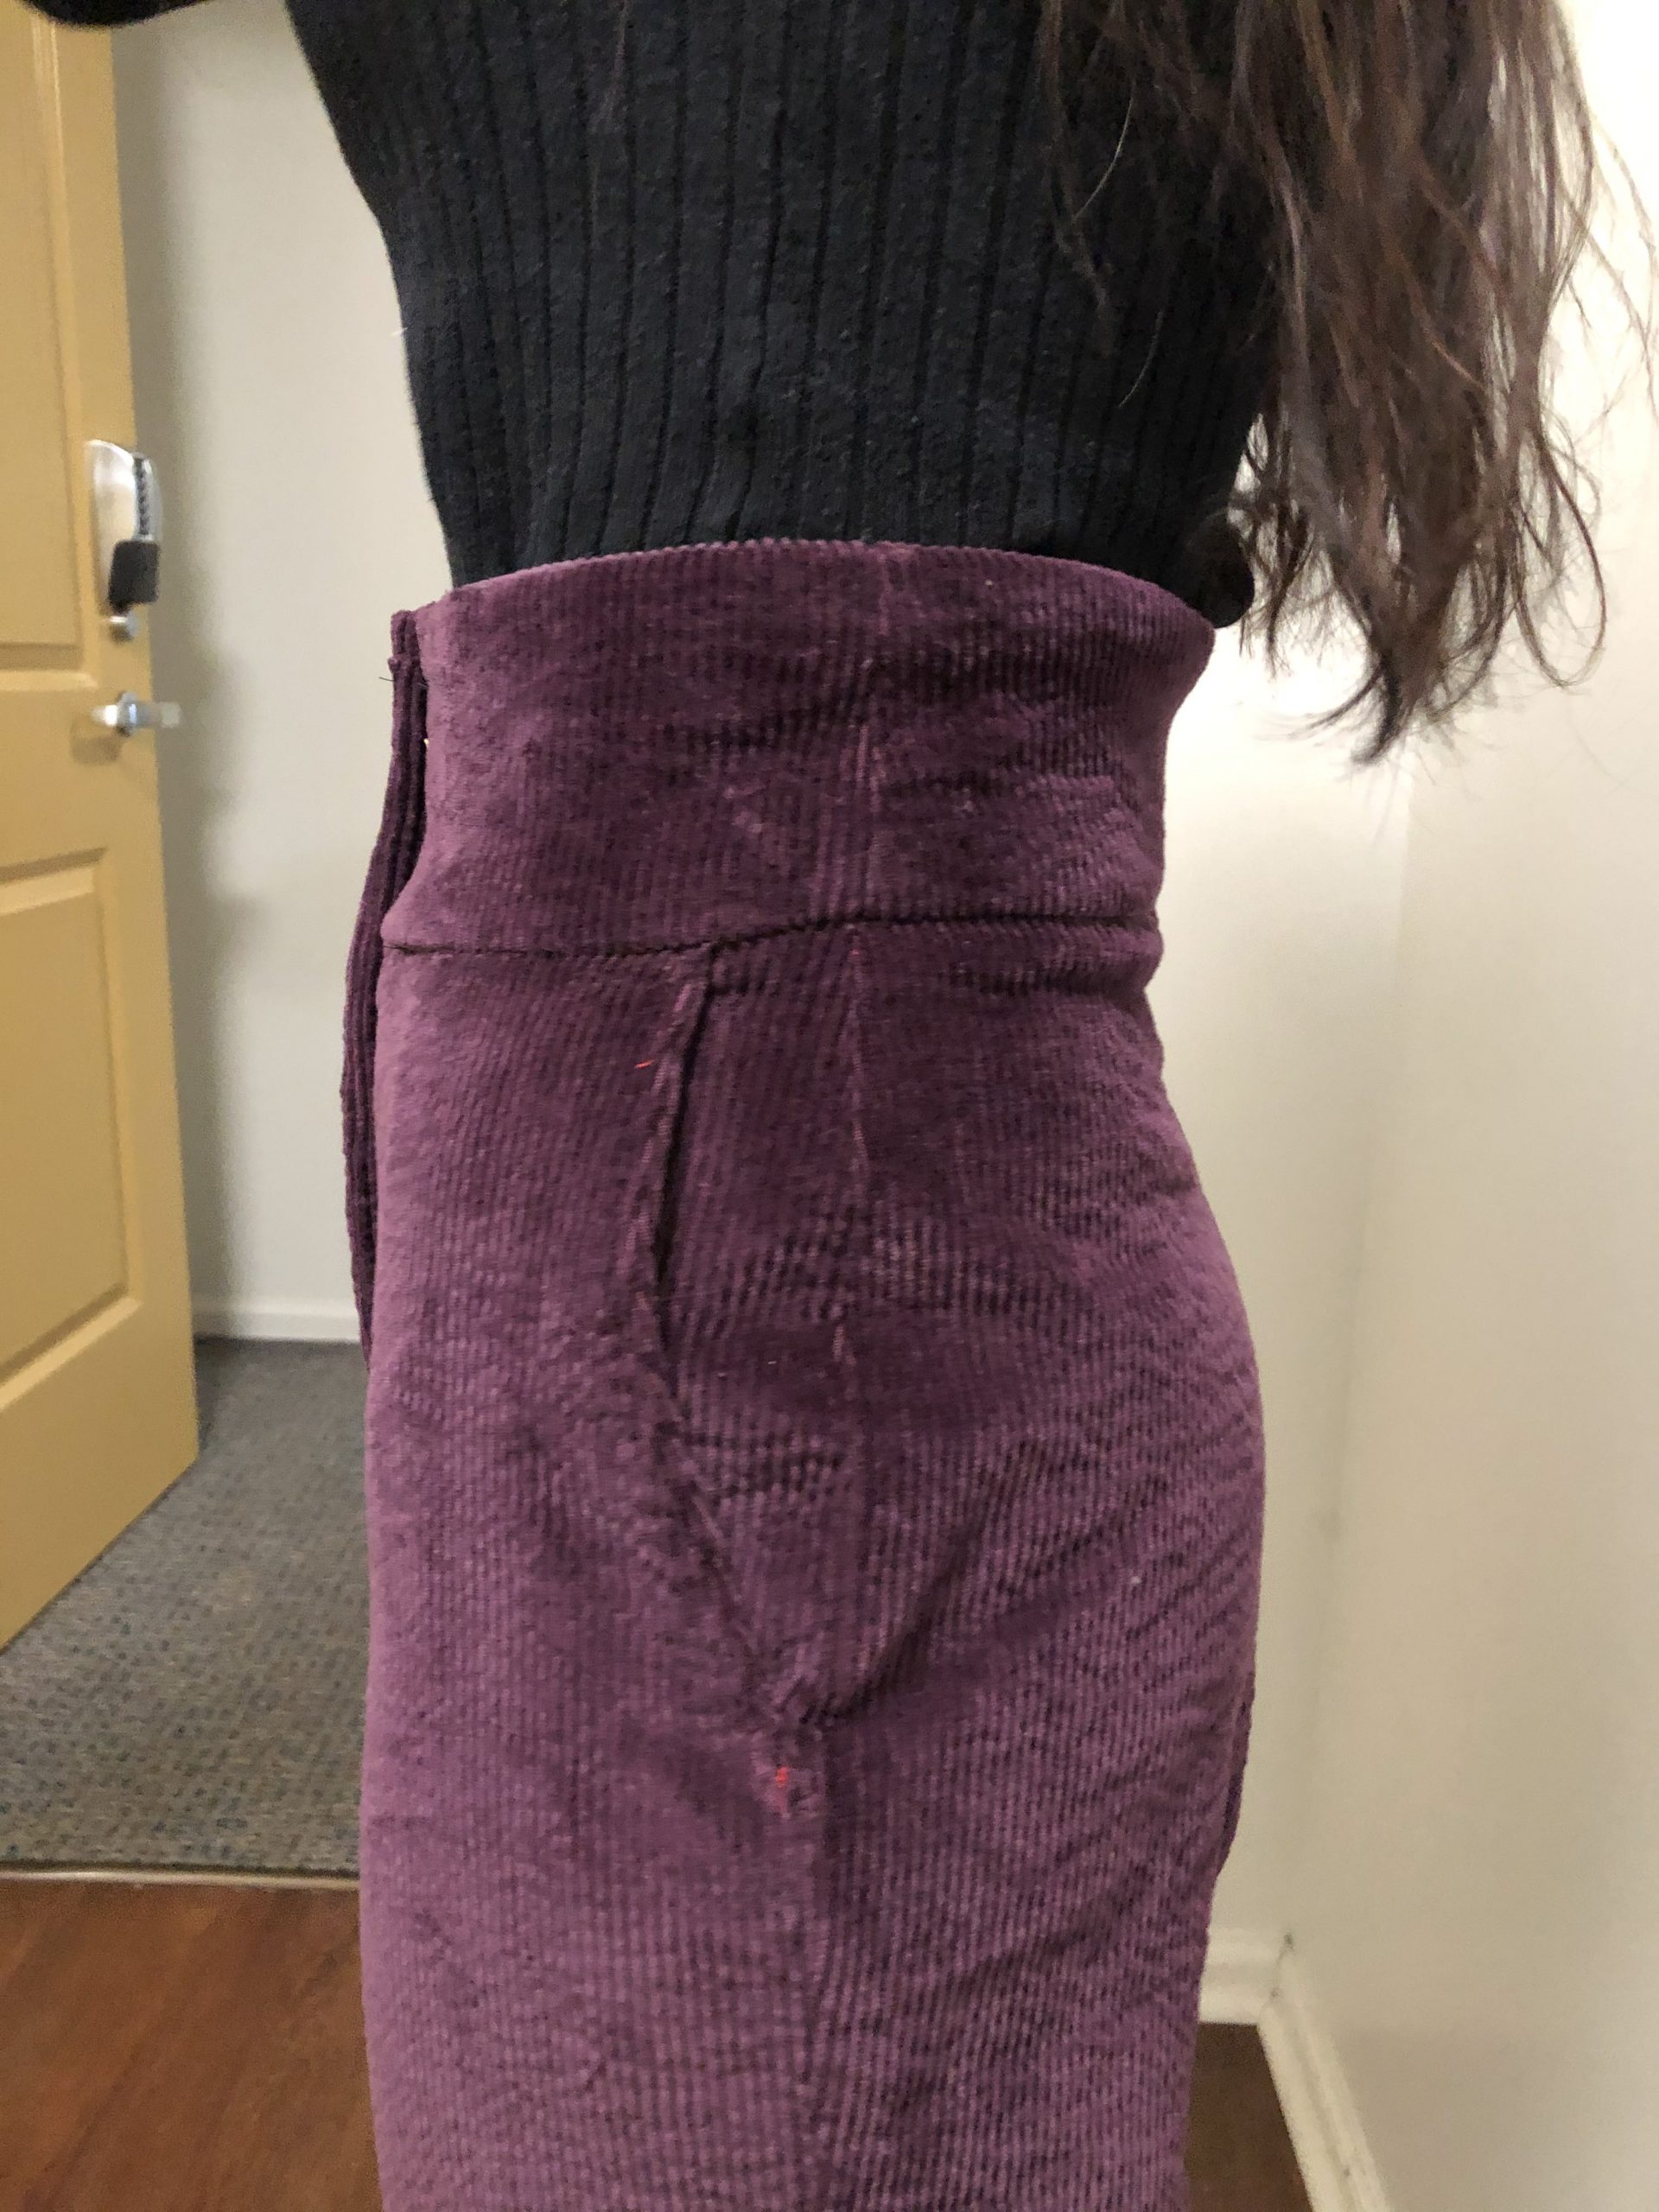
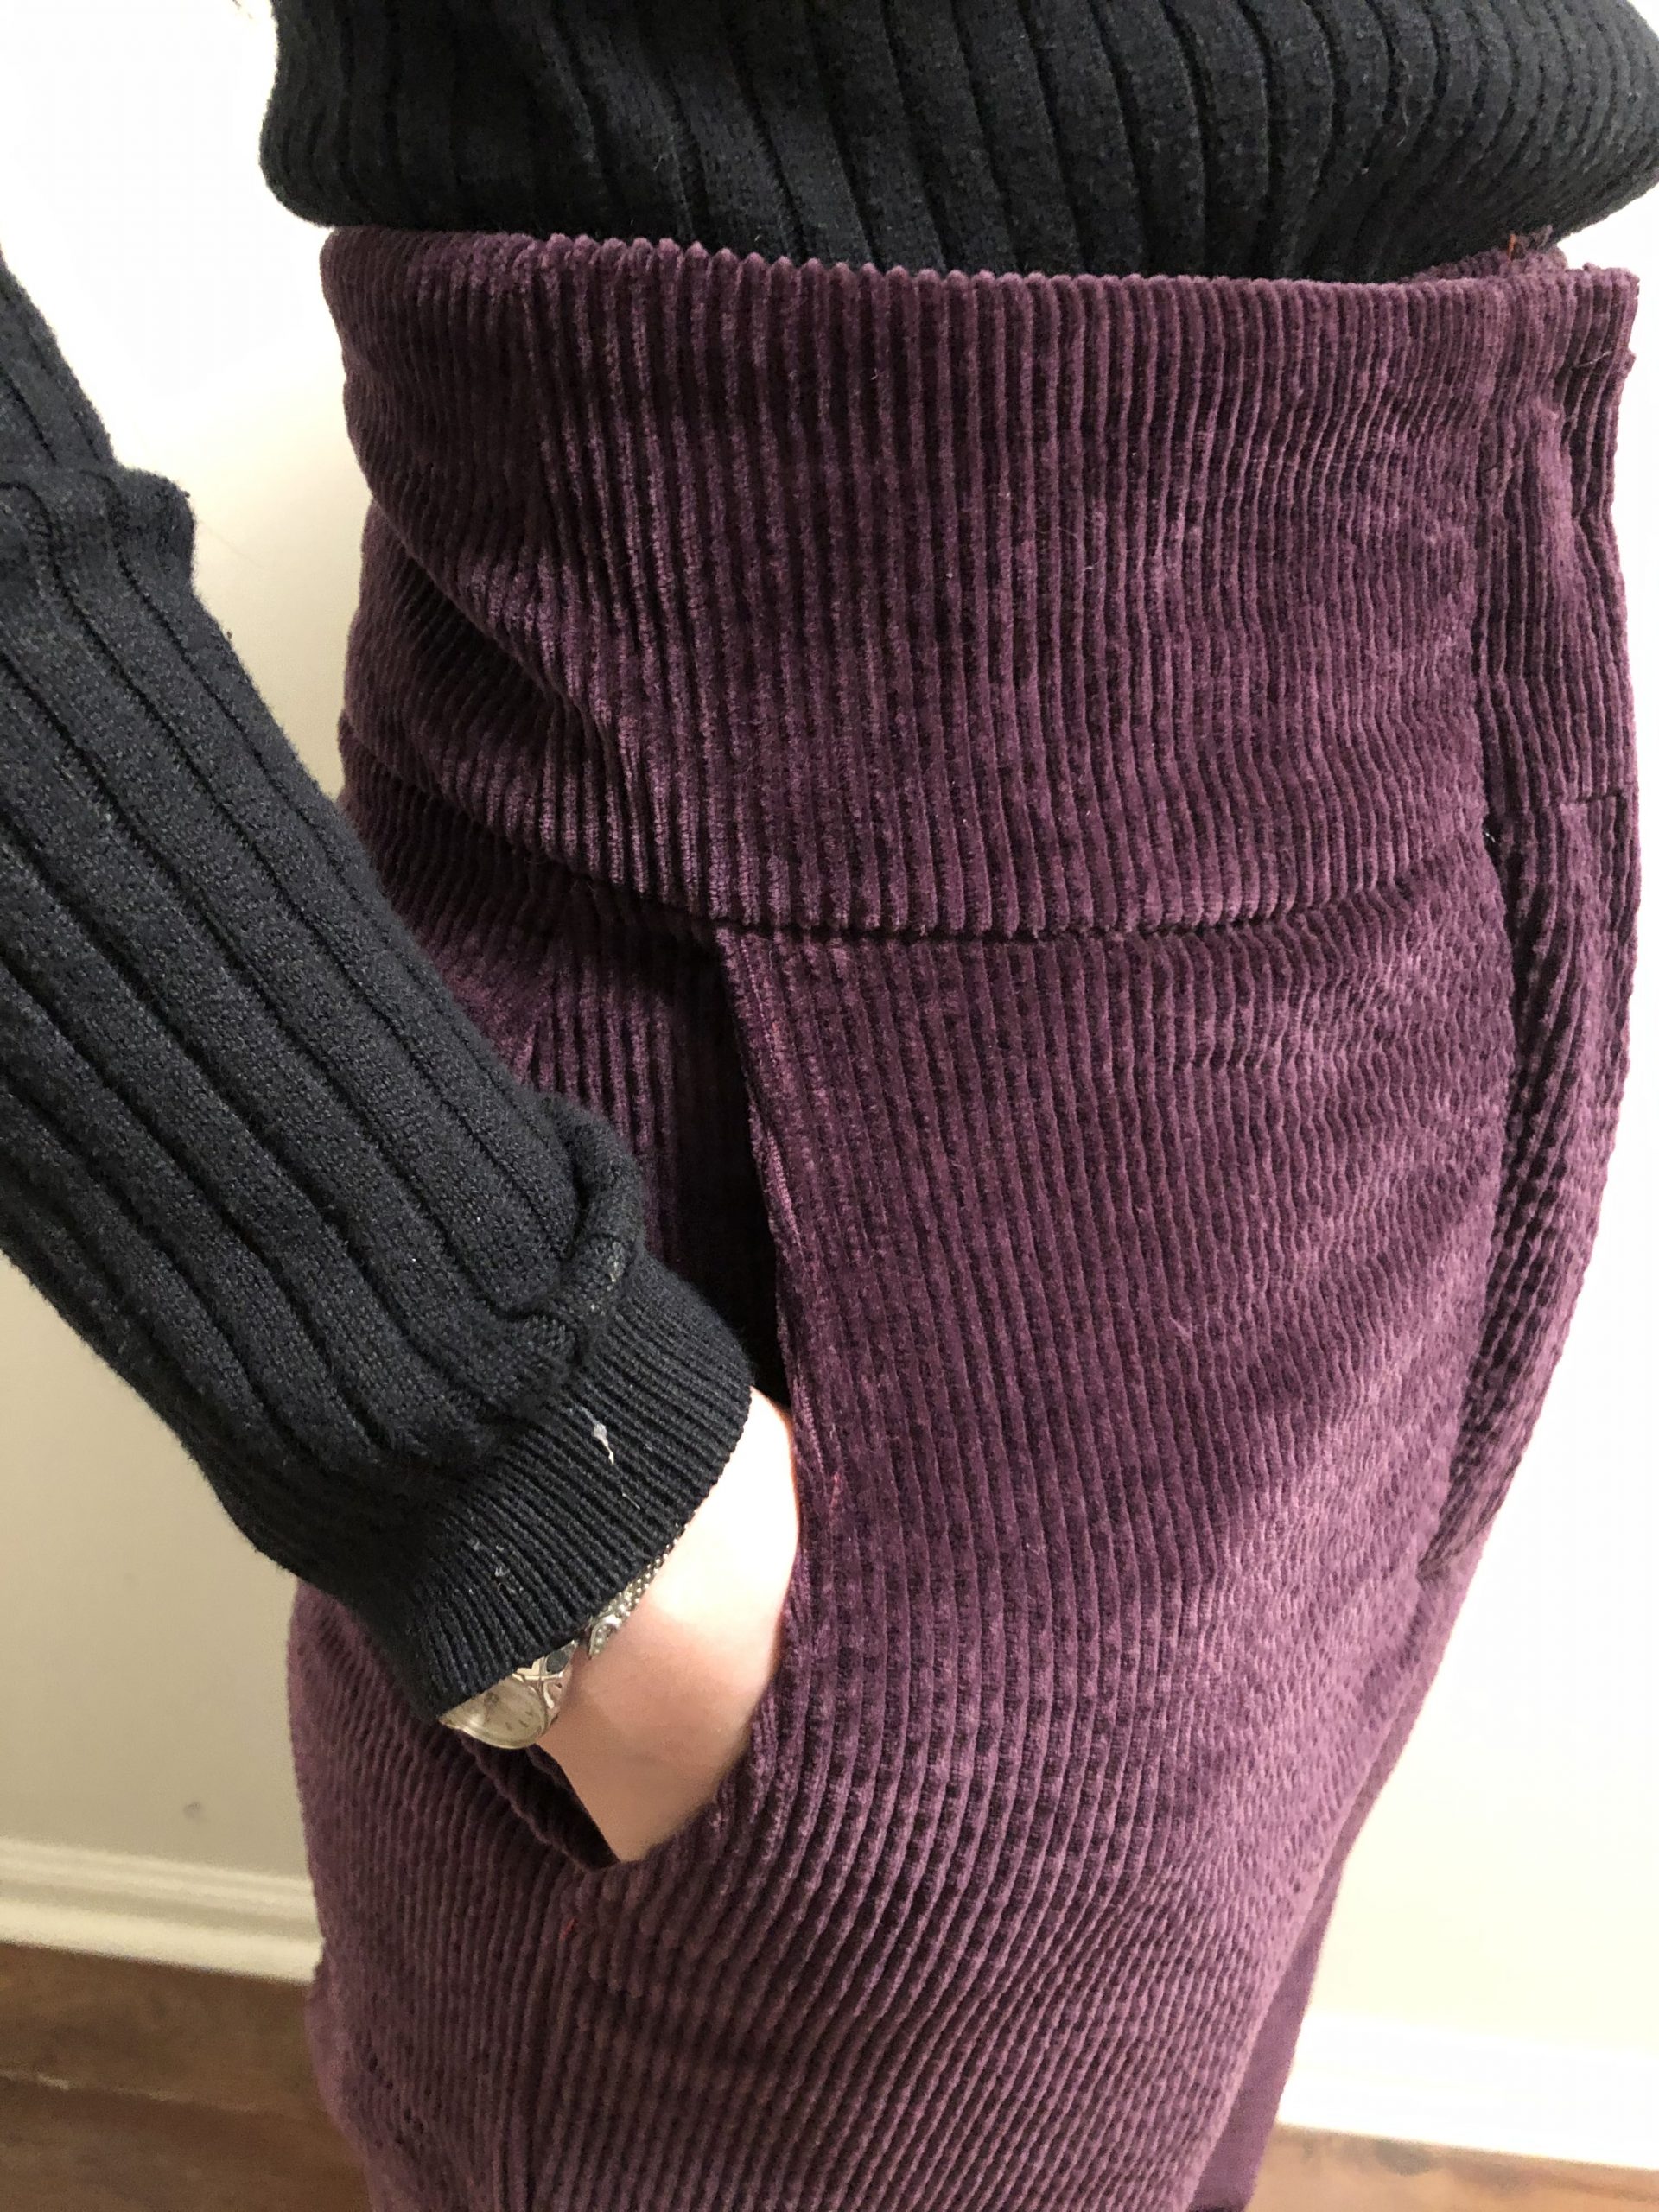
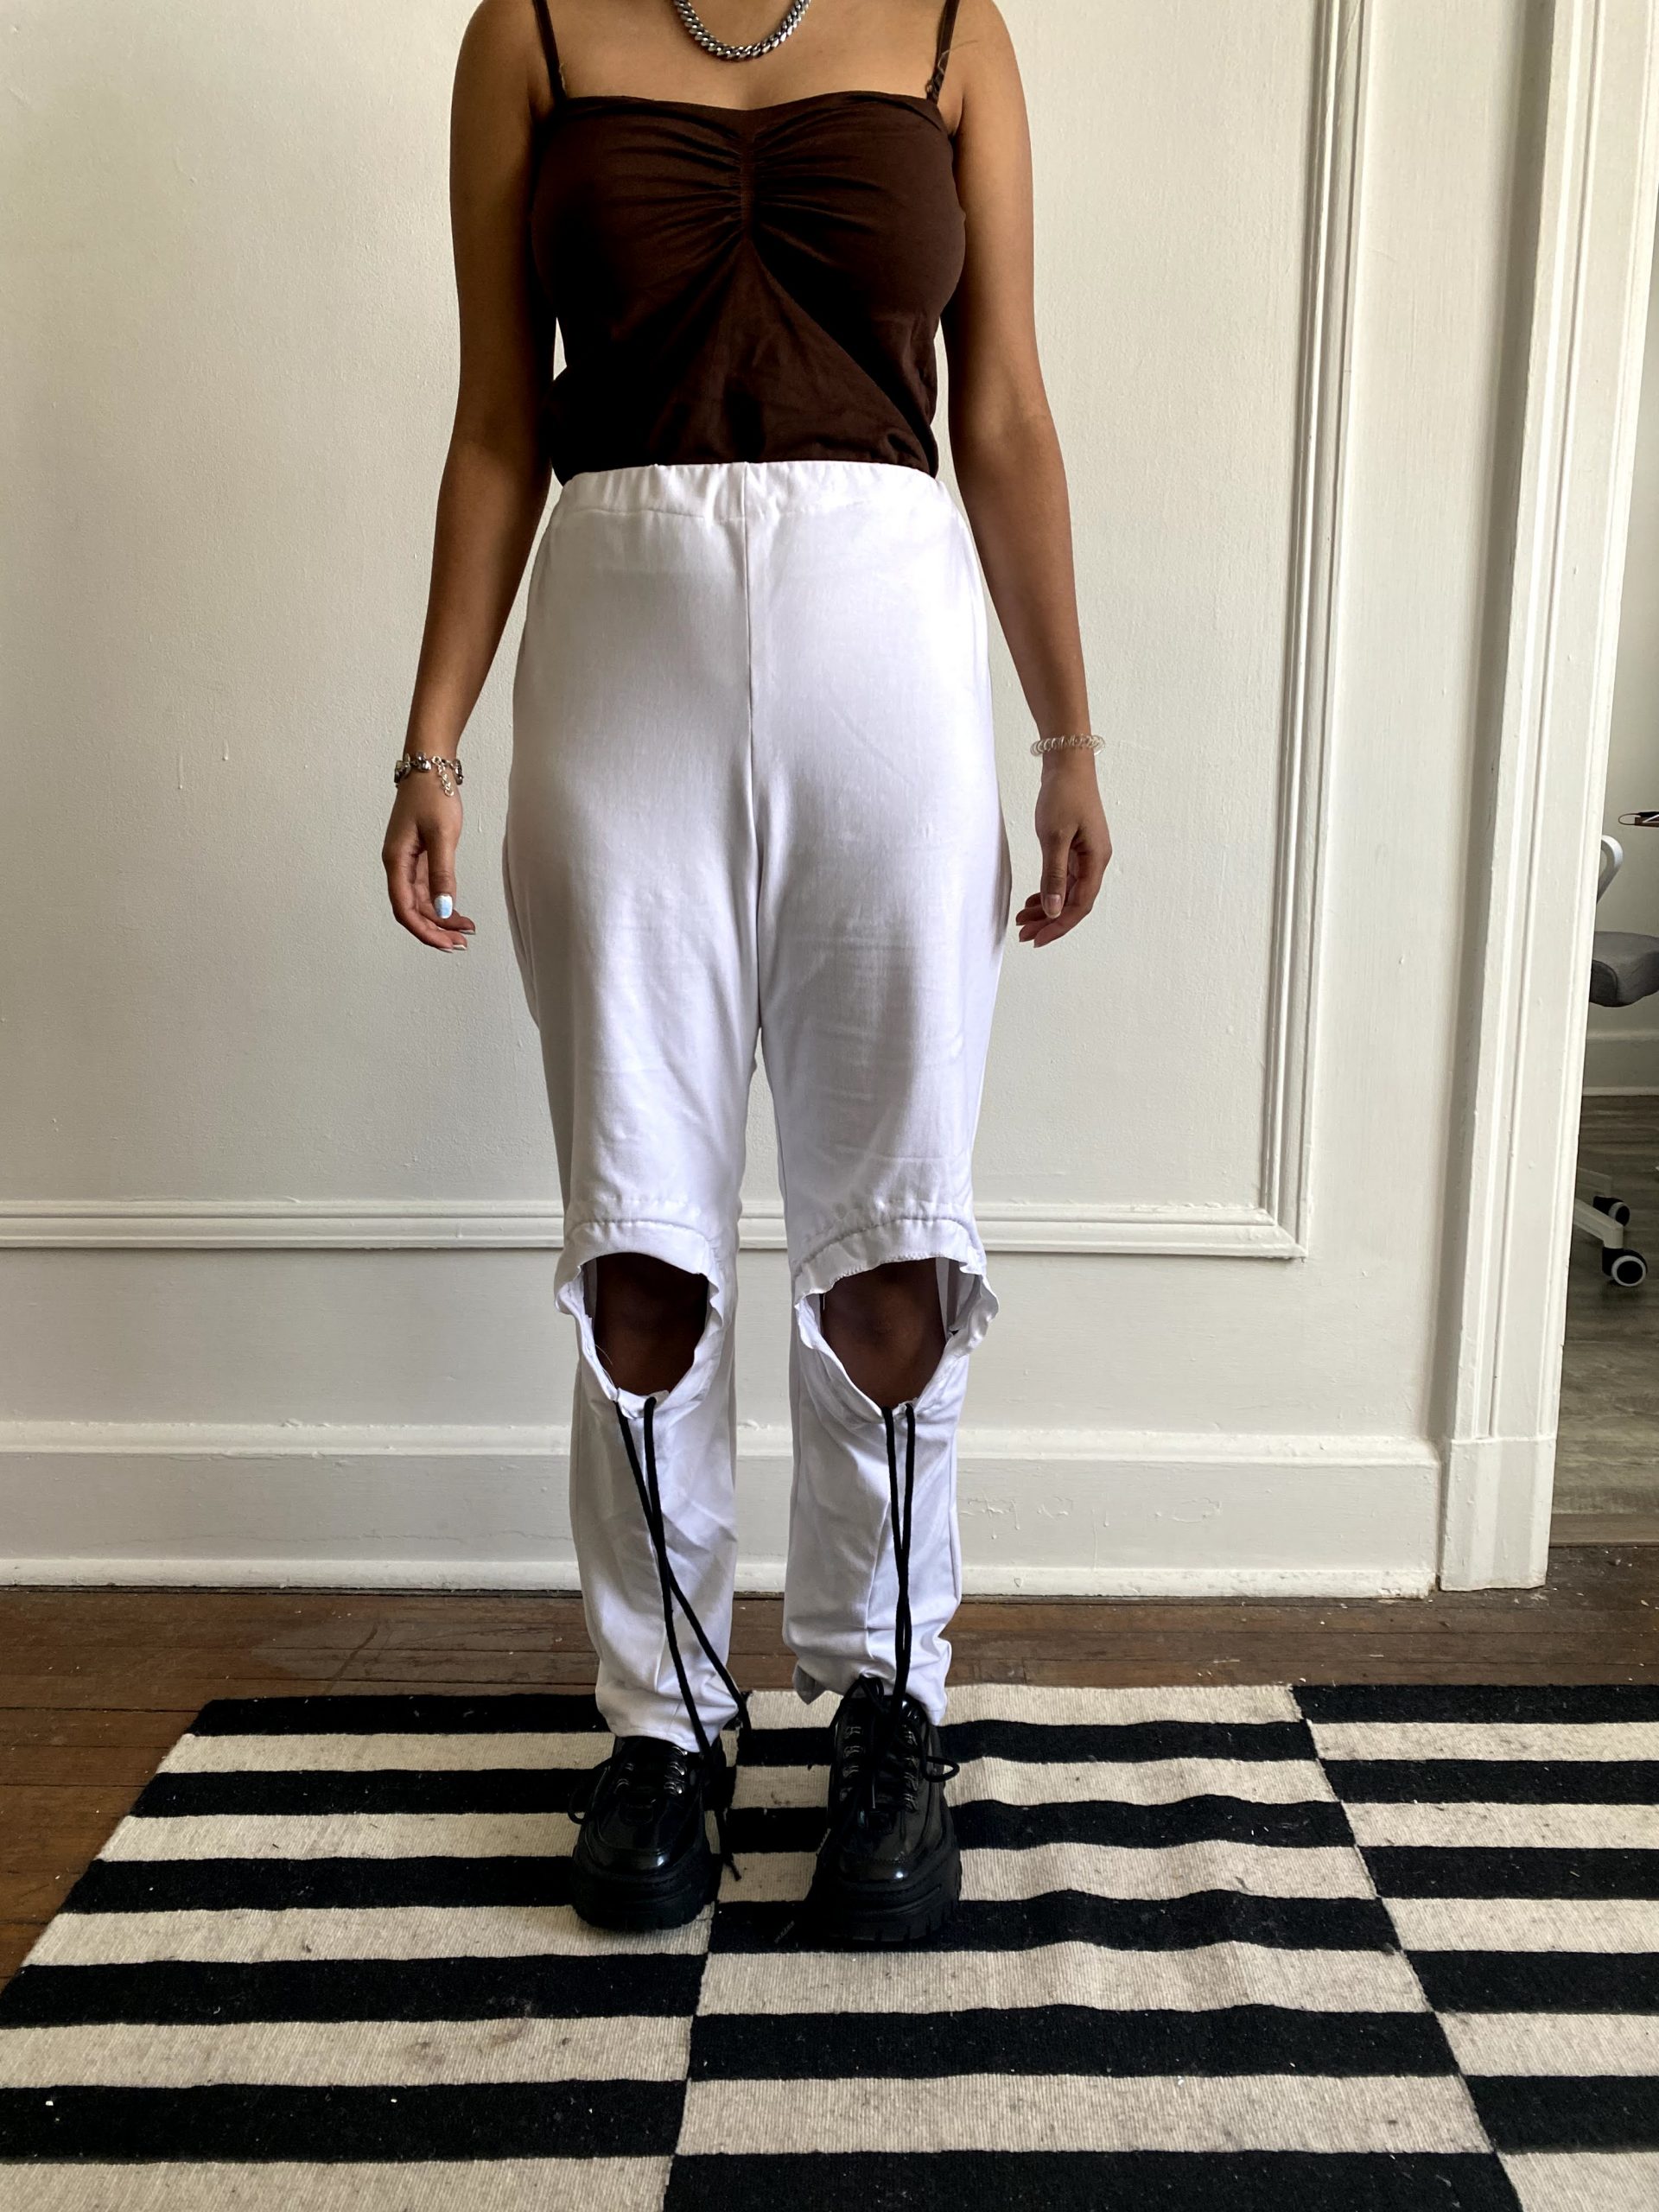
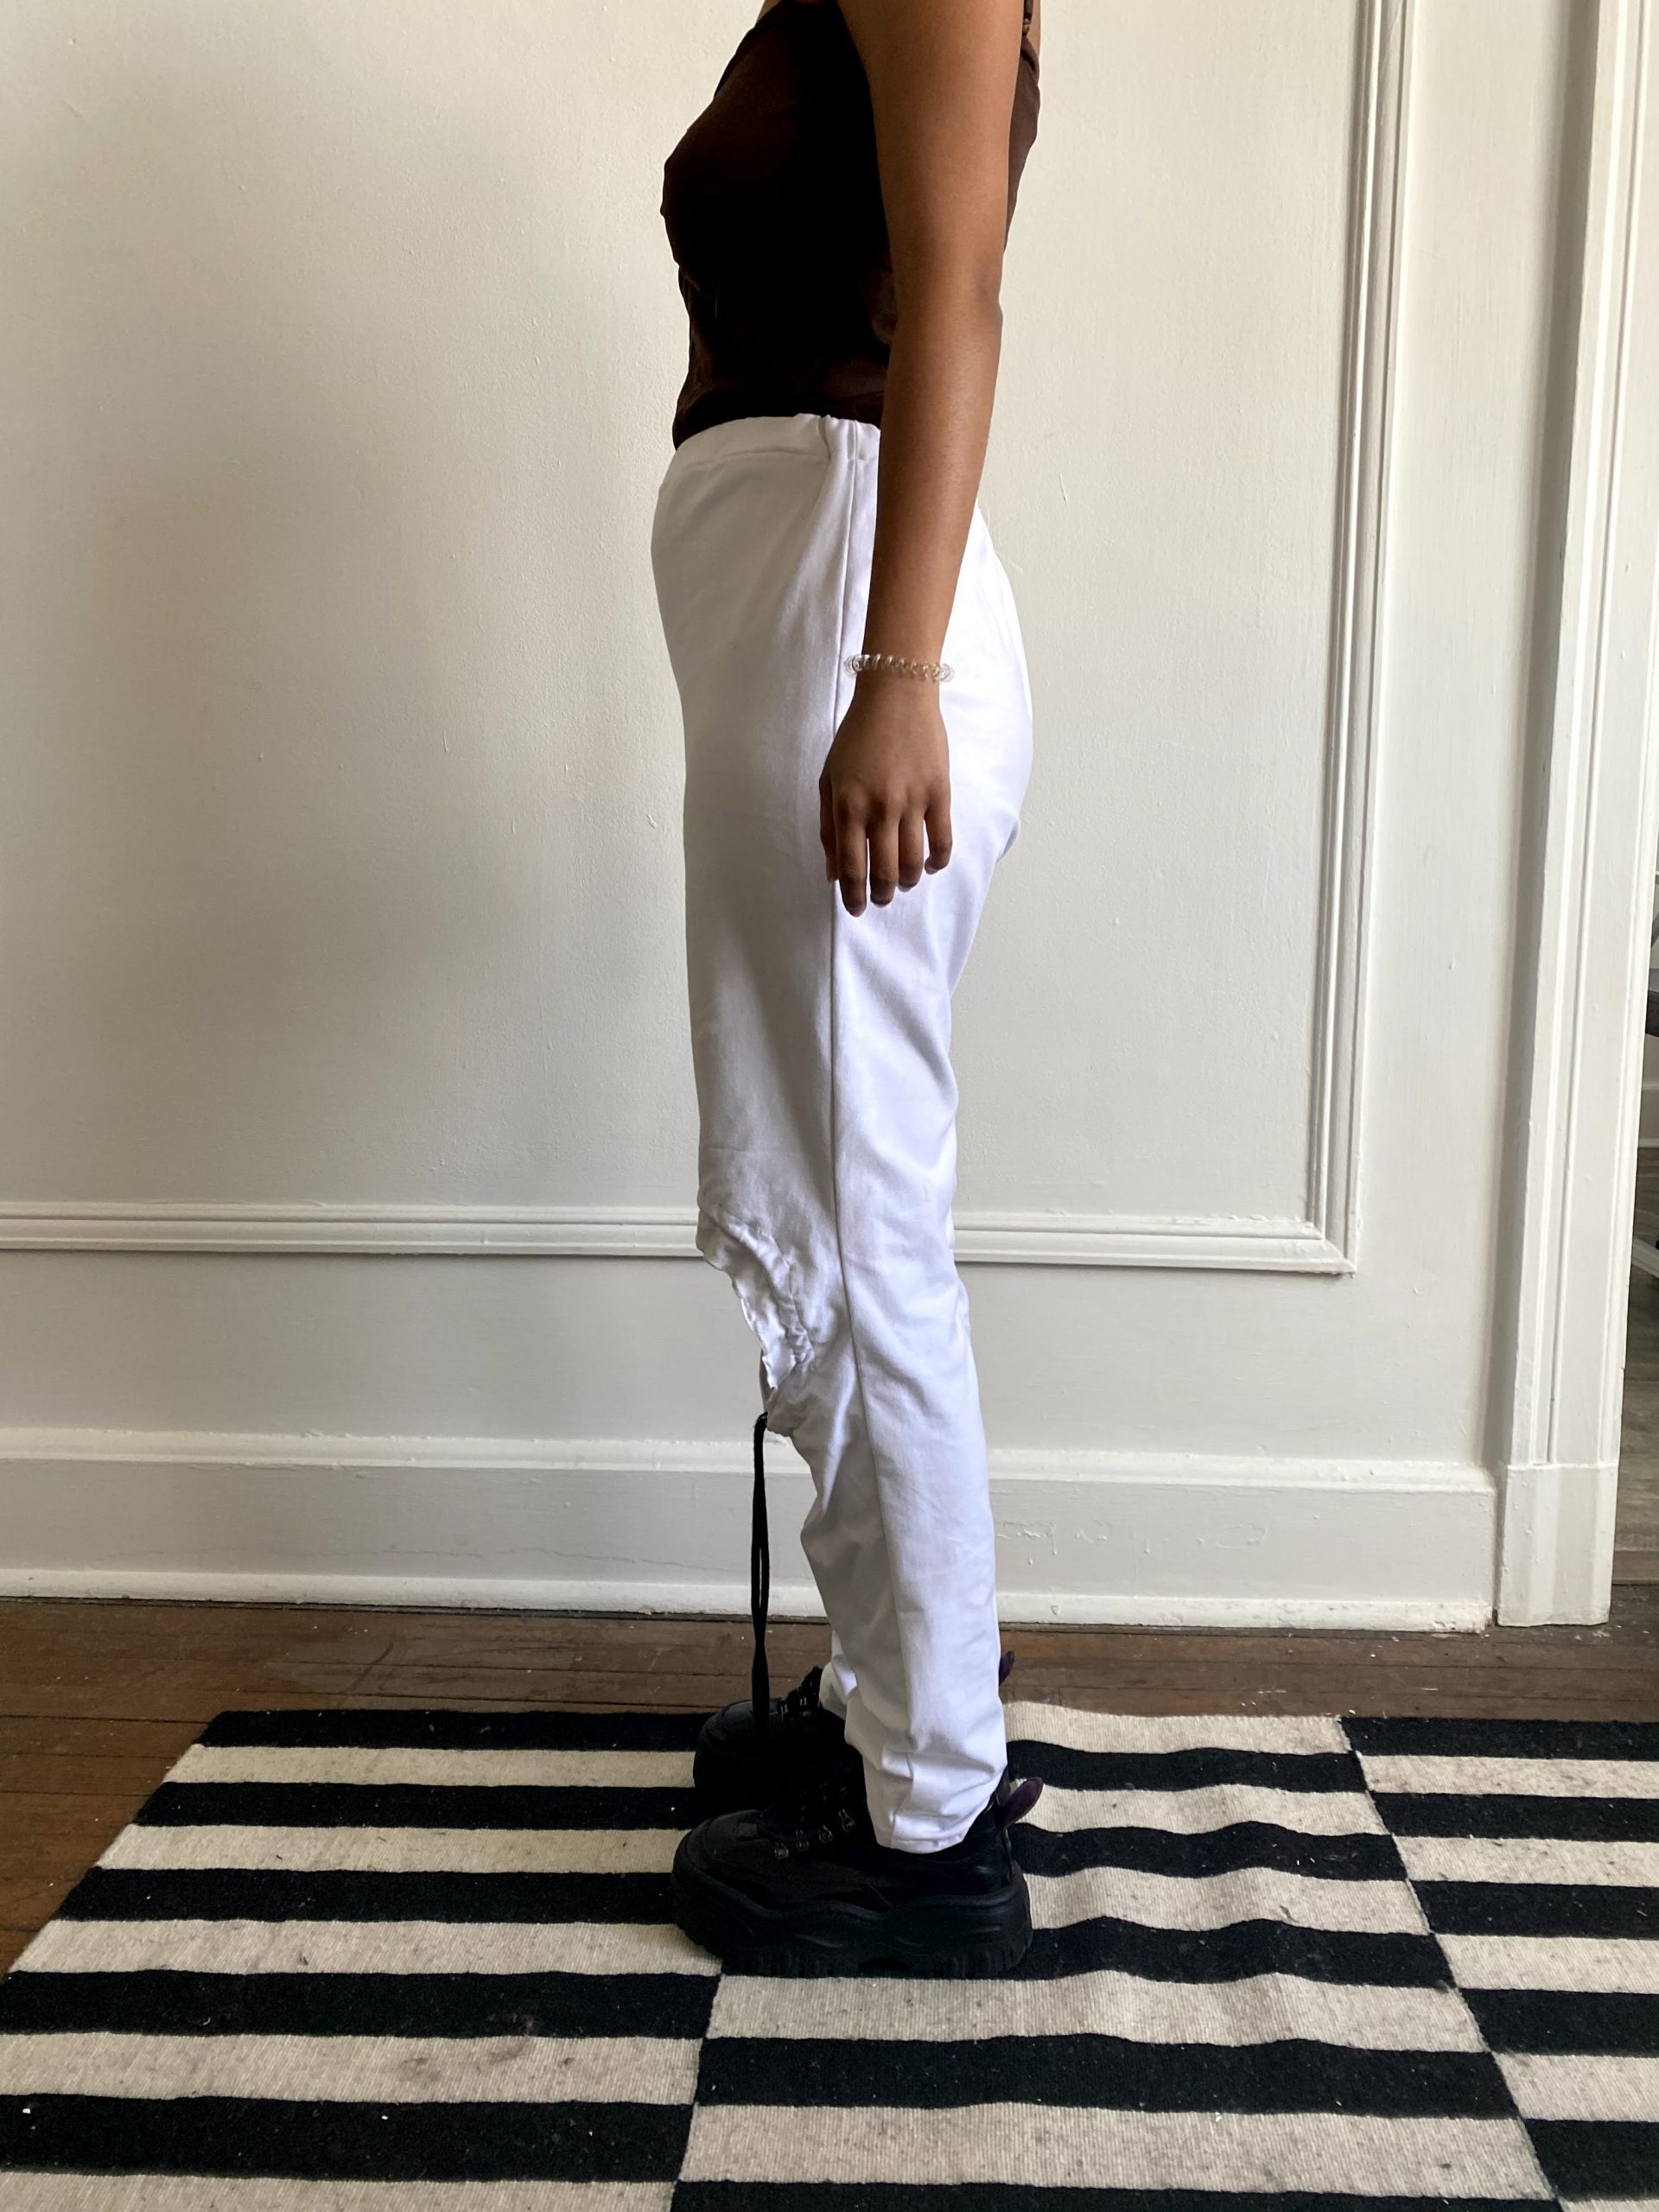
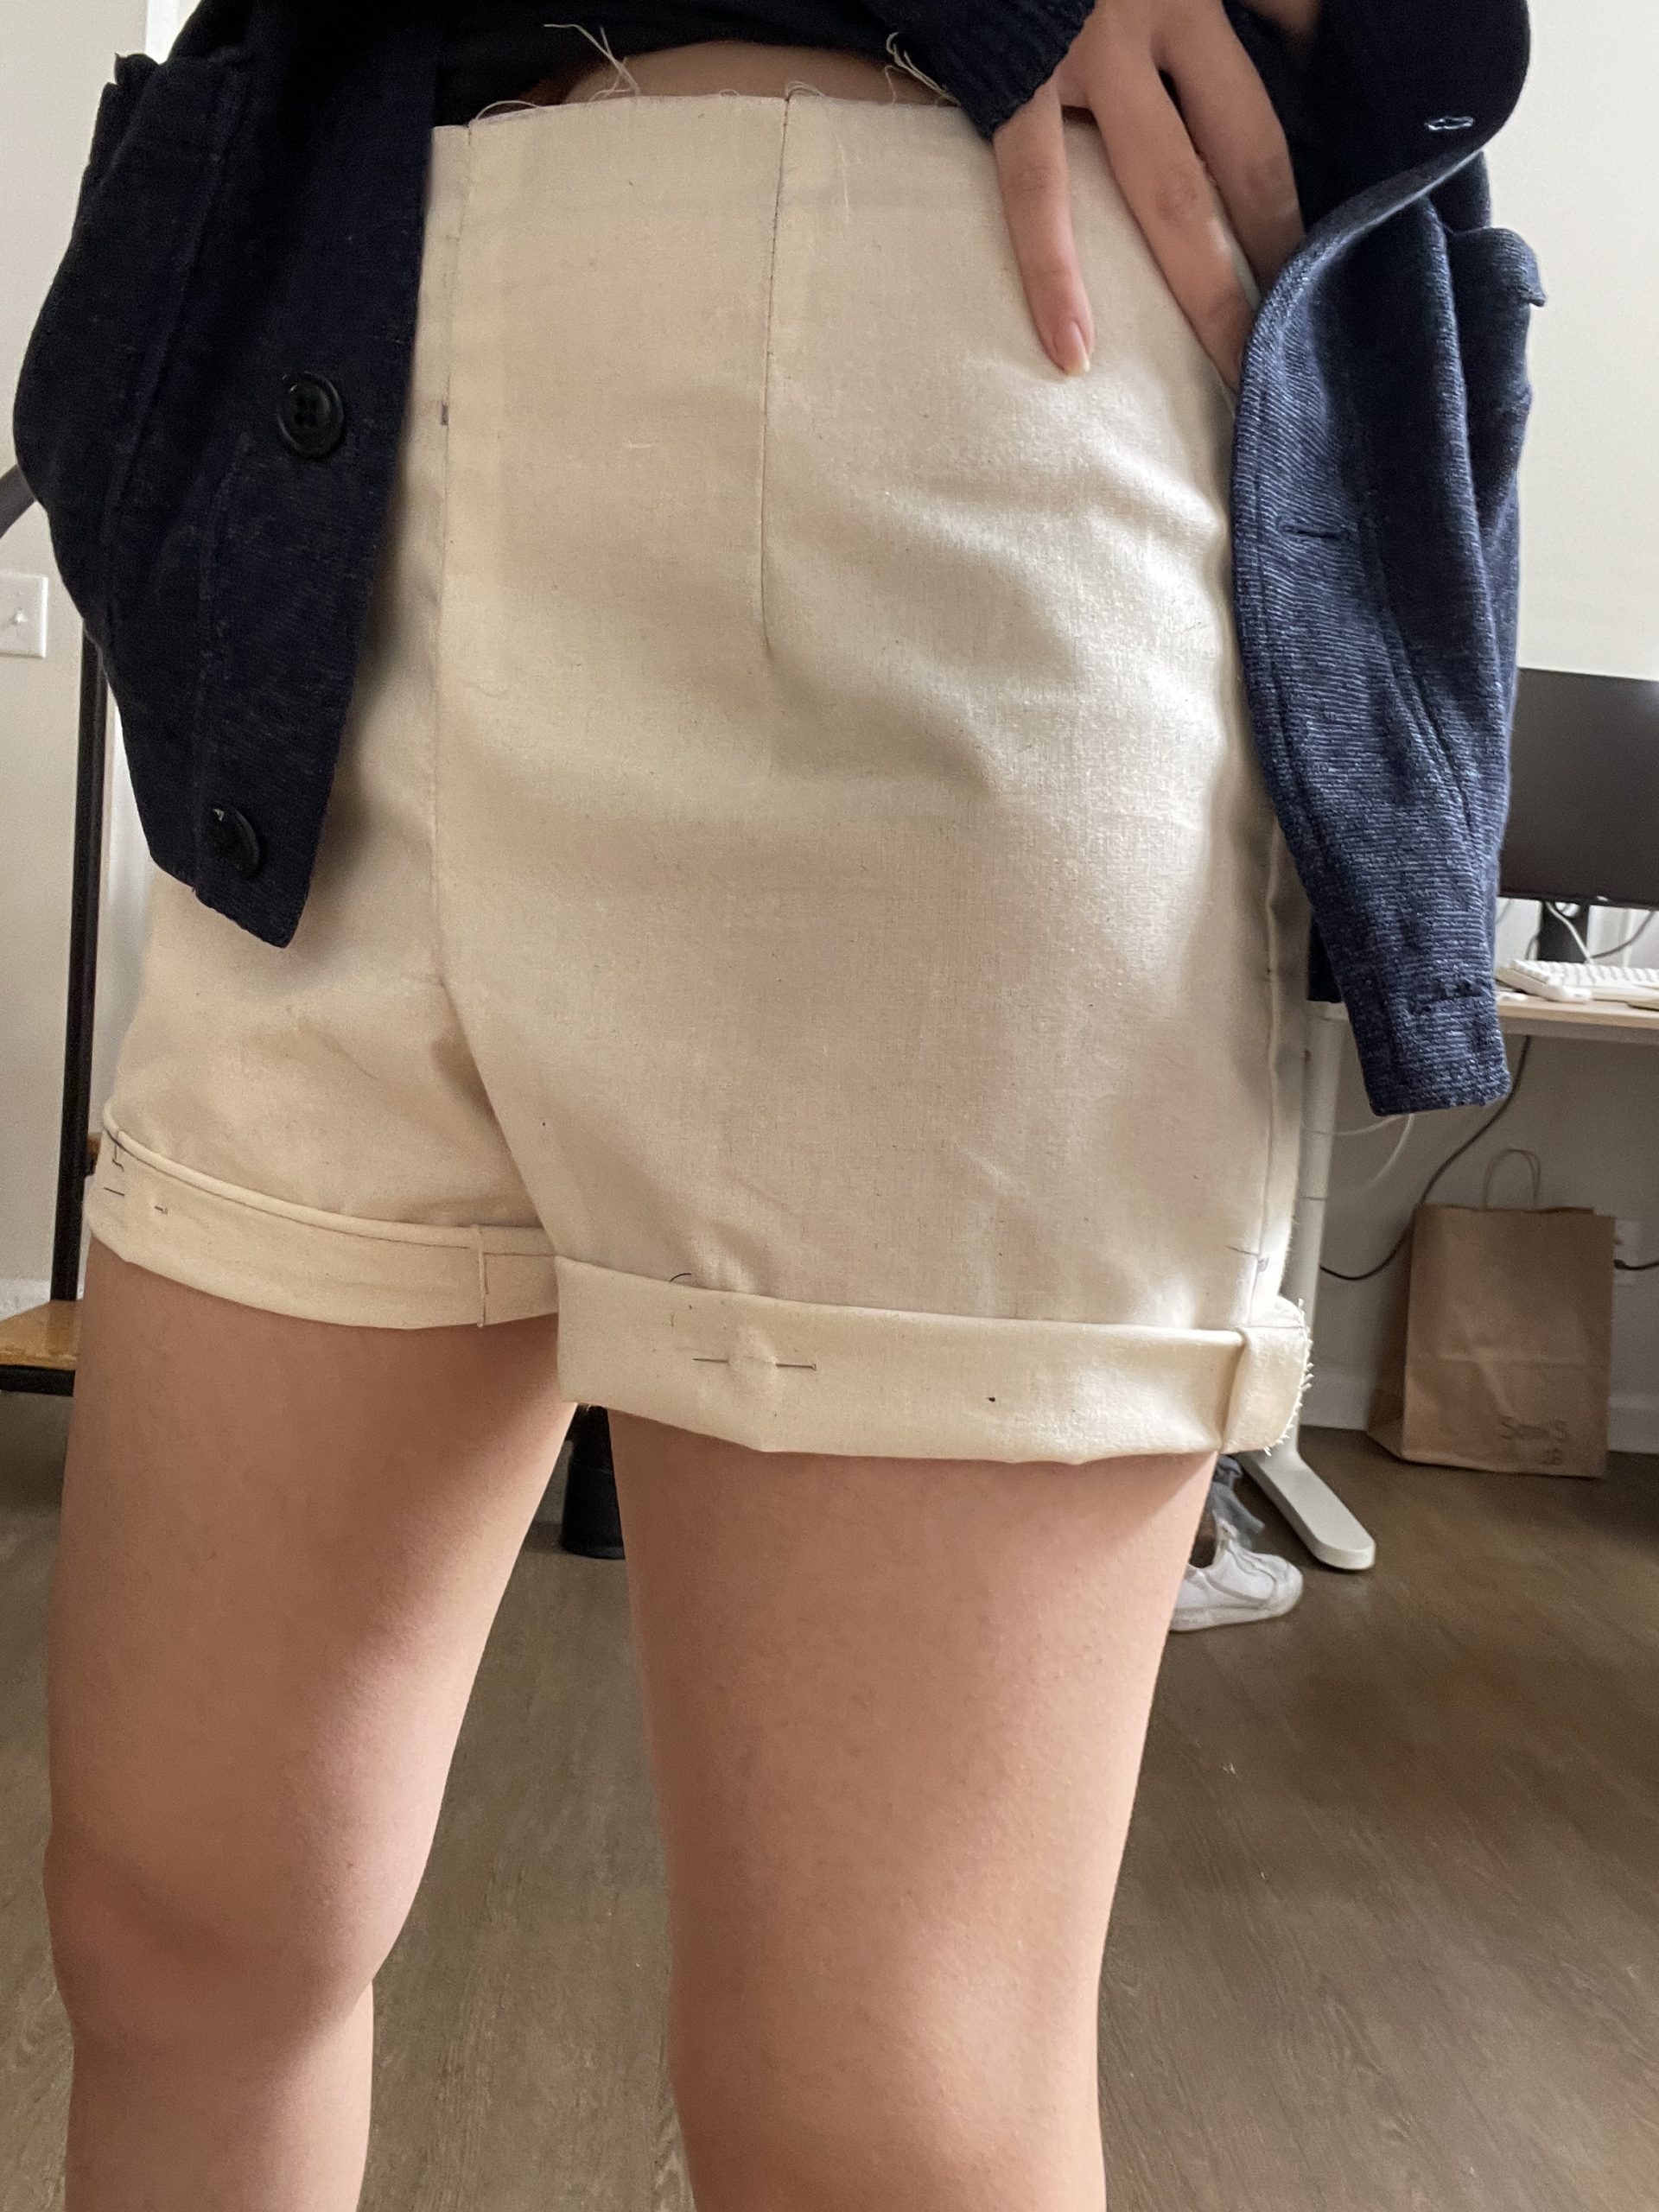
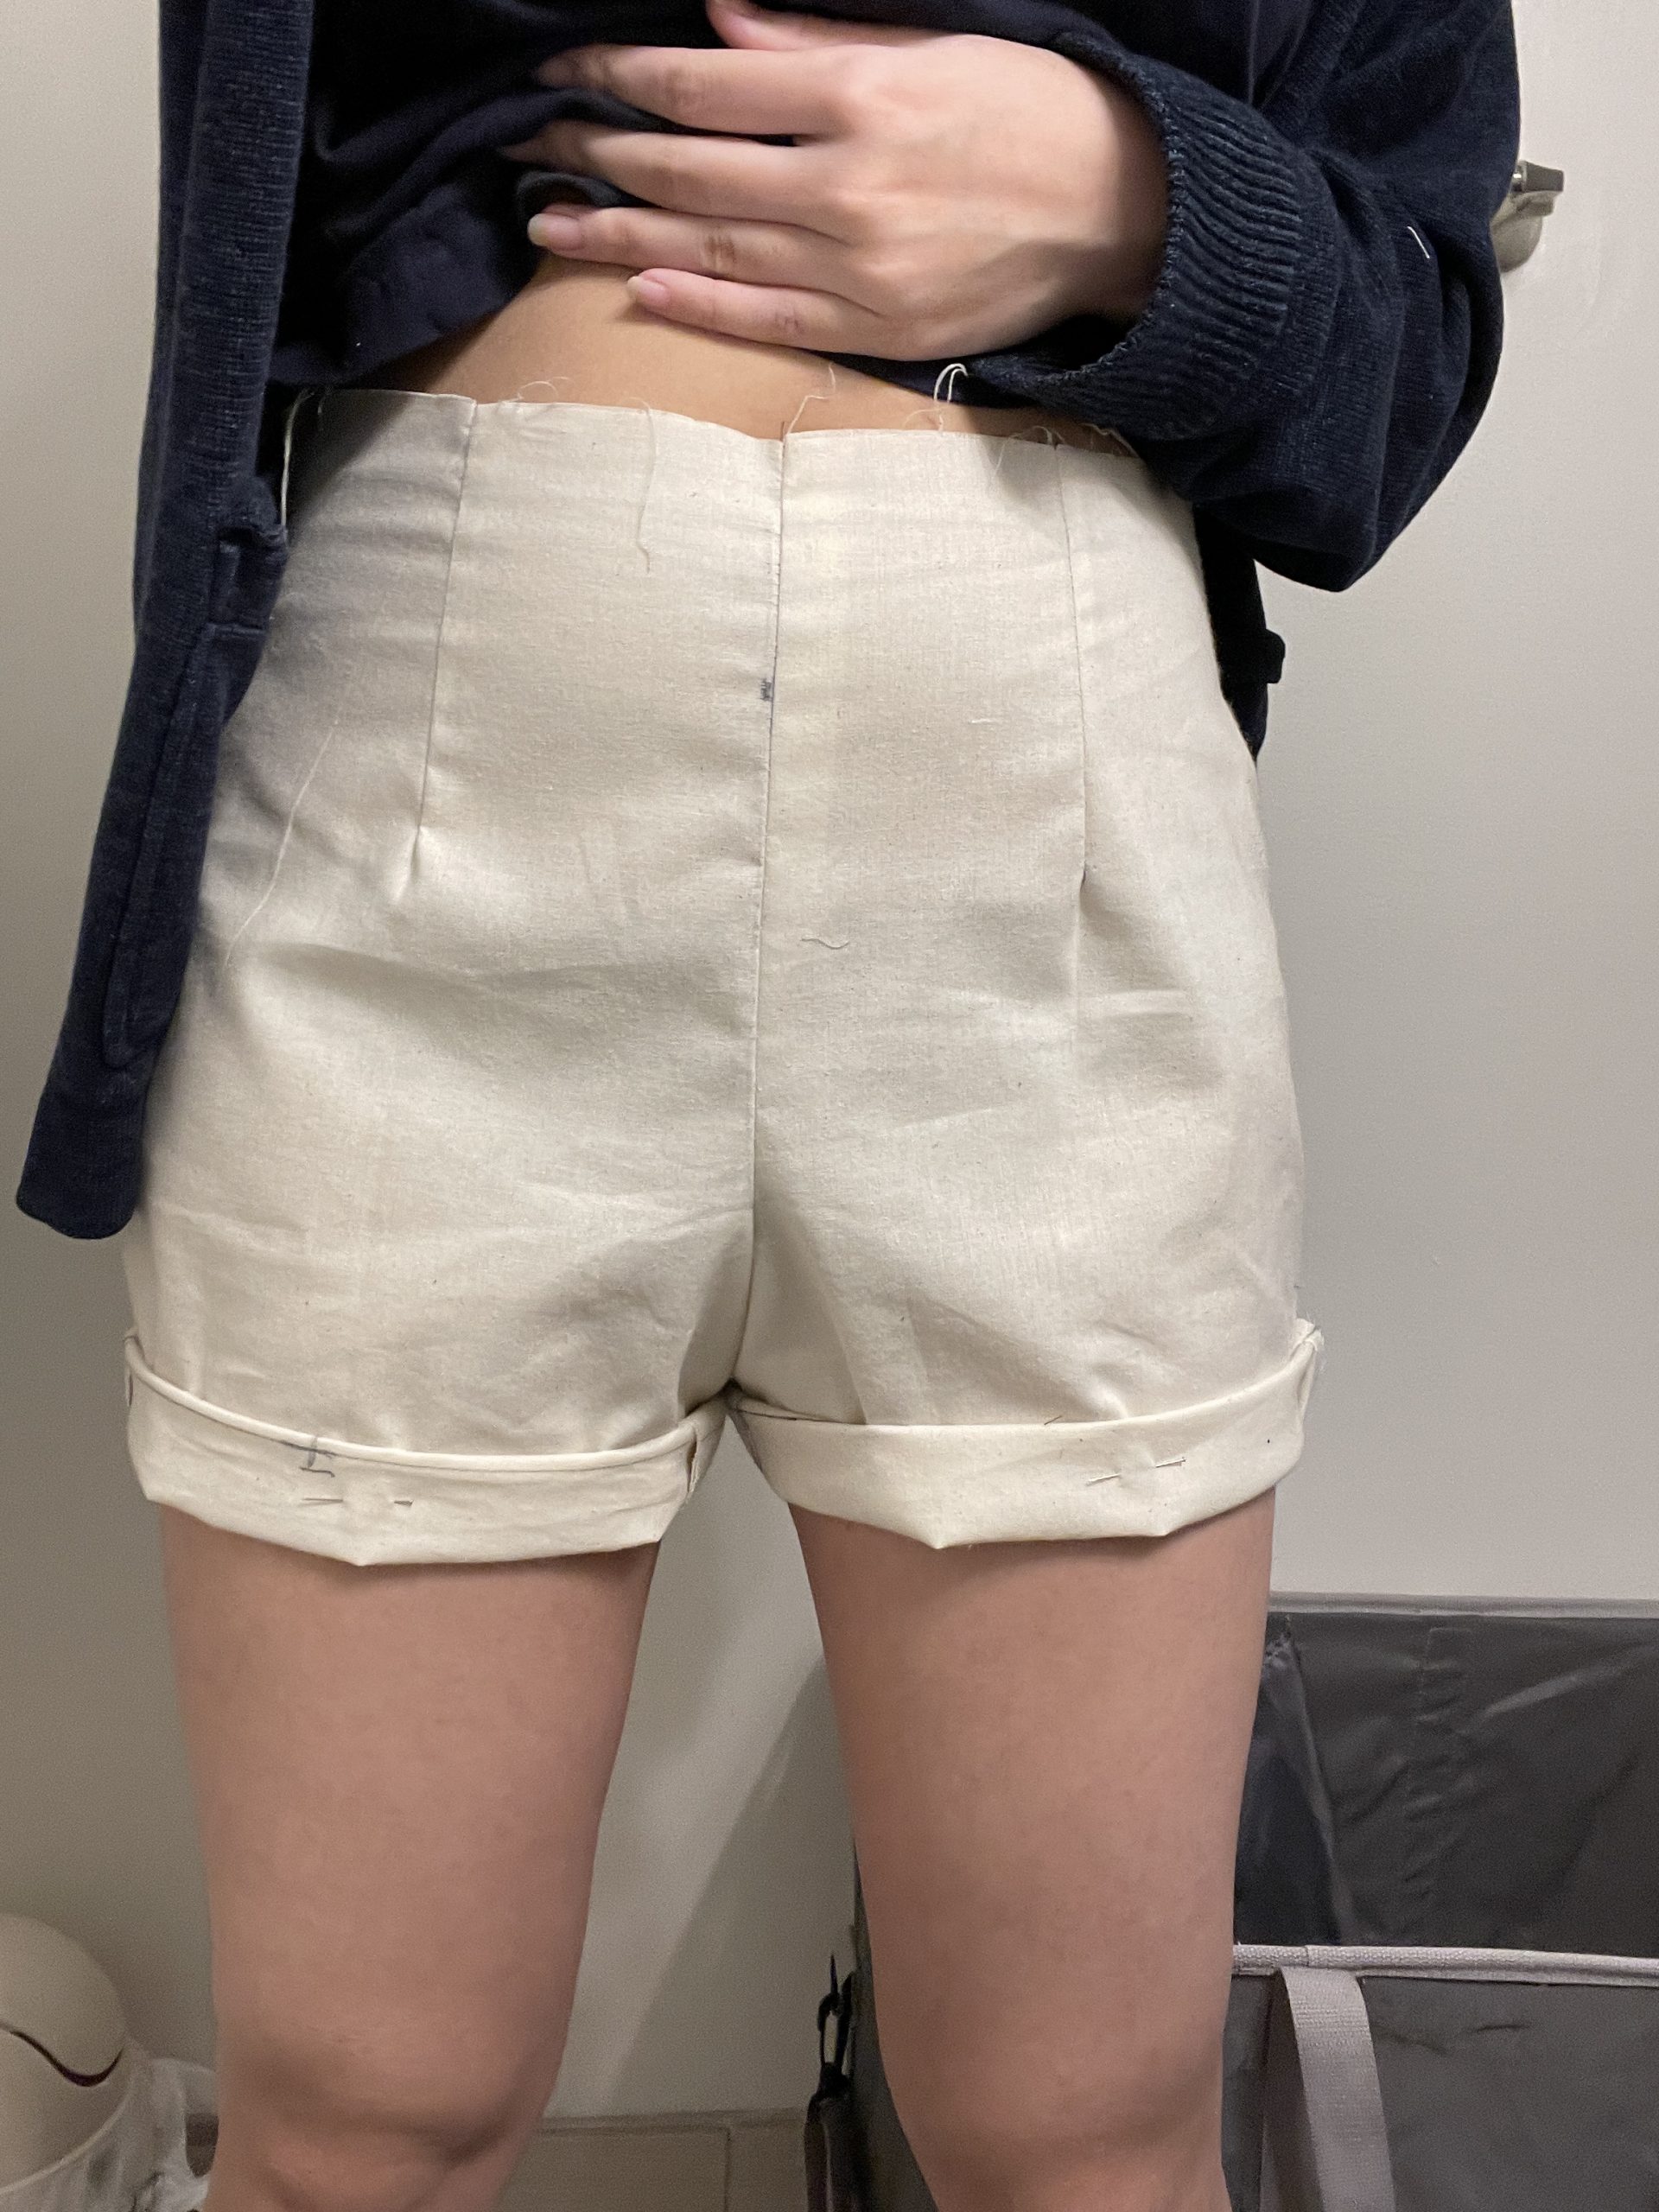
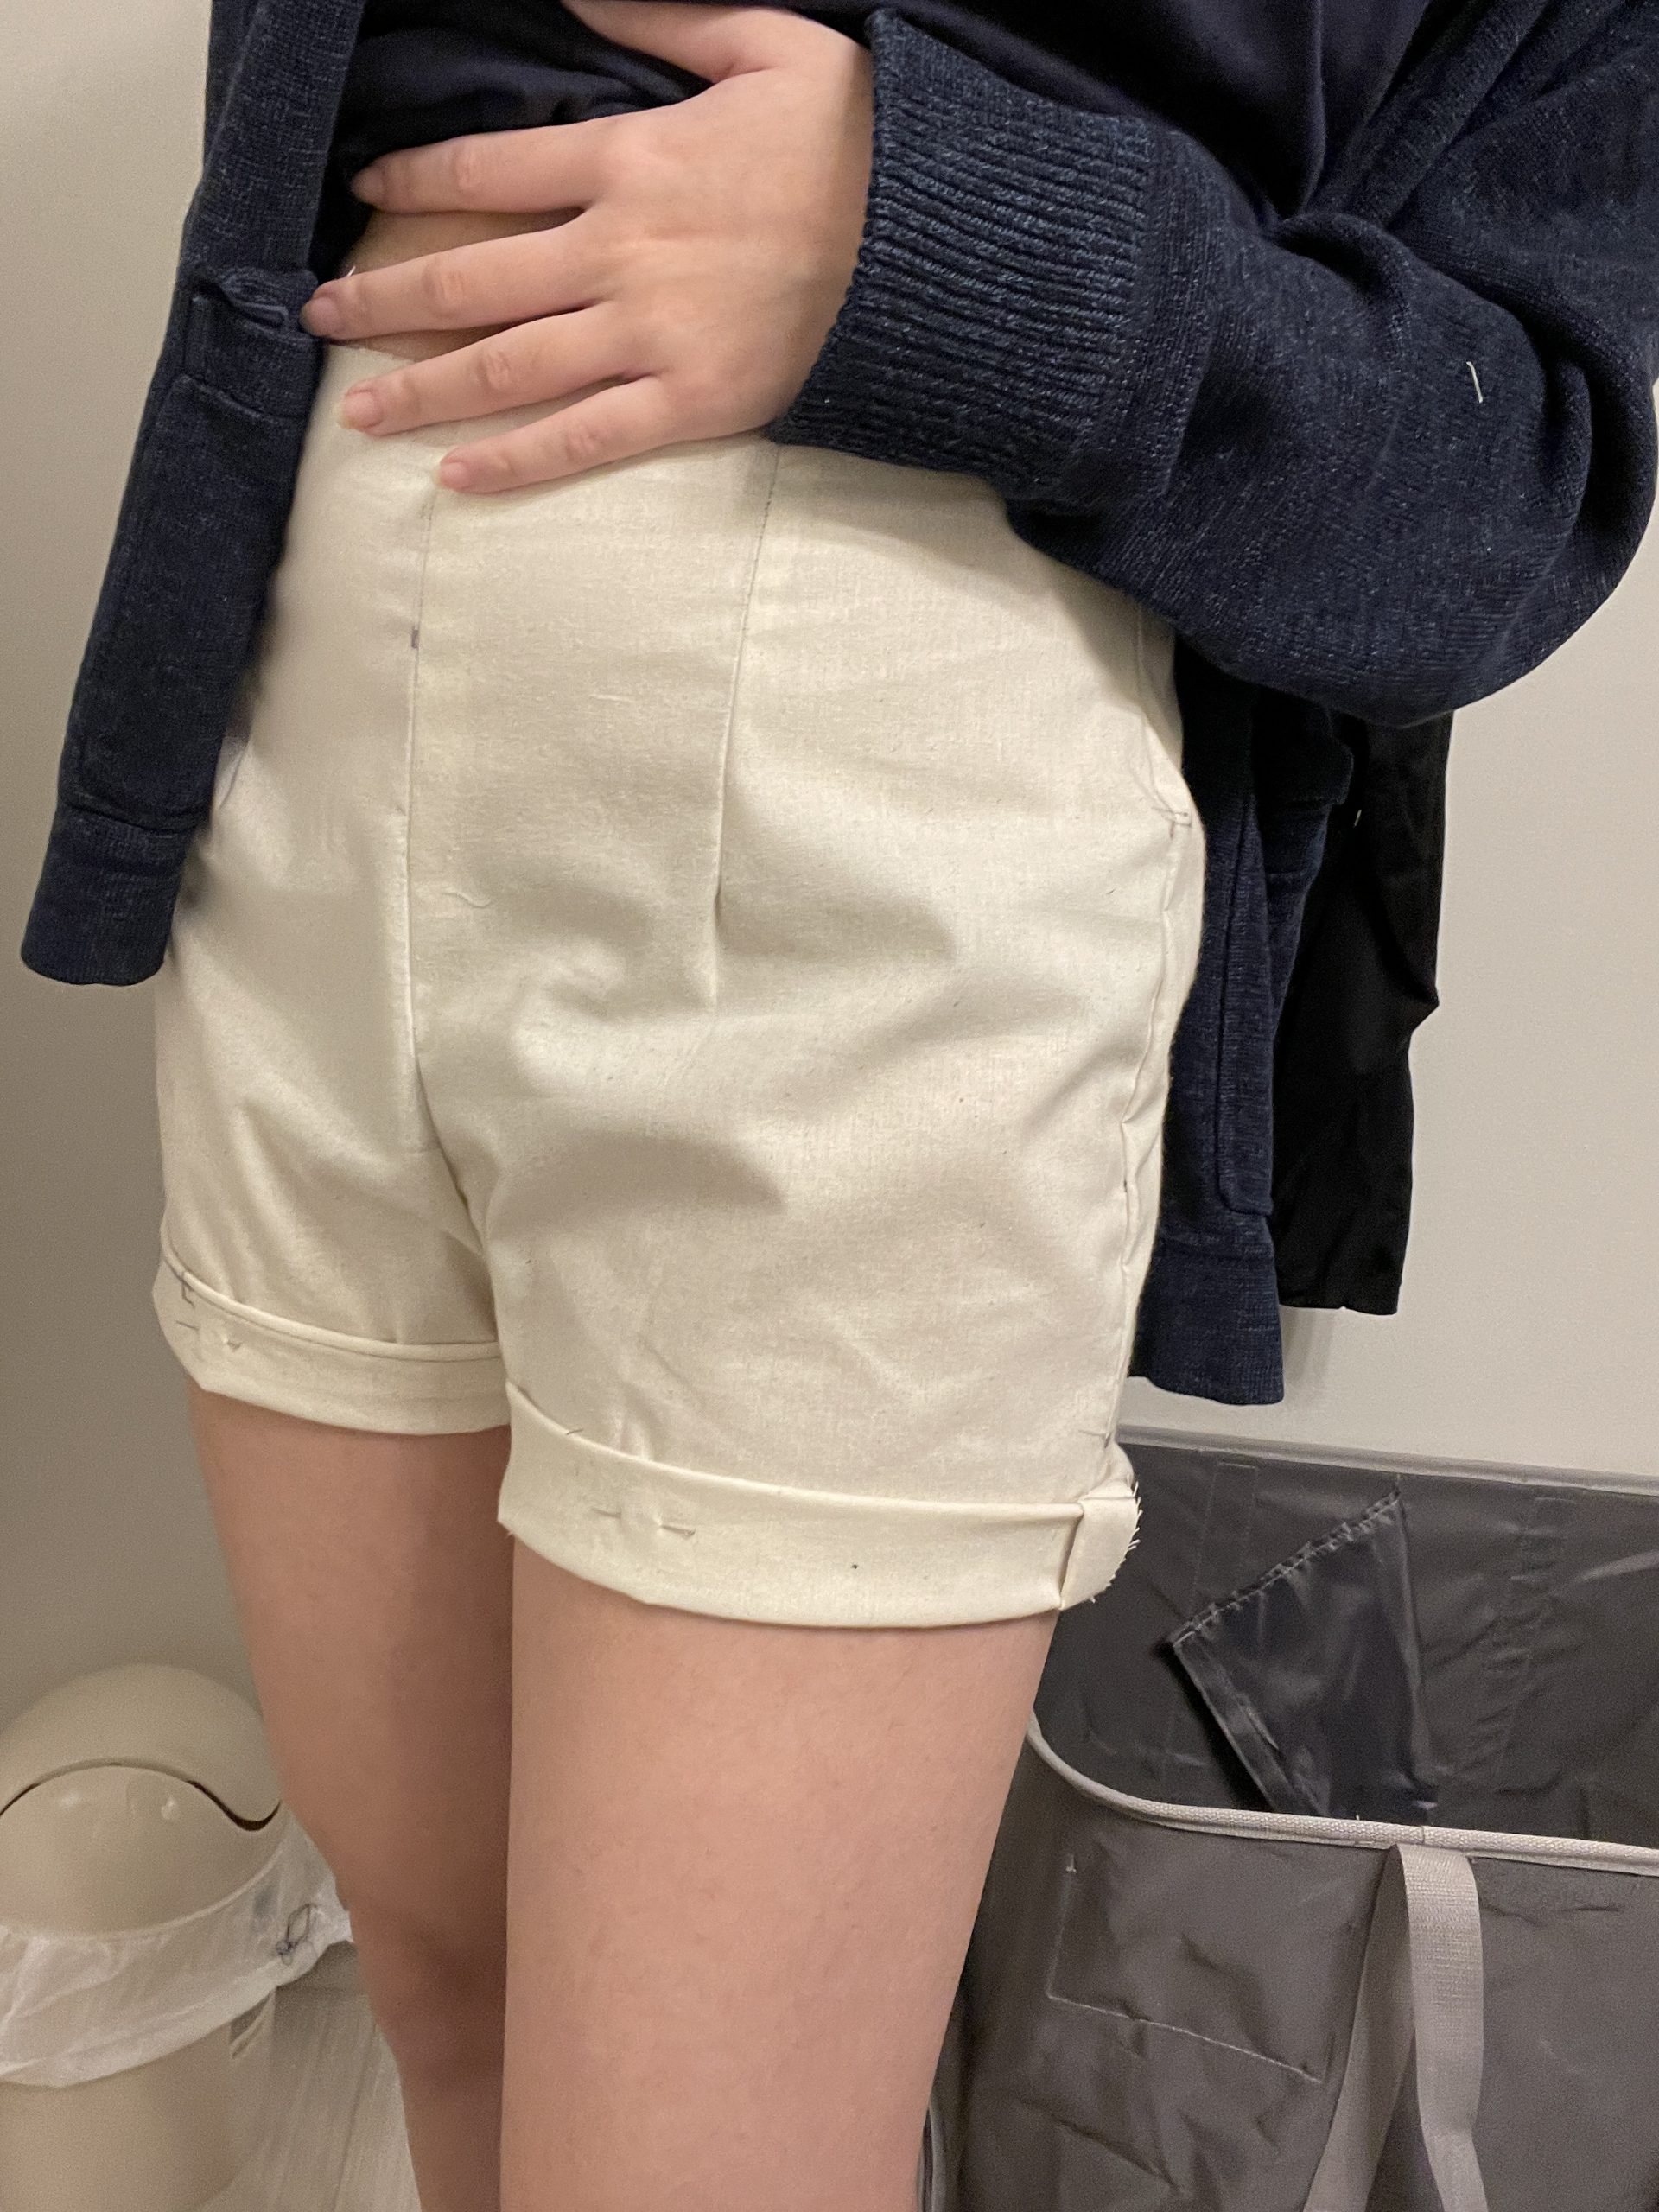
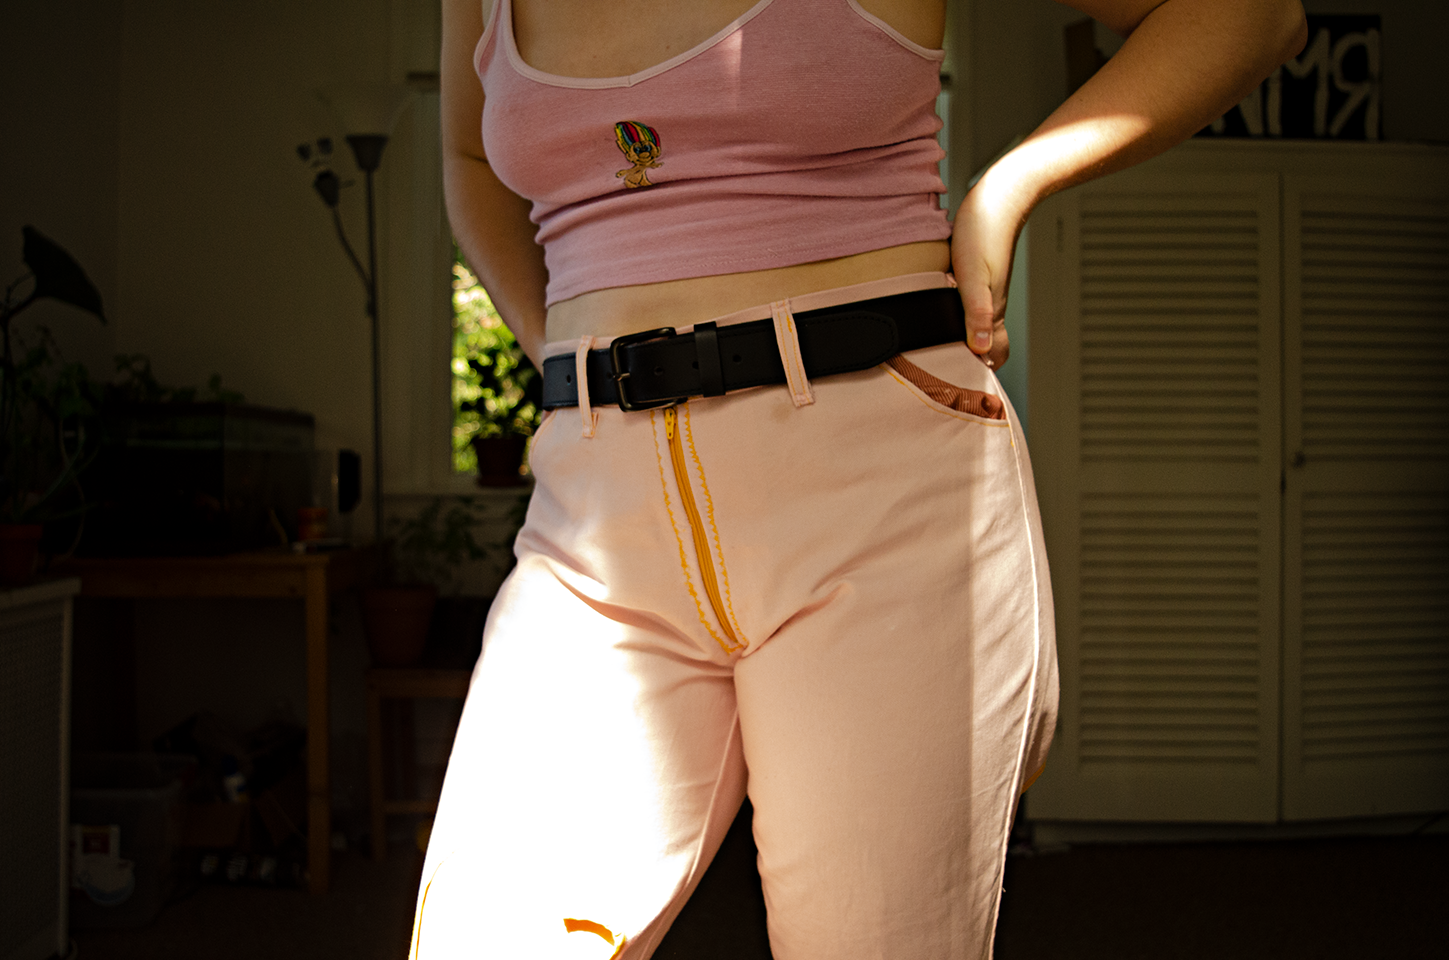
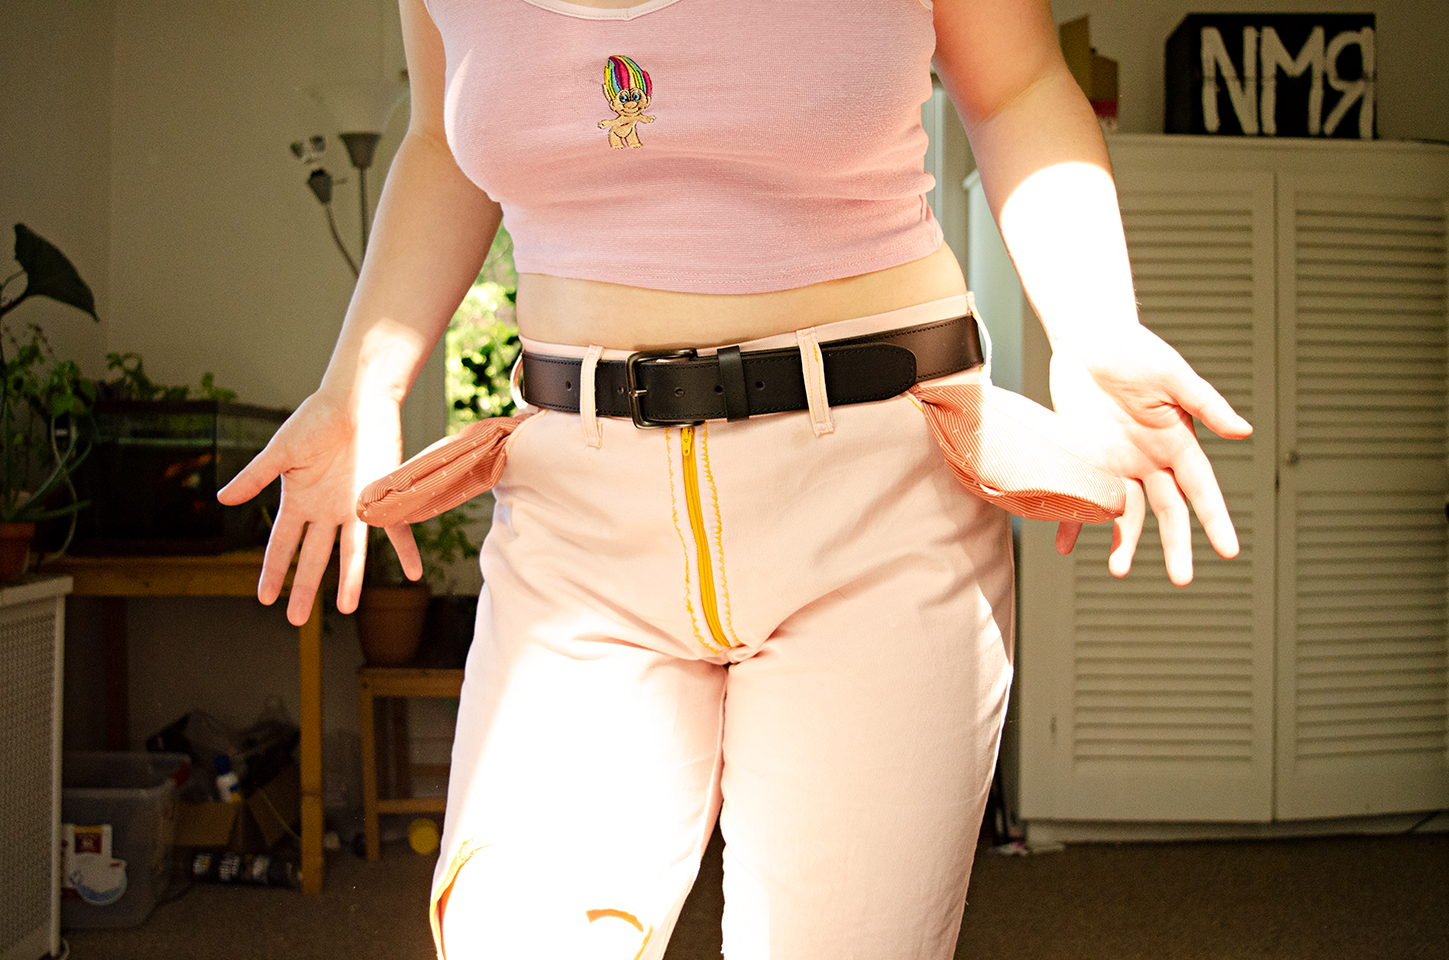
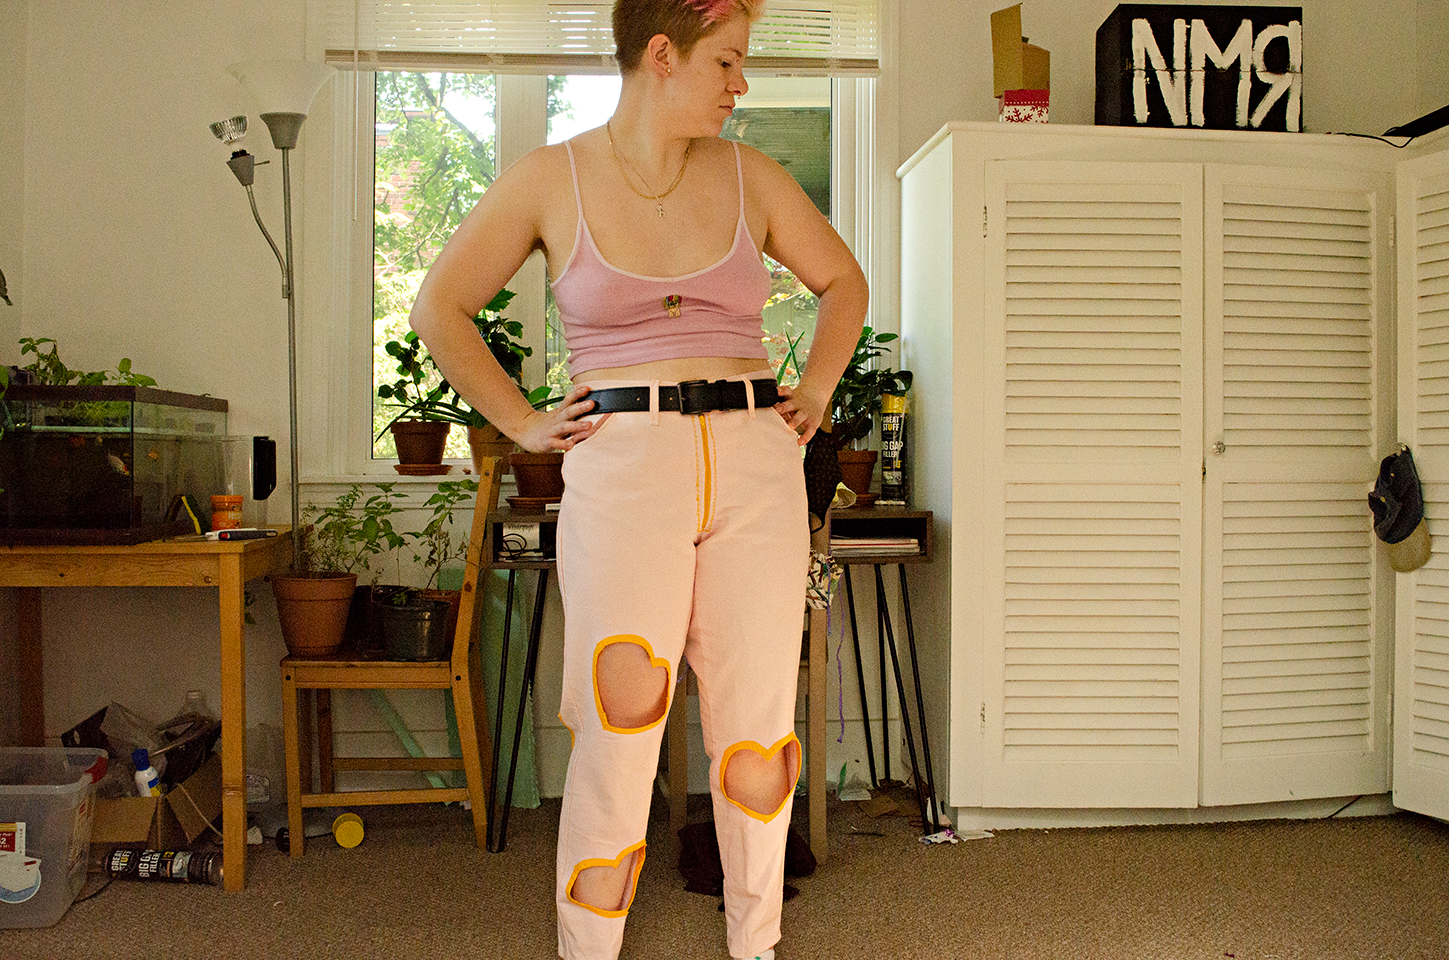
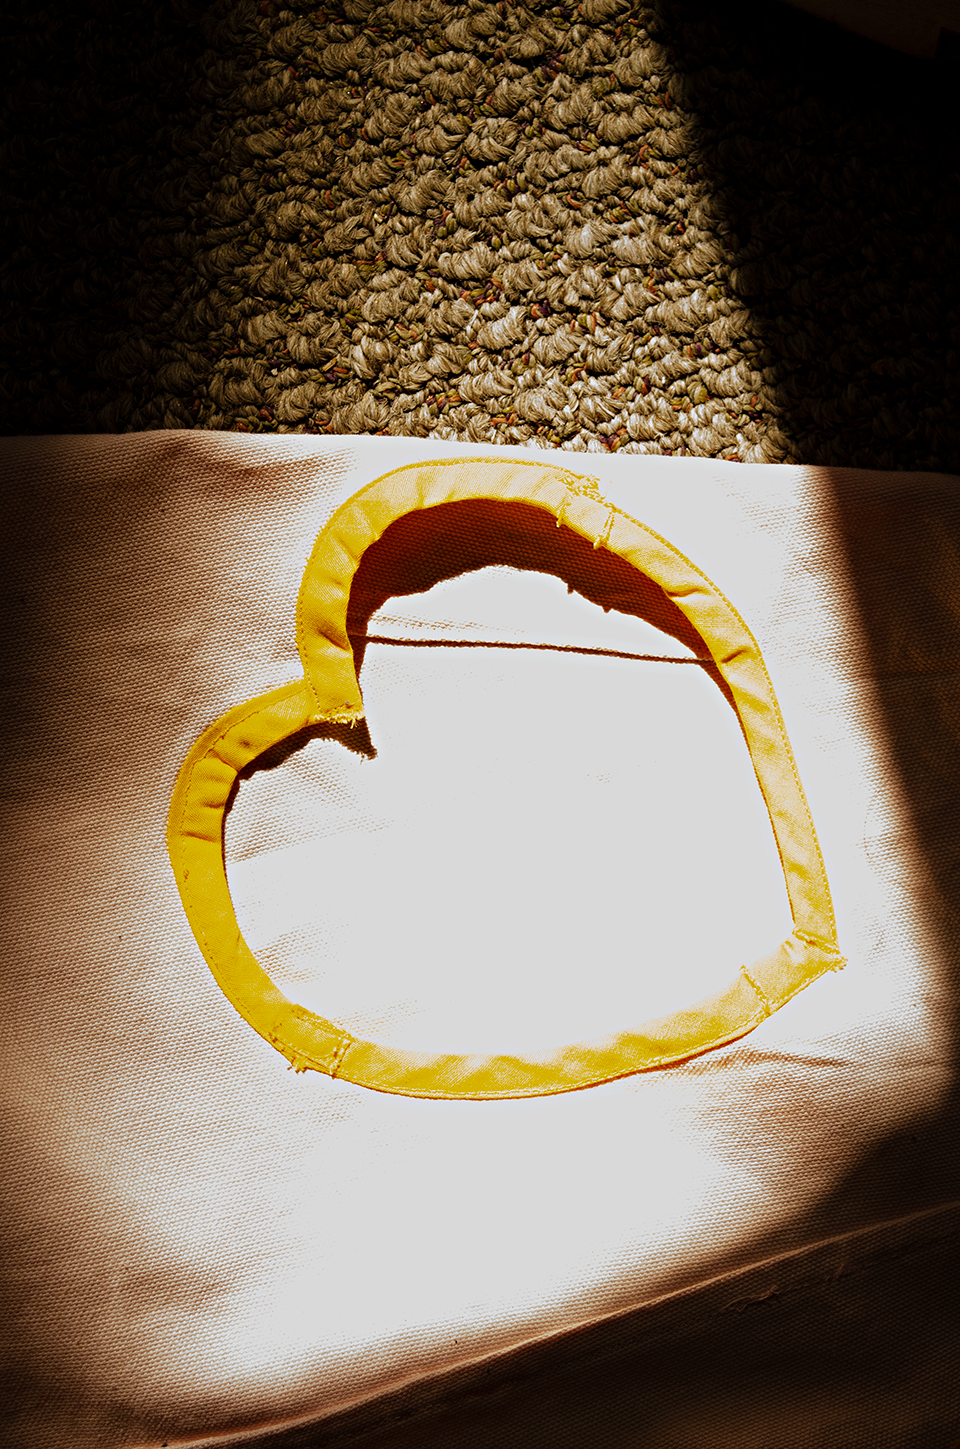
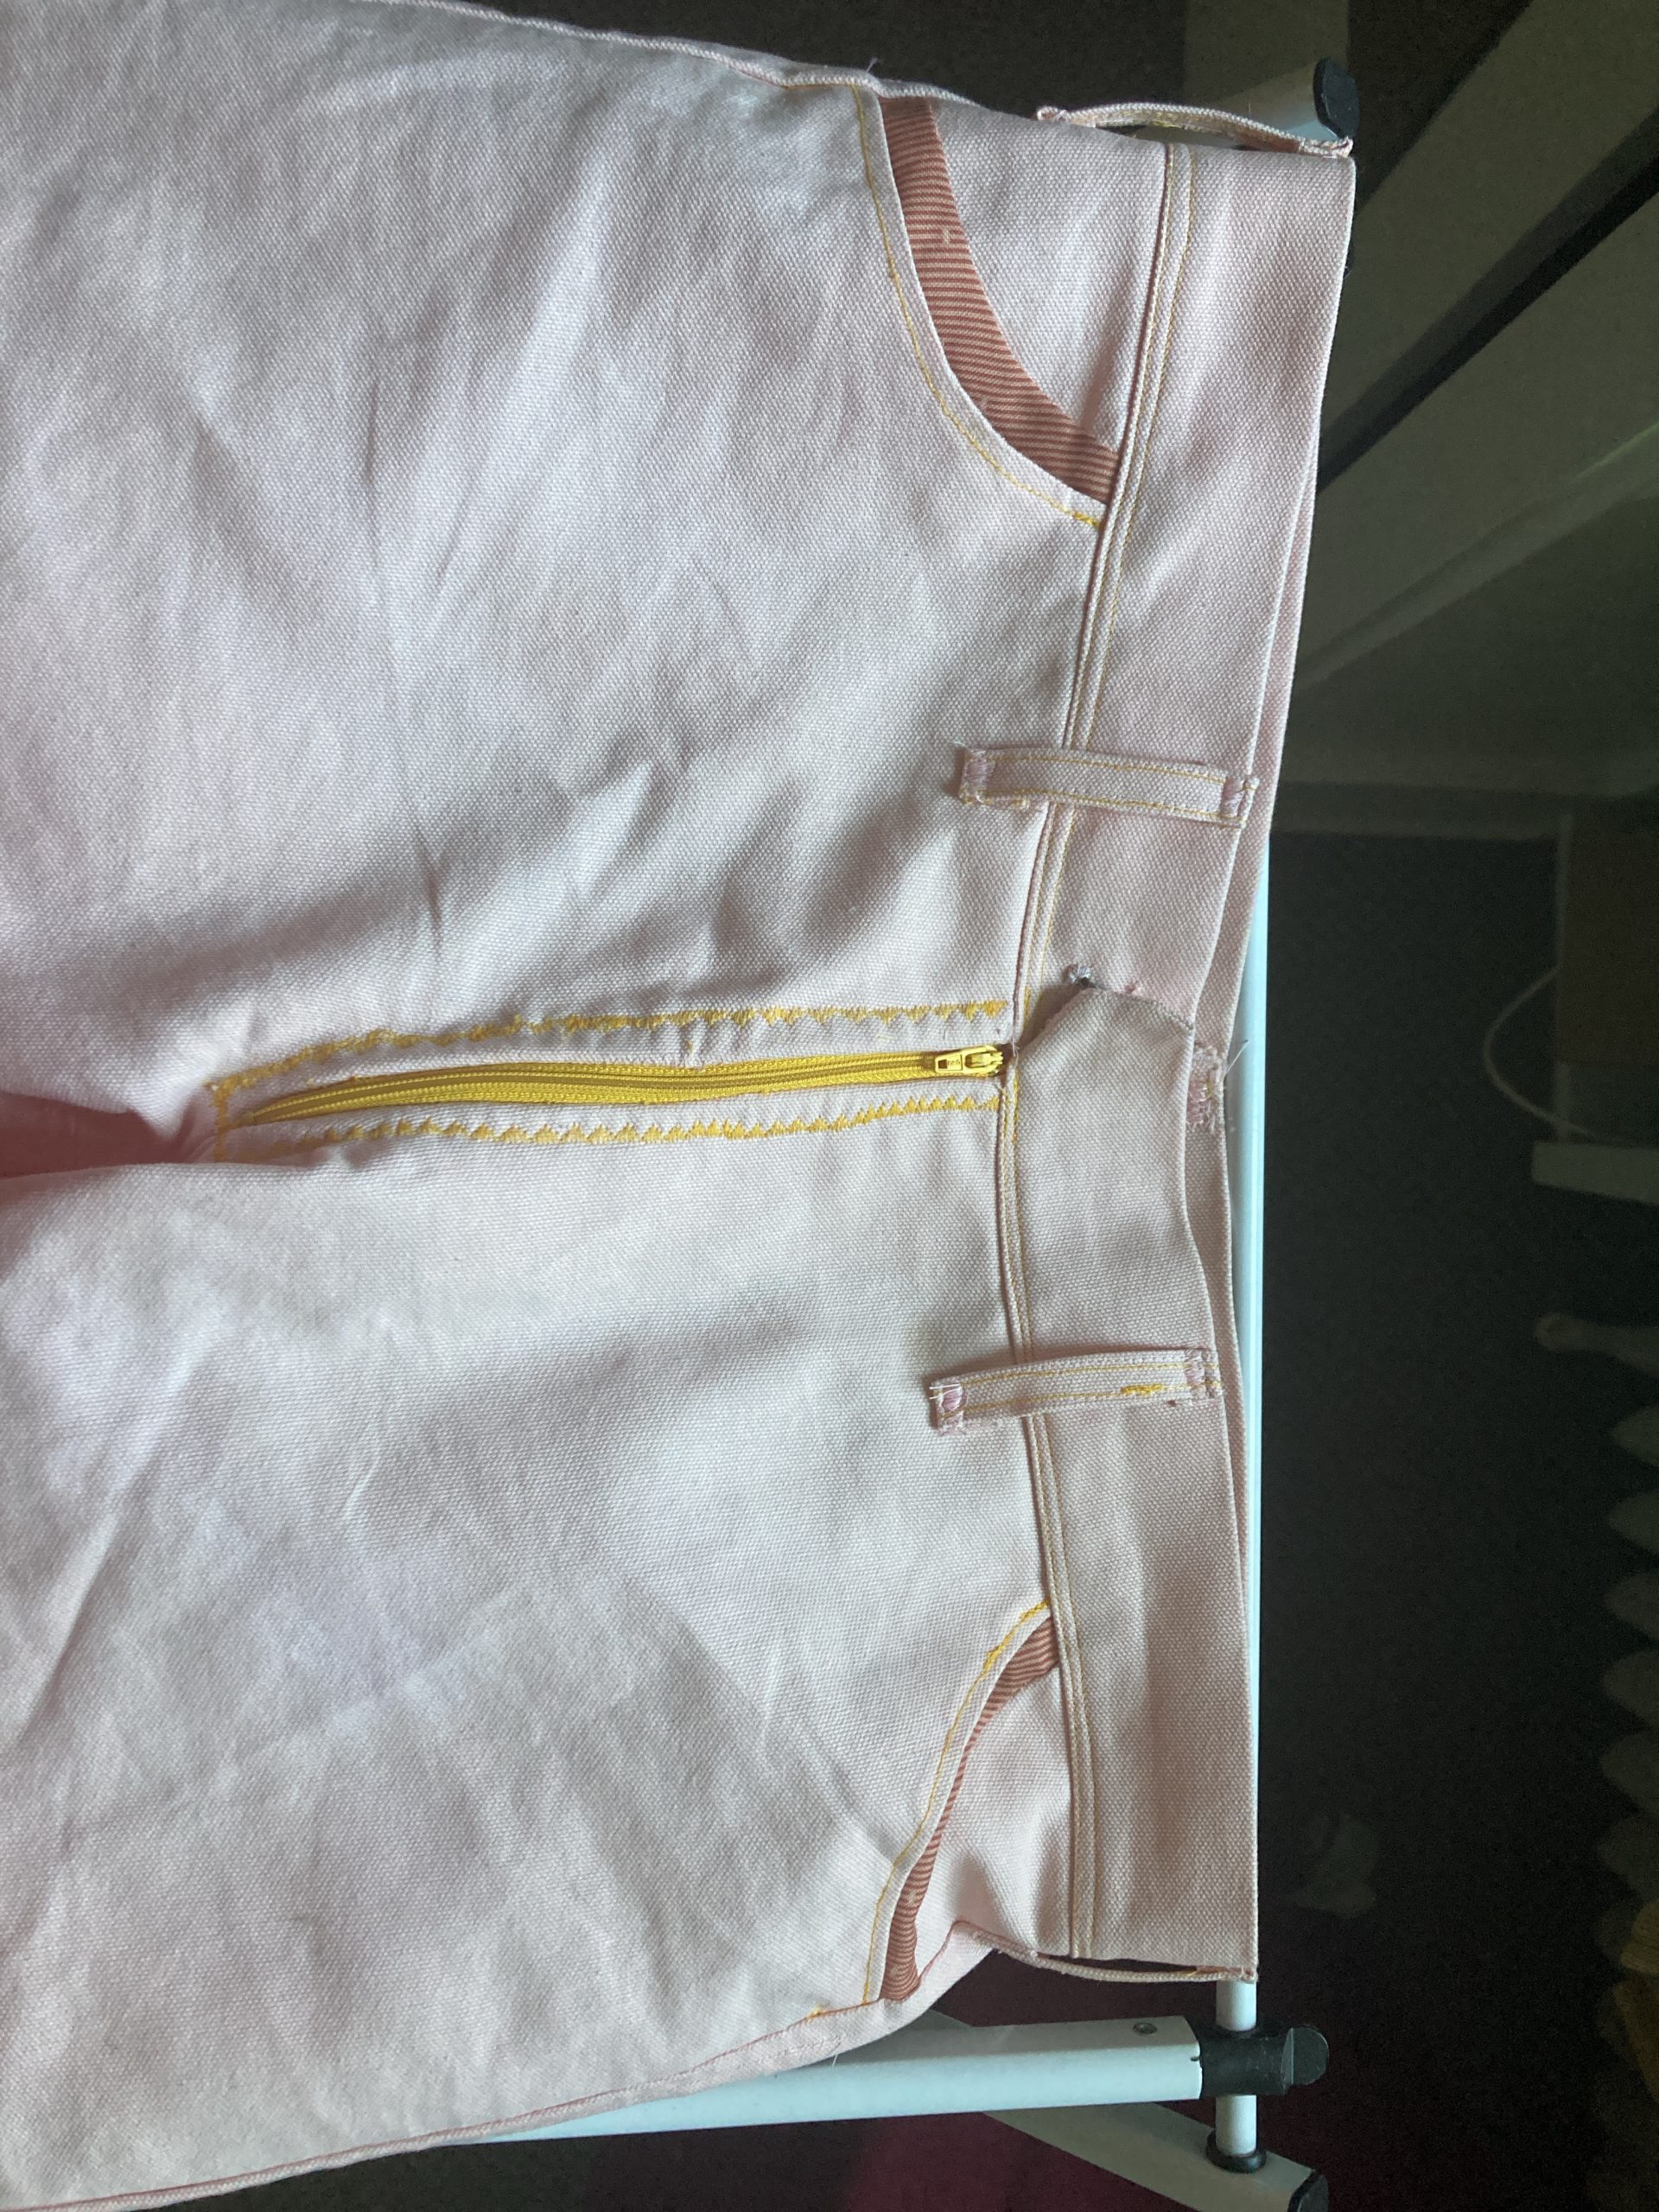
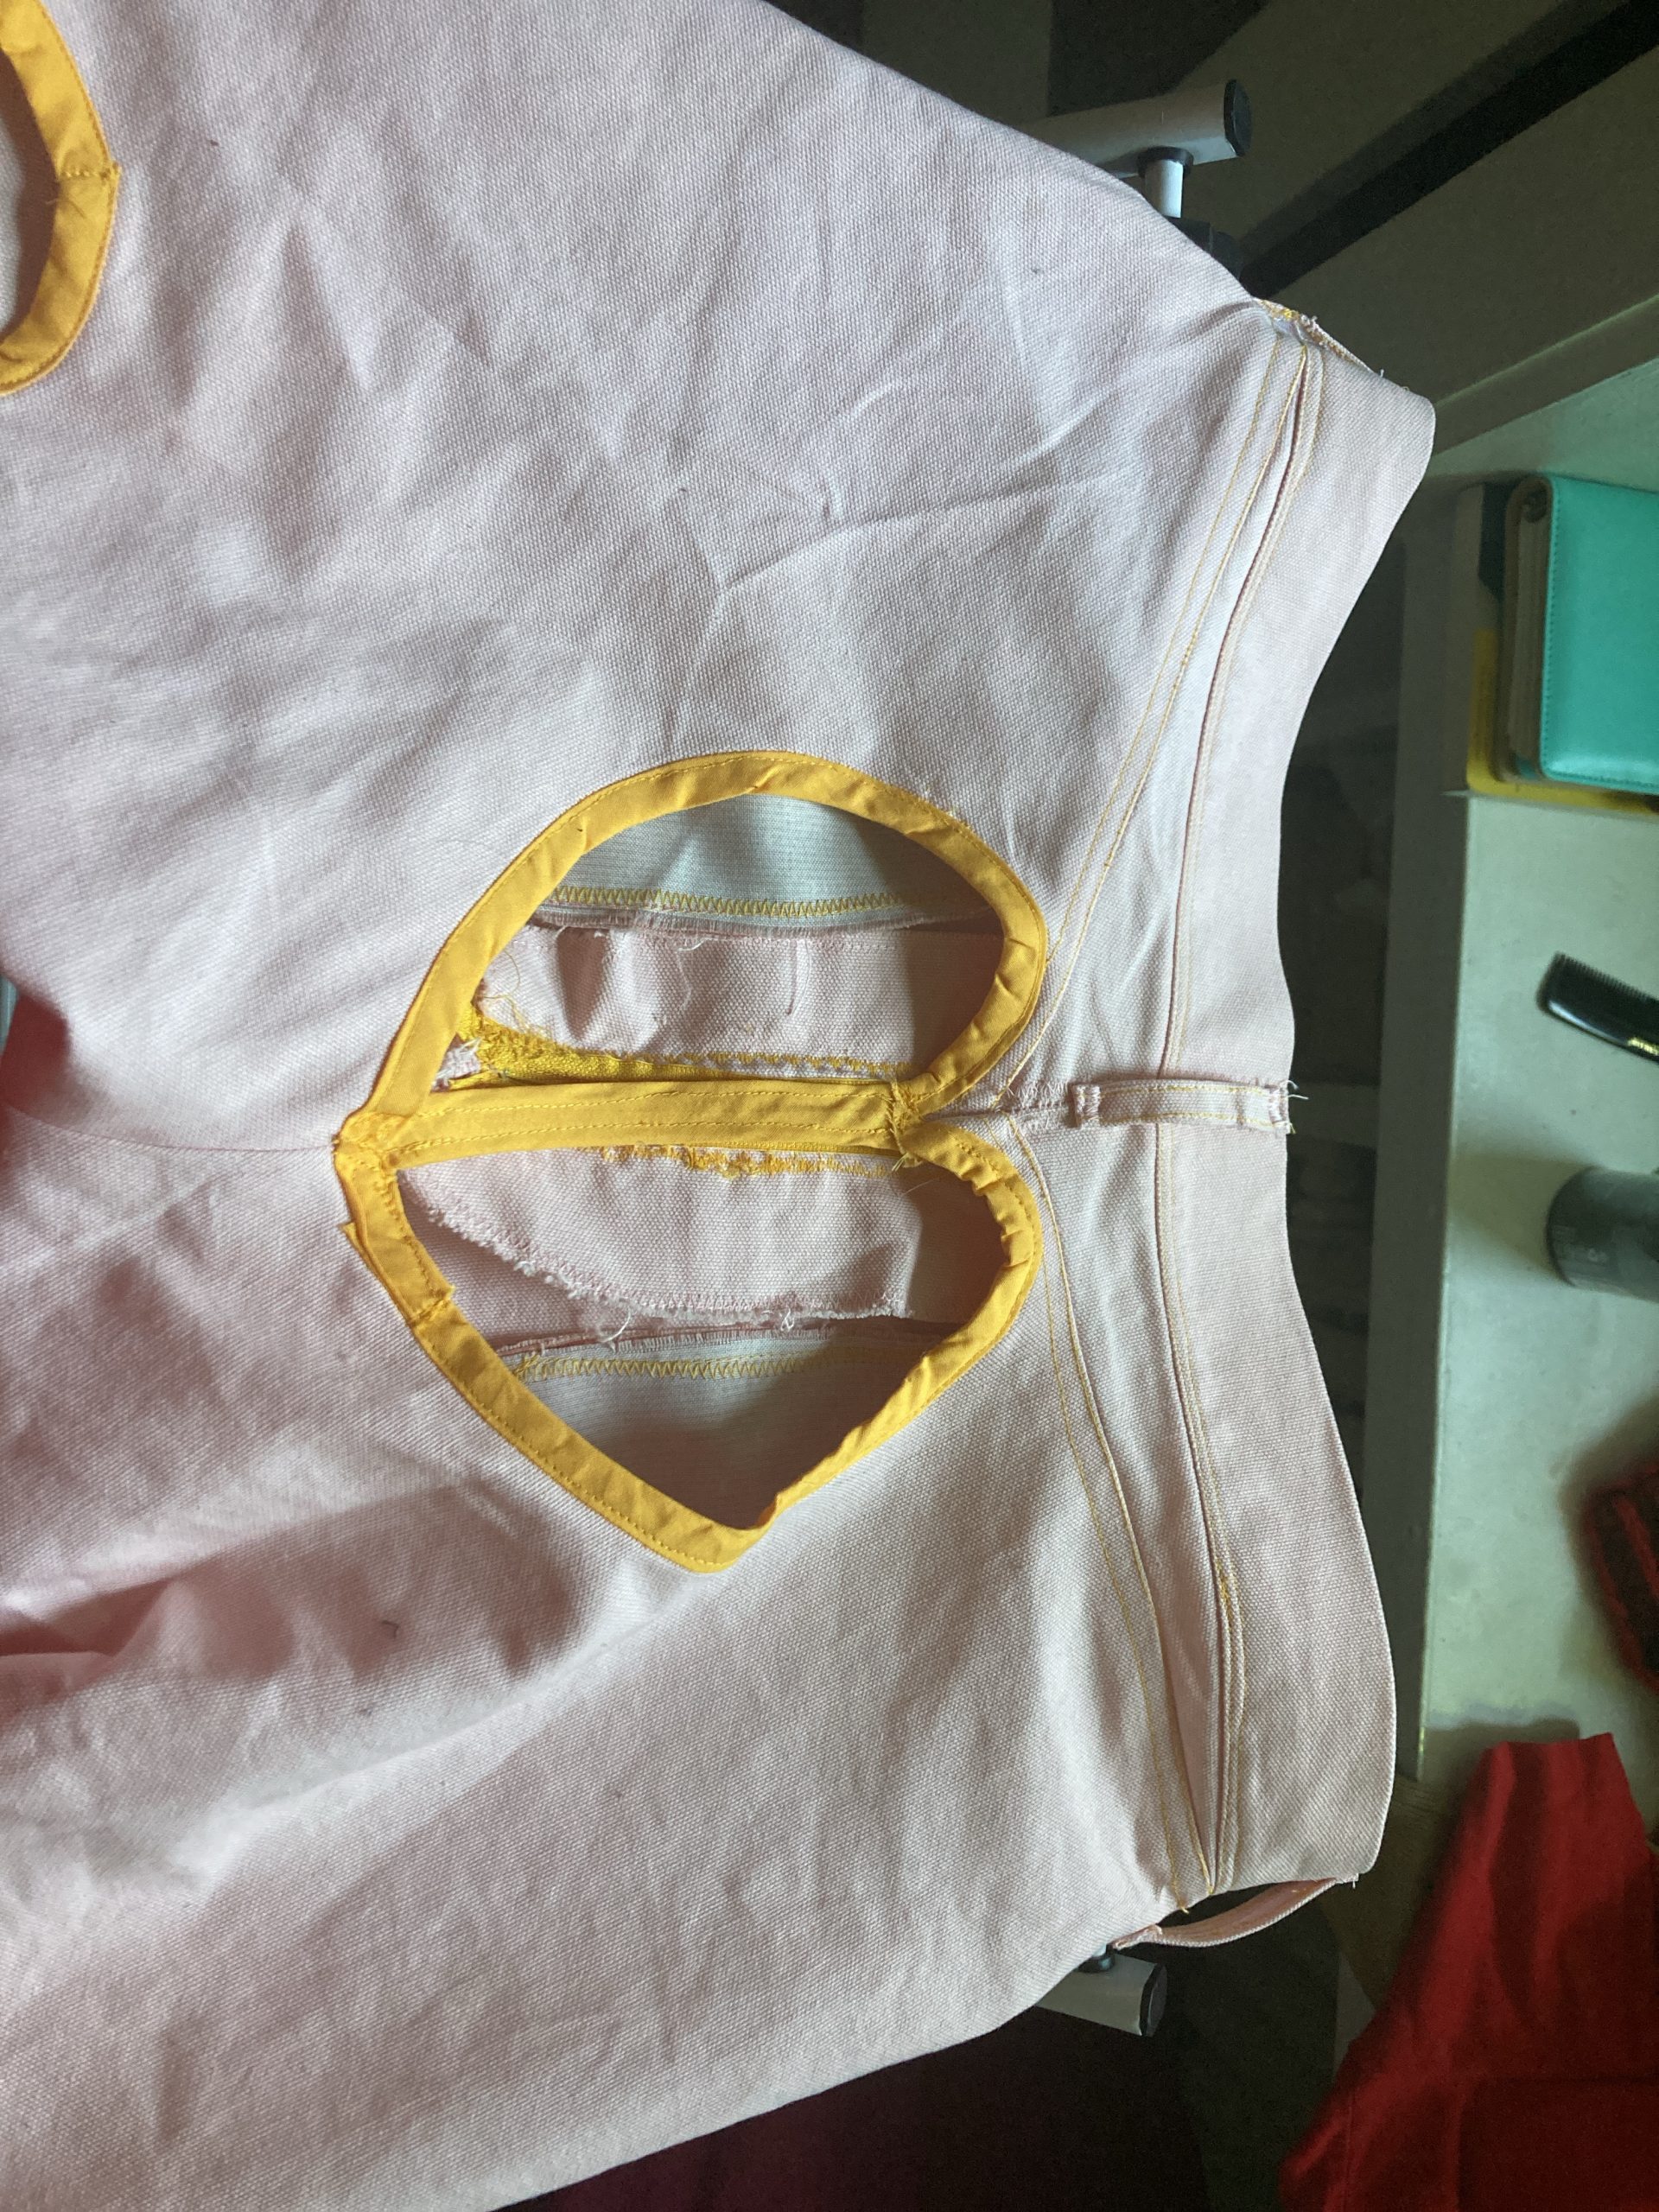
I have done it! Here are the pants I wanted to wear and didn’t want to buy. I’m happy with how the heart cutouts hang. I have not added the buttons to them since they have not come in yet so i sewed a hook and eye below where the buttons will be.
Experience: AAAAAH this took so much time! I really loved doing this project but felt like I rushed a bit towards the end. I’m still very pleased with it moving forward.
Successes: It fits! The pockets work! The waistband can hold my belt, and I can crouch in these pants.
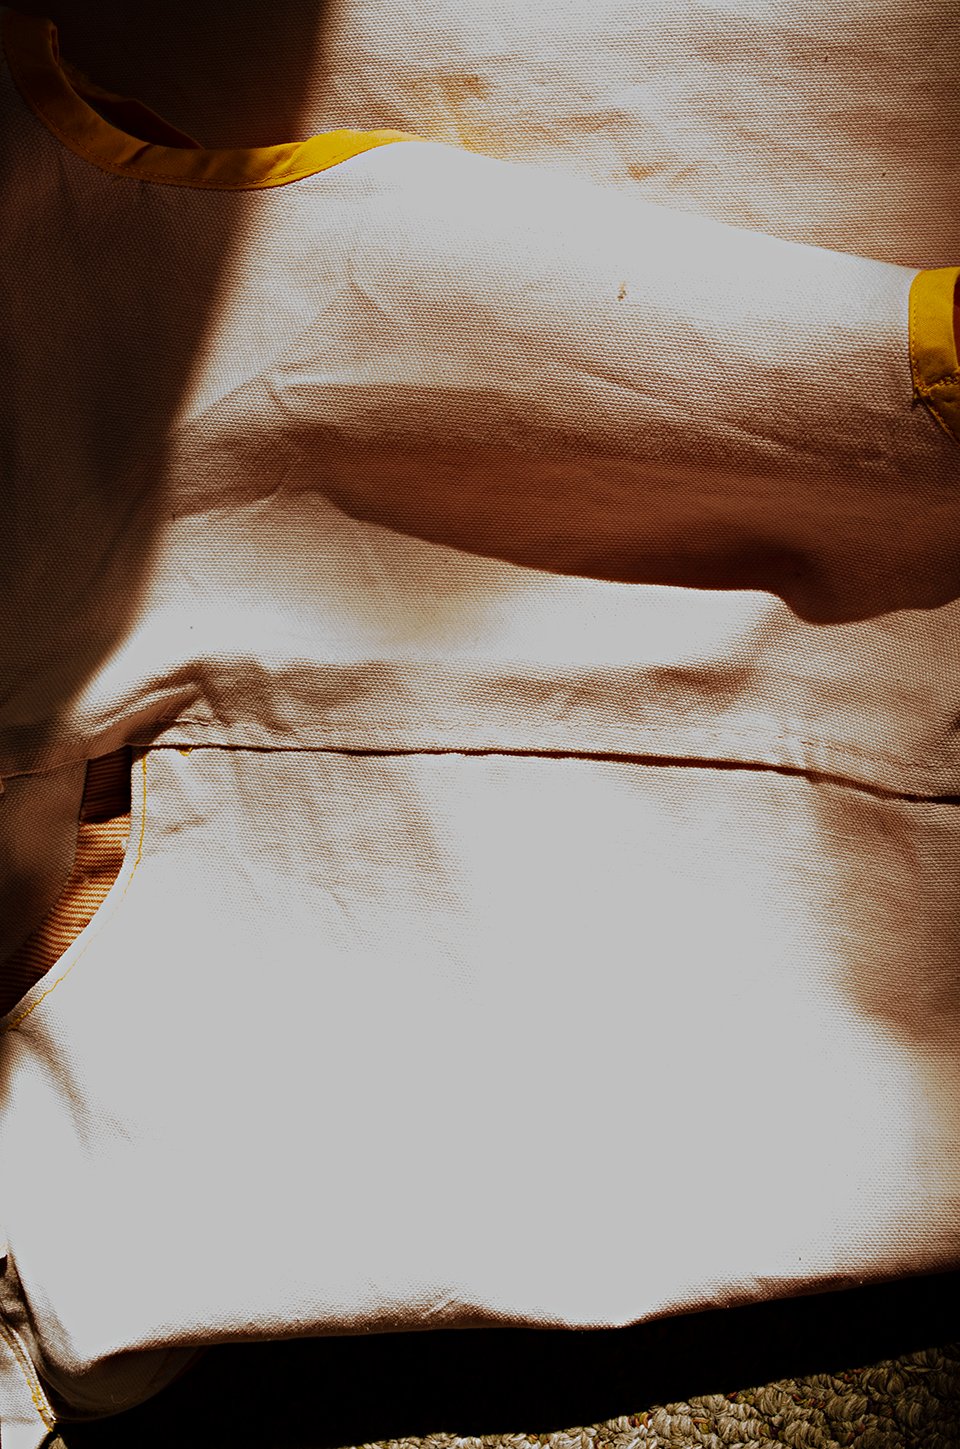
Mistakes: Hemming was a nightmare, and tailoring the canvas copy made me want to die because of how thicccccck the fabric was. Also finishing the seam was gross BUT my legs seams are finished
Future direction: I loved making these pants, and would love to make pants again.


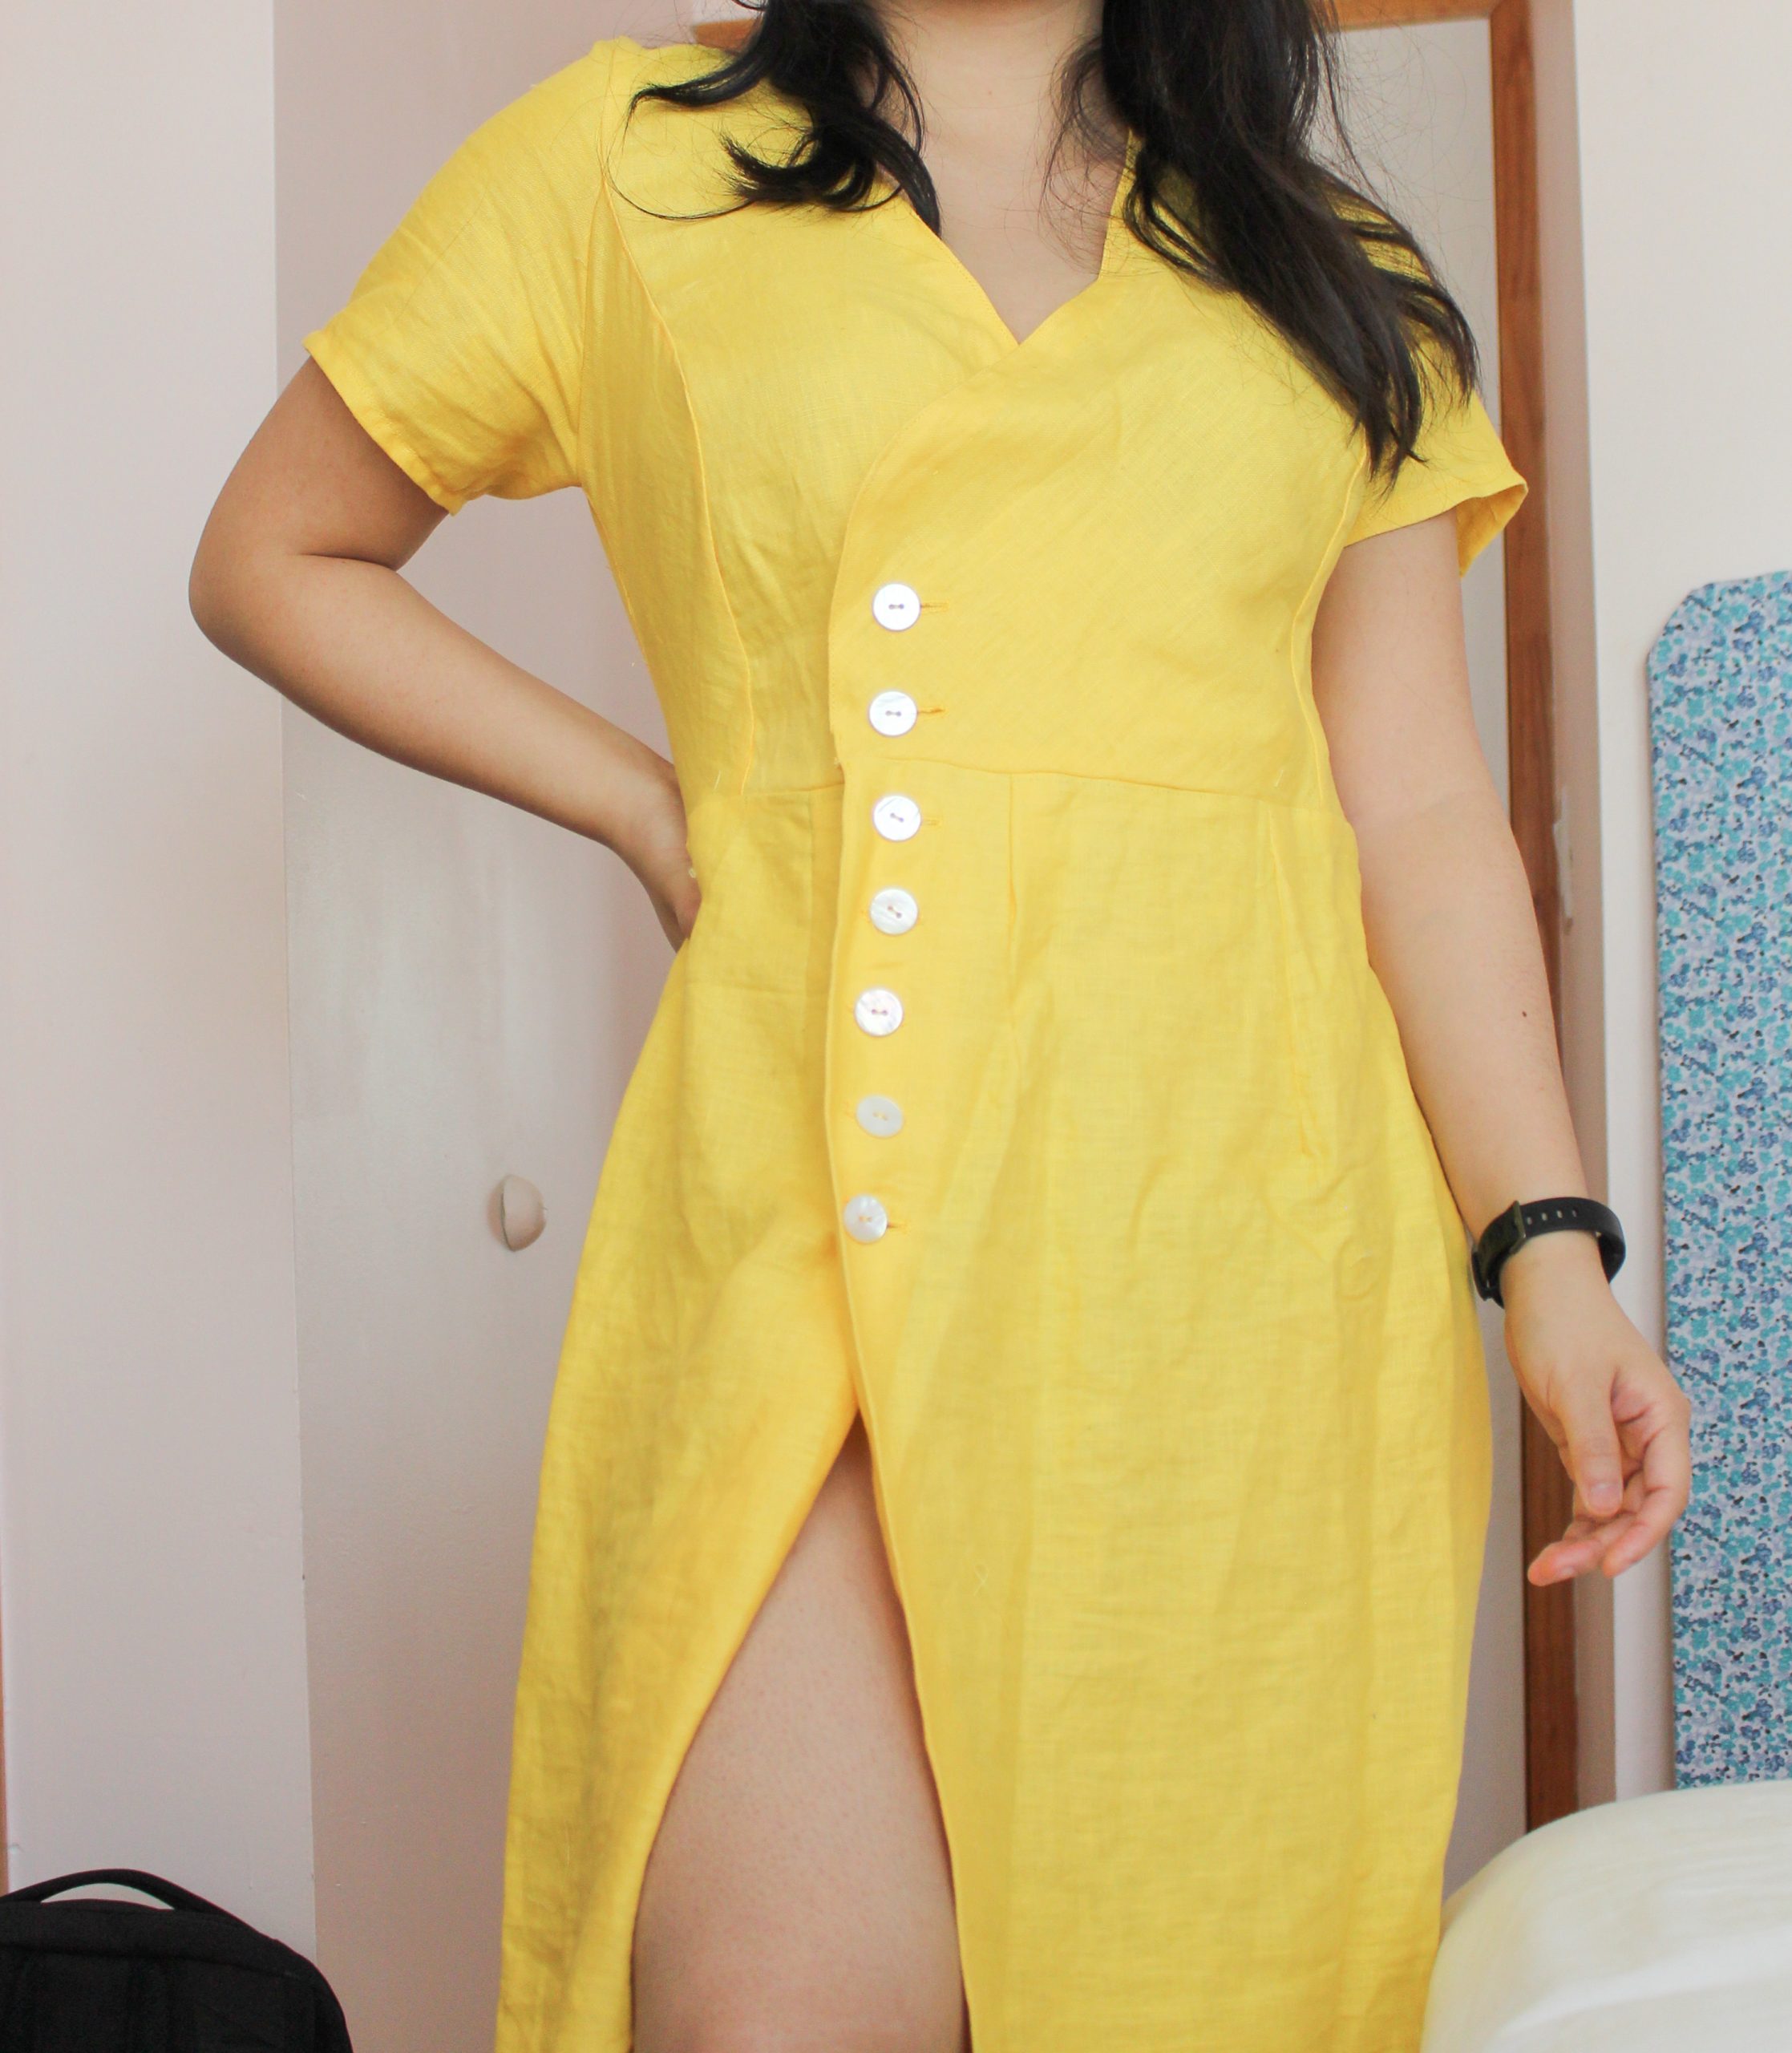
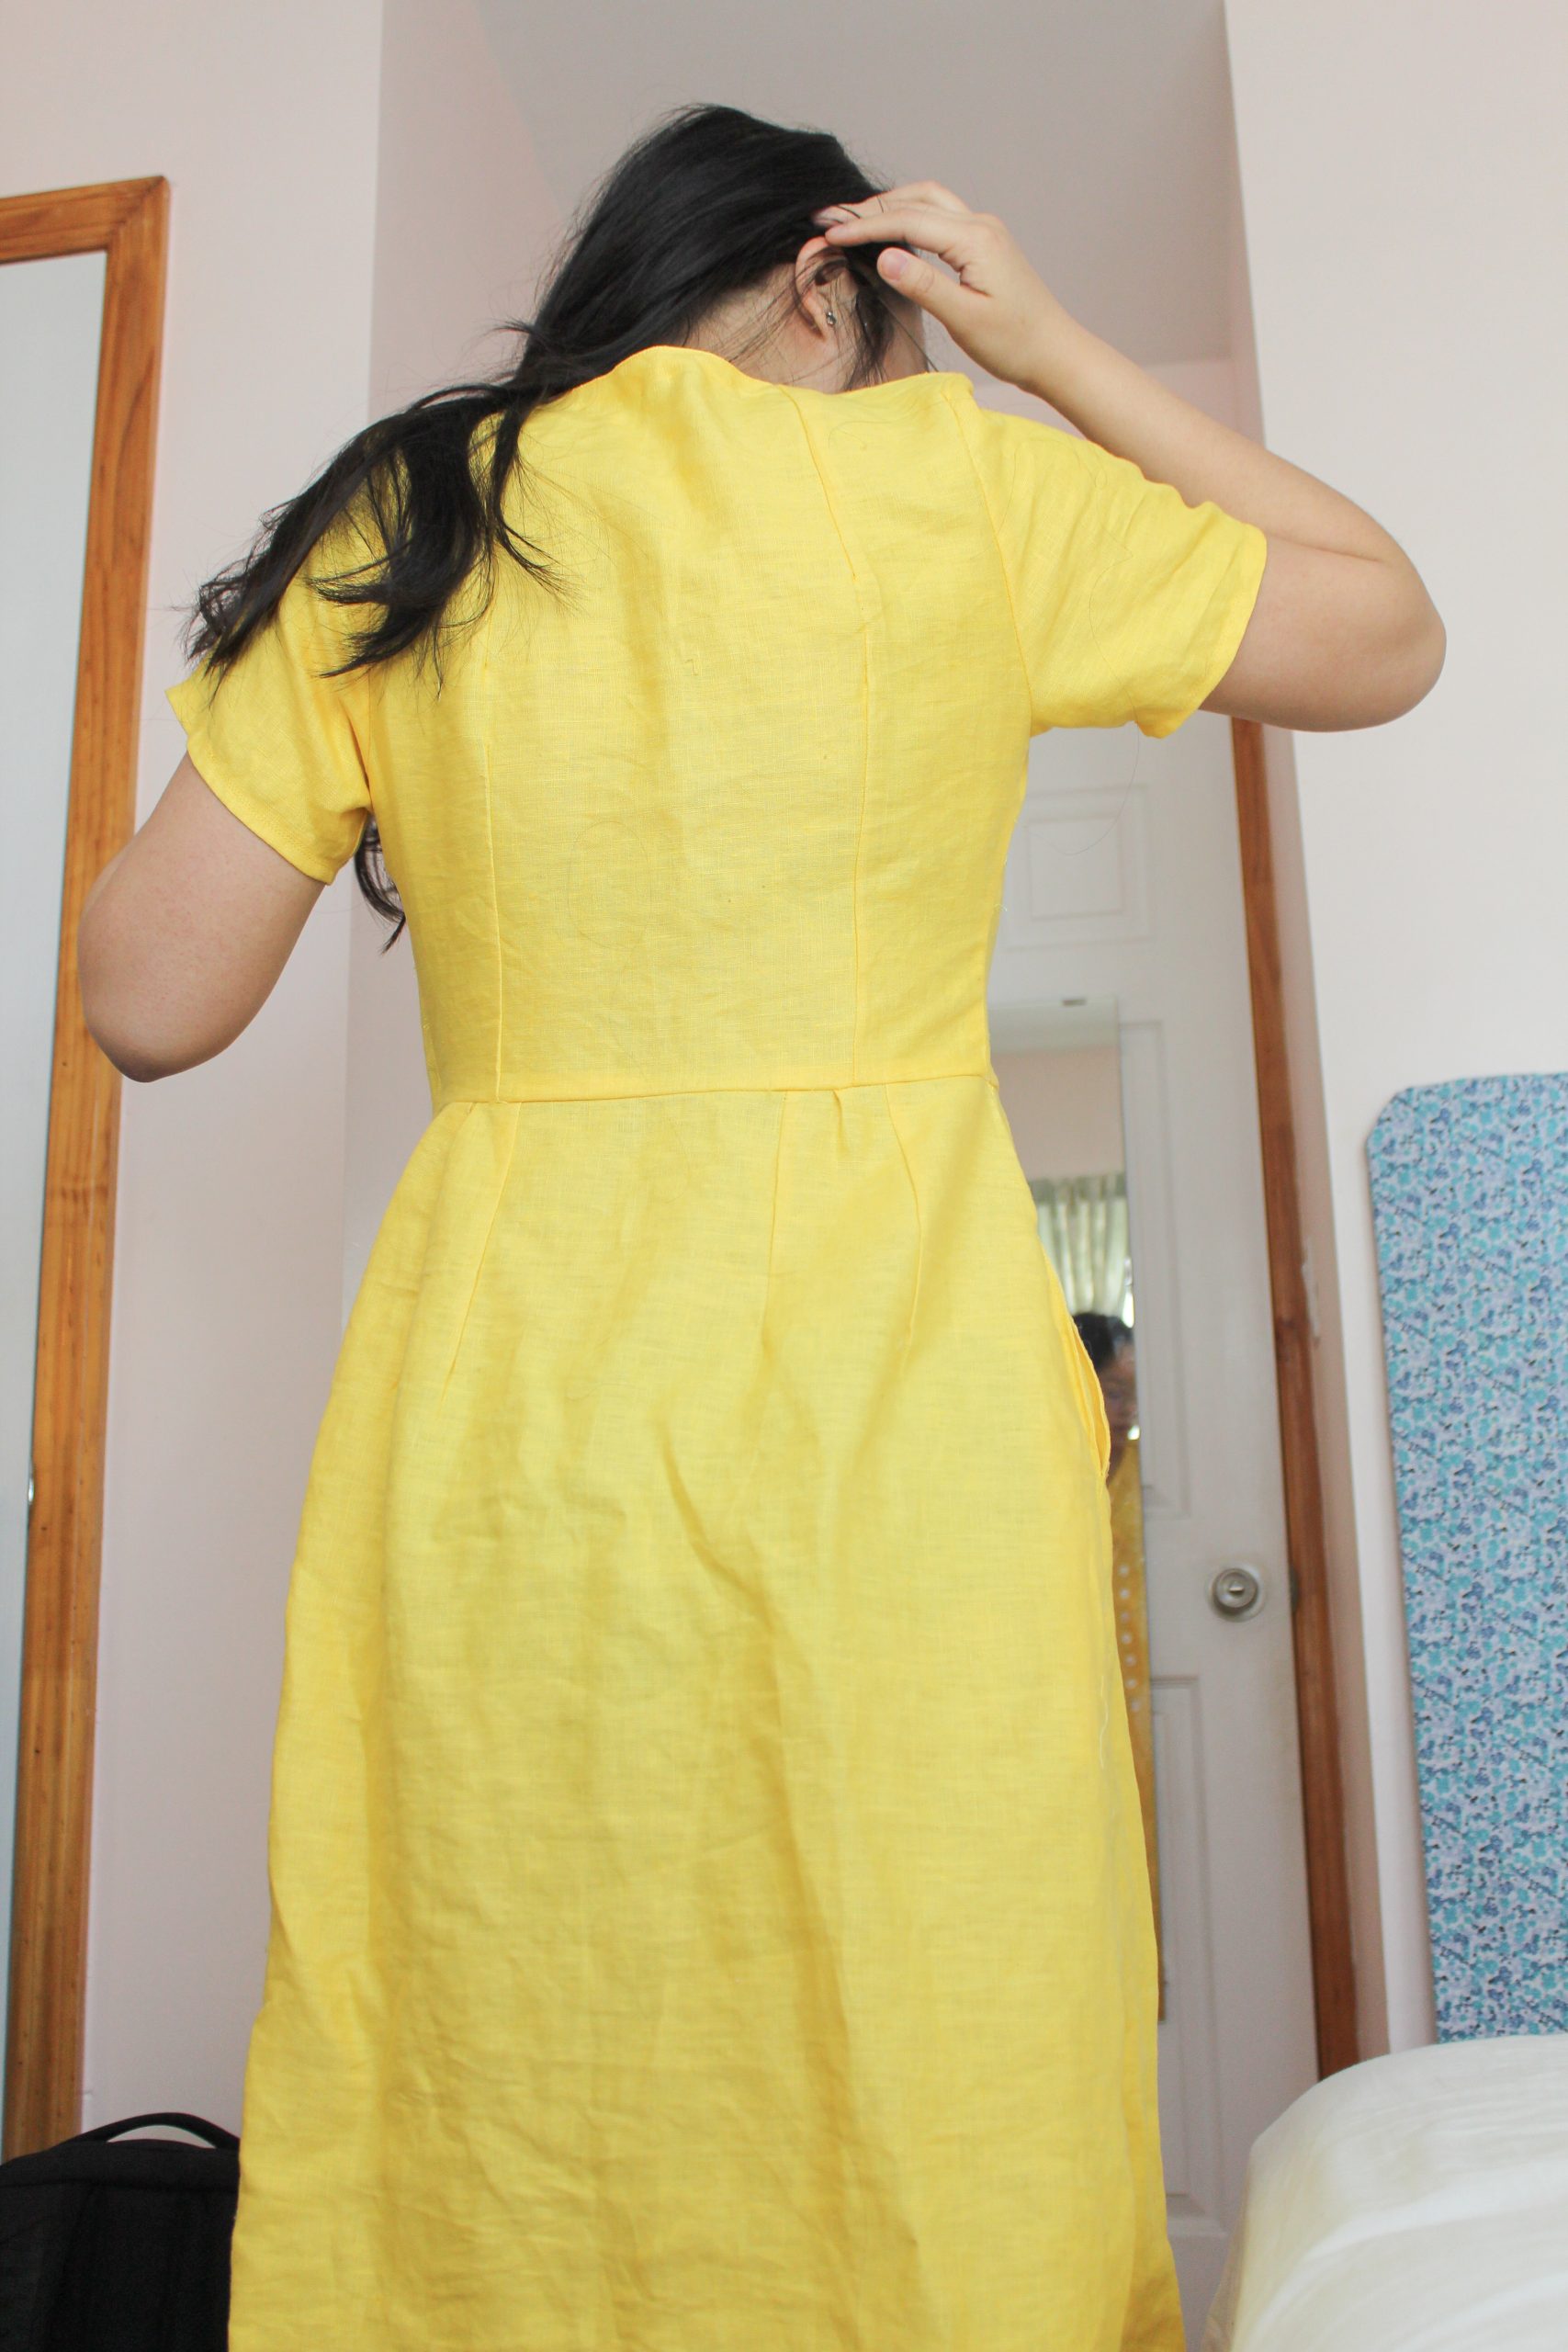
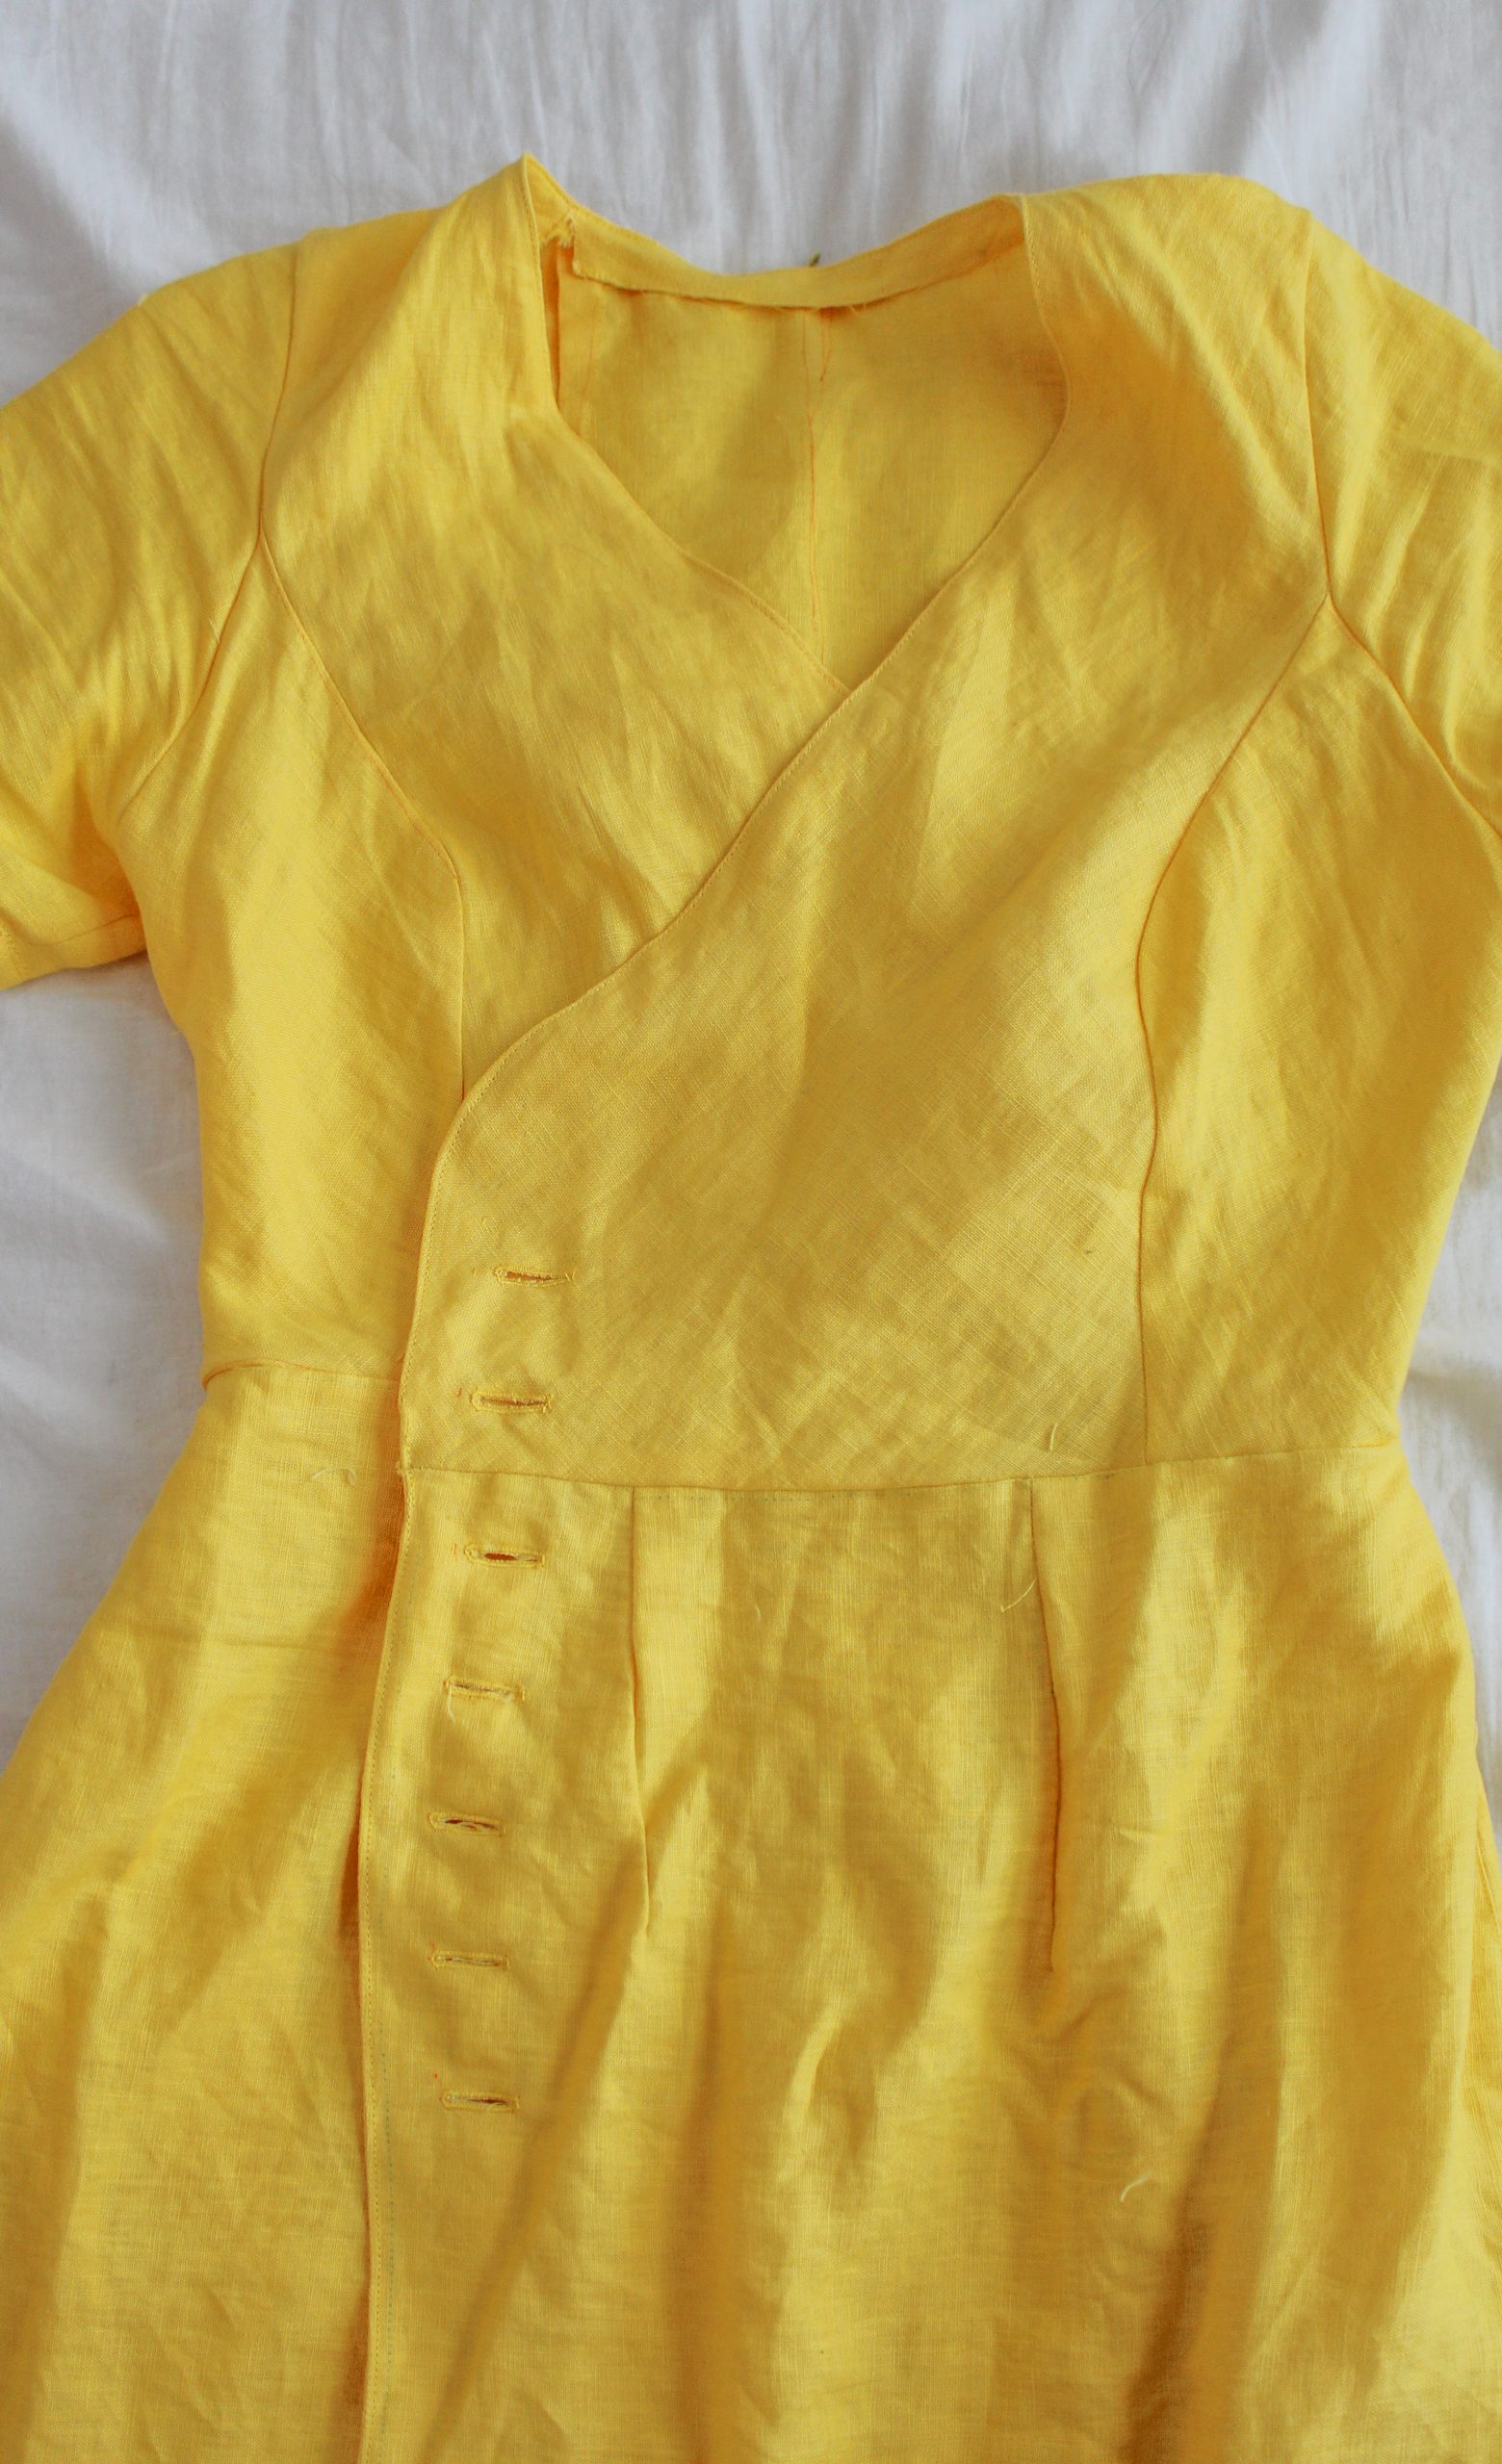
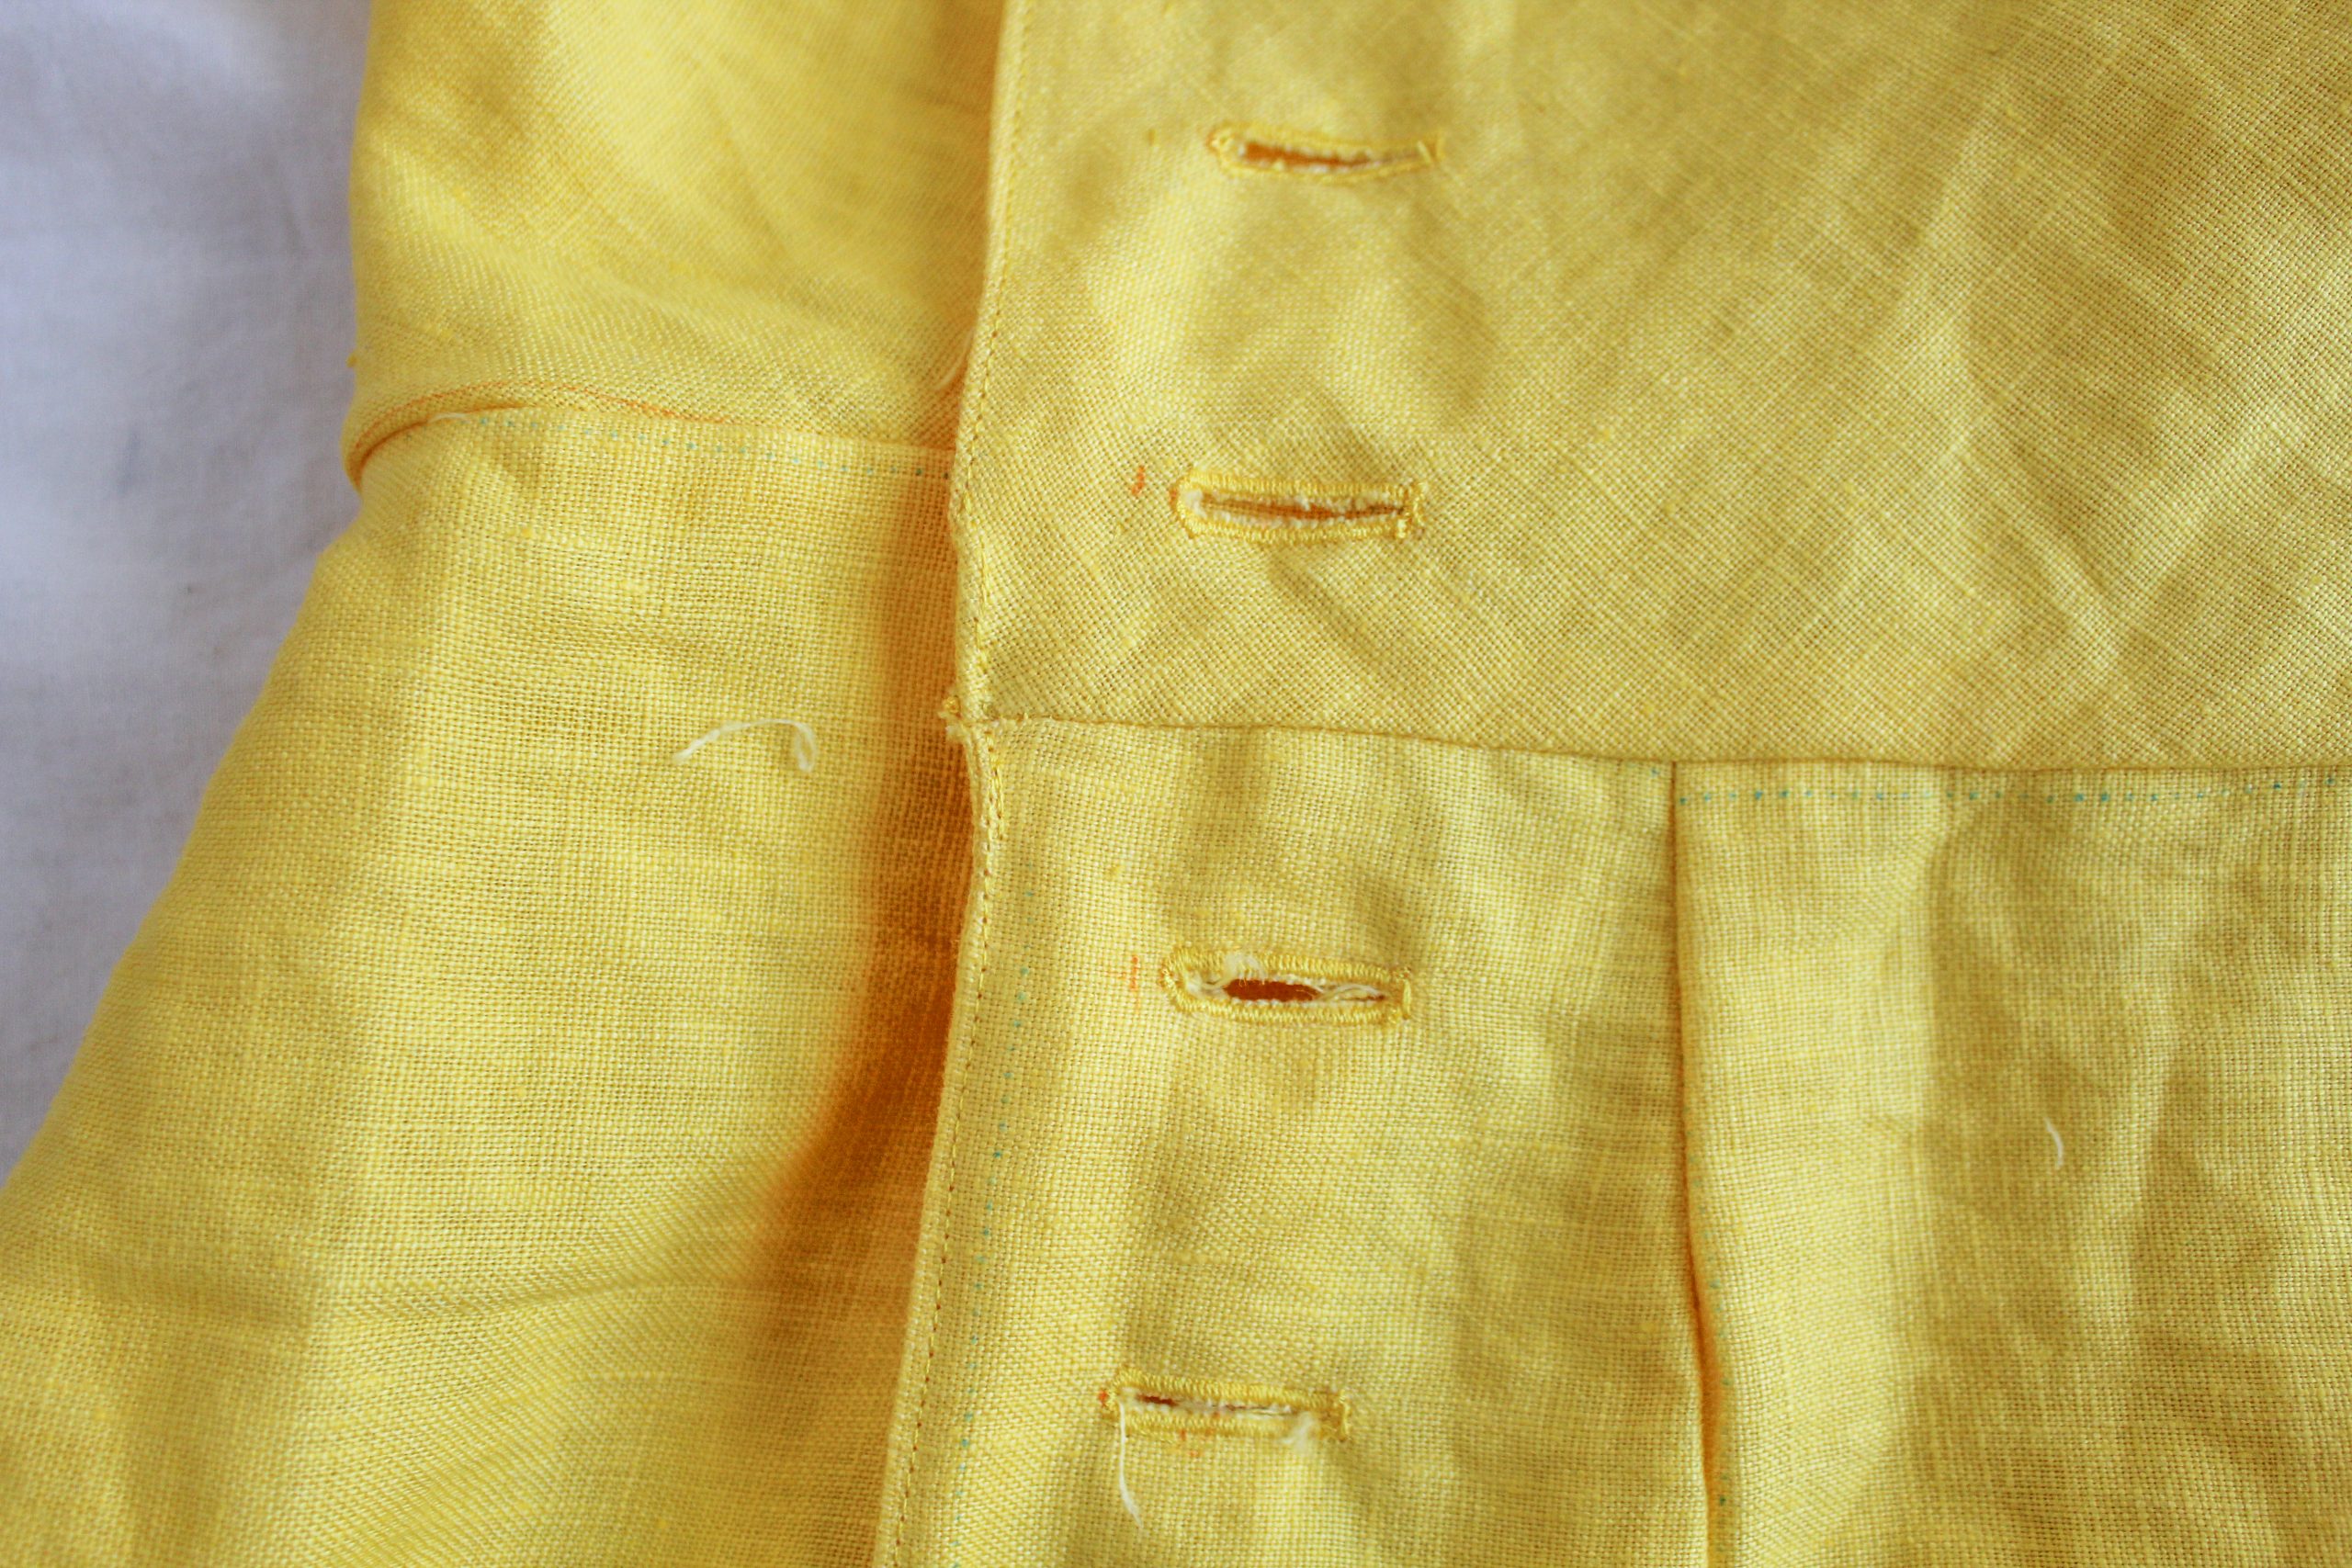
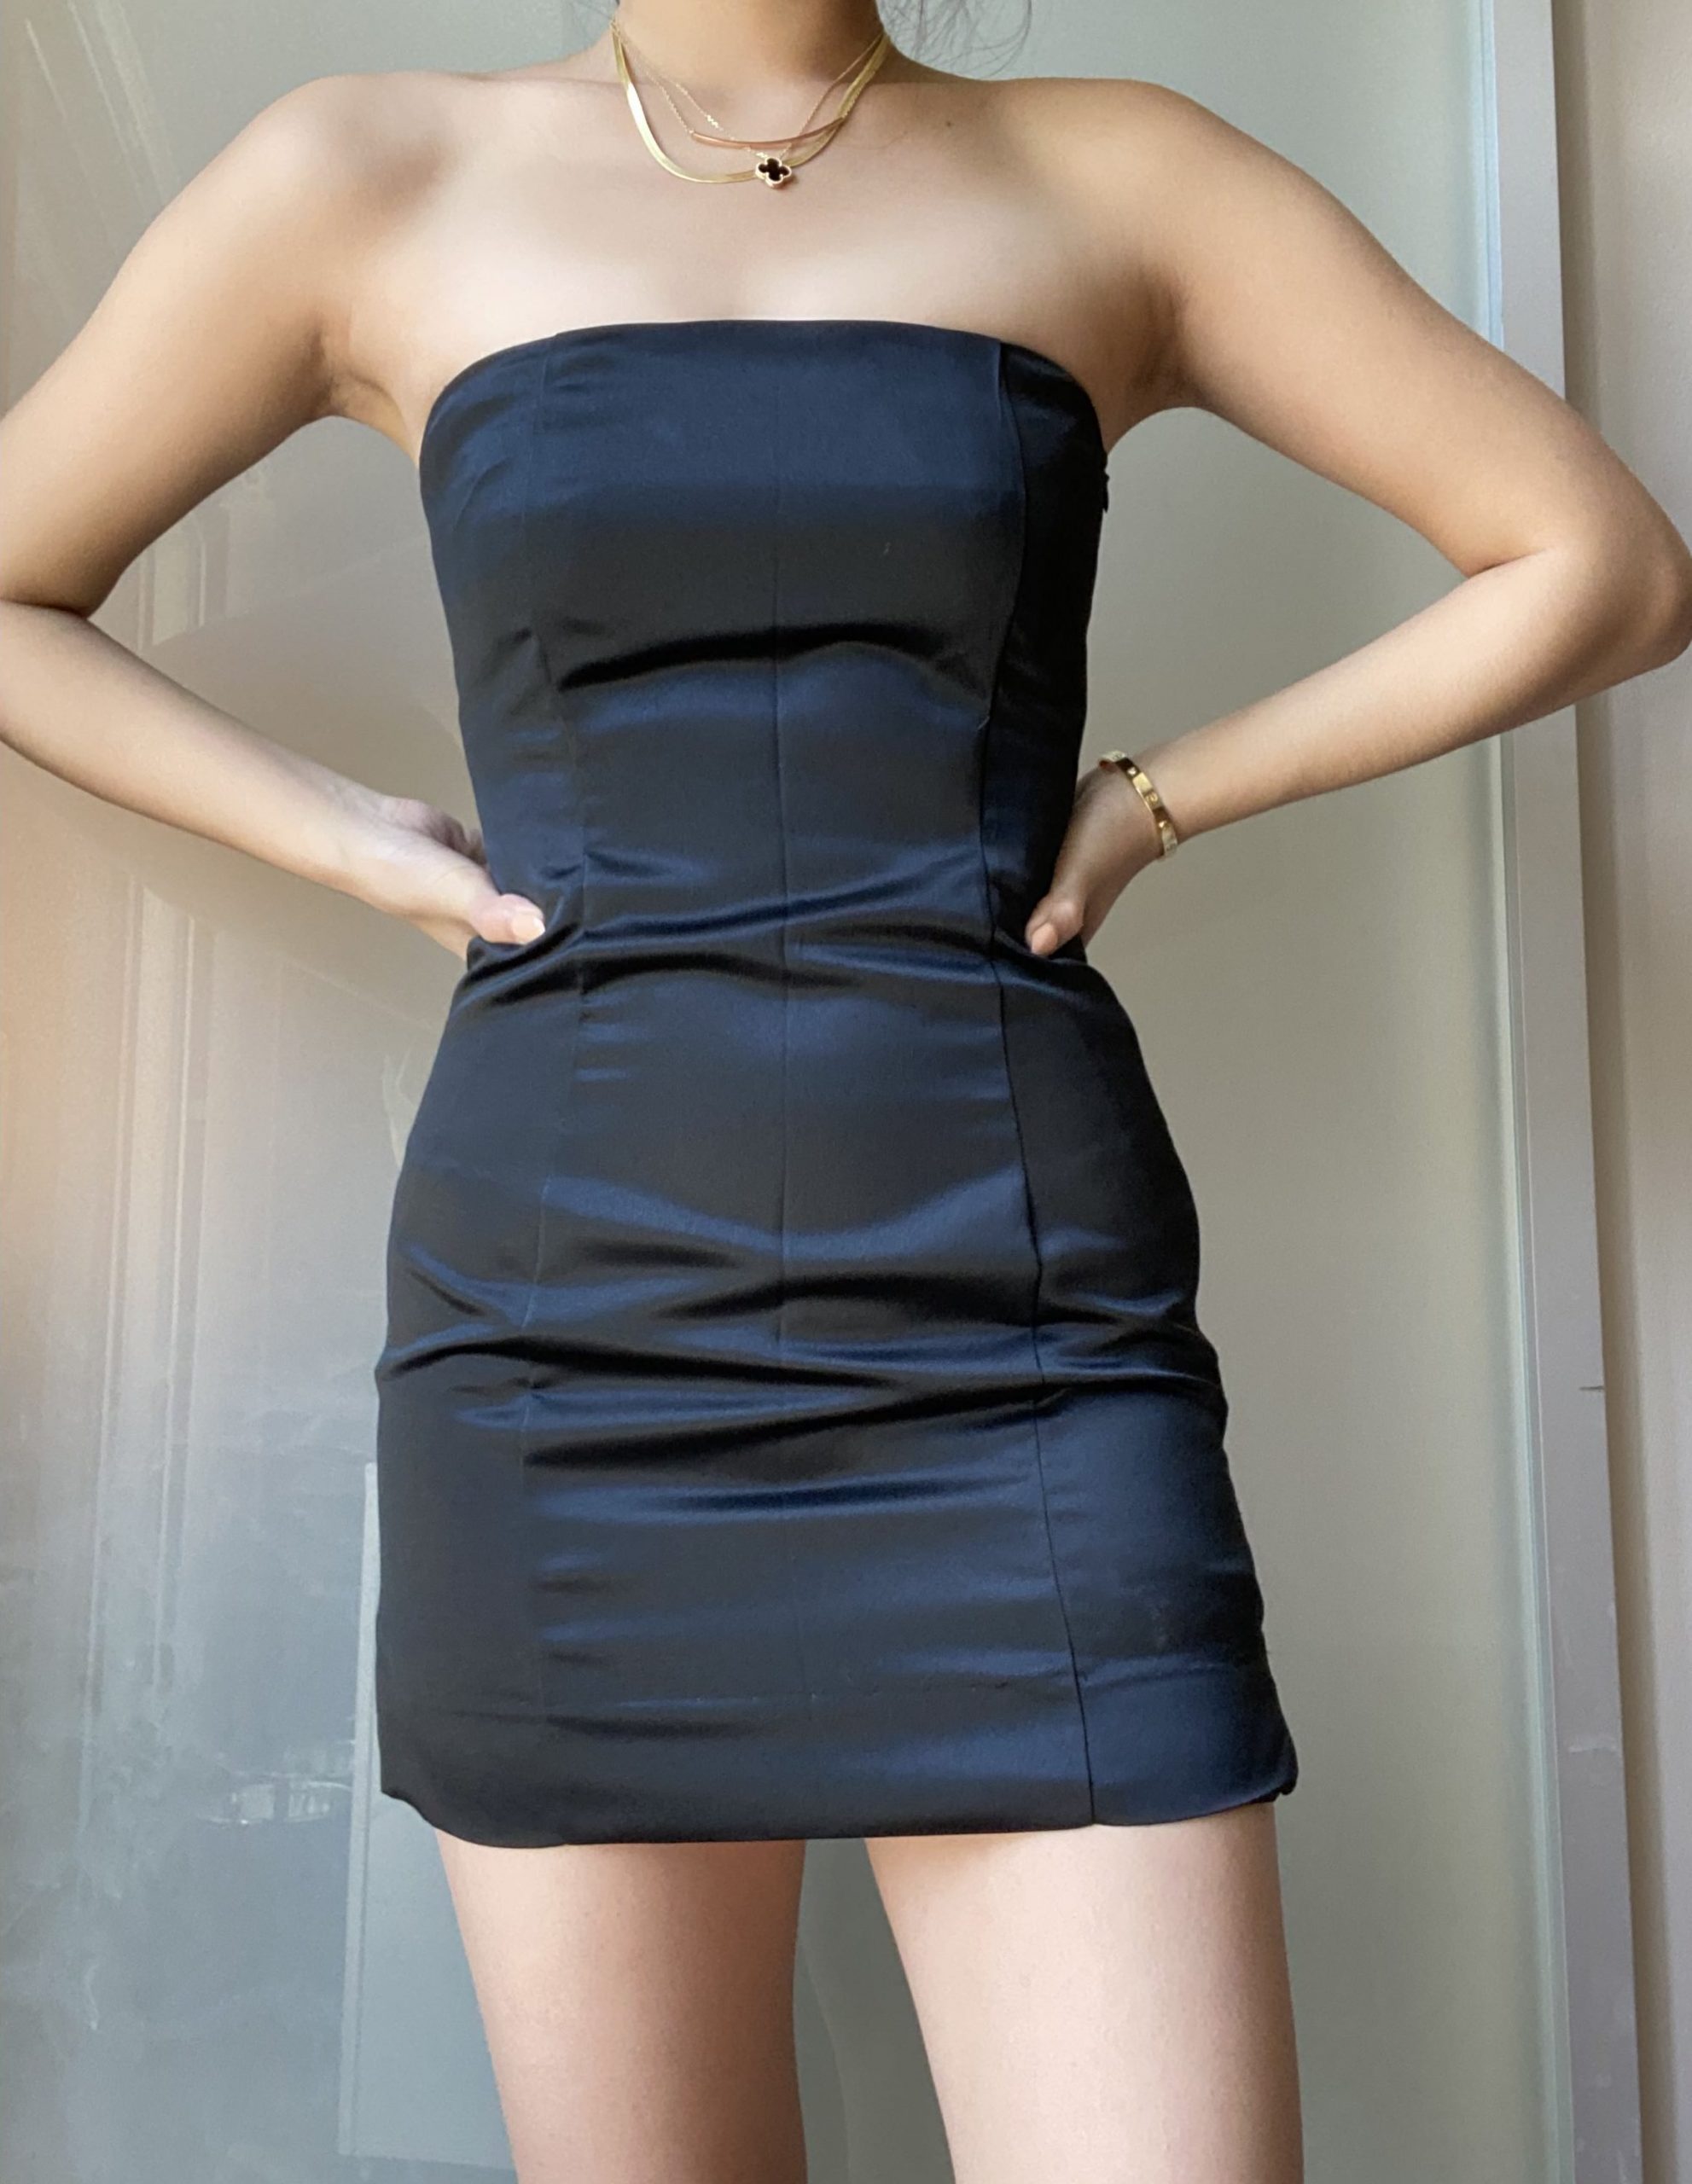
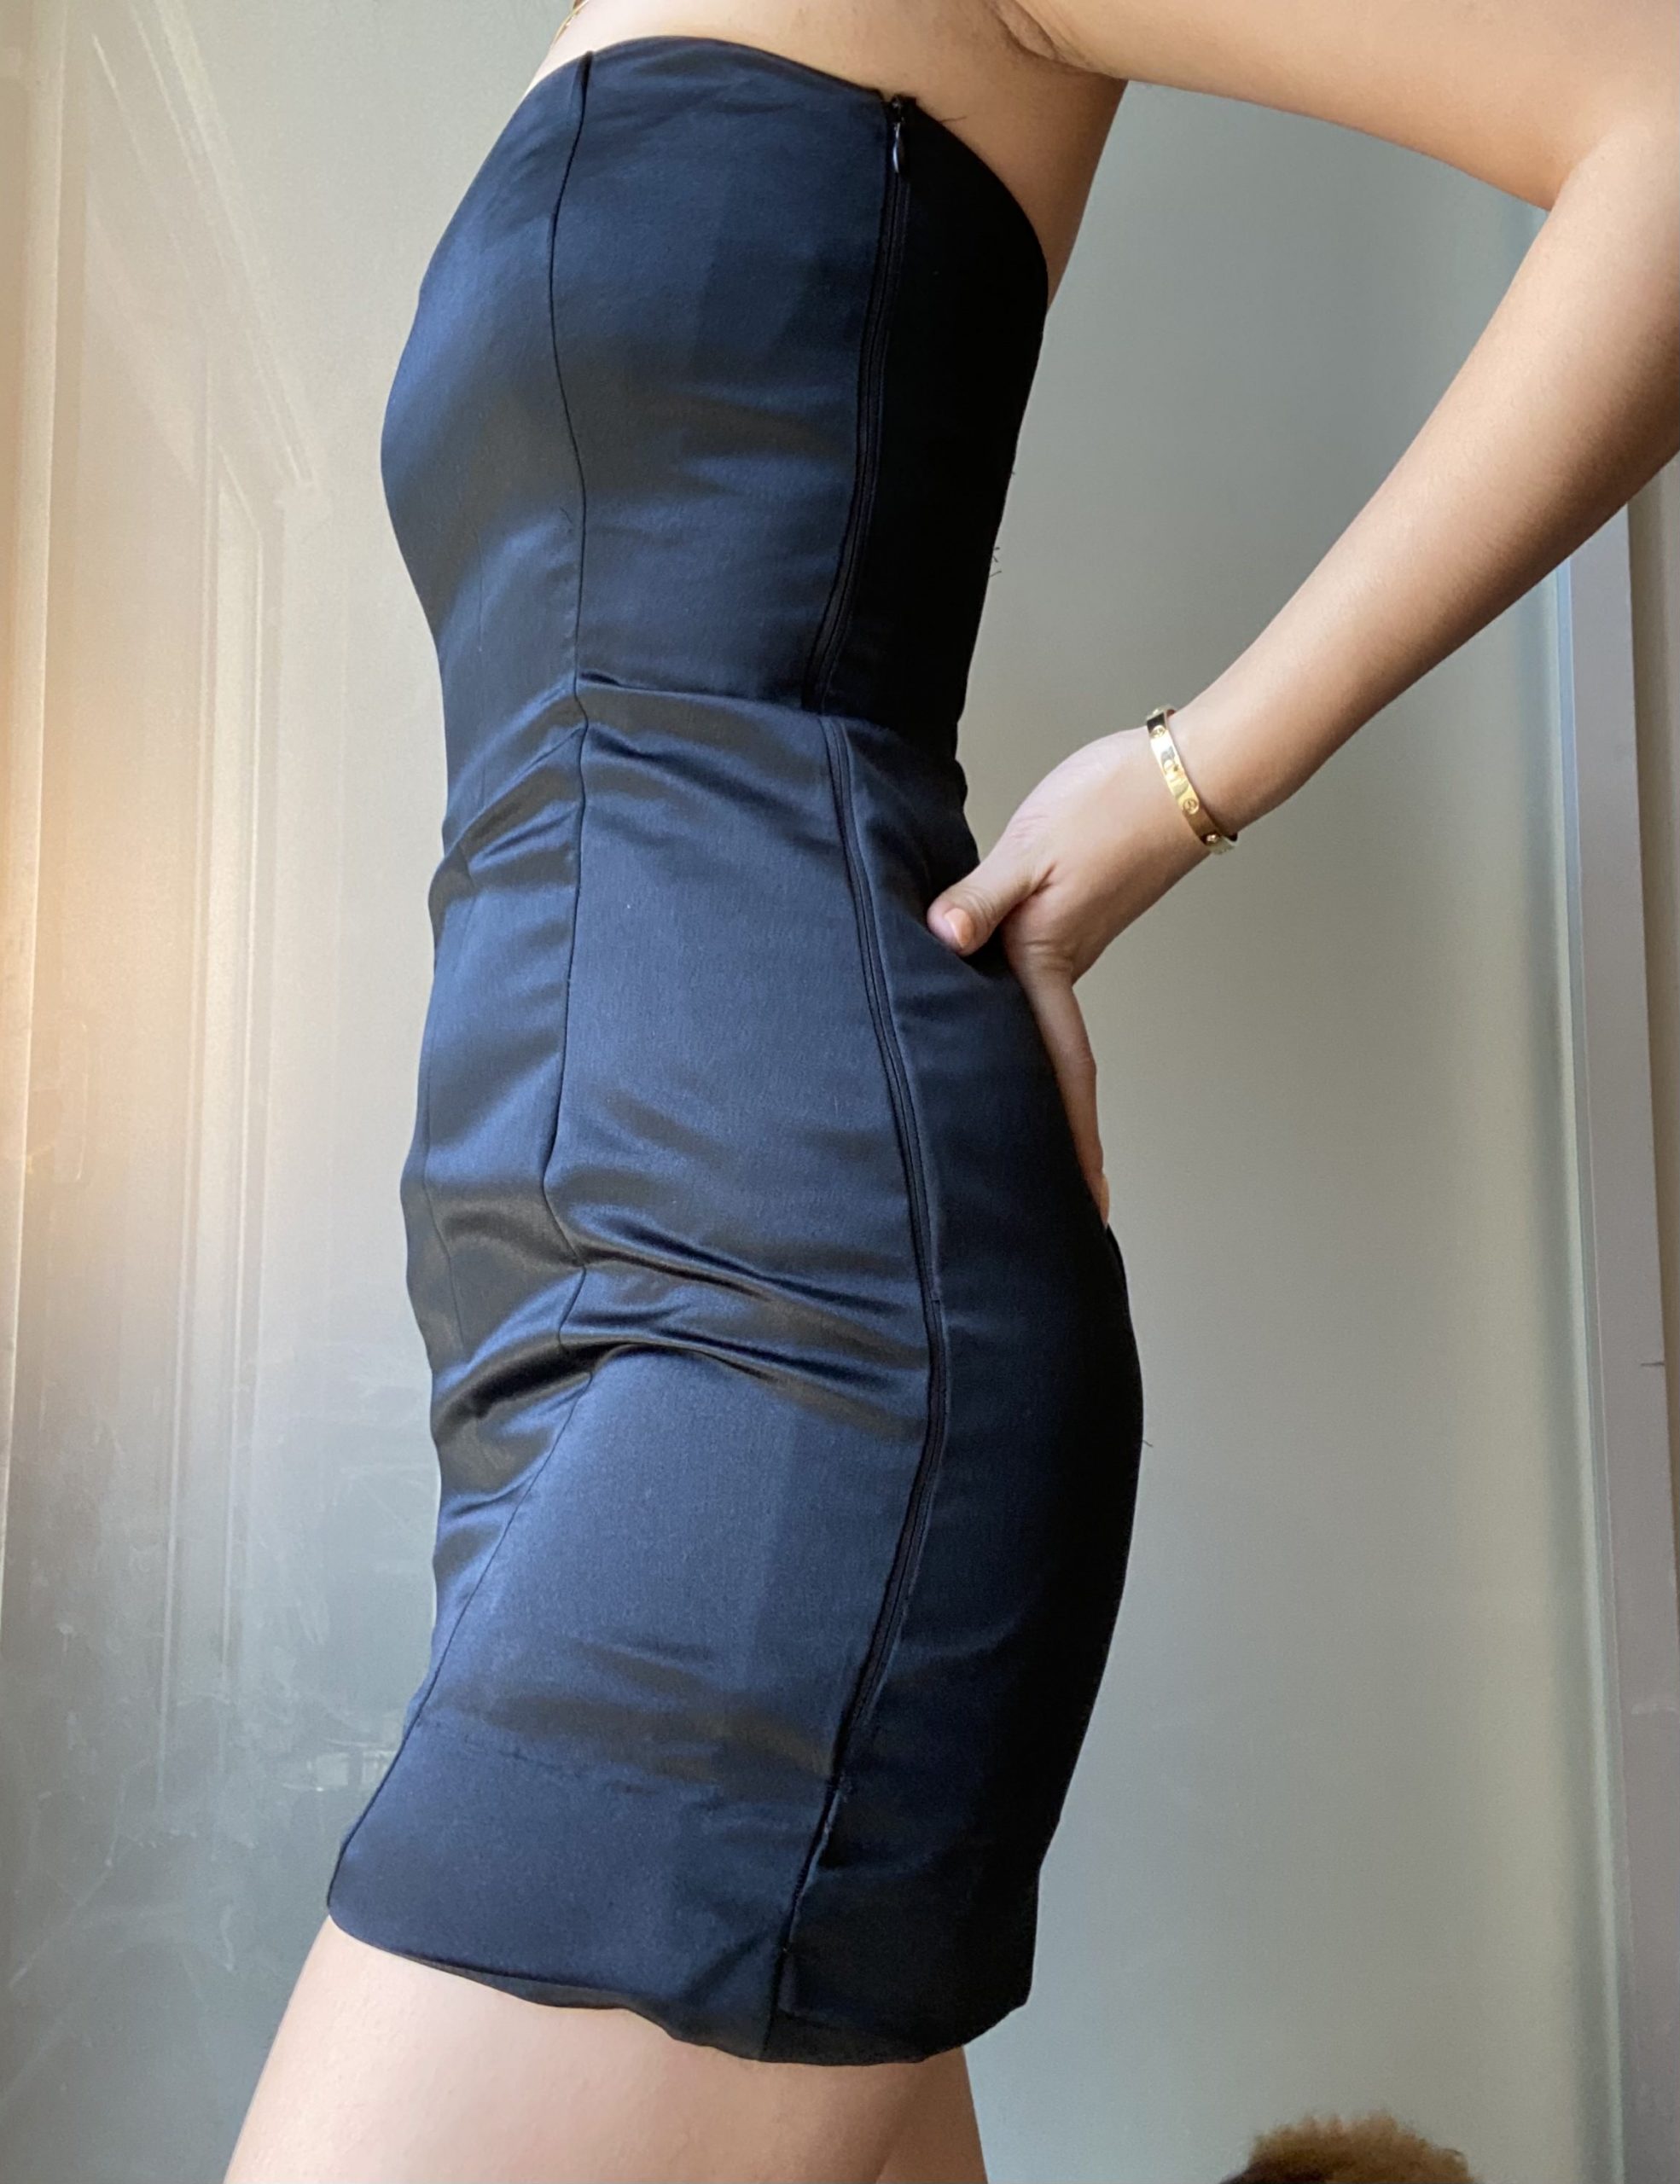
Below are pictures of the qipao I put together.
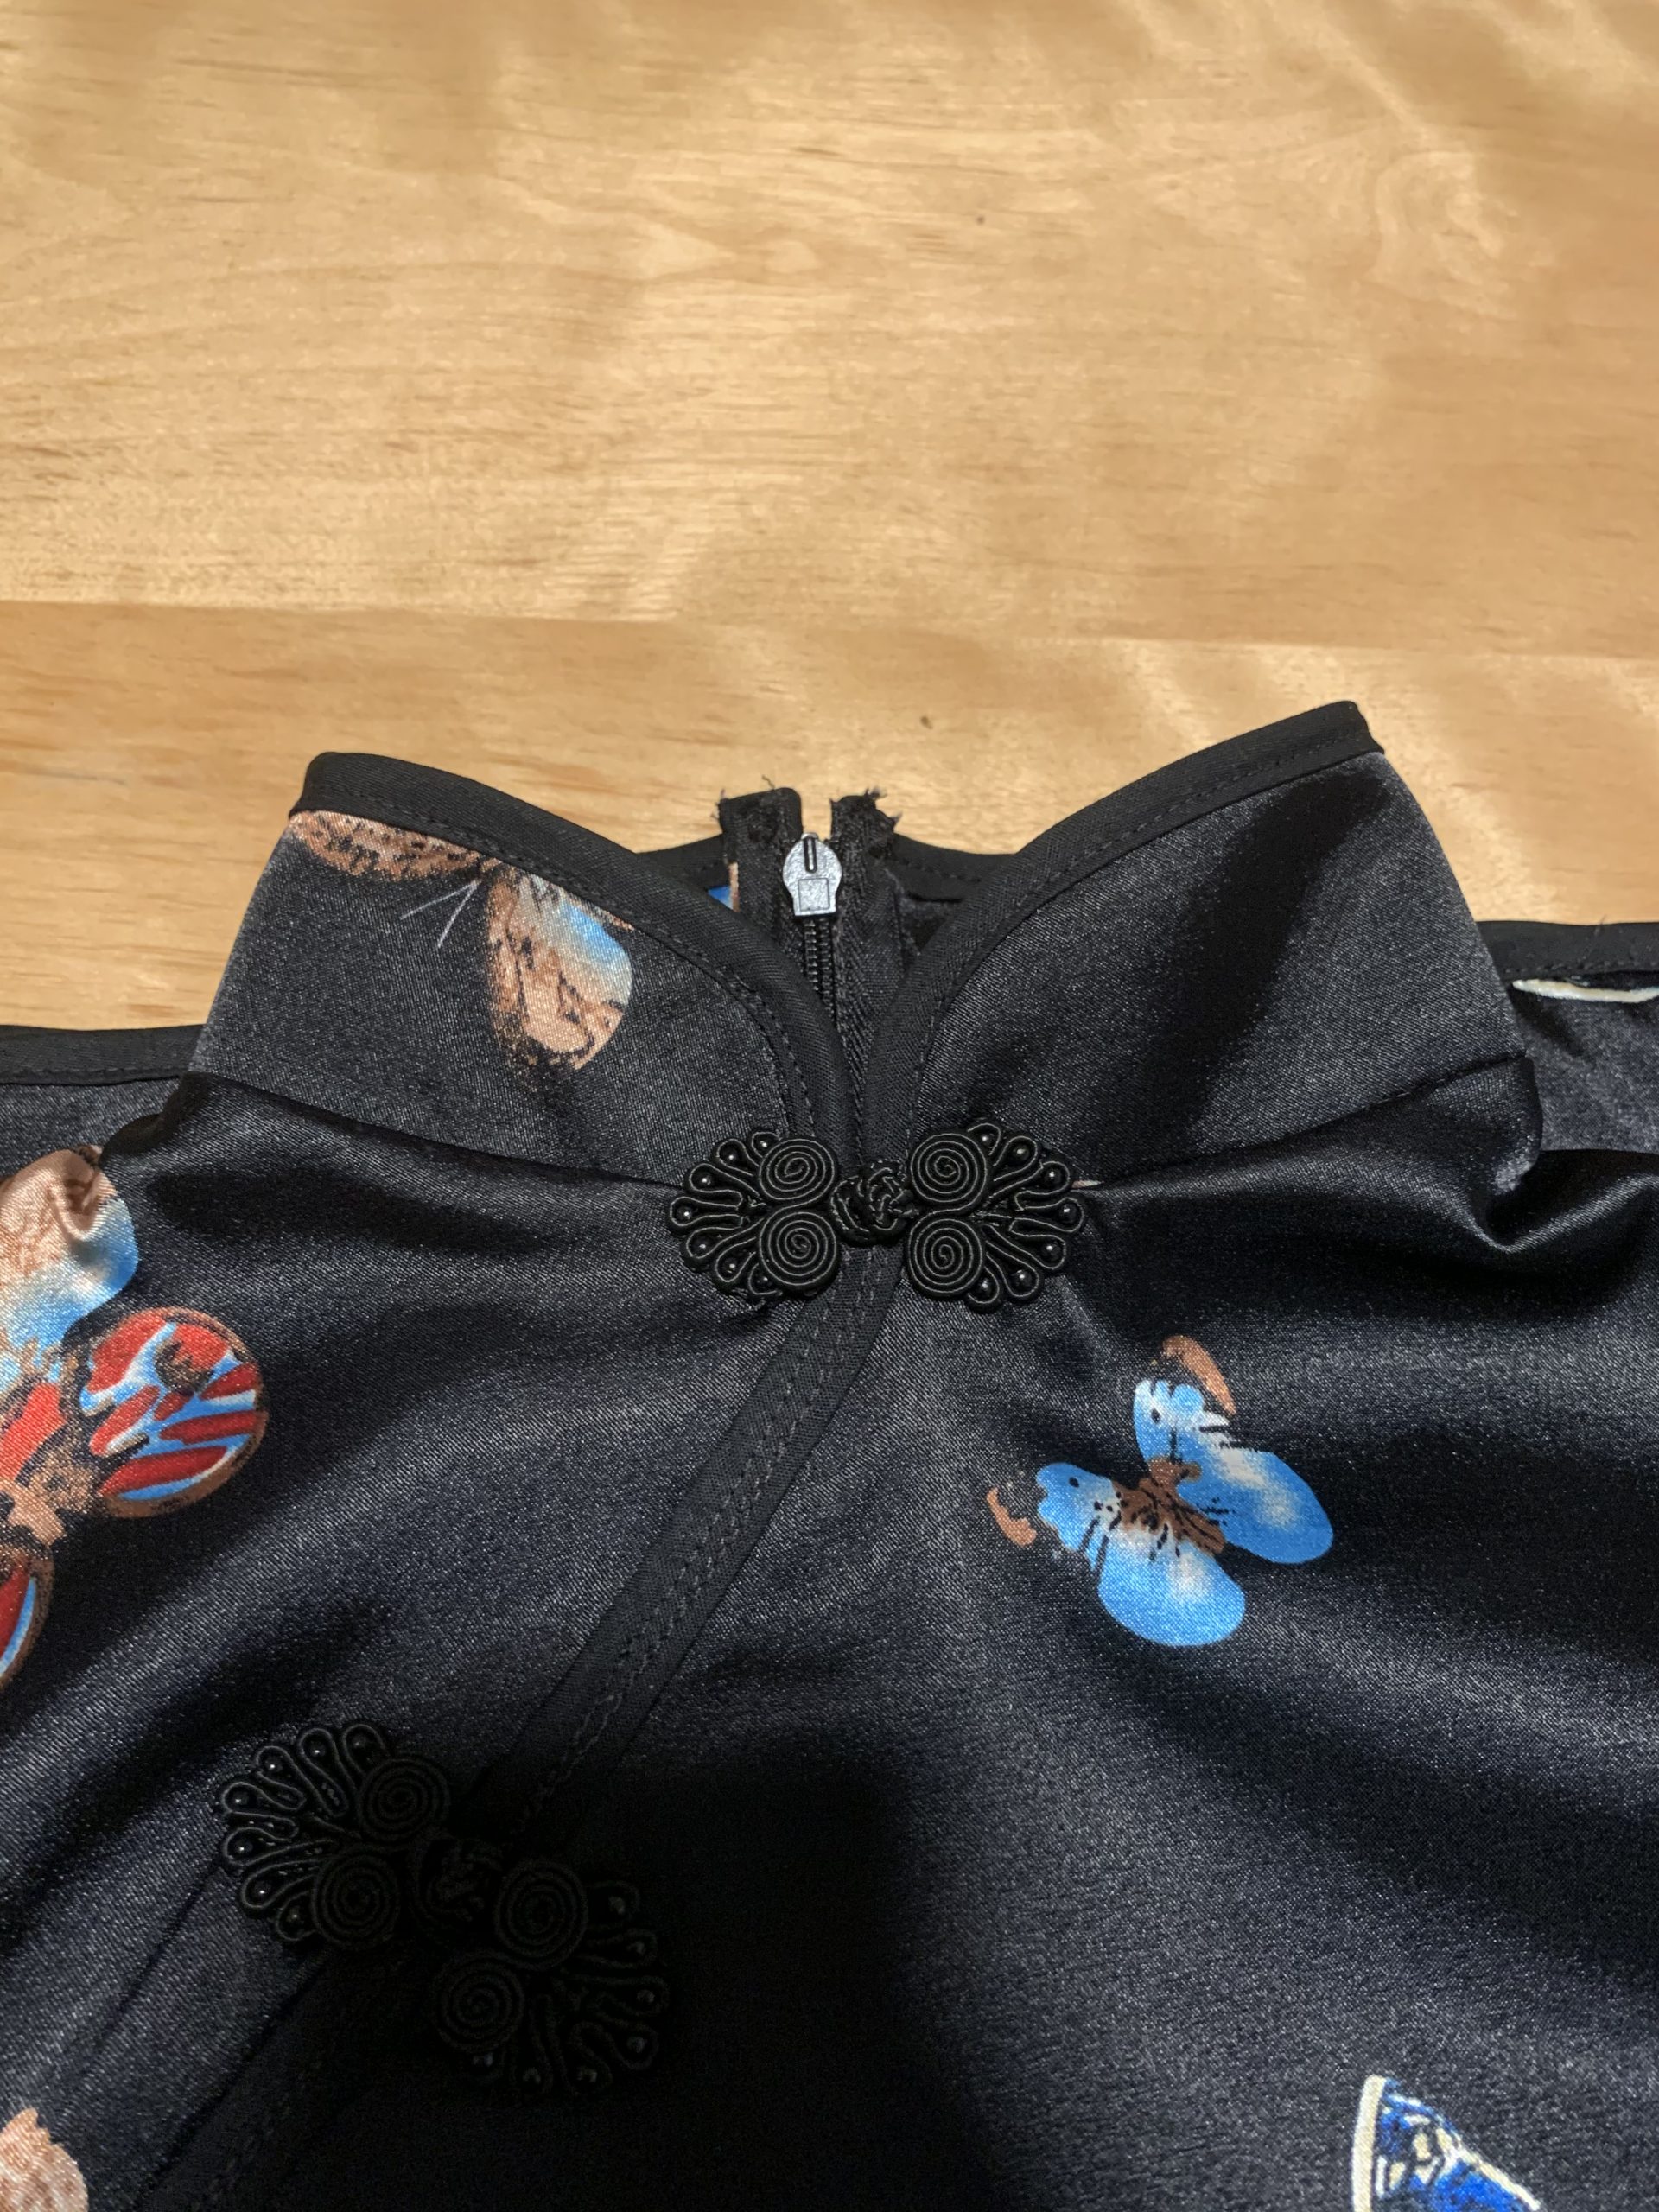
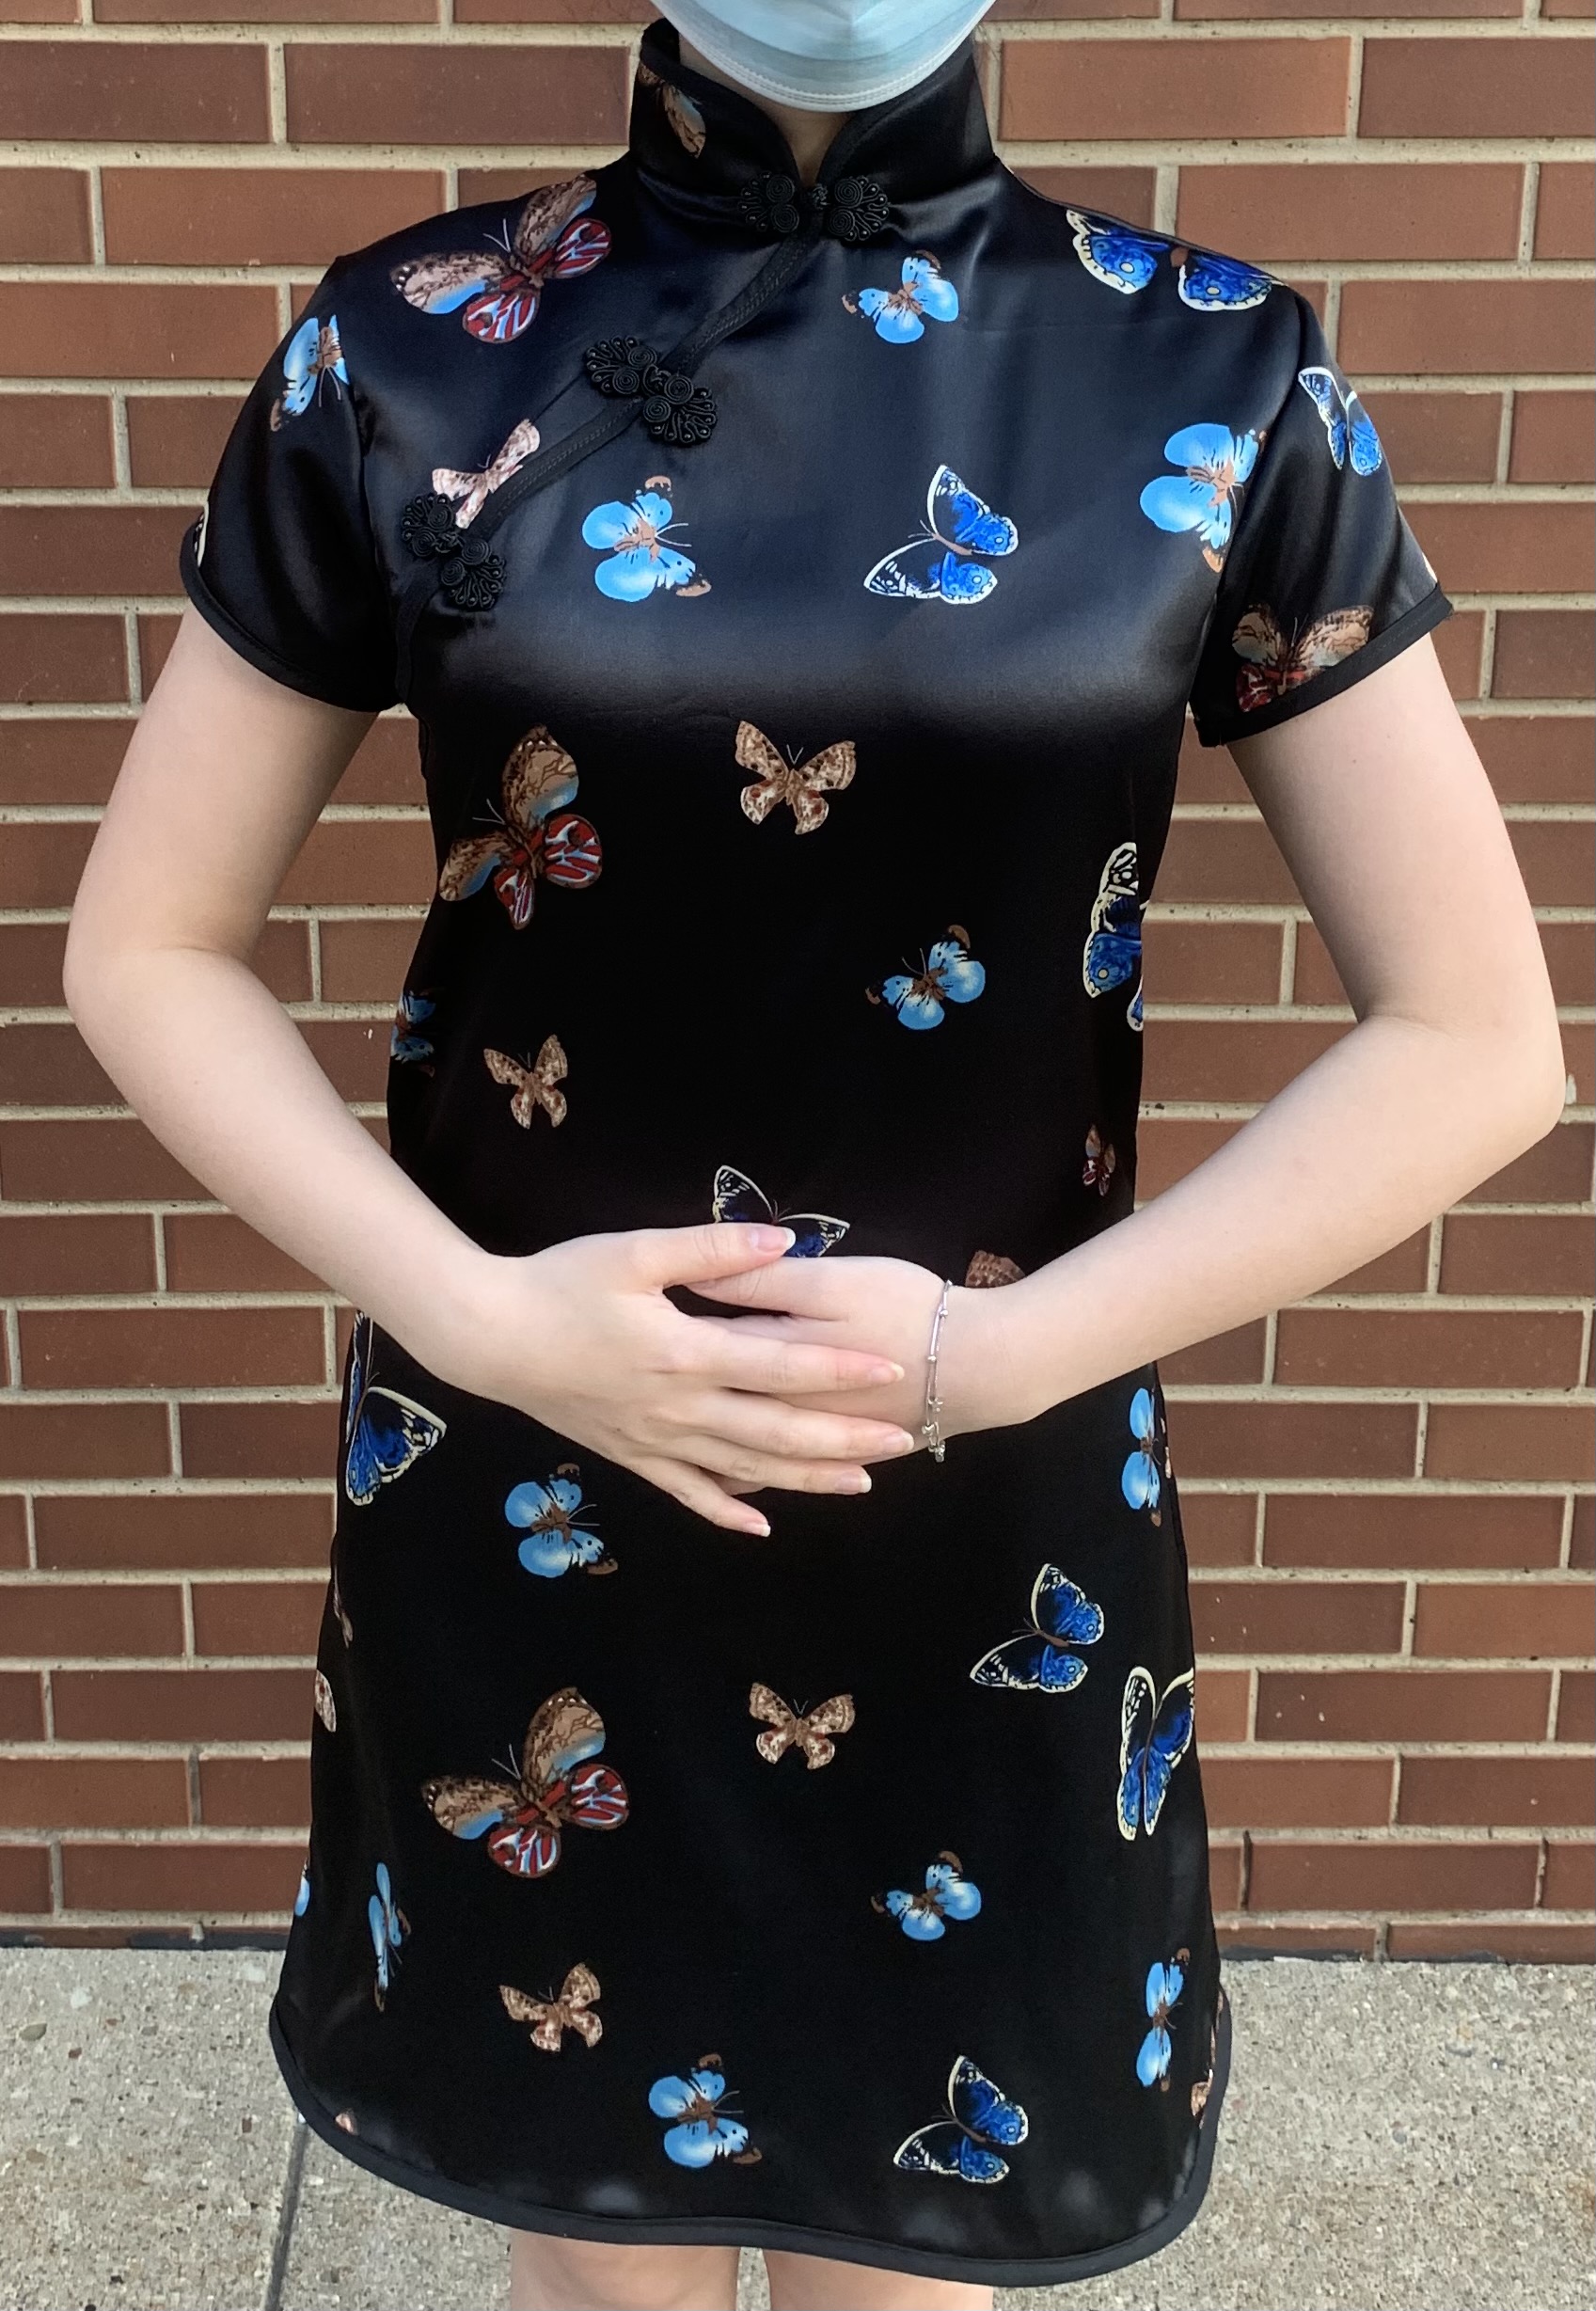


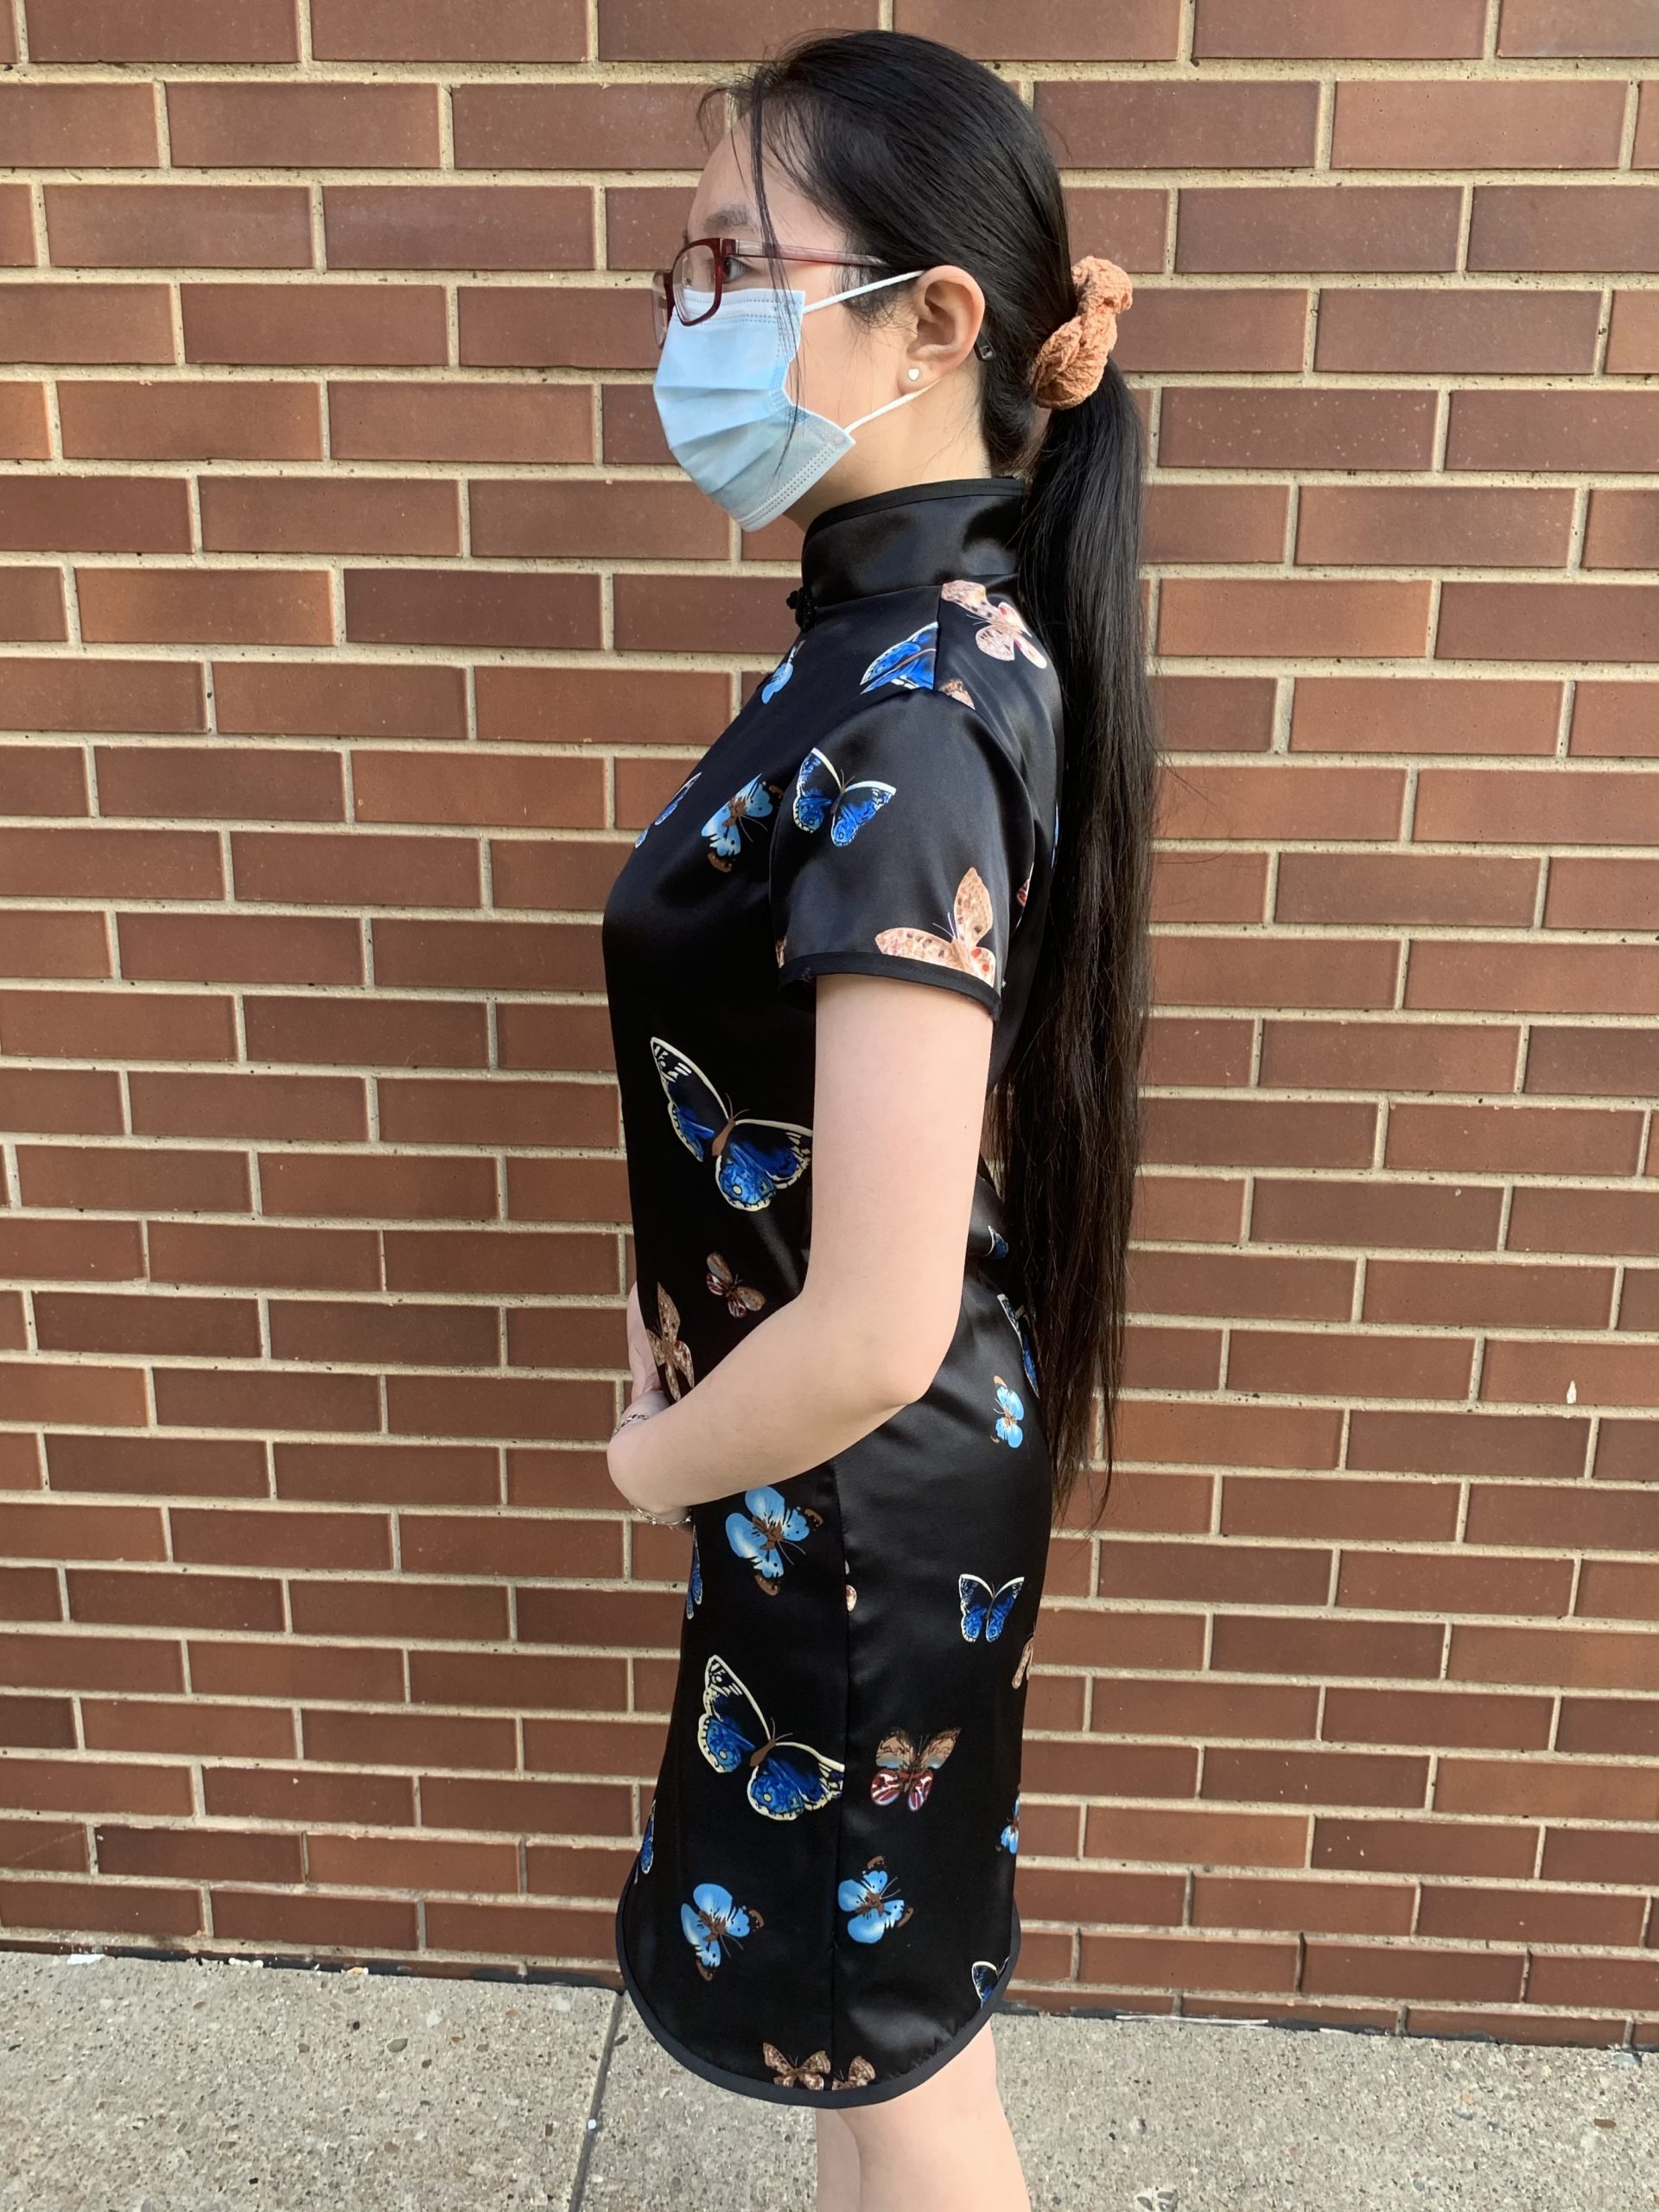
I learned a lot in this project. One of my biggest takeaways is learning how to add a zipper to the collar. I also learned how to put together the pieces to make the qipao (especially the front pieces). I think the collar and the bias tape going downwards on the front was the greatest success. I made the mistake of ironing over the back on the right side to make the fabric look nicer. This is because the fabric is really thin and ironing the zipper left a mark on the right side.
Next project ideas: