Improvisation Inflatables- Elin Zhou

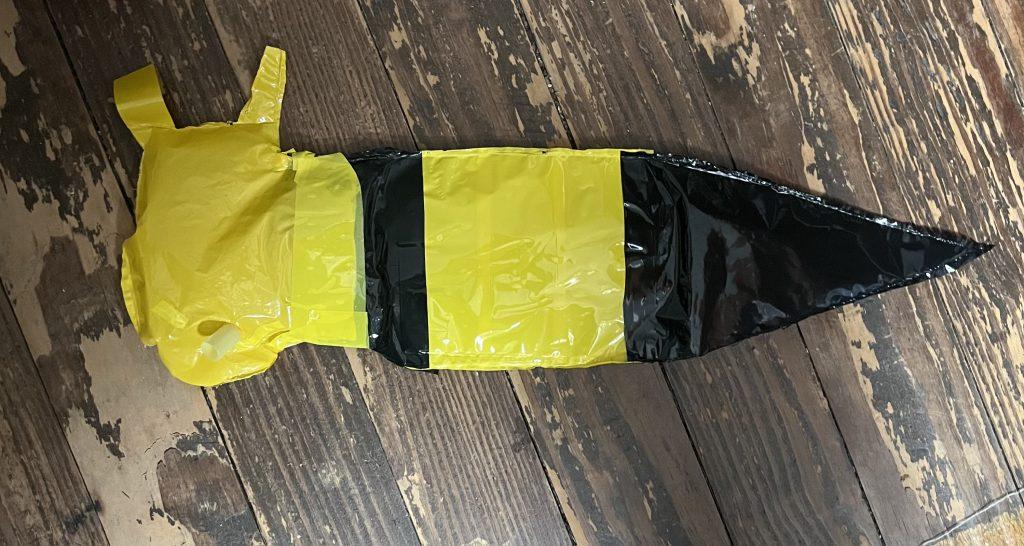
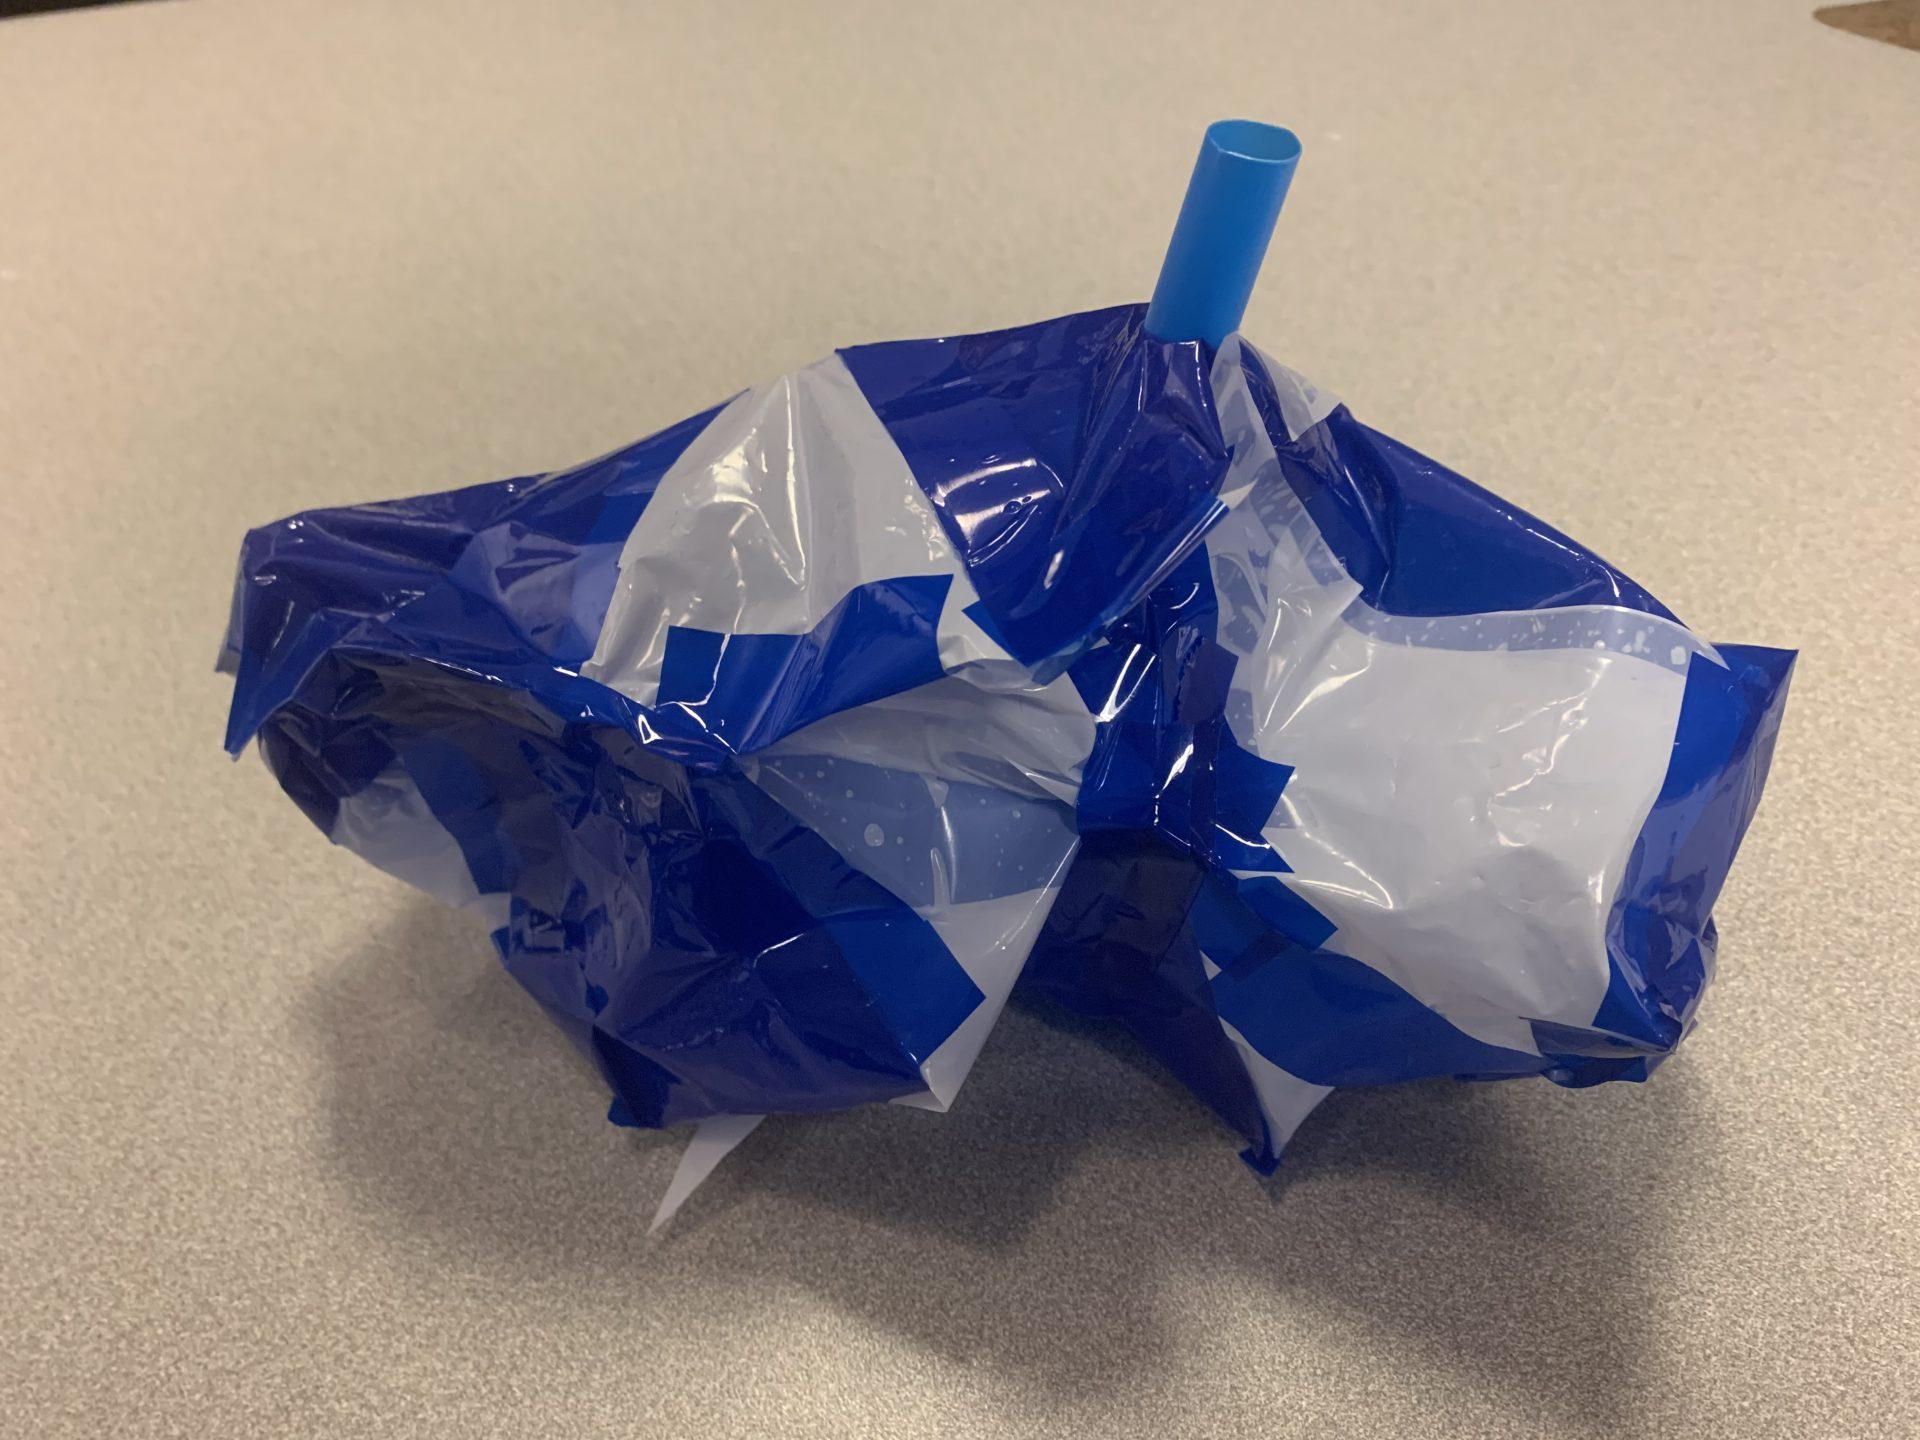
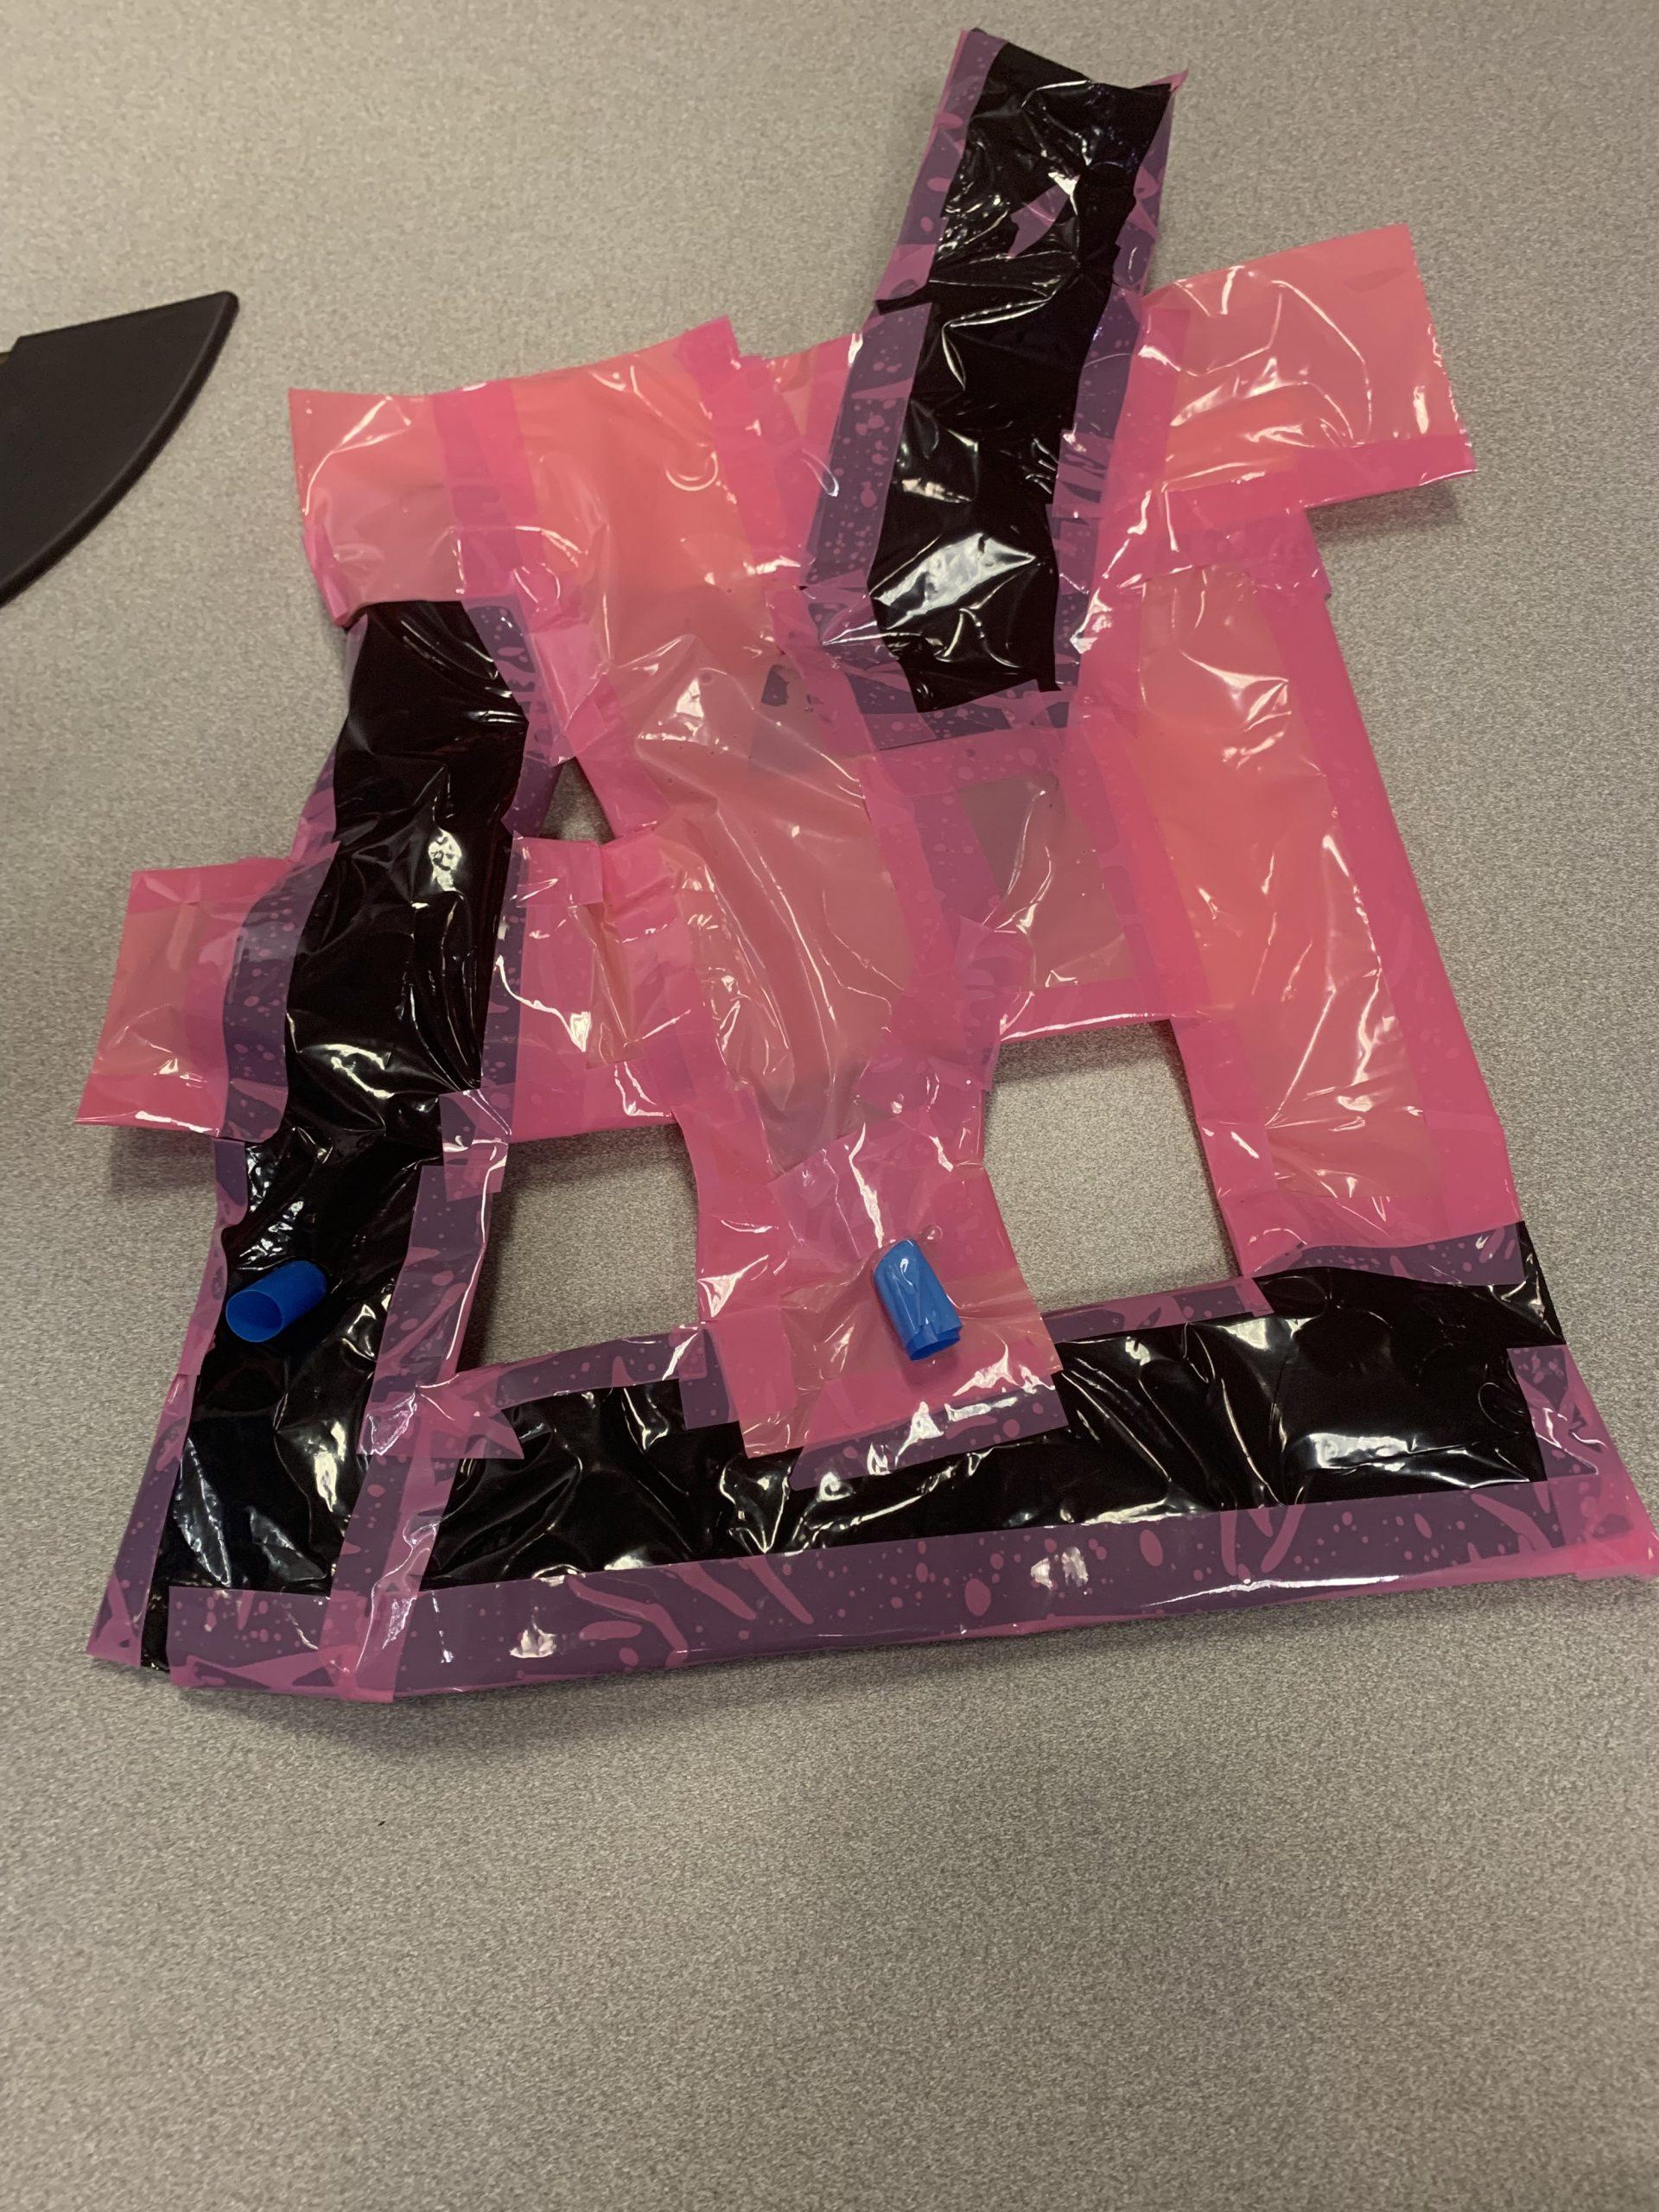
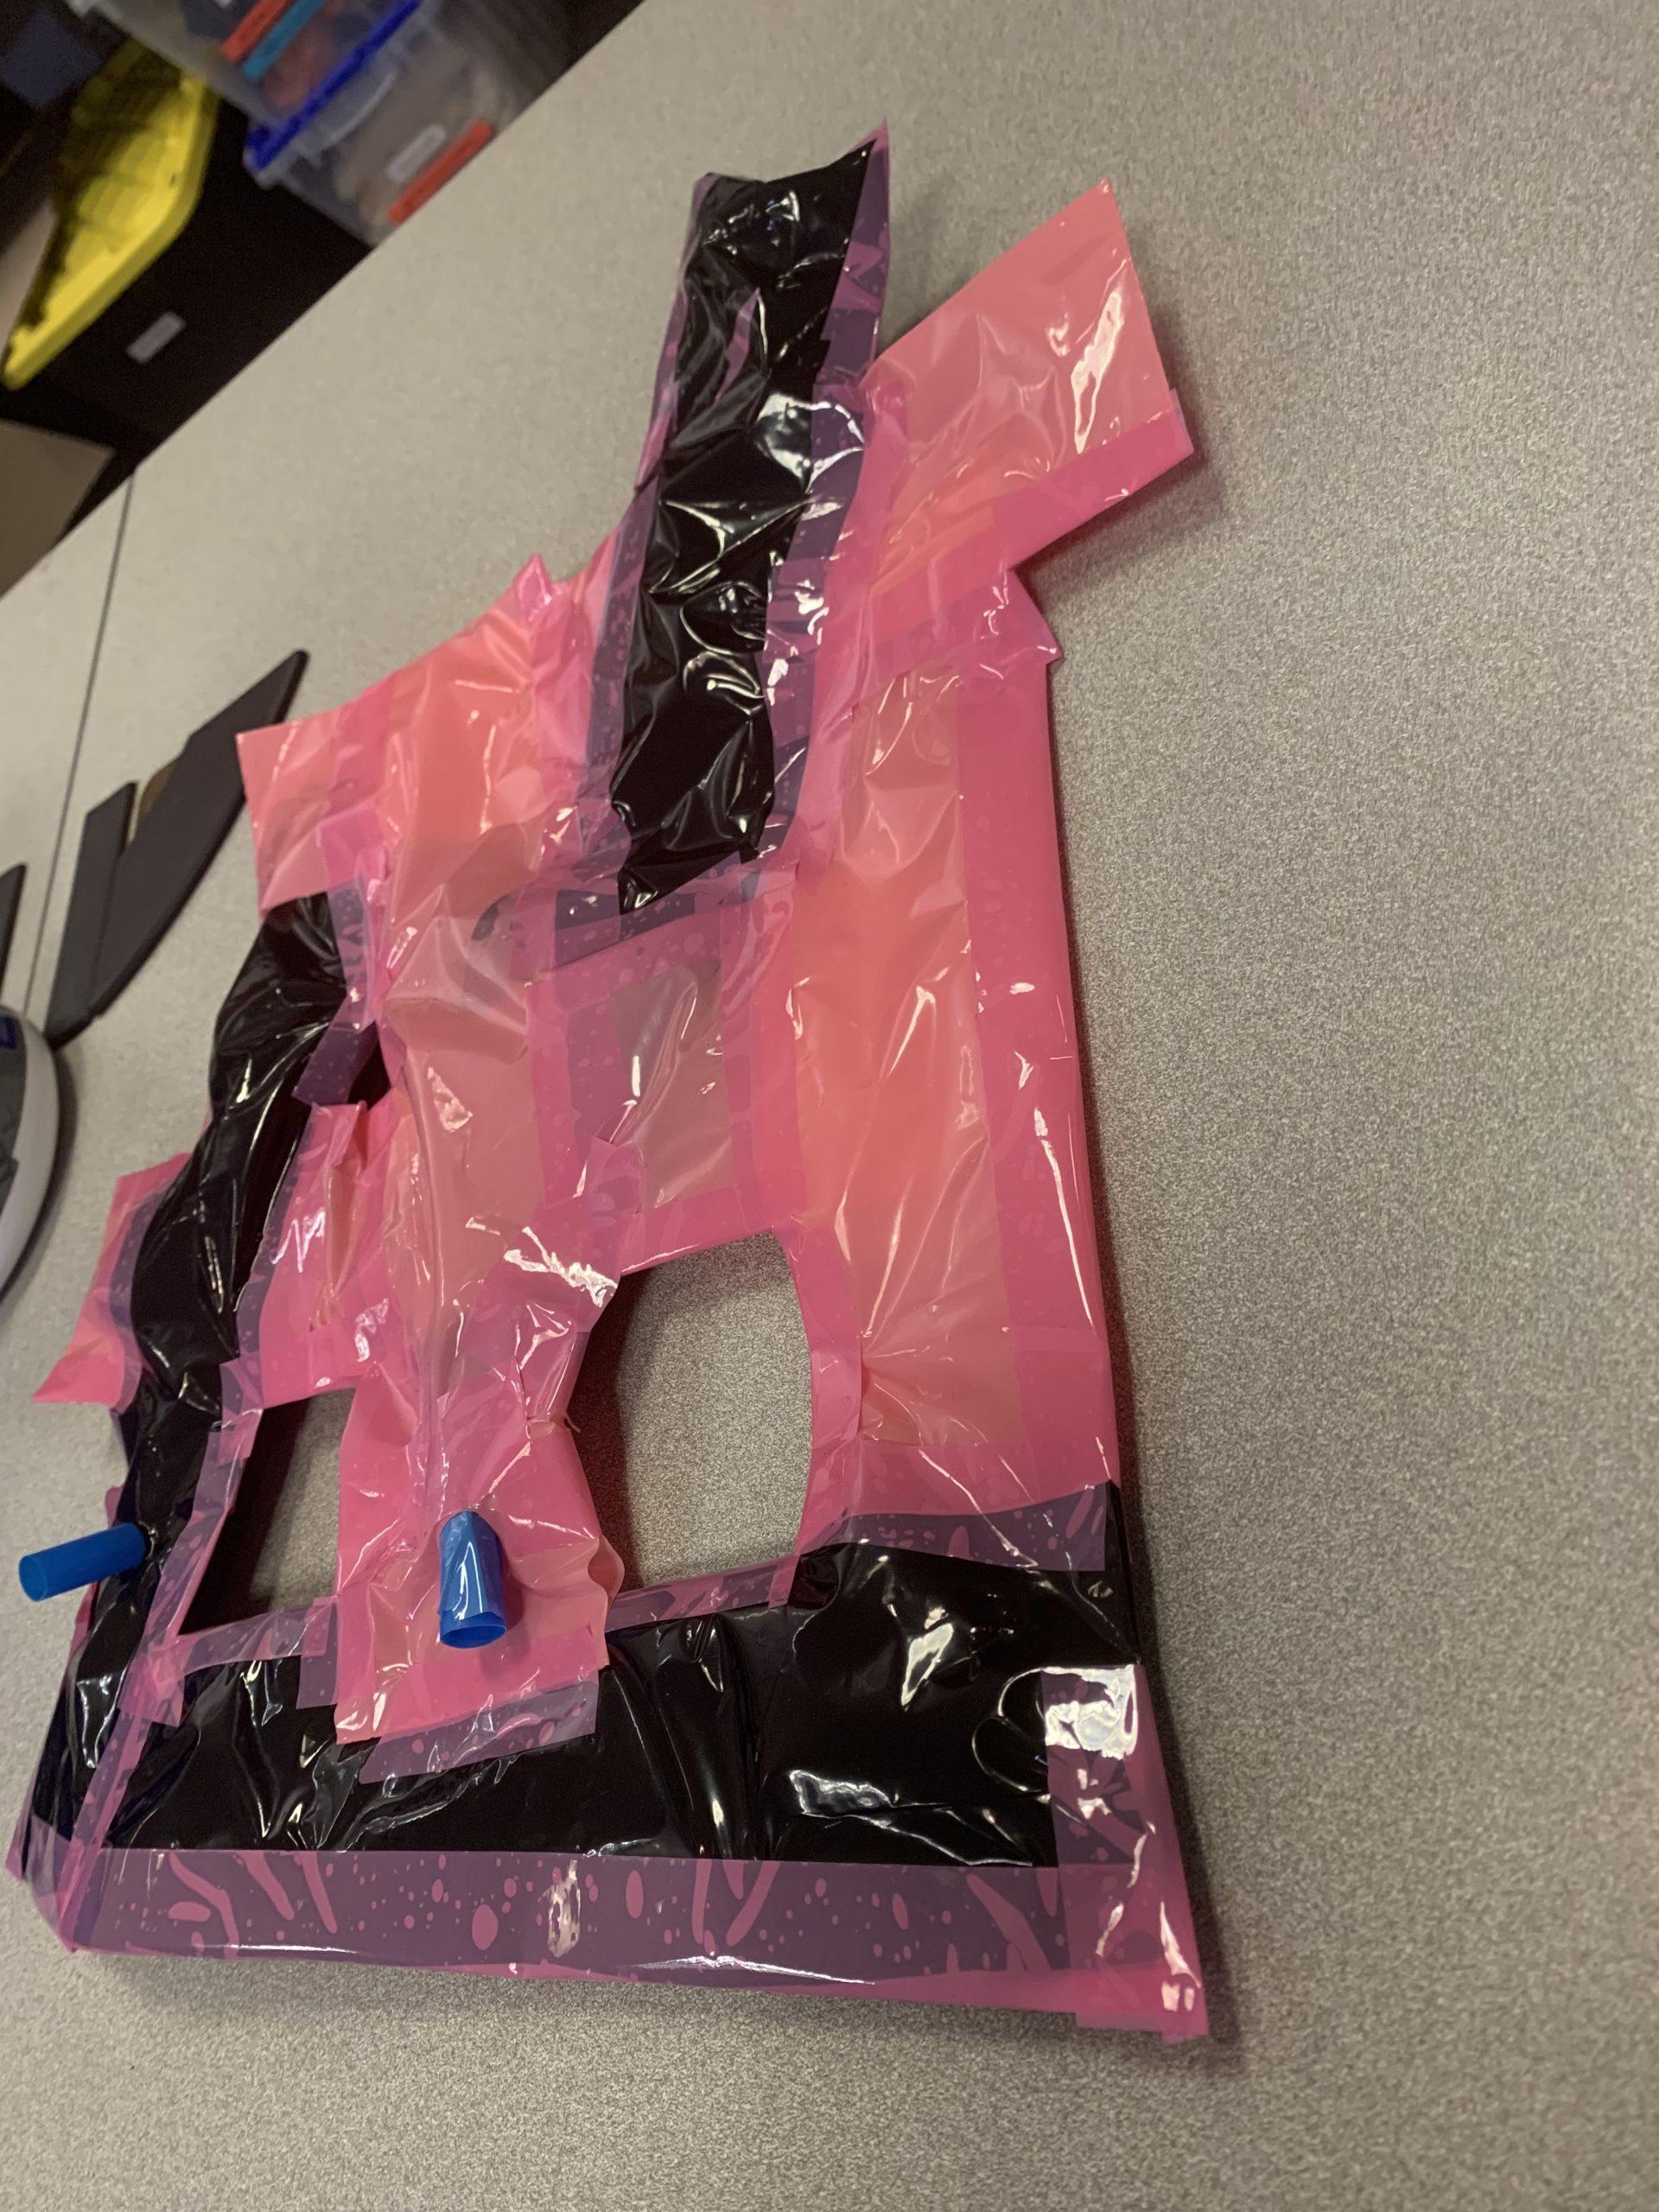
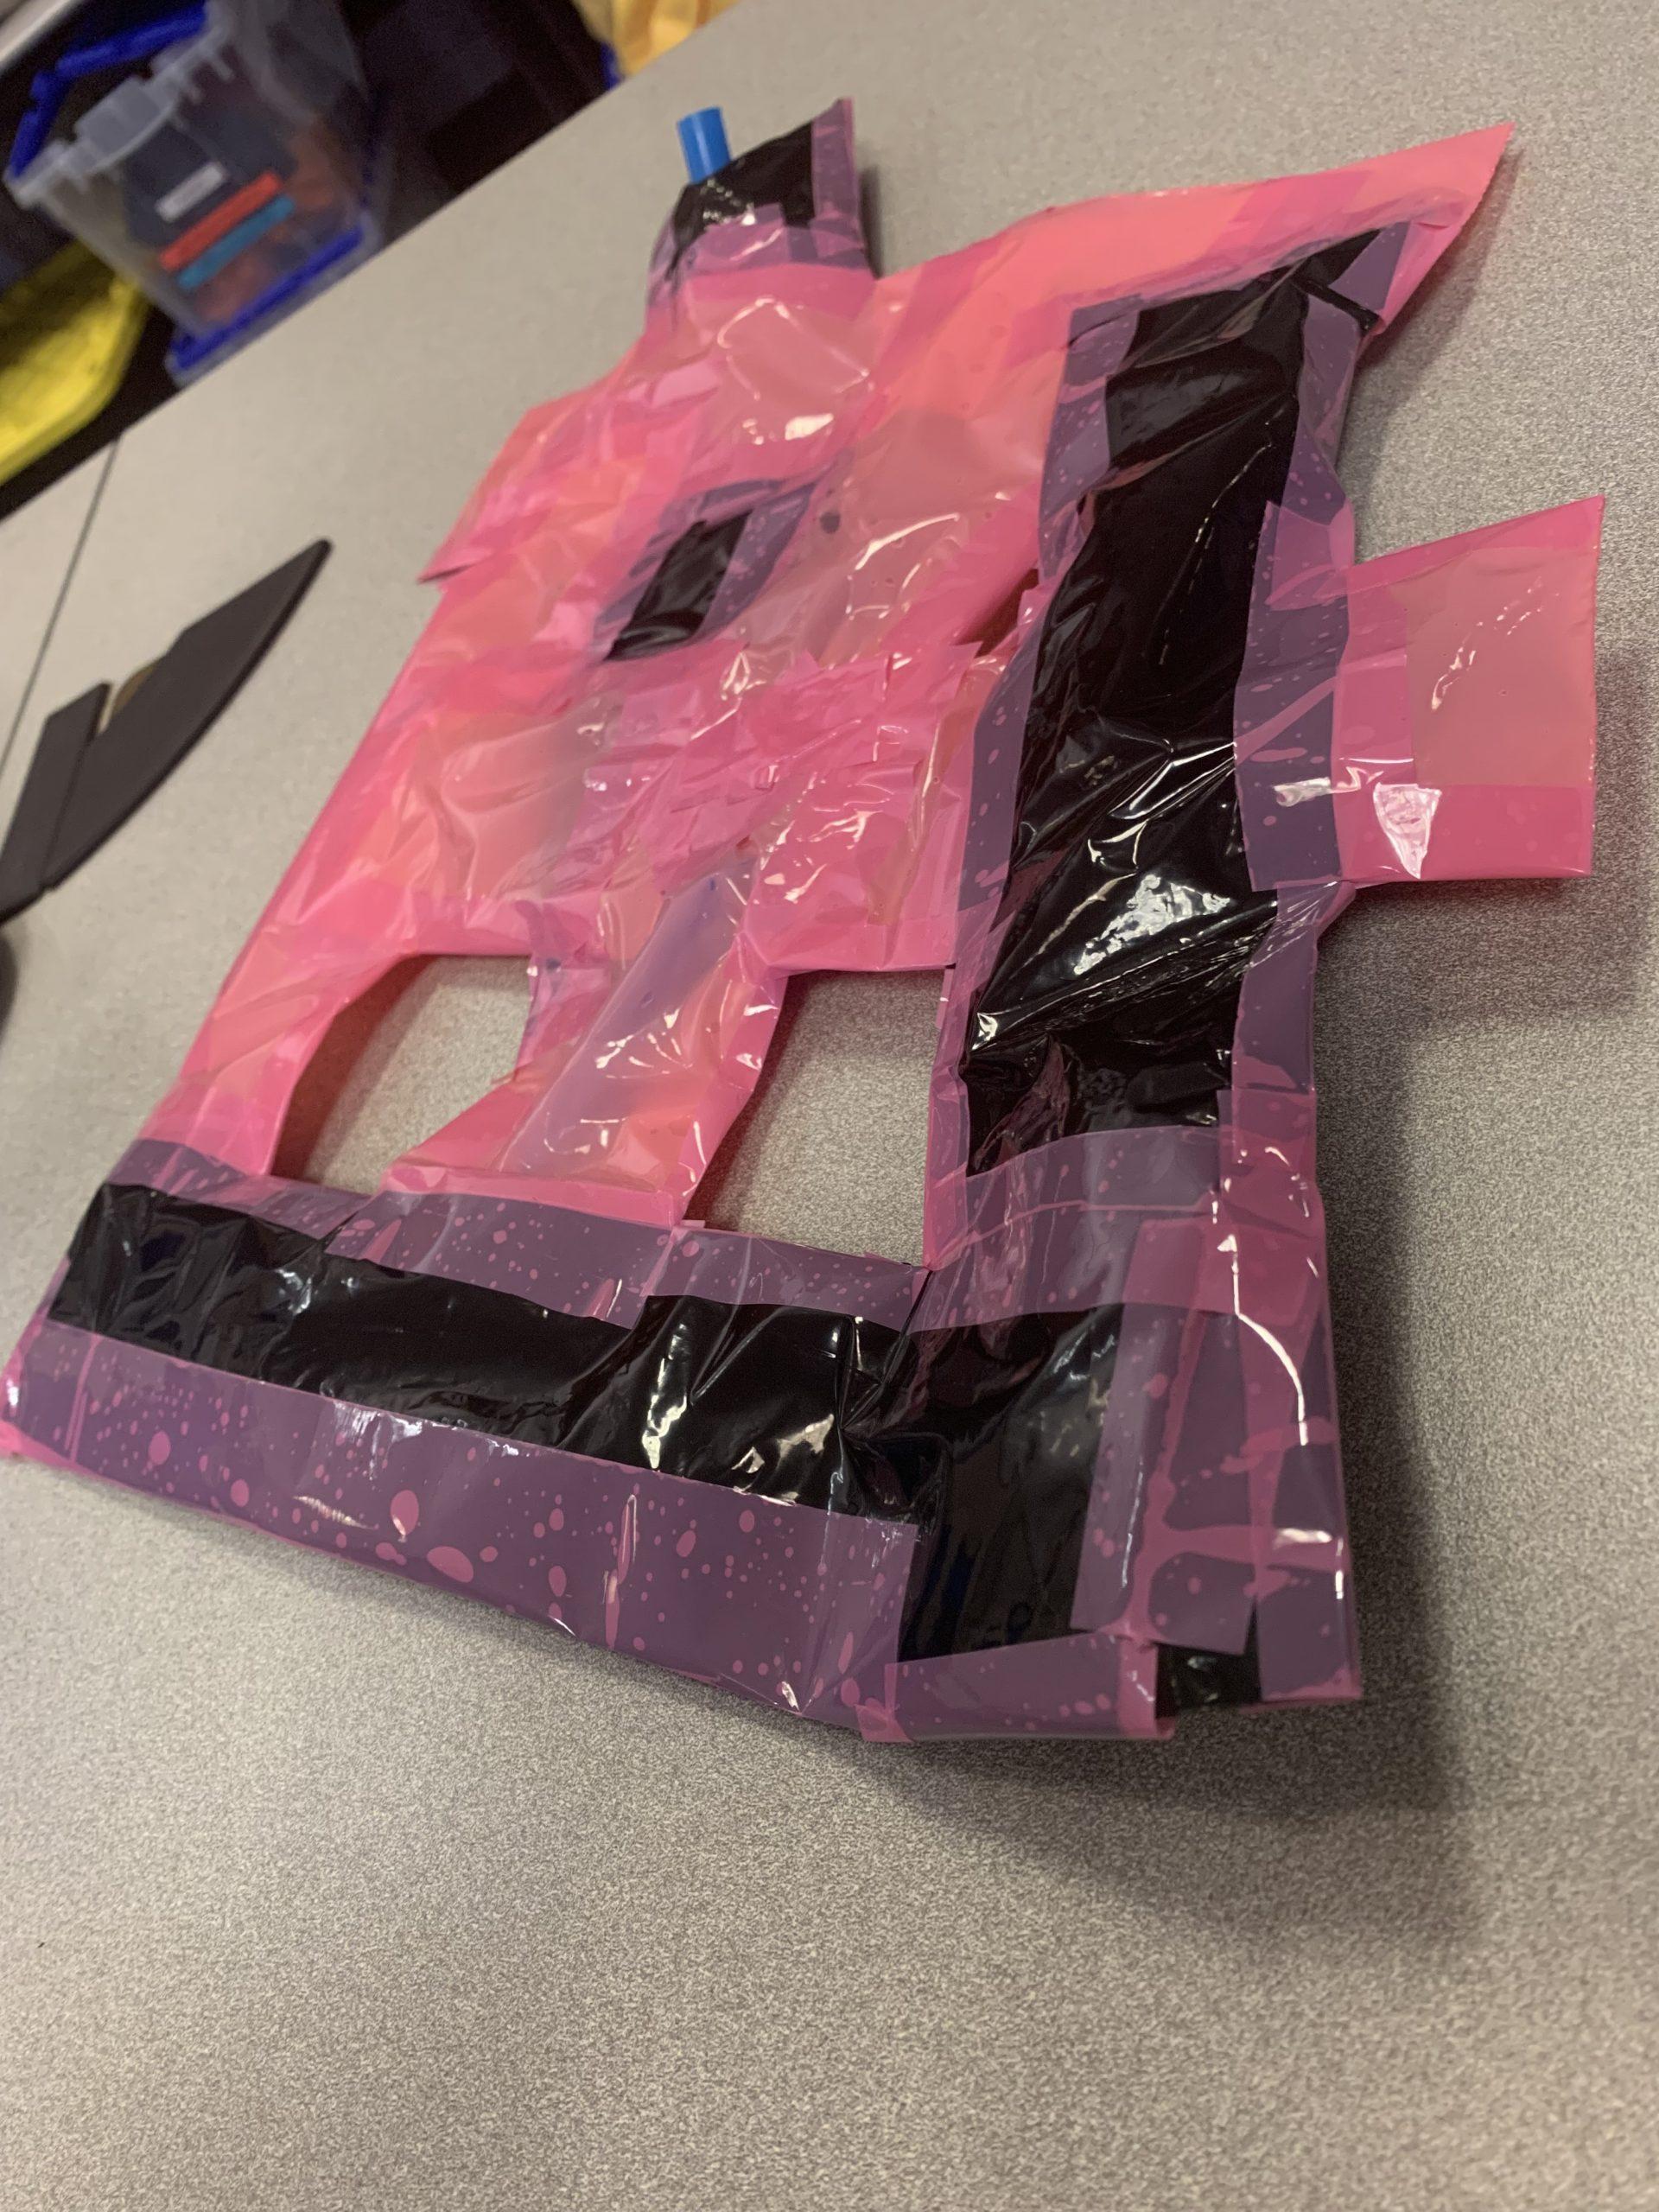
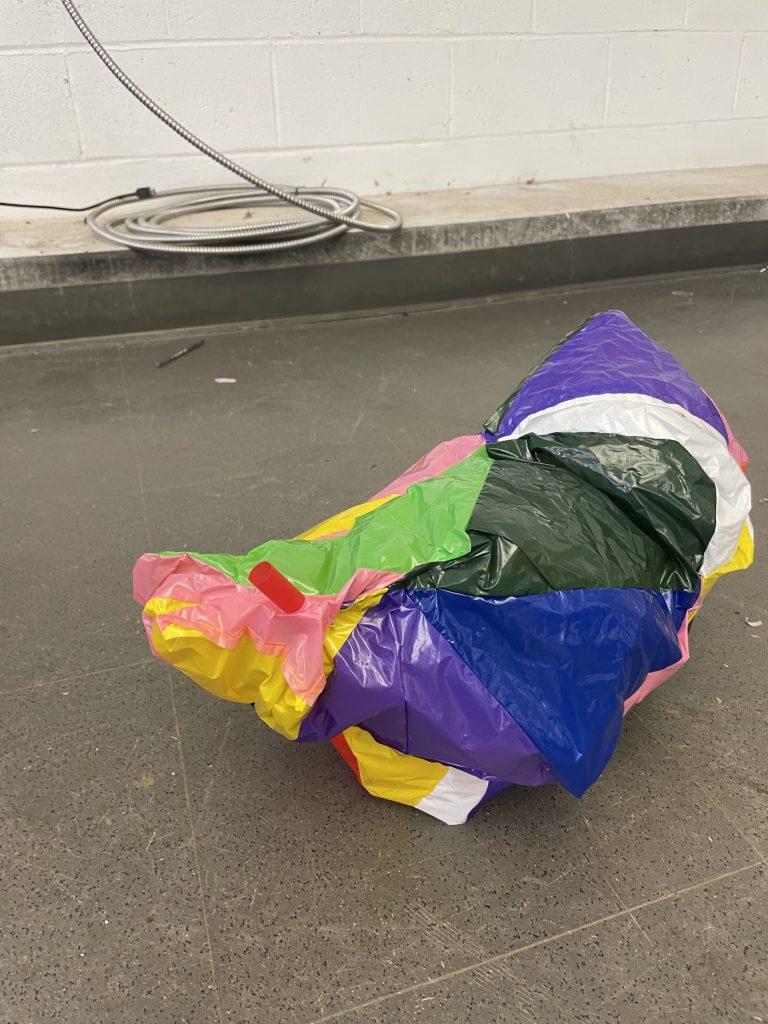
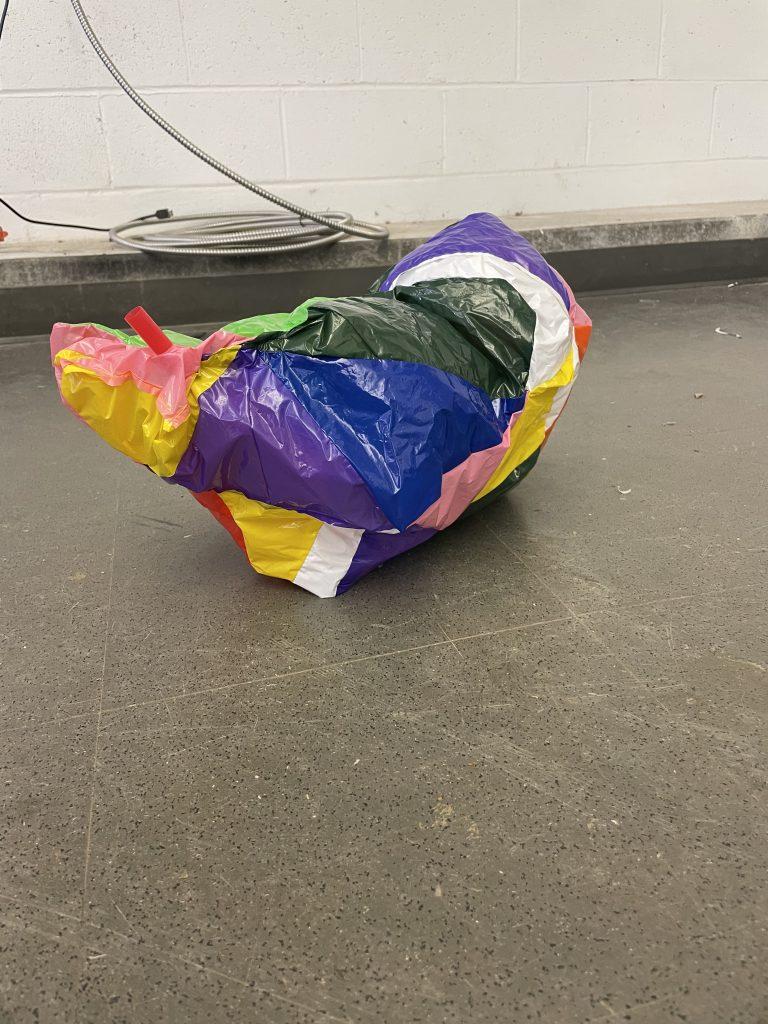
For our first assignment, I started off with exploring different methods of attaching the pieces of plastic together. In my first inflatable, I used scraps of plastic from previously cut bags and pieced them together. I did not have a plan going into this first attempt and mostly just trimmed existing scraps so that their edges fit together. My resulting inflatable reflected this freeform approach; it did not really have a structured shape and had a patchwork pattern.

I used the heat gun, double sided tape, and colored tape. The double sided tape afforded me more flexibility in piecing together smaller scraps, but I realized that I often inadvertently created holes where the plastic was curved. For me, the heat gun was the most reliable in creating closed seams.

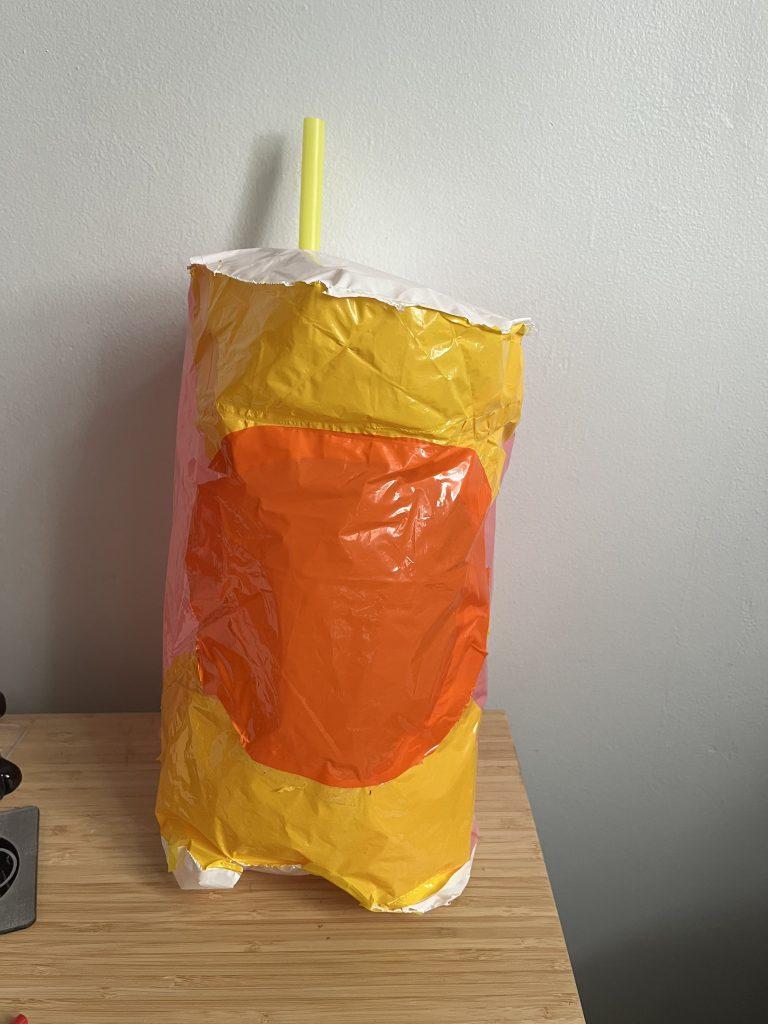
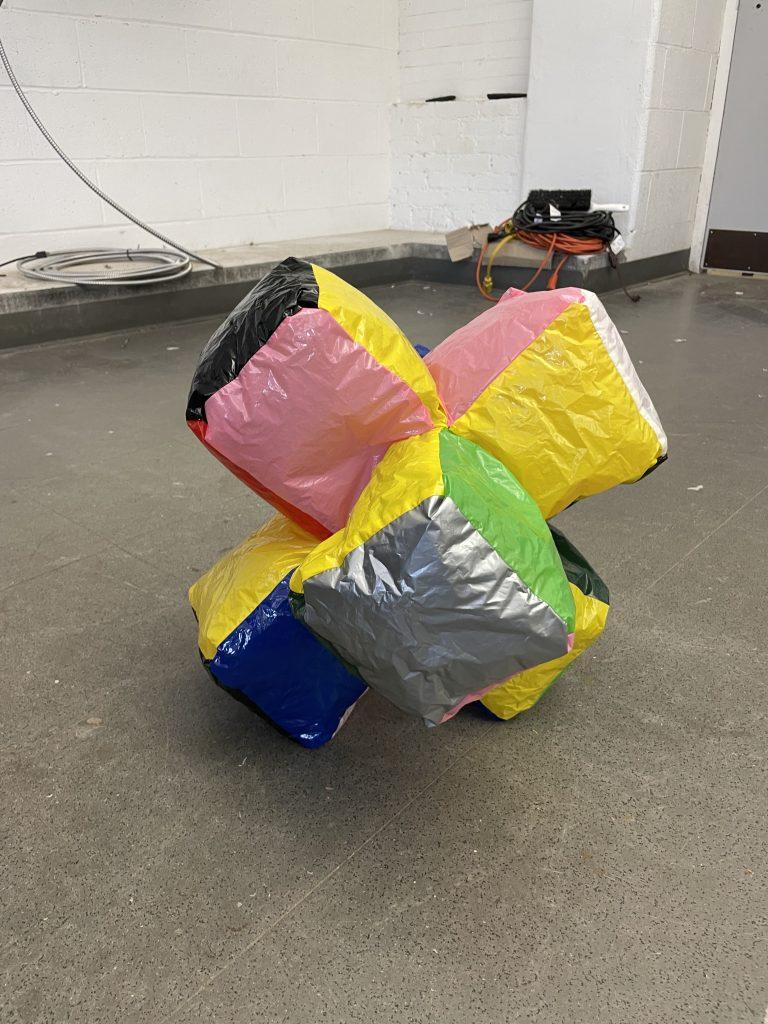
For my next inflatable, I wanted to create something that was was more intentional in form. I struggled with planning for how my first inflatable was going to “close” at the end, and so I took a more modular approach in sealing together the plastic. I started by creating a cube, leaving the last side unsealed. I created six of the unsealed cubes, and then I joined them all together on their unfinished edges. Making each part separately made this inflatable a lot less intimidating to put together. Since each part was still the same shape, I think the resulting inflatable was still cohesive in structure. I used the heat gun for each section which made the inflatable relatively secure when blown up.

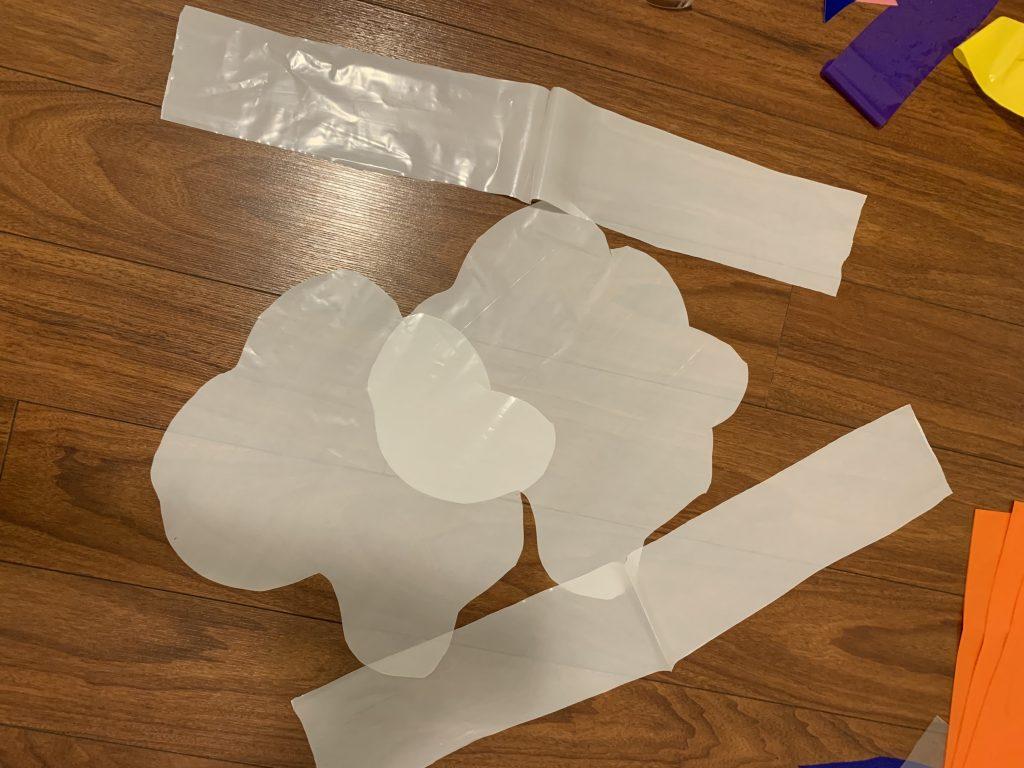
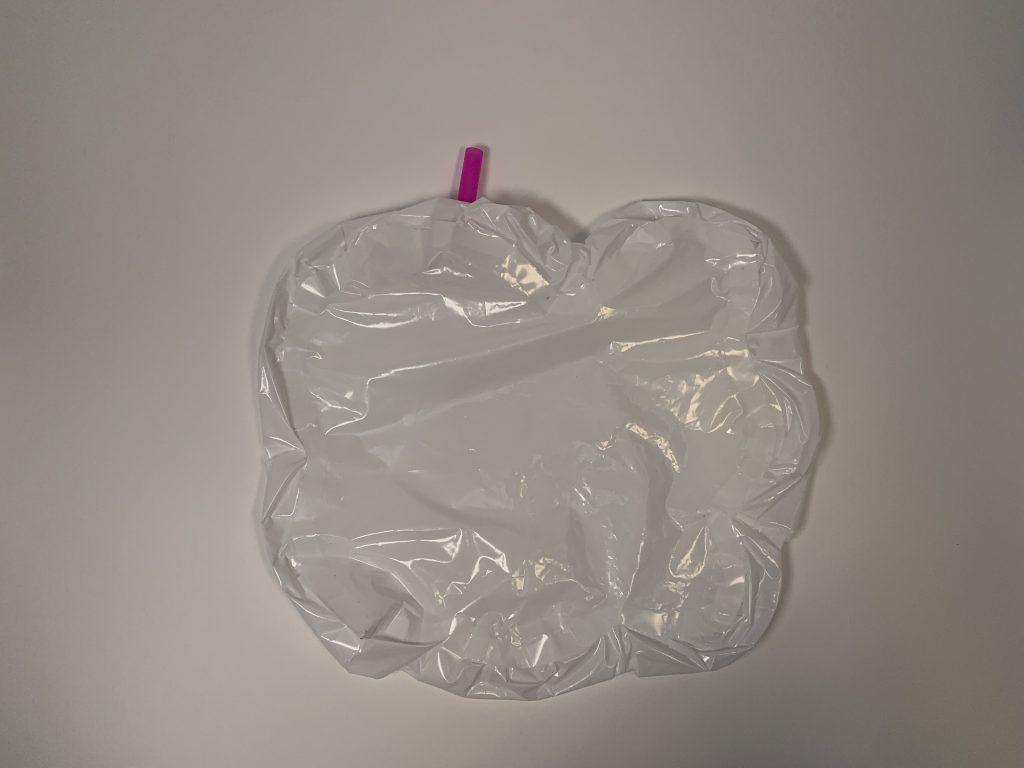
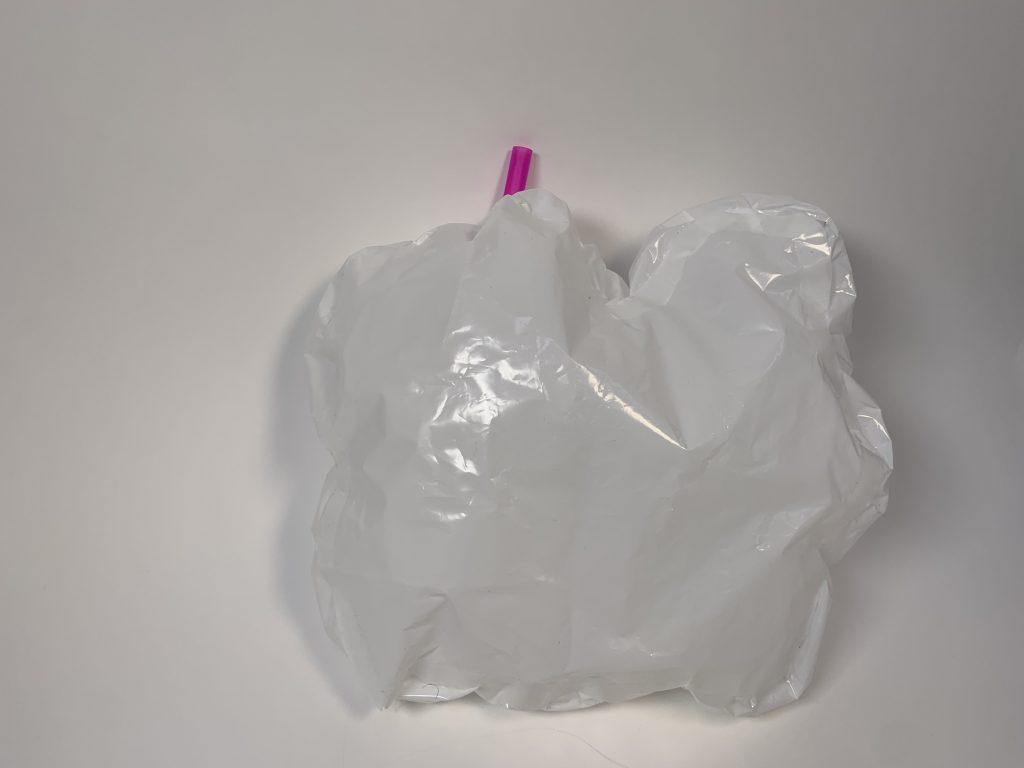
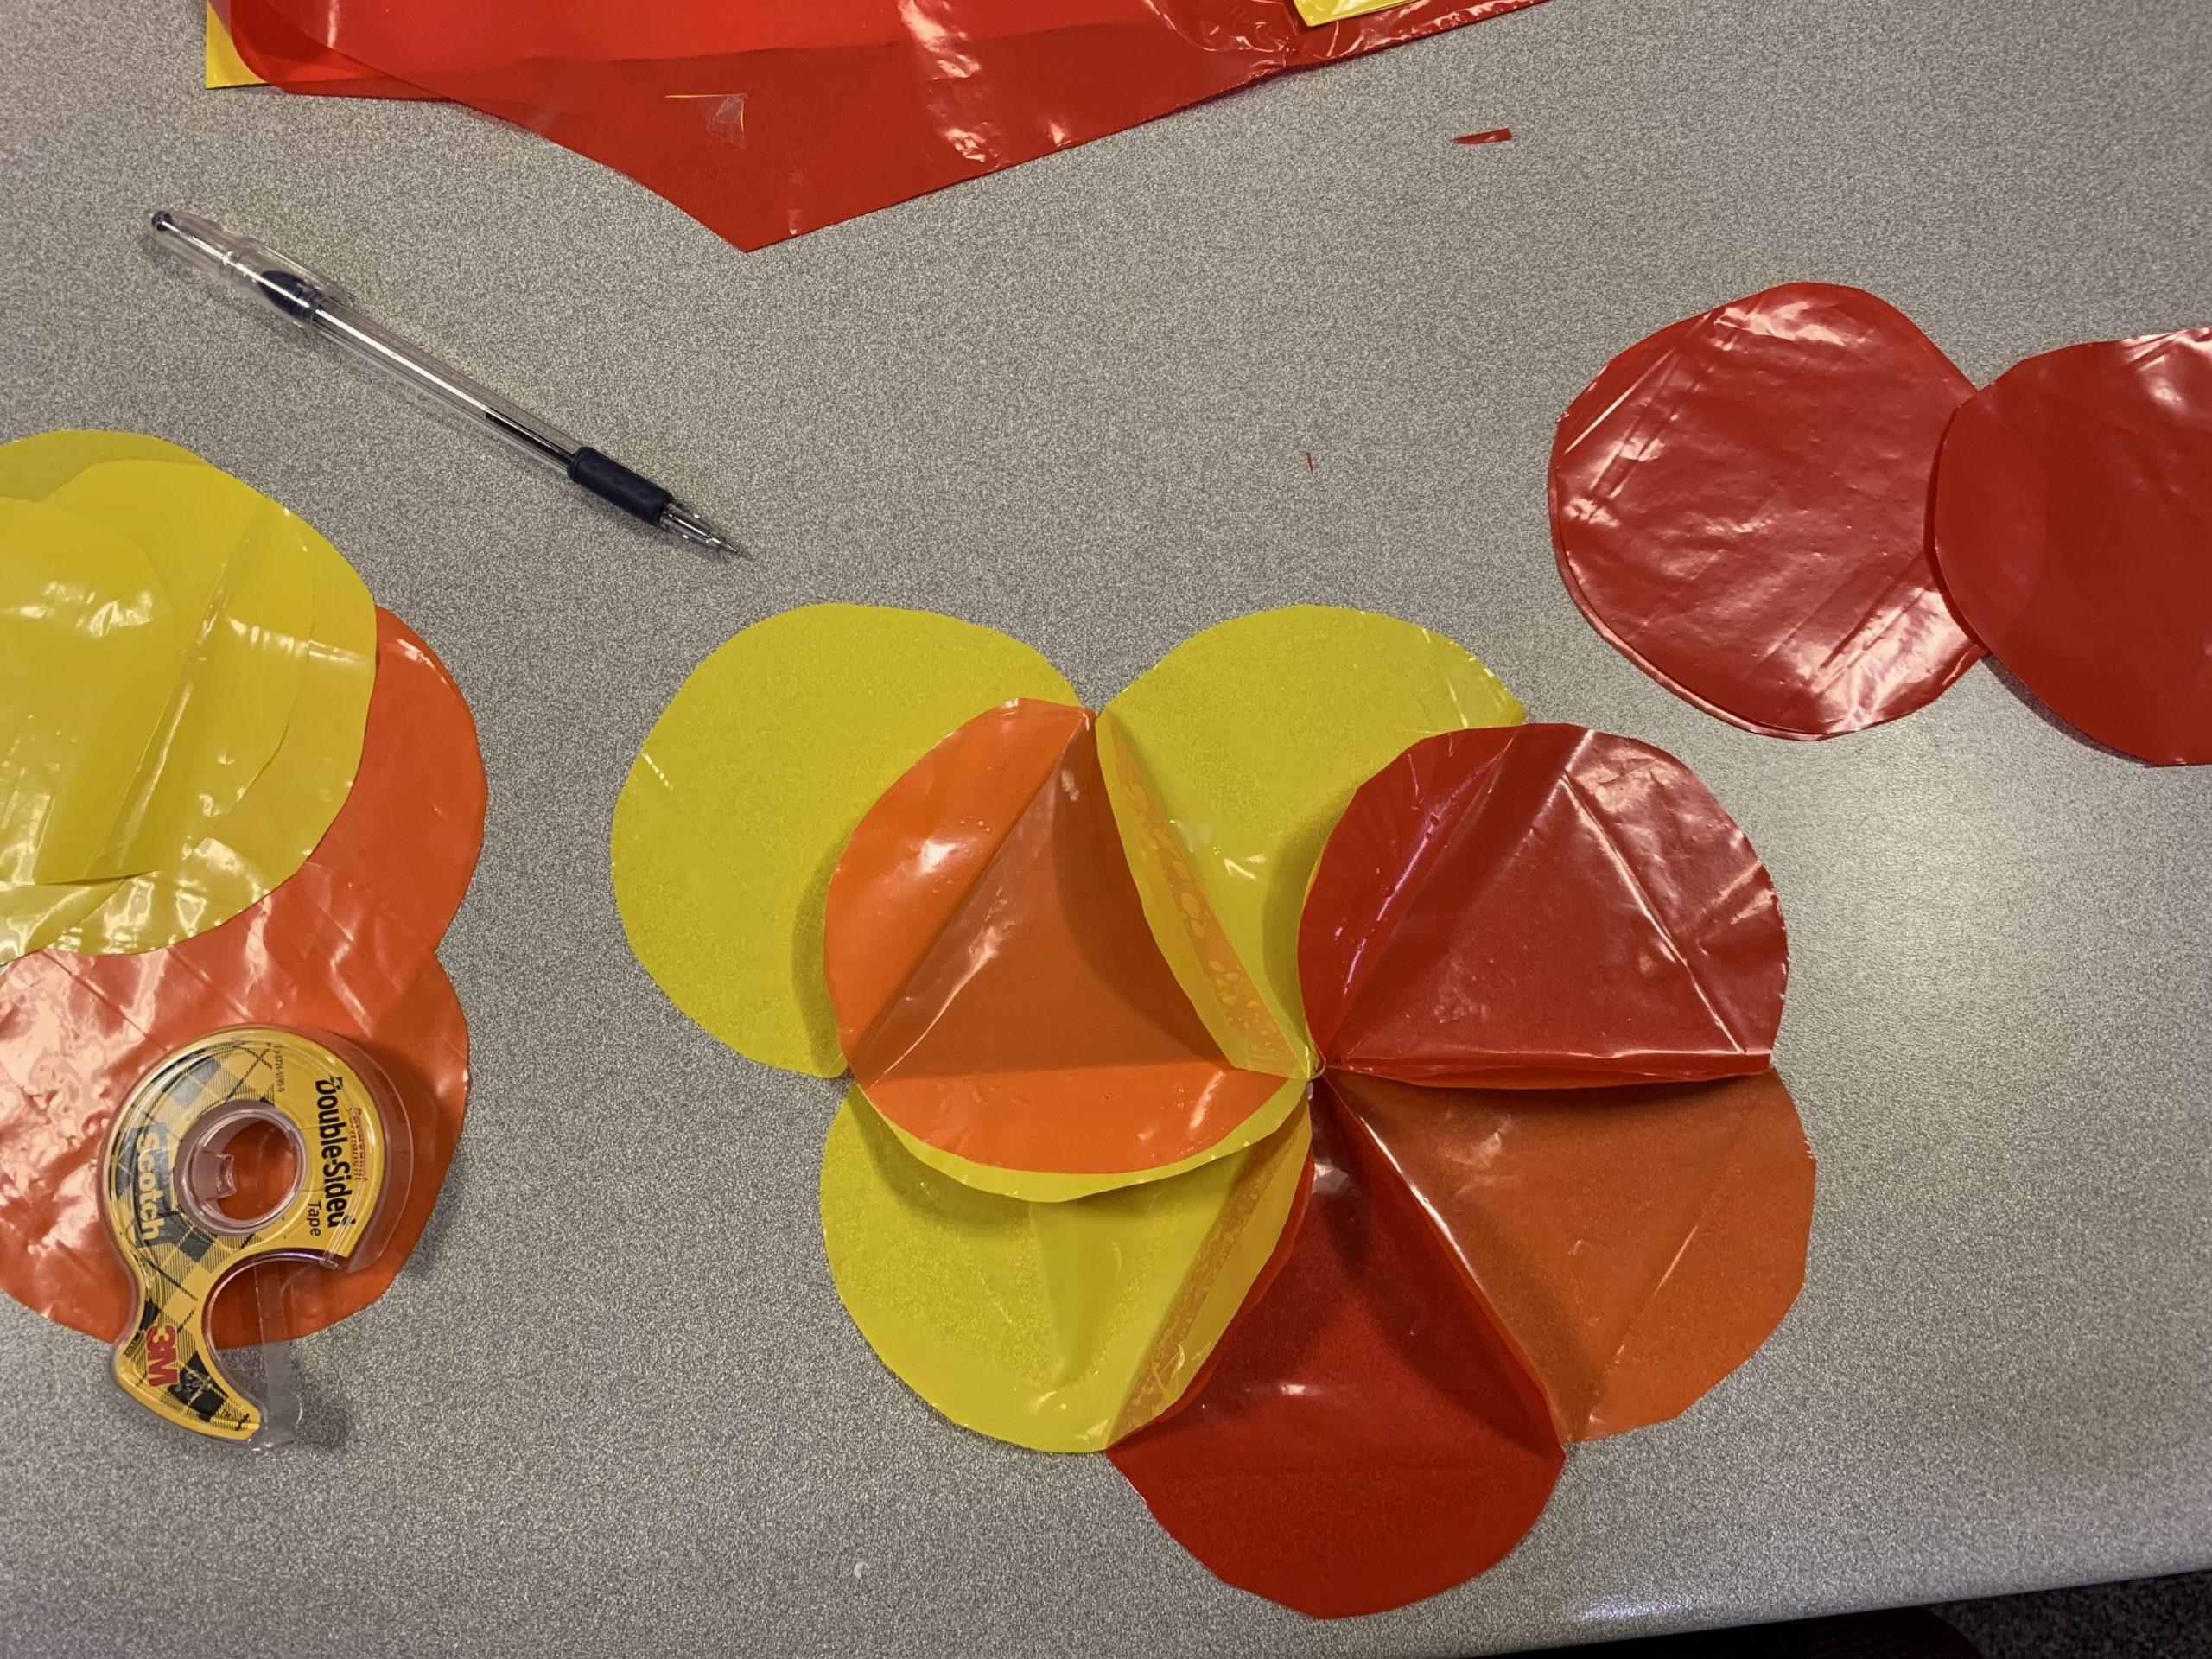
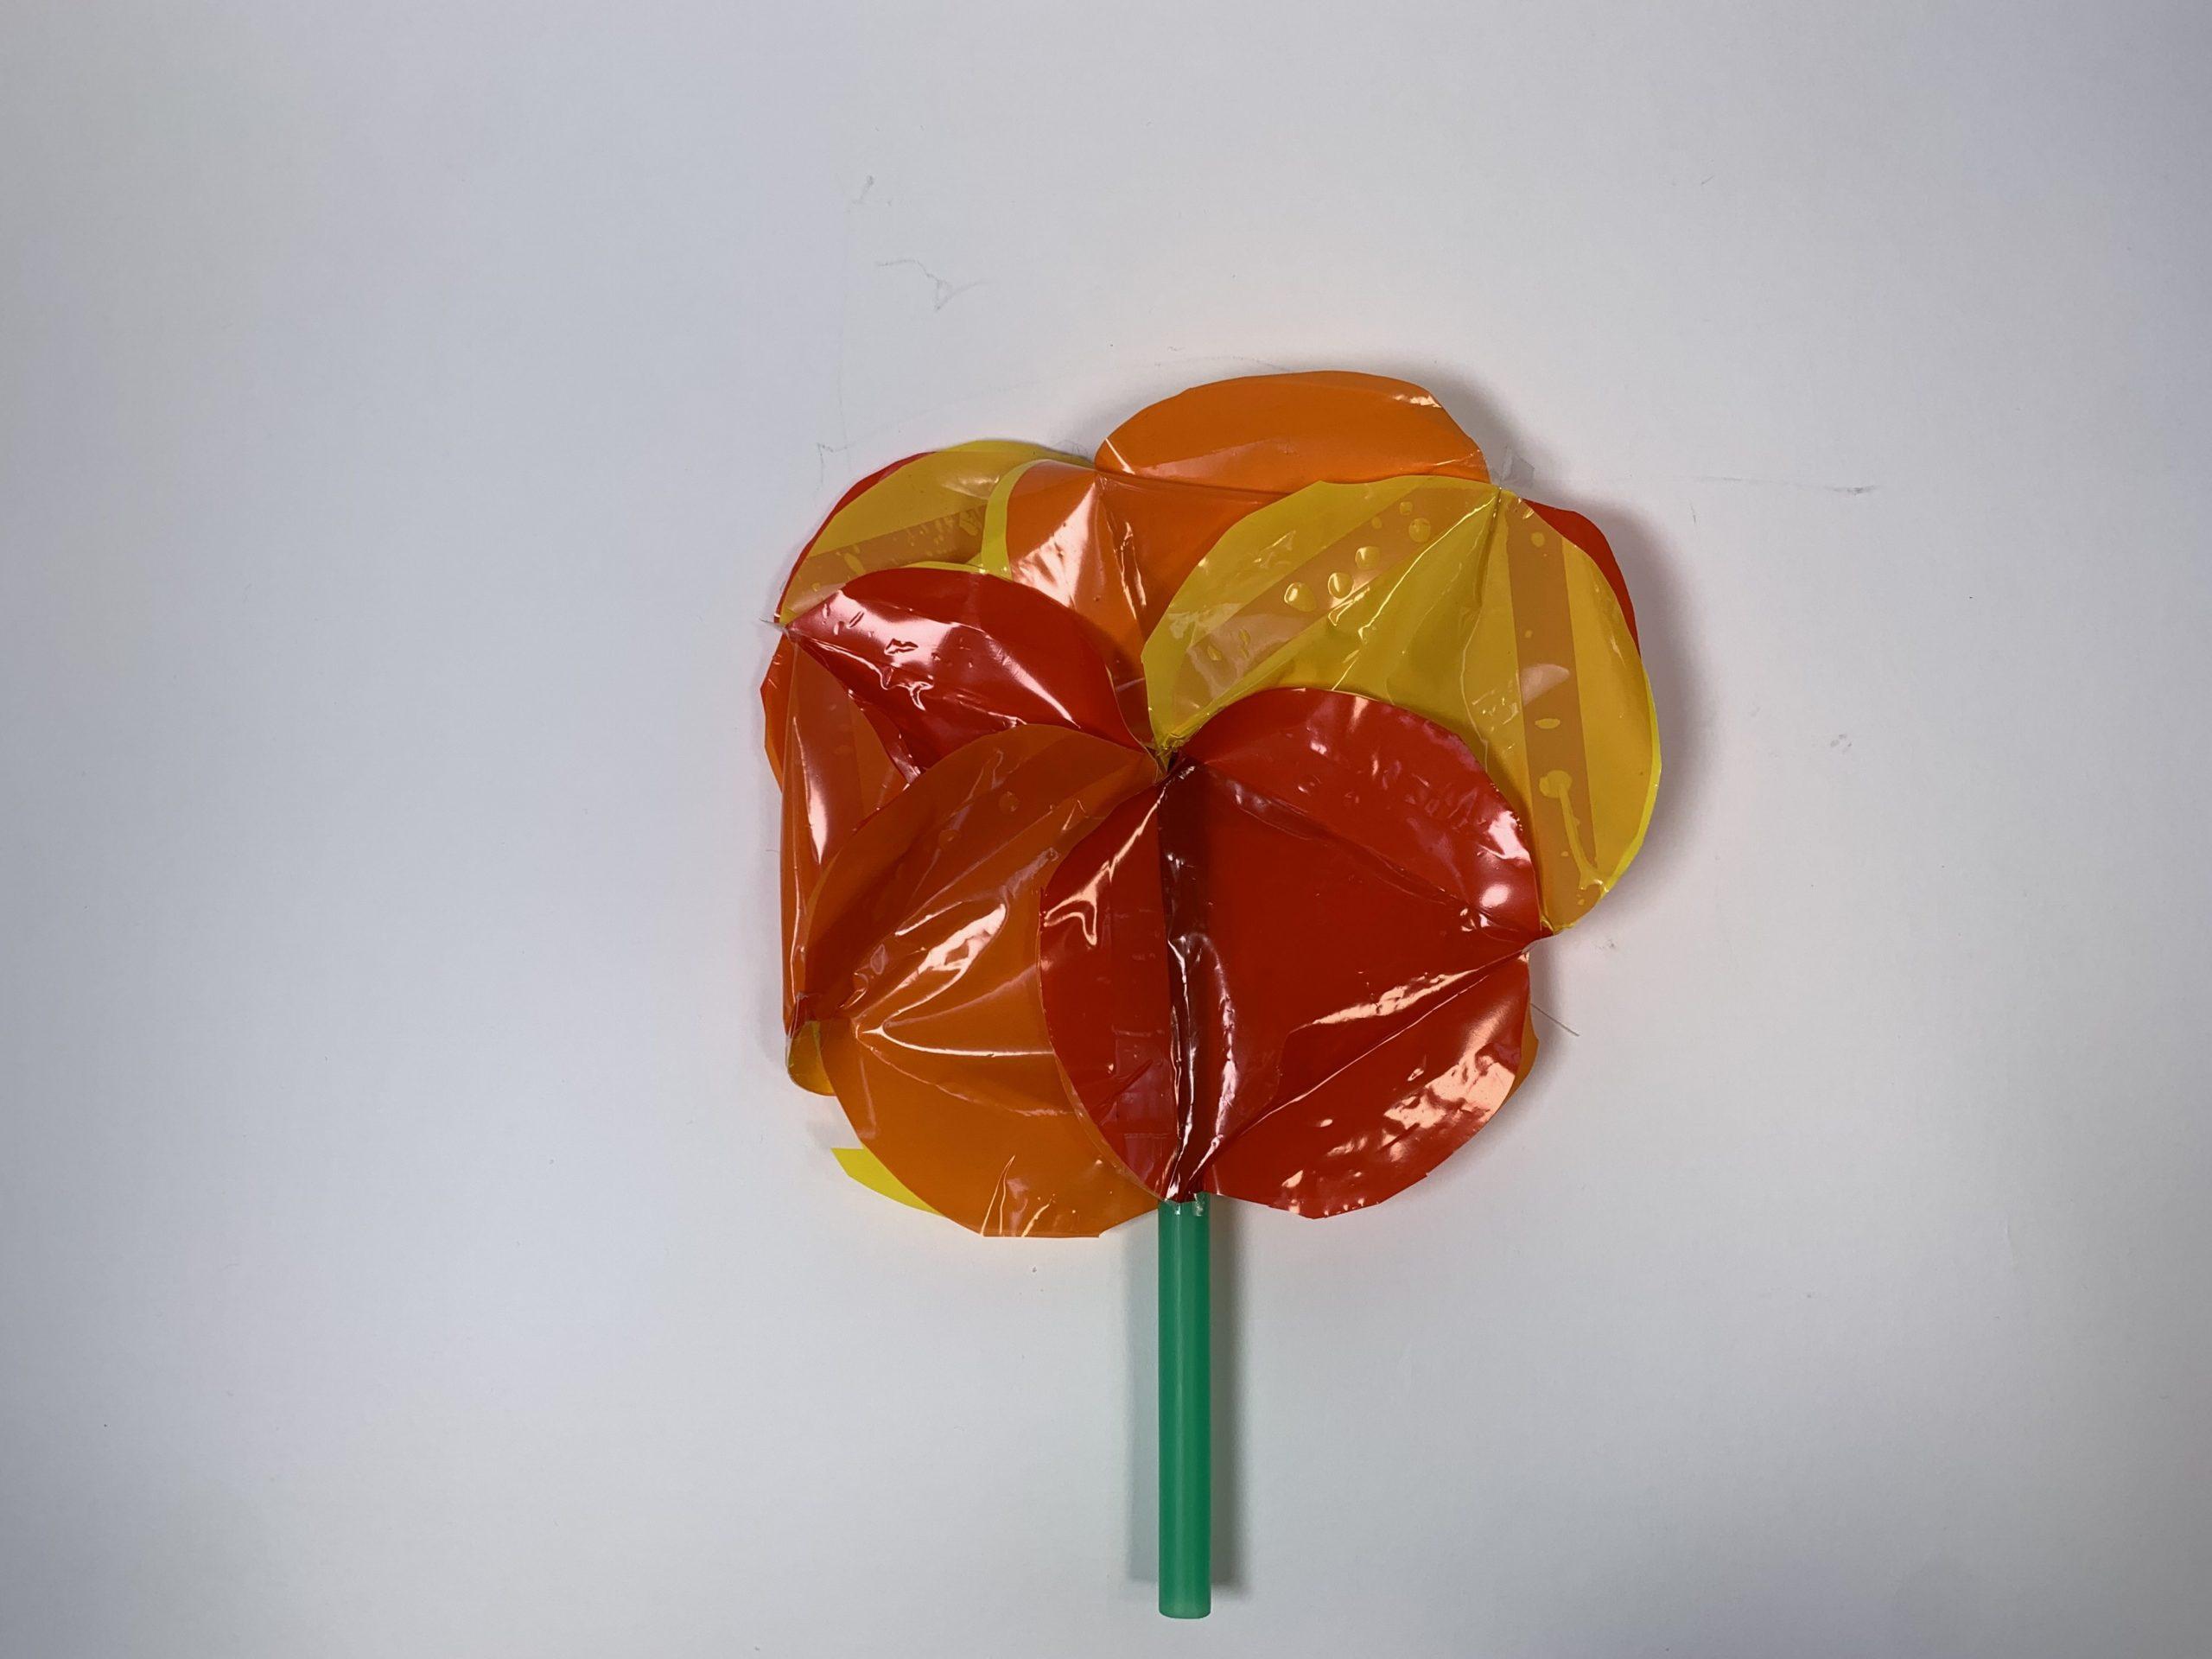
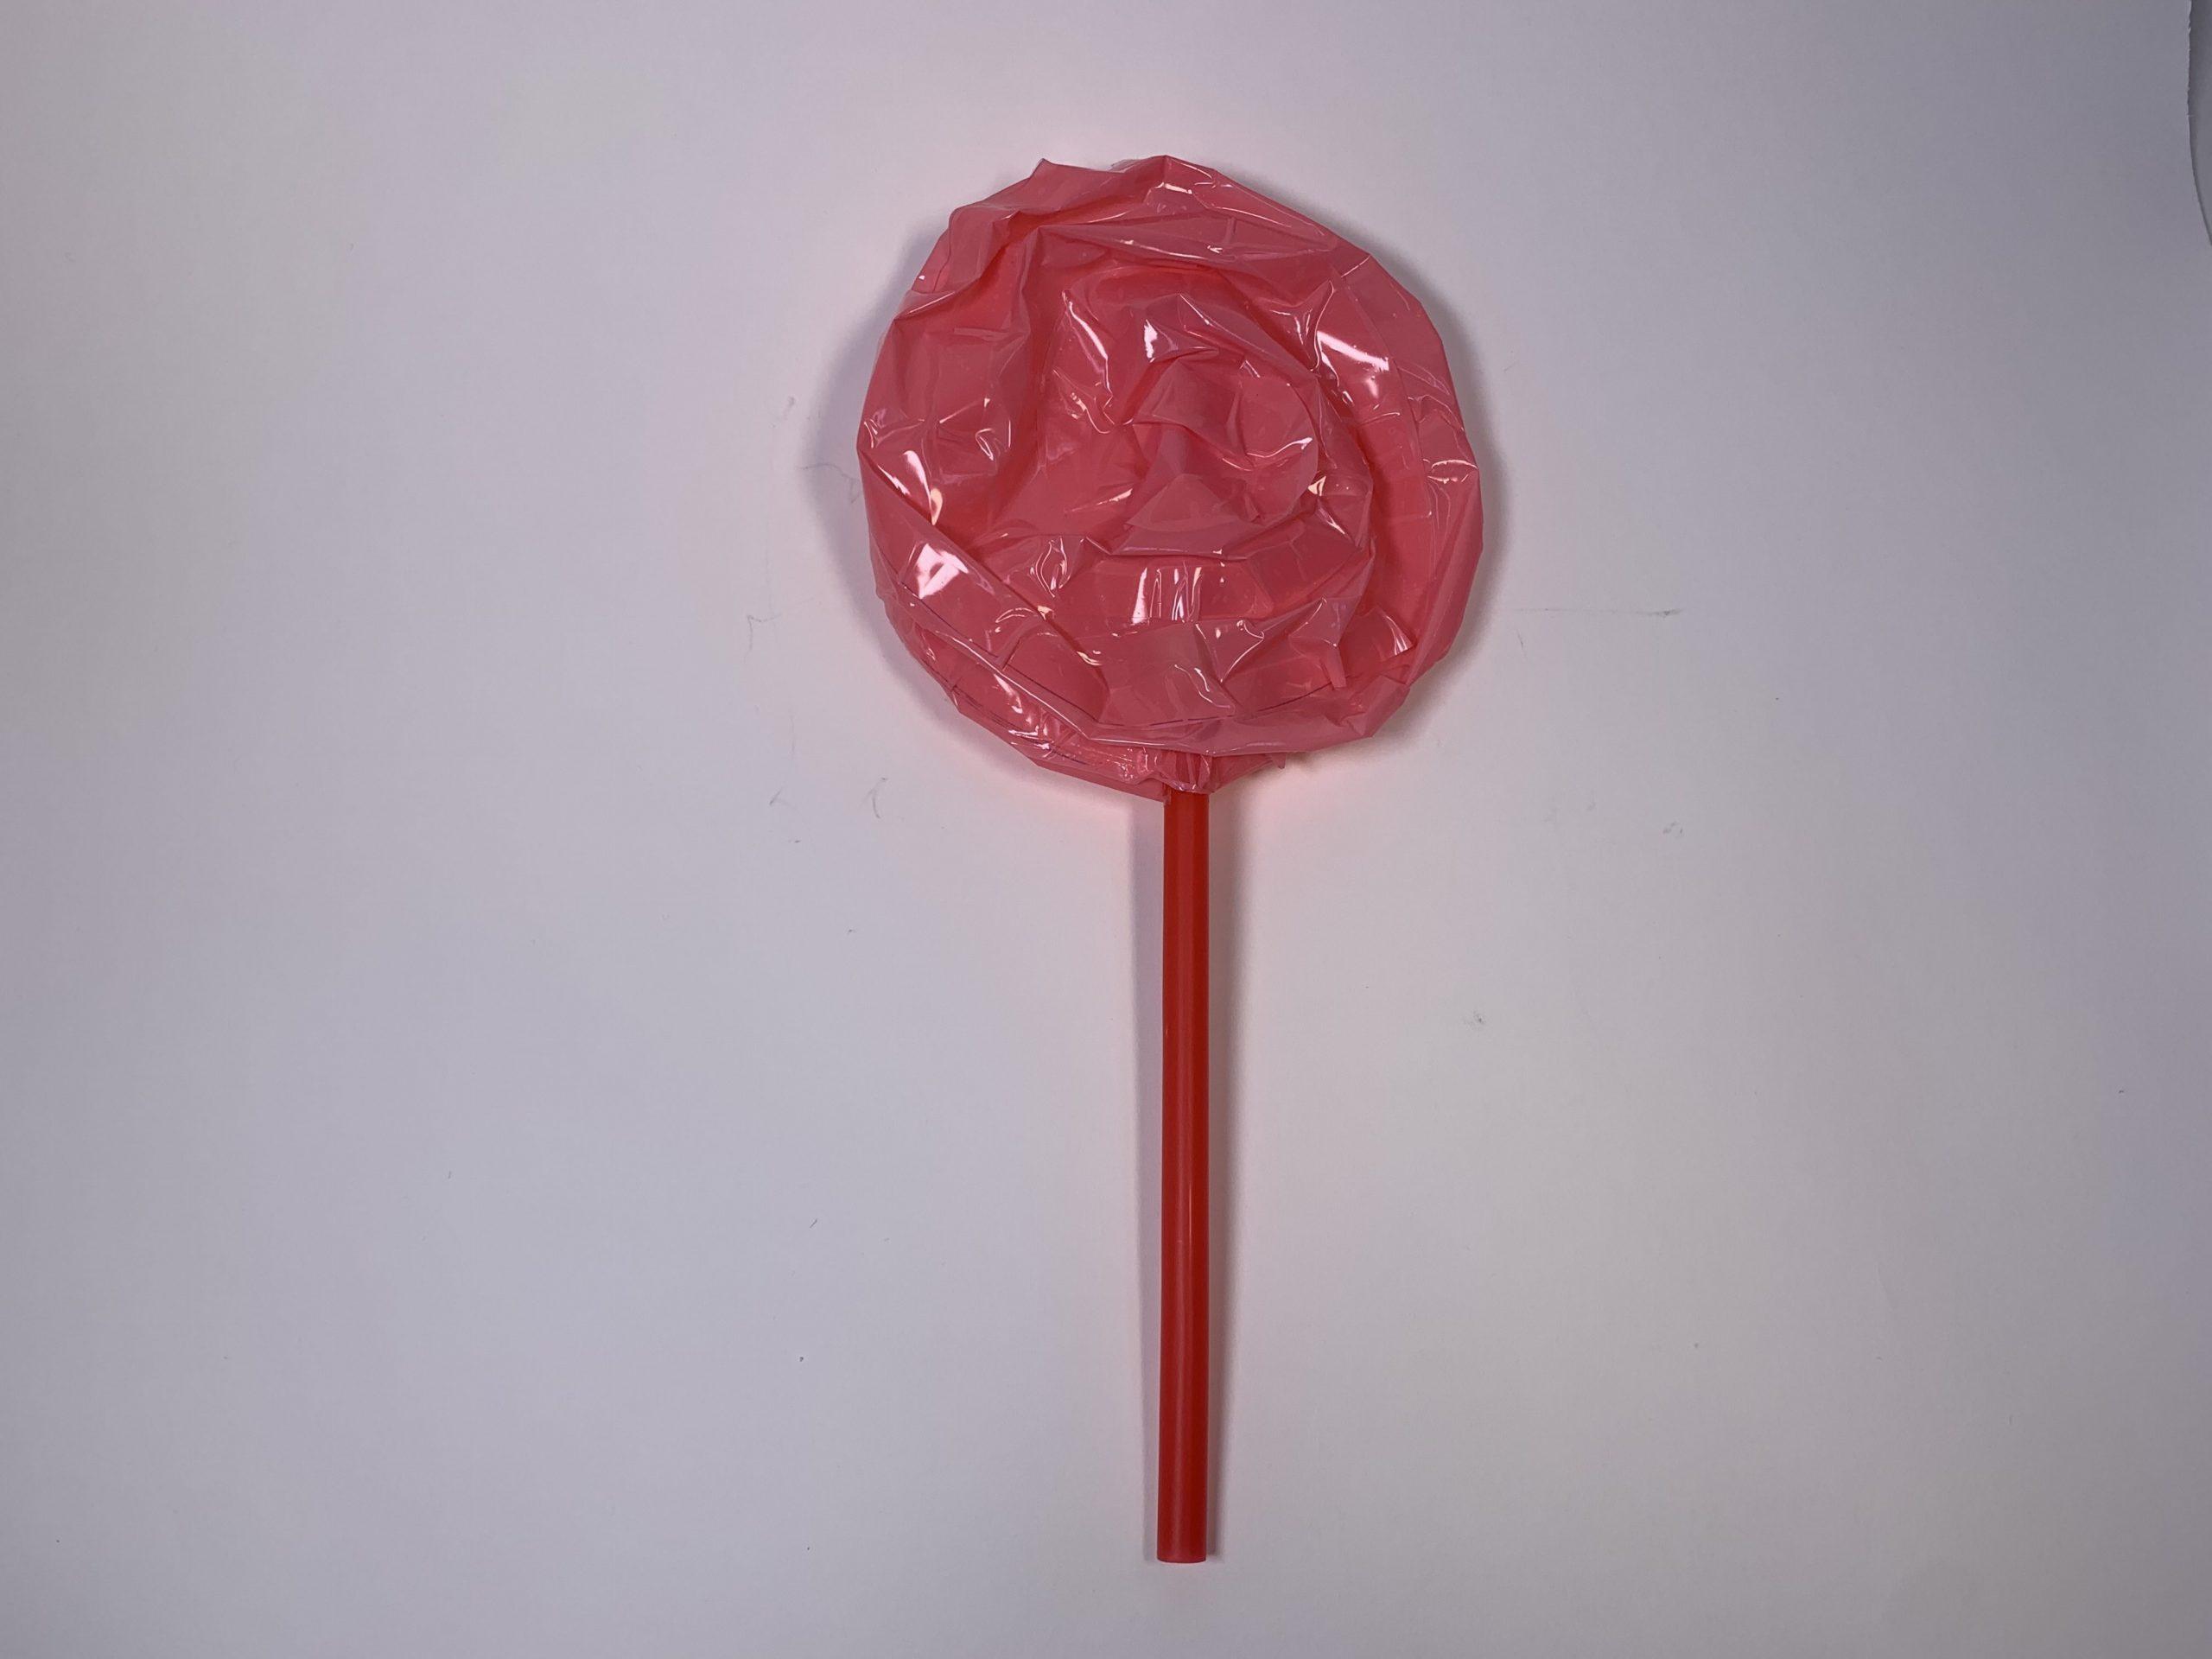
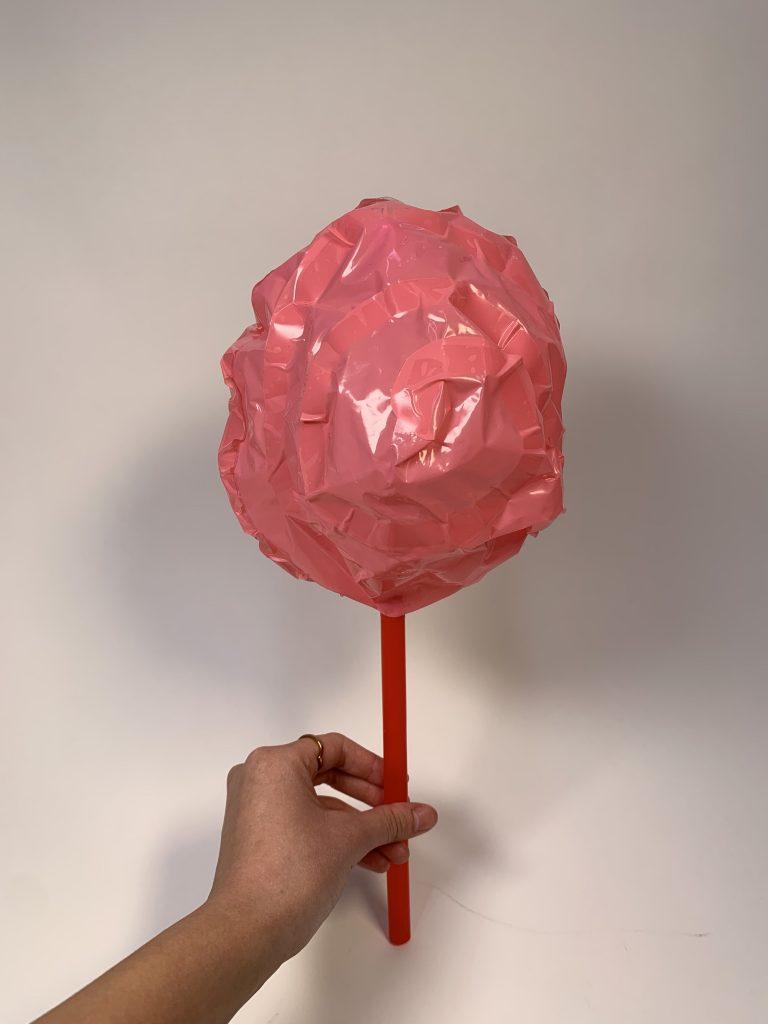
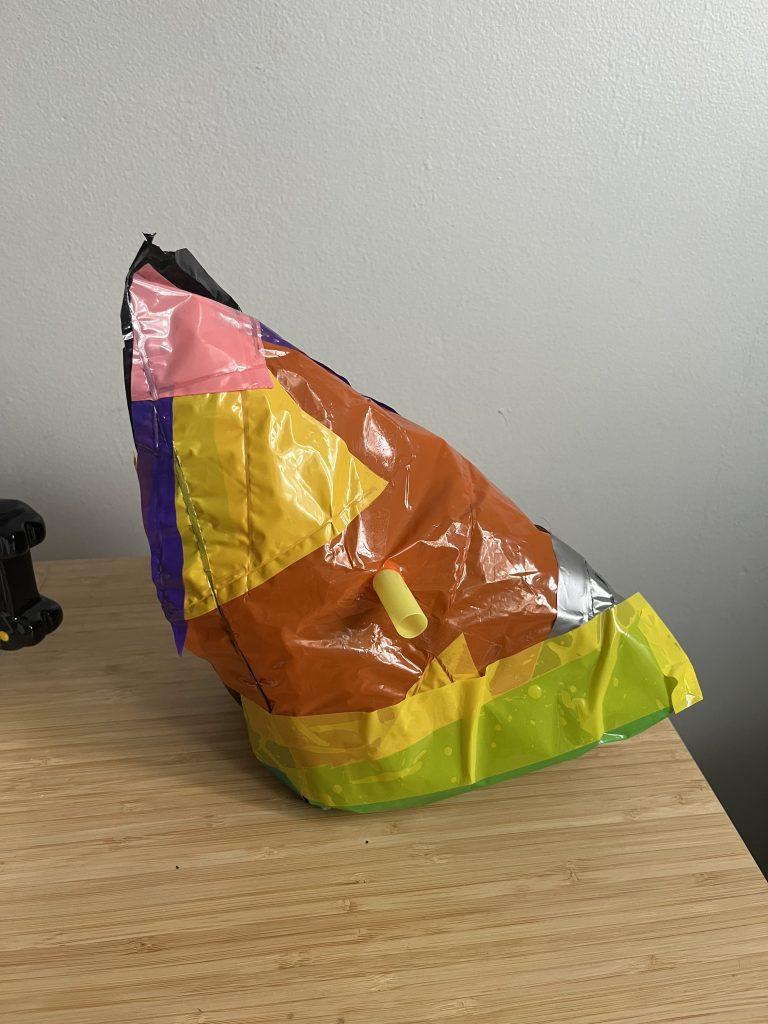
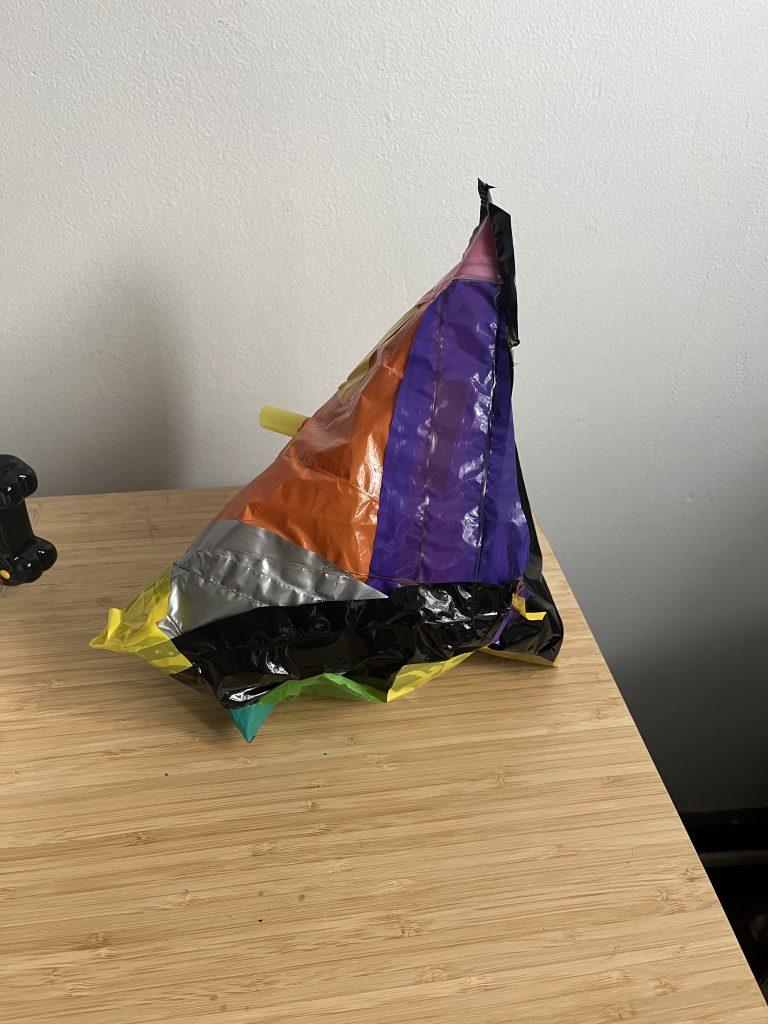
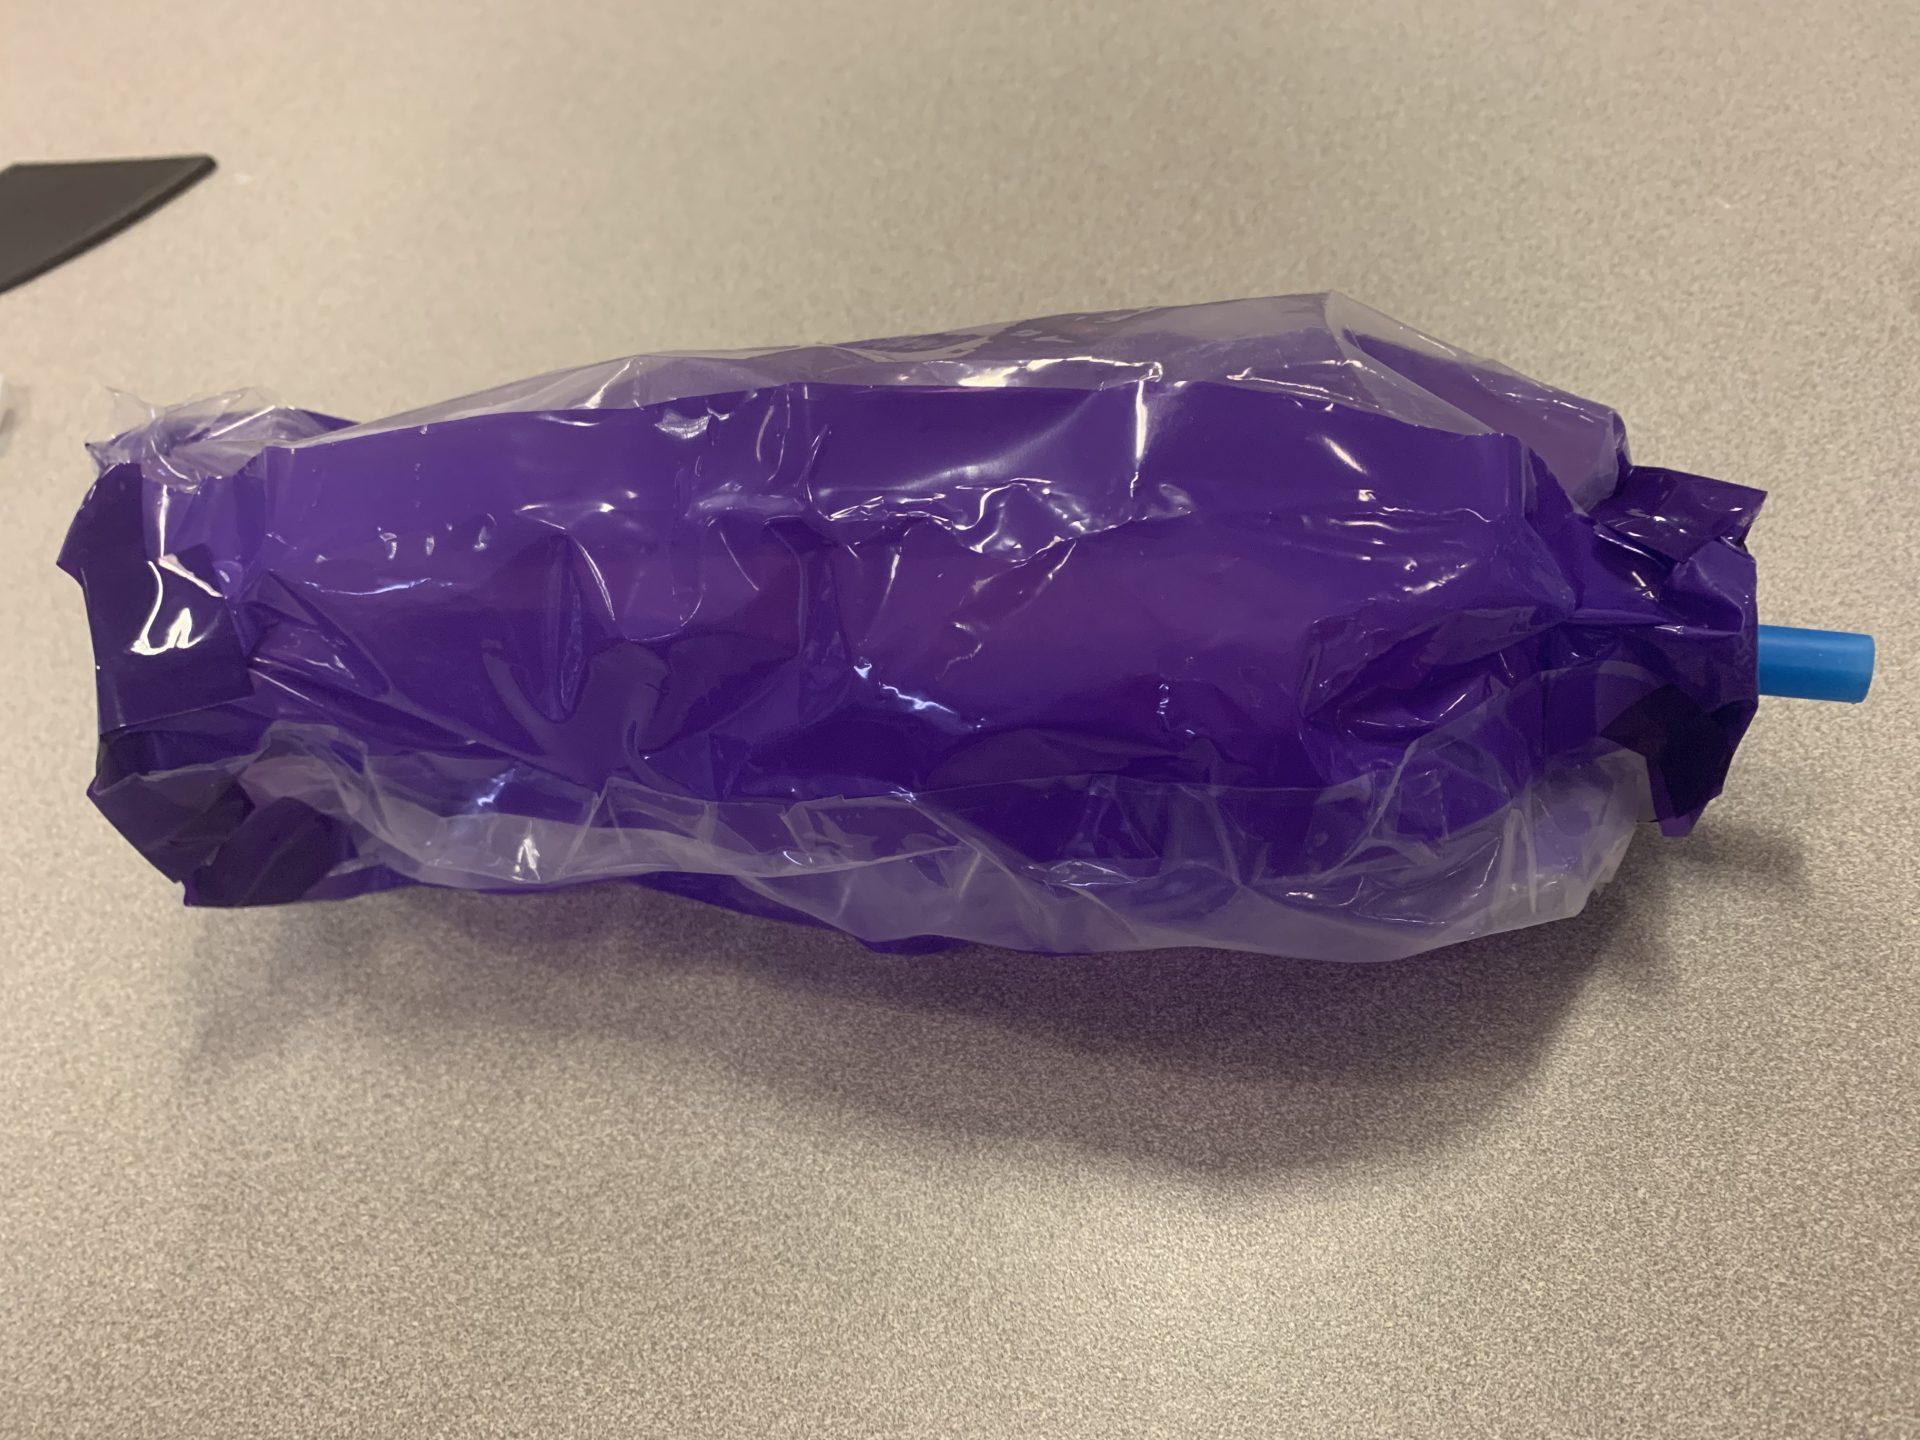
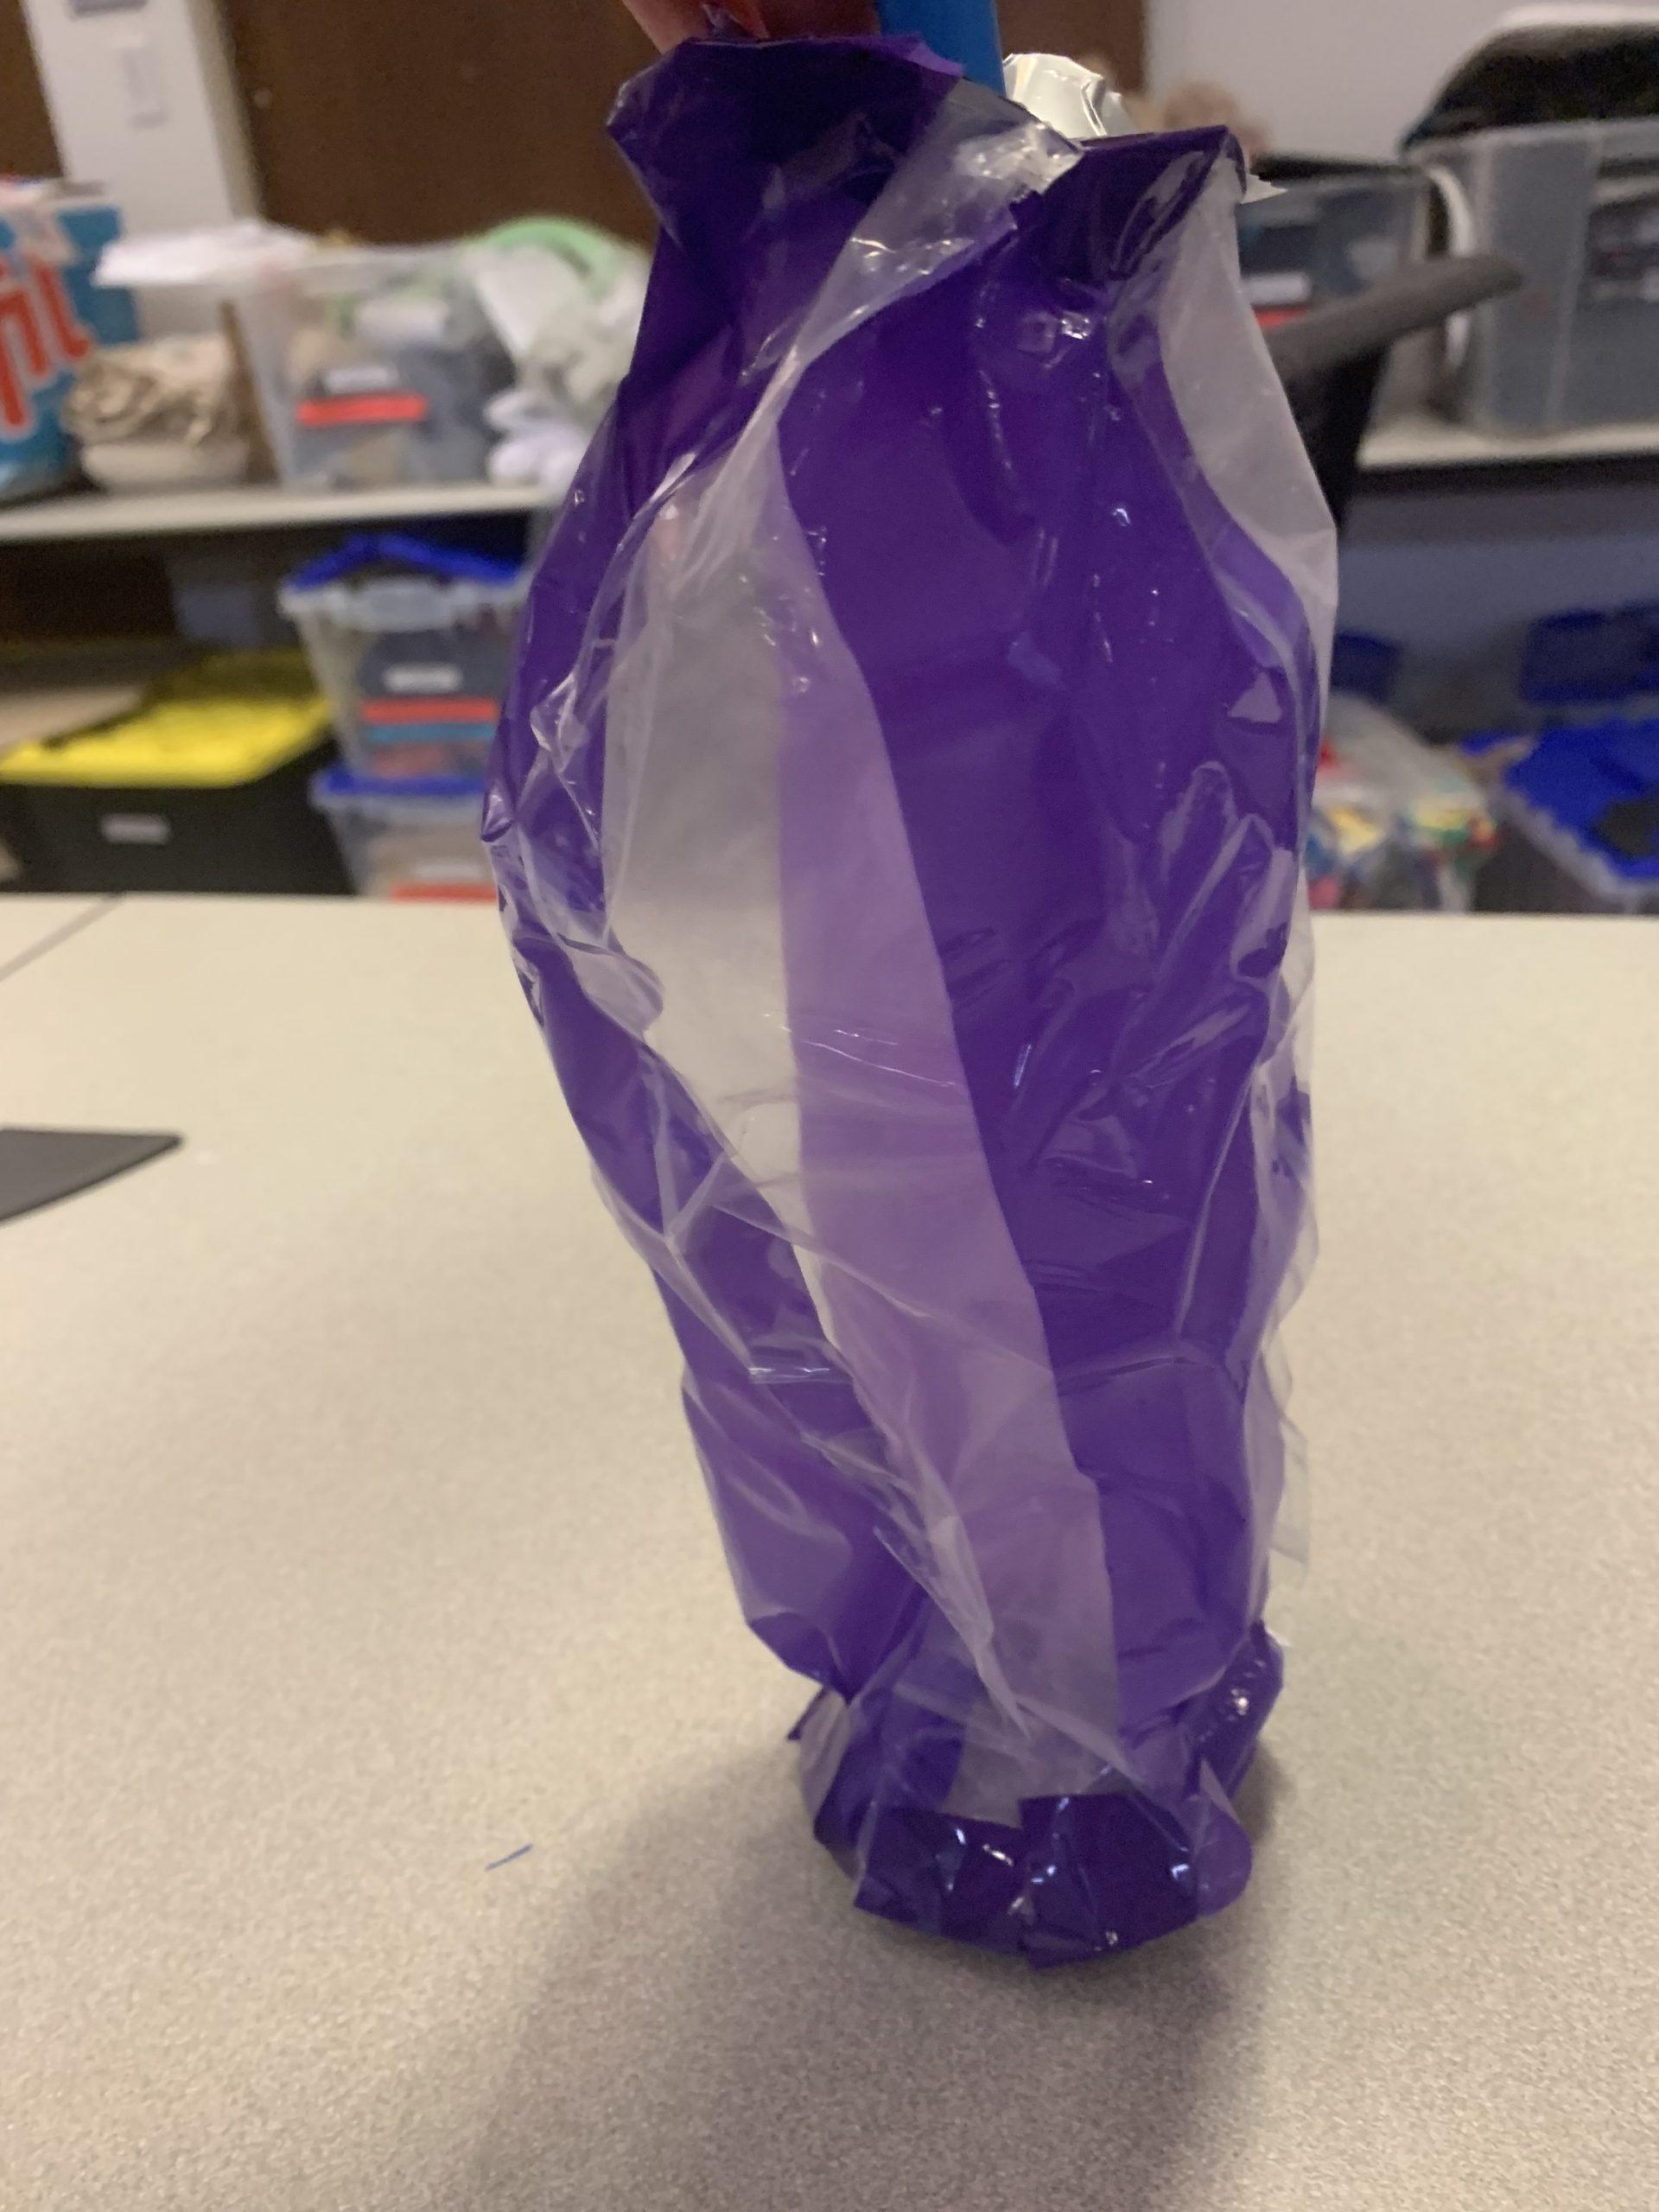
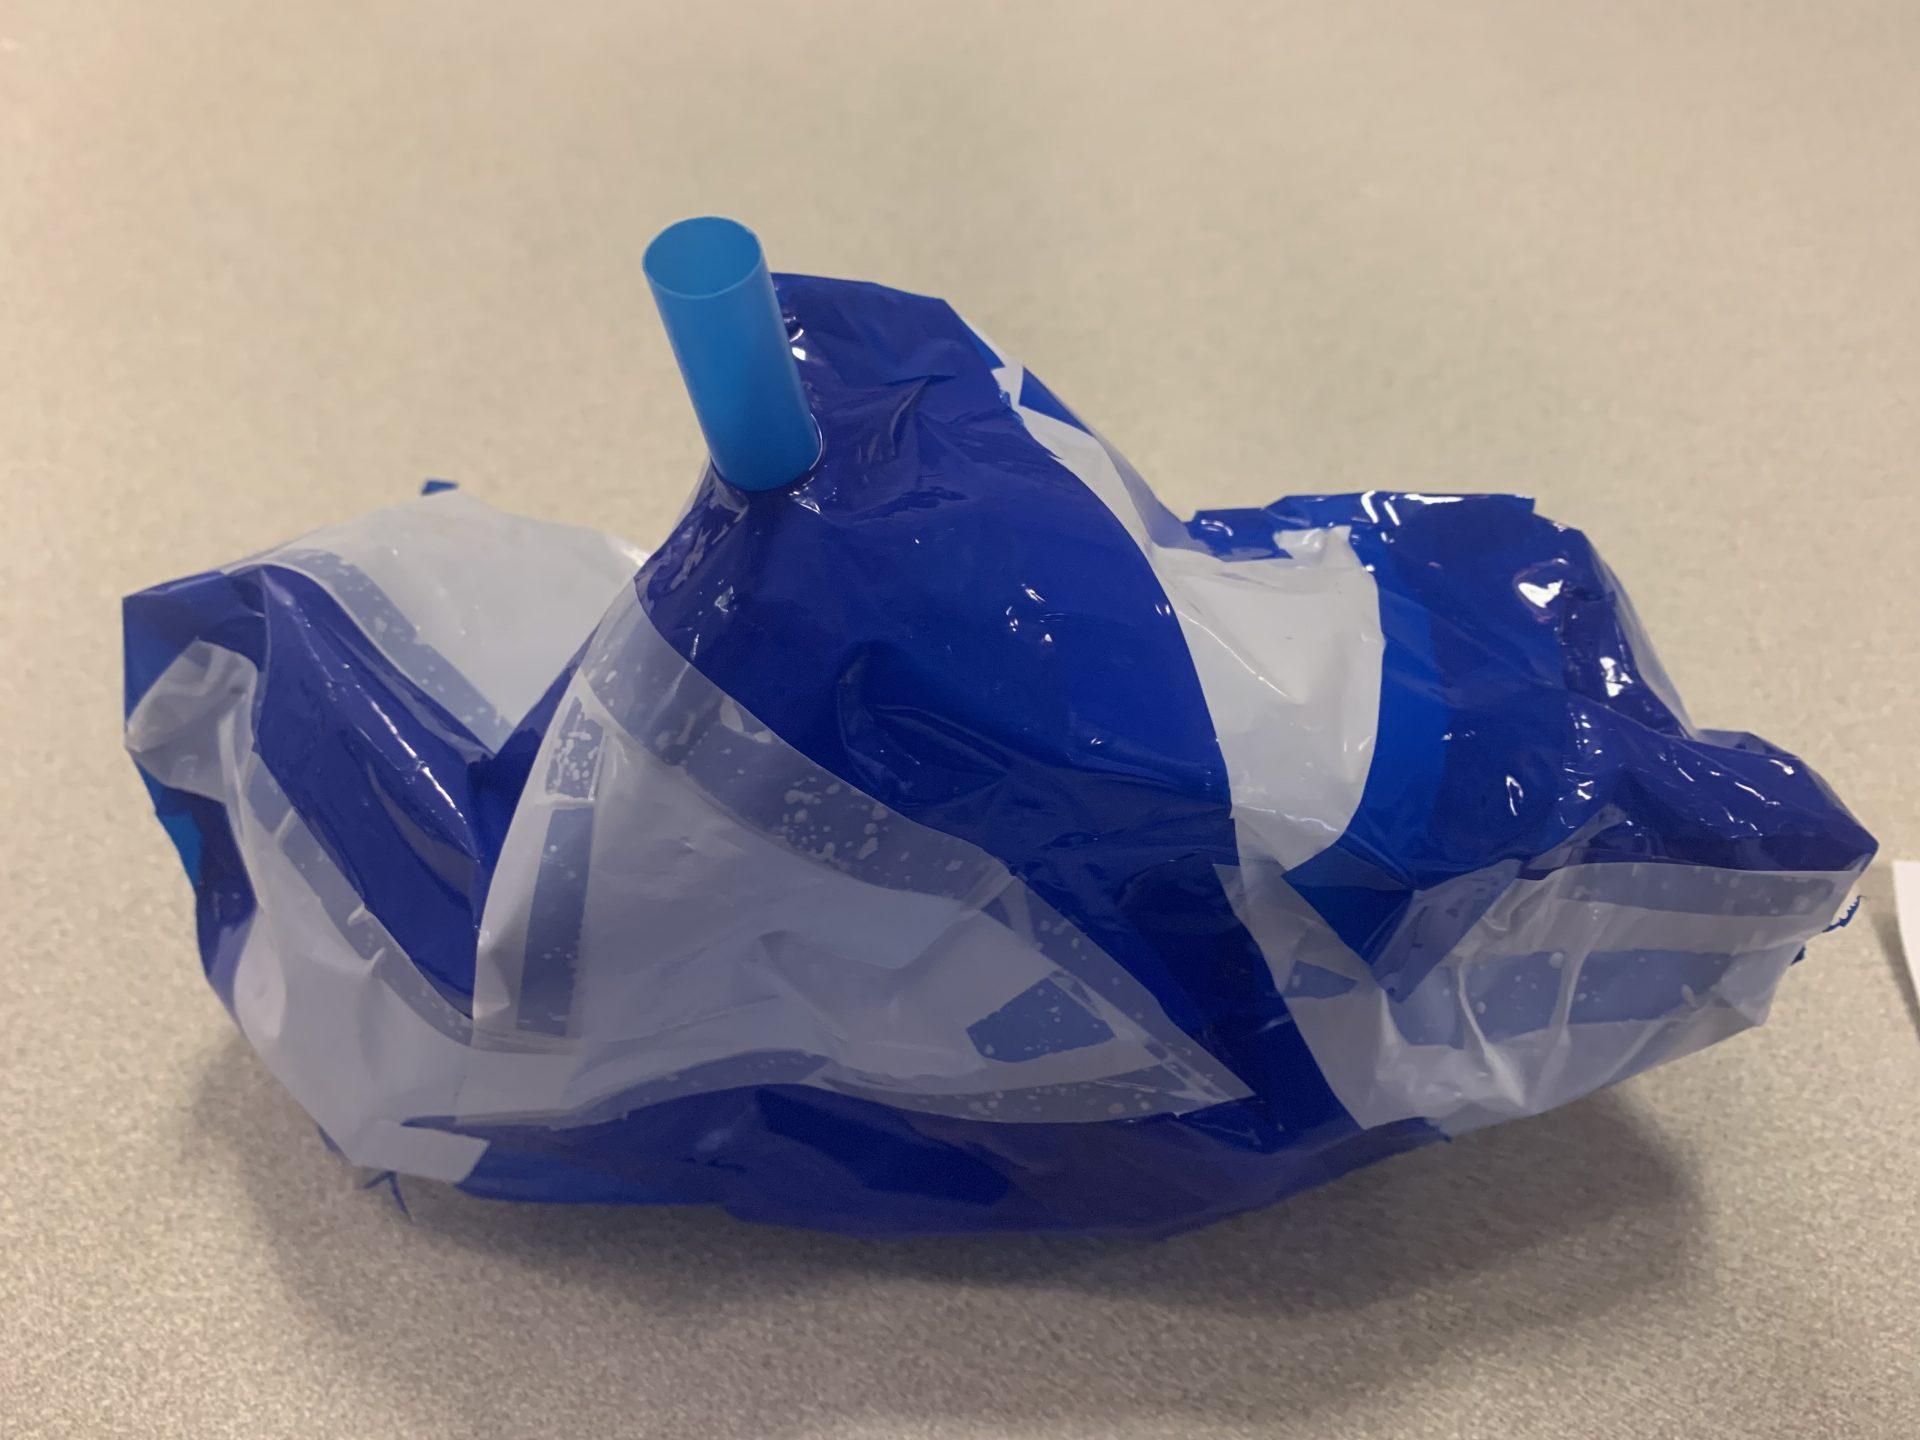
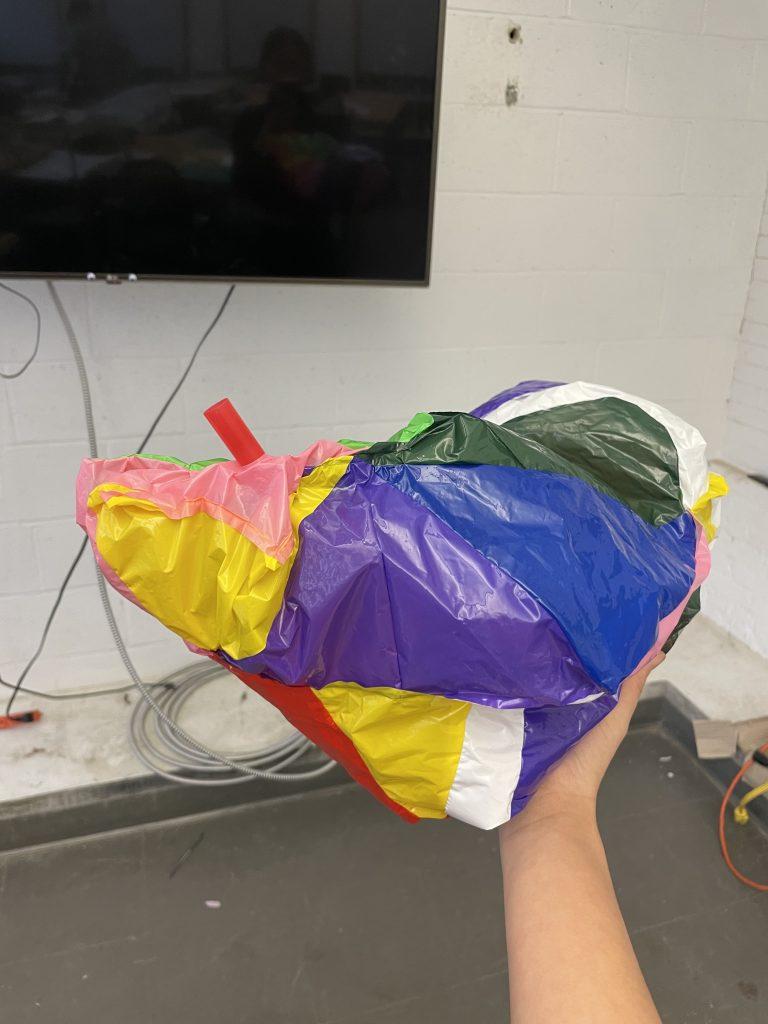
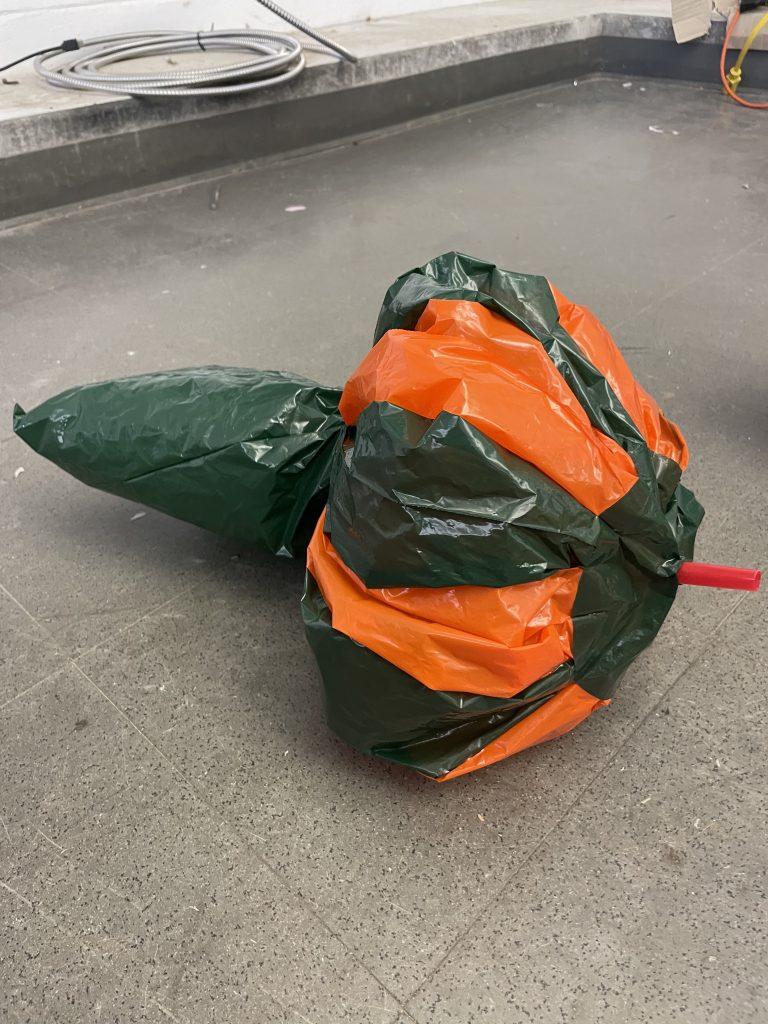
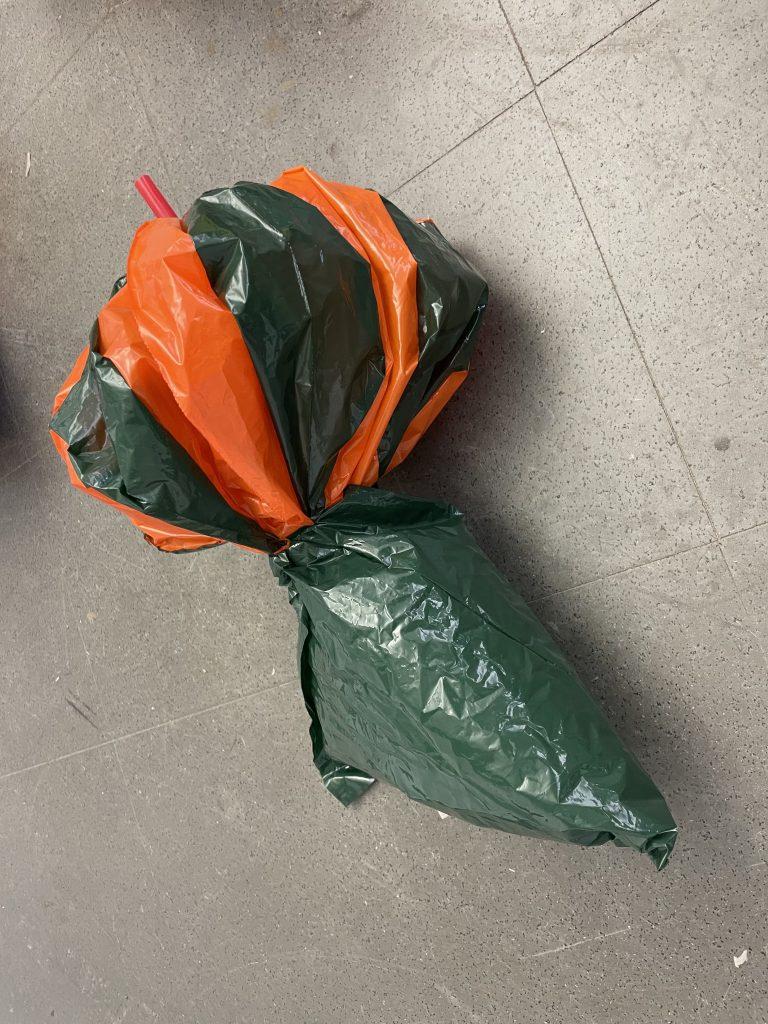
For my last inflatable, I wanted to attempt creating a circular object. I started by creating elongated oval strips and attaching them to a circle. I used double sided tape to secure each long length edge together, but the curved side made it difficult to attach edges without creating holes. Since my second inflatable had been created square shapes and the dominant form of this shape was circular, I wanted to attach a “stand” to my last inflatable with a pyramid shape. However, I miscalculated the edges needed, and so the “stand” portion of this object inflated to be more of a pillow shape rather than triangular.

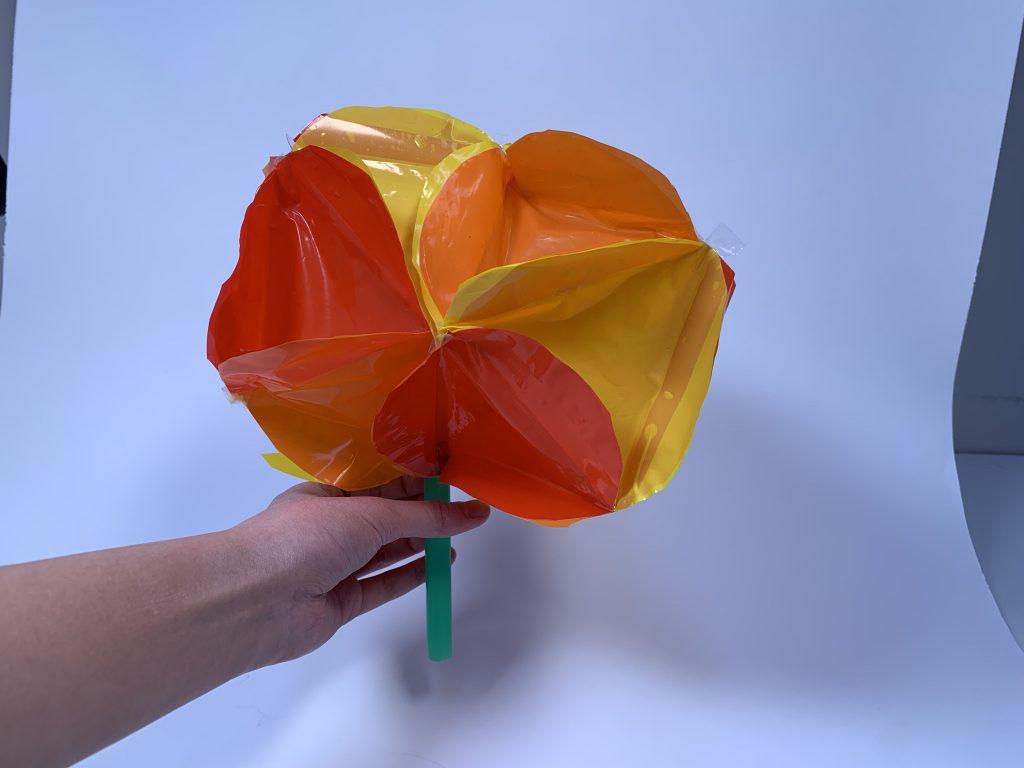
My last inflatable had a round “top” portion that cinched in the middle and expanded back out.

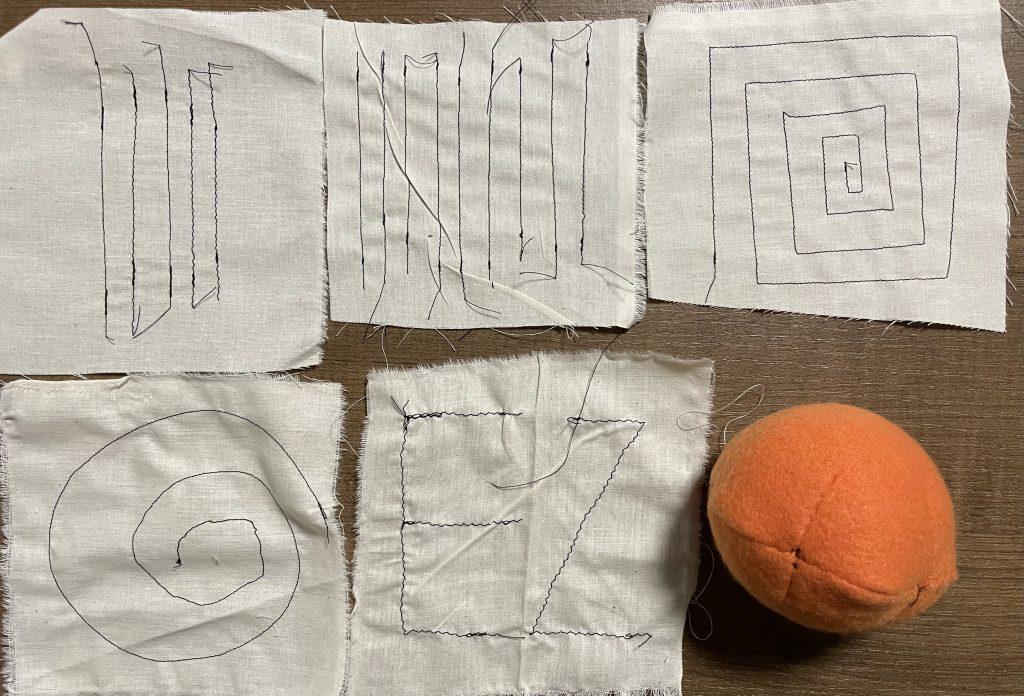
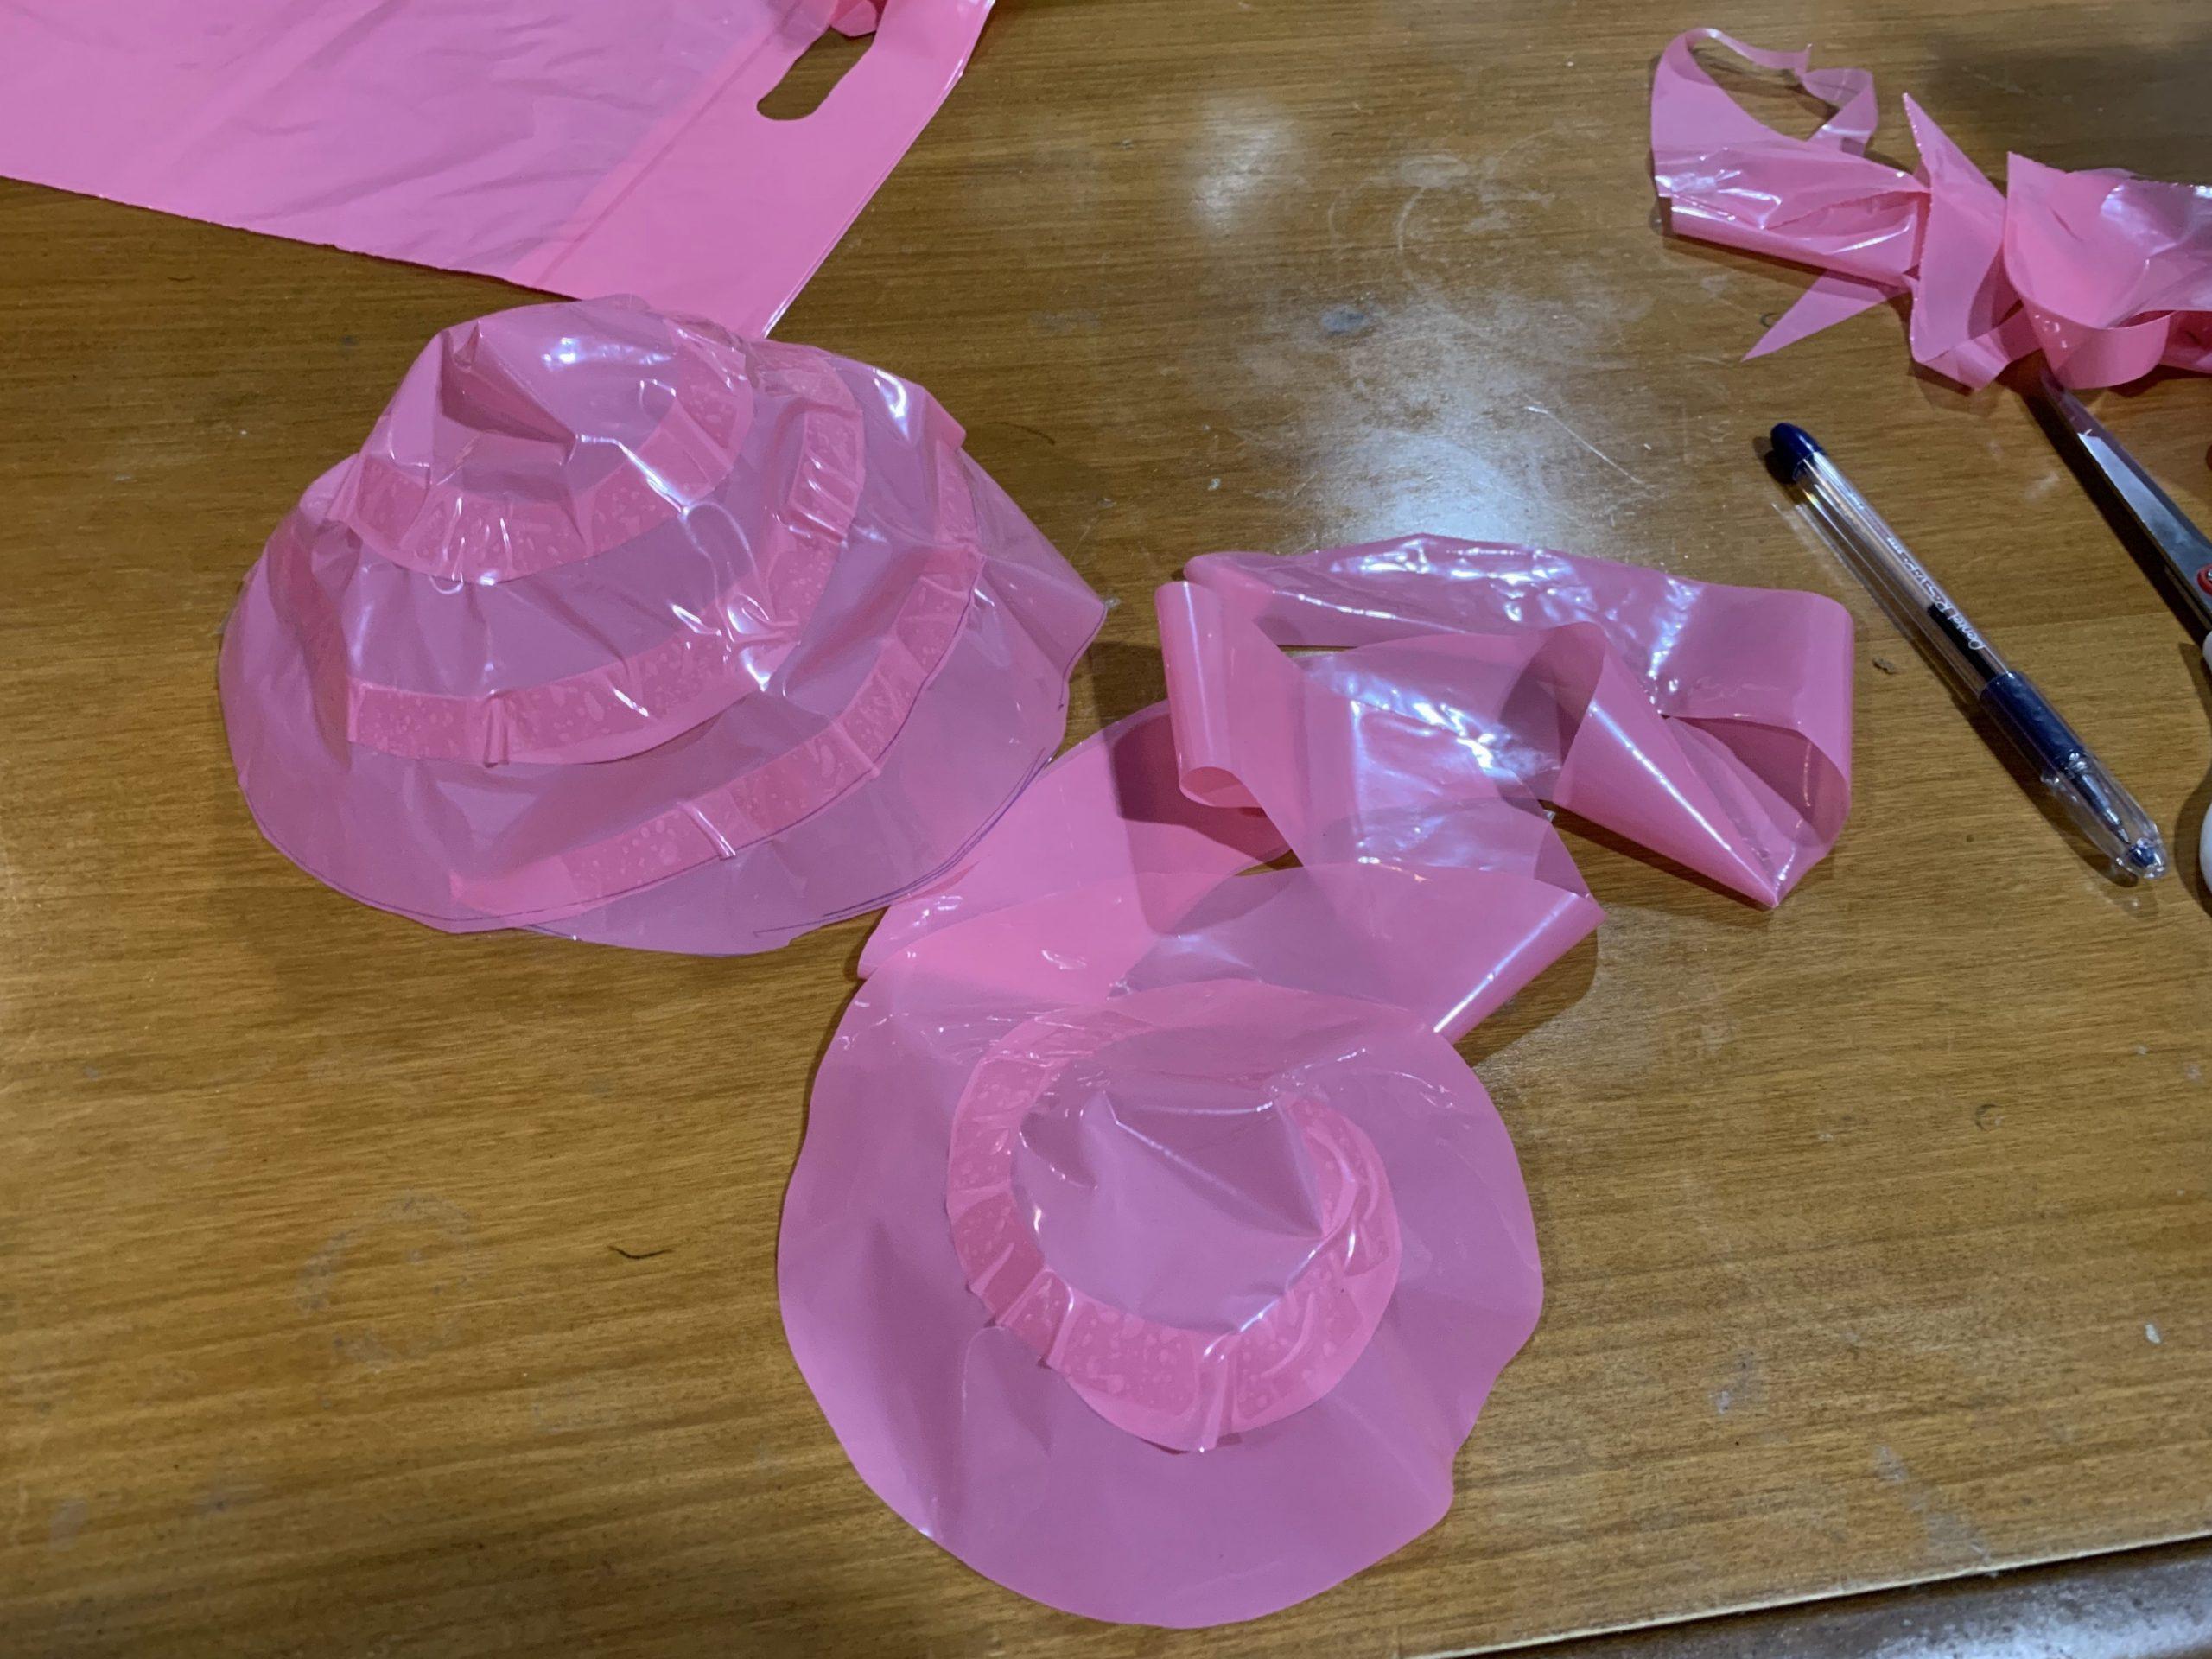
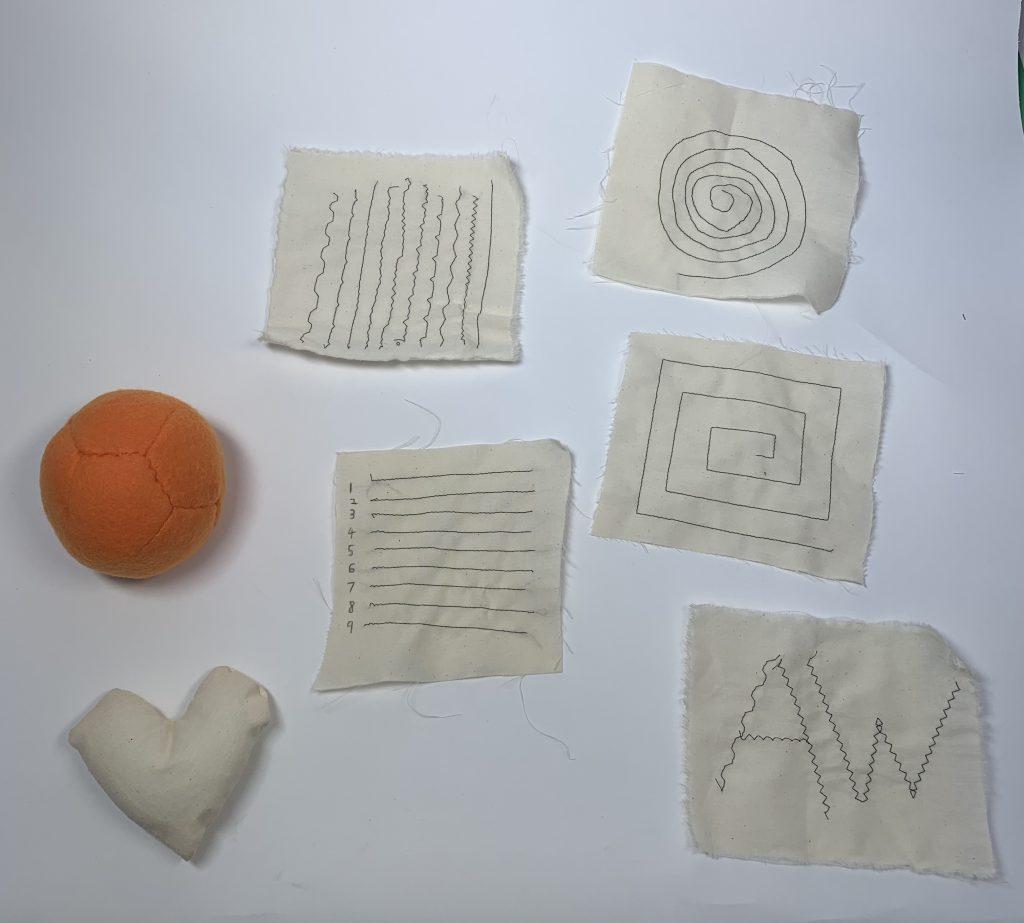
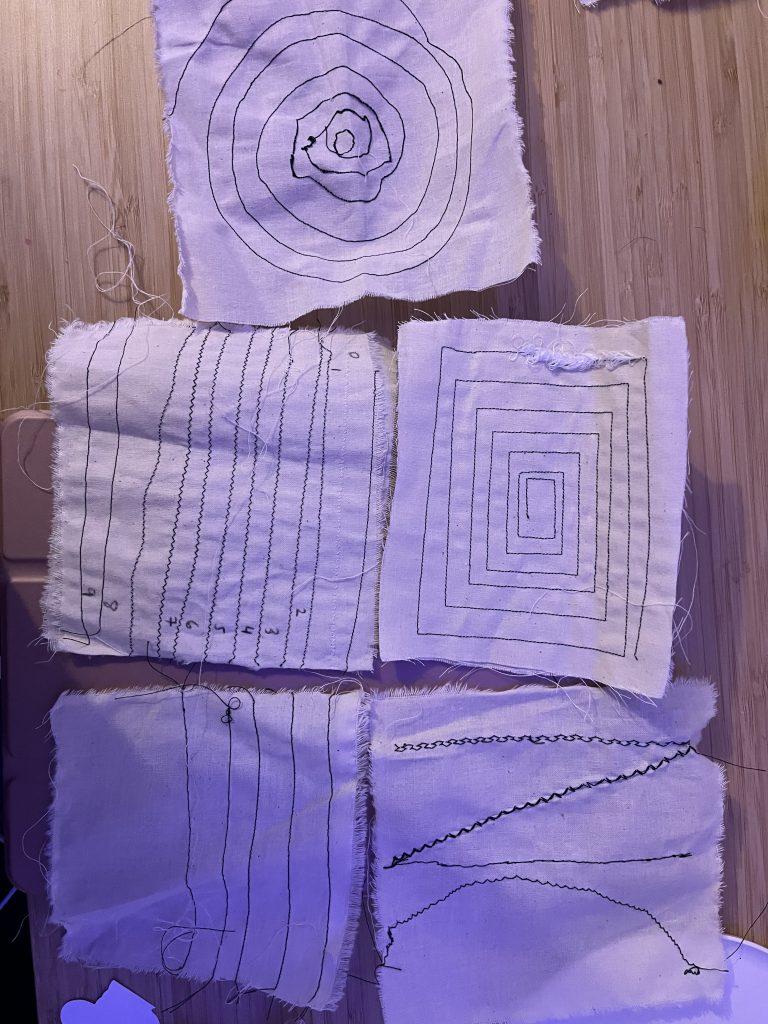
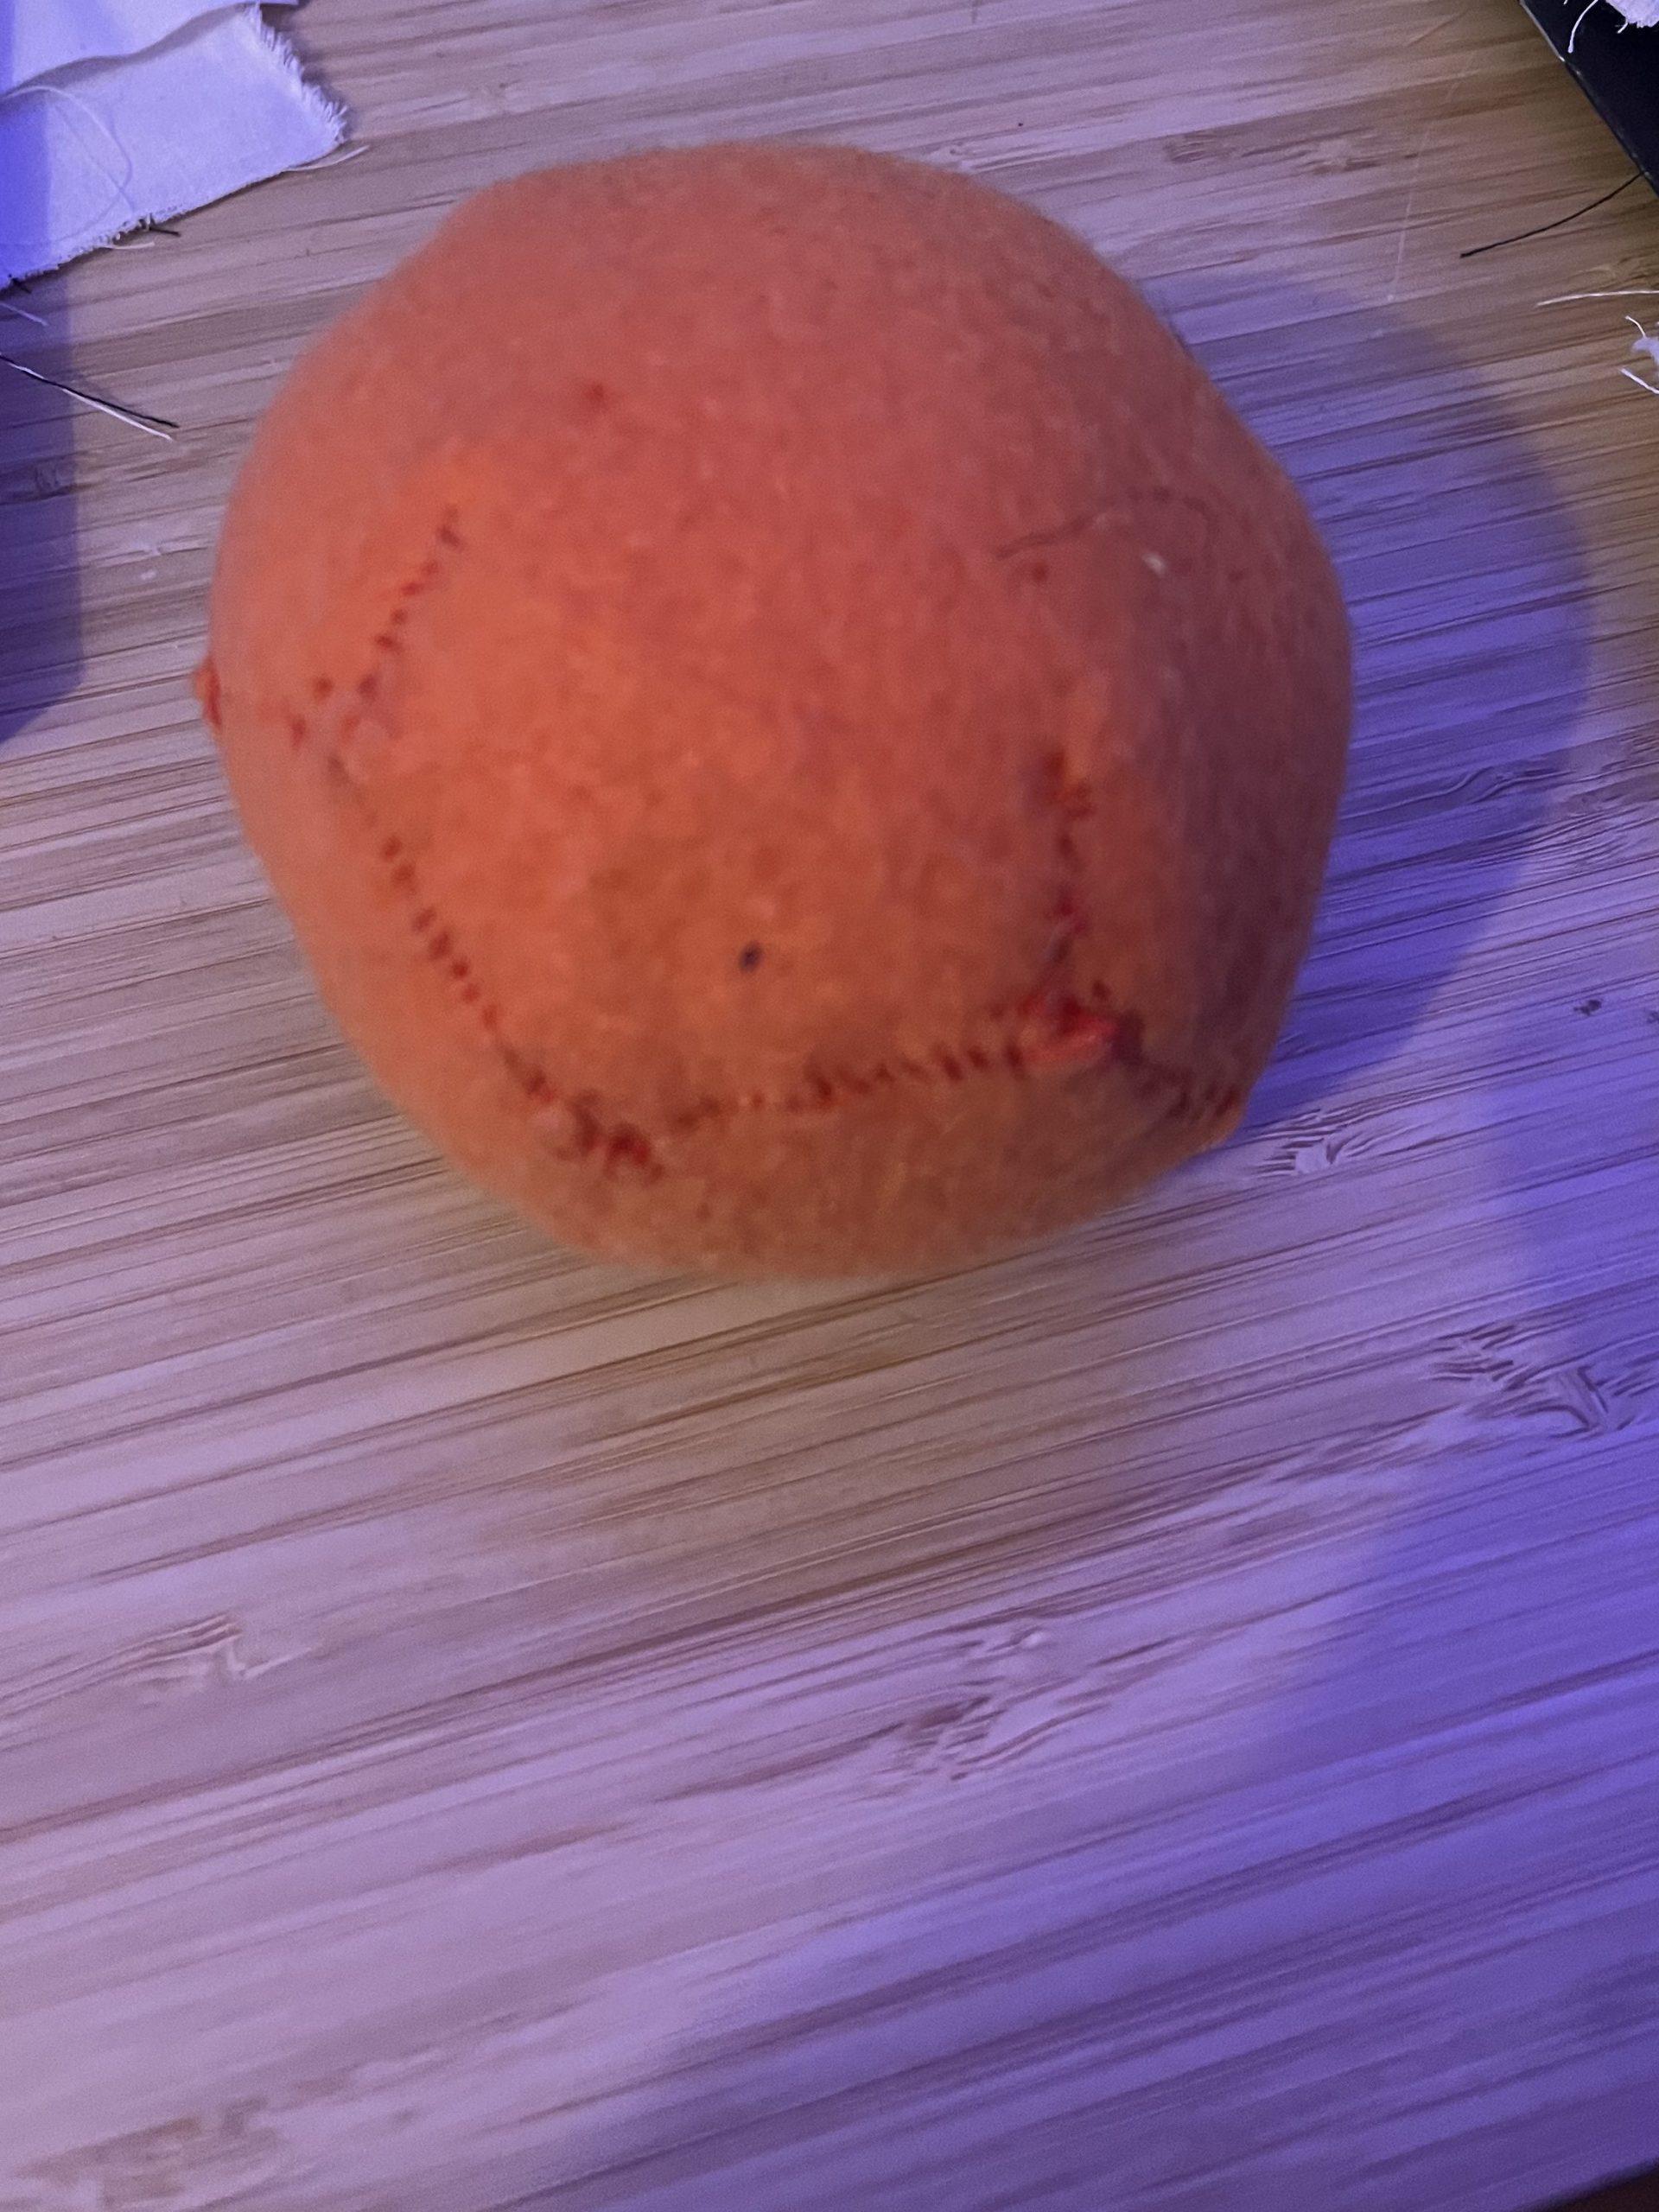
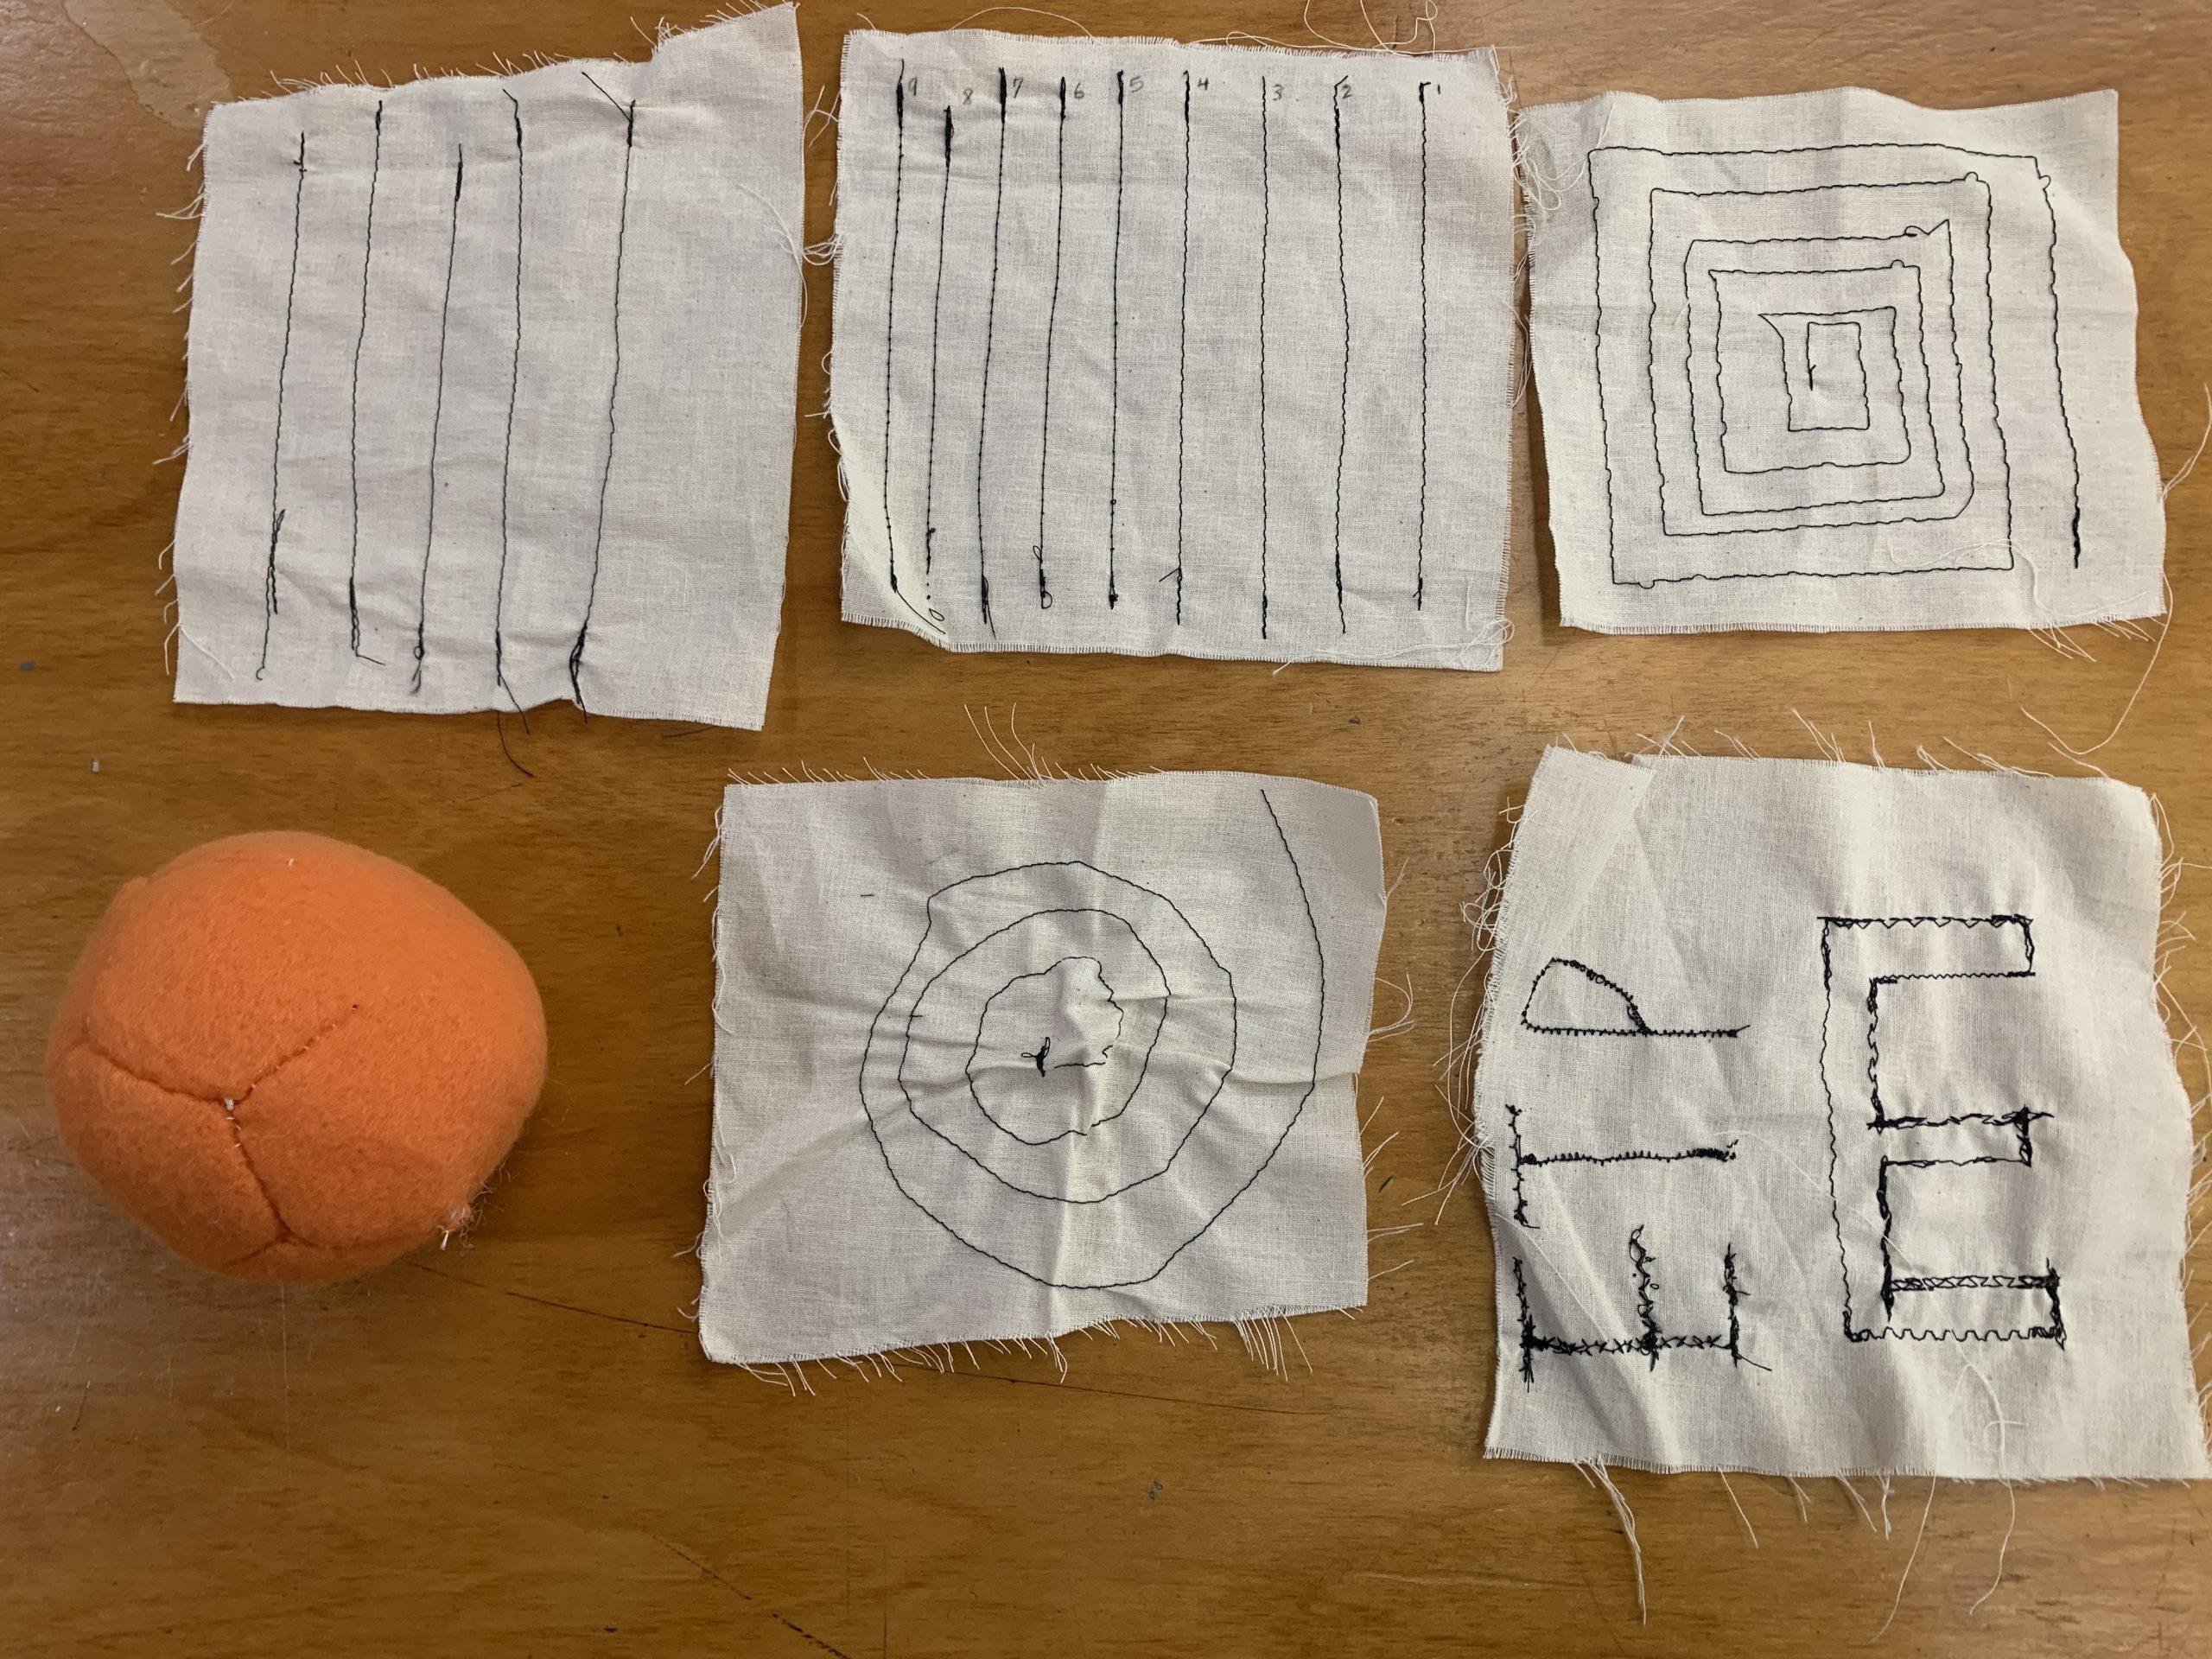
Sewing samples and ball:

Improvisation Inflatables – Adrienne Wang

For this project, I wanted to experiment with how different shapes could come together with straight or curved edges. For my three inflatables, I constructed them using different kinds of seams and different colors of plastic. Throughout construction, I took risks in not knowing what the final structure would look like, but also focused on making sure it could inflate with air in the end.

Inflatable #1:

For my first inflatable, I cut two layers of a white plastic bag into an abstract shape with smooth round edges. Instead of connecting these two pieces directly together, I used an equal-width strip to connect them and add more volume. I found it challenging to use the double-sided tape to connect curved edges, since I could only use a very small strip of tape at a time to maintain the curved shape.

Inflatable #2:

For my second inflatable, I experimented with connecting many smaller pieces of plastic to create a larger structure. I began with cutting small circles and then folded each circle into equilateral triangles. I used tape to connect the straight edges of the triangles together while leaving the round edge of the circle exposed outside of the seam. I discovered that triangles are a very versatile shape in making 3D structures, since not only were they easier to put together, but also inflated easily into this final structure.

Inflatable #3:

I approached my third inflatable by challenging myself with using one continuous piece of plastic cut in an abnormal shape to create a structure. I cut pink plastic in a continuous spiral and reconnected the spiral on an angle to create a 3D structure. I was surprised by how much this structure expands when inflated with air because of the layers of the spiral. This structure also reminded me of candy after construction, so I decided to use a longer straw to complete its resemblance to a lollipop.

Improvisation Inflatables – Neha Choudhari

For my first inflatable, I wanted to explore cylinders and round shapes. I immediately noticed that using a rectangular heat press to seal round shapes meant sealing them at many different angles to cover the circumference. Other than working with round shapes, I also wanted to use bright colors like white and yellow to see if the light would pass through them.

When I placed this inflatable to get light from a nearby window, I saw that the light passed through the bright sections and almost the entire inflatable was illuminated. As shown in the video below, the light passing through the warm colored plastic also exposed all of the areas I taped and heat sealed.

For my second inflatable, I wanted to make something that resembled something we see in everyday life. I also wanted to experiment with heat-sealing harsher edges and corners, as opposed to rounded shapes. Using yellow duct tape, I made the body and the neck of the bee, and heat-sealed it with strips of yellow and black plastic bags. I then went with the yellow duct tape to patch remaining holes.

Inflating the bee was evidence that inflatables aim to conform to spherical/round shapes. Even though the body of the bee was rectangular, the air in it made it swell up on the sides and resemble a cylinder. Also, I’m not sure if it was because the shape was narrow or because there were holes, but this inflatable deflated quicker than the others I made.

For my last inflatable, I wanted to explore random shapes using the scraps of the plastic bags I used for my other inflatables. My method was attaching random segments of the plastic bags together (some with heat seal and some with tape) and then trying to wrap it around to make it 3D. This was a lot harder than I thought it would be because a lot of the jagged shapes I cut did not properly attach to each other without gaping holes. I eventually pieced it together by overlapping pieces and using tape to cover holes.

I really liked how on the back of this inflatable, extra plastic remaining after heat sealing created a border-like outline around the inflatable. I also liked how it looked like a patchwork design because of all the different colors.

Overall, this assignment was a great way to use our creativity to explore different shapes of inflatables. I’m super excited to continue exploring and developing my skills!

Also, these are my sewing samples:

Improvisation Inflatables – Elisa Pinkowitz

For this improvisation inflatables assignment, I approached each of my inflatables in a different way. I began with an idea in my mind for my first inflatable to see if I could achieve what I expected my inflatable to look like. For my second inflatable I picked one shape cut in different sizes and saw what I would end up with if I attached the pieces in a random pattern. For my third inflatable I decided to cut all my pieces to the same size and shape and see what would happen if I interlocked the pieces in a random way. For each of the inflatables, I decided to work with only two colors to see how the colors worked together when blown up.

Inflatable 1: Beach Ball?

Visual Portfolio, Posts & Image Gallery for WordPress

For my first inflatable, I was inspired by a beach ball. I wanted to have a plan for the inflatable to see if my plan came to fruition once I attached all the pieces together. I had six rectangular strips plus two circular pieces to match all the beach balls I have seen. What I discovered is that my circular pieces were too small compared to the rectangular pieces so I ended up more with an ellipsoid than a sphere. I attached the rectangular pieces to the circular ones in a spoked pattern and discovered the difficulty with attaching the rectangular pieces together since they were not lined up end to end. Once everything was attached including the circular pieces at either end, I noticed that my inflatable wouldn’t inflate. Due to the different shapes, the attachment wasn’t perfect and I ended up with small gaps that made it so the inflatable wouldn’t blow up. After some patchwork, it ended up working. I learned to embrace the unknown of the inflatables. While I expected to have a beach ball shape at the end, I’m glad I ended up with an ellipsoid because it embodies the element of surprise that sometimes occurs when an inflatable goes from flat to being blown up. 

Inflatable 2: Triangles

Visual Portfolio, Posts & Image Gallery for WordPress

For my second inflatable, I decided to create different sized triangles and attach them together. I started by attaching them flat on the table, and then moved to picking random pieces across from one another to attach together. I never knew where the shape of the object was going and entirely trusted the process on this one. The biggest challenge was after I started making the object three-dimensional, it was hard to avoid gaps when trying to close the inflatable. Once I moved past this obstacle, I was surprised to see an inflatable that somewhat resembles a boat. When the inflatable was flat, I would have never guessed it would end up boat shaped. I believe this is the true beauty of inflatables, they can surprise you at every stage of the process. 

Inflatable 3: Weaving

Visual Portfolio, Posts & Image Gallery for WordPress

For my final inflatable, I cut multiple same sized rectangular strips. My idea here was to weave the rectangular stips through one another to see how it would affect the entirety of the inflatable. My hypothesis was the inflatable would blow up in multiple sections instead of all at once. The first challenge I hit in this was ensuring the inside of the inflatable was open between sections so the entirety of it could be blown up. On the contrary, I also had to locate every small spot on the outside to make sure there were no holes to let air escape. The next challenge was actually blowing up the inflatable. To get the entire thing to inflate would use a lot more air than my human lungs could provide. To mitigate this, I added multiple straws and blew up the inflatable from multiple different sides. In the end, I watched as a straw in one section ended up also blowing up other sections. Until it actually was blown up, I was unsure if this weaving pattern would actually work or if I would accidentally be blocking off areas from being blown up. 

Overall, I feel each of these inflatables showcased my creativity in different ways. I was able to explore different techniques to create three distinctly different and unique inflatables. 

Sewing Samples:

6 Sewing Samples: Straight Stitch, Tension Test, Square Spiral, Orange Ball, Spiral, Initials