![[OLD FALL 2020] 15-104 • Introduction to Computing for Creative Practice](https://courses.ideate.cmu.edu/15-104/f2020/wp-content/uploads/2021/09/stop-banner.png)
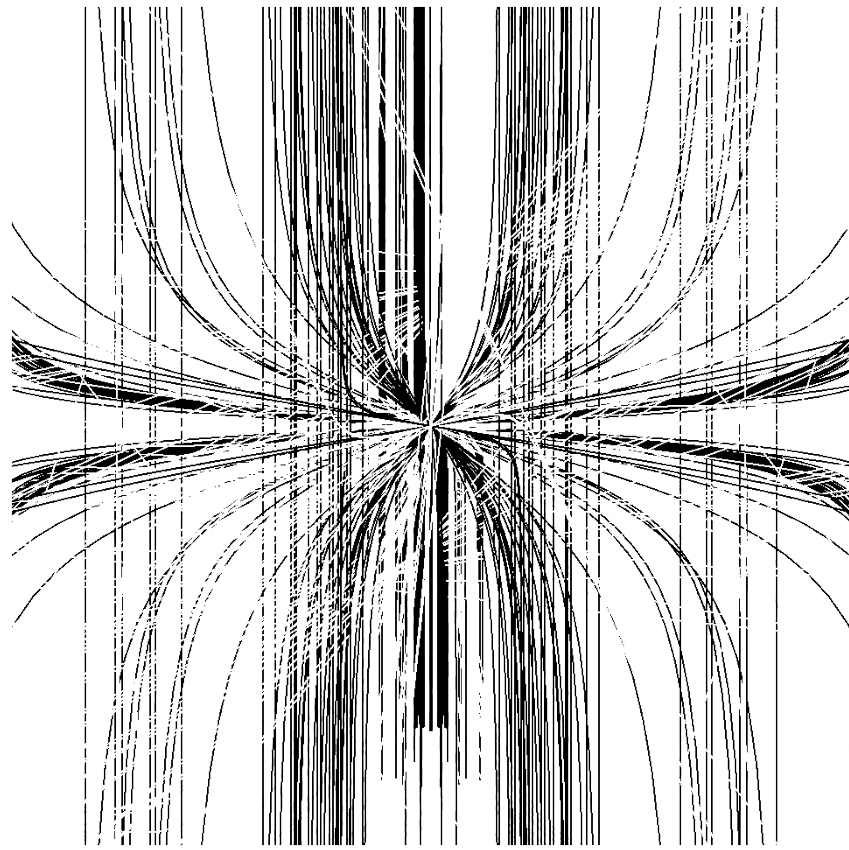
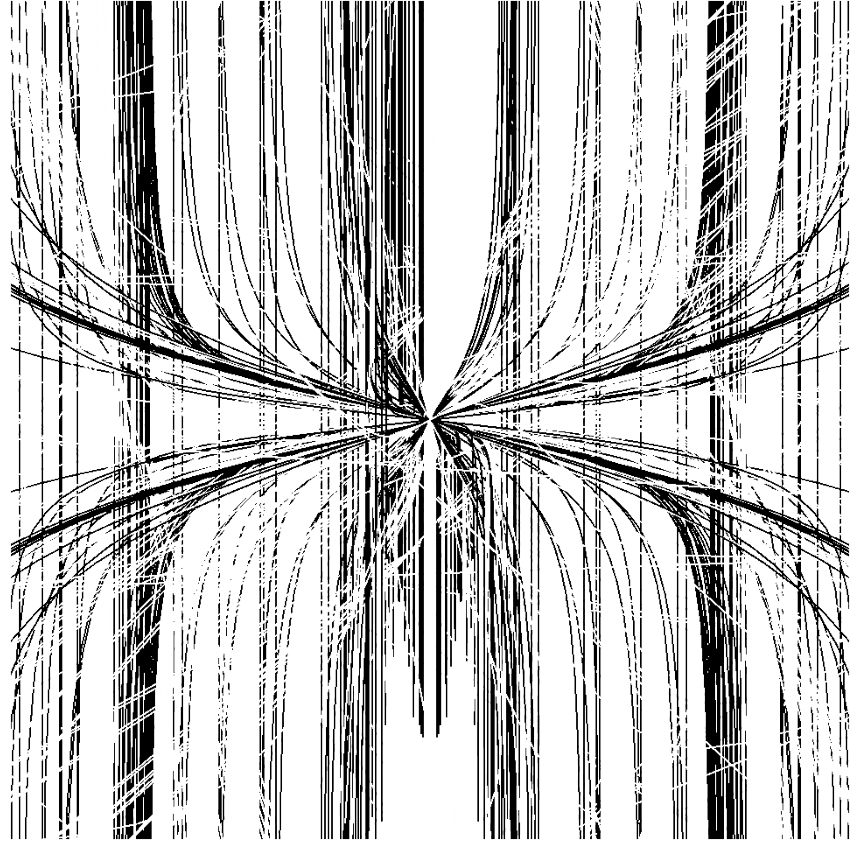
Move your mouse and be patient to generate curves, and try wiggling your mouse in the same spot to build up contrast areas!
function setup() {
    createCanvas(480, 480, WEBGL);
    angleMode(DEGREES);
    noFill();
    translate(240,240);
}

function draw() {
//draws black lines
   drawBulletNoseCurve();
//draws white lines to create 'gaps', that spins
   for(let j=0; j<360; j++){
   push();
   stroke(255);
   fill(255,255,255,50);
   rect(-240,-240,480,480,10);
   noFill();
   rotate(mouseY);
   drawBulletNoseCurve();
   pop();
   }
}

function drawBulletNoseCurve(){
    var x;
    var y;
    var a=mouseY/10;
    var t;
    var b=mouseX/50;
//vertical orientation curves
    beginShape();
    for(var i=0;i<100; i++){
         var t = map(i, 0, 100, 0, 200);
        x=a*cos(t);
        y=b*(cos(t)/sin(t));
        vertex(x,y);
    }
    endShape();
//horizontal biased
    beginShape();
    for(var i=0;i<100; i++){
        var t = map(i, 0, 100, 0, 400);
        x=10*-a*cos(t);
        y=10*b*(cos(t)/sin(t));
        vertex(x,y);
    }
    endShape();
}
I used the Bullet Nose curve to create my project. It uses both black and white layers of lines on a white line, so the white layers create ‘gaps’ or glitches in the black pattern, but it uses the bullet nose curve rotated around the origin to create them. I decided to create a separate function for drawing the curve, as I would use it for different purposes with different strokes. The mouse position helps determine the width of the asymptote portions of the curves, as well as the severity of the curve (how flat the inner portion is). I also made the creative decision to have it build up or truly ‘draw’ instead of re drawing the background each time. This allows the user to see the history of the work and understand the curves and gaps better.