![[OLD FALL 2020] 15-104 • Introduction to Computing for Creative Practice](../../wp-content/uploads/2021/09/stop-banner.png)
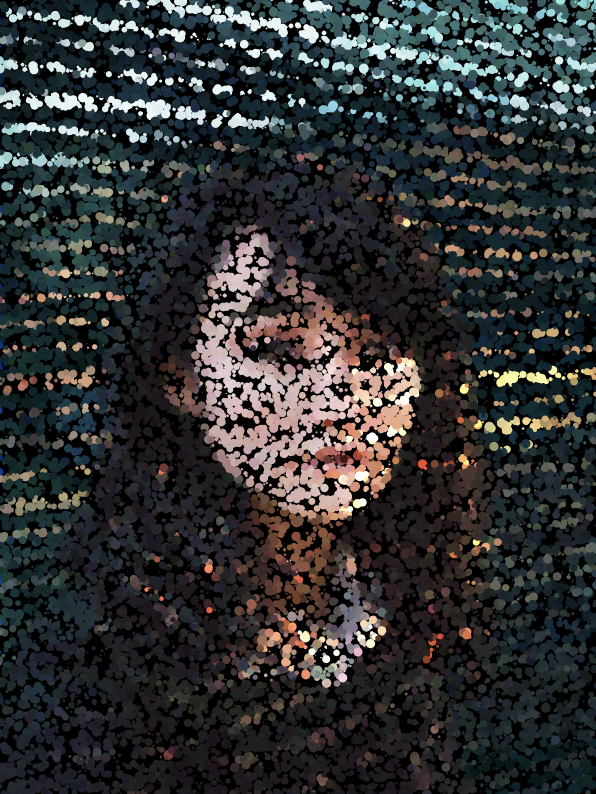
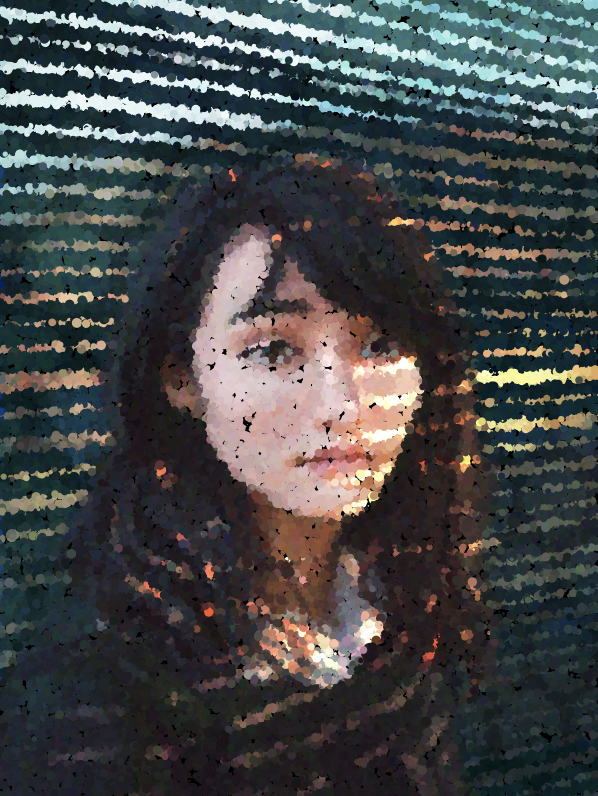
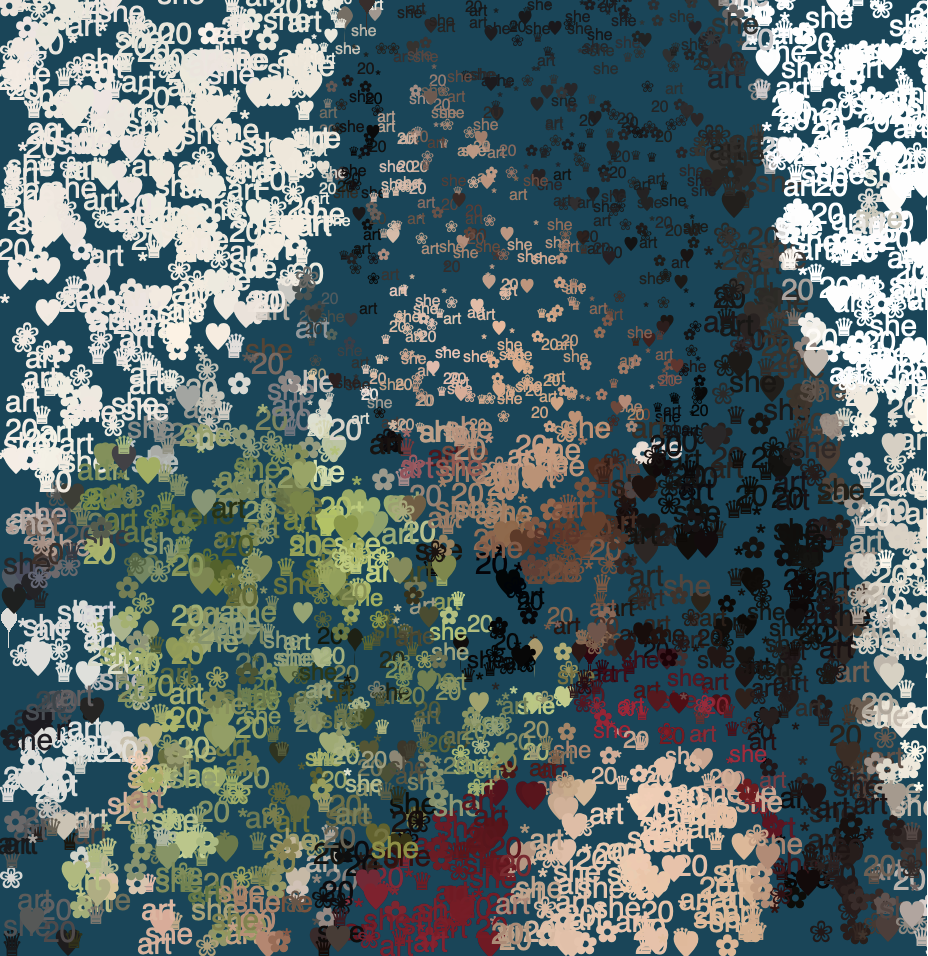
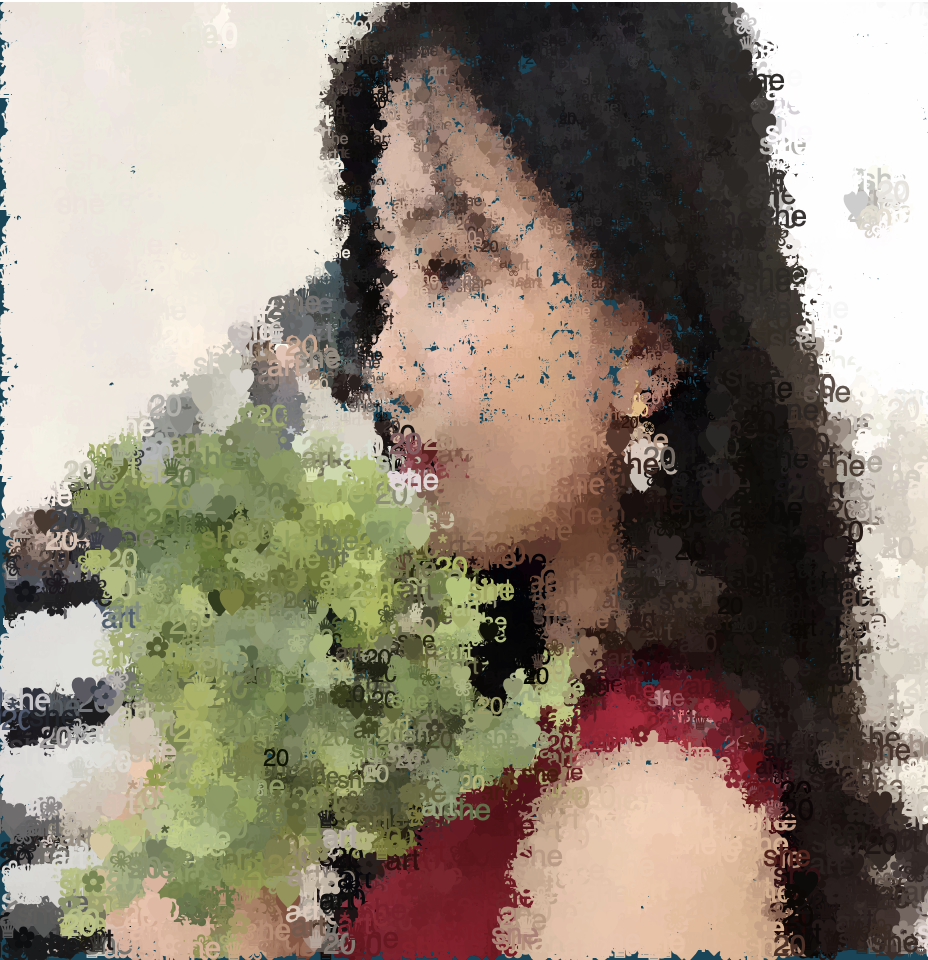
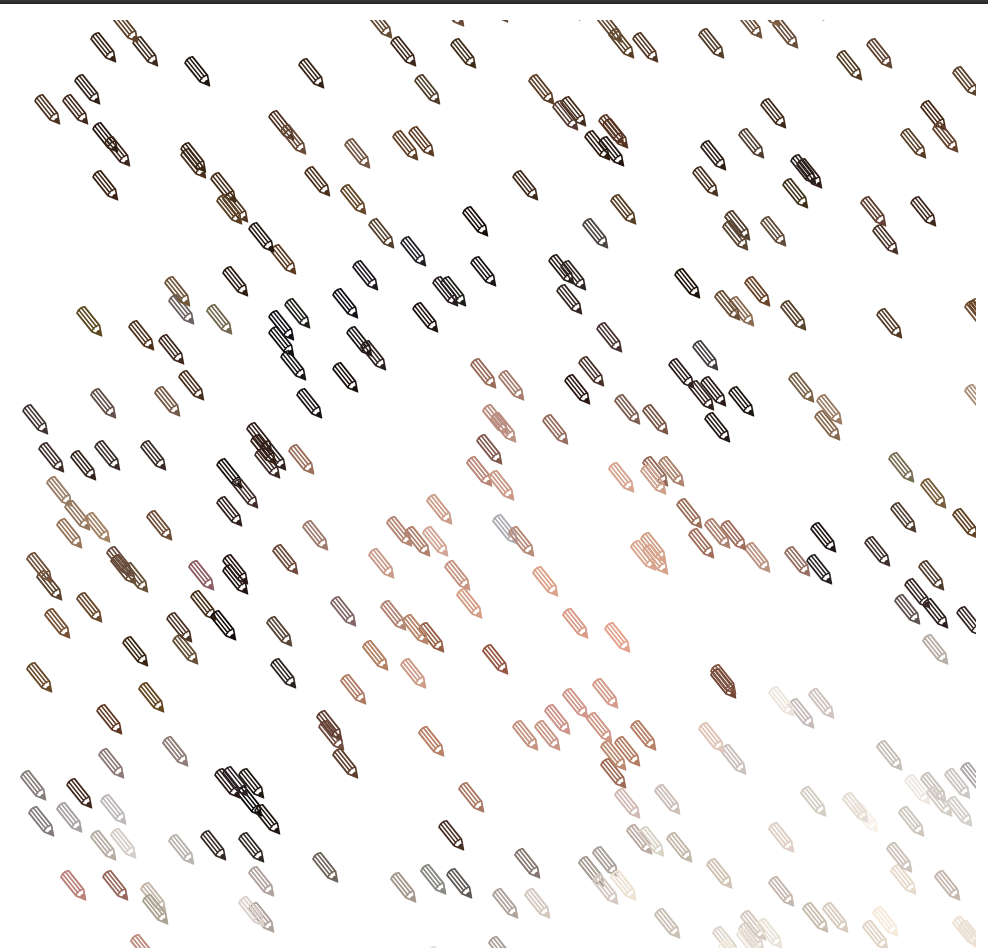
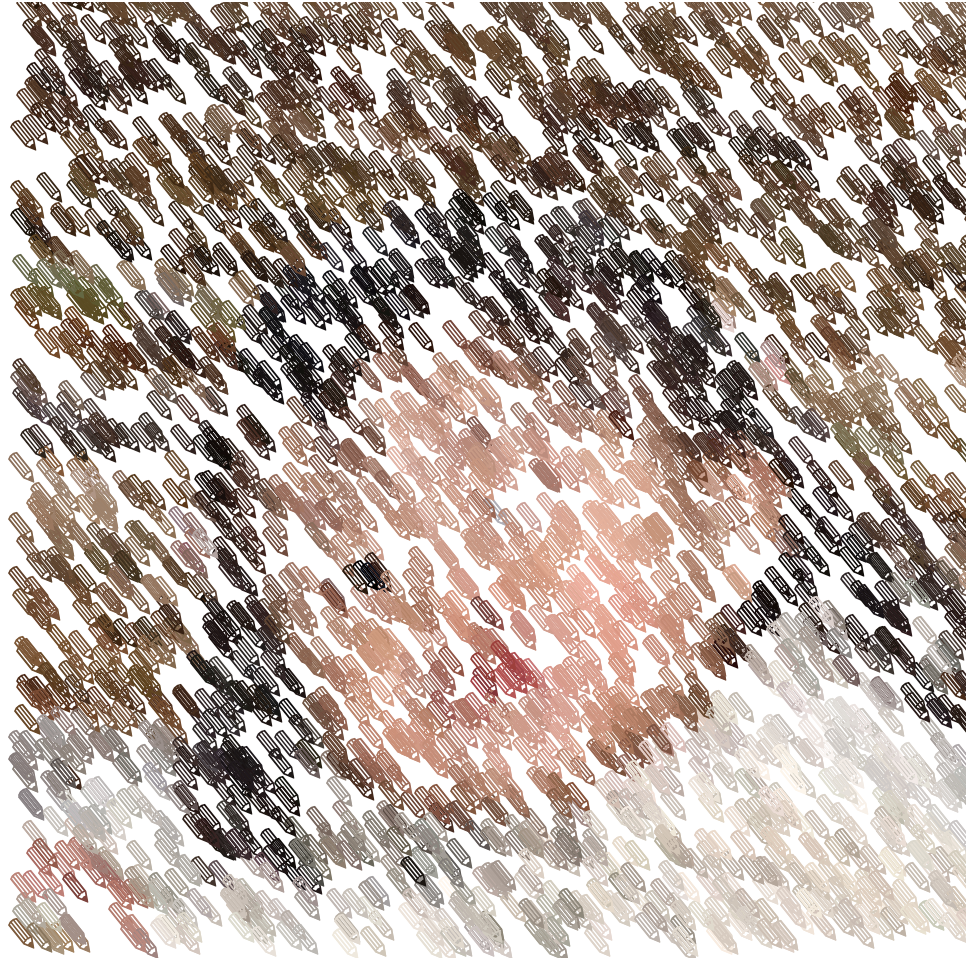
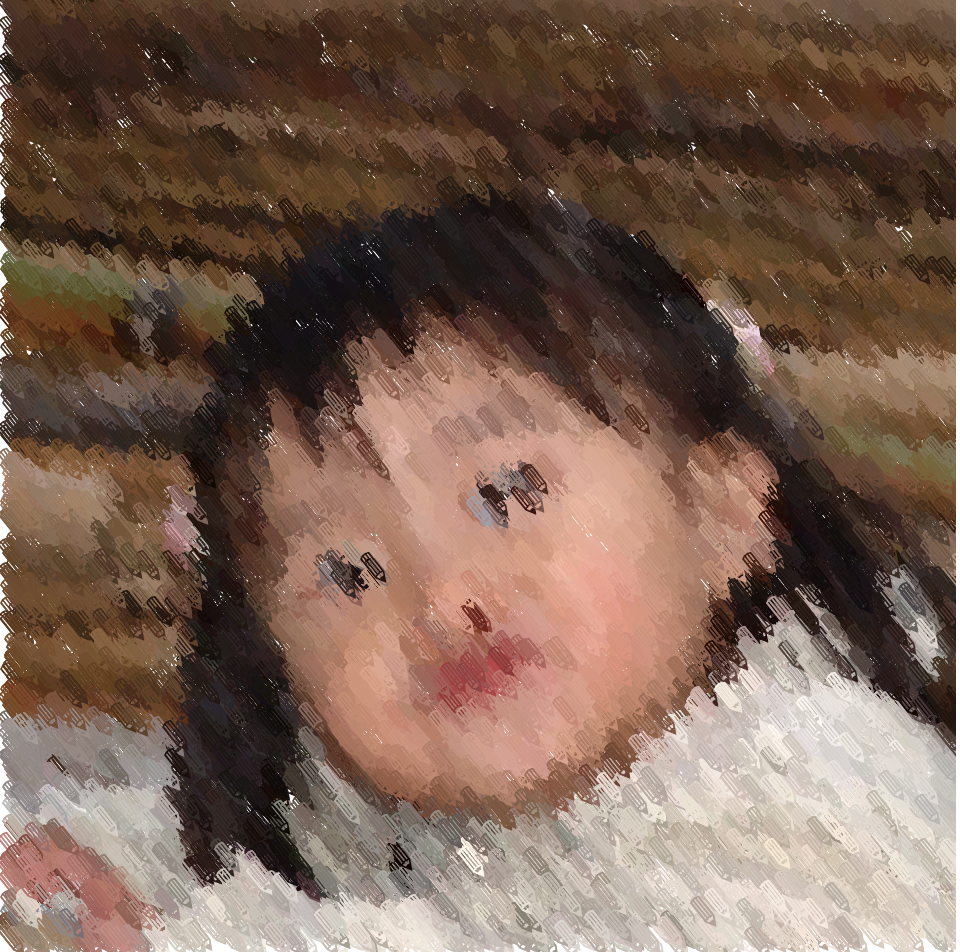
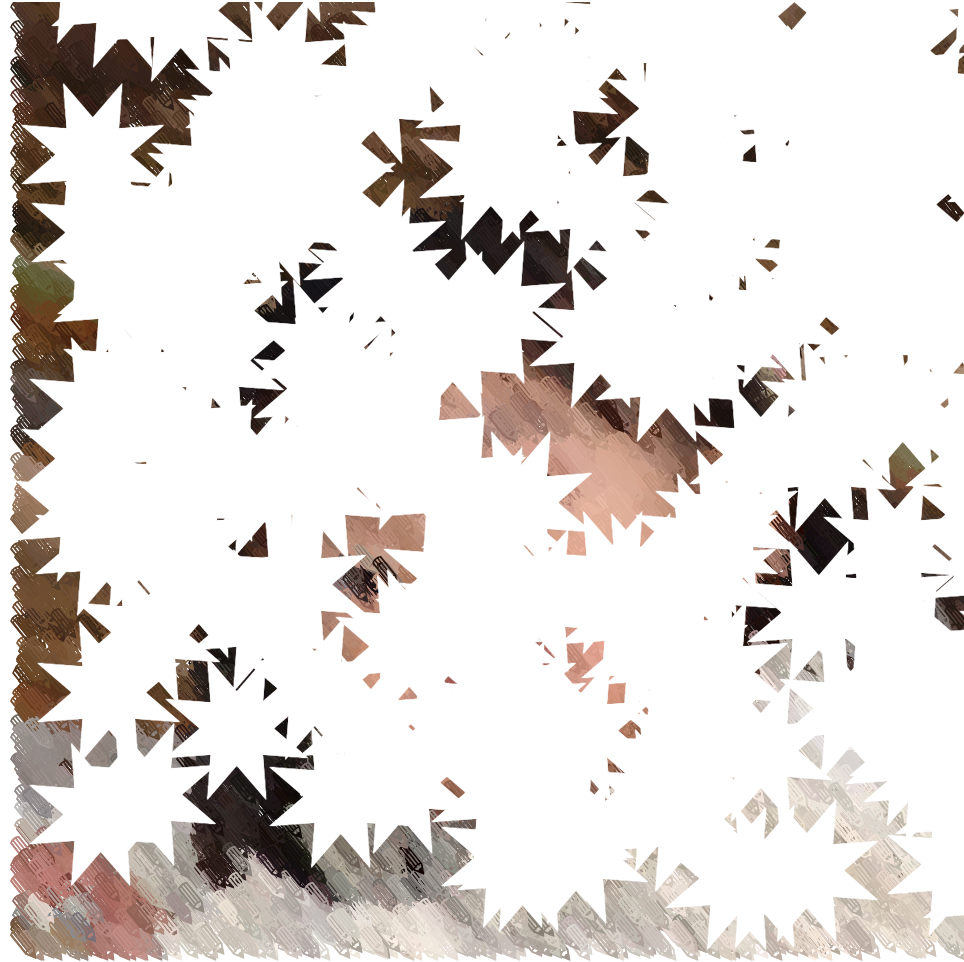
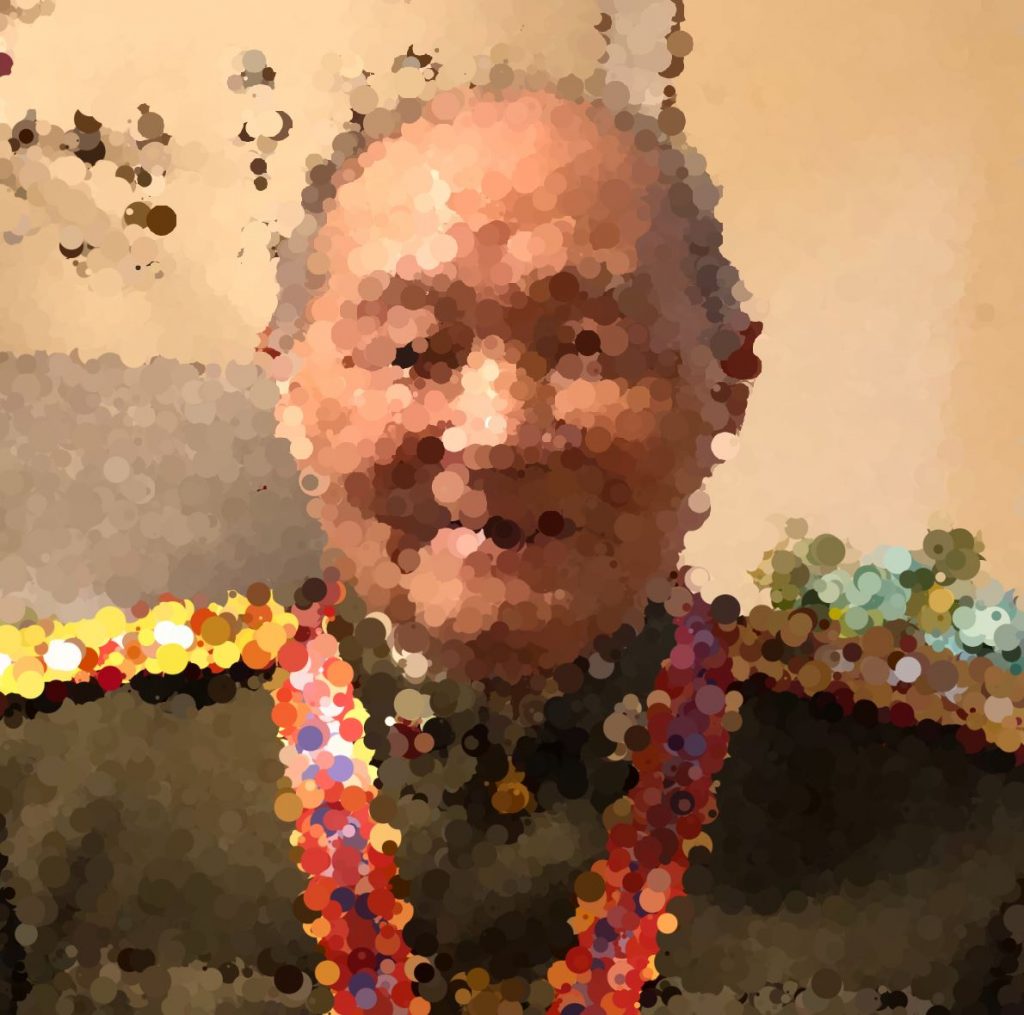
Painting
var strokeX = 7 //horizontal size of dots
var strokeY = 7 //vertical size of dots
var size = 7 //space between dots
var portrait; //my image
var painted = []; //the painted
var erased = []; //the erased area
var erasing; //boolen for whether or not erasing has been activated
var brushSize = 20 //defines what is "near mouse"
function preload(){
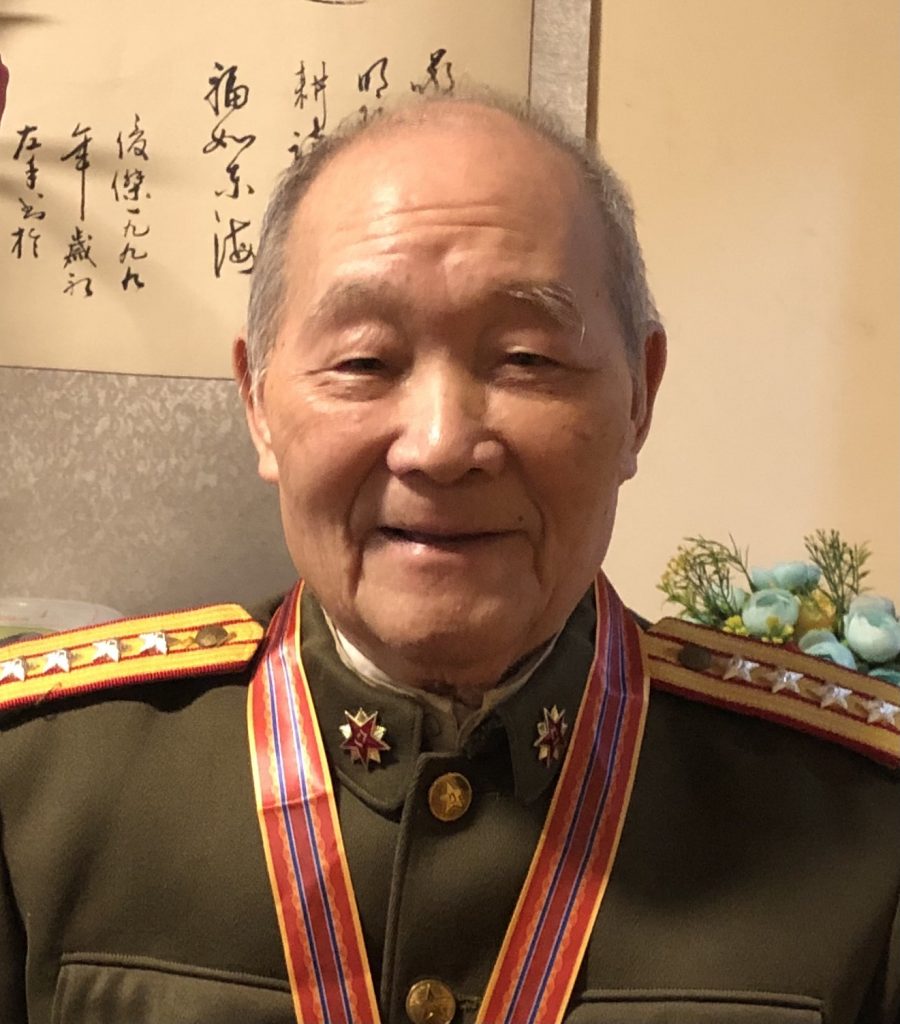
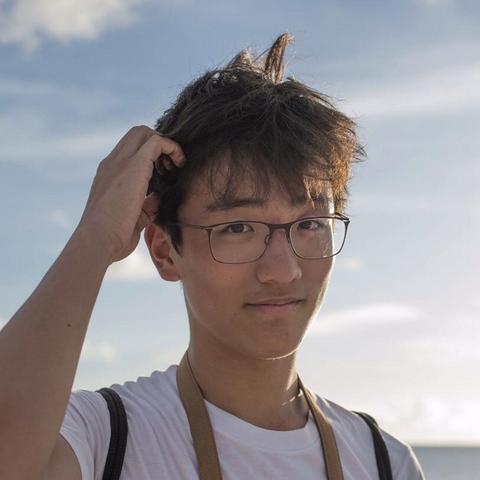
portrait = loadImage("https://i.imgur.com/iJq4Jtv.jpg") //loading imgur image into variable
}
function paint(){ //draw function for paint object
fill(portrait.get(this.x,this.y)) //calling the color at the certain image coordinate
ellipse(this.x,this.y,strokeX,strokeY) //drawing an ellipse at that coordinate
}
function erase(){
fill(255,241,175)
ellipse(this.x,this.y,strokeX,strokeY)
}
function makePaint(px,py){ //constructor for paint object
p = {x:px,y:py,
drawfunction:paint
}
return p;
}
function makeErase(ex,ey){ //constructor for erase objecg
e = {x:ex,y:ey,
drawfunction:erase
}
return e;
}
function setup() {
createCanvas(300, 400);
background(255,241,175); //beige
noStroke();
ellipseMode(CORNER); //ellipses defined by "corner"
}
function draw() {
background(255,241,175) //beige
for(i=0;i<painted.length;i++){ //display function for paint object
painted[i].drawfunction() //calling the draw function for the array of objects
}
if(mouseIsPressed){
for(x=0;x<=width;x+=size){ //for loop to set up dots
for(y=0;y<=height;y+=size){
if (nearMouse(x,y) == true){
if(erasing == false){
var p = makePaint(x,y)
painted.push(p)
brush(mouseX,mouseY)
}
if(erasing == true){
var e = makeErase(x,y)
painted.push(e)
eraser(mouseX,mouseY)
}
}
}
}
}
fill(128,88,43); //brown
rect(0,0,width,20); //drawing the border
rect(0,0,20,height);
rect(0,380,width,20);
rect(280,0,20,height)
fill(255);
textSize(7);
text('Press P and Drag to Paint',20,13); //instructions
text('Press E and Drag to Erase', 195,13);
text('Press A to paint abstractly',20,391);
text('Press R to paint realistically',190,391);
text('b for smaller brush',120,8);
text("B for bigger brush", 120,15);
}
function nearMouse(x,y){
if (dist(x,y,mouseX,mouseY)<brushSize){ //if the mouse is within "brush size" of given x and y coordinates
return true;
}
return false;
}
function brush(x,y){ //drawing the paintbrush
push();
rectMode(CENTER);
fill(222,184,142); //light brown
rect(x,y+20,15,70); //the handle
ellipseMode(CENTER);
if(mouseIsPressed){
fill(portrait.get(x,y)) //fill with color of image coordinate that it is above
}else{
fill(0) //fill black is not pressing
}
ellipse(x,y-5,20,12) //the brush
triangle(x,y-25,x-10,y-5,x+10,y-5)
pop();
}
function eraser(x,y){
push();
rectMode(CENTER);
fill(245,116,240) //pink
rect(x,y,30,40) //eraser shape
pop();
}
function keyPressed (){
if(key=="a"){
strokeX = random(5,100) //pick random shape of the dots, and random seperation
strokeY = random(5,100)
size = random(0,5)
}
if(key=="r"){ //shrink the dots and space between
strokeX = 2
strokeY = 2
size = 2
}
if(key == "B"){
brushSize +=5 //increase the brush size (more dots included in nearmouse function)
}
if(key == "b"){ //decrease brush size (less dots included)
brushSize -=5
}
if(key == "p"){
erasing = false //not erasing (painting)
}
if(key =="e"){
erasing = true //erasing (not painting)
}
}