![[OLD FALL 2020] 15-104 • Introduction to Computing for Creative Practice](https://courses.ideate.cmu.edu/15-104/f2020/wp-content/uploads/2021/09/stop-banner.png)
project07-curves
/*
Lauren Kenny
lkenny@andrew.cmu.edu
Section A
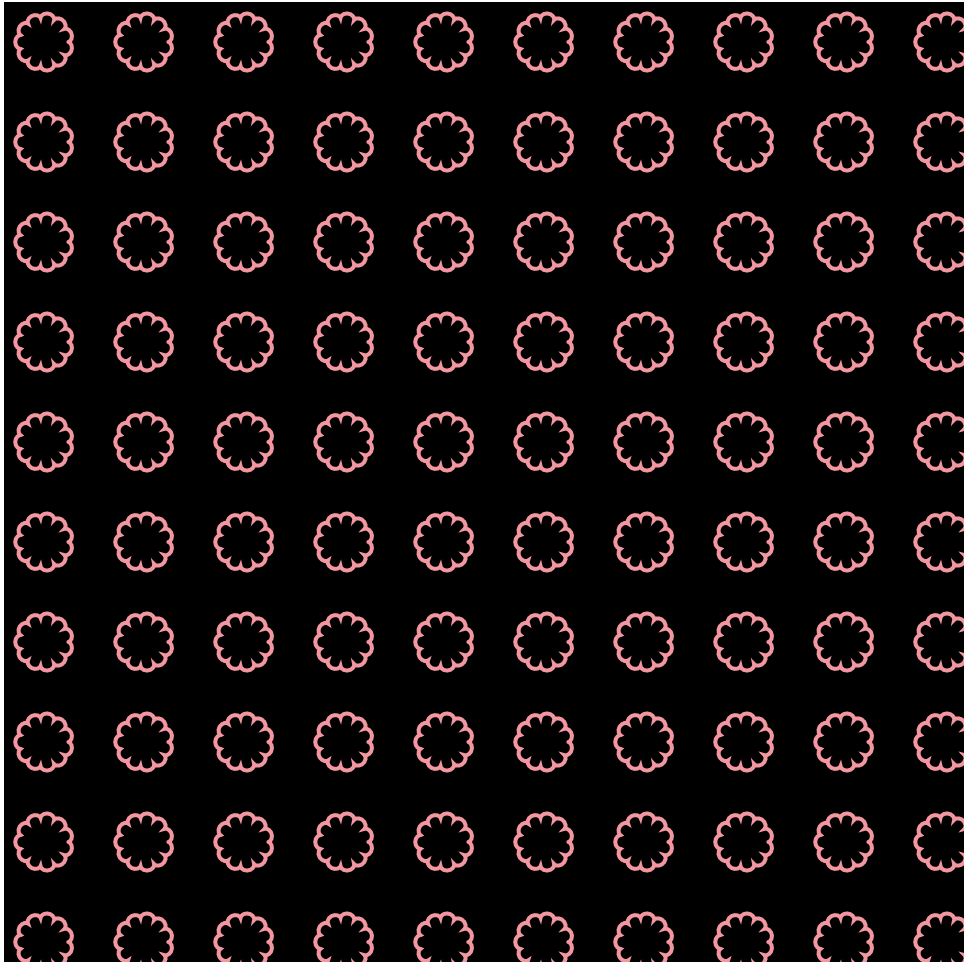
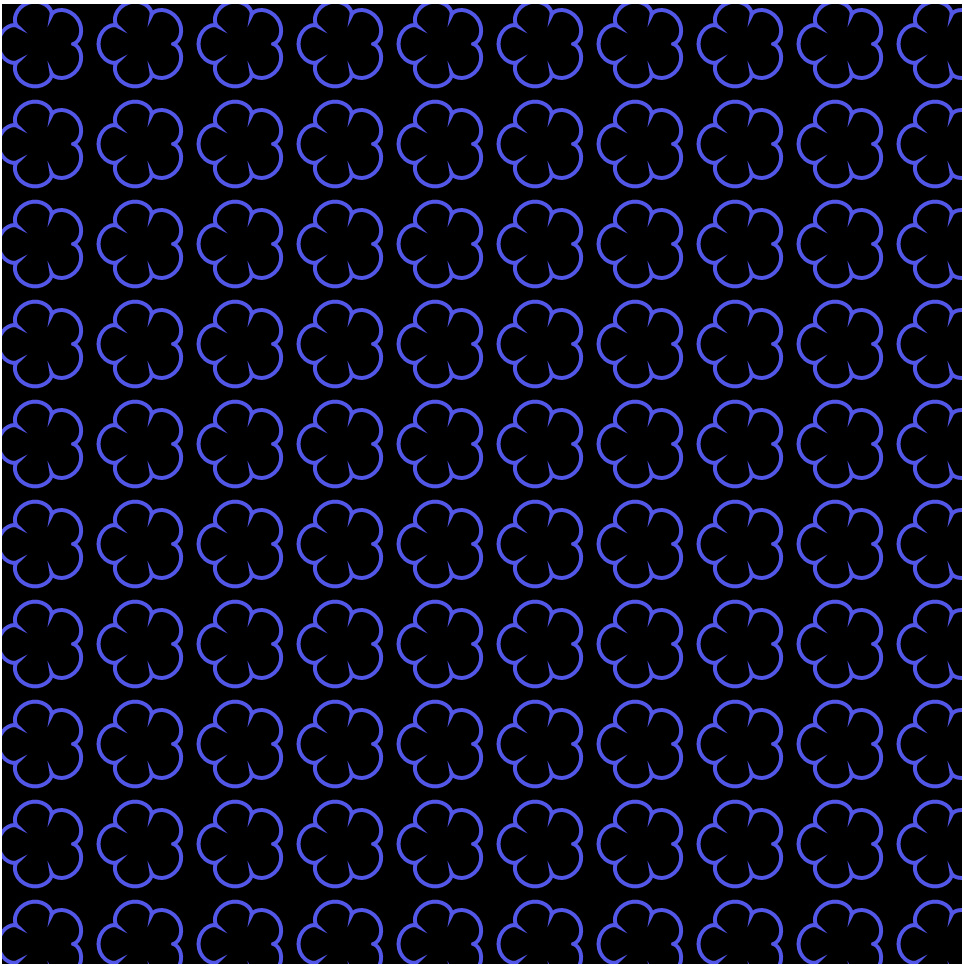
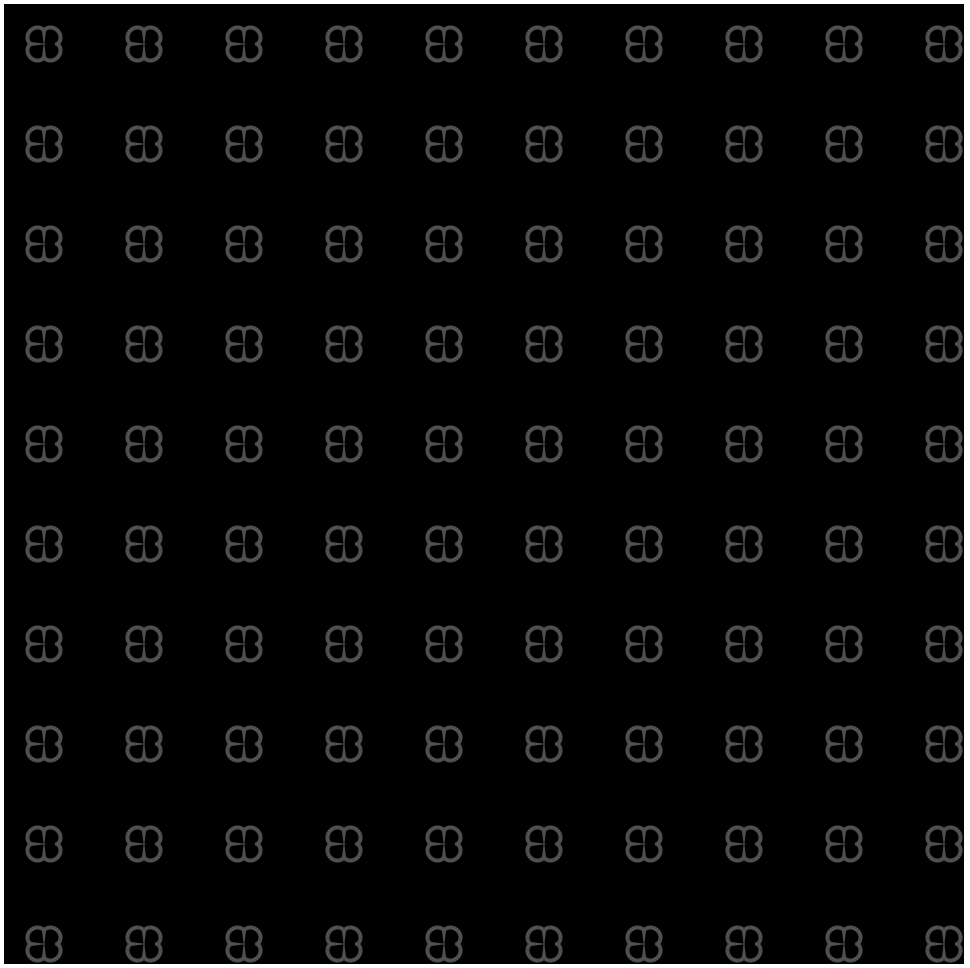
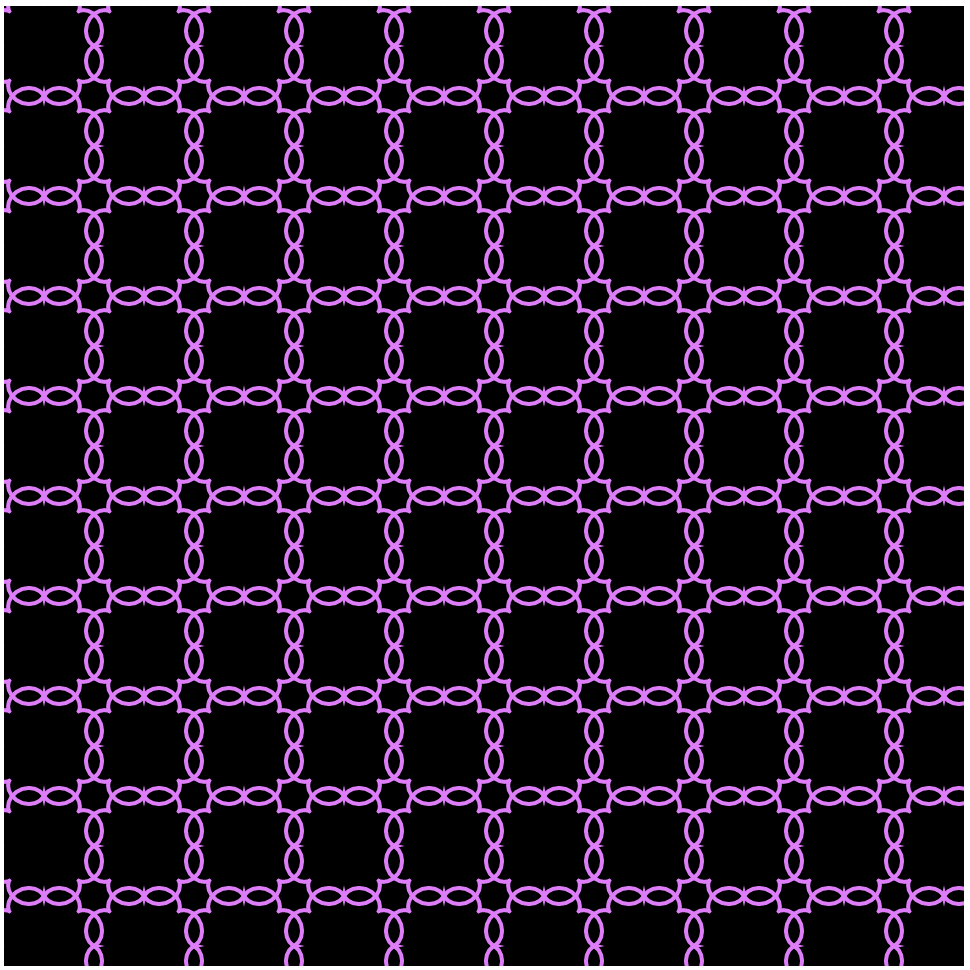
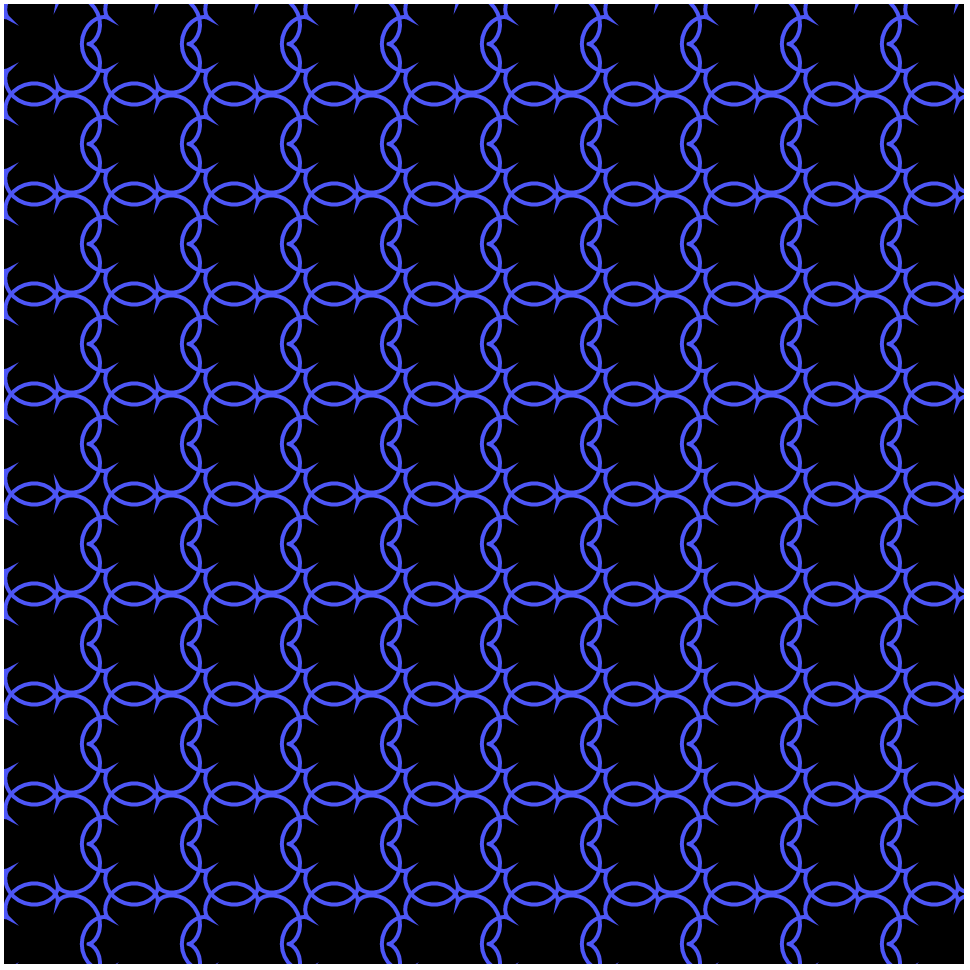
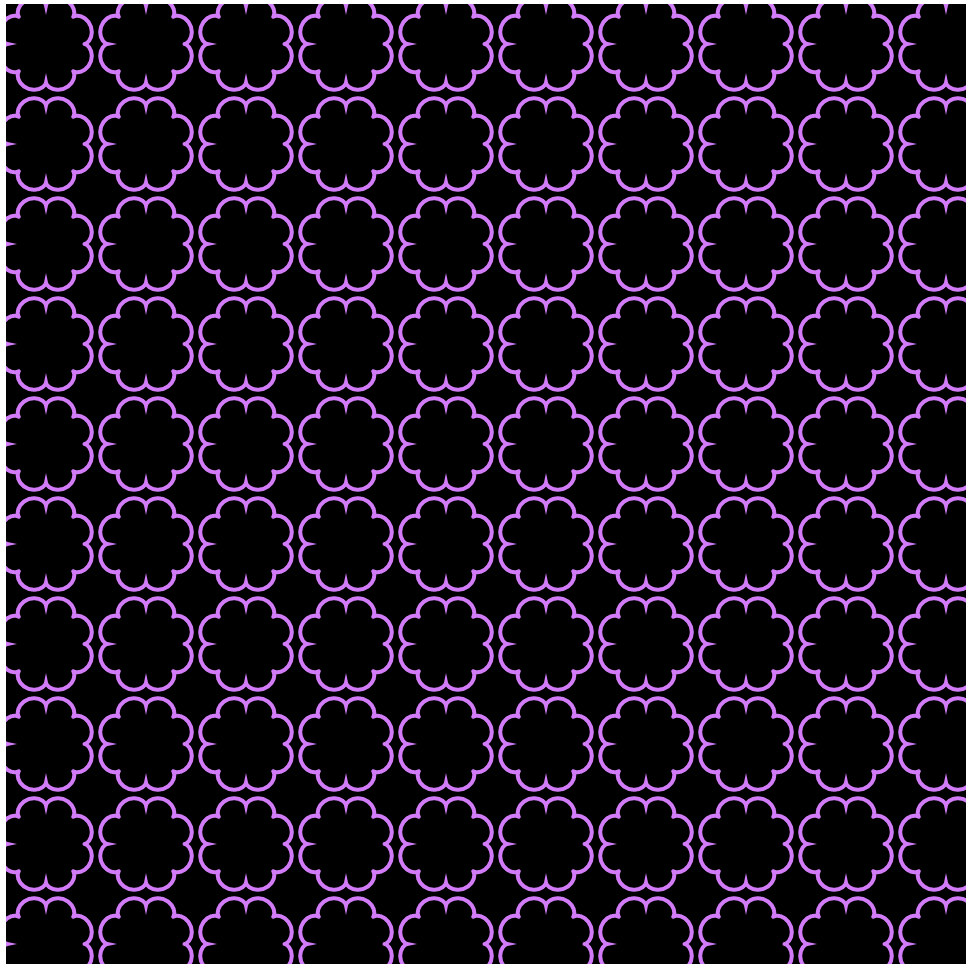
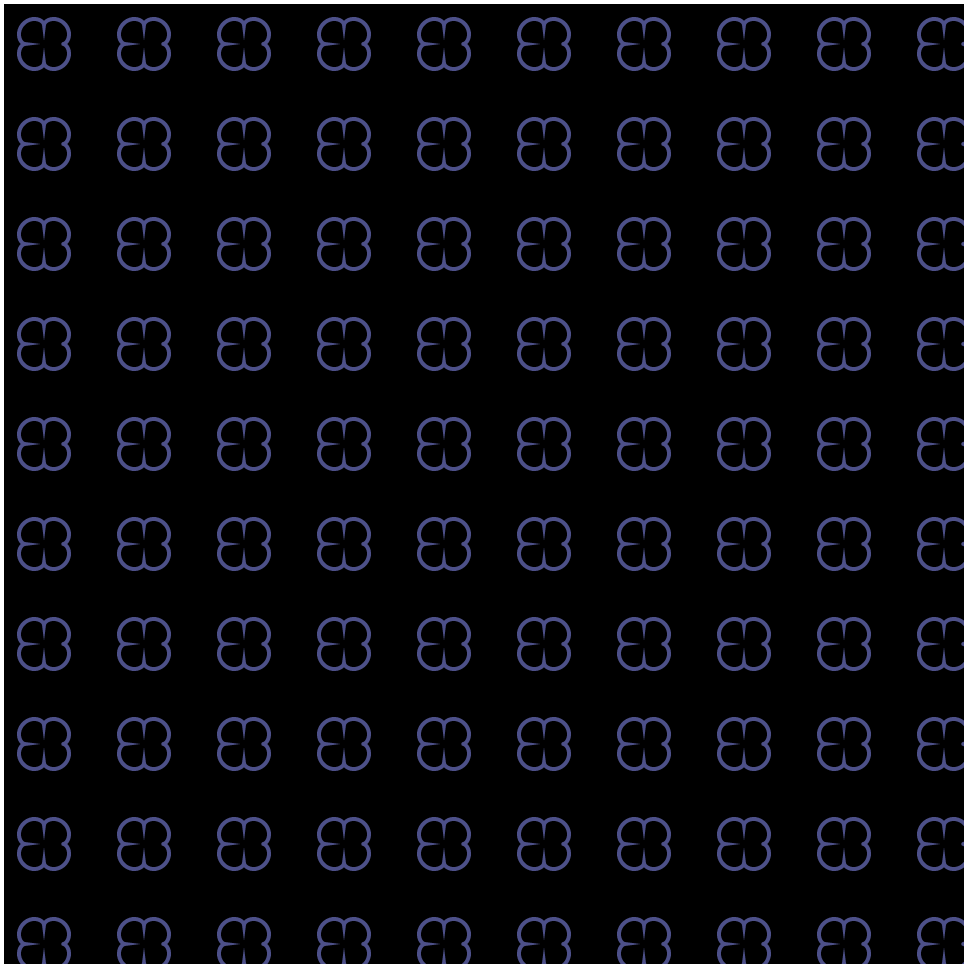
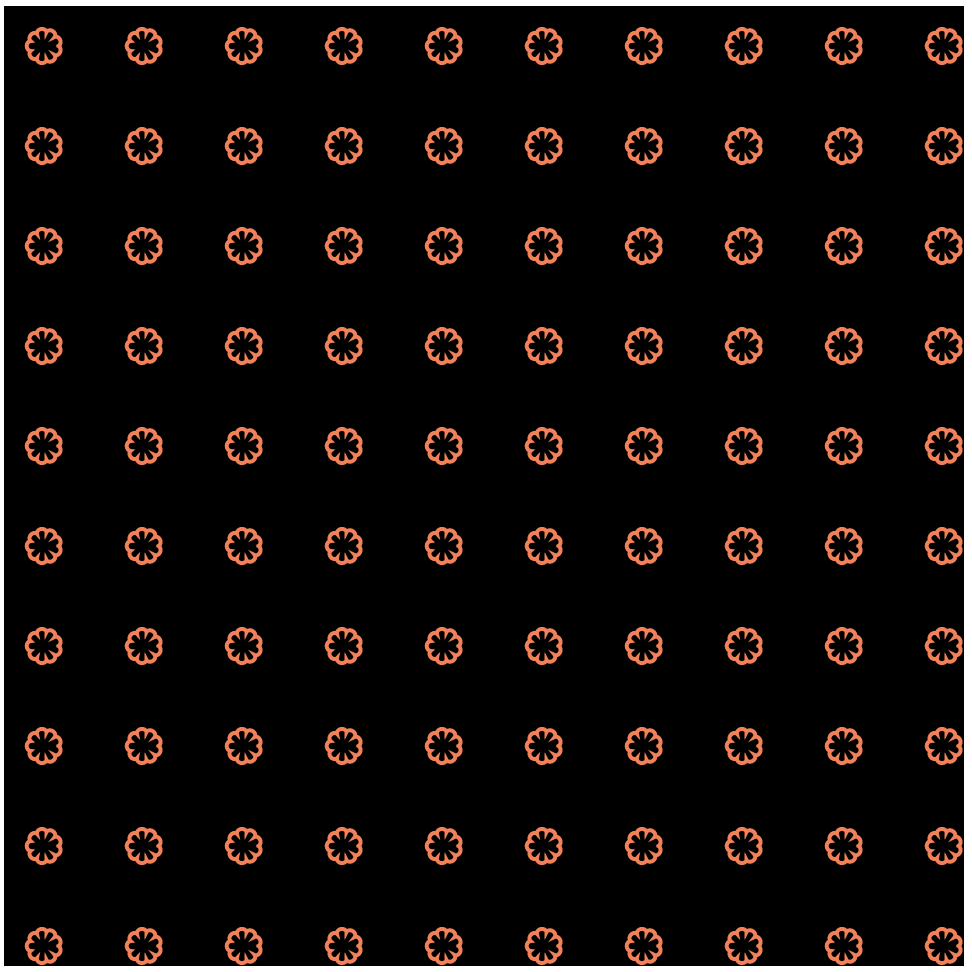
This program draws a grid of Epicycloids.
Functions for this shape where adapted from
https://mathworld.wolfram.com/Epicycloid.html.
*/
//sets up the canvas size and initial background
function setup() {
createCanvas(480, 480);
background(220, 100, 100);
}
//draws a grid of epicycloids
function draw() {
translate(20, 20);
background(0);
strokeWeight(2);
noFill();
//color changes with mouse position
//red and green change with y position
//blue changes with x position
var r=map(mouseY, 0, height, 80, 255);
var g=map(mouseY, 0, height, 80, 120);
var b=map(mouseX, 0, width, 80, 200);
for (var row=0; row<width-20; row+=50) {
push();
for (var col=0; col<height-20; col+=50) {
stroke(r, g, b);
drawEpicycloid();
translate(0, 50);
}
pop();
translate(50, 0)
}
}
//draws a singular epicycloid
function drawEpicycloid() {
var minPetal=6;
var maxPetal=10;
var minSize=4;
var maxSize=8;
//number of petals increases as y position of mouse increases
var numPetals = int(map(mouseY, 0, height, minPetal, maxPetal));
//size of shape increases as x position of mouse increases
var size = (map(mouseX, 0, width, minSize, maxSize))/(numPetals/2);
beginShape();
for (var i=0; i<100; i++) {
var t = map(i, 0, 100, 0, TWO_PI);
var x = (size * (numPetals*cos(t) - cos(numPetals*t)));
var y = (size * (numPetals*sin(t) - sin(numPetals*t)));
vertex(x, y);
}
endShape();
}
For this project I was really interested in the epicycloid because of the variation that could be added to the number of petals. In my program, I explored altering the number of petals in relation the mouse y position. I also added a variation in the size based on the mouse x position. It was fun to figure out through experimenting what each variable in the formula affected within the actual shape. Here are some screen shots with different mouse positions.