Project: Sonic Story

luca sonic story

//Luca Cao
//lucacao@andrew.cmu.edu
//Section D

//Story: 
//pan put on stove. Sound 1
//Gas starts. Sound 2
//Steak cooks on pan and sizzle. Sound 3
//eats steak. Sound 4

var pan = {x:200,y:400,d:100,r:73,g:80,b:87,
            hx:200,hy:480,hw:15,hh:70,dy:20};//object pan
var stv = {x:200,y:200,d:150,r:33, g:37, b:41};//object stove
var stk = {x:200,y:200,w:40,h:60,r:220,g:24,b:54,dy:30};//object steak
var metal;
var gas;
var steak;
var eat;

function preload(){
    metal = loadSound("https://courses.ideate.cmu.edu/15-104/f2021/wp-content/uploads/2021/11/metal.wav");
    gas = loadSound("https://courses.ideate.cmu.edu/15-104/f2021/wp-content/uploads/2021/11/gas1.wav");
    steak = loadSound("https://courses.ideate.cmu.edu/15-104/f2021/wp-content/uploads/2021/11/steak.wav");
    eat = loadSound("https://courses.ideate.cmu.edu/15-104/f2021/wp-content/uploads/2021/11/eat.wav");

}

function soundSetup(){
    metal.setVolume(5);
    gas.setVolume(0.5);
    steak.setVolume(1);
    eat.setVolume(2);
}

function setup() {
    createCanvas(400, 400);
    noStroke();
    frameRate(2);
    useSound();
}

function draw() {
    background(255, 243, 176);

    //platform
    push();
    fill(173, 181, 189);
    rect(0,0,400,400);
    fill(108, 117, 125);
    rect(0,320,400,90);
    pop();

    //controls
    push();
    if (pan.y <= 350){
        fill(0,255,0);
        ellipse(300,350,10,10);
        ellipse(350,350,10,10);
    }
    pop();

    //stove
    push();
    fill(stv.r,stv.g,stv.b);
    ellipse(stv.x,stv.y,stv.d,stv.d);

    if (pan.y <= 300){
        stv.r = 200;
        stv.g = 0;
        stv.b = 0;
        gas.play();
    }
    pop();

    //pan
    push();
    rectMode(CENTER);
    fill(pan.r,pan.g,pan.b);
    ellipse(pan.x,pan.y,pan.d,pan.d);
    rect(pan.hx,pan.hy,pan.hw,pan.hh);
    pan.y = pan.y - pan.dy
    pan.hy = pan.hy - pan.dy

    if (pan.y <= 200){
        gas.stop();
        pan.dy = 0; 
    }
        //pan.hy = 280
    
    pop();


    //steak
    if (frameCount >= 15){
        fill(stk.r,stk.g,stk.b);
        ellipse(stk.x,stk.y,stk.w,stk.h);
        steak.play();
        

        if (frameCount >= 20){
            stk.r = 157;
            stk.g = 2;
            stk.b = 8;

            if (frameCount >= 25){
                stk.r = 106;
                stk.g = 4;
                stk.b = 15;

                if (frameCount >= 35){
                    stk.r = 80;
                    stk.g = 6;
                    stk.b = 23;
                    stk.y = stk.y - stk.dy;
                    steak.stop();

                    if (frameCount >= 45){
                        eat.play();
                    }

                    if (frameCount >= 50){
                        eat.stop();
                        background(0);
                        noLoop();
                    }
                }
            }
        }
    }
}

I created the story of cooking a steak. I started by animating all my visual assets and making sure that they appear at the right time. After that, I added sound into my code based on the position of the assets, as well as the frame count. I stored all the values on my characters in object form, which helped me to better manipulate them. During the process, I had difficulties preloading sounds into my code and I later realized that I used the wrong template for my code. I enjoyed making this project because, besides visual interaction, I also get to experiment with sonic interaction and make the outcome more engaging.

Project 09: Computational Portrait

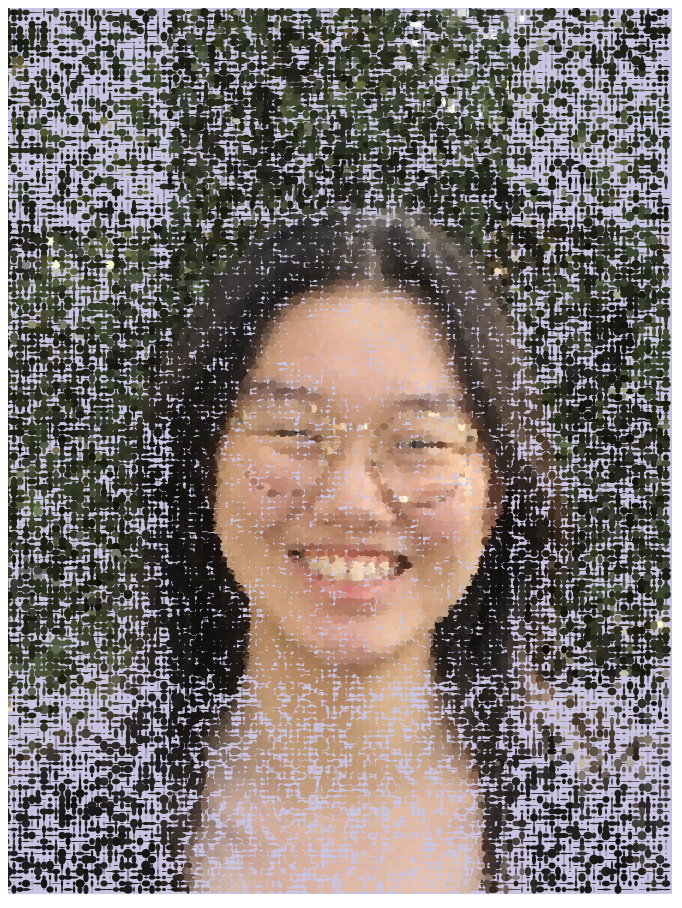
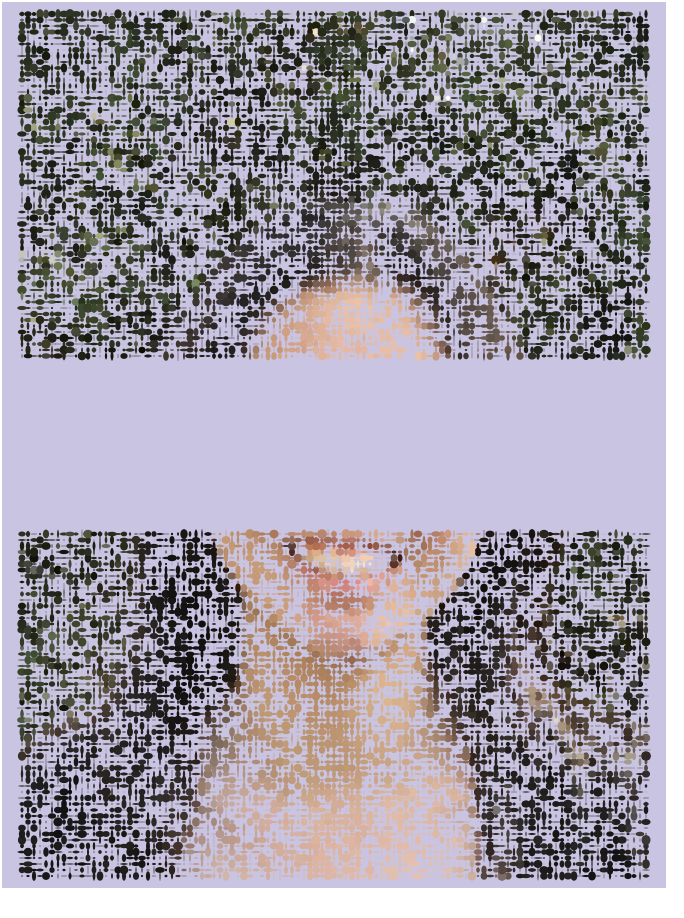
For this project, I wanted to create an interactive portrait. I was inspired by Ryan Alexander’s work and wanted to have the portrait show up based on where you clicked your mouse. I wasn’t able to get that working fully, but I still think the final product is pretty cool as the way the portrait shows up changes based on where you click the mouse. I also added randomness to each pixel width and height to make the portrait more animated.

Final portrait
beginning screen
image showing up

sketchDownload

//Catherine Liu
//jianingl_andrew.cmu.edu
//Section D
//project_09

//image shows up in pixels and spreads out on canvas

var img;
var xStart; //stores mouseX
var yStart; //stores mouseY
var click = true; //checks for mousePressed and removes text
var radianSize = 0; //increases area of expansion
var clickCol = false; //checks color of background

function preload() {
    img = loadImage("https://i.imgur.com/mzVFTDQ.jpg");
}
function setup() {
    img.resize(img.width/2, img.height/2);
    createCanvas(img.width, img.height);
    frameRate(50);
    print (img.width/2);
    print(img.height/2)
}

function draw() {

    //redraws background every mousePressed
    if (clickCol) {
        fill(203, 195, 227);
        rect(0,0,width,height);
        clickCol == false;
    }
    //sets up text that only shows up at beginning
    if(click) {
        background(203, 195, 227)
        push();
        fill(255);
        textAlign(CENTER);
        textSize(20)
        text("Click anywhere to draw image",width/2, height/2)
        pop();
    }
    pixelExpand();
}


function pixelExpand() {
    for (var vert = yStart; vert < radianSize; vert += 3) {
         for (var hor = xStart; hor < radianSize; hor += 3) {
            noStroke();

            //expands right downwards
            var c = img.get(hor, vert); 
            fill(c);
            ellipse(hor, vert, random(5), random(5));

            //expands right upwards
            var c2 = img.get(hor, height-vert); 
            fill(c2);
            ellipse(hor, height-vert, random(5), random(5));

            //expands left upwards
            var c3 = img.get(width-hor, height-vert);
            fill(c3);
            ellipse(width-hor, height-vert, random(5), random(5));

            //expands left downwards
            var c4 = img.get(width-hor, vert);
            fill(c4);
            ellipse(width-hor, vert, random(5), random(5));
        }
    }
    radianSize += 5; //increase expansion size
}

//returns starting point for pixels to show
function mousePressed() {
    radianSize = 0;
    clickCol = true;
    click = false; //text disappears
    xStart = constrain(mouseX, 0, width/4);
    yStart = constrain(mouseY, 0, height/4);
}

LO: 09

For this week’s Looking Outwards, I wanted to talk about Vera Molnar, who is regarded as a pioneer of computer generative art and is one of the first women artists to use computers in her practice. Particularly, I was drawn to her piece “(Dés-)Ordres”. What caught my eye initially were the contrasting colors used in different parts of the image, pulling my eye around. This contrast between order and disorder amongst the different layered squares also creates the impression of movement as if the squares are vibrating against one another. Surprisingly, this image was generated with a computer, where Molnar changed the parameters of her algorithm to randomly disrupt the regularity of the concentric squares.

Molnar was born in Hungary in 1924 and studied art history and aesthetics at the Budapest College of Fine Arts. From as early as 1959, she began experimenting with the concept of algorithms or “machine imaginaire” where an image can be created by following a set of pre-ordained compositional rules. In 1968, she begin using computers and plotters to make her paintings and drawings, creating a variety of algorithms iterating simple geometric shapes and geometrical themes.

Vera Molnar explaining her work

Project 9: Computational Portrait

For my portrait, I knew I wanted to do something where the user of my program could participate in while creating the portrait. I really enjoy active interactions in my pieces within design, so I’ve been trying to bring that into my coding work as well. So, I decided that the way to do that was to create a click and drag style generator, where the user drags around their mouse to “paint” my portrait. From there, I created randomly generated “pixels” within a certain radius of the mouse, to add an element of randomization to the “painting”. Finally, because it was taking me a long time to actually paint the portrait and I found that annoying, I added in a larger “brush” size through the use of larger random pixels. I think the final outcome is pretty cool, I like how it came out.

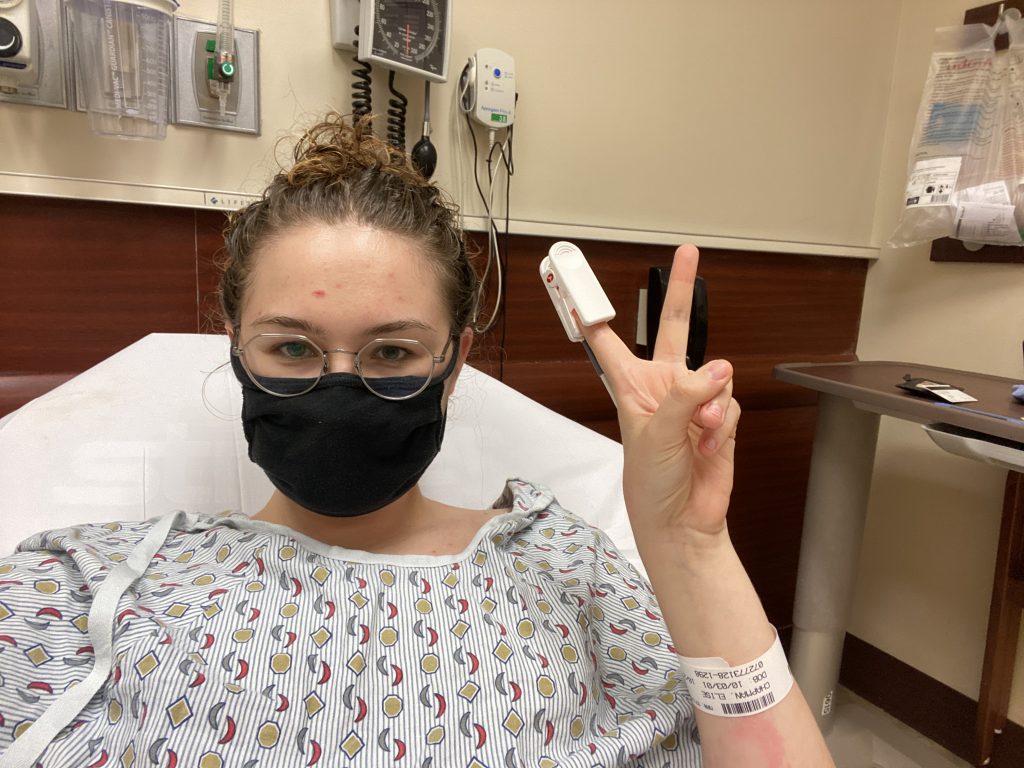
Original photo from this last Monday

sketch

//Elise Chapman
//ejchapma
//ejchapma@andrew.cmu.edu
//Section D

var erSelfie; //image storage

//loads the image to be used
function preload() {
    erSelfie = loadImage('https://i.imgur.com/GbuQVul.jpg?1');
}

function setup() {
    createCanvas(340,480);
    imageMode(CENTER);
    noStroke();
    background(200);
}

function draw() {
    // gives radius to the area in which random pixels can appear
    var xPos=random(-10,10);
    var yPos=random(-10,10);
    // gives the mouse access to the entire image's pixels
    var x = map(mouseX, 0, width, 0, 2117);
    var y = map(mouseY, 0, height, 0, 3000);
    var pixSize;
    var pix = erSelfie.get(x, y); //color of pixel
    if (mouseIsPressed) {
        push();
        translate(mouseX,mouseY);
        fill(pix);
        // option for large or small pixel generation
        if (keyIsPressed) {
            pixSize=random(10,20);
        } else {
            pixSize=random(1,10);
        }
        ellipse(xPos, yPos, pixSize);
        pop();
    }
}

Looking Outwards 09

This week I am looking at Heather Kelley.

Heather Kelley is a designer that does game design, sense design, and interaction design.

She studied at University where she got her MA in advanced communications technologies. She works at perfect plum currently but she has done many amazing things like co-found Kokoromi and named as one in five of the most powerful women in gaming.

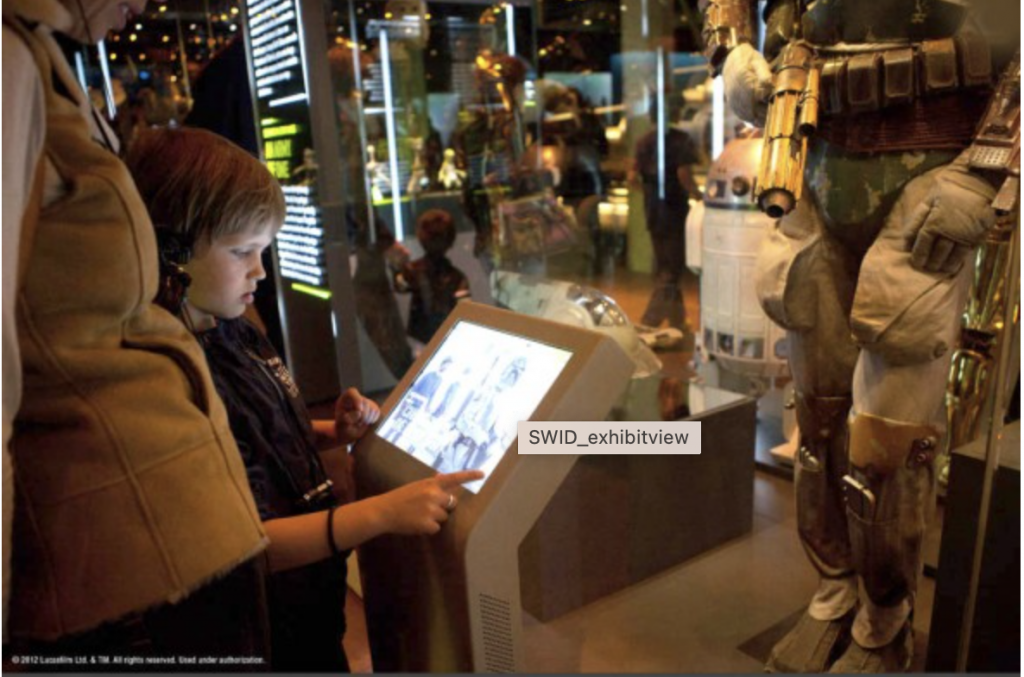
One project I thought was cool was how she added onto a Star Wars exhibit. Basically, she designed kiosks that were in front of characters in the movies and it reveals their origin, family, mentors, careers, and personal values, so people can figure out which character they identify with.

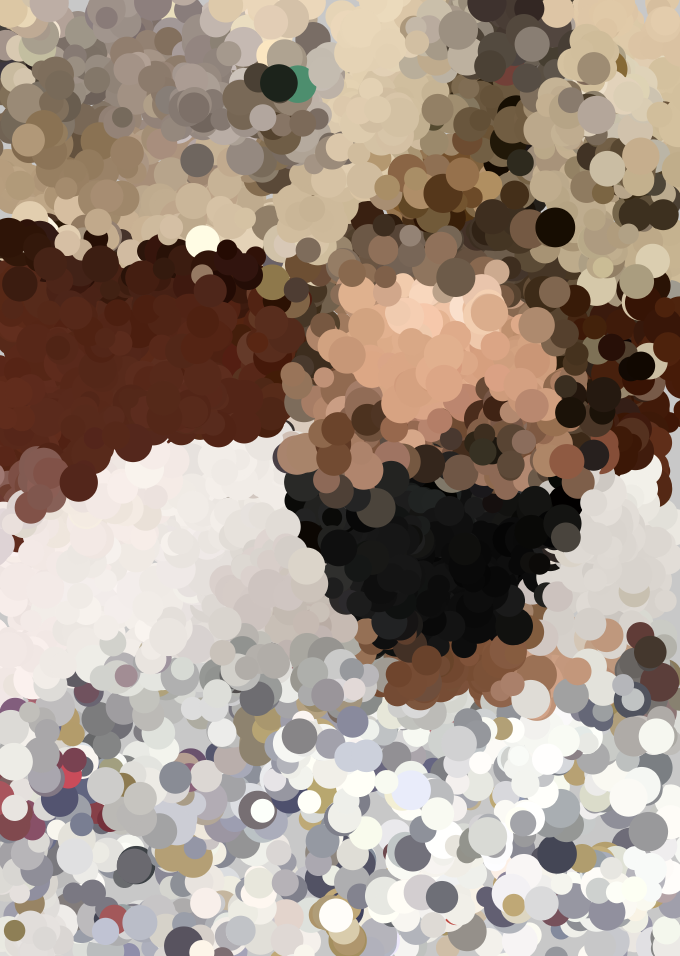
A picture of a kid interacting with one of the kiosks she designed

Link to Project: https://www.perfectplum.com/portfolio_category/interaction/

I really admire this project because one it shows how to enhance the experience of an exhibit which in nature can often be boring. Also, it allows people to explore identities and see how they may identify with a character they may not expect.

Link to her website: https://www.perfectplum.com/

Project 9

sketch

// gnmarino
// Gia Marino
// section D

var img;

function preload() {
    img = loadImage("https://i.imgur.com/0H1pS9T.jpg"); 
}

function setup() {
    createCanvas(480, 350);
    background(220);
    noStroke();
    background(255);
    frameRate(20);
}

function draw() {

    // captures the color of every 3 pixels and fills the circles
    for(var x = 0; x < width; x+= 3){
        for(var y = 0; y <= height + 100; y+= 3){

            var color = img.get(x, y);
            fill(color);

            // when mouse pressed the image is less blurred 
            if(mouseIsPressed) { 
                size = random(5);
                ellipse(x, y, size);
            } else {
                size = random(50);
                ellipse(x, y, size);
            }

        push();
        stroke(0);
        text("Press Mouse", 15, 15);
        pop();

        }
    }
}

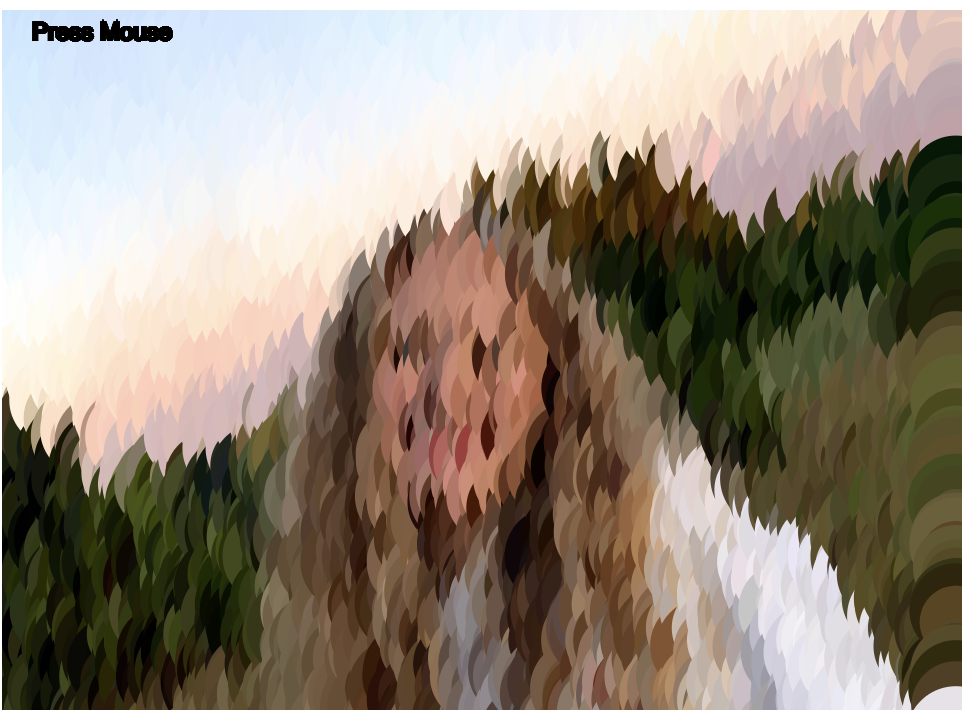
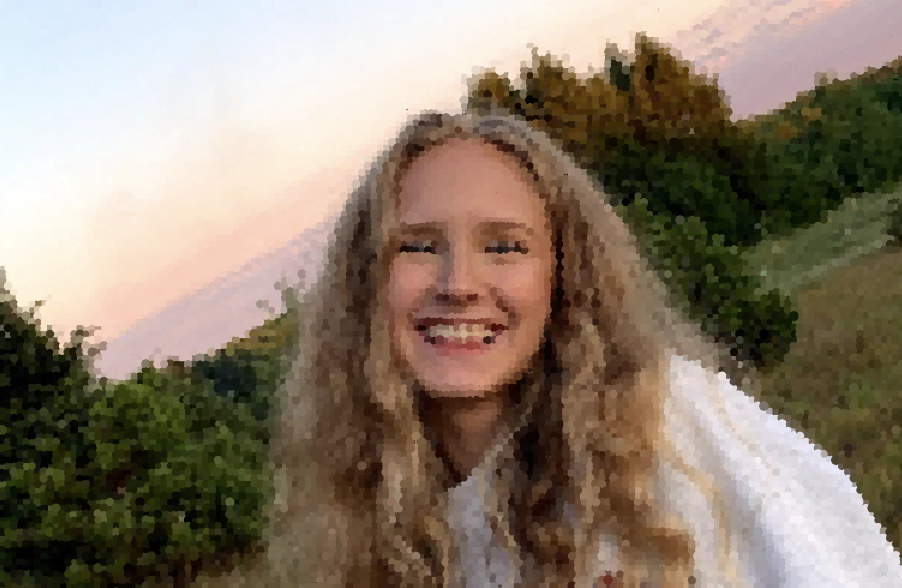
For this project I had a hard time figuring out how to be creativity without overloading my code. This is because I loop my code so many times to create my picture out of dots that when I went in to change things or print things in the loop my computer would just be having to run way too much. Thus, I decided it be cool to make a project where you uncover my face by clicking on the screen rather than adding anymore to the final image.

Before Doing Anything
After Holding Down the Mouse For 3 Seconds

Project 9

I had a lot of fun with this project, but I definitely think i could’ve gone a little farther with it. If I had more time, I would add some more interactive elements with mouseX/mouseY

sketch

//Michelle Dang
//mtdang@andrew.cmu.edu
//Project 9
//Section D

var portrait;
var smallPoint, largePoint;

var barY=0;

function preload() {
  portrait = loadImage("https://i.imgur.com/8eYjWUj.jpg");
}

function setup() {
  portrait.resize(portrait.width/2.5, portrait.height/2.5)
  createCanvas(portrait.width, portrait.height);
  print(portrait.width)

  smallPoint = 20;
  largePoint = 40;
  imageMode(CENTER);
  noStroke();
  background(255);
  portrait.loadPixels();
}

function draw() {

  for (var x=0; x<portrait.width; x+=10) {
    for (var y=0; y<portrait.height; y+=10) {
      var c = portrait.get(x, y);
      push();
      fill(color(c))
      noStroke();
      circle(x, y, random(20,50),random(20,50));
      circle(x, y, random(20,50),random(10,15));

    }
  }

  var pointillize = map(400, 0, width, smallPoint, largePoint);
  var x = floor(random(portrait.width));
  var y = floor(random(portrait.height));
  var pix = portrait.get(x, y);
  fill(pix, 128, 128);
  stroke(10)
  rect(x, y, pointillize, pointillize);


  rect(0, barY, width, 40); //horizontal bar
  barY+=12;

  if (barY > portrait.height) {
  barY = 0;
  }


}


Project: Computational Portrait (Custom Pixel)

project pixel sketch luca

var img;//image
var imgang = 90;//image angle

function preload(){
  img = loadImage('https://i.imgur.com/XCeFp0s.png');//load image from imgur.com
}

function setup() {

  createCanvas(391, 480);
  //background for contrast
  noStroke();
  imageMode(CENTER);
}

function draw() {

  background(0,0,0);

  for (var col = 0; col < img.height; col+=10){//I did column for height because my image was incorrectly loaded.
    for (var row = 0; row < img.width; row+=10){//row for height.

      var c = img.get(row,col);//extract pixel from image and set as color

      //set image to correct and central position
      push();
      translate(391,0);
      rotate(radians(imgang));
      fill(color(c));//fill with picture colors
      ellipse(col,row,7,7);//ellipses as pixels
      pop();

    }
  }

  push();//needs to be separate because of background setting

  //draw head
  stroke(230,230,0);
  strokeWeight(5);
  line(50,150,320,150);
  line(50,150,50,400);
  line(50,400,320,400);
  line(320,400,320,150);
  line(125,360,255,360);

  //moving eyes
  var wall1 = constrain(mouseX,120,150)
  var c = constrain(mouseY,225,255);
  var wall2 = constrain(mouseX,240,280)

  //eyes
  fill(230,230,0);
  ellipse(wall1,c,30,30);
  ellipse(wall2,c,30,30);

  pop();

}


I enjoyed making this project. I faced challenges when I tried to load my images and match pixels according to the image. I changed the image link to a direct link on Imgur and solved the problem. For the pixels, I used a for loop to match the pixels to the image, and by changing the number of increments for each run, I was able to change the size and density of my pixels. For my composition, I did not want to create a photorealistic representation, instead, I wanted some sort of interaction with the image, so I created the yellow face. Overall, this project was a challenge, but I learned more about images in p5.js.

Project 09: Computational Portrait

sketch

//Julianna Bolivar
//jbolivar@andrew.cmu.edu
//Section D
//Computational Portrait

var img;

function preload(){
  //load image
  img = loadImage("https://i.imgur.com/eaETdlz.png");
  frameRate(10);
}


function setup() {
    createCanvas(400, 400);
}


function draw() {
    image(img, 0, 0, 400, 400);
    for(var row = 0; row <= 200; row++) {
        for(var col = 0; col <= 200; col++){
            var x = col * 5;
            var y = row * 5;
            //pixels
            var pixelColor = img.get(x*5, y*5);
            noStroke();
            fill(pixelColor);
            //draw circle
            circle(x + 30, y + 50, 5); 
        }
    }
}

I didn’t expect my frame in frame pixels to create a distorted effect, but I really like how it looks. The spaces in between the circles allow you to see some of the original image underneath.

Project 9: Computational portrait

sketchDownload

// Yash Mittal
// Section D

function preload(){
    Pimg = loadImage ("https://i.imgur.com/PLF0Wbf.jpg"); // load image
}

function setup () {
    createCanvas (310, 480);  
    frameRate (100000000000000);
    background (0);
    Pimg.resize (310, 480);
}

function draw () {

    var a = random (width);
    var b = random (height);
    var pixela = constrain (floor (a), 0, width - 1);
    var pixelb = constrain (floor (b), 0, height - 1);
    var sw = random (0, 0.5); // randomising stroke weight
    var pixelColorLocationXY = Pimg.get (pixela, pixelb);

    strokeWeight (sw); // randomised stroke weight
    fill (pixelColorLocationXY);

    beginShape (); // making a new hexagonal shape
    vertex (a, b);
    vertex (a + 4, b);
    vertex (a + 7, b + 4);
    vertex (a + 5, b + 8);
    vertex (a, b + 8);
    vertex (a - 2, b + 4);
    endShape (CLOSE);

}


For this project, I wanted to develop a somewhat abstract self portrait that is made of hexagonal shapes that appear on screen in a linear fashion.