![[OLD SEMESTER] 15-104 • Introduction to Computing for Creative Practice](../../../../wp-content/uploads/2023/09/stop-banner.png)
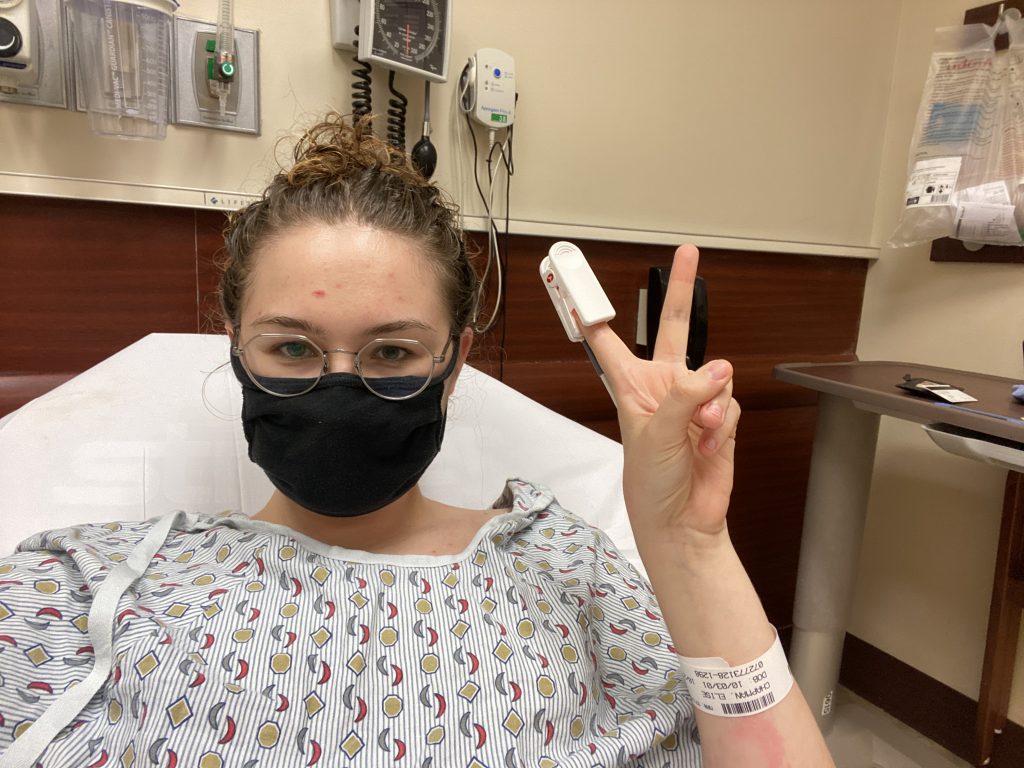
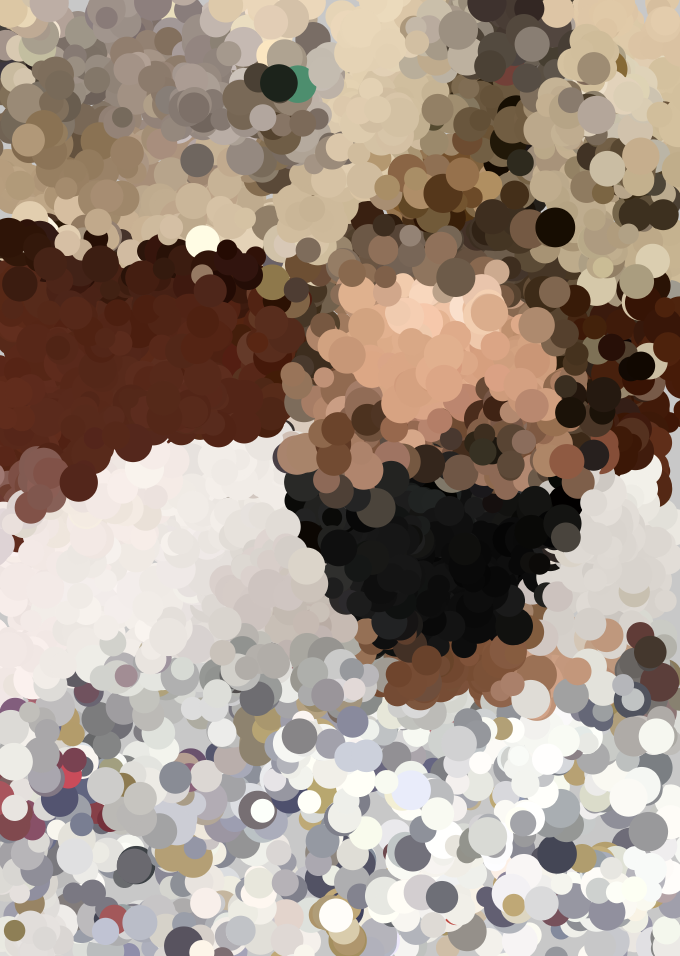
For my portrait, I knew I wanted to do something where the user of my program could participate in while creating the portrait. I really enjoy active interactions in my pieces within design, so I’ve been trying to bring that into my coding work as well. So, I decided that the way to do that was to create a click and drag style generator, where the user drags around their mouse to “paint” my portrait. From there, I created randomly generated “pixels” within a certain radius of the mouse, to add an element of randomization to the “painting”. Finally, because it was taking me a long time to actually paint the portrait and I found that annoying, I added in a larger “brush” size through the use of larger random pixels. I think the final outcome is pretty cool, I like how it came out.
//Elise Chapman
//ejchapma
//ejchapma@andrew.cmu.edu
//Section D

var erSelfie; //image storage

//loads the image to be used
function preload() {
    erSelfie = loadImage('https://i.imgur.com/GbuQVul.jpg?1');
}

function setup() {
    createCanvas(340,480);
    imageMode(CENTER);
    noStroke();
    background(200);
}

function draw() {
    // gives radius to the area in which random pixels can appear
    var xPos=random(-10,10);
    var yPos=random(-10,10);
    // gives the mouse access to the entire image's pixels
    var x = map(mouseX, 0, width, 0, 2117);
    var y = map(mouseY, 0, height, 0, 3000);
    var pixSize;
    var pix = erSelfie.get(x, y); //color of pixel
    if (mouseIsPressed) {
        push();
        translate(mouseX,mouseY);
        fill(pix);
        // option for large or small pixel generation
        if (keyIsPressed) {
            pixSize=random(10,20);
        } else {
            pixSize=random(1,10);
        }
        ellipse(xPos, yPos, pixSize);
        pop();
    }
}