Wall paper

sketch
var s = 70;
var x = 50;
var y = 0;


function setup() {
  createCanvas(550, 500);
}

function draw() {
  background(250);
  drawGrid();
  noLoop();
}

function drawGrid(){
    push();
    translate(x,y);                                     //background circles
        for (var i = 0; i < 8*s; i += s) {
            for (var j = 0; j <= 8*s; j += 15) {
                noStroke();
                fill(38,56,71);
                circle(i, j,5);
            }
        }
    translate(0,y);                                     //Odd column trees
        for( var q =0;q <7*s; q += s*2){
            for(var a =0; a <=500; a +=136){
                fill(55,83,102);
                stroke(55,83,102);
                shape(q-50,a);
            }
        }
    translate(70,s);                                  //Even column trees
        for( var q =0;q <7*s; q += s*2){
            for(var a =0; a <=500; a +=136){
                fill(35,52,61);
                stroke(35,52,61);
                shape(q-50,a);
            }
        }
    translate(-50,-68);                               //Red Diagonal lines
        for(var r =-70; r <=1000; r+= 140){
            stroke(163,69,89);
            strokeWeight(7);
            line(r,0,-500*(r/2),550*(r*0.45));    
        }
    translate(-500,0);                                //Beige Diagonal lines
        for(var r =-520; r <=1000; r+= 140){
            stroke(232,186,177);
            strokeWeight(2);
            line(r-100,0,250*r,500*(r*0.45));    
        }
    pop();
}

function shape(x,y) {
    push();
    translate(x,y);         //trees
    beginShape();
    vertex(50,0);
    vertex(34,21);
    vertex(39,24);
    vertex(30,28);
    vertex(38,32);
    vertex(25,38);
    vertex(34,41);
    vertex(22,48);
    vertex(47,48);
    vertex(47,61);
    vertex(52,61);
    vertex(52,48);
    vertex(78,48);
    vertex(64,41);
    vertex(73,37);
    vertex(63,31);
    vertex(69,28);
    vertex(57,23);
    vertex(64,20);
    vertex(50,0);
    endShape(CLOSE);
    push();
    fill(255);              //white circles
    circle(55,17,2);
    circle(52,21,3);
    circle(46,24,2);
    circle(39,28,4);
    circle(44,31,2);
    circle(53,34,3);
    circle(58,36,2);
    circle(66,38,3);
    circle(61,43,4);
    circle(54,44,3);
    circle(45,46,3);
    circle(39,46,2);
    circle(32,46,3);
    pop();
    pop();
}

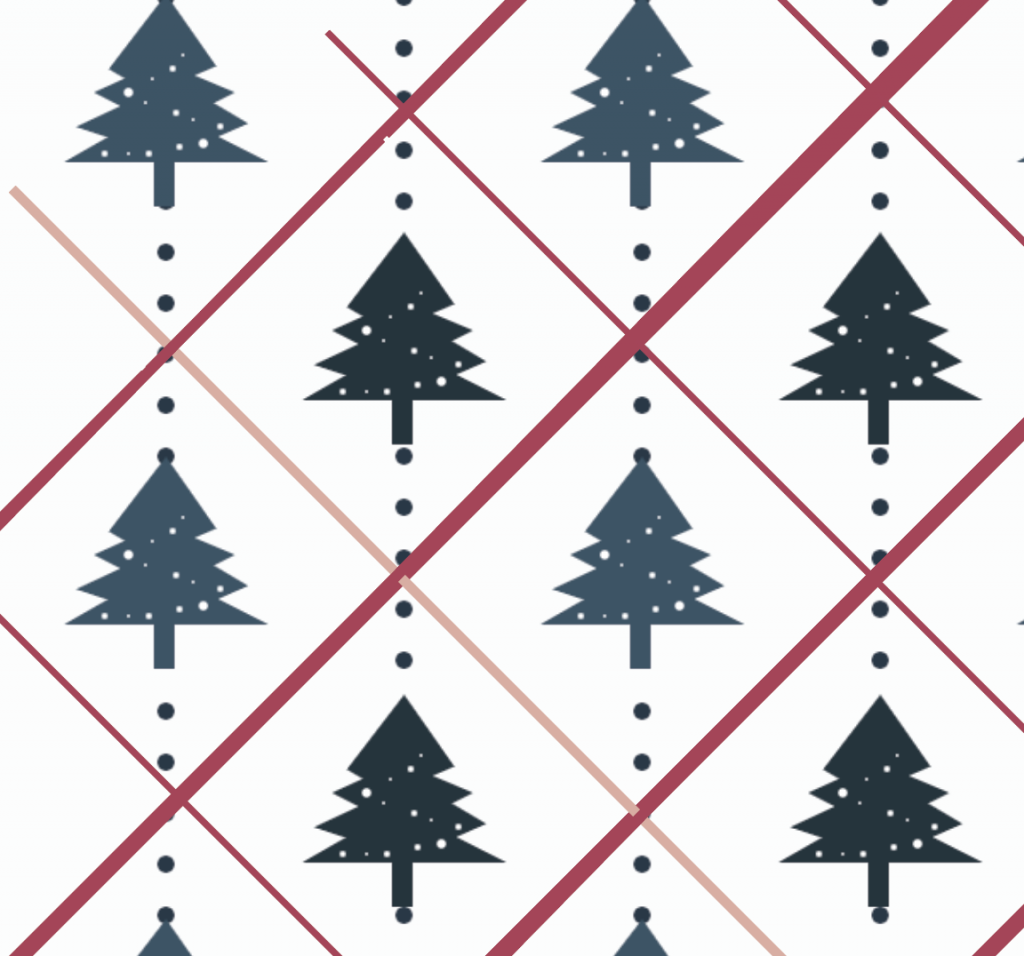
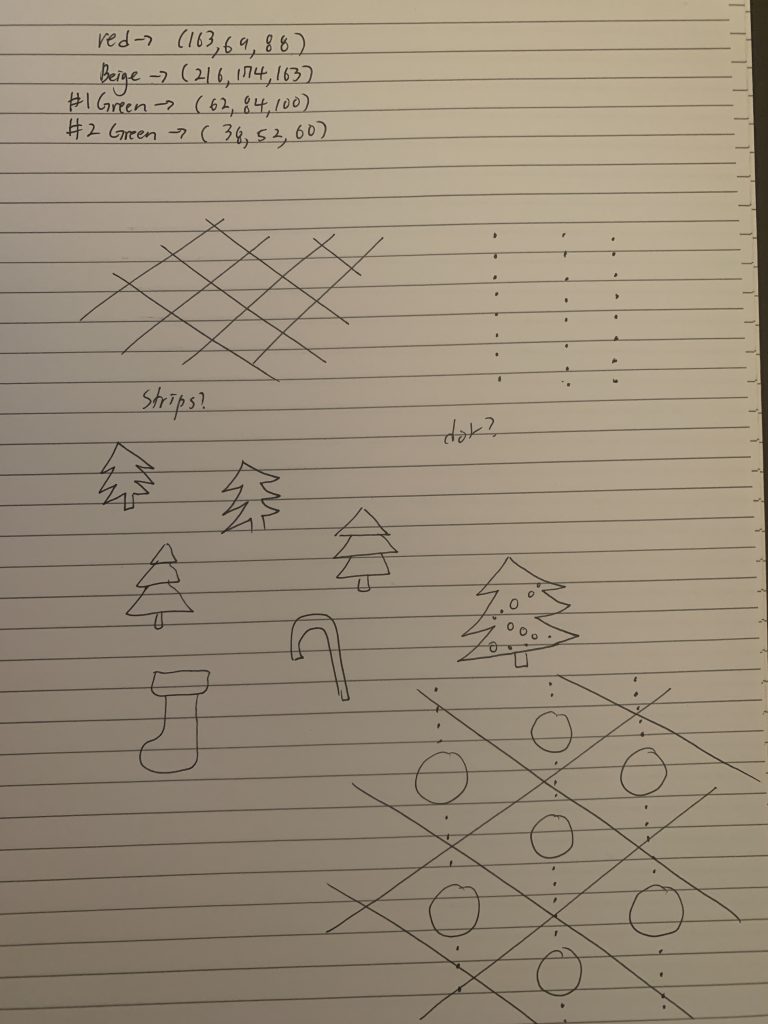
Because Christmas season is coming soon, I wanted to create something related with Christmas. First thing that pop up in my head was Christmas trees with colors of red, green, and white.
illustrator Iteration
Idea sketch

LO – 3D Rendered Project

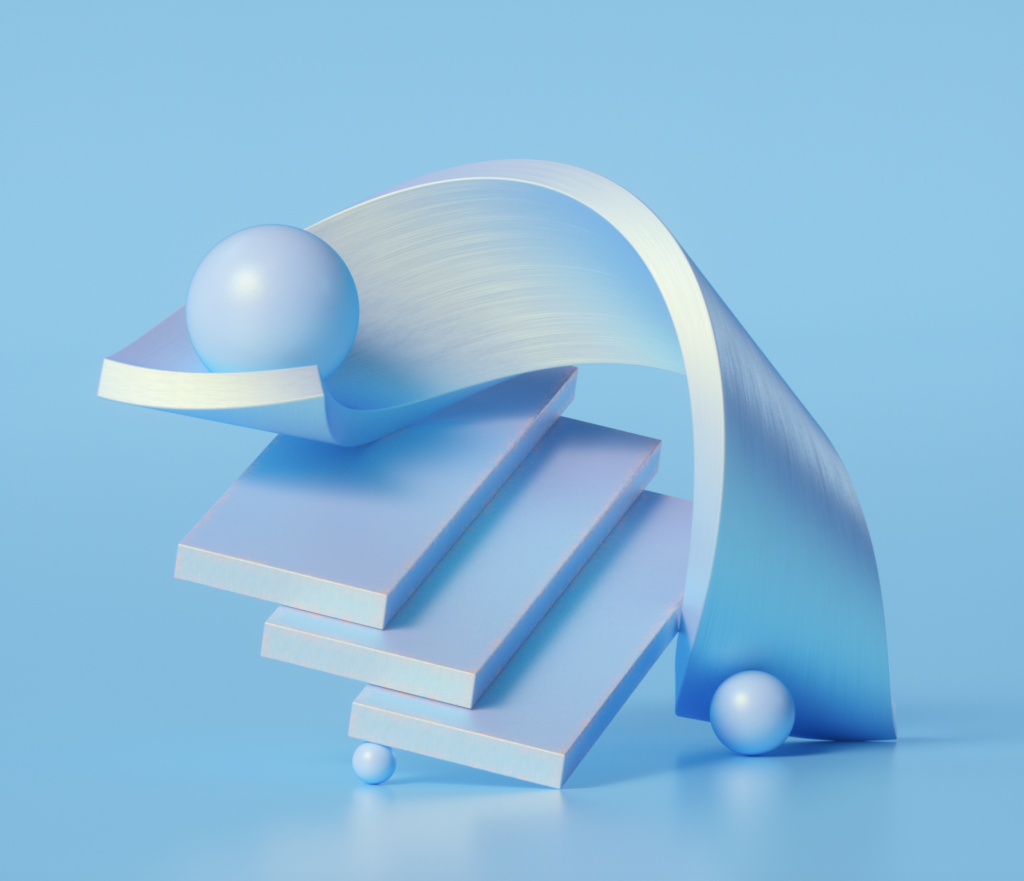
A 3D rendered project I admire is Nike’s 2017 campaign for their Air Max shoes. Nike created a promotional video that uses 3D rendered simulations to give the viewer an impression of how their new Air Max shoes feel and perform. I admire how this project takes advantage of the limitless creative possibilities of 3D rendering to not just show the product, but to leave the viewer with a visceral impression of the product. The gravity simulations of the varied materials definitely rely on different algorithms that calculate the effect of things like tension, gravity, torsion, etc. according to material-specific parameters.

I believe the use of sound, timing, and color are very important in further illustrating the specific qualities of each material presented. The combination of the creative direction of the ad and the suburb rendering quality results in a convincing, persuasive, and practically tangible experience that challenges what 2D advertisement can mean.

Project 5 – Groovy Wallpaper

It seems in my experience, wallpaper gets a bad reputation. One quick search of “interior design” on Pinterest will reveal the modern day obsession with sleek and minimal aesthetic choices. In the face of this, I chose to design a wallpaper that riffs off of aesthetic choices perhaps equally as brawny – inspired by the loud colors of post modernism.

sketchDownload
// JUBBIES STEINWEH-ADLER
// PROJECT 05 - GROOVY WALLPAPER
// SECTION D

//GLOBAL VALUES
x = 0;
y = -150;// initial y value off canvas to create seamless pattern
d = 0; // arrow direction ( 1 = left 0 = right )

function setup() {
  createCanvas(500, 400);
  background(250, 240, 220);
  blendMode(MULTIPLY); // color blend mode multiplies rgb value of overlapping colors
}

function draw() {
    //ROW PROPERTIES
  for(var loop = 0; loop < 5; loop +=1) { // number of total rows limited to 5
     if (d == 0) { //switching direction for each loop
     d = 1; //left arrows
    } else {
     d = 0; //right arrows
 }
        //TRIANGLE PROPERTIES
         for(var row = 0; row < 1; row +=1) {  // triangle x-offset and tracking
               x = -120; // initial x value for the first triangle
               y += 110; // vertical spacing, tracking
       
            for(var rep = 0; rep < 7; rep +=1) { 
            x += 120; // distance between each module (width)
            stack(d, x, y); 
       }
     }
  }
  noLoop(); //disables automatic looping from draw function
}

// TRIANGLE PACKAGE - Grouped for single 'anchor point'
function stack(d, x, y) { 
  push();
  translate(x, y);  // translate by determined x and y value
  module(d); // draw a single triangle module
  pop();
}

//TRIANGLE MODULE DRAW COMMAND
function module(d) {
  noStroke();
  var r = 180; //red value
  var g = 40;  //green value
  var b = 190; //blue value


    //RIGHT ARROW MODULE
        if (d == 0){ 
         px = 0; //linked X coordinate
         py = 0; //linked y coordinate
  
        //vertical leg
        fill(r, g, b);
        push();
        translate(px, py);
        rect(0, 0, 50, 170, 70);
        pop();

        //top angled leg
        fill(g, b, r);
        push();
        translate(px-10, py+35);
        rotate(radians(300));
        rect(0, 0, 50, 170, 70);
        pop();


        //bottom angled leg
        fill(b, r, g);
        push();
        translate(px+15, py+180);
        rotate(radians(240));
        rect(0, 0, 50, 170, 70);
        pop();
  
    //LEFT ARROW MODULE
    } else if (d == 1) { 
        
        fill(r, g, b);
        ptO = 60; // OFFSET VALUE TO ALTERNATE ROW START POSITION 
        ptT = 0;
  
        //vertical leg
        push();
        translate(ptO, ptT);
        rect(0, 0, 50, 170, 70);
        pop();
  
        //top leg
        fill(g, b, r);
        push();
        translate(ptO +35, ptT - 10);
        rotate(radians(60));
        rect(0, 0, 50, 170, 70);
        pop();
  
        //bottom leg
        fill(b, r, g);
        push();
        translate(ptO + 60, ptT + 135);
        rotate(radians(120));
        rect(0, 0, 50, 170, 70);
        pop();
  }    

}

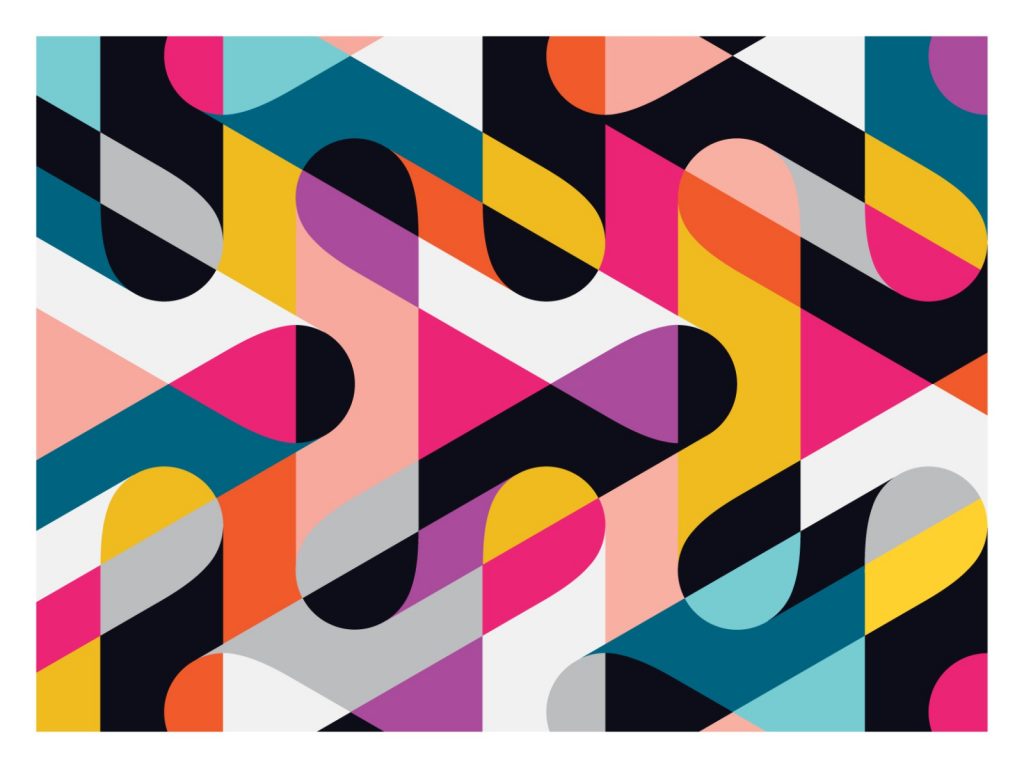
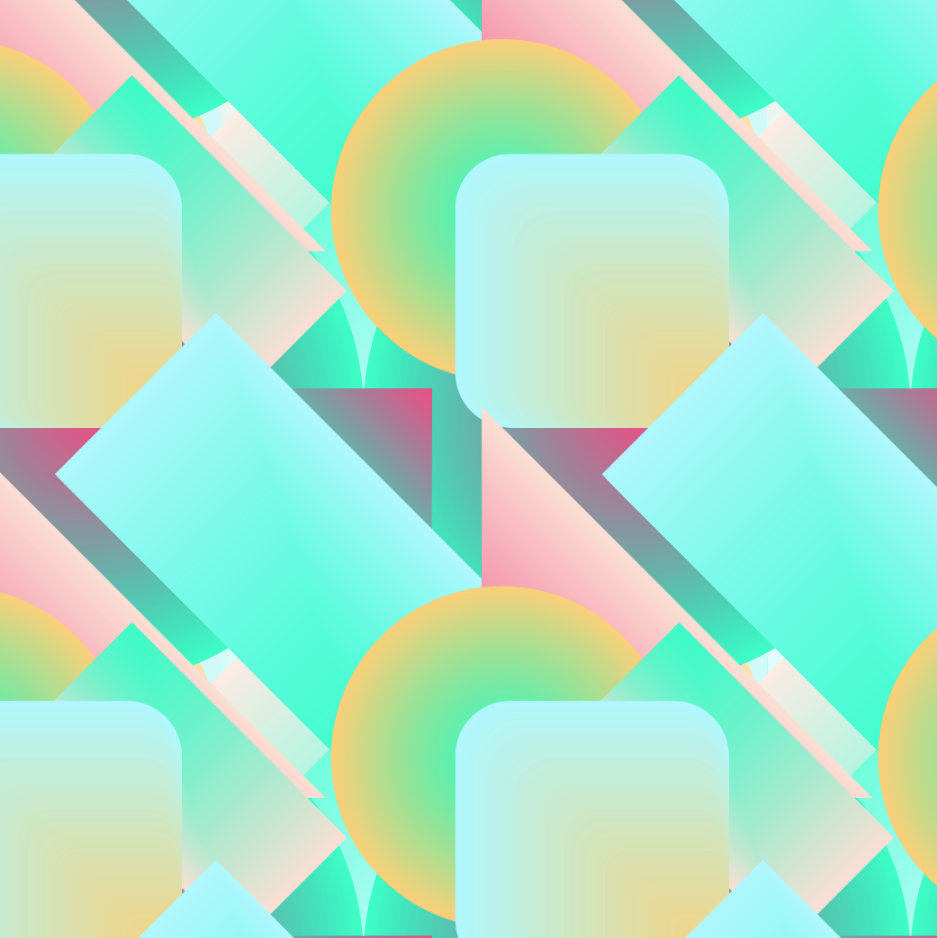
For the actual pattern shape, I was inspired by this pattern I found on the internet. I really enjoyed how the colors interacted where the shapes overlapped. This pushed me to discover that p5.js has blending modes. Using multiply blending mode and adjusting the opacity is how I got my final result.

LO-05 3D Graphics

Iris Yip iyip
15-104 Section D
LO-05

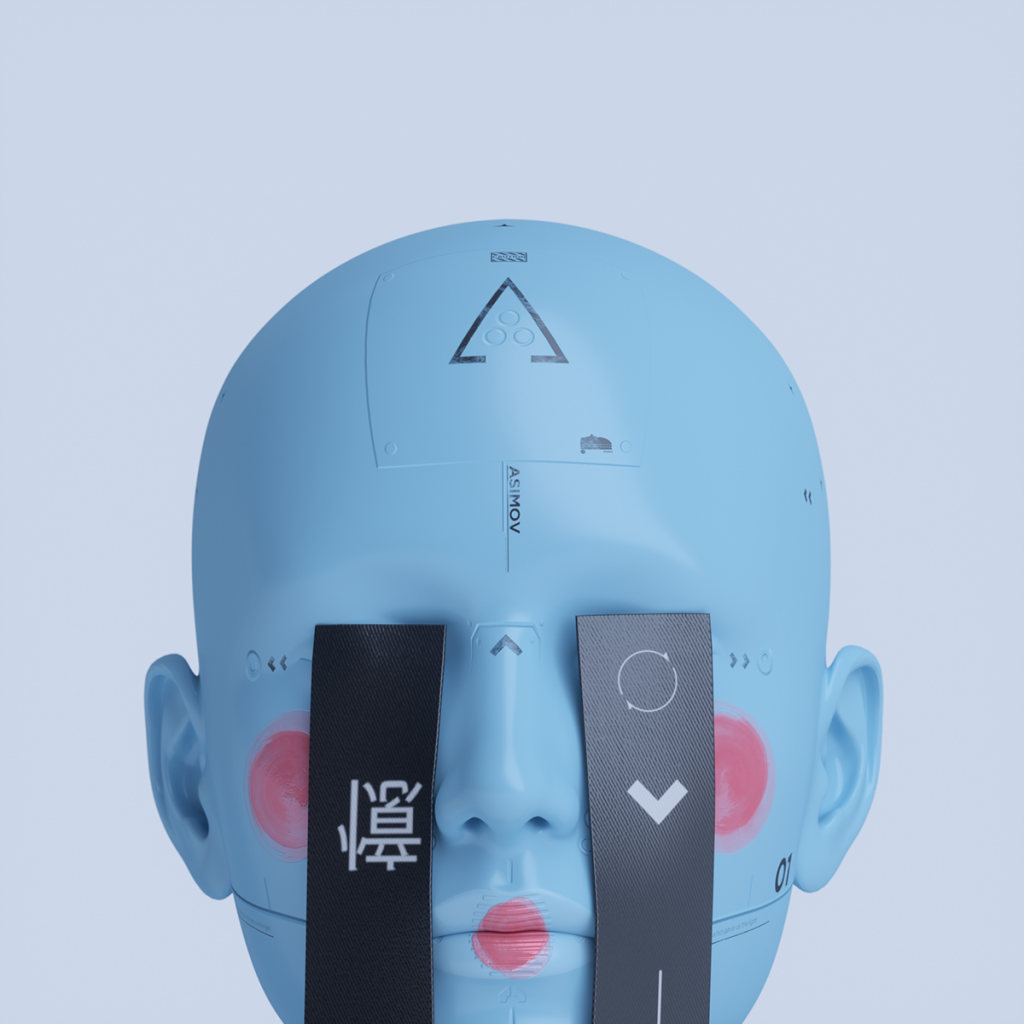
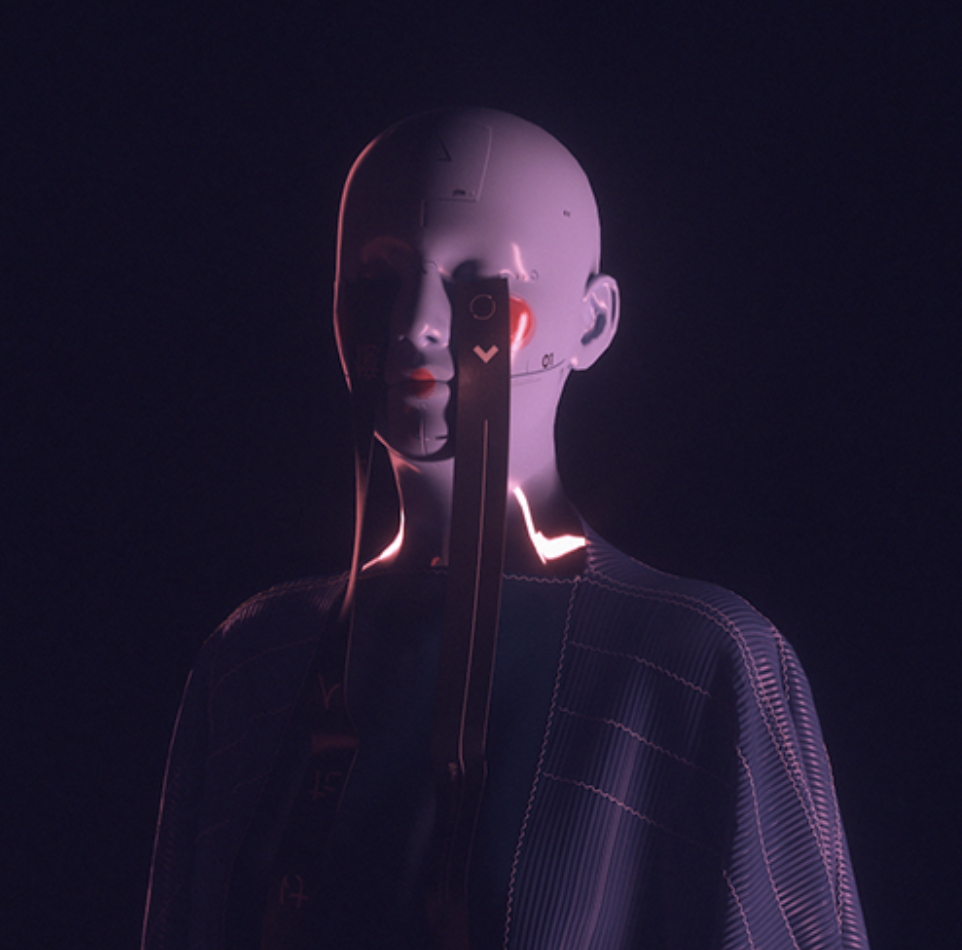
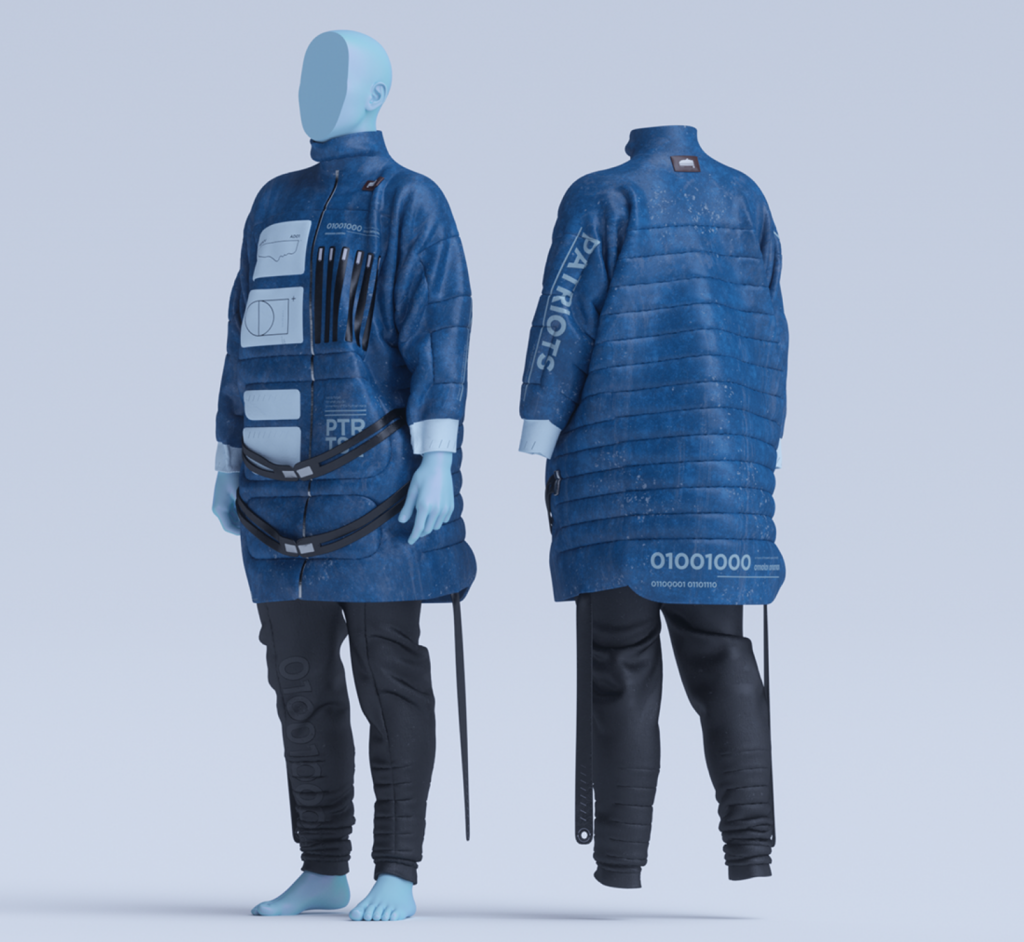
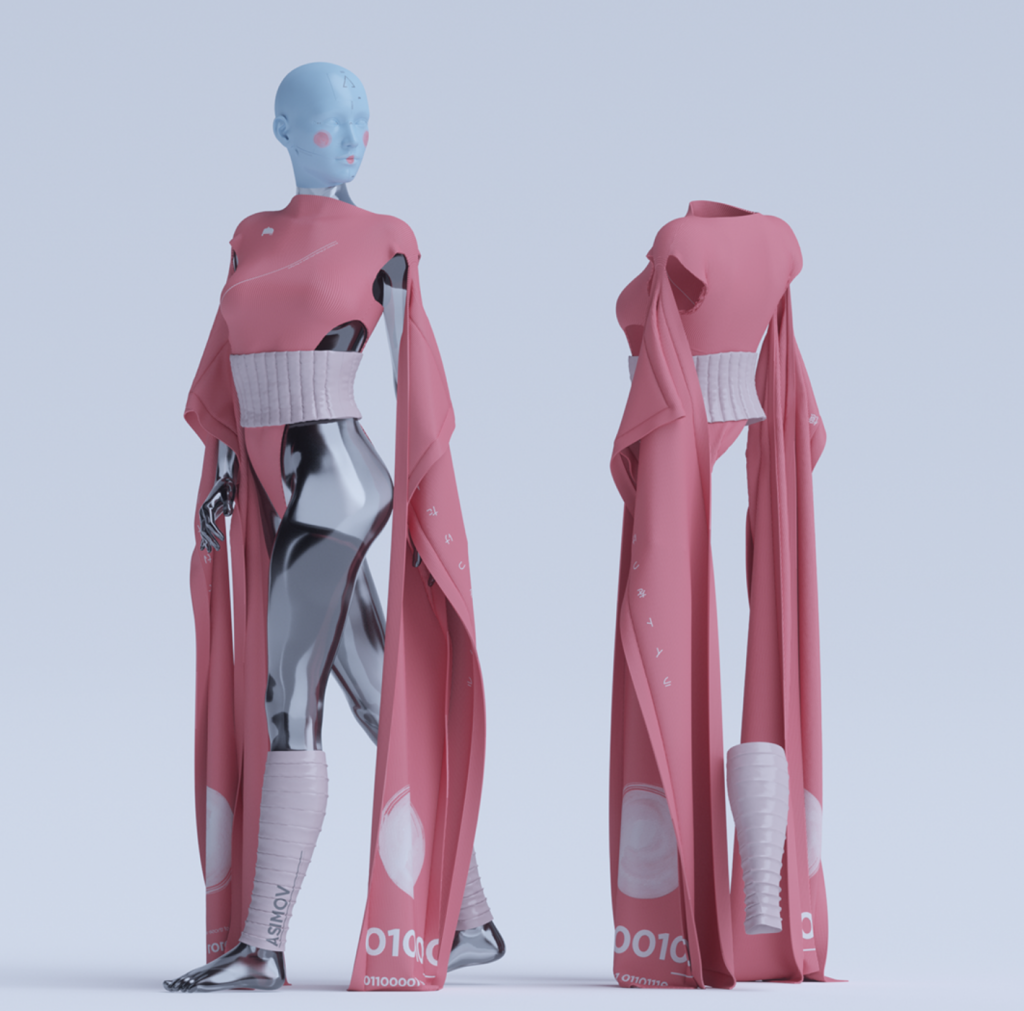
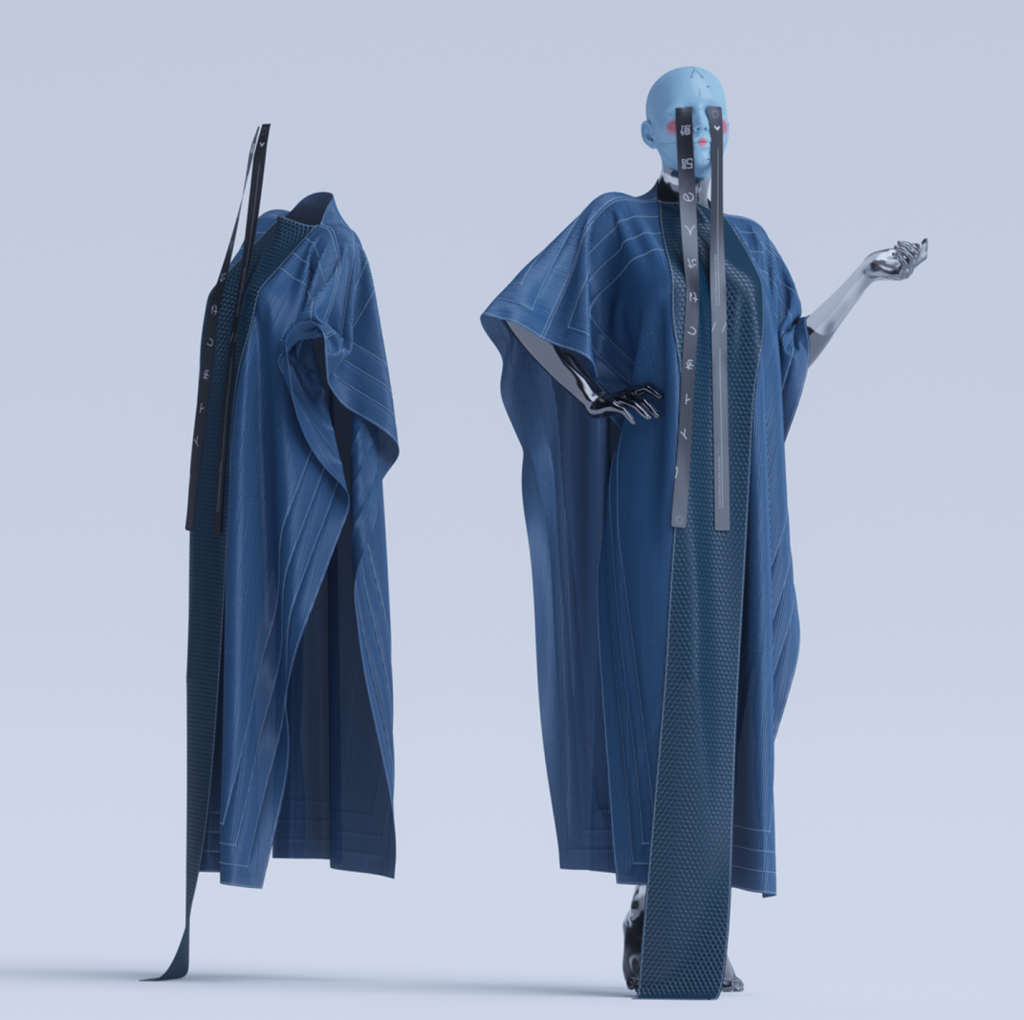
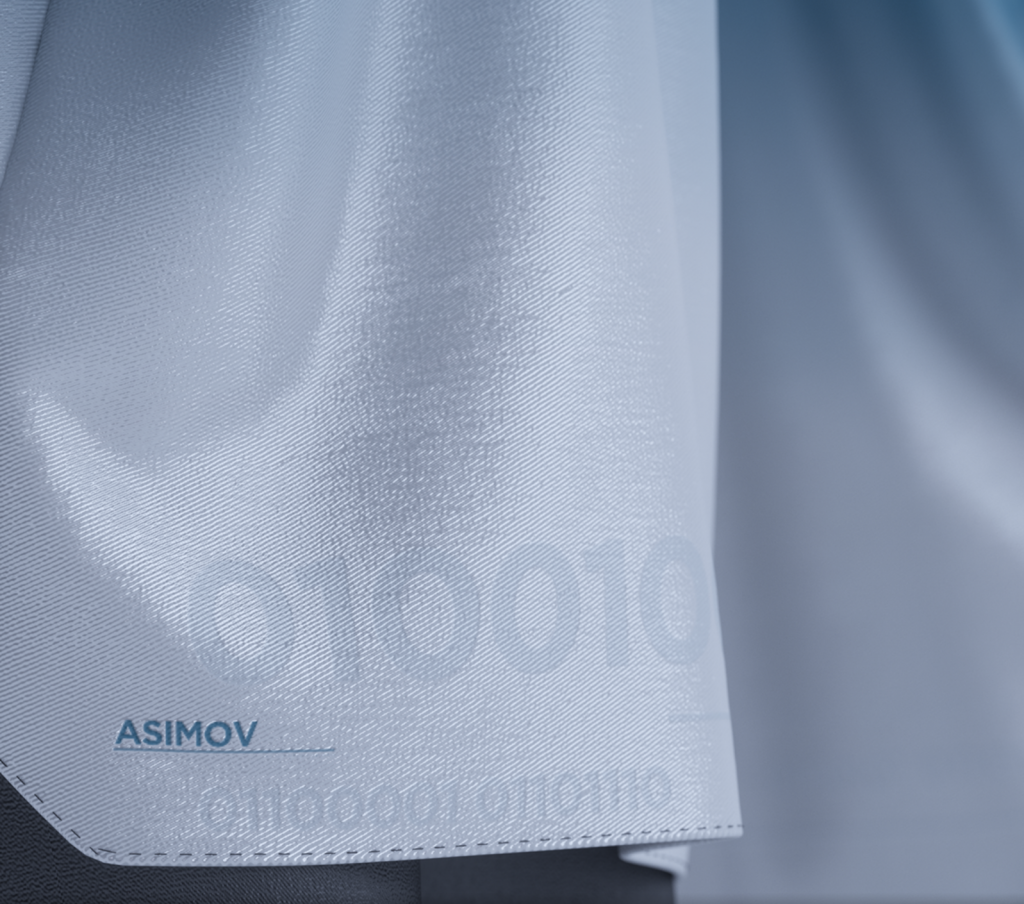
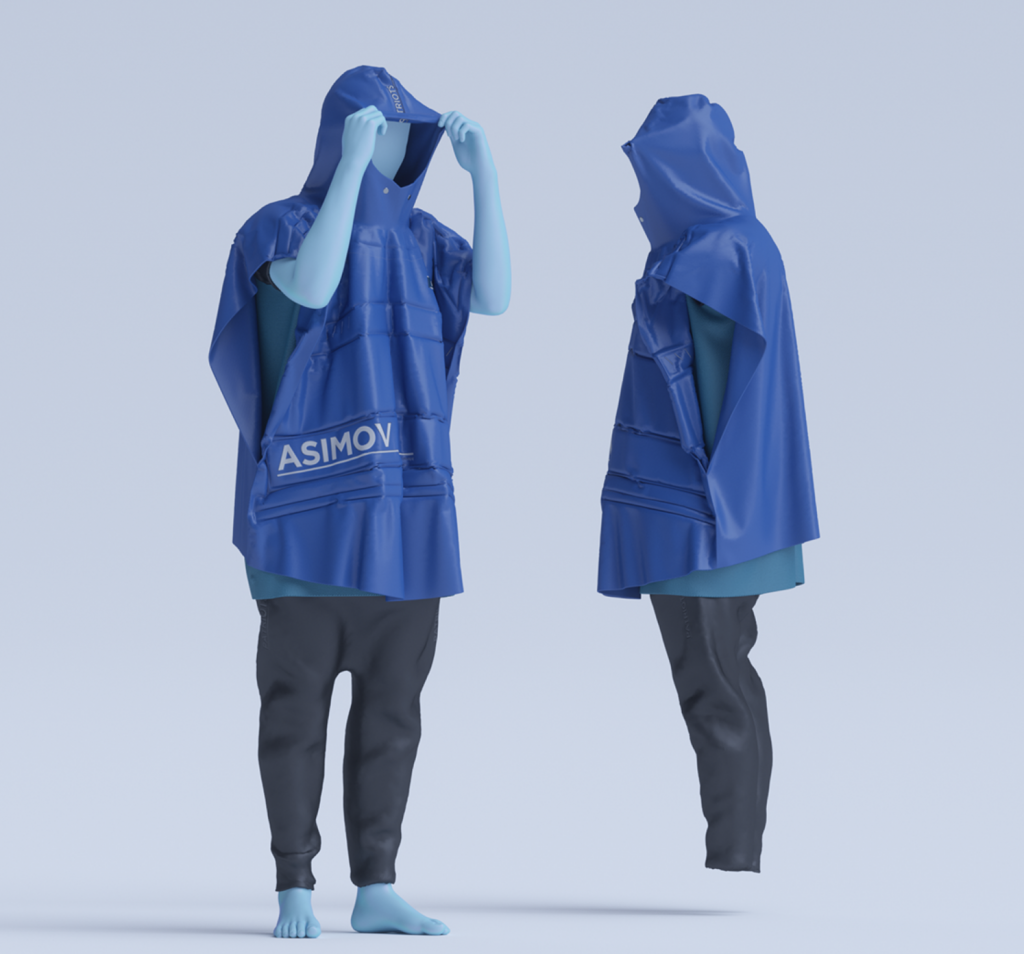
A 3D graphics project I feel particularly drawn to is Catello Gragnaniello‘s ‘Asimov’, a project combining 2D graphics with fashion. I enjoy the combination of realistic textures with foreign-looking materials that give the overall work a futuristic and weightless feeling. The ways that the artist plays around with the same models/figures in different environments is a really fascinating feature that traditional forms of digital art may not afford.

While it doesn’t specify what software the artist uses, a lot of individuals online speculate it being Cinema4D or Maya based on the rendering and motion graphics/animation that the artist showcases in the project.

‘Asimov’ is a really interesting look into the potential future of clothing design, as it is possible to simulate realistic materials and therefore achieve a likeness to an actual product, while simultaneously going outside of the box to create something that may not be possible in real life, asking questions like whether or not the design has to be reproducible, or even real, in order for it to be considered fashion design. With rising cases of 3D-generated models, a lot of people are beginning to question the modern definition of fashion, and ‘Asimov’ explores that idea in a fun and understated way.

Project 5 – Wallpaper

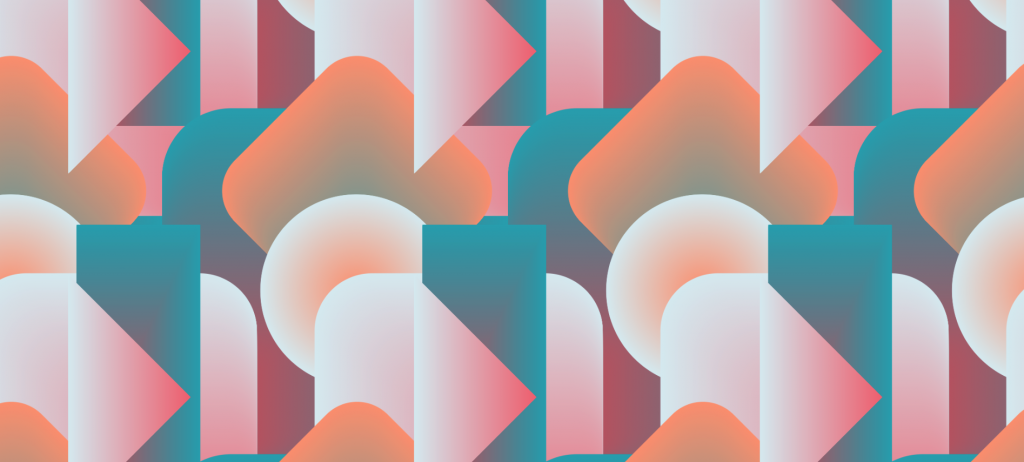
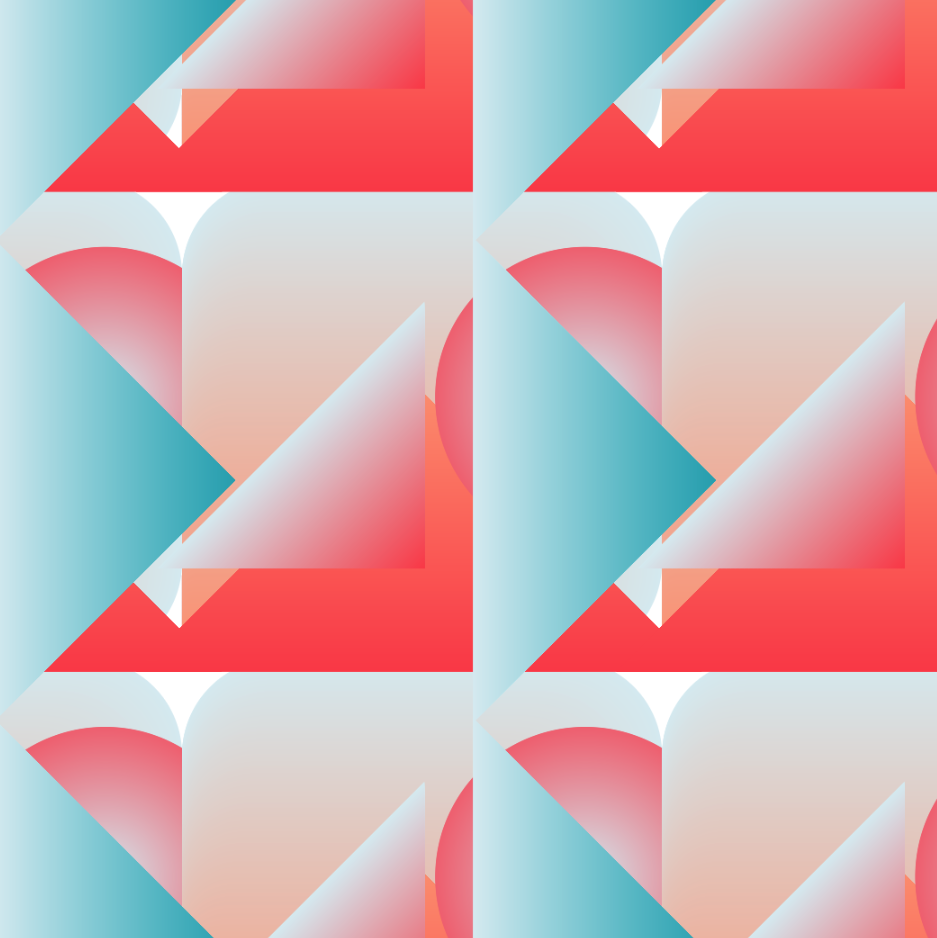
for this project, I wanted to create something that was a little more abstract and randomized (almost like a texture or textile generator) rather than a single image or motif tiled repeatedly.

(refreshing should change the pattern)

iyip_wallpaper
//Iris Yip
//15104 Section D

var density, shapes, c, cindex, newc,
    colors = ["#1aa6b7", "#ff414d", "#f56a79", "#ff9a76", "#d9ecf2"]; 

var setvariations = [],
    setsize = [],
    setquad = [],
    setxoffset = [],
    setyoffset = [],
    setcolor1 = [],
    setcolor2 = [];


function setup() {
    createCanvas(600,600);
    angleMode(DEGREES);

};

function draw() {

    setvariations = [],
        setsize = [],
        setquad = [],
        setxoffset = [],
        setyoffset = [],
        setcolor1 = [],
        setcolor2 = [];

    background(255, 100);
    // set pattern repeat density
    density = int(random(2, 8));
    shapes = int(random(5, 10));


    for (let i = 0; i < shapes; i++) {

        setvariations.push(int(random(1, 6)));
        setxoffset.push(random(0, width / density));
        setyoffset.push(random(0, width / density));
        setsize.push(i * 0.2 + 1);
        setquad.push(int(random(1, 8)));

        colors = ["#1aa6b7", "#ff414d", "#f56a79", "#ff9a76", "#d9ecf2"];
        c = random(colors);
        setcolor1.push(color(c));
        cindex = colors.indexOf(c);
        colors.splice(cindex, 1);
        setcolor2.push(color(random(colors)));
    }

    for (let i = -1; i <= density * 2 + 1; i++) {
        for (let j = -1; j <= density * (width/height) * 2 + 1; j++) {
            let factor = width / density,
                x = i * factor,
                y = j * factor;

            for (let n = 0; n < shapes; n++) {
                shape(factor, x + setxoffset[n], y + setyoffset[n], setvariations[n], setsize[n], setquad[n], setcolor1[n], setcolor2[n]);
            }
        }
    }

    frameRate(0);
}

function shape(factor, x, y, variation, size, quad, color1, color2) {

    for (var i = factor; i > 0; i--) {

        let fillcolor = lerpColor(color(color1), color(color2), i / factor);
        noStroke();
        fill(fillcolor);

        push();
        translate(x, y)
        rotate(quad * 45);

        if (variation == 1) {
            arc(0, 0, i / size, i / size, 0, size * 45);
        };

        if (variation == 2) {
            triangle(0, 0, i / size, 0, 0, i / size);
        };

        if (variation == 3) {
            square(0, 0, i / size, i / (size * 5), i / (size * 5), i / (size * 5), i / (size * 5));
        }

        if (variation == 4) {
            ellipse(0, 0, i / size, i / size);
        }

        if (variation == 5) {
            rect(0, 0, i / size, i / size / 2);
        }


        pop();

    };
}

Project 05 – Wallpaper

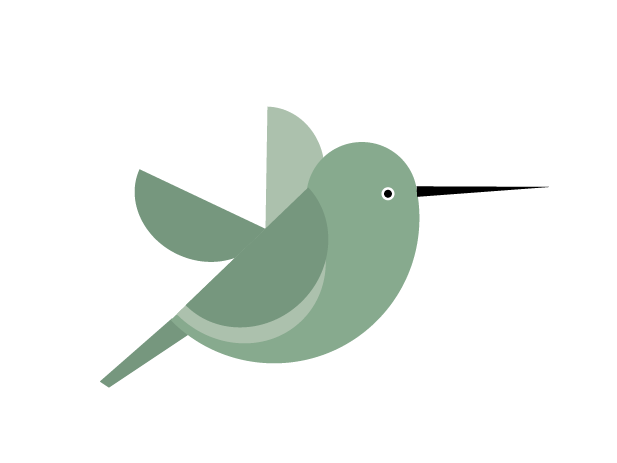
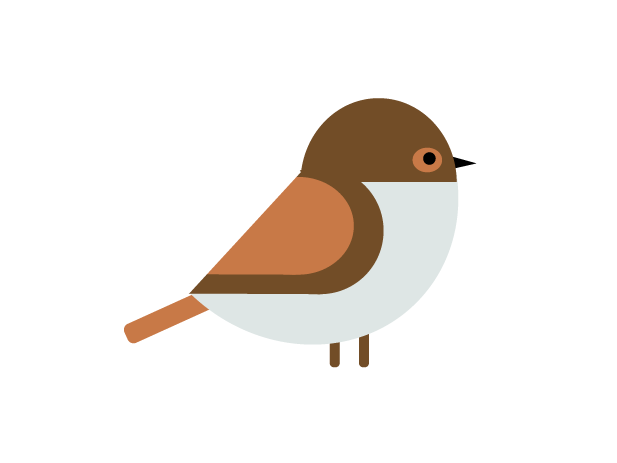
For my wallpaper project, I chose to draw a pattern of a hummingbird and a little brown bird. I also included some small flowers as accent designs in between the birds. I had the most difficulty trying to figure out the start and end angles of all the semicircles for the birds’ bodies and wings.

Maggie – Wallpaper
//Maggie Ma
//Section D
var birdWidth = 148; //spacing columns
var birdHeight = 111; //spacing rows

function setup() {
    createCanvas(600, 600);
    background(255);
}

function draw() {
	background(246,247,197);

	//first column
	for(var y=-50; y<=height-50; y+=1.25*birdHeight) {
		for(var x=-50; x<=width-50; x+=1.25*birdWidth){
			hummingbird(x,y);
		}
	}

	//second column
	for(var y=25; y<=height; y+=1.25* birdHeight) {
		for(var x=30;x<=width-50;x+=1.25* birdWidth) {
			brownbird(x,y);
		}
	}
}

function hummingbird(x,y) {
	push();
	translate(x,y);
	noStroke();
	//beak
	fill(0);
	triangle(99,56, 99,58, 132,56);
	//tail
	fill(125,173,141);
	quad(24,103,26,106,50,90,45,87);
	//body
	fill(125,173,141);
	arc(65,64,69,67, radians(320),radians(130),CHORD);
	fill(246,247,197);
	rect(72.112,31.473,33.75,25.133);
	//light wing back
	fill(167,195,172);
	arc(64,52, 29,31,radians(270),radians(90));
	//head
	fill(125,173,141);
	ellipse(87,58,23,23);
	//wing light
	fill(167,195,172);
	arc(57,72, 44,46,radians(320),radians(130),CHORD);
	//wing dark
	fill(125,173,141);
	arc(59,70,42,41,radians(320),radians(130),CHORD);
	arc(52,60,29,31,radians(25),radians(205), CHORD);
	//eye
	fill(0);
	stroke(255);
	circle(93,58,2.5);
	//decor
	noStroke();
	fill(255,183,0);
	circle(71,0,6);
	circle(71,4,6);
	circle(76,0,6);
	circle(76,4,6);
	pop();
}

function brownbird(x,y) {
	push();
	translate(x,y);
	noStroke();
	//tail
	fill(210,118,53);
	quad(35,80,51,71,53,75,37,84);
	//beak
	fill(0);
	triangle(104,39,104,42,114,41);
	//feet
	fill(114,74,26);
	rect(79,79,2.3,8.5);
	rect(85,75,2.3,13);
	//body
	fill(220,230,229);
	arc(71,46,71,68,radians(320),radians(130),CHORD);
	fill(246,247,197);
	rect(75.783,11,39.484,29.403);
	//head
	fill(114,74,26);
	arc(91,45,31,34,PI,0,CHORD);
	//wing dark
	triangle(46,70,64,52,77,70);
	circle(77,57,26);
	//wing light
	fill(210,118,53);
	triangle(47,65,71,65,62,51);
	ellipse(72,55,22,19);
	fill(246,247,197);
	quad(31,72,31.196,33.844,76,43,46,72);
	//eye light
	fill(210,118,53);
	ellipse(100,40,7,5.85);
	//eye black
	fill(0);
	ellipse(102,40,2.94);
	//decor
	noStroke();
	fill(62,118,99);
	circle(74,0,6);
	circle(74,4,6);
	circle(79,0,6);
	circle(79,4,6);
	pop();
}

My original bird drawings in Illustrator:

LO 5 – 3D Computer Graphics

https://zigorsamaniego.net/

Amigos Project

Zigor Samaniego

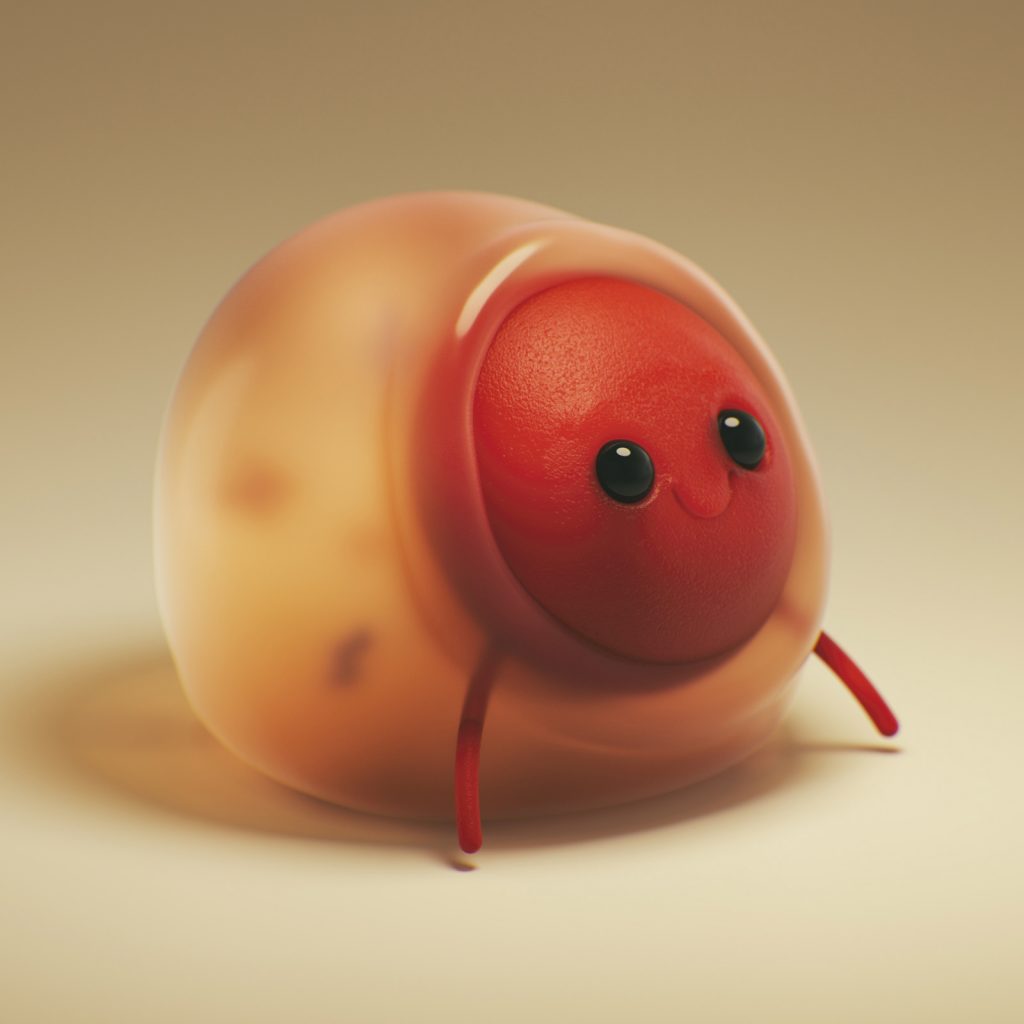
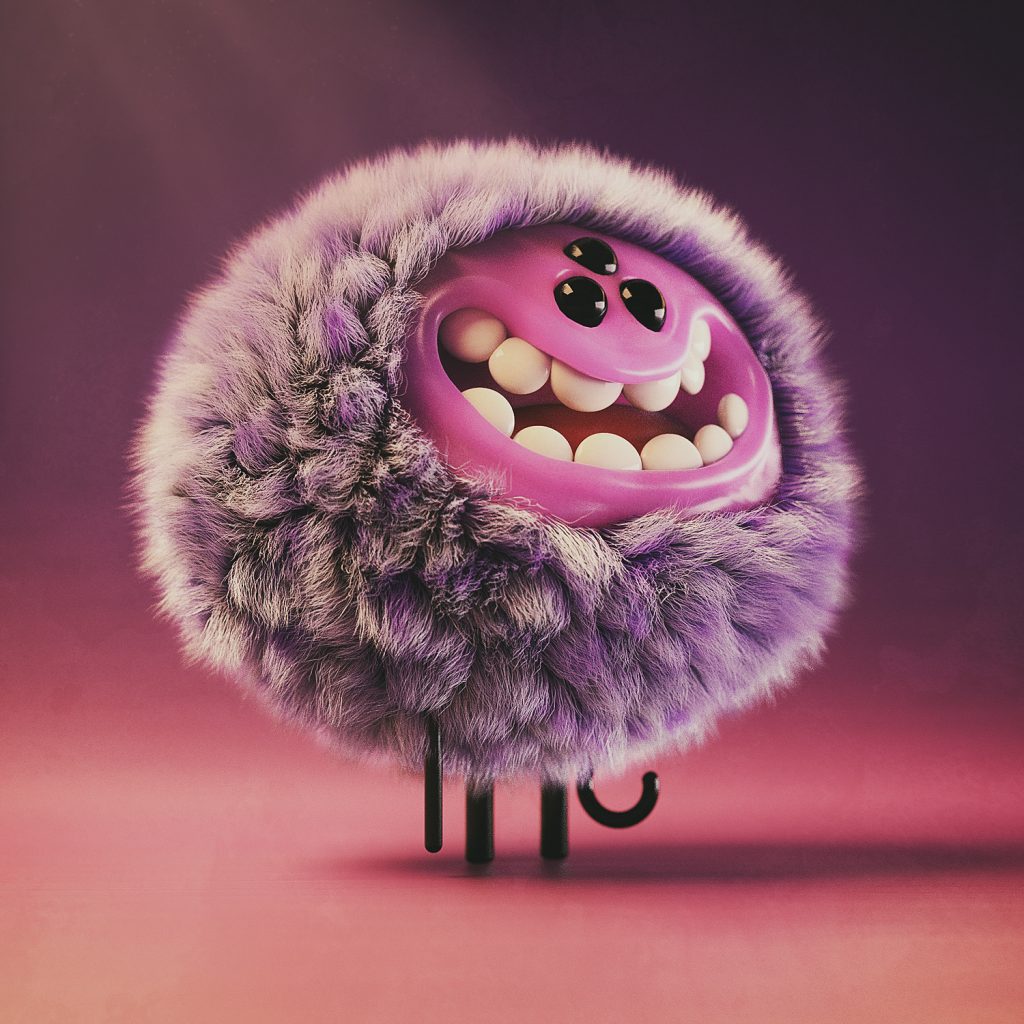
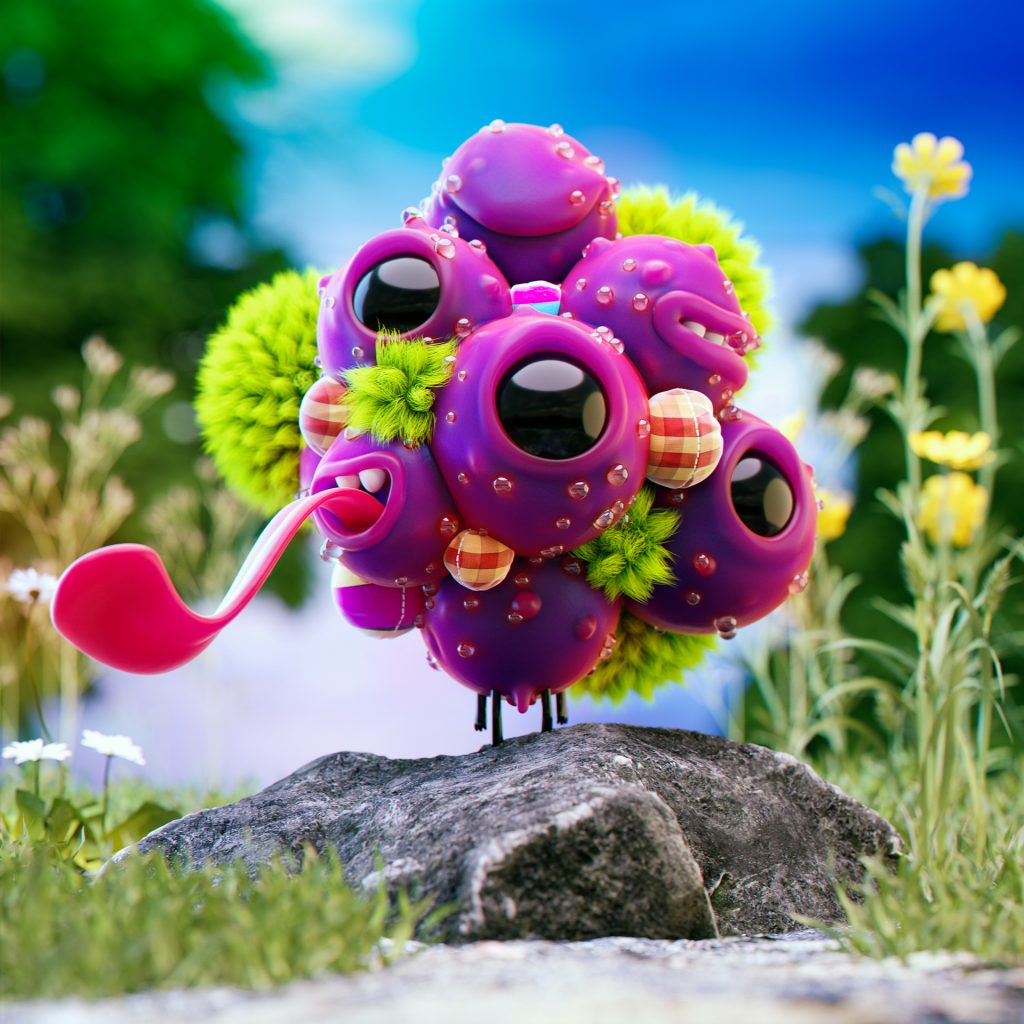
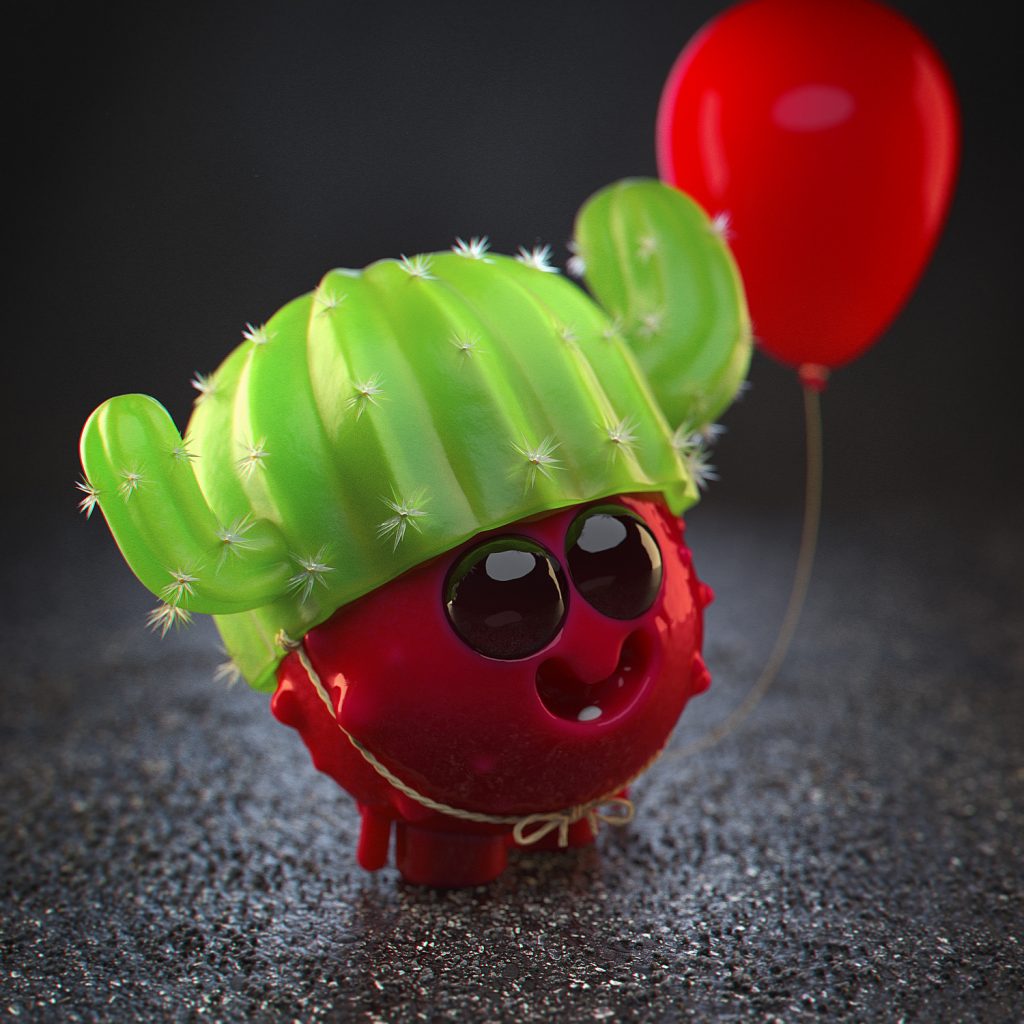
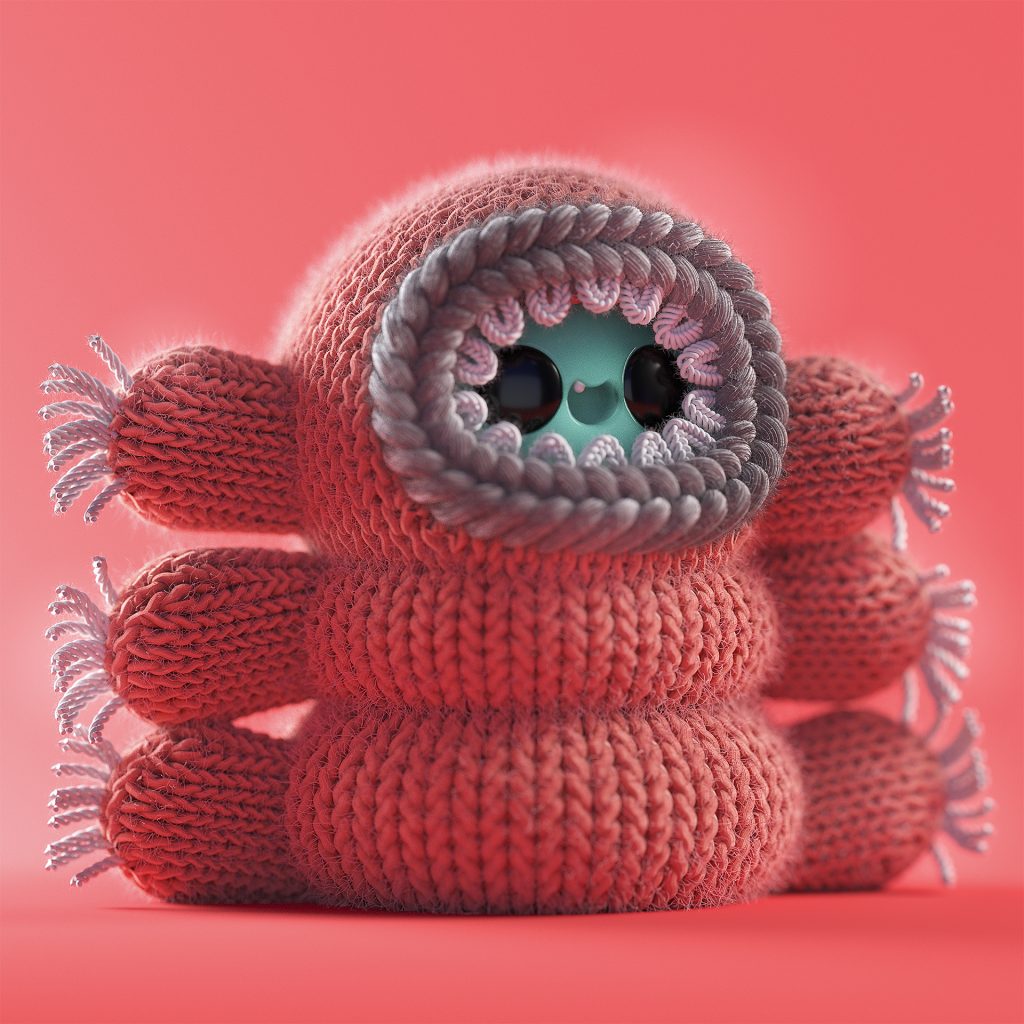
The artist I chose to examine for this week’s Looking Outwards is Zigor Samaniego, specifically the Amigos Project series. I was first drawn to the absolutely adorable monsters and how “real” they looked, especially the texture—some are fuzzy, some are porous, and some have a shiny gleam as if made of glossy plastic. Samaniego also creates short animations and films of these monsters, and has amassed a large Instagram following for his vibrant and fun characters. My favorite monster is the little red ball wrapped in a jelly coating. I’m really fascinated by how 3D renderers create textures, shadows, and highlights in software such as Cinema 4D to make objects seem as if they exist in the real world.

My favorite monster—it reminds me of a little jelly donut.

LO 5 – 3D Computer Graphics

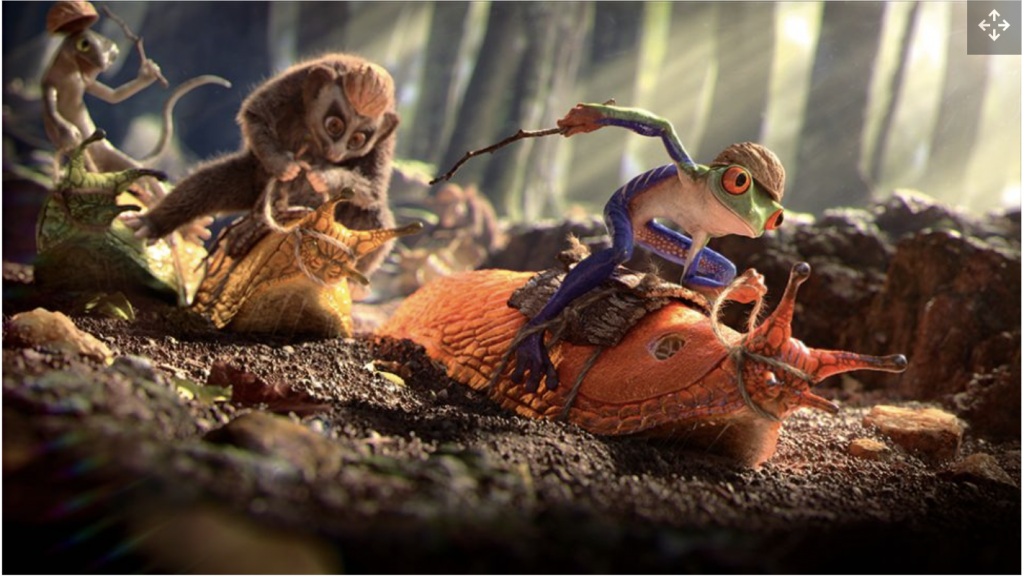
Brazilian 3D artists Fabricio Moraes and Guilherme Formenti teamed up to create a whimsical scene called “Slug Race”. The inspiration came from a walk in the woods and the sights to see in a damp forest. Fabricio had wanted to try a technique called photogrammetry, so on his walk, he scanned a lot of trees, rocks, and ground to create a realistic representation of what he saw. Agisoft PhotoScan was used for the collection of assets for the process of photogrammetry, 3ds max and Zbrush were used for modeling and lighting, V-Ray was for rendering, and Nuke was for compositing (Moraes typically uses Photoshop for compositing). I particularly enjoy how these artists created such a whimsical scene that is closely based on reality. The process of photogrammetry is also very intriguing as it is a technique that I would also like to try.

LO: 3D Computer Graphics

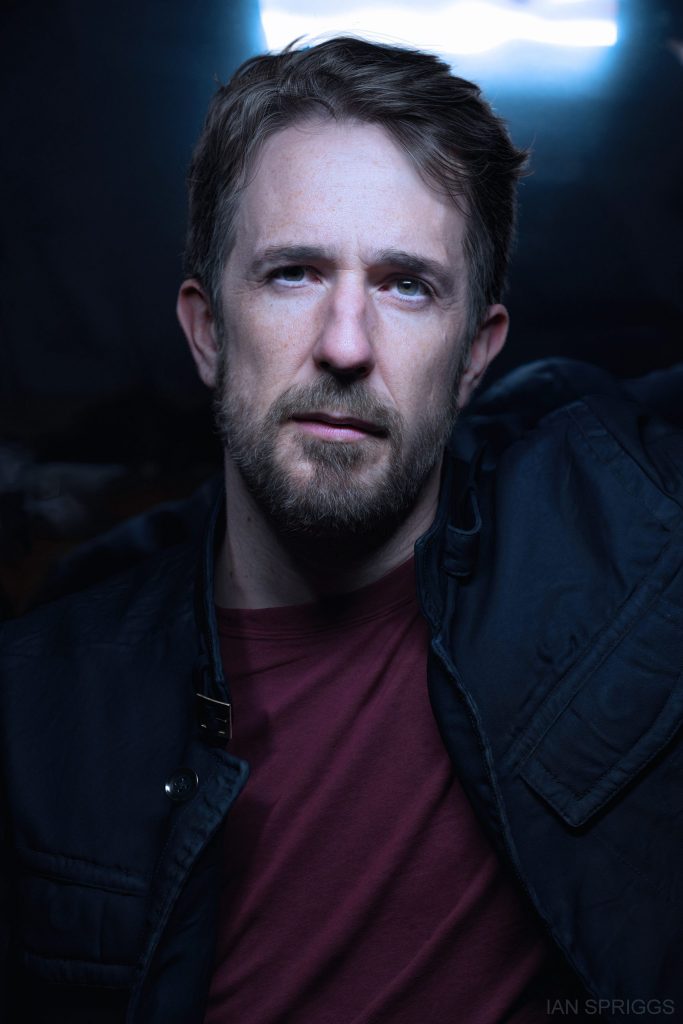
“Self-Portrait” (2020) by Ian Spriggs

One 3D computer graphics artist that I find inspiring is Ian Spriggs and his 3D portraits. For most of his works, he models and textures using the Maya and Mudbox programs without using any scans. He adds touch-ups in Photoshop and renders his work using RTX graphic cards from Nvidia. It is a phenomenon of how realistic each portrait is. It is inspiring to see him create such realistic 3D forms in 2D space. Besides the fact that his work is inspiring, he himself as a person is as well. He is very generous in sharing his work and even sharing tutorials in his methods. Even though it’s just a project, it is so jaw-dropping how he creates every strand of hair, the glimmer of light in the iris, down to even single pore. It’s hard enough to paint a realistic portrait but to render it through computer graphics is insane.

Ian Spriggs’ 3D Portraits: https://ianspriggs.com/portraits

Project 5: Wallpaper

wallpaper cb
function setup() {
    createCanvas(600, 600);
    noLoop();
}

function draw() {
    background(249, 220, 180);

    //grid pattern background
    for (var x = 0; x <= width; x += 20) {
        for (var y = 0; y <= height; y += 20) {
        push();
        translate(x, y);
        grid();
        pop();
        }
    }

    //columns of 4 eggs
    for (var x = 56; x <= 560; x += 164) {
        for (var y = 72; y <= 522; y += 150) {
        push();
        translate(x, y);
        rotate(radians(-20));
        egg();
        pop();
        }
    }

    //columns of 3 eggs
    for (var x = 140; x <= 470; x += 164) {
        for (var y = 150; y <= 450; y += 150) {
        push();
        translate(x, y);
        rotate(radians(30));
        scale(.85);
        egg();
        pop();
        }
    }

    //columns of 3 bacons
    for (var x = 50; x <= 546; x += 164) {
        for (var y = 144; y <= 450; y += 150) {
        push();
        translate(x, y);
        rotate(radians(20));
        scale(.5);
        bacon();
        pop();
        }
    }

    //columns of 4 bacons
    for (var x = 140; x <= 472; x += 162) {
        for (var y = 70; y <= 538; y += 152) {
        push();
        translate(x, y);
        rotate(radians(-280));
        scale(.7);
        bacon();
        pop();
        }
    }
}

function egg() {
    fill(255);  //white
    noStroke();
    ellipse(-11, -14, 40, 42);
    ellipse(-7, 21, 50, 48);
    beginShape();
    curveVertex(4, -28);
    curveVertex(4, -28);
    curveVertex(23, 10);
    curveVertex(9, 40);
    curveVertex(9, 40);
    endShape();
    beginShape();
    curveVertex(-27, -10);
    curveVertex(-27, -10);
    curveVertex(-10, -10);
    curveVertex(-27, 10);
    curveVertex(-27, 10);
    endShape();

    fill(255, 200, 100);  //yolk
    ellipse(-2, 5, 30);
    noFill();
    stroke(255);
    strokeWeight(3);
    arc(-2, 5, 20, 20, HALF_PI, PI);
}

function bacon() {
    noFill();
    strokeWeight(8);
    strokeCap(SQUARE);
    stroke(147, 73, 0);
    bezier(35, -25, -40, -40, 40, 40, -35, 35);
    push();
    translate(13, 13);
    bezier(35, -25, -40, -40, 40, 40, -35, 35);
    pop();
}

function grid() {
    rectMode(CENTER);
    noStroke();
    fill(255, 175, 148, 150);
    rect(0, 0, 17, 17);
}

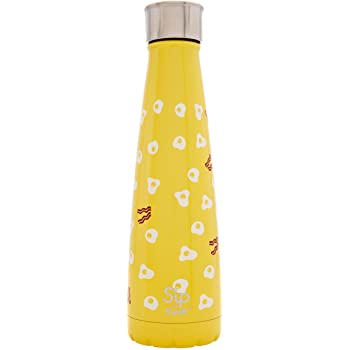
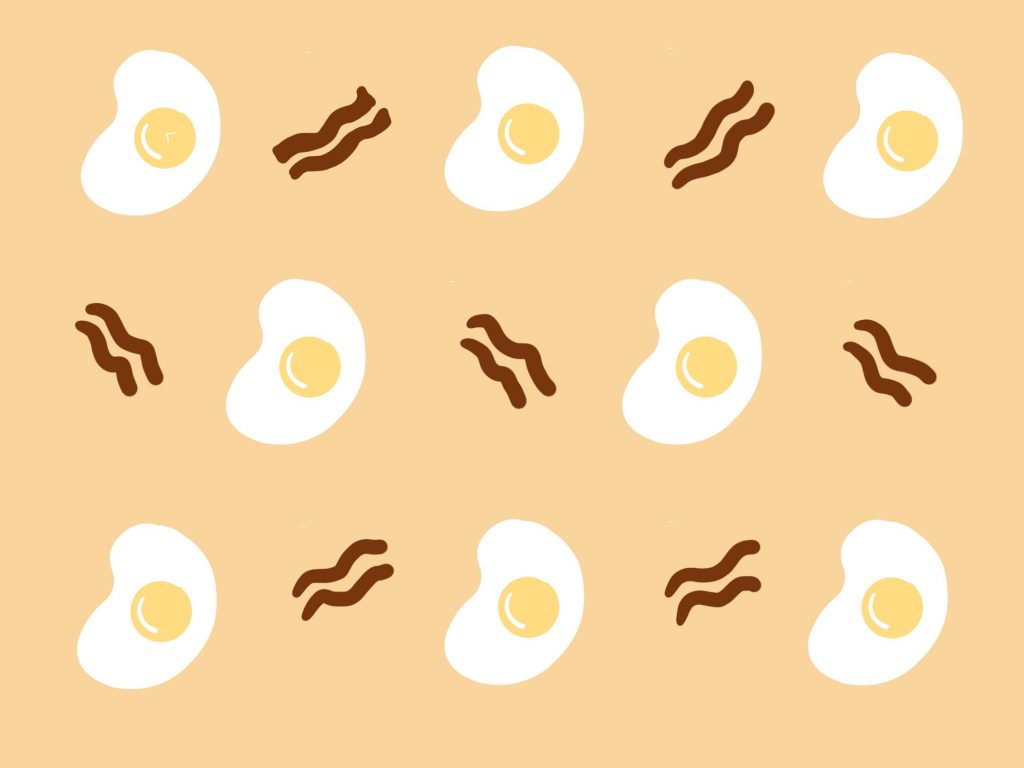
For this project, I was inspired by my water bottle, which has an eggs and bacon design on it. I decided to make my own pattern and have included some of my initial sketches below. I wanted to play with custom shapes, specifically curveVertex and bezier curves, as well as arcs. To add visual interest, I experimented with shifts in scale and rotation in creating an alternating pattern of eggs and bacon.

water bottle
quick procreate sketch
illustrator sketches