![[OLD FALL 2018] 15-104 • Introduction to Computing for Creative Practice](https://courses.ideate.cmu.edu/15-104/f2018/wp-content/uploads/2020/08/stop-banner.png)
/*Vicky Zhou
Section E
vzhou@andrew.cmu.edu
Project-09-Computational Portrait*/
var maandpa;
function preload() {
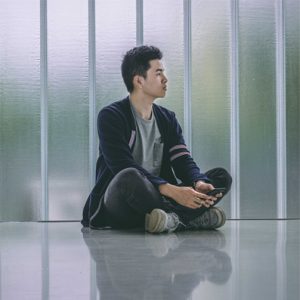
var myImage = "https://i.imgur.com/2z2nvGR.jpg";
maandpa = loadImage(myImage); //image of my mom and dad
}
function setup() {
createCanvas(350, 370);
background(140, 200, 200, 100);
imageMode(CENTER);
maandpa.loadPixels();
frameRate(900);
}
function draw() {
var x = 1;
var y = 1;
var xvel = random(1, 400); //random x to add to x position
var yvel = random(1, 400); //random y to add to y position
x += int(x * xvel);
y += int(y * yvel);
var pcol = maandpa.get(x, y); //getting pixel color
noStroke();
tint(255, 100); //makes a white tint; half opacity
fill(pcol);
var size = random(0, 10); //generating random ellipse sizes
ellipse(x, y, size, size);
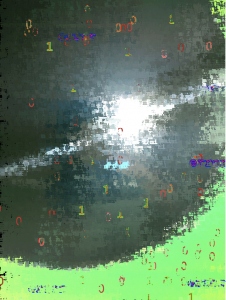
//creating chinese word for mom on mom's side
if (x >= 200 & x <= 350){
tint(255, 150);
textSize(random(0, 20));
text("妈", x, y);
}
//creating chinese word for dad on dad's side
if (x >= 0 & x <= 200){
tint(255, 150);
var space = random(0, 30);
text("爸", x + space, y);
}
}
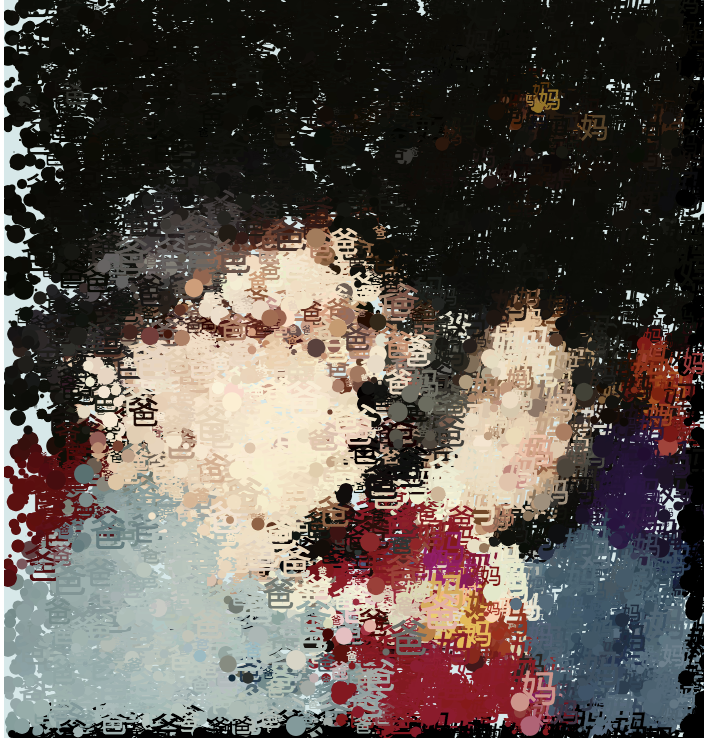
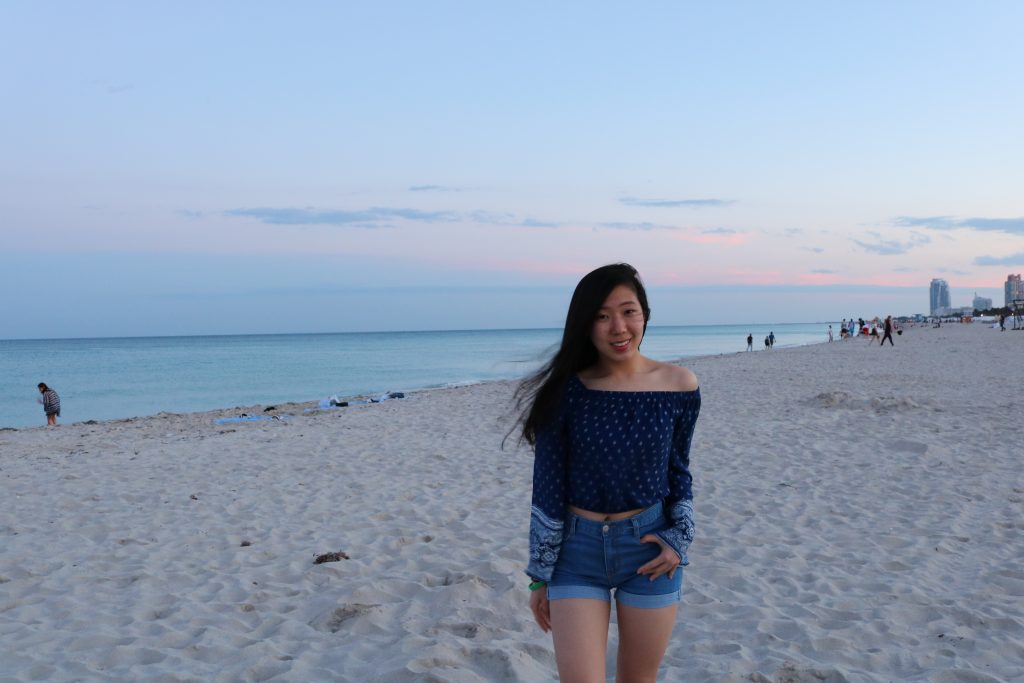
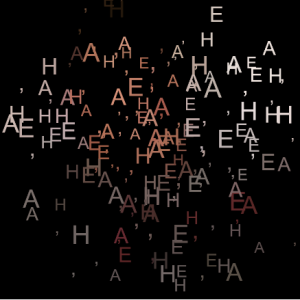
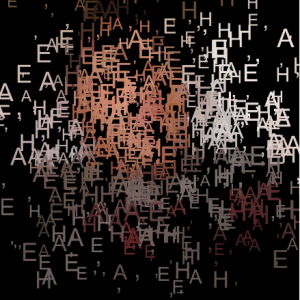
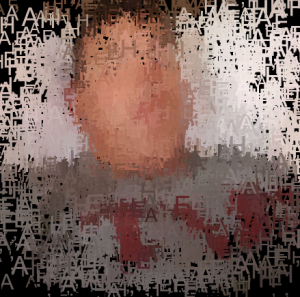
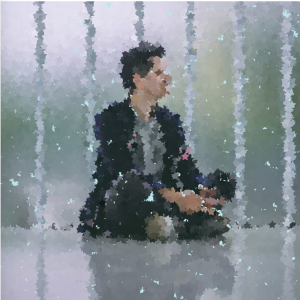
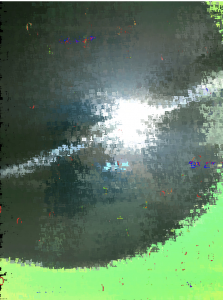
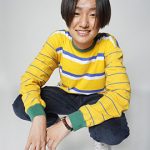
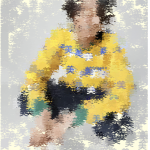
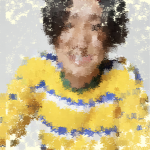
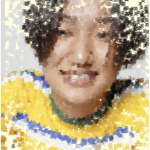
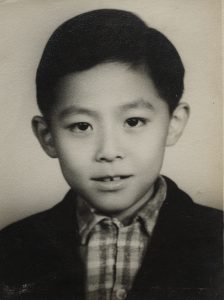
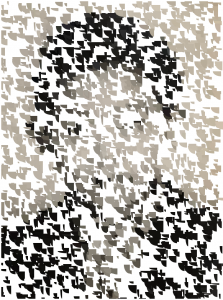
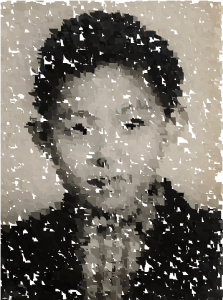
For this computational portrait project, I used a cool hip photo of my momma and papa from their ol’ days. I loved seeing other people manipulate different types of text and utilizing it as their generative pixels, and so I wanted to do the same but by using the Chinese word for “mom” and “dad” on their respective side of the image. I also included ellipses to add more to the background, because I did not like it as much with the gaps. Both text and ellipses are generated to have a certain tint, to create a better layering effect, and also are generate to be of varying random sizes.
Original Image: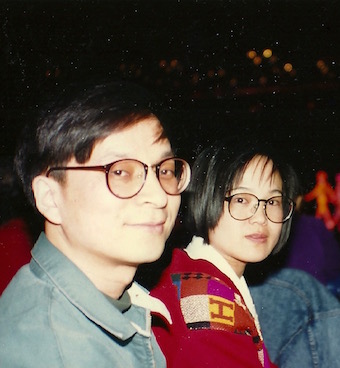
Generative Image: