![[OLD FALL 2018] 15-104 • Introduction to Computing for Creative Practice](https://courses.ideate.cmu.edu/15-104/f2018/wp-content/uploads/2020/08/stop-banner.png)
// Sophia S Kim
// Section C 1:30
// sophiaki@andrew.cmu.edu
// Project-09-Portrait
var friendImage;
//function that loads the image
function preload() {
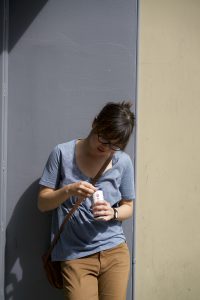
var myImageUrl = "https://i.imgur.com/kEQsen9.jpg";
friendImage = loadImage(myImageUrl);
}
function setup() {
createCanvas(310, 480);
background(0);
imageMode(CENTER);
friendImage.loadPixels();
//loads the image using pixels
frameRate(5000);
}
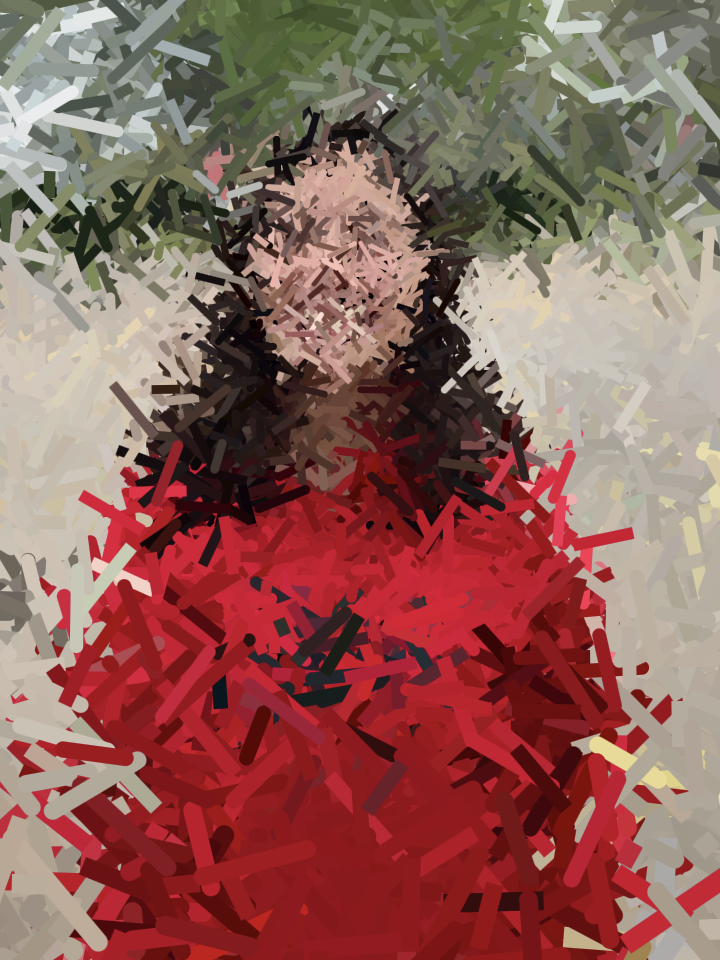
function draw() {
var positionX = random(width);
var positionY = random(height);
//positions the pixels randomly (x & y values random)
var constrainX = constrain(floor(positionX), 0, width);
var constrainY = constrain(floor(positionY), 0, height);
//constrains the randomly assigned positions within the canvas
var colorGet = friendImage.get(constrainX, constrainY);
//retrieves color from image pixels to a random position
noStroke();
fill(colorGet);
ellipse(positionX - 5, positionY, 2, 2);
//left eye for smiley face
ellipse(positionX + 5, positionY, 2, 2);
//right eye for smiley face
noFill();
stroke(colorGet);
strokeWeight(2);
arc(positionX, positionY + 5, 7.5, 3, 0, radians(180));
//the smile part (arc) of the smiley face
}
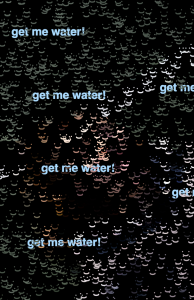
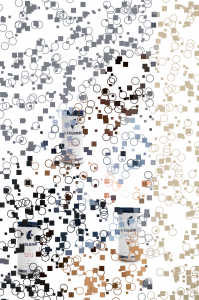
function mousePressed() {
textSize(18);
fill(168, 217, 255);
textStyle(BOLD);
noStroke();
text("get me water!", mouseX, mouseY);
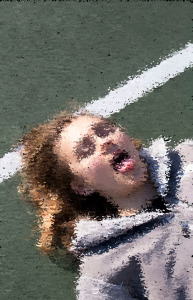
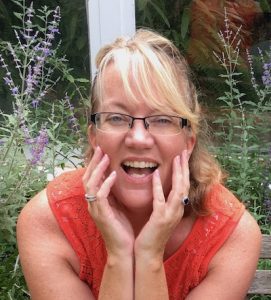
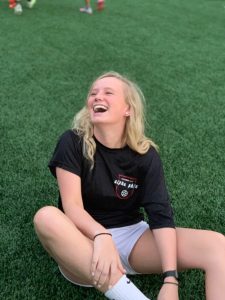
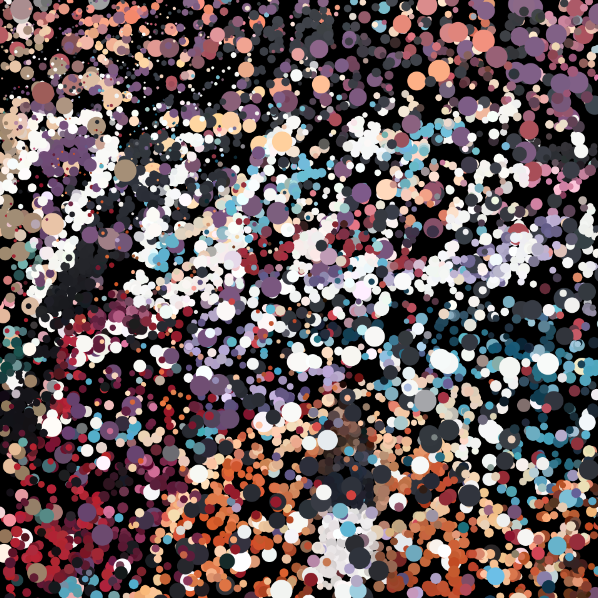
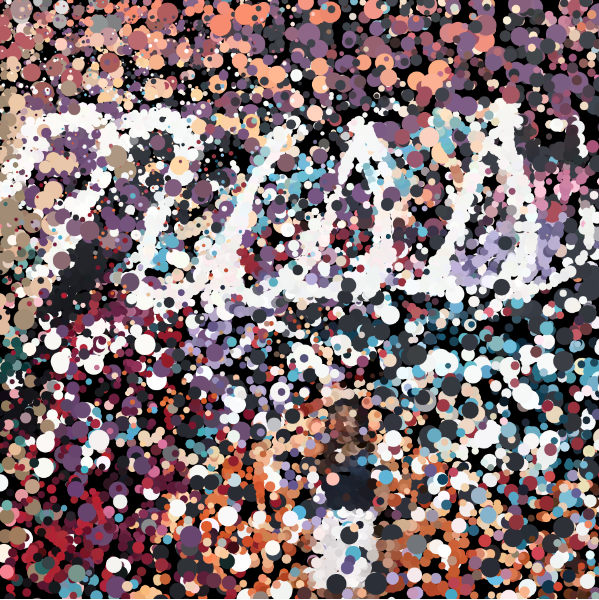
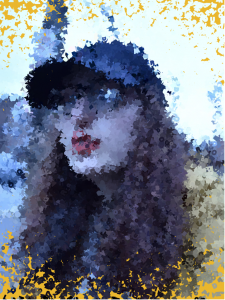
}I chose to do a portrait of Jaclyn that I took last semester at the tennis courts. I knew that I didn’t want to just use simple shapes for the pixels. Instead, I chose to use smiley faces, because Jaclyn is really funny, goofy, and happy. I am really glad I have a friend like her 🙂
Because her tongue is sticked out in the photo, I immediately thought of dehydration and water.