![[OLD FALL 2018] 15-104 • Introduction to Computing for Creative Practice](../../wp-content/uploads/2020/08/stop-banner.png)
// Joanne Lee
// Section C
// joannele@andrew.cmu.edu
// Project-09
var christine;
function preload() {
var myImageURL = "https://i.imgur.com/beoY7rv.jpg"; // load image
christine = loadImage(myImageURL);
}
function setup() {
createCanvas(480, 480);
background(0);
christine.loadPixels();
frameRate(50000000);
}
function draw() {
var px = random(width);
var py = random(height);
var ix = constrain(floor(px), 0, width-1);
var iy = constrain(floor(py), 0, height-1);
var rx = px + random(0,6); // randomize line x-value
var ry = py + random(0,4); // randomize line y-value
var rs = random(1,4); // randomize stroke weight
var theColorAtLocationXY = christine.get(ix, iy);
strokeWeight(rs);
stroke(theColorAtLocationXY);
line(px,py,rx,ry);
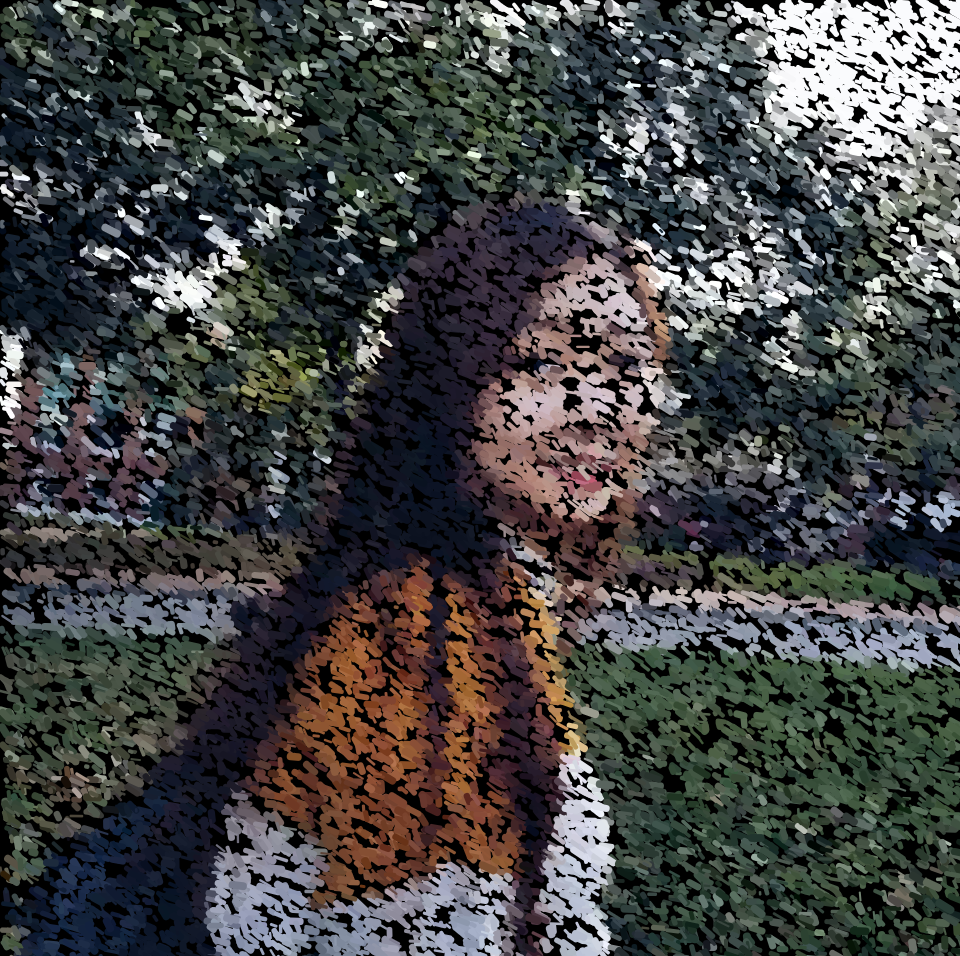
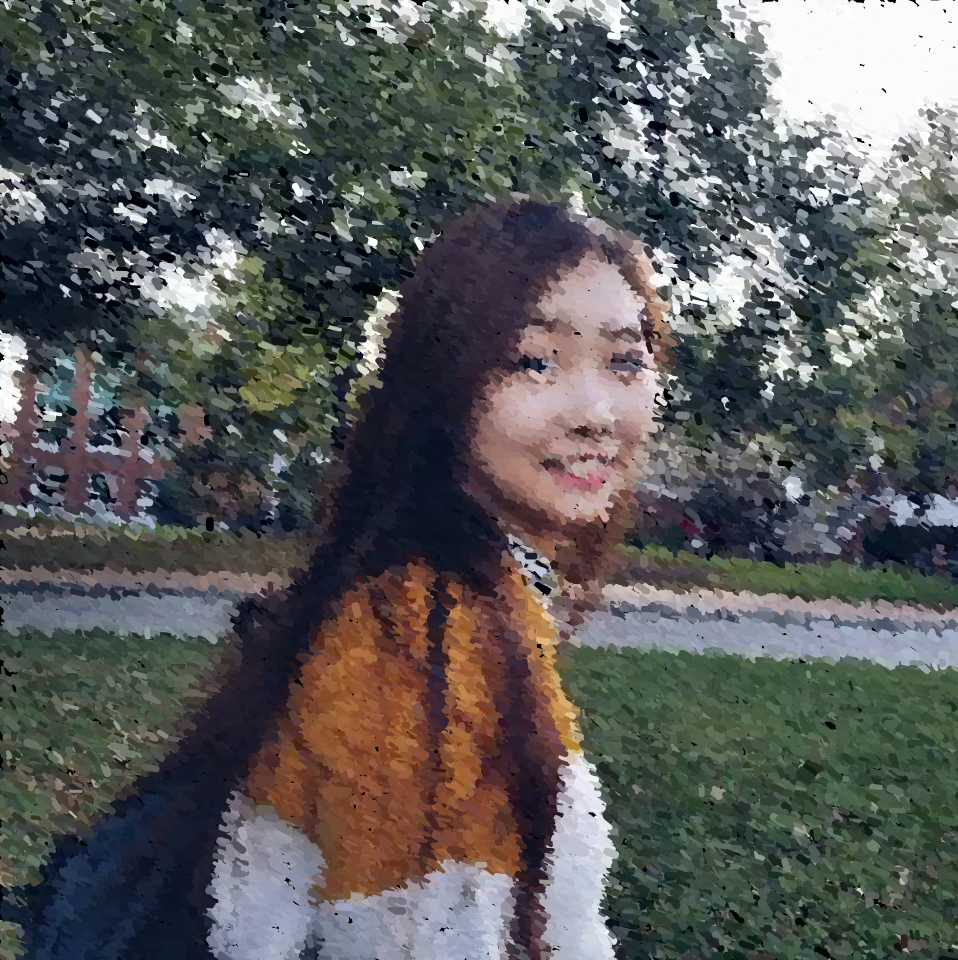
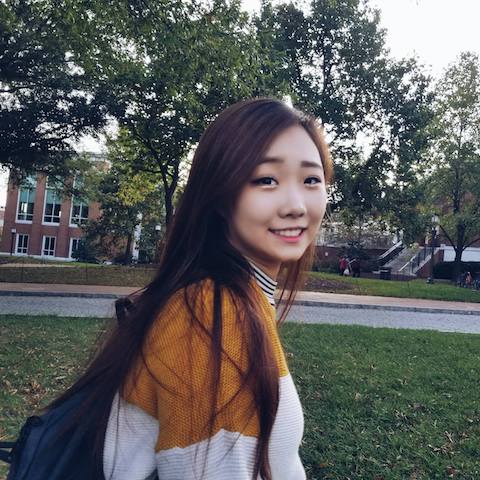
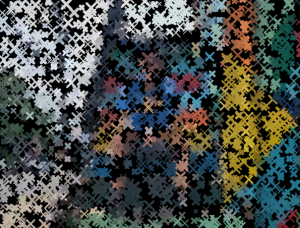
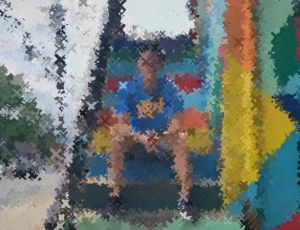
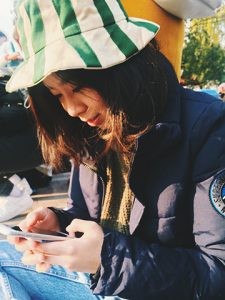
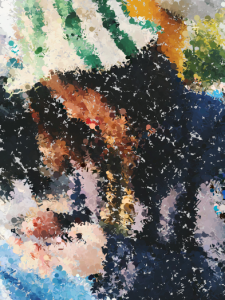
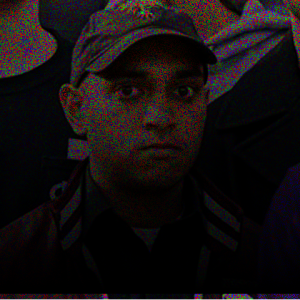
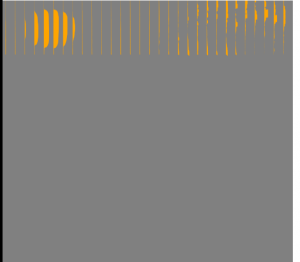
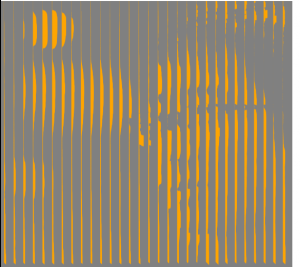
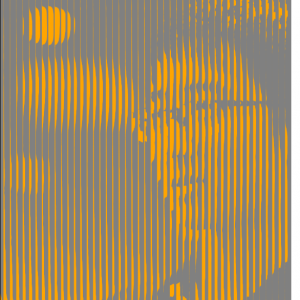
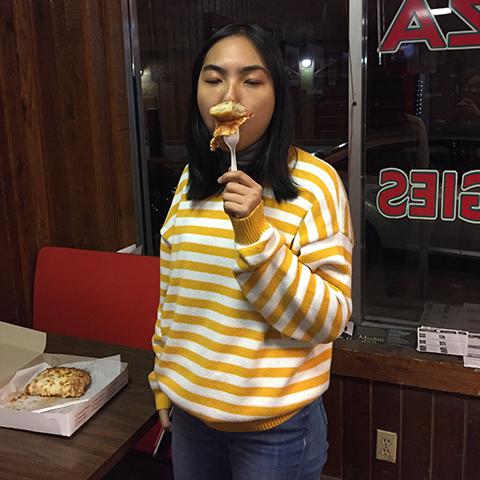
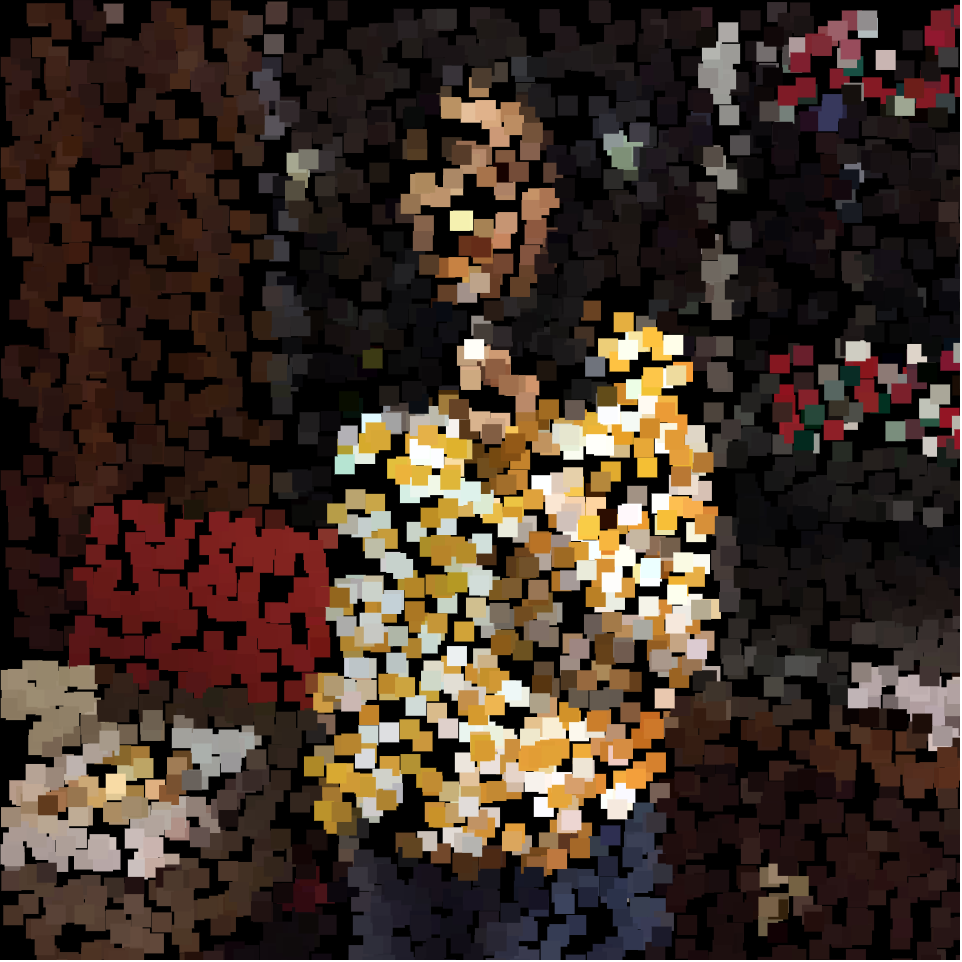
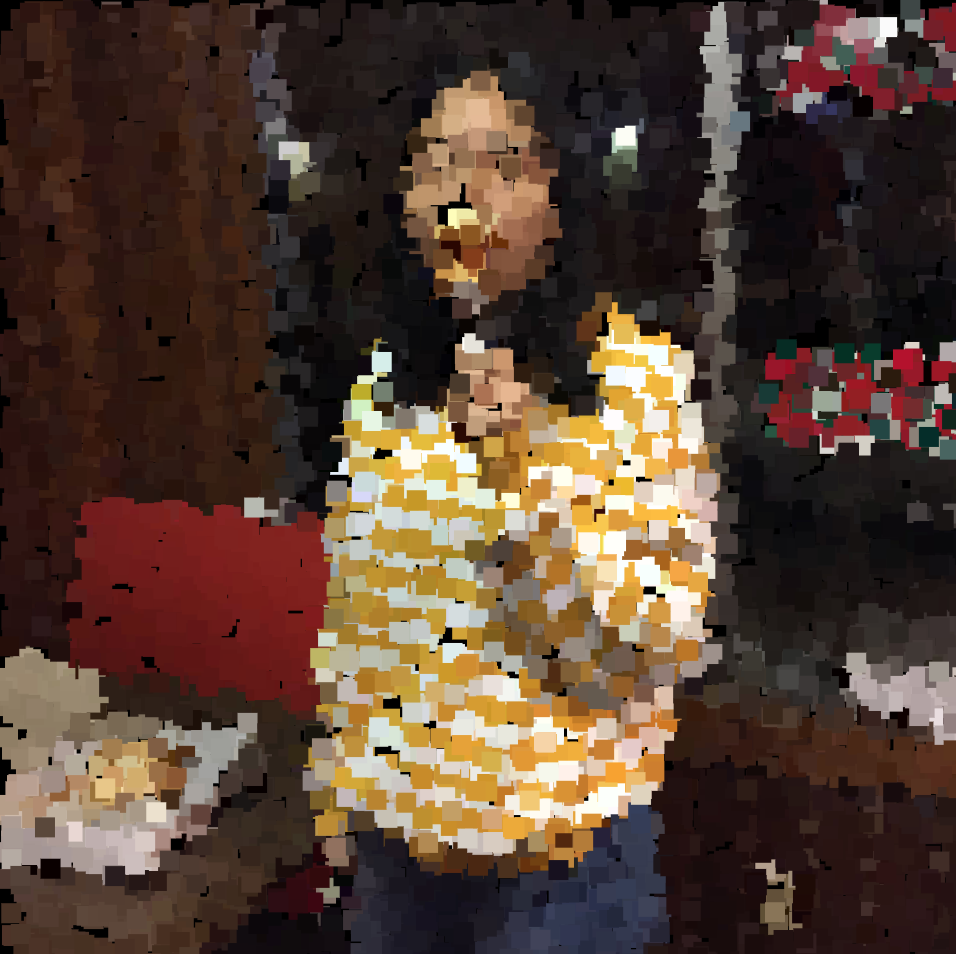
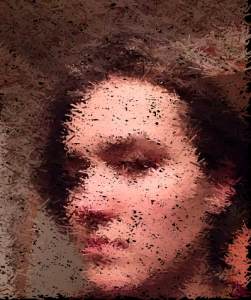
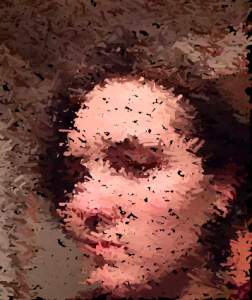
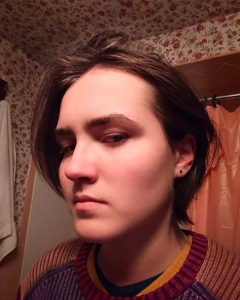
}I chose a photo of my gorgeous current roommate (although the style of the photo made it hard to really capture her eyes!). I knew I wanted to do lines in order to emulate “strokes” and to further emulate this, I tried to vary the stroke weights as well as direction and lengths of the line. I didn’t want to make the line extend too far in order to ensure that facial features could moderately be made out.
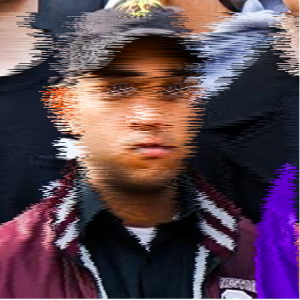
I very much admire impressionist type paintings and so I tried to emulate thicker brush strokes. I made the frame rate ‘50000000’ because I preferred to see the photo render quickly. Below are photos further in to rendering and near completion.