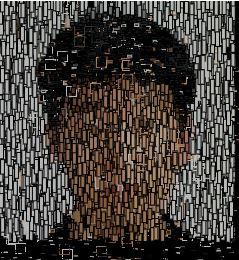
![[OLD FALL 2019] 15-104 • Introduction to Computing for Creative Practice](../../../../wp-content/uploads/2020/08/stop-banner.png)
/* SooA Kim
sookim@andrew.cmu.edu
Section C
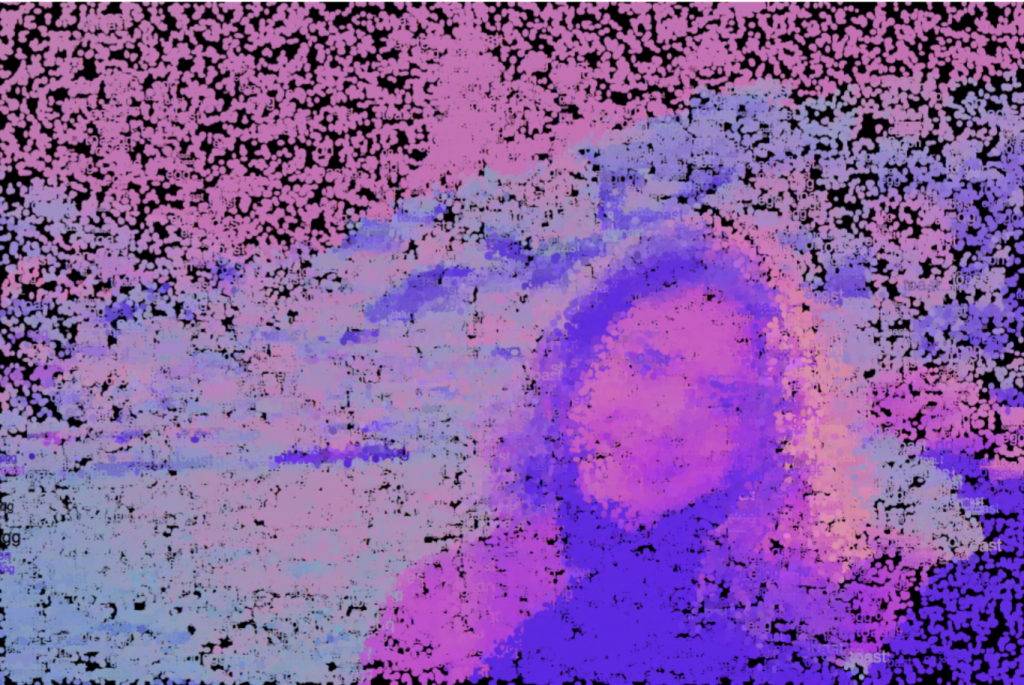
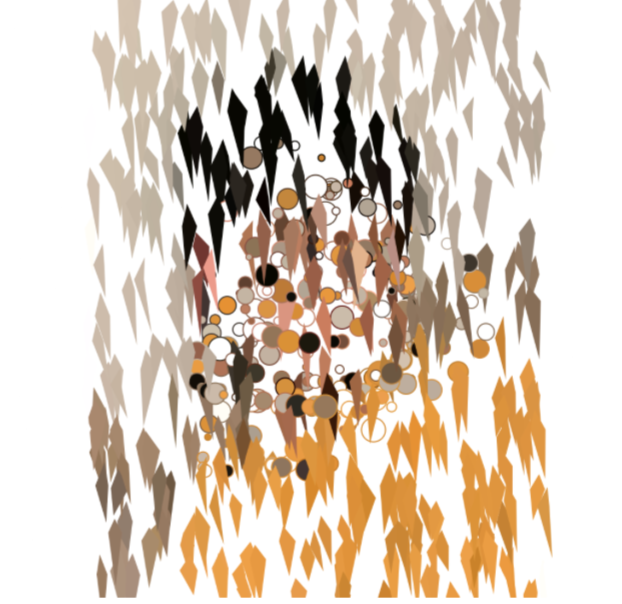
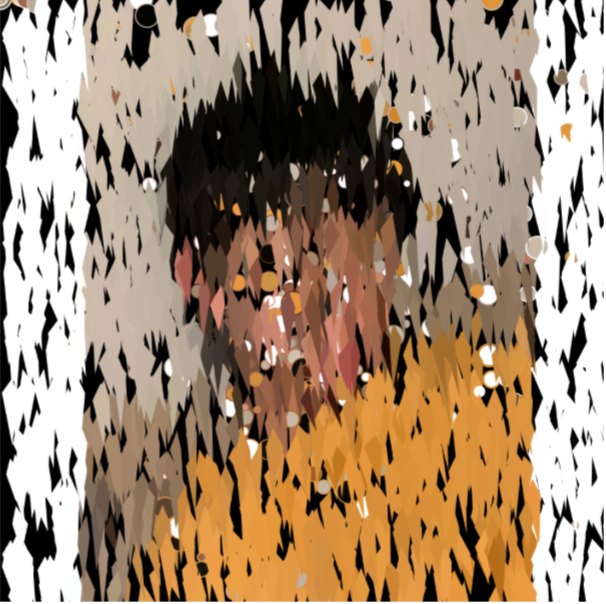
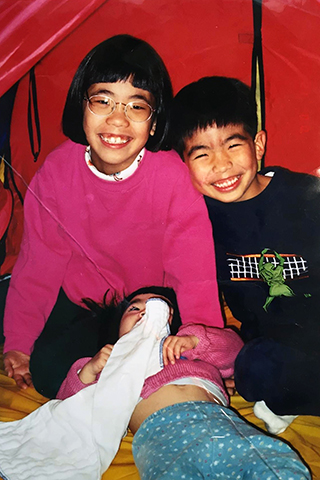
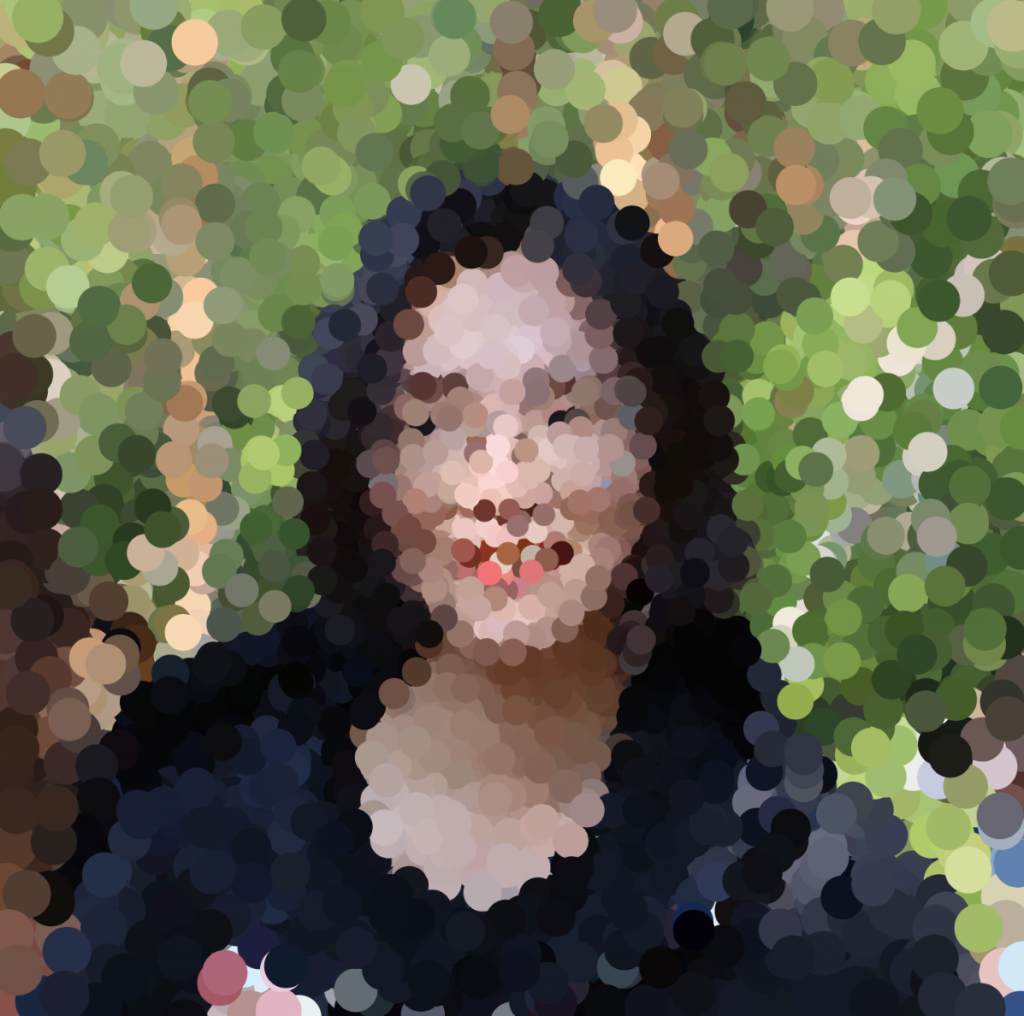
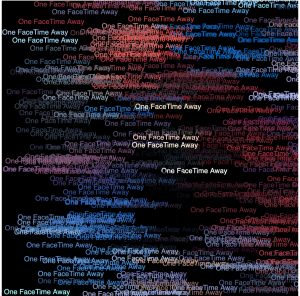
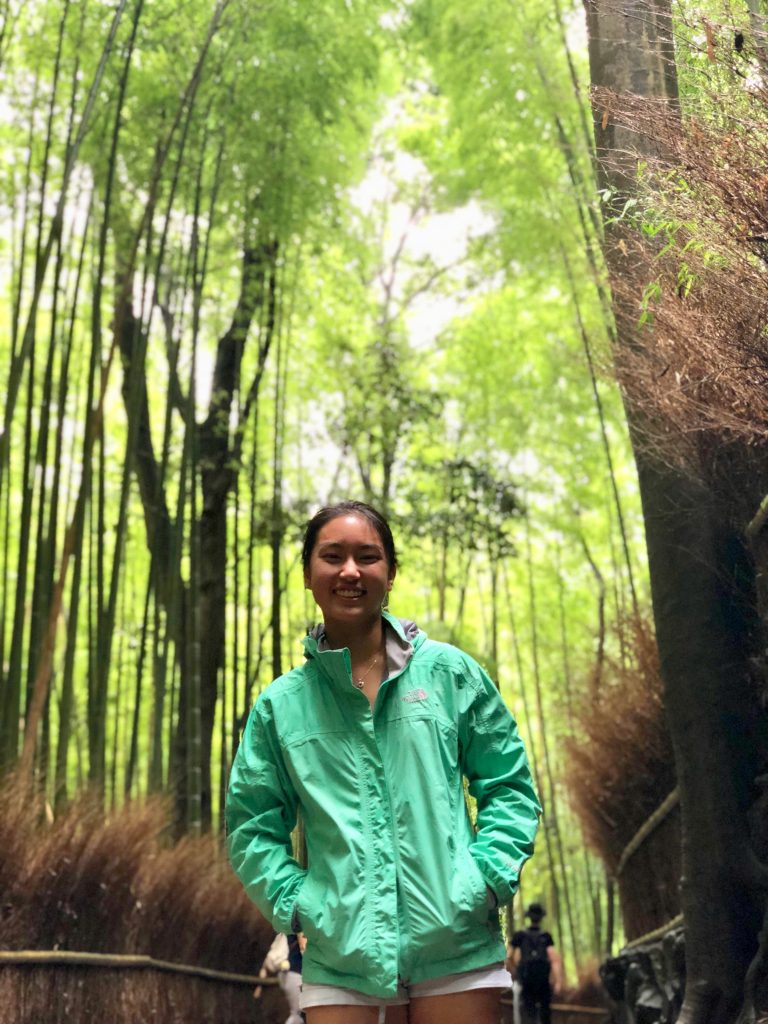
Project-09-Portrait
*/
var baseImage;
var dogs = ["♡°▽°♡", "(◕‿◕)♡"];
var brush = ["°˖✧◝(⁰▿⁰)◜✧˖°"];
function preload() {
var myImageURL = "https://i.imgur.com/Jvb8wfq.jpg";
baseImage = loadImage(myImageURL);
}
function setup() {
createCanvas(baseImage.width, baseImage.height);
imageMode(CENTER);
noStroke();
background(255);
baseImage.loadPixels();
frameRate(5000000);
}
function draw() {
var bx = random(width); // randomize pixels to initialize
var by = random(height);
var cx = constrain(floor(bx), 0, width - 1);
var cy = constrain(floor(by), 0, height-1);
var paintPix = baseImage.get(cx, cy);
noStroke();
fill(paintPix);
textSize(random(12));
text(dogs[0], random(0, width/2), by); //filling the half of the canvas
textSize(random(12));
fill(paintPix);
text(dogs[1], random(width/2, width), by); // filling other half of the canvas
}
//using mouse to generate faster
function mouseMoved(){
var paintPixMouse = baseImage.get(mouseX, mouseY);
fill(paintPixMouse);
textSize(15);
text(brush, mouseX, mouseY);
}For this project, I did a portrait of my dad and our two dogs by using text emojis to generate the pixels. It took a lot of time to cover using the texts, so I applied mouseMoved() to generate the photo faster.