Mari Kubota- Project-09- Portraits

sketch

/*
Mari Kubota
Section D
mkubota@andrew.cmu.edu
Assignment-09
*/

var lines = []; // Empty array to store ellipses

// Load image
function preload() {
    underlyingImage = loadImage("https://i.imgur.com/23aauRel.jpg");
}

function setup() {
    createCanvas(550, 420);
    underlyingImage.loadPixels(); 
}

// Determines the properties
function makelines() {
    var ix = constrain(floor(this.x), 0, width-1);
    var iy = constrain(floor(this.y), 0, height-1);
    var theColorAtLocationXY = underlyingImage.get(this.x, this.y); //gets the color value of the image at (x,y)
    var linethickness= 5;//thickness of lines

    fill(theColorAtLocationXY) // Fills the ellipse with the color of the image at (x,y)
    noStroke();
    ellipse(this.x, this.y, linethickness); // Draws the ellipse at (x,y) with the width and the height dimension of 'ballsize' which is a random number between 2 and 8
}

// Makes the lines move
function linespeed() {
    this.x += this.dx; // MouseY will be later assigned as 'y'
}

// function to create properties of ellipse to be called on later
function drawPortrait(originalx, originaly, originaldx) {
    p = {x: originalx, 
         y: originaly,
         dx: originaldx,
         speed: linespeed,
         lines: makelines,
        }
    return p;
}

//draws the lines
function draw() {
    newLines = []; // Creates an empty array for new lines
    for (var i = 0; i < lines.length; i++) { 
        var p = lines[i];
        p.speed(); //returns the function speed from drawPortrait
        p.lines(); //returns the function balls from drawPortrait
        newLines.push(p); 
    }
    lines = newLines;
}


// When the mouse is moved it replaces the originalx, originaly, and originaldx values with mouseX, mouseY and random(-20,20) and make the drawPortrait function actually happen and to be stored in the newball array
function mouseMoved() {
        var newLines = drawPortrait(mouseX, mouseY, random(-20, 20));
        lines.push(newLines);
        this.x += random(this.x-3, this.x+3);
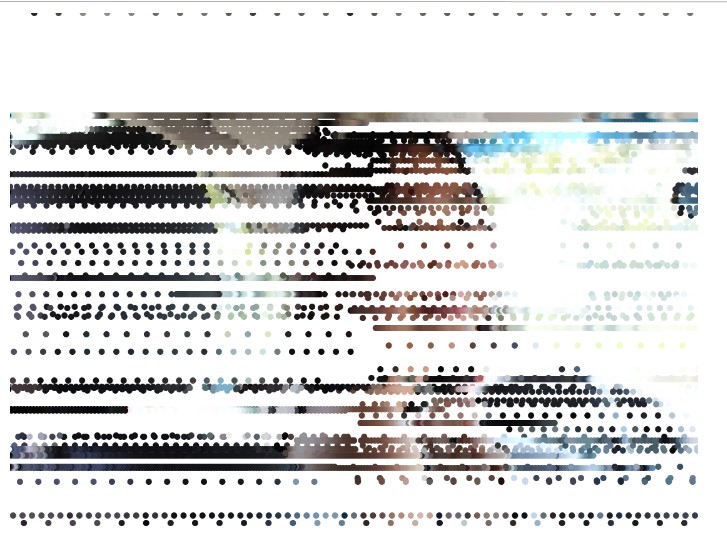
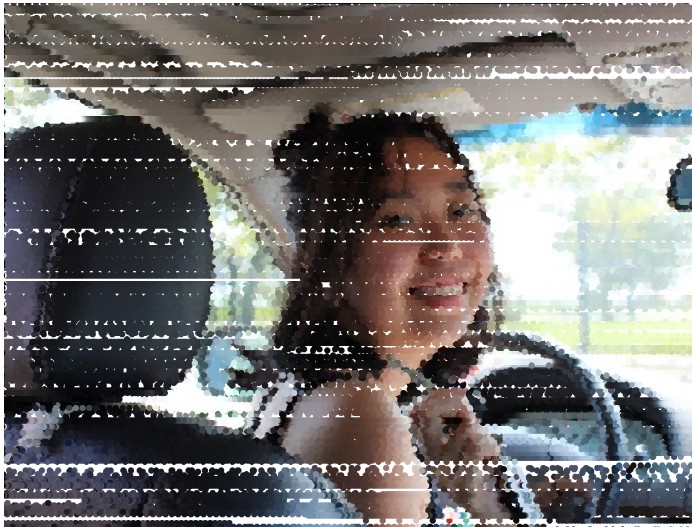
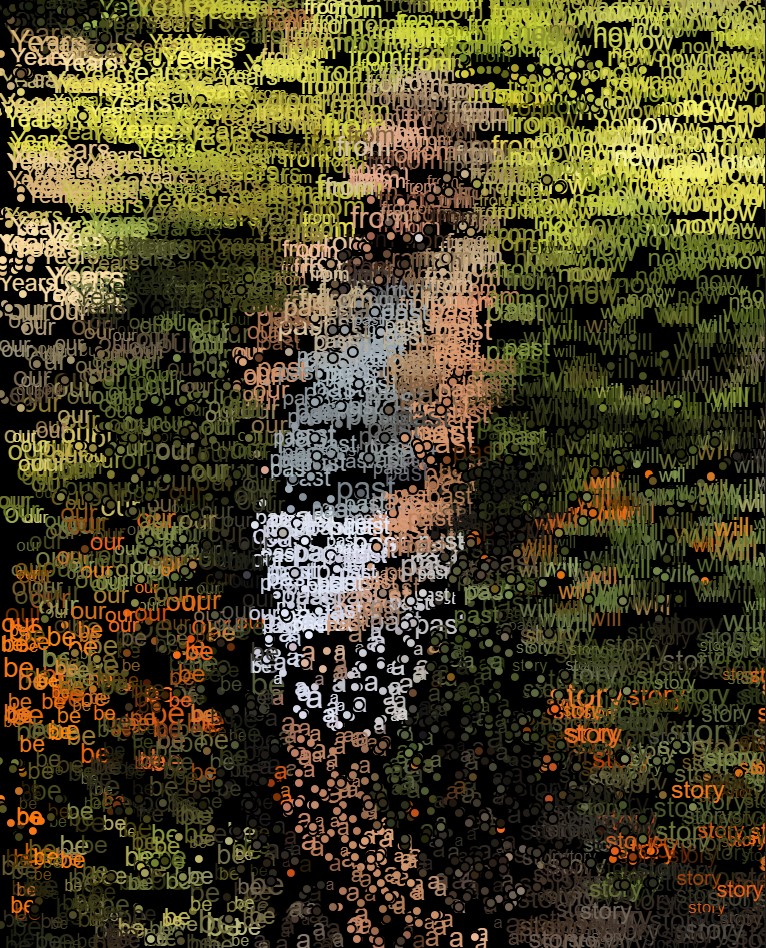
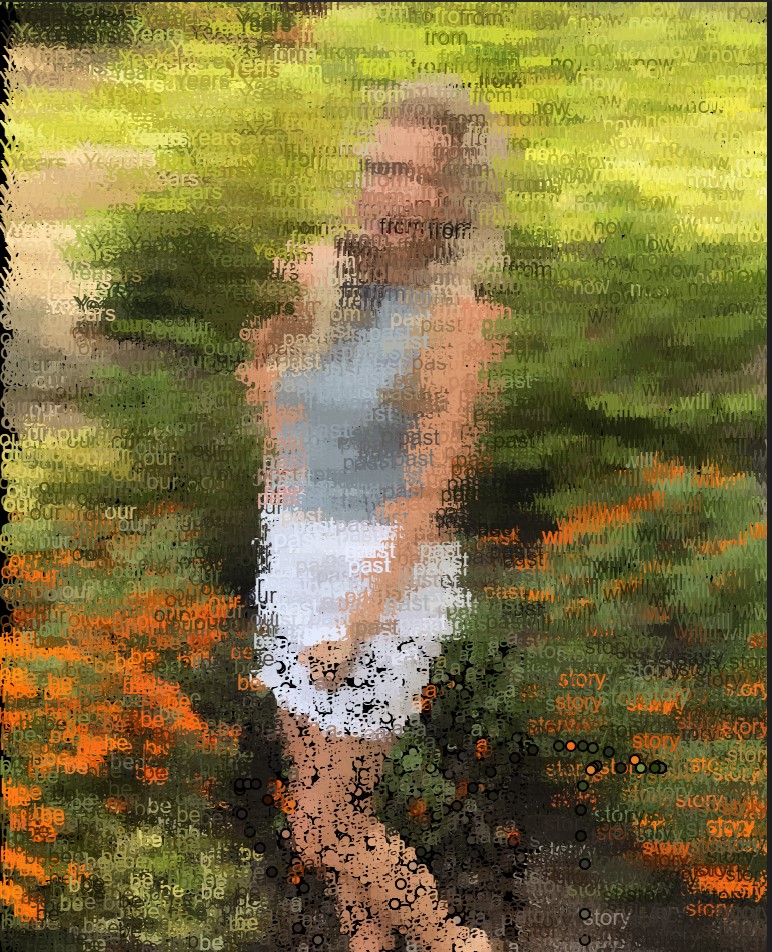
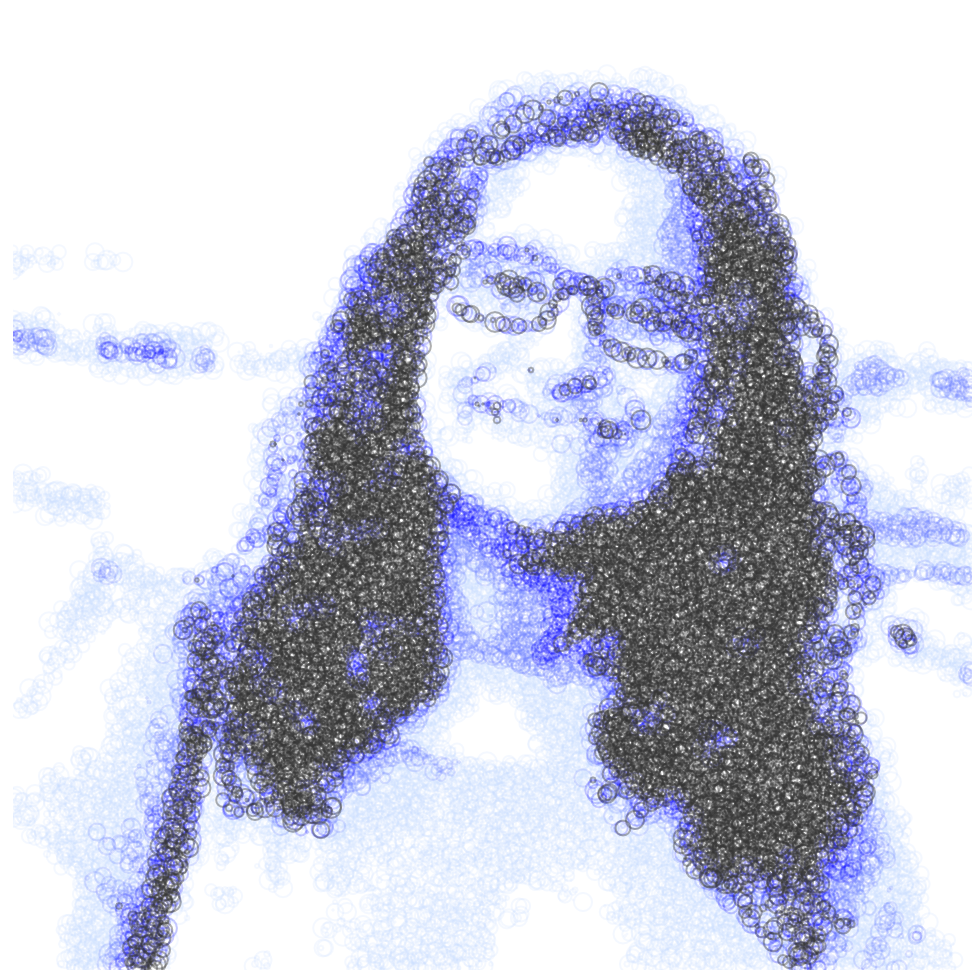
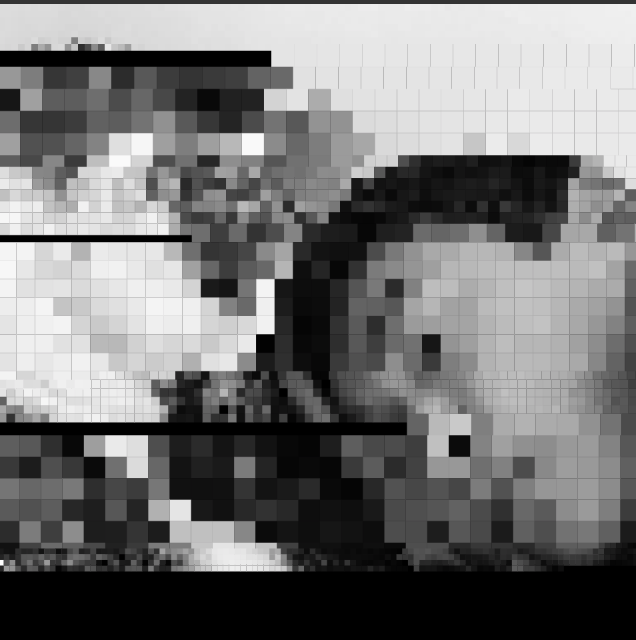
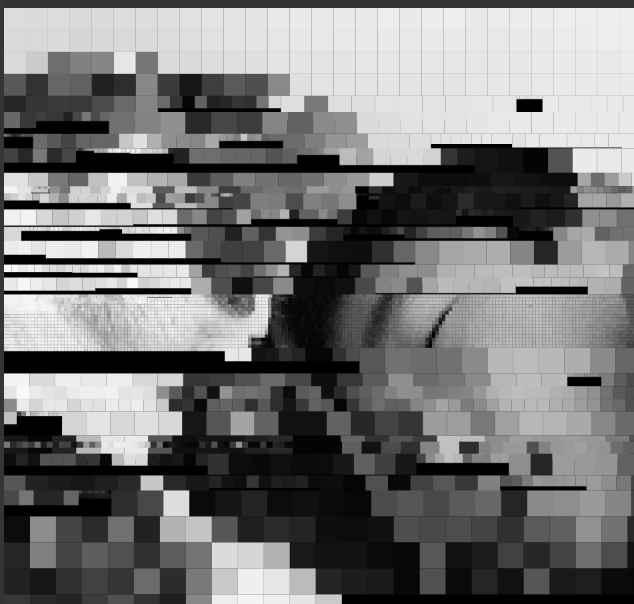
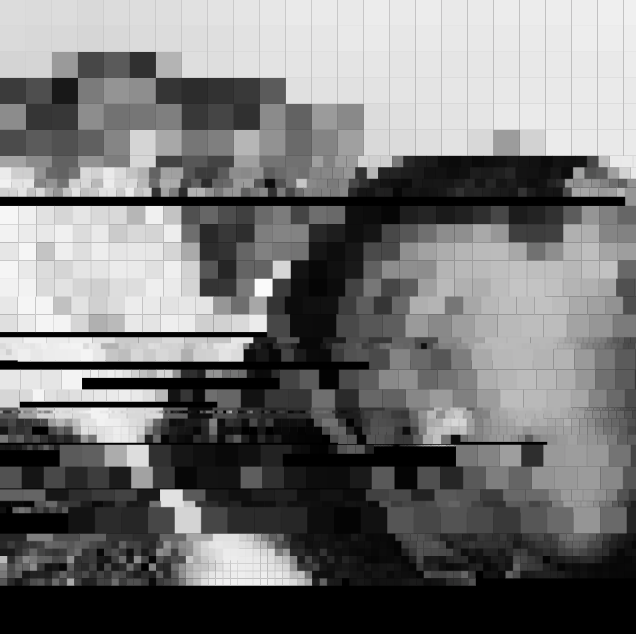
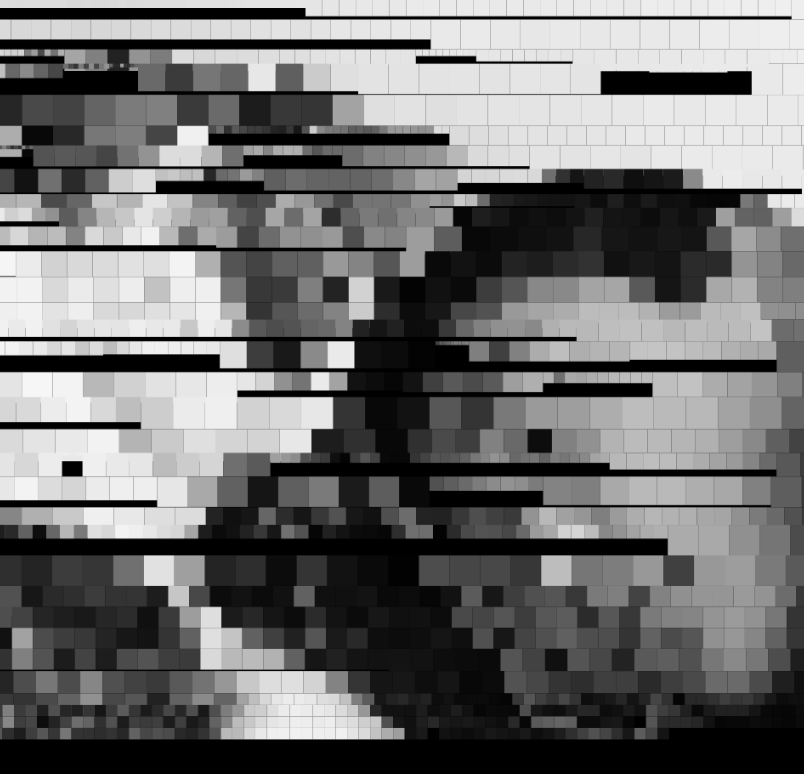
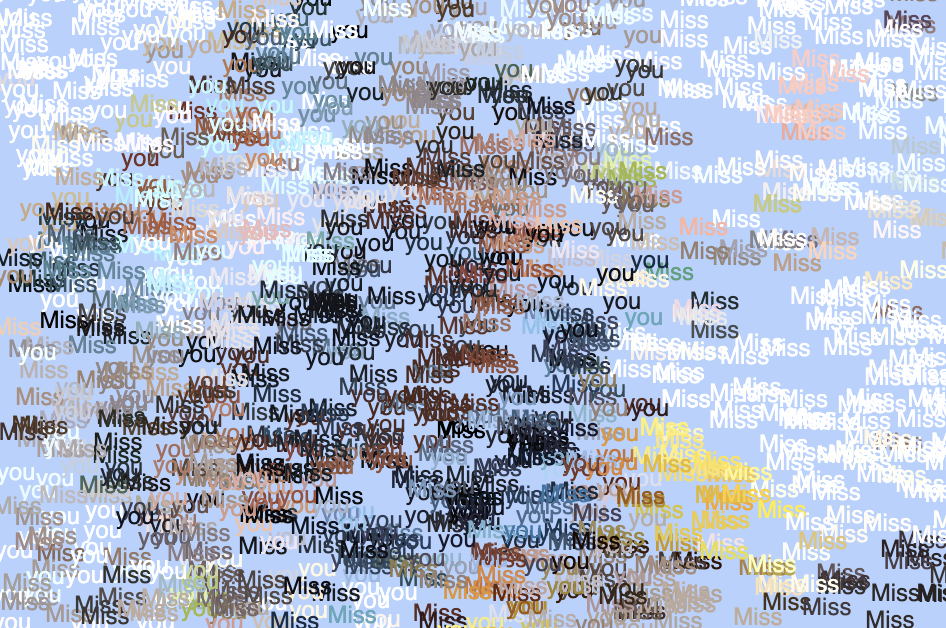
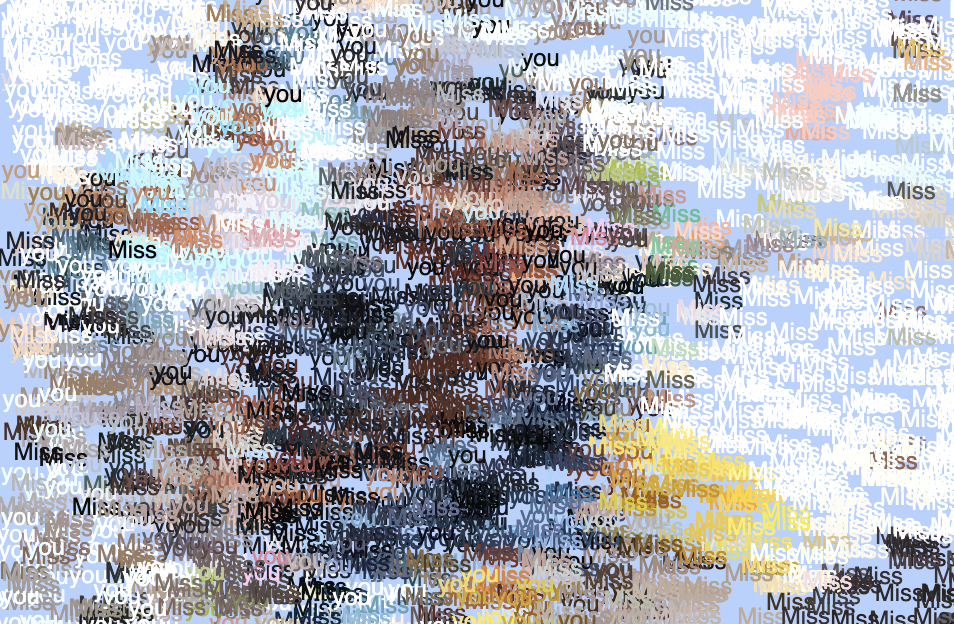
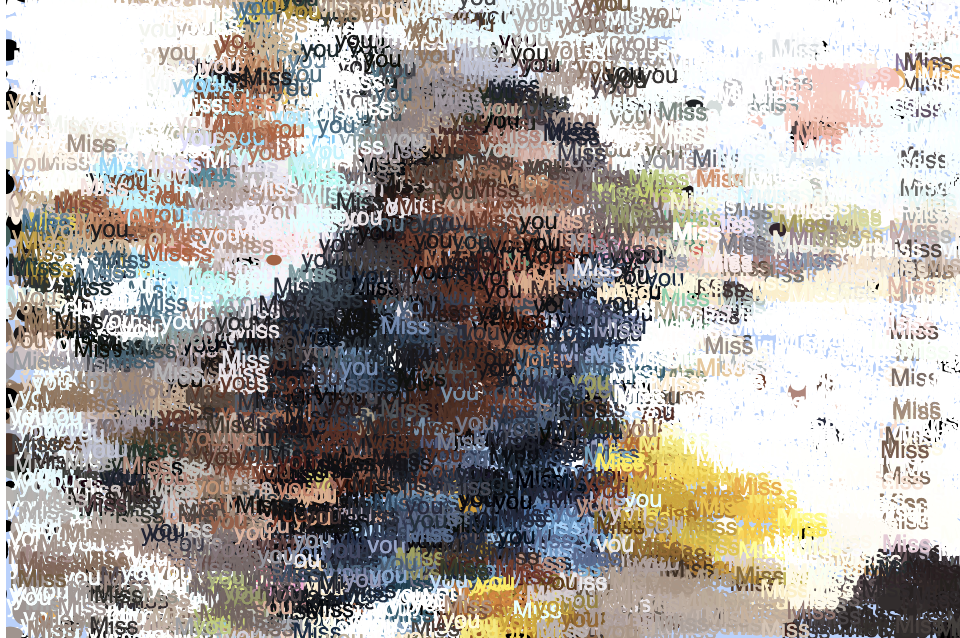
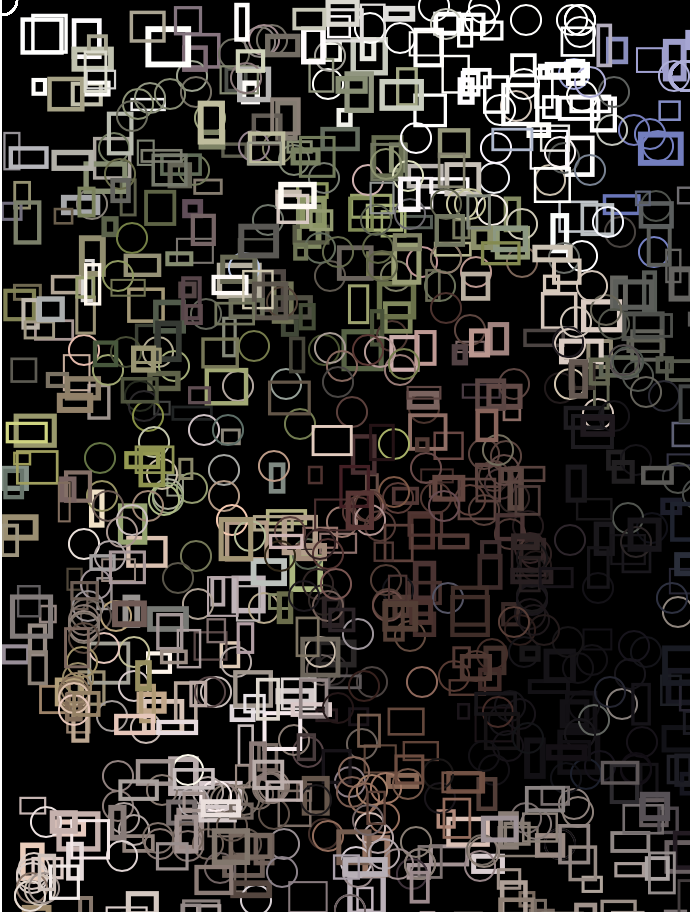
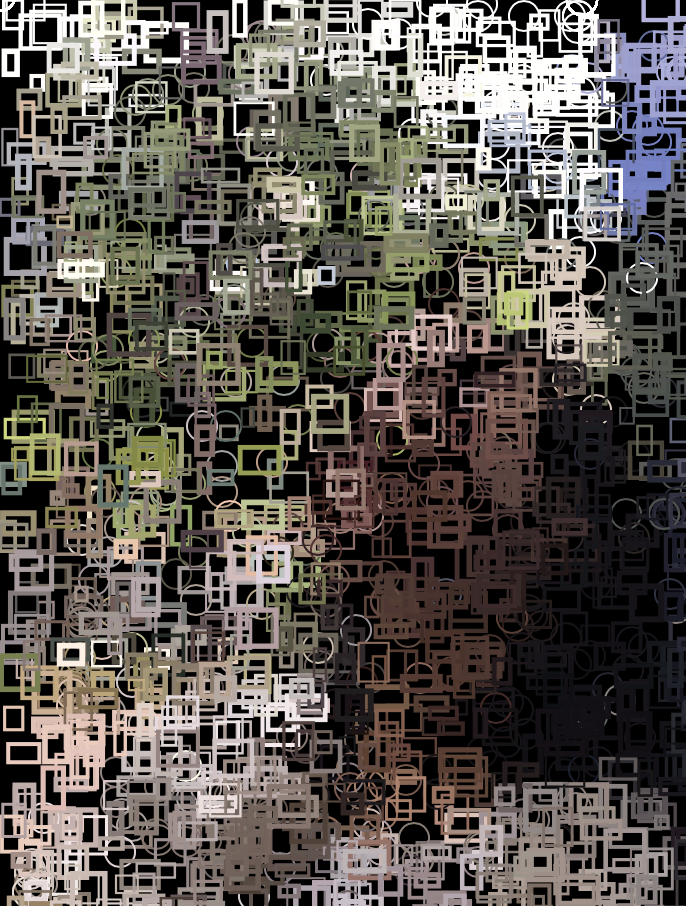
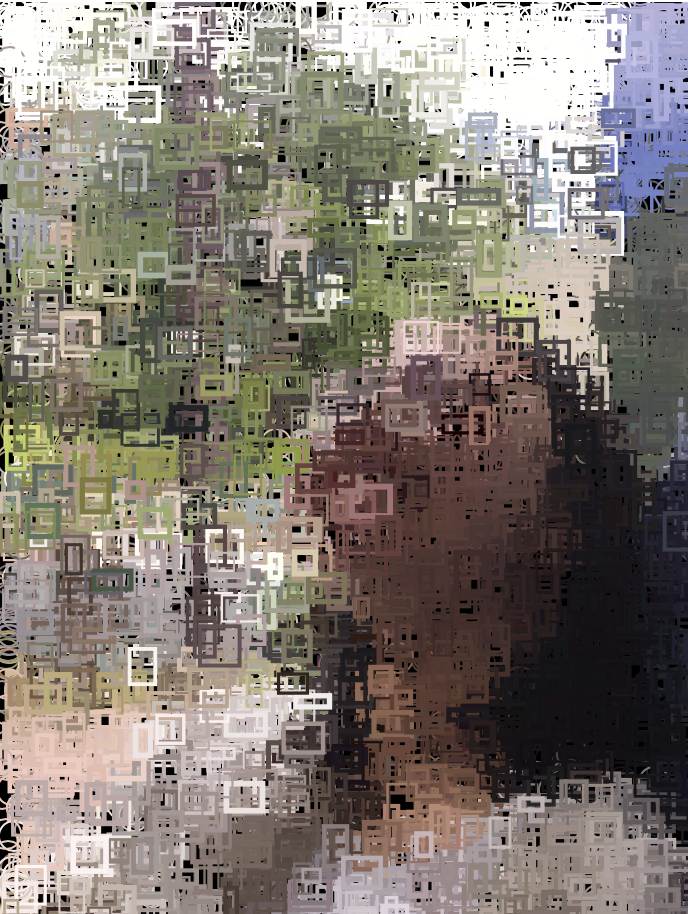
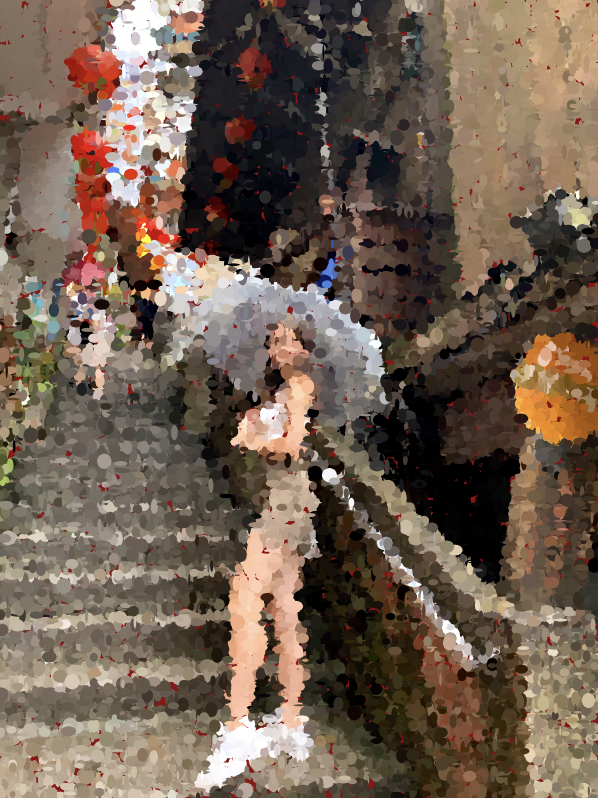
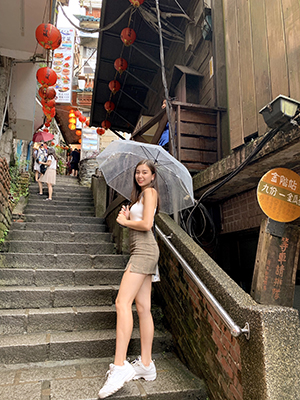
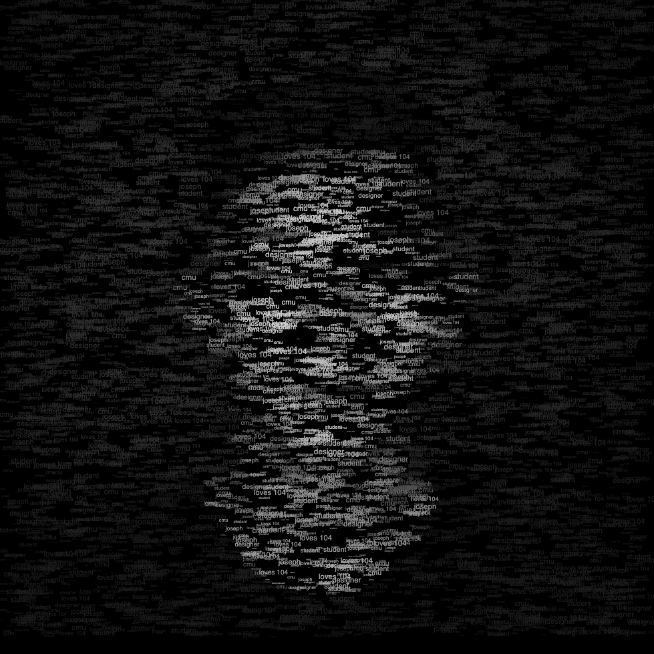
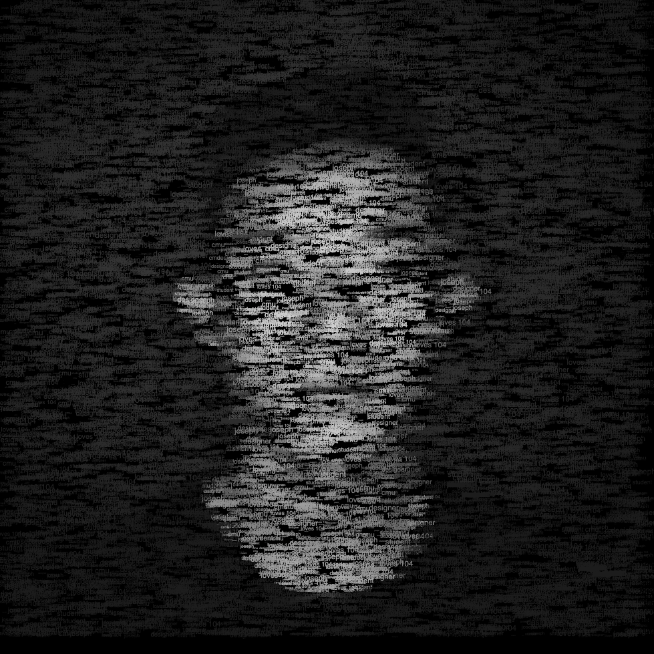
}

For this project I used a picture of me from over the summer when I was learning how to drive. The image appears when you mouse over the picture and the picture appears with horizontal strips which were made using ellipse().

Alec Albright – Project 09 – Portrait

sketch

// Alec Albright
// aalbrigh@andrew.cmu.edu
// Section B
// Project 09

var original; // original image
var words; // bank of words to be displayed

function preload(){
    // original image URL
    var imageURL = "https://i.imgur.com/pfJvLUW.jpg";
    // load original image
    original = loadImage(imageURL);

    // populating the words array
    words = ["Years", "from", "now", "our", "past", "will", "be", "a", "story"];
}

function setup(){
    createCanvas(384, 480);

    // resize image to fit in constraints
    original.resize(384, 480);
    // load pixels
    original.loadPixels();

    background("black");
    frameRate(20);
}

function draw(){
    // initializing random places to place words
    var px = random(width);
    var py = random(height);

    // to be used for finding the color from the original image
    var ix = constrain(floor(px), 0, width-1);
    var iy = constrain(floor(py), 0, height-1);

    // getting color from original image
    var theColorAtLocationXY = original.get(ix, iy);

    // text size dependent on mouseX
    textSize(map(mouseX, 0, 384, 8, 14));


    // displaying words dependent on where they're placed
    // top row
    if(py < 160) {
        // "years"
        if(px < 128) {
            fill(theColorAtLocationXY);
            text(words[0], px, py);
        // "from"
        } else if(px >= 128 & px < 256) {
            fill(theColorAtLocationXY);
            text(words[1], px, py);
        // "now"
        } else {
            fill(theColorAtLocationXY);
            text(words[2], px, py);
        }
    // middle row
    } else if(py >= 160 & py < 320) {
        // "our"
        if(px < 128) {
            fill(theColorAtLocationXY);
            text(words[3], px, py);
        // "past"
        } else if(px >= 128 & px < 256) {
            fill(theColorAtLocationXY);
            text(words[4], px, py);
        // "will"
        } else {
            fill(theColorAtLocationXY);
            text(words[5], px, py);
        }
    // bottom row
    } else {
        // "be"
        if(px < 128) {
            fill(theColorAtLocationXY);
            text(words[6], px, py);
        // "a"
        } else if(px >= 128 & px < 256) {
            fill(theColorAtLocationXY);
            text(words[7], px, py);
        // "story"
        } else {
            fill(theColorAtLocationXY);
            text(words[8], px, py);
        }
    }

    // fill in dots depending on where the mouse is
    var mouseColor = original.get(mouseX, mouseY);
    noStroke();
    fill(mouseColor);
    ellipse(mouseX, mouseY, 5);
}

In approaching this project, I immediately knew I wanted to create a portrait of my long-time girlfriend, displaying our favorite quote: “Years from now, our past will be a story”. I wasn’t quite sure how to go about displaying the quote, so I decided to section off areas of the canvas for each specific word so it read like a book from left to right and top to bottom. Once this was ironed out, the difficult part was implementing text size so that the quote was readable but also allowed for a decently quick creation of the image. Thus, I used this as an opportunity to implement a cool feature, so I mapped text size to the x coordinate of the mouse.

30 seconds
1 minute
A couple minutes
Approximately 7 minutes
Original Image!

Raymond Pai – Project 09 – Computational Portraits

sketch

//RAYMOND PAI
//Section D
//rpai@andrew.cmu.edu
//Project 09 Comp Portrait

//pre load image
var underlyingImage;

function preload() {
    var myImageURL = "https://i.imgur.com/SNQERwr.jpg";
    underlyingImage = loadImage(myImageURL);
}

function setup() {
    createCanvas(500, 500);
    background (0);
    //pre load image's pixels
    underlyingImage.loadPixels();
    // slightly fast frame rate
    frameRate(300);
}

function draw() {
    //random pixel
    //x of pixel
    var px = random(width);
    //y of pixel
    var py = random(height);
    var fx = constrain(floor(px), 0, width-1);
    var fy = constrain(floor(py), 0, height-1);
    //load pixel color to 'give' to the color of the circles
    var theColorAtLocationXY = underlyingImage.get(fx, fy);

    //draws circles
    fill(theColorAtLocationXY);
    noStroke();
    ellipse(px, py, 20, 20);

    //draws circles at mouse
    var theColorAtTheMouse = underlyingImage.get(mouseX, mouseY);
    //color for circles
    fill(theColorAtTheMouse);
    //draw circles at mouse
    ellipse(mouseX, mouseY, 20, 20);
}

I used chunky circles to make my portrait. To emphasize the playful style, the original picture is already edited to be really colorful:

color color color more color

The picture loads pretty quickly because I don’t want to wait to see the original. You can also speed up the process even more by rapidly moving the mouse around the portrait. The whole image should appear in about a minute.

Nawon Choi— Project 09 Computational Portrait

sketch

// Nawon Choi
// nawonc@andrew.cmu.edu
// Section C
// Computational Portrait


// starting with sample code
var underlyingImage;

// some code taken from my Exam 2 Problem B solution
var xArr = [];
var yArr = [];

function preload() {
    var myImageURL = "https://i.imgur.com/wDXWg1x.jpg?1";
    underlyingImage = loadImage(myImageURL);
}

function setup() {
    createCanvas(400, 400);
    background(0);
    underlyingImage.loadPixels();
    frameRate(1000);
}

function draw() {

    var px = random(width);
    var py = random(height);
    var ix = constrain(floor(px), 0, width-1);
    var iy = constrain(floor(py), 0, height-1);
    var theColorAtLocationXY = underlyingImage.get(ix, iy);

    noStroke();
    fill(theColorAtLocationXY);

    var theColorAtTheMouse = underlyingImage.get(mouseX, mouseY);

    for (var i = 1; i < (xArr.length); i++) {
        // add a random value to each point
        var rx = randomize();
        var ry = randomize();
        var x1 = xArr[i - 1];
        var y1 = yArr[i - 1];
        var x2 = xArr[i] + rx;
        var y2 = yArr[i] + ry;
        stroke(theColorAtTheMouse);
        line(x1, y1, x2, y2);
        xArr[i] = x2;
        yArr[i] = y2;
    }

    // create colored rectangles to reveal the image 
    strokeWeight(3);
    stroke(theColorAtLocationXY);
    rect(px, py, 10, 10);
}

function mouseMoved() {
    // remove last point on array if length is greater than 3
    if (xArr.length > 3) {
        xArr.shift();
        yArr.shift();
    } 
    // add mouse points to an array
    xArr.push(mouseX);
    yArr.push(mouseY);   
}

function randomize() {
    // find a random value from -4 to 4
    var x = random(-4, 4);
    return x;
}

For this project, I wanted to create something interactive and playful. The user is actually disrupting the image from being revealed in an orderly way. The random lines generated by the mouse movement were taken from a previous assignment. I tried to apply it to this project because I thought the random lines would create a fun and playful brush stroke effect. Depending on how the user moves the mouse, it can either disrupt the image, or add interesting movement to the portrait. See the imgur link in the code to see original image.

Ghalya Alsanea – Project 09 – Portrait

sketch

//Ghalya Alsanea
//Section B
//galsanea@andrew.cmu.edu
//project-09

var img;
var WIDTH;
var HEIGHT;

var brightnessValues = [];  //stores the brightness values
var toggle = true;          //add a toggle for the for loop to help the code run faster

//x and y coordinate arrays for 4 shades
var curve1x = [];
var curve2x = [];
var curve3x = [];
var curve4x = [];

var curve1y = [];
var curve2y = [];
var curve3y = [];
var curve4y = [];

function preload() {
  img = loadImage("https://i.imgur.com/Aqg5q8V.jpg");

}

// getPixel: fast access to pixel at location x, y from image 
function getPixel(image, x, y) {
    var i = 4 * (y * image.width + x);
    return color(image.pixels[i], image.pixels[i + 1], image.pixels[i + 2]);
}

function setup() {
    //image is 480 x 480
    WIDTH = img.width;
    HEIGHT = img.height;
    createCanvas(WIDTH, HEIGHT);
    noFill();
    img.loadPixels();
}

function draw() {
    background(255);

    // Search and store brightness of each pixel. 
    //toggle: you only really need to load the brightness once, toggle can be re-toggled later
    if (toggle) {
    for (var i = 0; i < img.width; i++) {
        for (var j = 0; j < img.height; j++) {
            var b = brightness(getPixel(img, i, j));

            //sort vertices depending on brightness levels
            if (b < 0.04) {
                curve1x.push(i);
                curve1y.push(j);
            }
            if (b >= 0.04 & b < 10) {
                curve2x.push(i);
                curve2y.push(j);
            }
            if (b>= 10 & b < 40) {
                curve3x.push(i);
                curve3y.push(j);
            }
            if (b >= 40 & b < 100) {
                curve4x.push(i);
                curve4y.push(j);
            }
        }
    }
    toggle = false;

    }

    //LIGHTEST - light blue
    stroke(200, 220, 255, 50);
    drawCurve (curve4x, curve4y);
    //LIGHT -medium blue
    stroke(100, 120, 255, 50);
    drawCurve (curve3x, curve3y);
    //DARK - blue
    stroke(0, 0, 255, 50);
    drawCurve (curve2x, curve2y);
    //DARKEST - dark gray
    stroke(50, 100);
    drawCurve (curve1x, curve1y);
}

function drawCurve (x, y) {
    //originally I wanted to create a continous line through vertices,
    //but it was getting overcrowded, so to ket the sketch-like feeling
    //I used random circle sizes
    // beginShape();
    for (i = 0; i < x.length; i+=4) {
        circle(x[i], y[i], random(10));
        // curveVertex(x[i] + random(15), y[i] + random(15));
    }
    // endShape();
}

For this assignment, I used a portrait I took of my sister. I wanted to somehow show her personality through the portrait, hence using blue, her favorite color. Originally, I was inspired by the one-line contour drawings and set out to create those with 4 different continuous lines, each for 4 different shades of brightness.

I was inspired by Teng Teng’s Computational portrait drawings. Find more here.

I couldn’t figure out how to create a non-messy looking portrait, so instead I slowly shifted to using circles. I still wanted to retain the drawing-like feel, which can be shown in the final right now. Going back to showing her personality through the piece, I thought the varying sizes of the circles and varying capacities also shows her kind and loving personality.

Project 09 Ellan Suder

I don’t have any paper sketches, but I have some screenshots of the earlier versions. I wanted to make it “print” from left to right and go down to a new row once it reaches the end (width). When it reaches the end of the canvas (width, height), it moves back to 0,0 and starts printing the image again.

I wanted to add some interactivity using mousePressed. Every time the mouse is clicked:

  1. A number between 1 and 20 is added to the step and size arrays.
  2. i increases by 1, so that it accesses the newly generated elements in the arrays.

computational portrait (please click!)

/*
Ellan Suder
15104 1 D
esuder@andrew.cmu.edu
Project-09
*/

var underlyingImage;
var rectX = 0;
var rectY = 0;
var i = 0;
rectstep = [5];
rectsize = [5];

function preload() {
    var myImageURL = "https://i.imgur.com/frUuo2H.png";
    underlyingImage = loadImage(myImageURL);
}

function setup() {
    createCanvas(480, 480);
    background(0);
    underlyingImage.loadPixels();
    frameRate(10000);
}

function draw() {
    var theColorAtLocationXY = underlyingImage.get(rectX, rectY);

    noStroke();
    fill(theColorAtLocationXY);
    rect(rectX, rectY, rectsize[i], rectsize[i]);
  
    rectX += rectstep[i];
  
//rectX return to 0 when hit edge of canvas
    if (rectX >= width)
    { 
      rectX = 0;
      rectY += rectstep[i];
    }
//restarts when hits end of canvas
    if (rectY >= height)
    { 
      rectX = 0;
      rectY = 0;
      background(0);
    }
}

function mousePressed() {
    var r = random(1,20);
    
    rectstep.push(r);
    rectsize.push(r);
    i += 1;
}

Kristine Kim-Project 09- Portrait

sketch

//Kristine Kim
//Section D
//younsook@andrew.cmu.edu
//Project 09: computational portrait

var newimage;

function preload(){
//loads image from imugr.com
    var OGimage = "https://i.imgur.com/nYi2hyU.jpg[/img]"
    newimage = loadImage(OGimage);
}

function setup(){
    createCanvas(480,320);
    background(181, 209, 255);
    newimage.loadPixels();
    frameRate(20);
}

function draw(){
    var px = random(width);
    var py = random(height);
    var ix = constrain(floor(px), 0, width -1);
    var iy = constrain(floor(py), 0, height -1);
//retrieve colors at a certain location from the image
    var pixelcolorT = newimage.get(ix,iy);
//retrieve colors at mouseX and mouseY location from the image
    var pixelcolorE = newimage.get(mouseX, mouseY)

//draws ellipses controlled by mouseX and mouseY
//draws random diameters
    noStroke();
    fill(pixelcolorE);
    ellipse(pmouseX, mouseY, random(5,15), random(5,15));

//draws text "Miss" and "you" with colors retrieved from OGimage
//and random placements

    fill(pixelcolorT);
    text("Miss", px,py);

    fill(pixelcolorT);
    text("you", py, px);

}


For my project, I used an image of a picture I took of one of my students that I served in Mexico this summer. I played around with different background colors. To add diversity into my project, I added 3 different elements into my piece, two texts and ellipses that drew with random diameters between 5 to 15. A problem I ran into was that my OGimage was bigger than my canvas size so my code was drawing only white ellipses. I went into photoshop and rescaled my image to 480 x 320 pixels and that solved the problem. 

30 seconds
1 minute
Image when almost fully rendered ( 4 minutes)
Original picture of my student, Jorge.

Shannon Ha – Project 09 – Portrait

sketch

//Shannon Ha
//Section D
//sha2@andrew.cmu.edu
//Project 09 - Variable Face

//pre load my underlying image
var underlyingImage;
var frameSpeed = 15;
function preload() {
    var myImageURL = "https://i.imgur.com/AAXi1mS.jpg";
    underlyingImage = loadImage(myImageURL);
}

function setup() {
    createCanvas(344, 480);
    background(0);
//load the pixels of the image so they can be referenced later
    underlyingImage.loadPixels();
    framespeed = map(mouseX, 10, width, 2, 150);
    frameRate(frameSpeed);
}

function draw() {
//randomly select a pixel on the canvas
    var randomX = random(width); //x-coordinate
    var randomY = random(height); //y-coordinate
    var ix = constrain(floor(randomX), 0, width-1);
    var iy = constrain(floor(randomY), 0, height-1);
//loads the color from the base image so the rectangles coordinate with the colors of the base image
    var theColorAtLocationXY = underlyingImage.get(ix, iy);

//creates rectangles at different sizes.
    noFill();
    stroke(theColorAtLocationXY);
    strokeWeight(random(1,3));
    rect(randomX, randomY, random(5,20), random(5,20));

//creates circles according to position of mouse.
    var theColorAtTheMouse = underlyingImage.get(mouseX, mouseY);
    strokeWeight(1);
    stroke(theColorAtTheMouse);
    ellipse(pmouseX, pmouseY, 15, 15);
}

(20 seconds)
(30 seconds)
Nearly finished render (1 – 1:30 minutes)
The actual photo!

For this project, I chose a portrait of my sister to recreate and explored how to randomize the dimensions of of a rectangle to create variable portrait. I tested different shapes both filled and unfilled to see which has a better effect for the end result and I realized that the filled shapes some times makes the face look too blurred out so I used stroke instead to retain some texture in the image and to distinguish facial features better. It was a fun project to do because it was interesting to see how different shapes produce different textures and effects on the image.

Angela Lee – Project 09 – Portrait

sketch

/*
 * Angela Lee
 * Section E
 * ahl2@andrew.cmu.edu
 * Project 9 Computational Portrait
 */

var underlyingImage;

// loading the image
function preload() {
    var url = "https://i.imgur.com/GsniIVQ.jpg";
    underlyingImage = loadImage(url);
}

function setup() {
    createCanvas(300, 400);
    background(145, 1, 10);
    underlyingImage.loadPixels();
    frameRate(60); // how fast the pixels come up
}

function draw() {
    var px = random(width);
    var py = random(height);
    var ix = constrain(floor(px), 0, width);
    var iy = constrain(floor(py), 0, height);
    var theColorAtLocationXY = underlyingImage.get(ix, iy);

    noStroke();
    fill(theColorAtLocationXY);
    ellipseW = random(1, 8); // original ellipse width
    ellipseH = random(1, 8); // original ellipse height
    keyPressed(); // key pressed determines ellipse width and height

    // drawing the ellipse
    ellipse(px, py, ellipseW, ellipseH);

}

// what happens if the key is pressed
function keyPressed() {
    // ellipse will grow if g is pressed
    if (key == "g") {
        ellipseW = random (5, 15);
        ellipseH = random(5, 15);
    } else if (key == "s") {
    // ellipse will shrink if s is pressed
        ellipseW = random(0.5, 3);
        ellipseH = random(0.5, 3);
    } else if (key == "n") {
    // ellipses will return to original size
        ellipseW = random(1, 8);
        ellipseH = random(1, 8);
    }
    return ellipseW;
    return ellipseH;
}

For this portrait, I started out with ellipses being randomized for a width and height ranging from 1 to 5. However, I got impatient while waiting for the portrait to finish, so I decided to make the ellipse grow when you pressed the key “g.” But since I didn’t like how blurry the portrait got, I gave the user the option of returning the ellipses back to its original size or an even smaller size.

Finished portrait
Original photo

Joseph Zhang – Project 09 – Computational Portait

sketch

 // Joseph Zhang
 // Haozhez@andrew.cmu.edu
 // Section E
 // Project 09: Portrait

 var underlyingImage;
 var words = ['joseph', 'designer', 'student', 'cmu', 'loves 104']
 function preload() {
     var myImageURL = "https://i.imgur.com/LTgLTOy.jpg";
     underlyingImage = loadImage(myImageURL);
 }
 
 function setup() {
     createCanvas(500, 500);
     background(0);
     underlyingImage.loadPixels();
     frameRate(100);
 }
 
 function draw() {
    var px = random(width);
    var py = random(height);
    var ix = constrain(floor(px), 0, width-1);
    var iy = constrain(floor(py), 0, height-1);
    var theColorAtLocationXY = underlyingImage.get(ix, iy);

    noStroke();
    fill(theColorAtLocationXY);
    //randomizes text size
    textSize(random(6));
    text(random(words), px, py);
    
    //draws text at mouseX and mouseY
    var theColorAtTheMouse = underlyingImage.get(mouseX, mouseY);
    fill(theColorAtTheMouse);
    text(random(words), mouseX, mouseY);
 }

This is a self-portrait created using words that describe who I am as an individual. Labels hold so much power in our culture whether we like it or not, so why not define yourself?

Few Minutes
Many many minutes