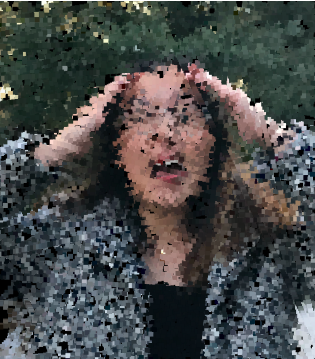
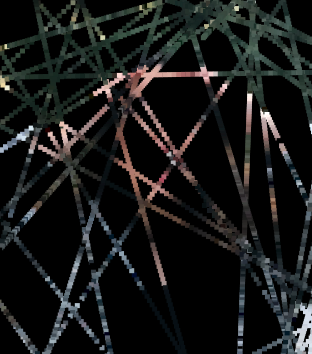
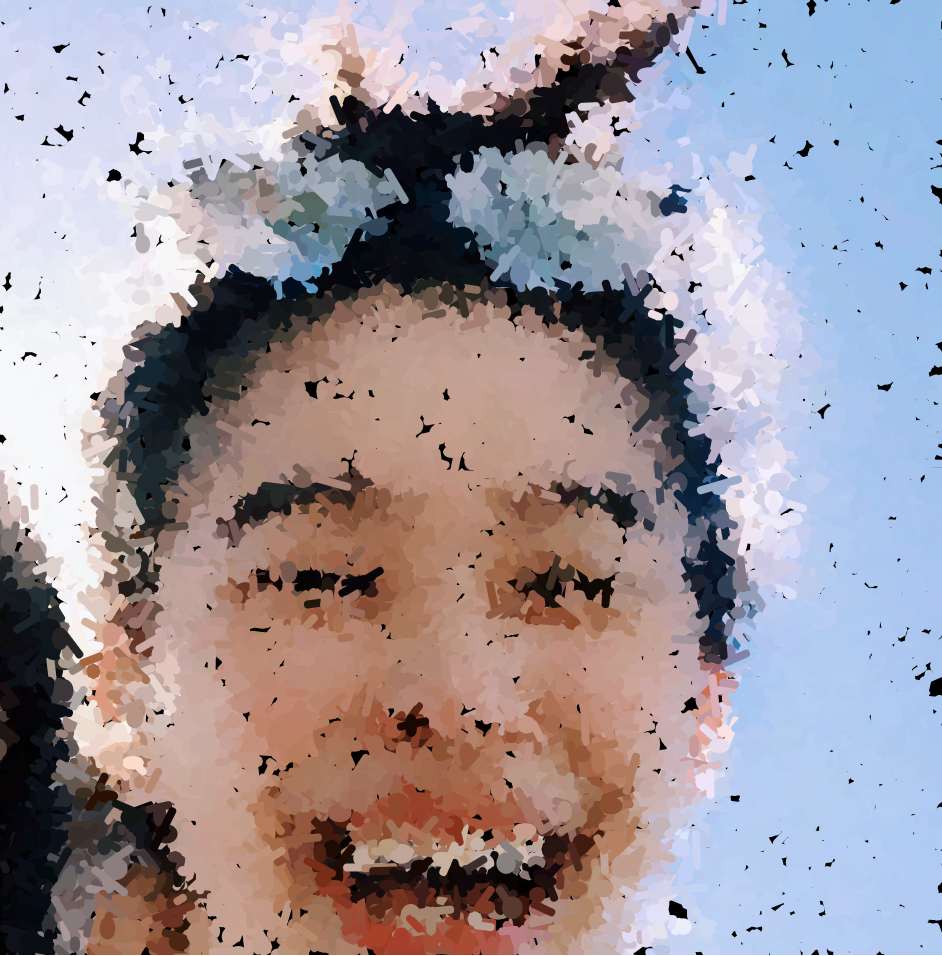
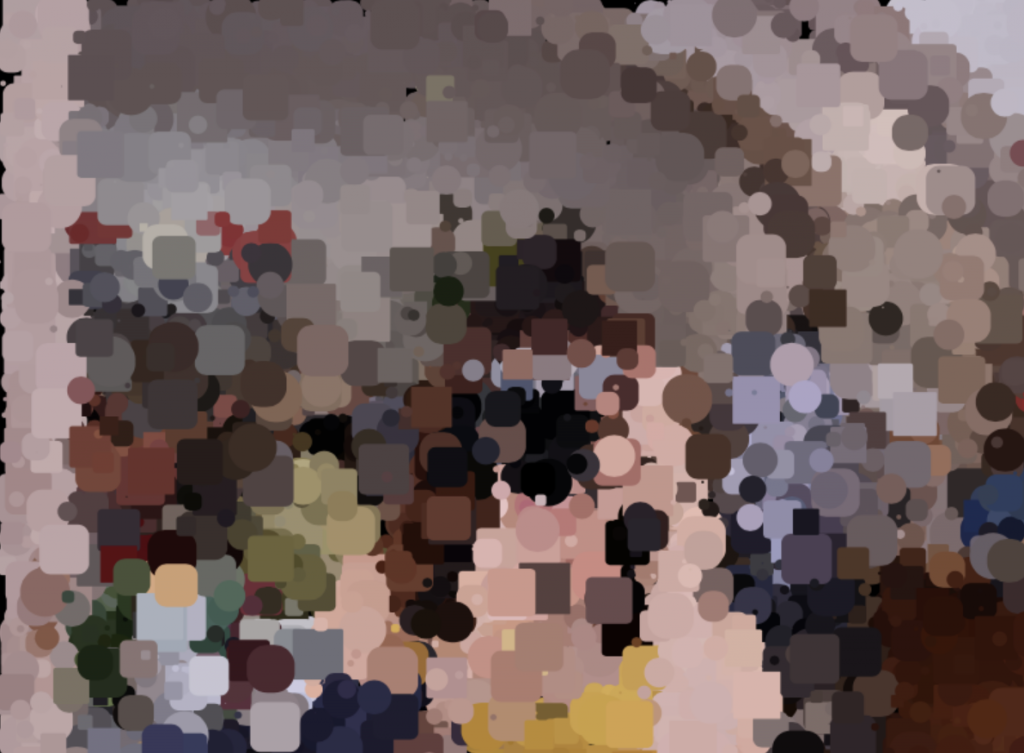
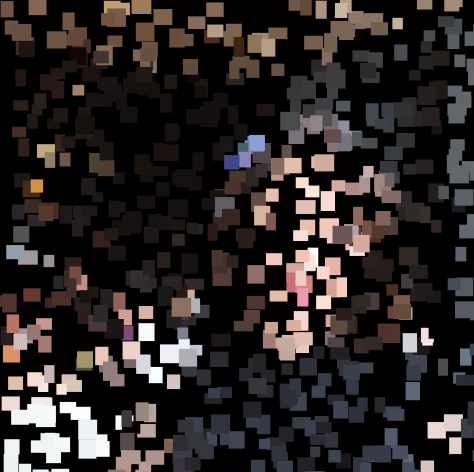
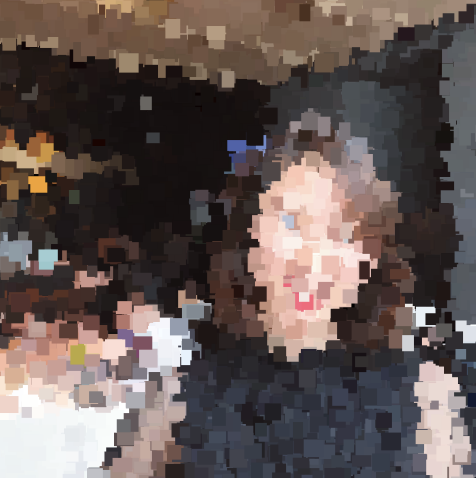
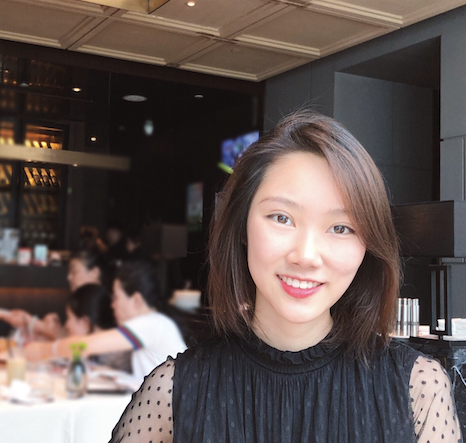
![[OLD FALL 2019] 15-104 • Introduction to Computing for Creative Practice](../../../../wp-content/uploads/2020/08/stop-banner.png)
/*
Claire Lee
15-104 Section B
Project-09
*/
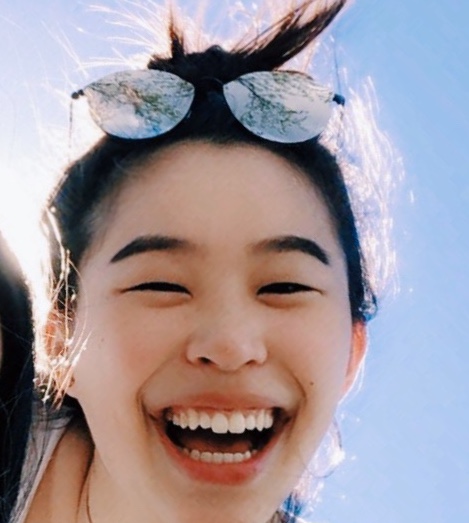
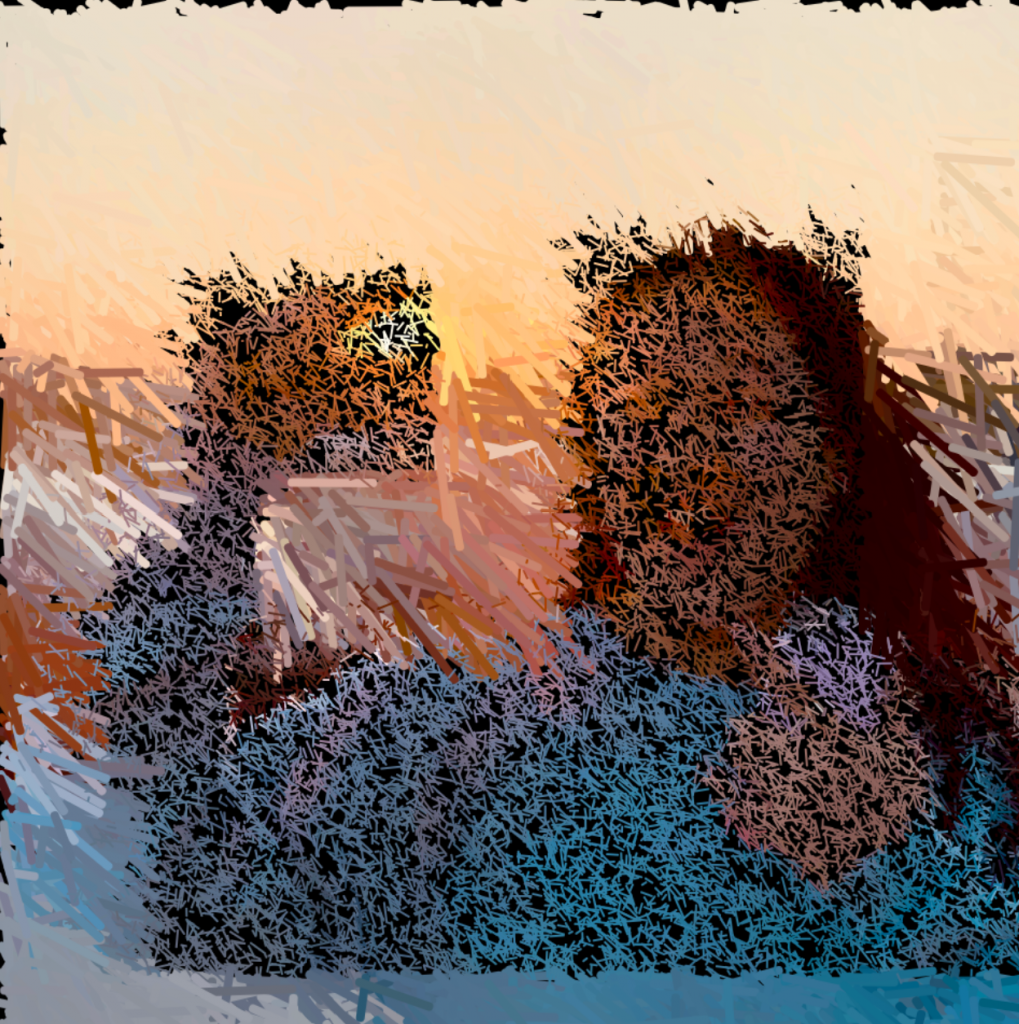
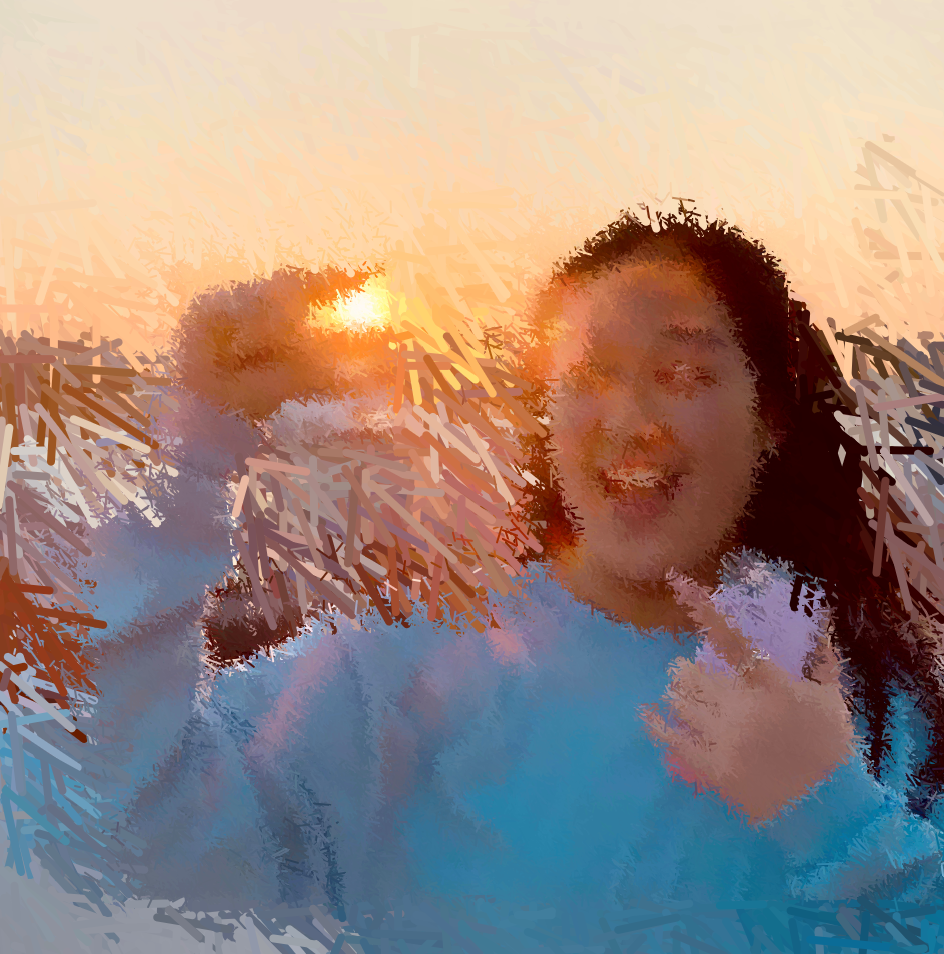
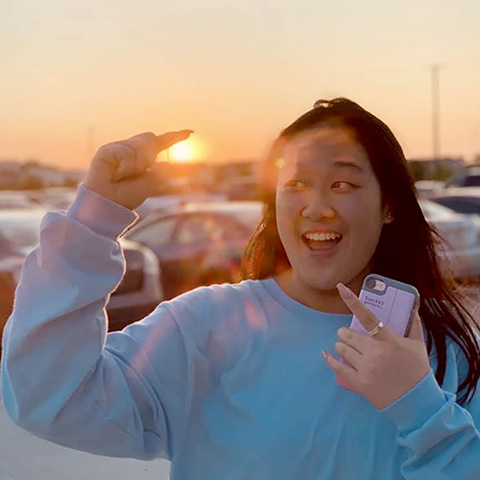
var portraitImage;
function preload() {
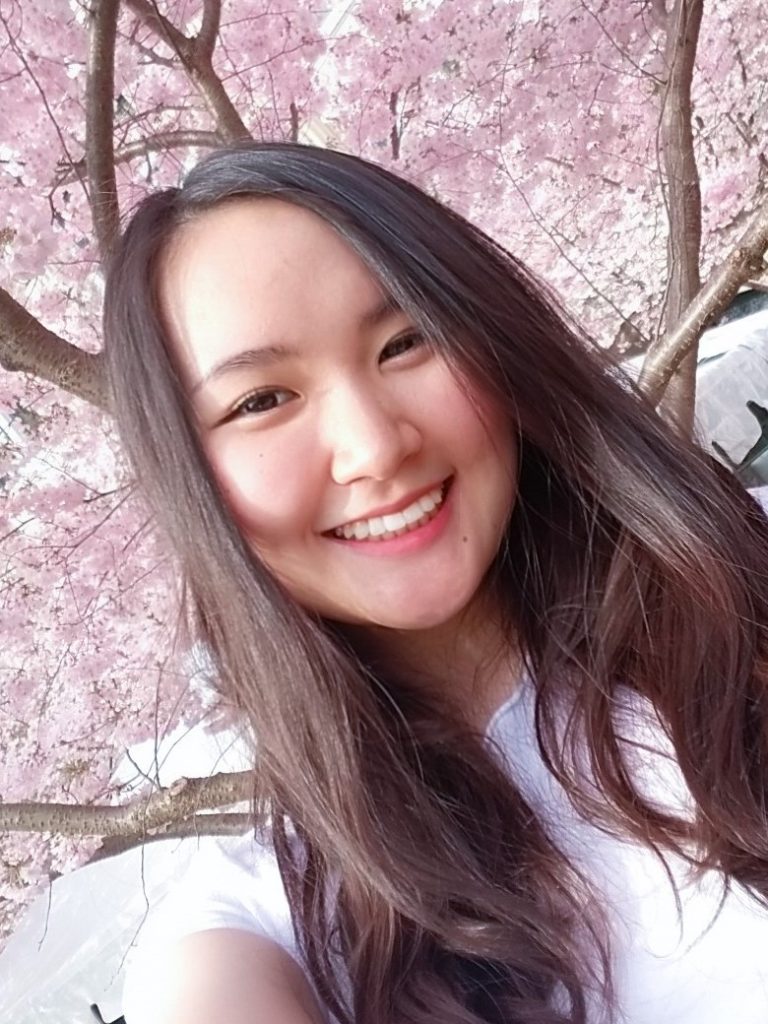
var portraitImageURL = "https://i.imgur.com/yxlQW1j.jpg"
portraitImage = loadImage(portraitImageURL);
}
function setup() {
createCanvas(600, 800);
background(0);
portraitImage.loadPixels();
frameRate(100);
}
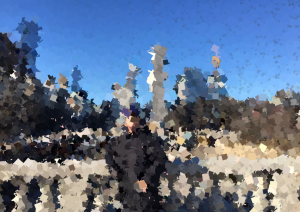
function draw() {
var px1 = random(width);
var py1 = random(height);
var px2 = px1 + random(-20, 20);
var py2 = py1 + random(-20, 20);
var px3 = px1 + random(-20, 20);
var py3 = py1 + random(-20, 20);
var px4 = px1 + random(-20, 20);
var py4 = py1 + random(-20, 20);
var ix = constrain(floor(px1), 0, width - 1);
var iy = constrain(floor(py1), 0, height - 1);
var colorAtXY = portraitImage.get(ix, iy);
noStroke();
fill(colorAtXY);
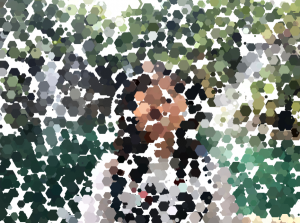
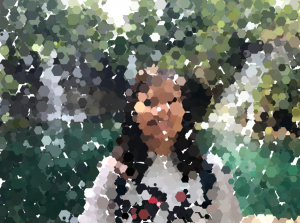
quad(px1, py1, px2, py2, px3, py3, px4, py4);
}This portrait project was really interesting because we got to work with inserting and manipulating images from external sources. It took me a while to understand what each piece of code was meant to do, but it turned out to be fairly straightforward. I tried experimenting with different degrees of randomness for the shapes. Orignally, I was trying to go for a clean-cut geometric look, but I ended up liking the look of multi-layered small shapes better because the smaller shapes kind of resemble rough brushstrokes.