Portrait – Joanne Chui – Project 09

sketch

/*
Joanne Chui
Section C 
Project 8
*/

var underlyingImage;

function preload() {
    var myImageURL = "https://i.imgur.com/cYVj323.png";
    underlyingImage = loadImage(myImageURL);
}

function setup() {
    createCanvas(500, 500);
    background(0);
    underlyingImage.loadPixels();
    frameRate(100000);
}

function draw() {
    var px = random(width);
    var py = random(height);
    var ix = constrain(floor(px), 0, width-1);
    var iy = constrain(floor(py), 0, height-1);
    var theColorAtLocationXY = underlyingImage.get(ix, iy);
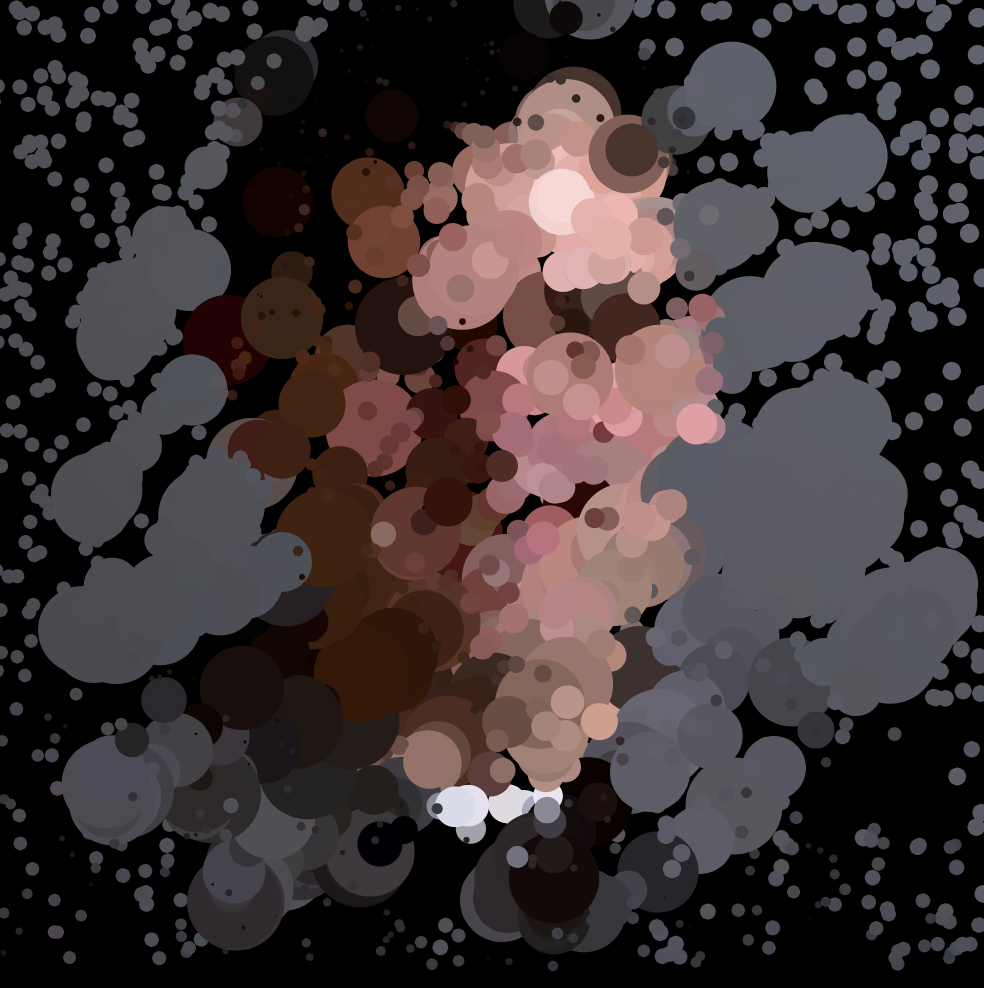
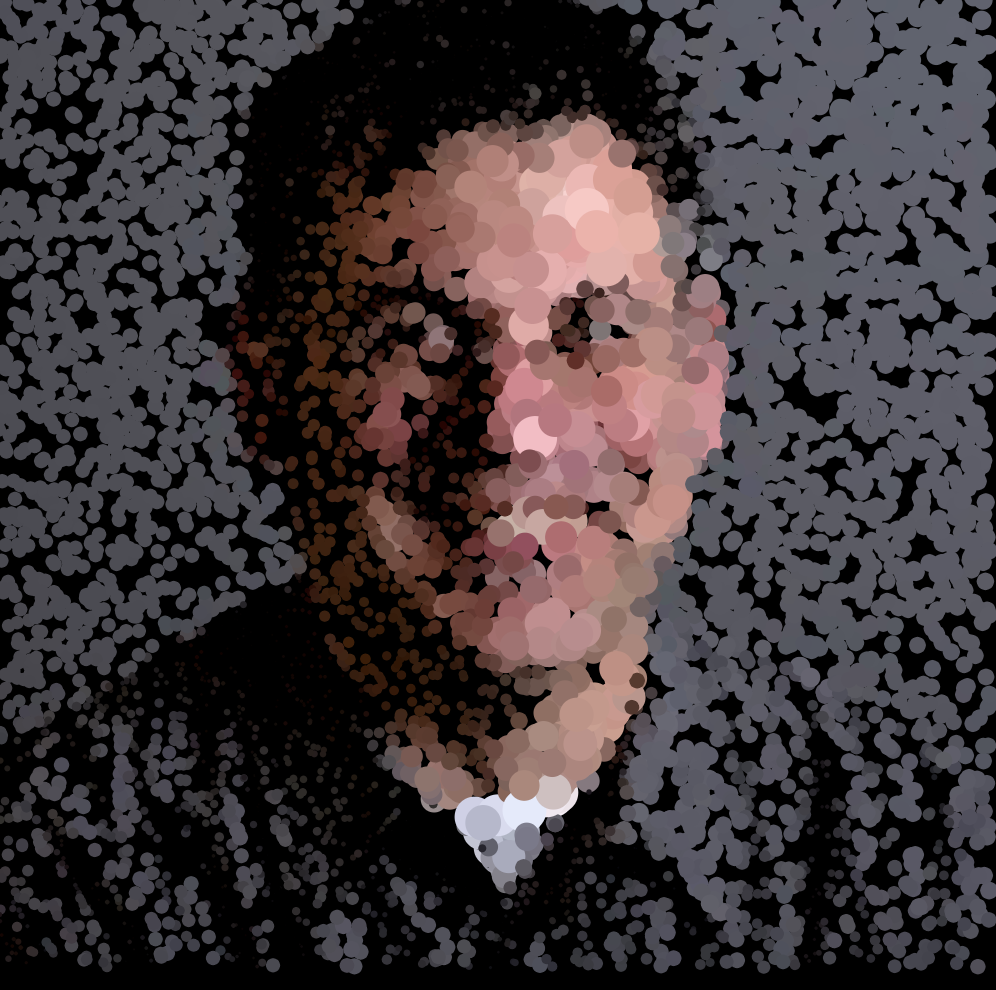
    var value = brightness(theColorAtLocationXY);
    var scaleBrush = map(value, 0, 225, 0, 50);

    noStroke();
    fill(theColorAtLocationXY);
    ellipse(px, py, scaleBrush, scaleBrush);

}

function mouseDragged(){
  var theColorAtTheMouse = underlyingImage.get(mouseX, mouseY);
  noStroke();
  fill(theColorAtTheMouse);
  var brushSize = random(10, 50);
  ellipse(mouseX, mouseY, brushSize, brushSize);
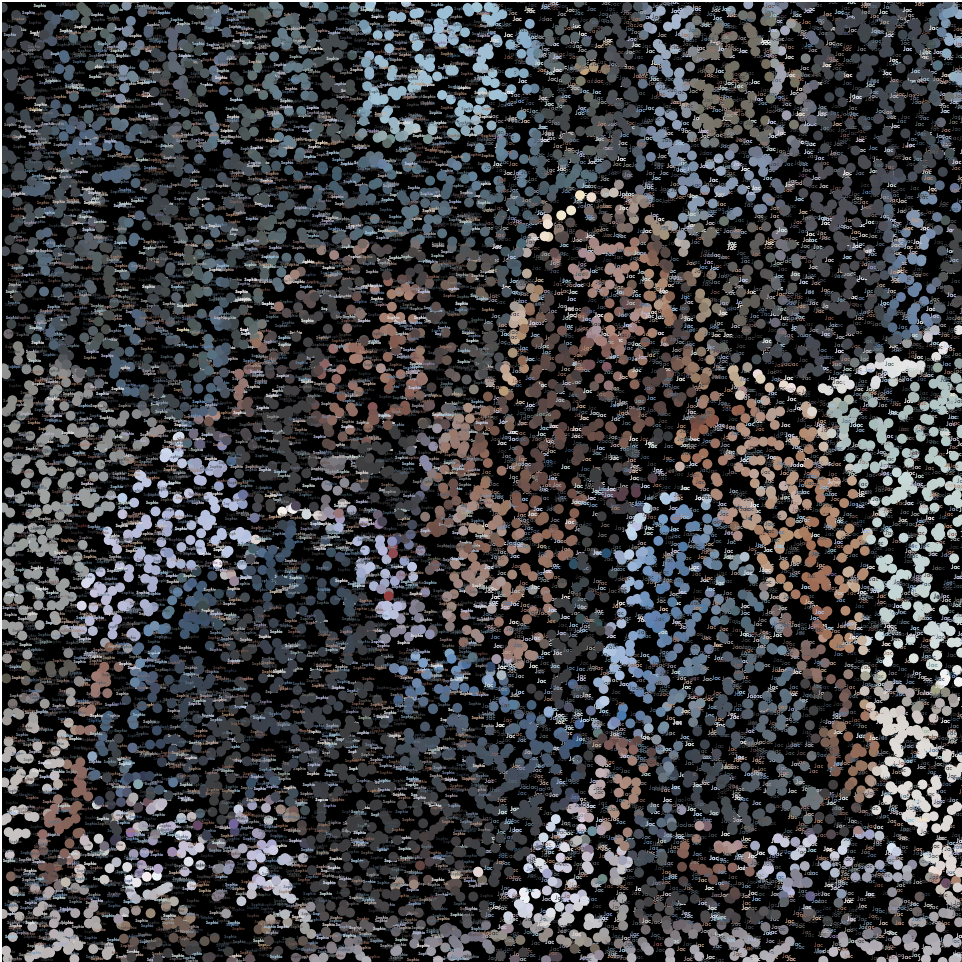
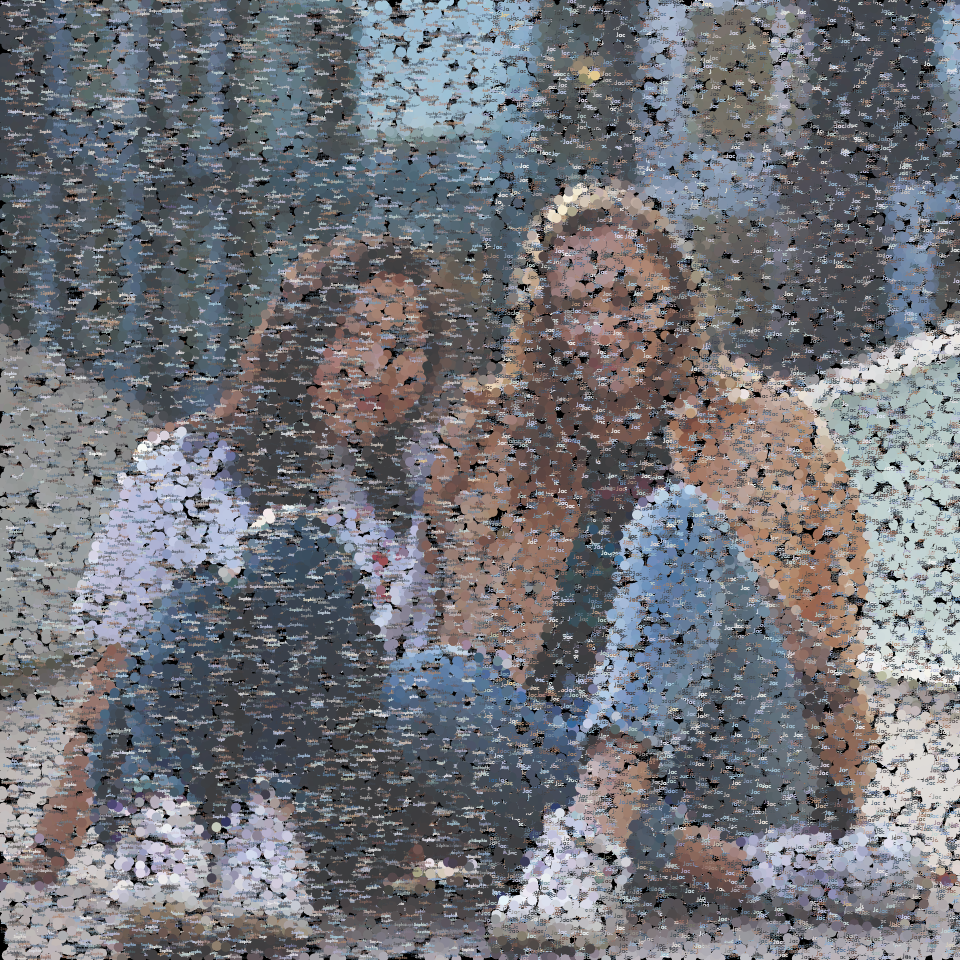
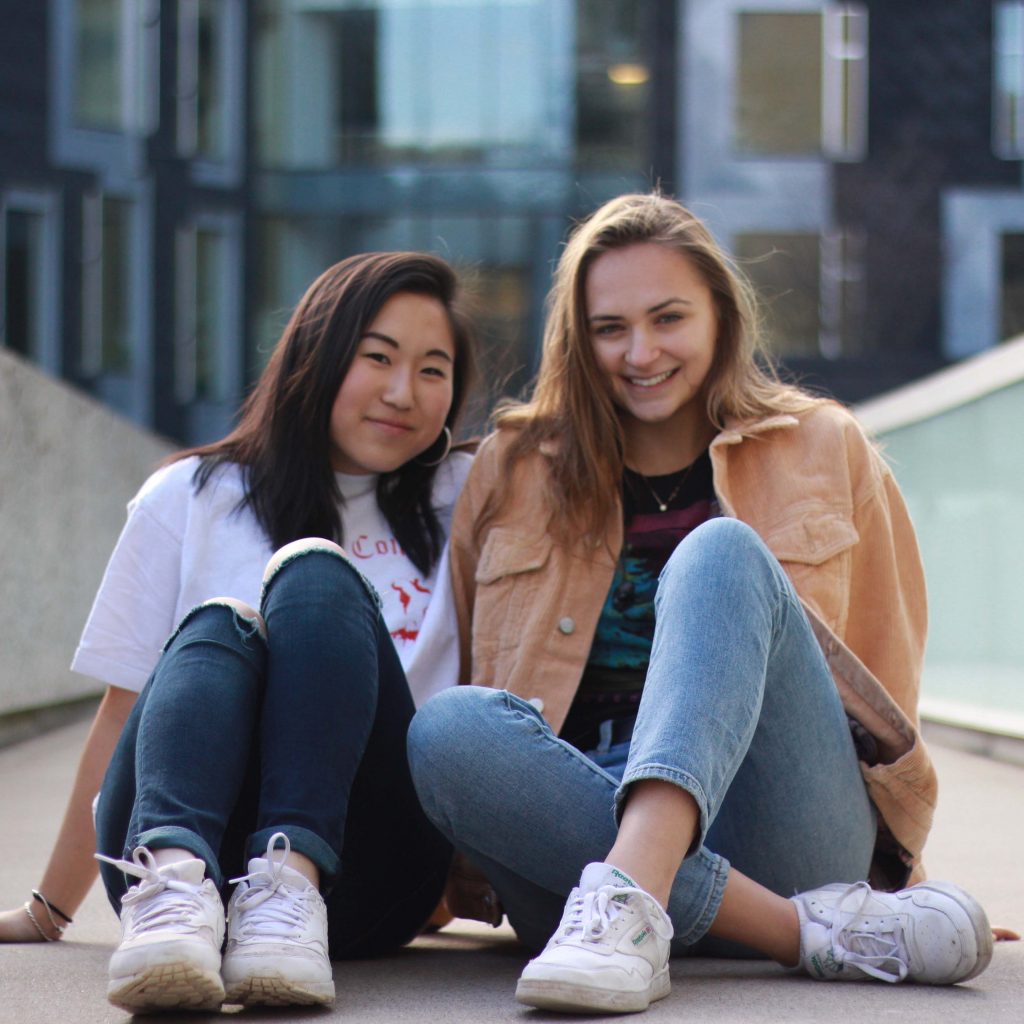
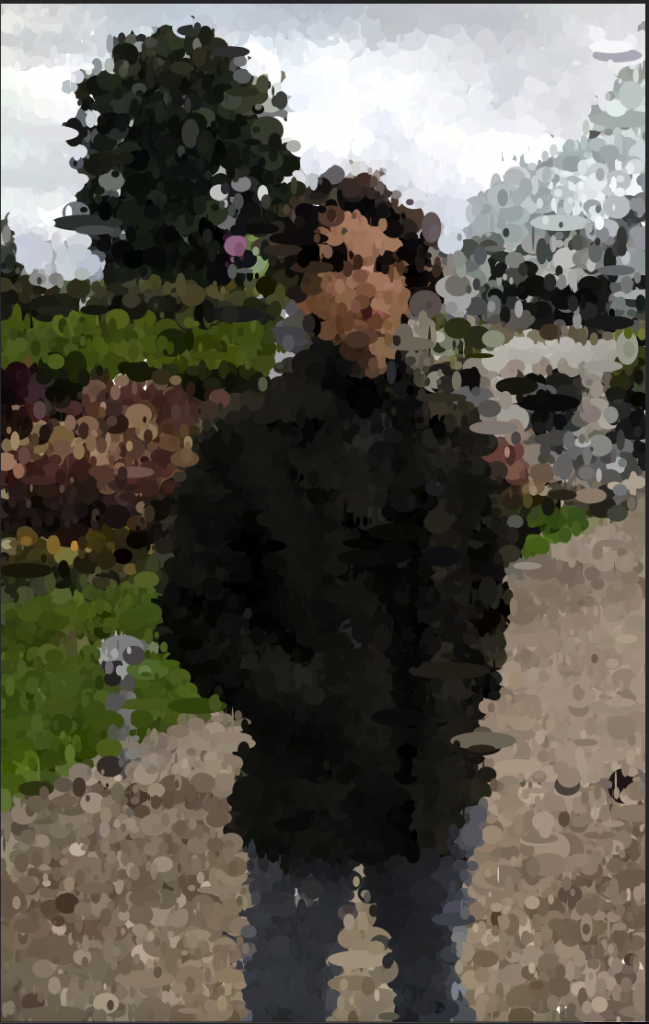
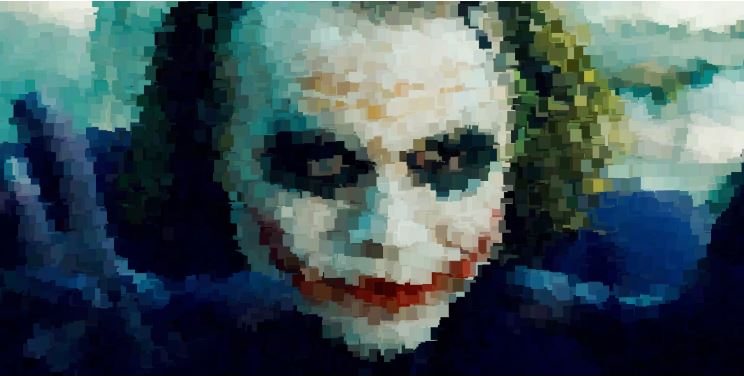
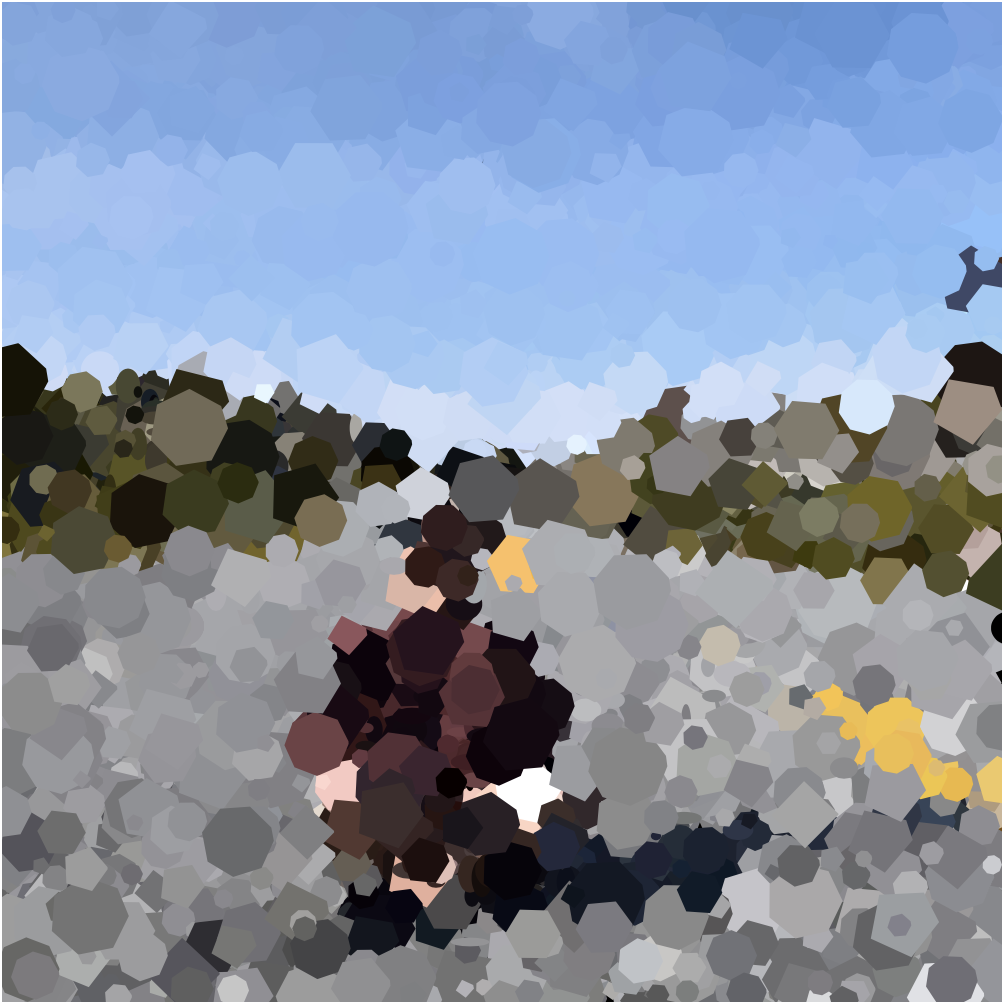
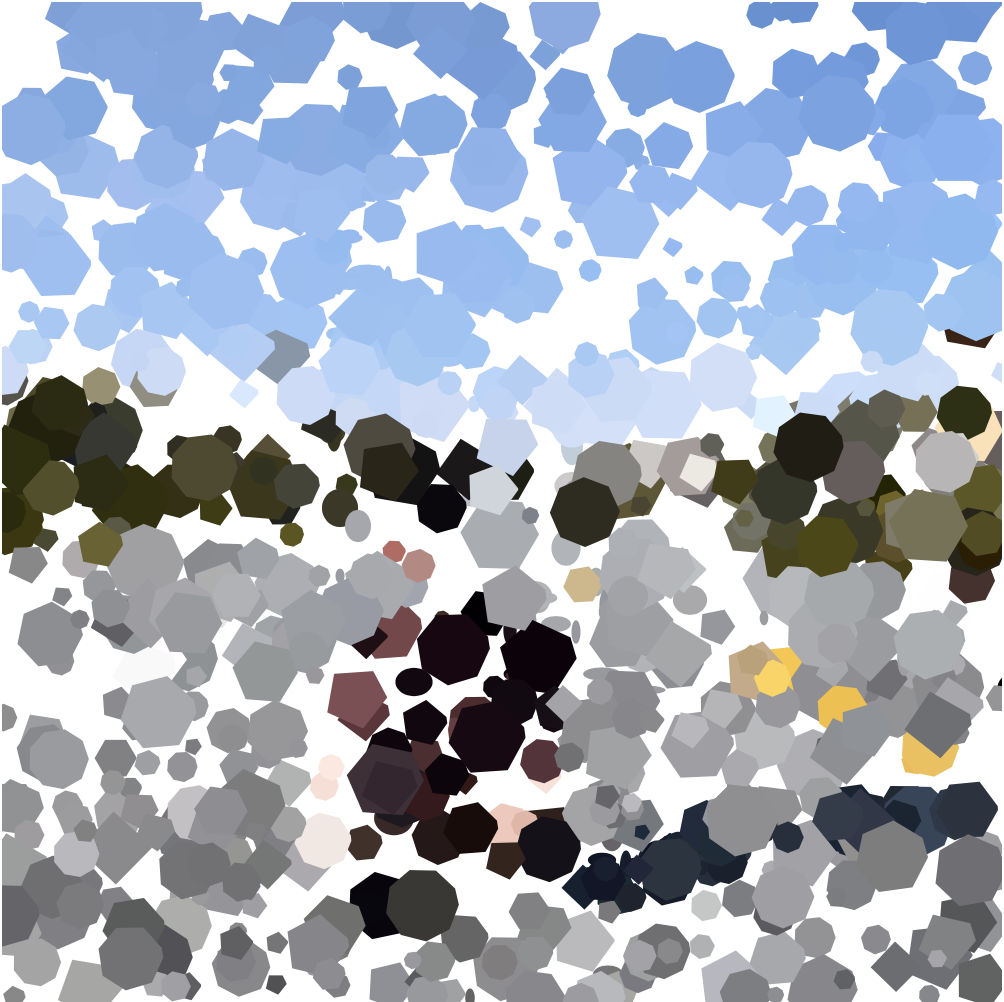
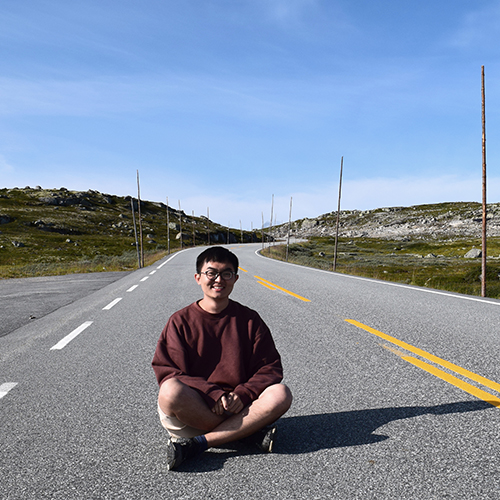
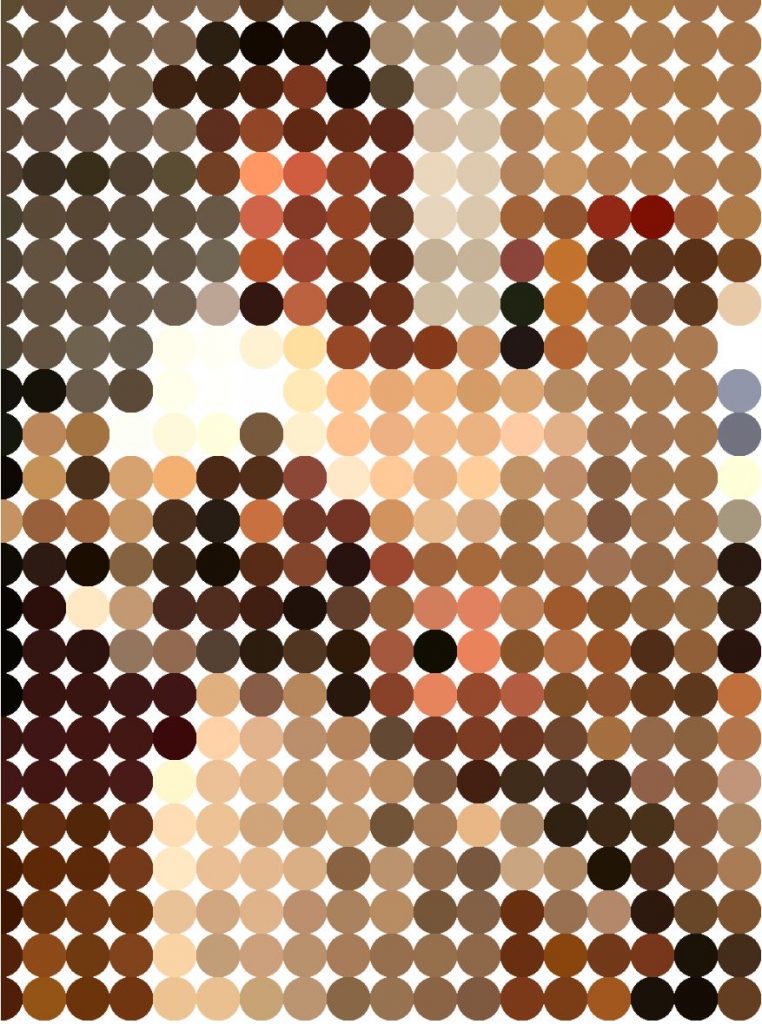
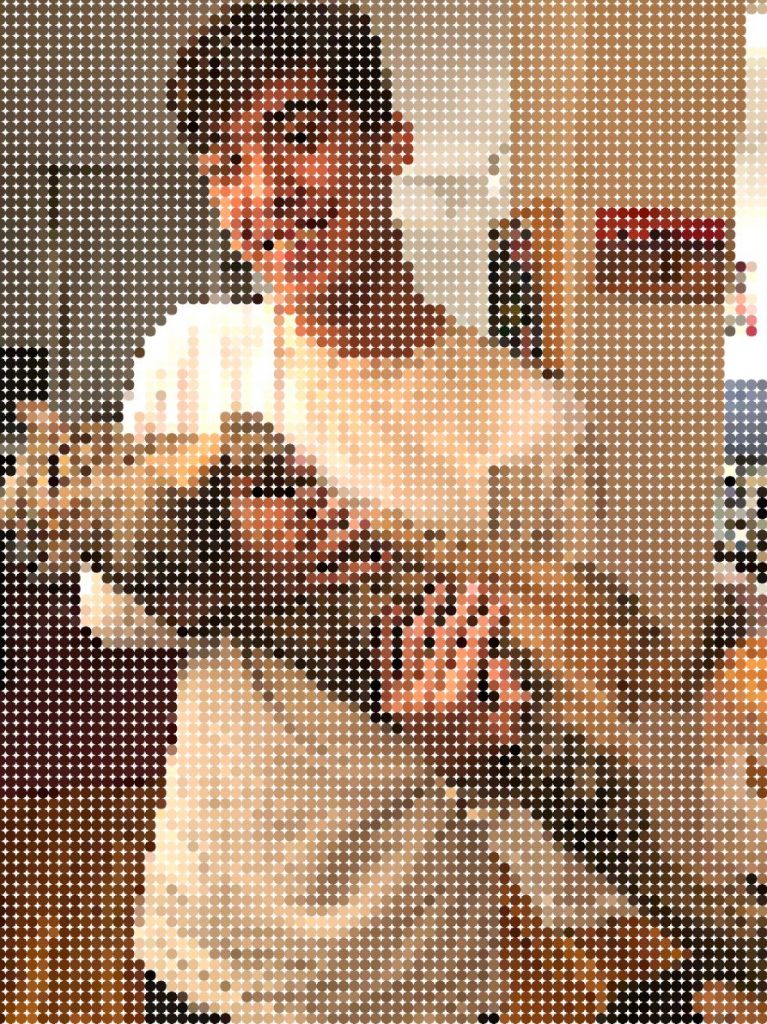
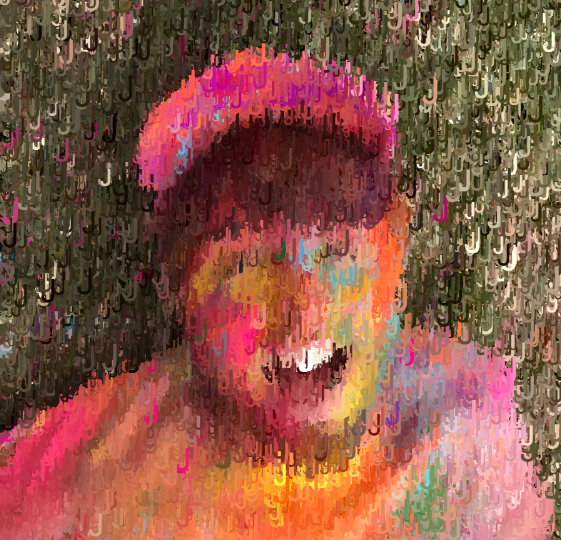
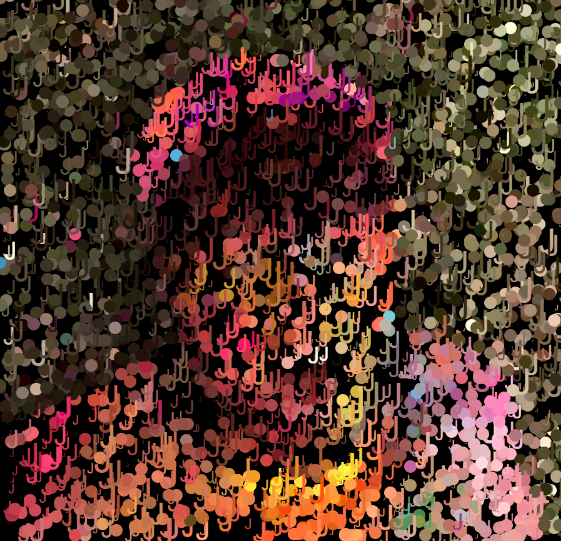
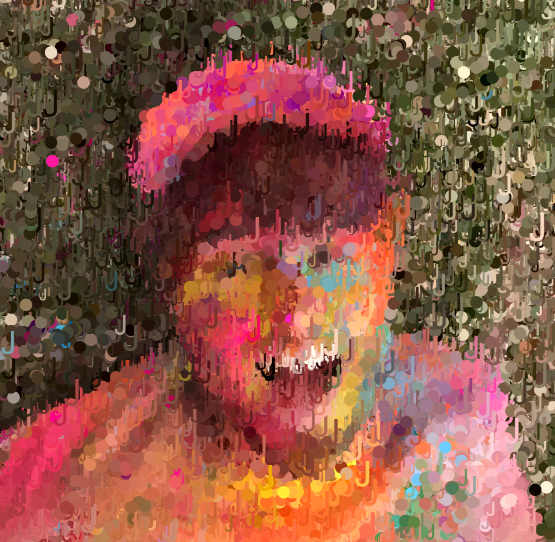
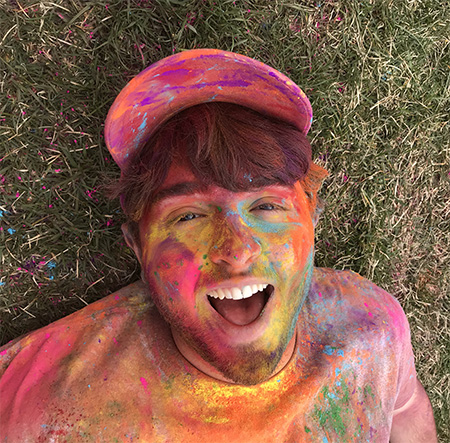
}

I varied the circles that populated the picture based on the brightness. Where the image is brighter, the size of the circle would be bigger. I also included an interactive portion where the user would be able to brush in the photo if they dragged the mouse, creating a more dynamic and abstract image.

using the mouse as a brush tool
size of the circle based on brightness of image
original photo

Xiaoyu Kang – Project 09 – Computational Portrait

sketch

//Xiaoyu Kang
//xkang@andrew.cmu.edu
//Section B
//Project-09

var baseImage;

function preload() {
	//loadimage
    var imageURL = "https://i.imgur.com/WFLOSwy.jpg";
    baseImage = loadImage(imageURL);
}

function setup() {
    createCanvas(500, 320);
    background(0);
    baseImage.loadPixels();
    frameRate(150);
}

function draw() {
	//define location
    var x = random(width);
    var y = random(height);
    //define color
    var ix = constrain(floor(x), 0, width - 0.1);
    var iy = constrain(floor(y), 0, height - 0.1);
    var ColorXY = baseImage.get(ix, iy);

    //draw circle
    noStroke();
    fill(ColorXY);
    ellipse(x, y, 6, 6);

    //draw square
    noStroke();
    fill(ColorXY);
    rect(x + random (-2, 2), y + random (-2, 2), 3, 3);

    //draw bigger circle when mouse is pressed
    var ColorMouse = baseImage.get(mouseX, mouseY);
    if (mouseIsPressed){
        fill(ColorMouse);
        ellipse(mouseX, mouseY, 10, 10);
	}
}

For this project, I used my friend Claire’s photo to generate the portrait. I used an combination of circle and suqare shapes appearing at random location to create the final image. I also wrote the code that when the mouse clicks, a bigger circle appears at the mouse location.


Sewon Park – PO – 9

sketch

//Sewon Park
//sewonp@andrew.cmu.edu
//Section B
//Project 9

var Hyun;

function preload() {
    var myImageURL = "https://i.imgur.com/Up7Loks.jpg";
    Hyun = loadImage(myImageURL);
}

function setup() {
    createCanvas(480, 480); //Converted the picture size to 480 by 480
    background(0);
    Hyun.loadPixels();
    frameRate(100000000000000000); //Increased frame rate so picture renders faster
}

function draw() {
    var px = random(width);
    var py = random(height);
    var ix = constrain(floor(px), 0, width-1);
    var iy = constrain(floor(py), 0, height-1);
    var theColorAtLocationXY = Hyun.get(ix, iy);

    noStroke();
    fill(theColorAtLocationXY);
    ellipse(px+5, py, 4, 4); //Mickey Mouse left ear
    ellipse(px, py+6, 10, 10); //Mickey Mouse Head
    ellipse(px-5,py,4,4); //Mickey Mouse right ear

    var theColorAtTheMouse = Hyun.get(mouseX, mouseY);
    stroke(theColorAtTheMouse);
    rect(pmouseX, pmouseY, 1, 1);
}

For this project, I used a picture of my good friend Hyun Kang. He really likes Disney movies and Mickey Mouse so i made the recurring shape as the classic Disney logo.

Original Image
Image almost finished rendering

Ammar Hassonjee – Project 09 – Computational Portrait

Ammar’s Portrait

/* Ammar Hassonjee
    ahassonj@andrew.cmu.edu
    Section C
    Project 09
  */

var underlyingImage;
var theColorAtLocationXY;
// Variable for adjusting the frame rate
var frames = 100;

function preload() {
    var myImageURL = "https://i.imgur.com/o4lm5zF.jpg";
    underlyingImage = loadImage(myImageURL);
}

function setup() {
    createCanvas(480, 480);
    background(0);
    underlyingImage.loadPixels();
}

function draw() {
    // Changing the frame rate each time draw is called
    frameRate(frames);
    // Initial variables declared to return pixel from image at random location
    var px = random(width);
    var py = random(height);
    var ix = constrain(floor(px), 0, width-1);
    var iy = constrain(floor(py), 0, height-1);
    // Getting the color from the specific pixel
    theColorAtLocationXY = underlyingImage.get(ix, iy);

    // Varying the triangle size and rotation for each frame based on
    //         the pixel distance from the mouse
    var triangleSize = map(dist(px, py, mouseX, mouseY), 0, 480 * sqrt(2), 1, 10);
    var triangleRotate = map(dist(px, py, mouseX, mouseY), 0, 480 * sqrt(2), 0, 180);
    noStroke();
    fill(theColorAtLocationXY);
    // rotating the triangle at each pixel
    push();
    translate(px, py);
    rotate(degrees(triangleRotate));
    triangle(0, 0, triangleSize * 2, 0, triangleSize, triangleSize);
}

function keyPressed() {
    // reducing the frame count each time a key is pressed
    frames = constrain(int(frames * .5), 1, 10);
}

function mousePressed() {
    // increasing the frame rate each time the mouse is pressed
    frames = constrain(int(frames * 2), 1, 1000);
}

I was inspired to make an interactive self portrait that is based from my favorite shape, the triangle! By using the mouse to generate values, my program allows users to make my portrait more realistic or more distorted depending on where they keep the mouse. I think the combinations of rotation and triangle size create really interesting renditions of my selfie.

Original photo used for image generation.
An almost finished version of my computational portrait using the photo above. Image produced after 2 minutes.

Jai Sawkar – Project 9 – Computational Portrait

Sketch

//Jai Sawkar
//jsawkar
//Project 9: Portrait
//Section C
 
function preload() {
    var imgURL = "https://i.imgur.com/4e3vWfI.jpg?1" //image of jaclny & sophia
    bImage = loadImage(imgURL); 
}

function setup() {
    createCanvas(480, 480);
    background('black')
    bImage.loadPixels(); //loads pixels from image
    frameRate(1000000); //speed of picture
}

function draw() {
    var px = random(width);
    var py = random(height);

    var sx = random(0, 240); //'sophia' on X axis
    var sy = random(height); //'sophia' on Y axis

    var jx = random(240, 480); //'jac' on X axis
    var jy = random(height); //'jac' on y axis


    ////ix & iy calulates the closest int value that is less than or equal to the value of the parameter for the pixels
   
    var ix = constrain(floor(px), 0, width - 1); 
    var iy = constrain(floor(py), 0, height - 1);


    var colXY = bImage.get(ix, iy); //determines color based on x & y pixels of image

    noStroke(); 
    fill(colXY); //fill based on x & y pixels of image
    ellipse(px, py, 5);

    textFont('FUTURA');
    textSize(2);
    text("Sophia", sx, sy) //randomly prints Sophia on Sophia's side of Canvas
    textSize(3);
    text("Jac", jx, jy) //randomly prints Jac on Jaclyn's side of Canvas

}

For this project, I used a picture I took 2 years ago of two of my best friends, Jaclyn & Sophia. Along with having the picture generated with dots, I wanted some aspect of it to be more personalized as well, so I split the canvas to allow their names to make up the picture on their side of the canvas. Below are two screenshots of the process, and the original photo as well!

About 3/4ths Through
Final Computational Portrait
Original Photo

Paul Greenway – Project 09 – Portrait

sketch

// Paul Greenway
// pgreenwa
// pgreenwa@andrew.cmu.edu
// Project-09-Portrait

var originalPortrait;

function preload() {
    
    //original portrait image from imgur
  
    var portraitUrl = "https://i.imgur.com/mqXKE8q.jpg";
    originalPortrait = loadImage(portraitUrl);
}


function setup() {
    createCanvas(700, 1200);
    background(255);
    originalPortrait.loadPixels();
    frameRate(1000);
}

function draw() {
  
    var px = random(width);
    var py = random(height);
    var circSize = random(5,20);
    var ix = constrain(floor(px), 0, width-1);
    var iy = constrain(floor(py), 0, height-1);
    var theColorAtLocationXY = originalPortrait.get(ix, iy);
    
    
    //fill circles with color based on base image
    noStroke();
    fill(theColorAtLocationXY);
  
    //draw circle with dimension based on mouse position
  
    ellipse(px, py, circSize*(mouseX*0.01), circSize*(mouseY*0.01));
      
}

For this project I wanted to create portrait generator that would adjust the size / resolution of the dots based on user input. While I found it hard implement the exact control over the image that I wanted, the final result was a portrait made up of circles with dimensions based on the mouse position.

lee chu – project 09

lrchu

// lee chu
// section c
// lrchu@andrew.cmu.edu
// project - 09

var underlyingImage;
var px = [];
var py = [];
var directionX = [];
var directionY = [];
var ix = [];
var iy = [];

function preload() {
    var myImageURL = "https://i.imgur.com/QpJ7uJf.jpg";
    underlyingImage = loadImage(myImageURL);
}

function setup() {
    createCanvas(600, 300);
    background(0);
    underlyingImage.loadPixels();
    frameRate(60);

    // starting arrays for painters
    px.push(random(width));
    py.push(random(height));
    directionX.push(1);
    directionY.push(1);
}

function draw() {
    underlyingImage.resize(width, height); 

    // looping for individual painters
    for (i = 0; i < px.length; i ++) {
        ix = constrain(floor(px[i]), 0, width-1);
        iy = constrain(floor(py[i]), 0, height-1);
        var theColorAtLocationXY = underlyingImage.get(ix, iy);

        noStroke();
        fill(theColorAtLocationXY);
        rectMode(CENTER);
        rect(px[i], py[i], 10, 10);

        // random movement
        px[i] += directionX[i] * random(-2, 10);
        py[i] += directionY[i] * random(-2, 10);

        // keeping painters on the canvas
        if (px[i] > width) {
            px[i] = 0;
        }
        else if (px[i] < 0) {
            px[i] = width;
        }
        if (py[i] > height) {
            py[i] = 0;
        }  
        else if (py[i] < 0) {
            py[i] = height;
        }
    }
}

// adding painters with click
function mousePressed() {
    px.push(random(width));
    py.push(random(height));
    directionX.push(1);
    directionY.push(random(-1, 1, 2));
}

I miss Heath Ledger. I had wanted to create a bunch of little rectangular painters which make their way across the canvas.

what the end result should look like – CLICK on the canvas to introduce more painters

Fanjie Mike Jin- Project 09- Portraits

53

/*  Fanjie Mike Jin
    fjin@andrew.cmu.edu
    Section C
    Project-09*/

var baseimage

function preload() {
//load in the picture of myself
    var myImageURL = "https://i.imgur.com/gIuXiAy.jpg";
    baseimage = loadImage(myImageURL);
}

function setup() {
//drawing the image
    createCanvas(500, 500);
    background(0);
    baseimage.loadPixels();
// makes the pixels load faster
    frameRate(1000);
}

function draw() {
//Enable mouse interactions to gerate stroke elements
    var mousecolor = baseimage.get(mouseX, mouseY);
    var x = random(width);
    var y = random(height);
    var ix = constrain(floor(x), 0, width-1);
    var iy = constrain(floor(y), 0, height-1);
    var color = baseimage.get(ix, iy);

    noStroke();
    fill(mousecolor);
//paint the canvas with the mouse using smaller ellipses
    ellipse(mouseX,mouseY,random(4,20),random(4, 20));
    fill(color);
//Use polygons as pixels with the randomized number of sides and dimensions
    polygon(x,y,random(4,20),random(4,9));

}
//draw the polygons
function polygon(x, y, r, n) {
    var angle = TWO_PI / n;
    beginShape();
    for (var i = 0; i < TWO_PI; i += angle) {
        var a1 = x + cos(i) * r;
        var a2 = y + sin(i) * r;
        vertex(a1, a2);
    }
    endShape(CLOSE);
}

// reset the canvas to blank once the mouse is clicked 
function mousePressed() {
    clear();
}

In this project, I am trying to make the portrait in a rigid pointillism style as I really like the impressionist paintings. By varying the size of the randomized polygons, I am managing to simulate the feelings of that the protrait is being painted by rigid brushstrokes. Also, at the same time, I am able to make some touches to the image as the mouse interaction is enabled to digitally draw part of the portrait.

protrait after 1 min
protrait after 20 second
base image

Taisei Manheim – Project 09 – Computational Portrait

Click ‘u’ to move grid amount up and ‘d’ to move grid amount down!!!

(If it doesn’t work make sure your caps lock is off and click on the image first before typing)

sketch

//Taisei Manheim
//Section C
//tmanheim@andrew.cmu.edu
//Assignment-09

var underlyingImage;
//starting grid size
var grid = 20;

function preload() {
    var myImageURL = "https://i.imgur.com/9Jjikbd.jpg";
    underlyingImage = loadImage(myImageURL);
}

function setup() {
    createCanvas(360, 480);
    background(255);
    underlyingImage.loadPixels();
}

function draw() {
    //creates grid of circles
    noStroke();
    for (var x = 0; x < underlyingImage.width; x += grid) {
        for (var y = 0; y < underlyingImage.height; y += grid) {
            var theColorAtLocationXY = underlyingImage.get(x, y)
            fill(theColorAtLocationXY);
            ellipse(x, y, grid, grid);
        }
    }
}

function keyTyped() {
    //if grid reaches 5 it wont get smaller (or else it would crash)
    if (grid < 5) {
        grid = 5;
    }
    //if grid reaches 100 it wont get bigger
    if (grid > 100) {
        grid = 100;
    }
    //if you hit u key size of grid would increase
    if (key === 'u') {
        clear(); //need this or else old grids would show underneath
        grid += 1
    }
    //if you hit d key size of grid would decrease
    if (key === 'd') {
        clear(); //need this or else old grids would show underneath
        grid -= 1
    }
}

For my portrait I did a picture of myself.  When I first started this project I was experimenting with the amount of circles in a grid to create a more abstract or realistic portrait.  I then thought it would be interesting to have it controllable so that people looking at the portrait could control the resolution.  I tried to tie the grid size to mouse location at first but it was too much for the program to process that quickly so I made it so that you hit the ‘u’ and ‘d’ key to move the grid amount up and down.

Starting position (grid size at 20). Medium level abstractness.
Grid size at 5 (lowest limit). Higher level of realism.
Grid size at 100 (highest limit). Higher level of abstraction.
Original picture.

Ankitha Vasudev – Project 09 – Computational Portrait

sketch

// Ankitha Vasudev
// ankithav@andrew.cmu.edu
// Section B
// Project 09

var portrait;

// load image of friend
function preload() {
	var ImageURL = "https://i.imgur.com/vtBUV2J.jpg";
	portrait = loadImage(ImageURL);
}

function setup() {
	createCanvas(450, 437);
	background(0);
	frameRate(1000);
	portrait.loadPixels();
}

function draw() {
	var x = random(width);
	var y = random(height);
	var px = constrain(floor(x), 0, width);
	var py = constrain(floor(y), 0, height);
	var size = random(1, 30);
	var colorxy = portrait.get(px, py);
	var colmouse = portrait.get(mouseX, mouseY);
    
    //circles controlled by mouse
    fill(colmouse);
    ellipse(mouseX, mouseY, 10);
    
    //text "J" to fill canvas
    noStroke();
    fill(colorxy);
    textSize(size);
    textFont('Arial');
    text("J", x, y);
}

This project was fun to do because I liked playing with different shapes and text and watching the pixels create the image. I chose a picture that I took of my friend a few months ago. I like this image because of how colorful it is. The images below show different stages of progress during this project.

Original picture of my friend