![[OLD FALL 2020] 15-104 • Introduction to Computing for Creative Practice](../../../../wp-content/uploads/2021/09/stop-banner.png)
sketch
/*
 * Eric Zhao
 * ezhao2
 *
 * Computational portrait that "draws" an image using
 * an existing image. Clicking the mouse changes the
 * orientation of the randomly drawn rectangles in
 * relation to the center.
 */

let img;
let smallPoint, largePoint;
let rotated = false;

function preload() {
    img = loadImage("https://i.imgur.com/uwh5nXO.jpg");
}

function setup() {
    createCanvas(400, 600);
    axisShort = 10;
    axisLong = 30;
    imageMode(CENTER);
    rectMode(CENTER);
    noStroke();
    background(255);
    img.loadPixels();
}

function draw() {
    push();
    cursorX = constrain(mouseX, 0, width);
    cursorY = constrain(mouseY, 0, height);
    let pointillizeX = map(mouseX, 0, width, axisLong/2, axisLong);
    let pointillizeY = map(mouseX, 0, width, axisShort/2, axisShort);
    //changes width and length of rectangles drawn based on mouse position
    let x = floor(random(img.width));
    let y = floor(random(img.height));
    let pix = img.get(x, y);
    fill(pix, 128);

    //orients rectangles around center of canvas
    translate(width/2, height/2);
    x = x-width/2;
    y = y-height/2;
    rotate(atan2(y, x));
    if(rotated == true){
        rect(dist(x, y, 0, 0), 0,
            pointillizeY, pointillizeX, pointillizeY/2);
    } else {
        rect(dist(x, y, 0, 0), 0, 50,
                pointillizeY, pointillizeY/2);
    }
    pop();
}

function mousePressed(){
    //slightly greys out existing composition
    push();
    fill(255, 192);
    rect(width/2, height/2, width, height);
    pop();
    //changes rectangle orientation b/t parallel and perpendicular
    switch(rotated){
        case true:
            rotated = false;
            print(rotated);
            break;
        case false:
            rotated = true;
            print(rotated);
            break;
    }
}
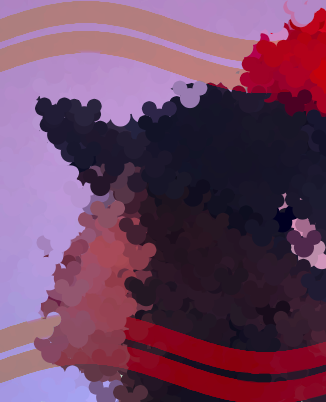
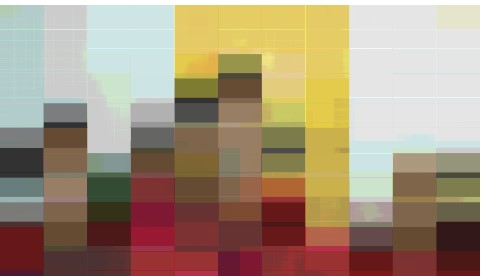
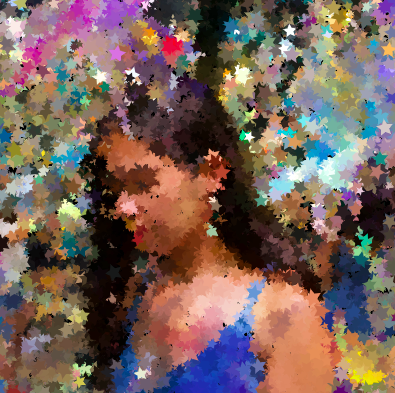
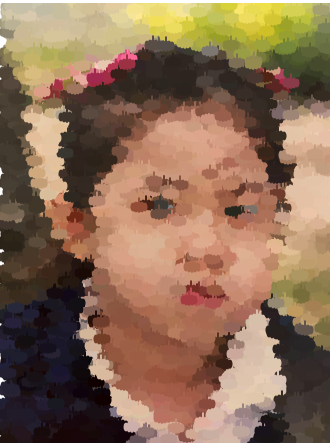
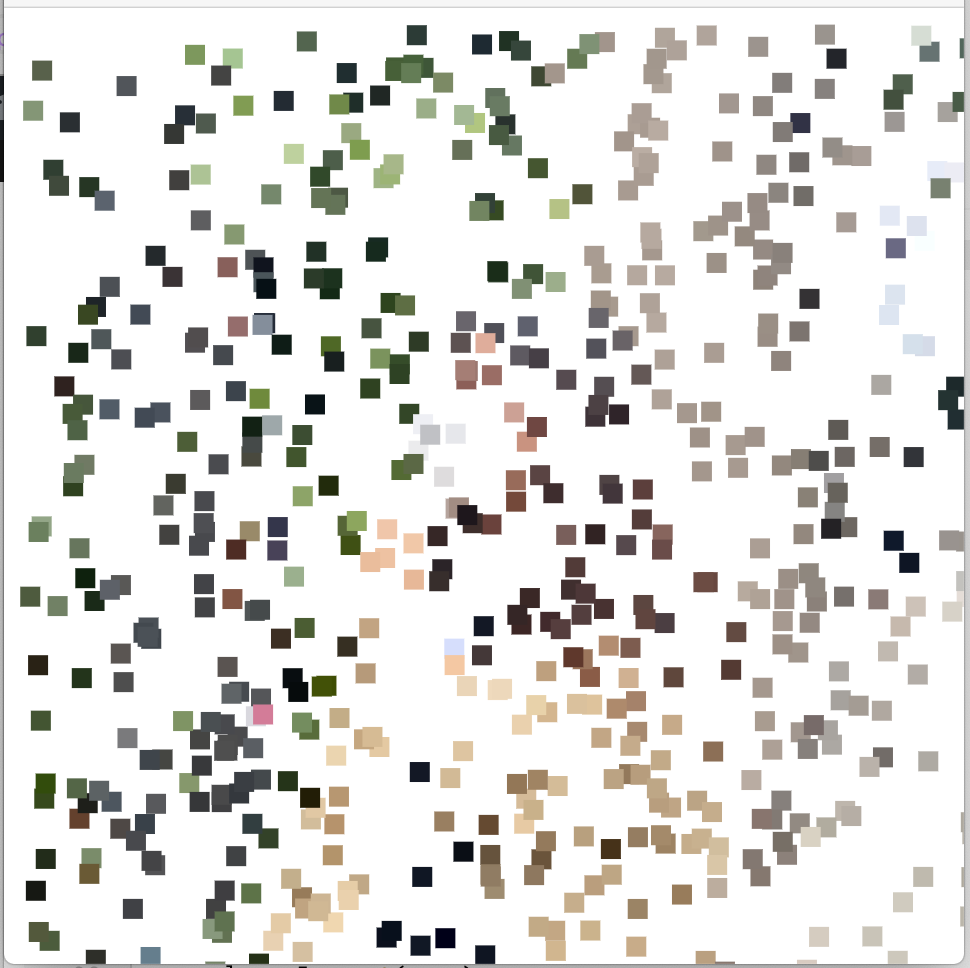
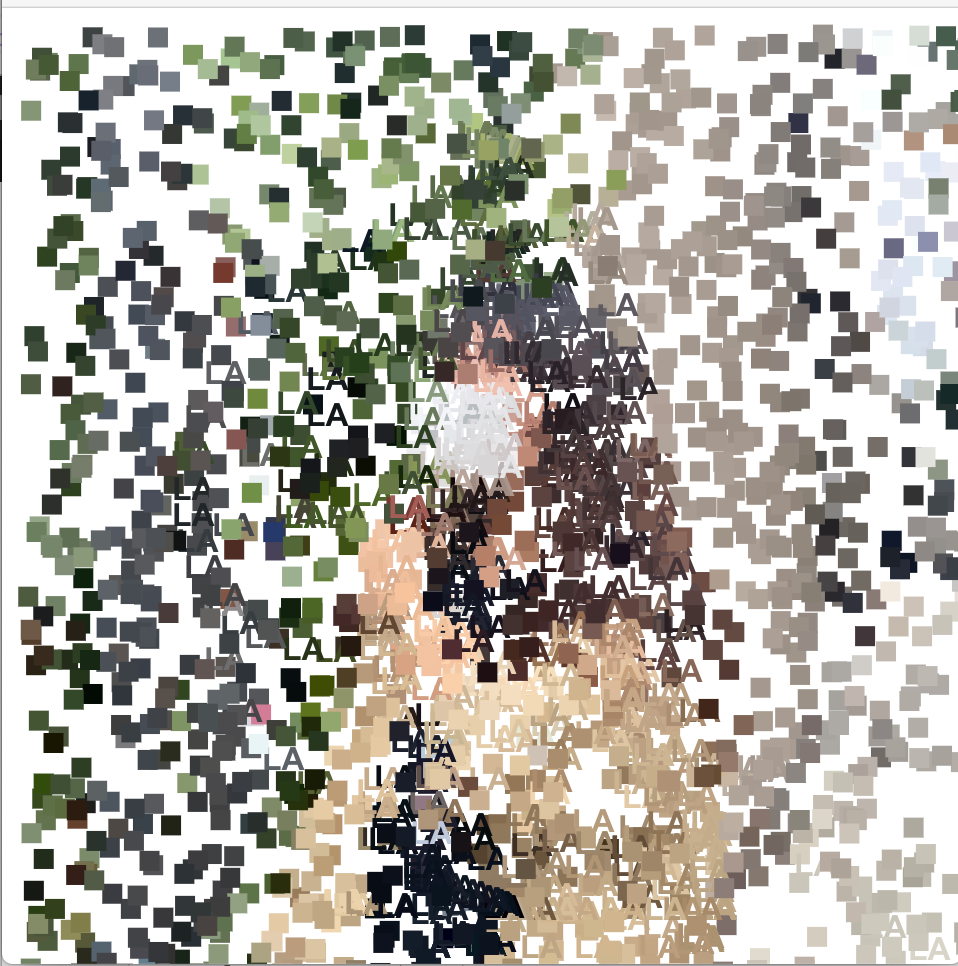
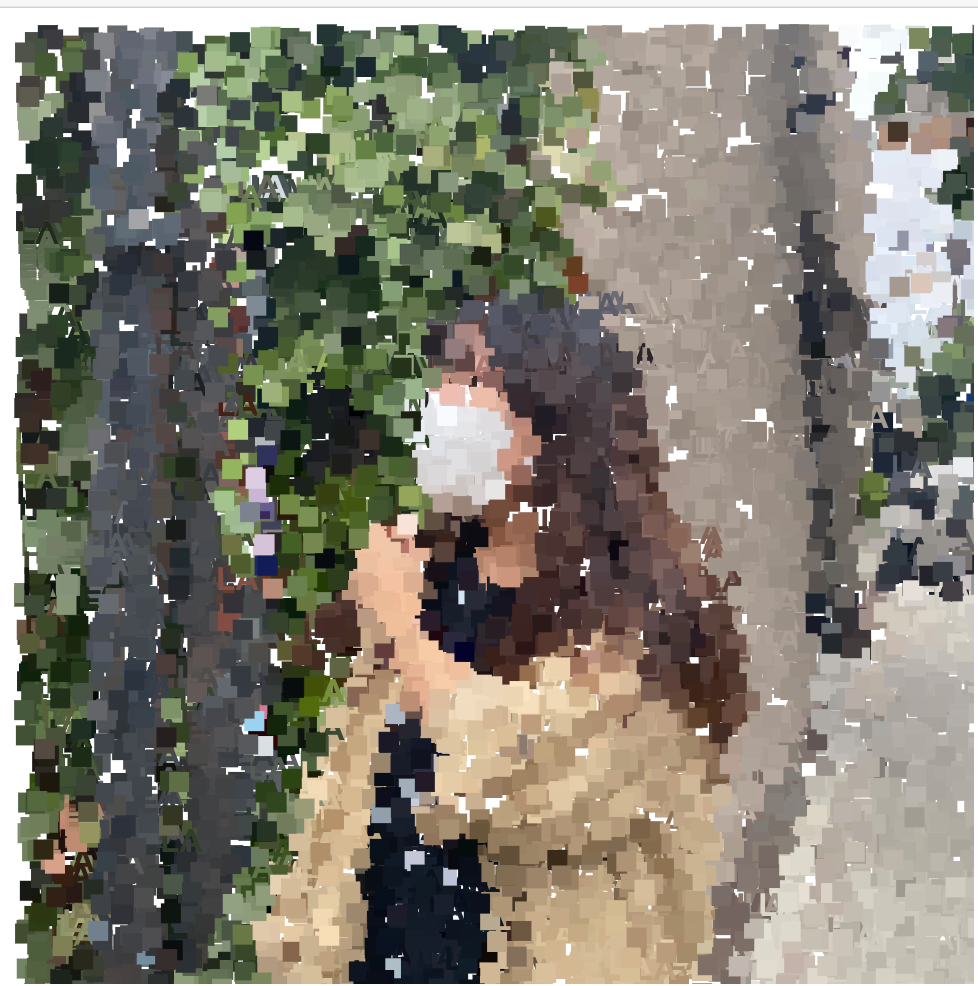
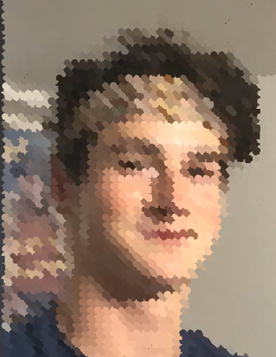
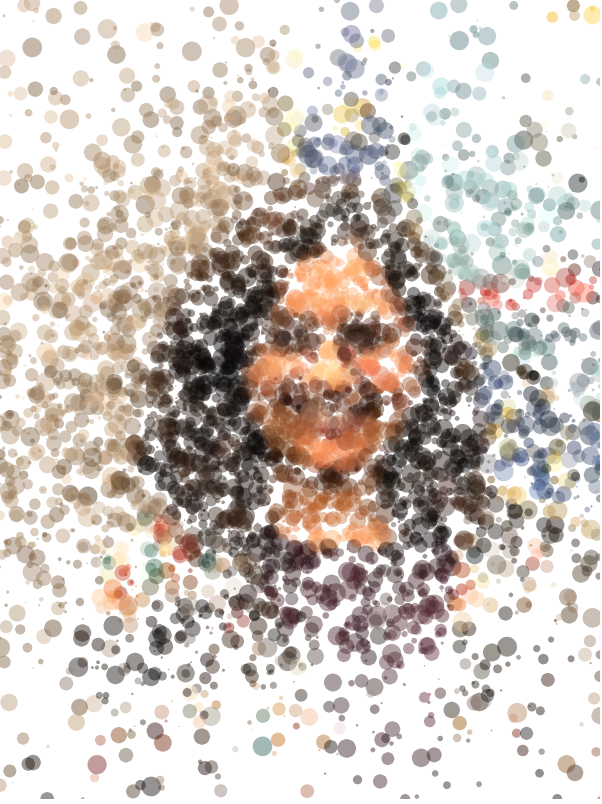
I wanted to see if there was a way to unify the pointillism example code to make the developing composition feel more cohesive. My portrait draws random strokes (rounded rectangles) of varying width and height based on the mouse position, all oriented towards the center of the canvas. Clicking on the canvas causes the underlying content to be slightly greyed out and the orientation of the rectangles will change (from the short side facing the center to the long side facing the center and vice versa).
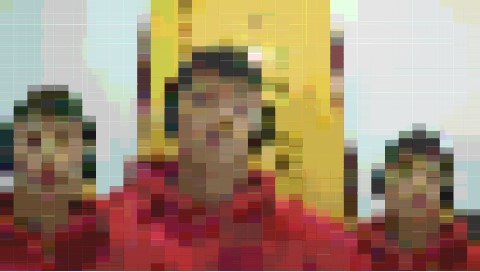
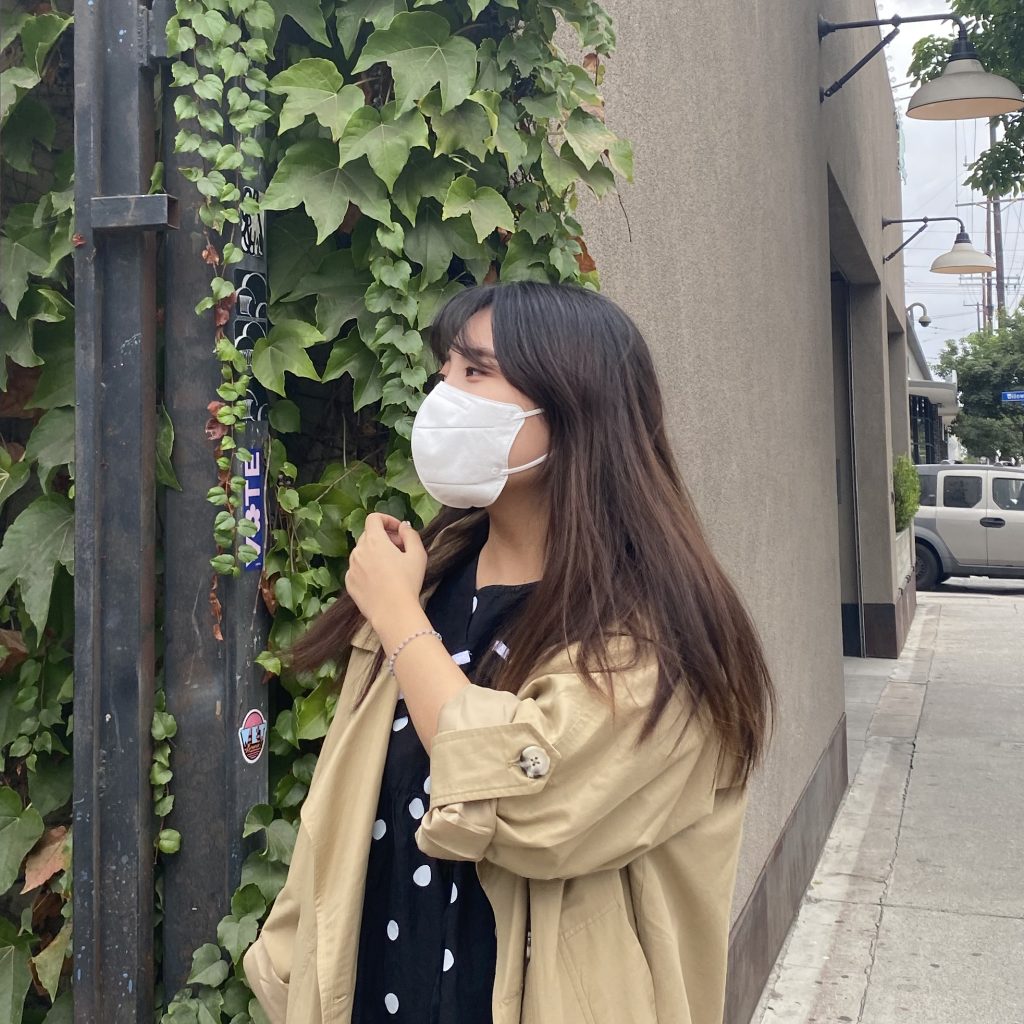
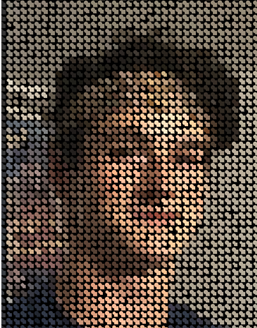
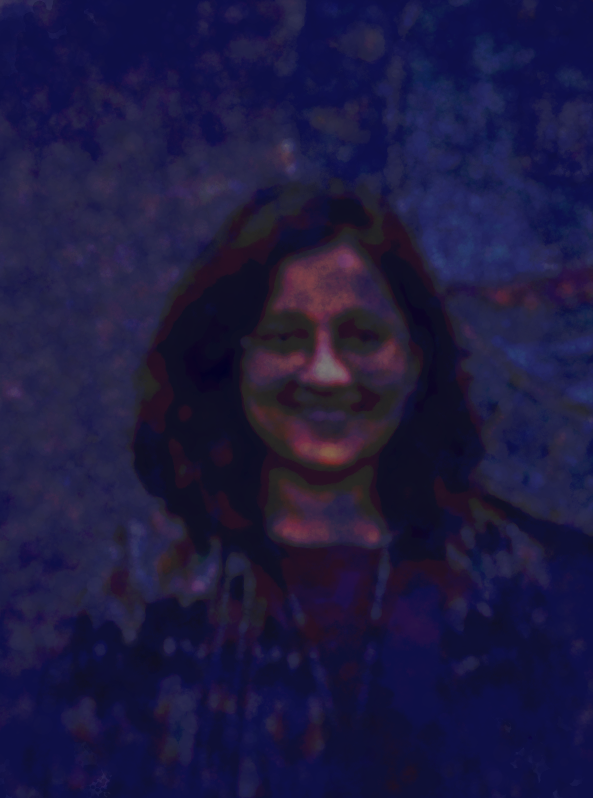
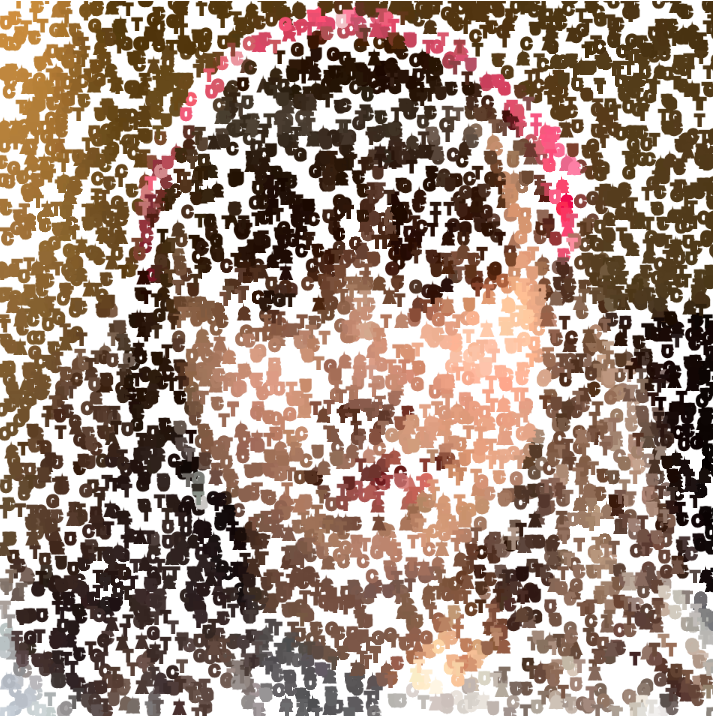
Picture is of my friend trying to be fancy while drinking bagged Earl Grey tea, a very unfancy beverage.
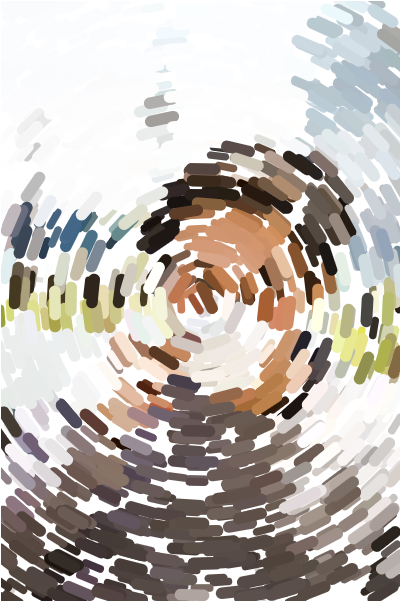
Version 1 after 1 min 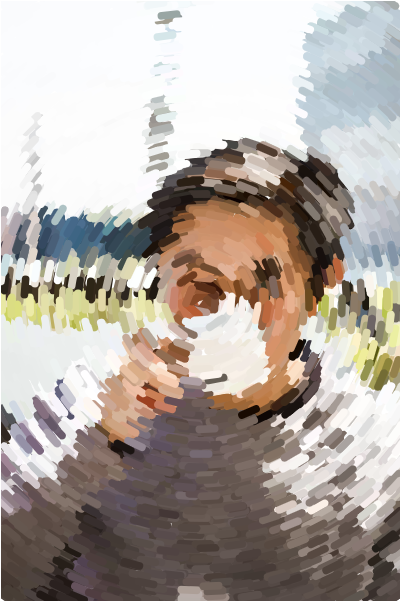
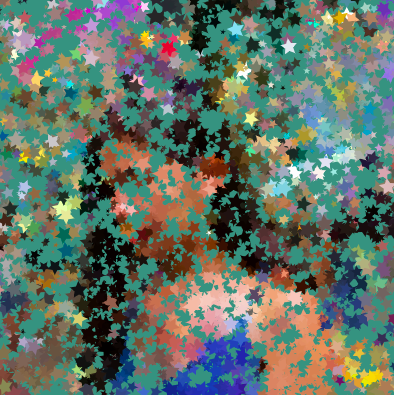
Version 1 after 2.5 min 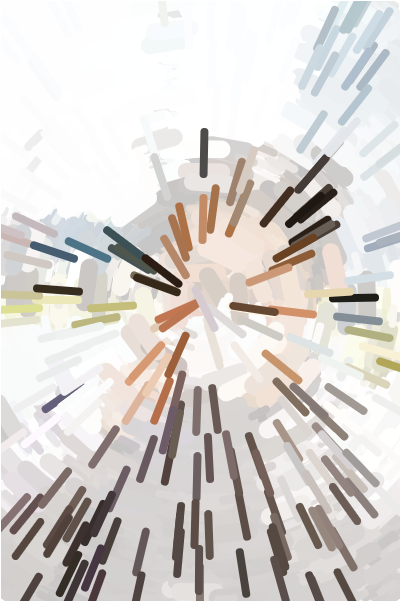
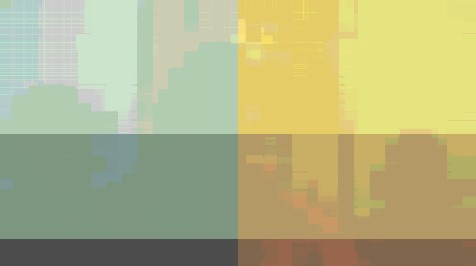
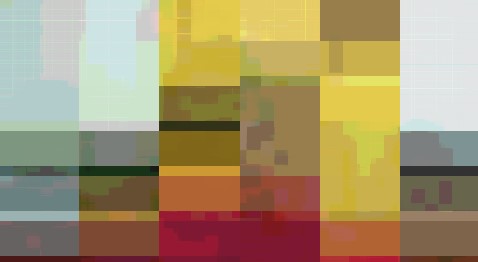
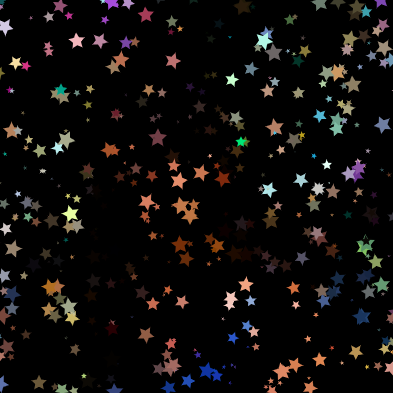
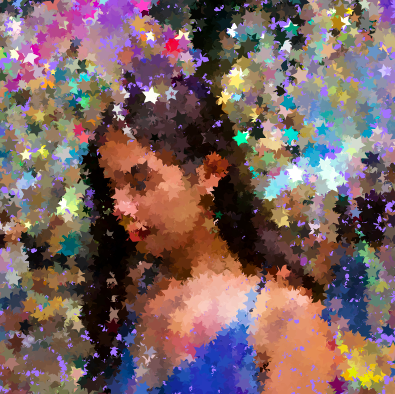
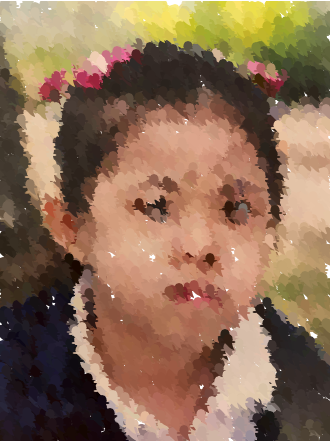
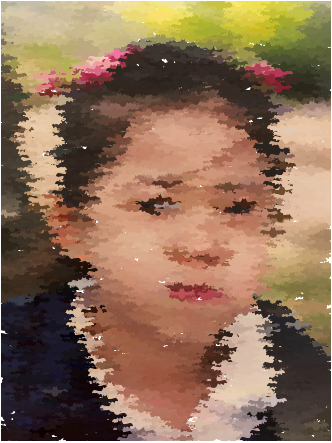
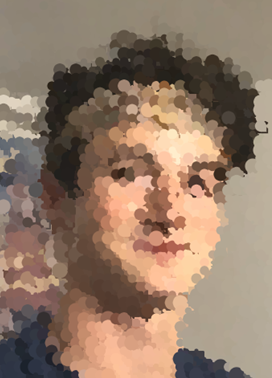
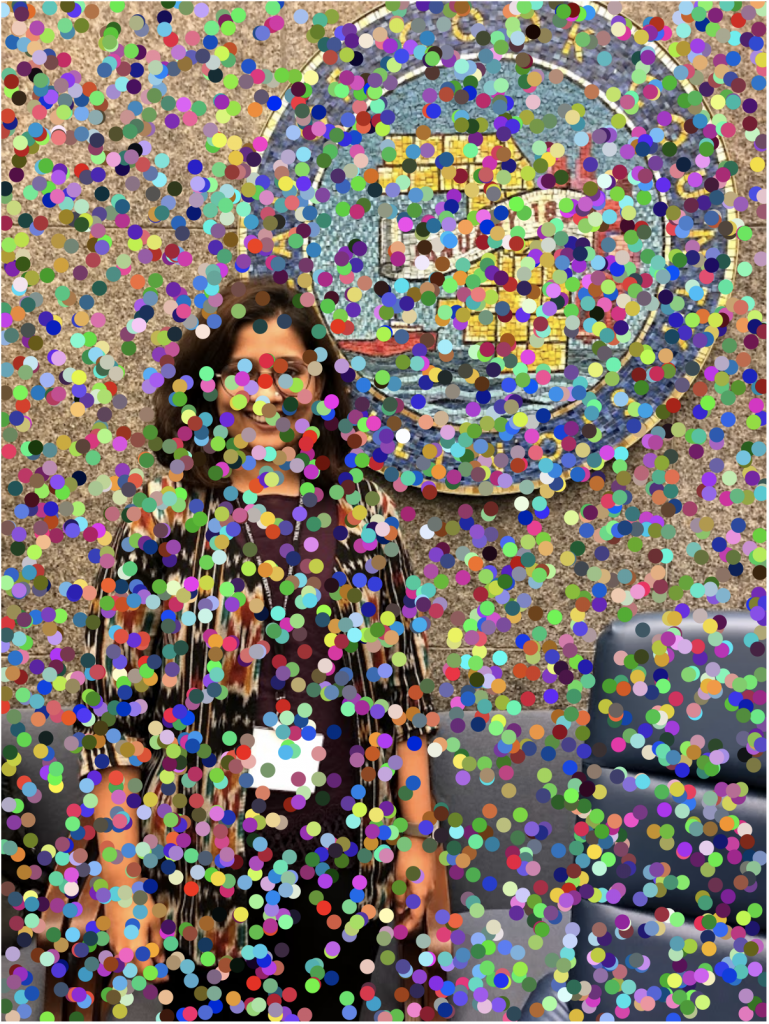
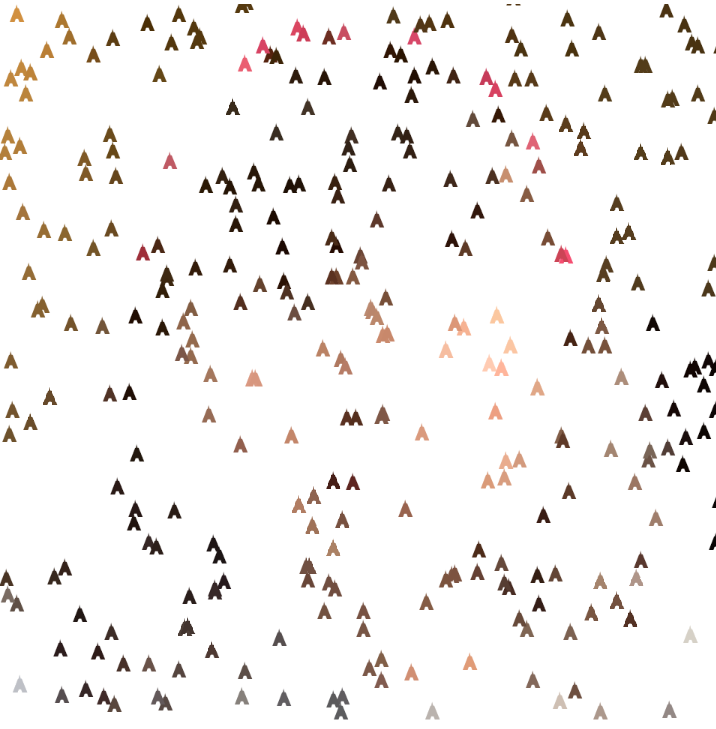
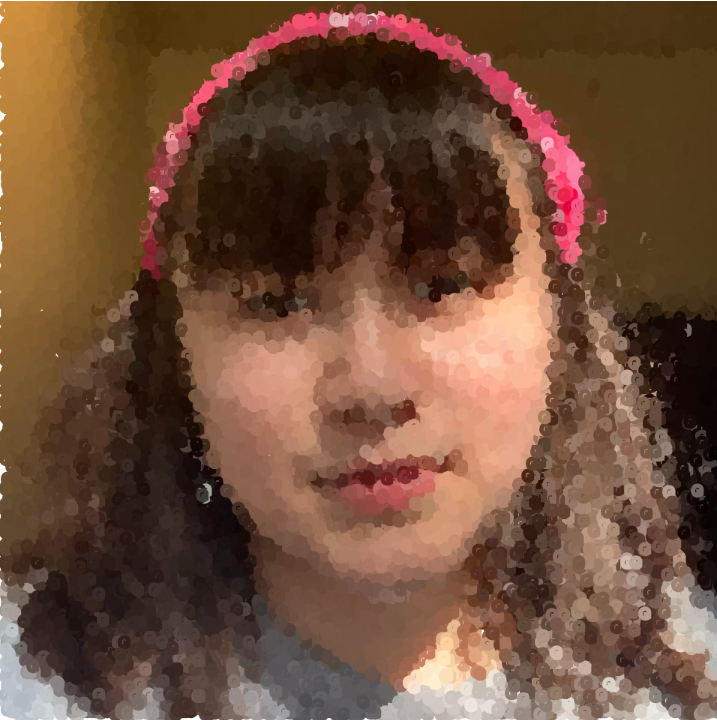
Version 2 after 10 sec 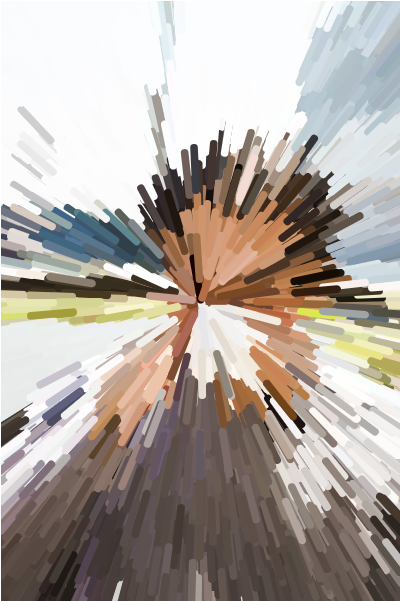
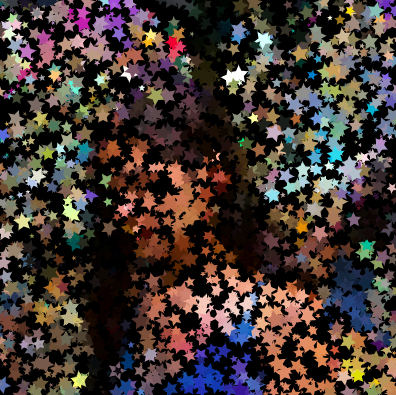
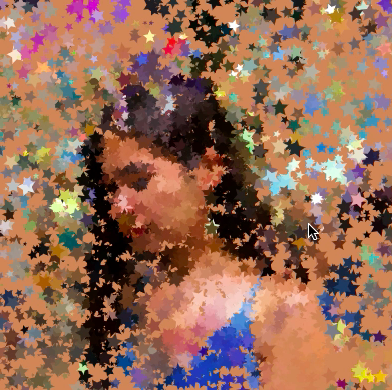
Version 2 after 2.5 min 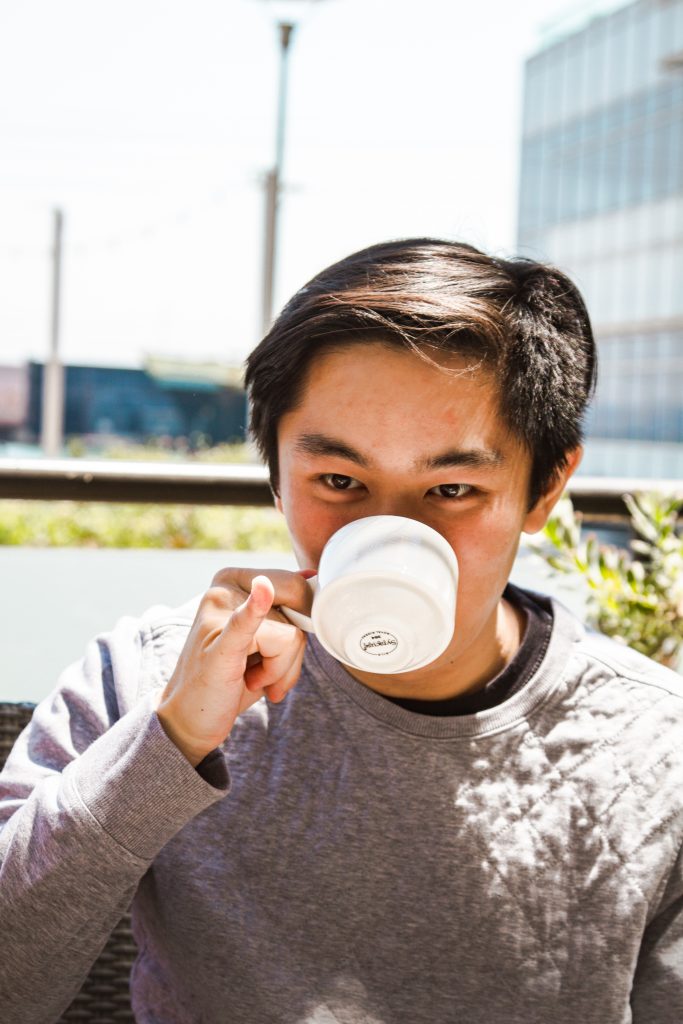
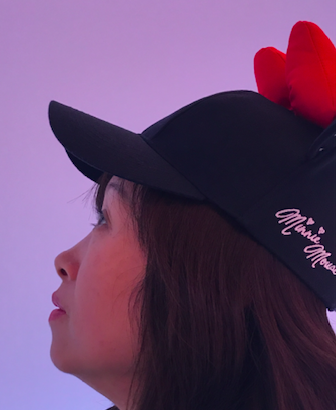
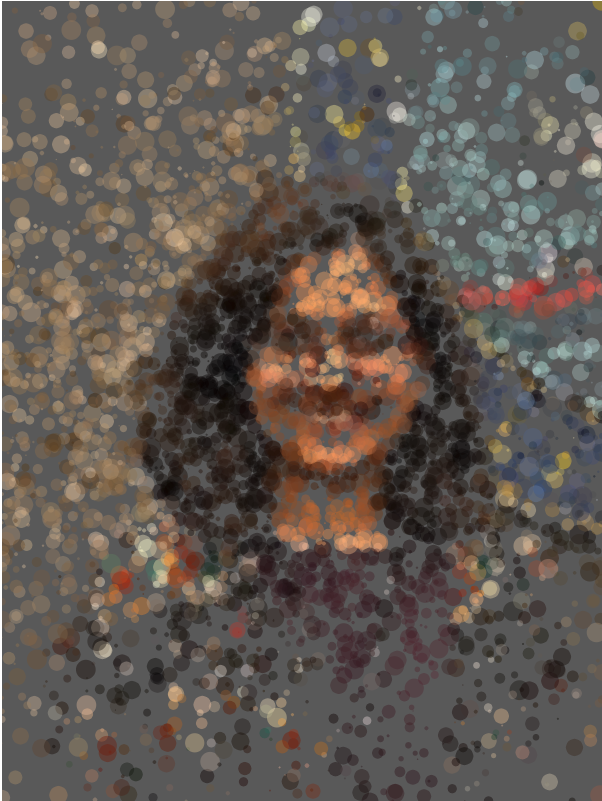
Original photo