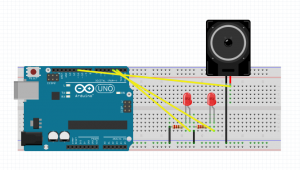
For this assignment I want to make a musical instrument inspired by an accordion with a living hinge and speaker. For the prototype, bending the wood changes the volume of the note, and pressing a button changes the note one octave higher. I didn’t have much trouble with this – making the living hinge was surprisingly simple, and I found a library that could be used to change the volume (credited in the sketch).
Moving forward I plan to use a linear soft potentiometer to change the notes instead so that you can slide your finger up and down the side of the “accordion”, but the wall is all out so I used a button for now. If possible I’d like to use two of them and two speakers so that it can play chords. I also plan to play around more with different cuts of wood and types of wood.
Dial is supposed to change the volume of the speaker, I wanted to implement it as a control to a processing window (or if I’m unable to implement it, change as well the brightness of an LED) and create some sort of game or controls for one
Alternatively, If I get Arduino to work with processing, I can make it play a tune when something good happens and a different tune when something bad happens, or just play around with visualization of music through processing and a limited keyboard on the Arduino
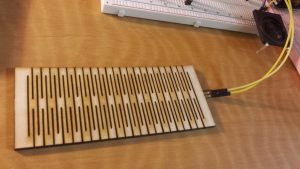
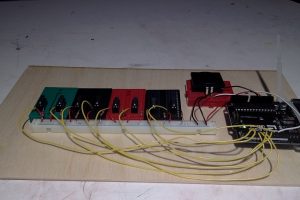
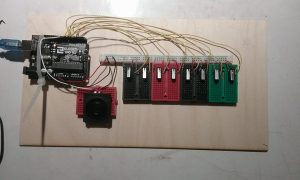
My initial idea was to create a self playing piano (I thought that this could come off as creepy and add to the halloween vibe). However, I had to descope for the prototype since I did not know how to make the piano buttons move automatically.
I had initially wanted to created a nice case for the piano, and laser cut the buttons, but dince I did not know how to make the buttons move automatically, and adding these finishing touches would make adding elements to move the piano automatically more difficult. (after asking a few friends, I realized I could use solenoids to achieve this effect).
The piano itself wasn’t too hard to make, except the wiring took a while. Also, the first key does not work, and I’m not entirely sure why. The rest of the piano works fine.
For the finished project, I’d like to add the following features:
Case for the piano, and acrylic button pieces on the switches.
I want my final product to have some sort of generated music playing and then something for the user to interact with to change how the music sounds. I’m not sure exactly how I want the final piece to look, but my prototype explores playing with the speed and tone with a sliding potentiometer.
In this project, I want to convey the idea of an ugly truth you need to accept through a visual idiom of “Letting the cat out of the bag”.
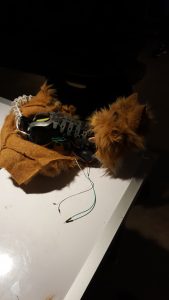
For this prototype, I wanted to mess around with sound distortion using a reprogrammed toy. Currently, I’m having a hard time accessing the speaker, as the toy case requires a very specific screwdriver to access. What I tried instead was tracing wires to find the positive and negative leads to the speaker, allowing me to mess around with low pass/high pass filters.
I also plan to try adding noise to the signal (Jake recommended I should try sending random servo commands), but my main goal is pitch-shifting the speaker output, which can only really be achieved through getting access to the timing resistor within the speaker casing.
As a minimal viable project, I can clip the signal sent to the speaker via filters, and I may play around with this some more. I’ve also traced different sensor inputs from the toy, so I can also play around with these in order to trigger preprogrammed movements, or I could directly cut wires to the servo in the toy and control them via an arduino. The major time-sink for this prototype was reverse engineering the toy, but now that I’ve traced the wires outside of the case I couldn’t open, I feel confident in modifying the toy further.
Included is a video demonstrating the sensor inputs (touch sensors) and demonstrating the correct speaker positive wire.
For the Halloween centered project, I wanted to make a project that was an homage to Scooby Doo: I wanted a monster (with flashing red LED eyes) to “run” towards the gang (using two servos) while the gang all while the gang “runs” away (using two servos and a mechanical mechanism to connect their legs together), all underscored with the Scooby Doo theme song playing from a speaker. Therefore, for my prototype, I wanted to make sure that I was able to run electronics for the sound system, LEDs, and servos together.
As we were already well versed in getting LEDs and servos to work properly, I wanted to start off with the sound system, which turned out to be a lot more work than I thought. As it turns out, the most common way to play actual audio from the Arduino is to use an SD card and an SD card Arduino board to play audio. However, I wanted to see if there was a way to play audio straight from the Arduino, which was a surprisingly difficult task. After some searching, I found this instruction guide, http://highlowtech.org/?p=1963, which I followed to get the audio working. However, this system clipped the length of the audio much more than I wanted, but I figured this might be something I could work with. I then tried to also add basic LED and servo testing to make sure there were no clashes. Unfortunately, while the LEDs worked fine, the new library I had to add for audio actually conflicts with the inbuilt servo library.
After executing this prototype, I realize my options are 1) try using the SD card, SD card reader method for playing audio and having LEDs and servos working for my project
2) keep this audio method and do something only with LEDs, which is still a viable possibility for a good project
I’m leaning towards trying to see how hard the SD card method is; otherwise, just committing to LEDs and audio.
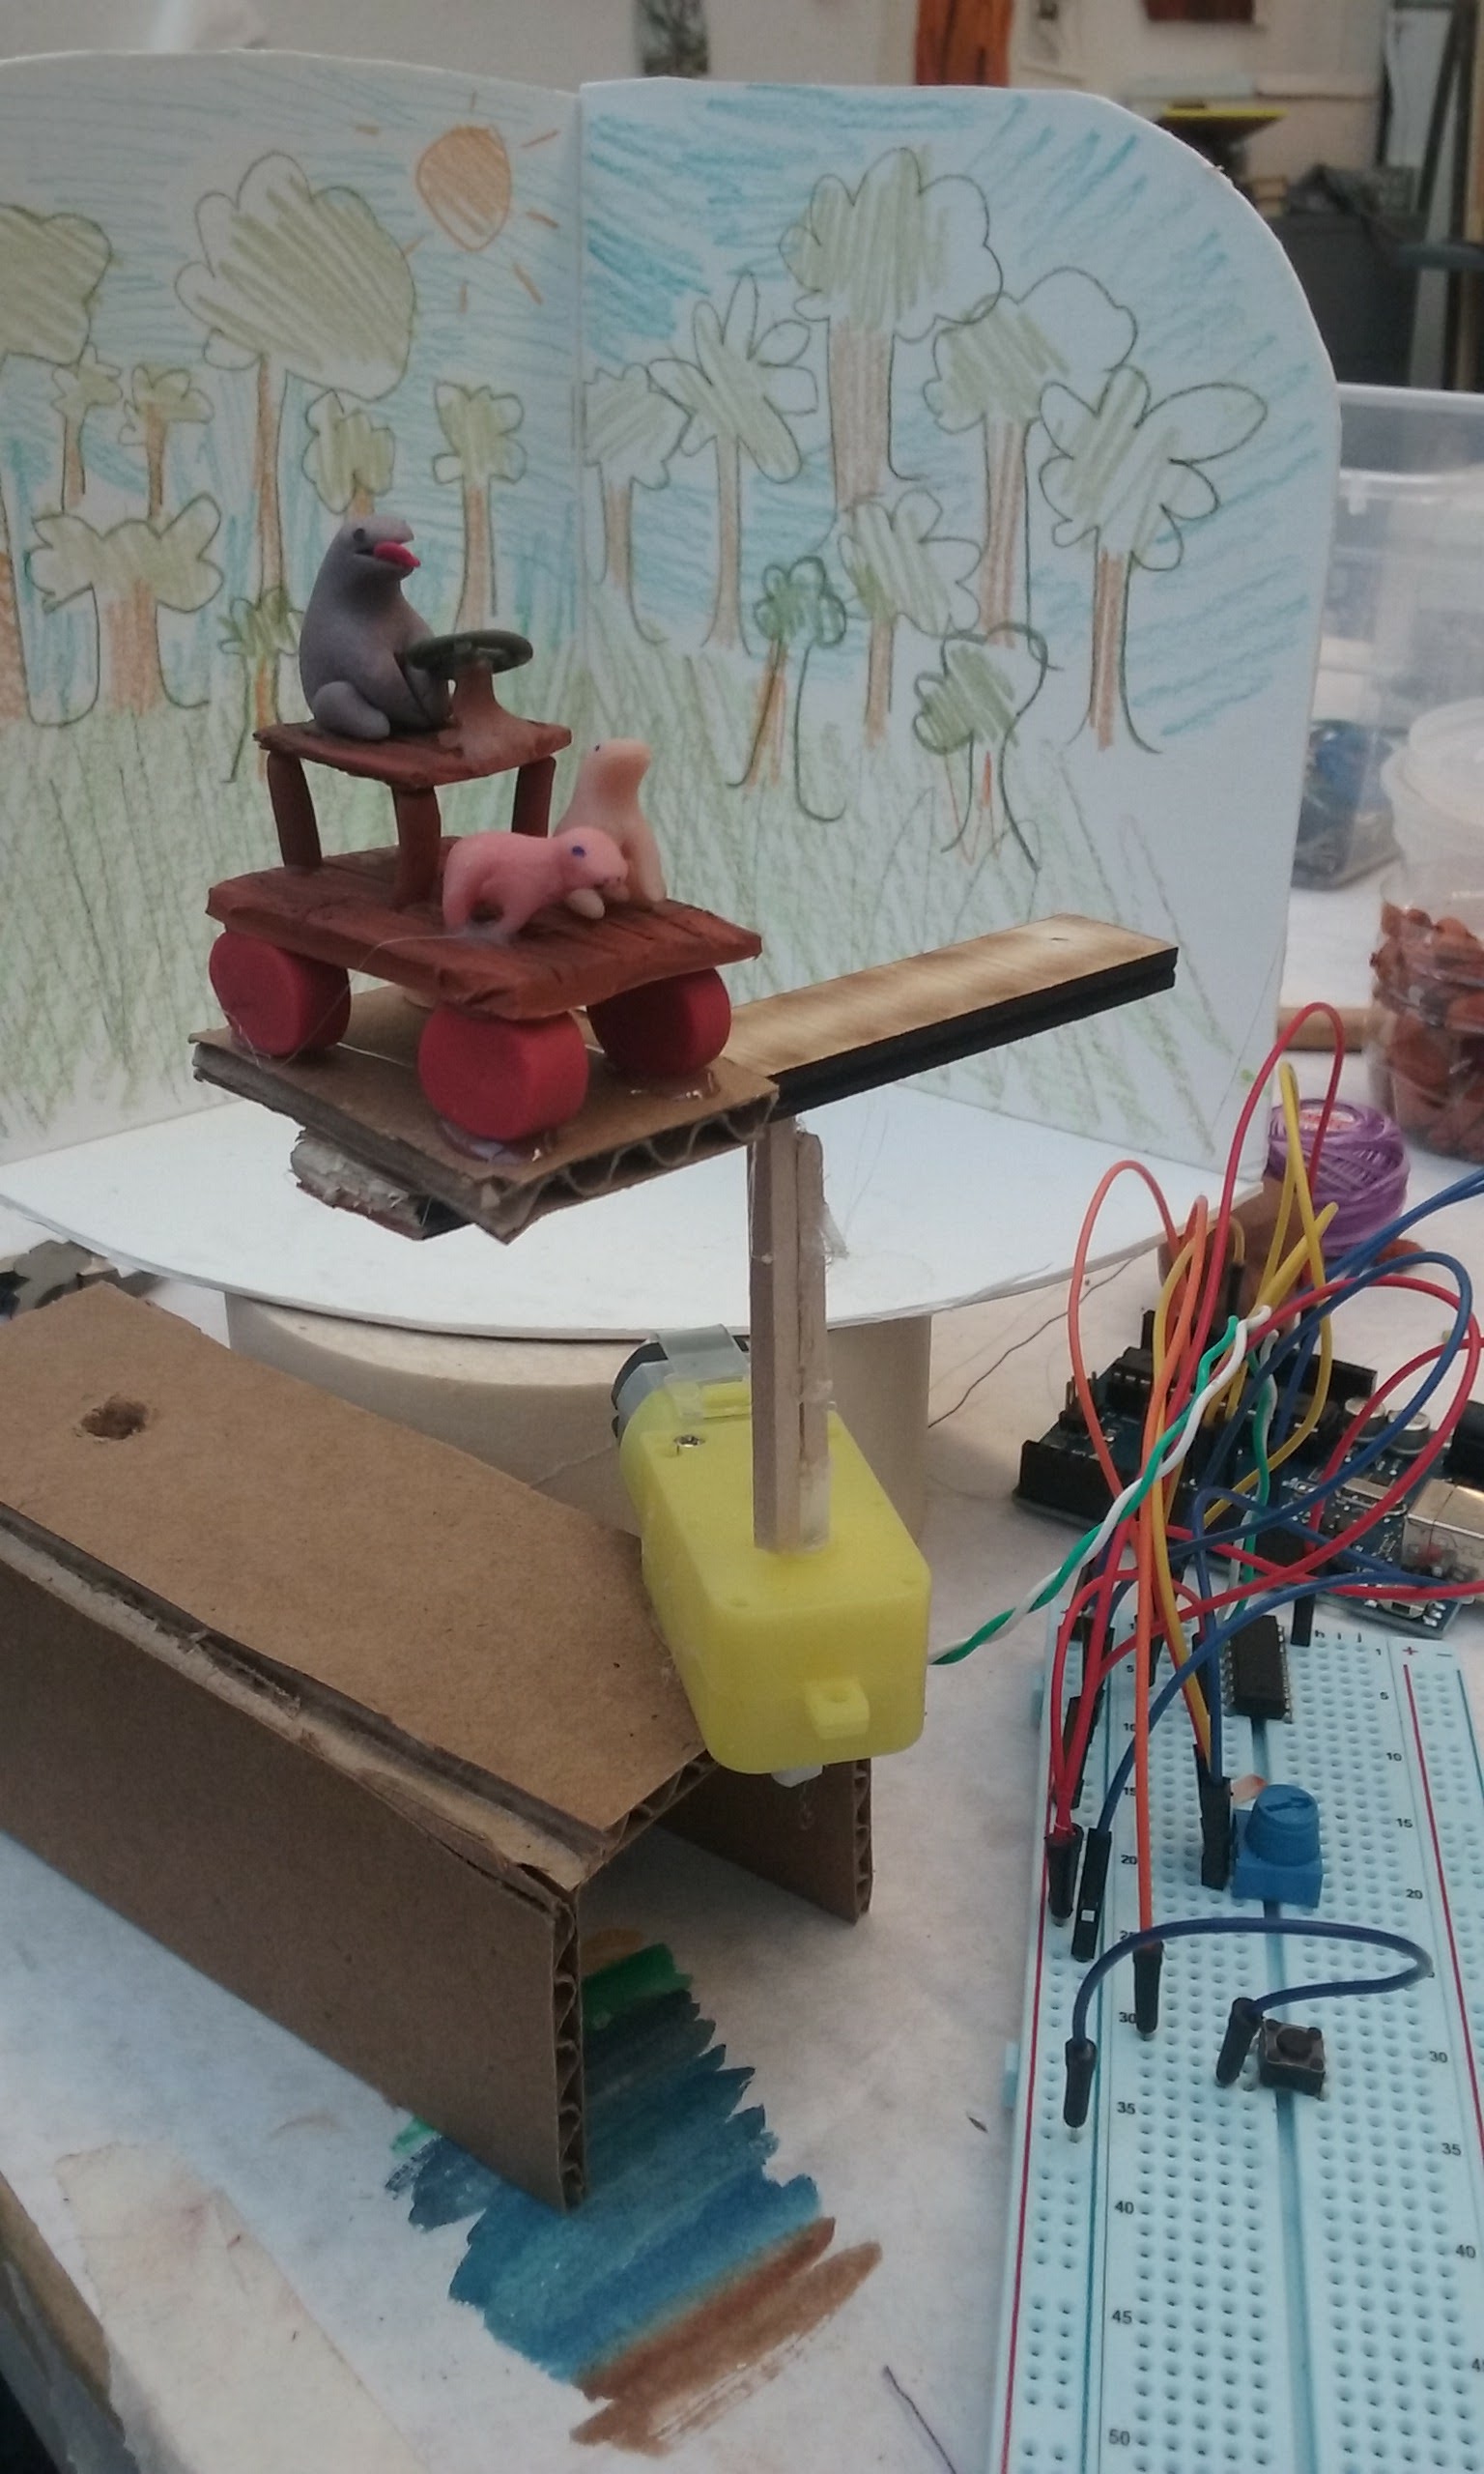
For this Project, I made a car that drives in a circle, the story behind this is that the people are going for a drive and, so they are driving in a circle,… forever…,
They can drive at varying speeds
In this version, they drive badly and crash the car (no one is harmed)
For this upcoming project, I want to integrate the experience of music with objects around us. I want to use a set of objects with different weights, categorize them, and then produce separate musical identities of each object. I think I’ll do a ‘musical chairs’ situation (though not finite) where maybe 4 objects are categorized, but only 3 sensors are available. So, different combinations using the 4 objects produce slightly different beats.
For this assignment, I used the melody provided in the playMelody Arduino tutorial to be the tune set off by the ball (the weight is captured by an FSR). In the future, I’d like to find or produce different melodies (maybe one can be a bass, and another a higher toned sound) that could all potentially fit together well, and create a set of three sensors that could register the information.
One problem I came across was the FSR I used was not sensitive enough. Even with the ball being pretty weighty as an object, the sensor could barely recognize it. I think I’ll need to find either a better sensor or much heavier objects.
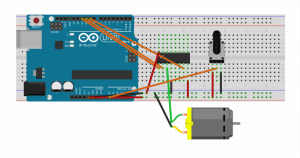
As my initial assignment 4 project (an abstract movement story that involved CAMs) did not end up working, I redid my assignment with a whole different concept and circuit. For my new story, I wanted to have a person be able to fly their own plane across the world, helping them travel to a place far beyond. To illustrate this, I made a DC motor rotate a disk upon which a plane hangs upon a cut out city scape.
I wanted the user to be able to control the speed at which the plane was rotating, so the user could help the plane “take off” and “land.” Thus, my circuit used a potentiometer and the h-bridge to give the user that level of control over the DC motor.
The main problems I had with this circuit was just getting h-bridge to work properly, as I think I had some connectivity issues with the chip and the breadboard. Overall though, this project ended with a visual story I was happy with and wasn’t too involved in terms of circuit debugging.