KadeStewart-Project09-Portrait

sketch

//Kade Stewart
//Section B
//kades
//Project-09


var pic;
var bar = 0;
var barspeed = 5;


function preload() {
    pic = loadImage("https://i.imgur.com/TQDoVD9.png");
}


function setup() {
    createCanvas(480, 480);
}

function draw() {

	//resets the image every time draw is called
	image(pic, 0, 0);
	loadPixels(pic);


	// loop thru each row
	for (var y = 0; y < height; y++) {

		//every row, shift the pixels over some random amount
		//the limit is dictated by how recently an invisible bar has passed over it
		var limit = floor( ( ( (height + bar) - y) % height ) / 10 );
		var shift = floor(random(0, limit));

		// if (limit > 10) {
		// 	continue;
		// }

		// inner loop that goes thru each pixel in the row
		for (var x = 0; x < width; x++) {

			//this is the way to target each pixel in the pixels array
			var i = ( ( (x + shift) % width ) + y * width ) * 4;

			//setting the color of a pixel to the one a certain number away
			//pixels[i] is the red, [i+1] is the green, [i+2] is the blue
			set(x,y, color(pixels[i], pixels[i + 1], pixels[i + 2]))

		}

	}

	//actually draws the pixels as dictated above
	updatePixels();

	//moves the invisible bar down, wrapping when it hits the bottom
	bar = (bar + barspeed) % height;

}

Example of radar screen I wanted to emulate

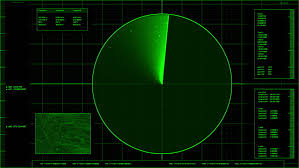
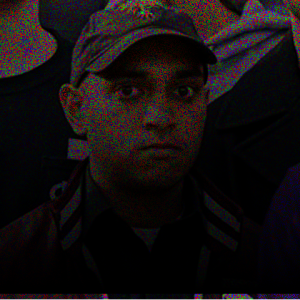
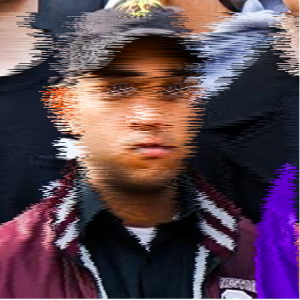
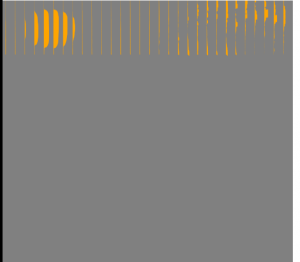
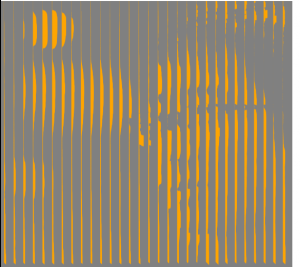
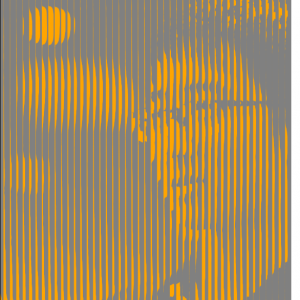
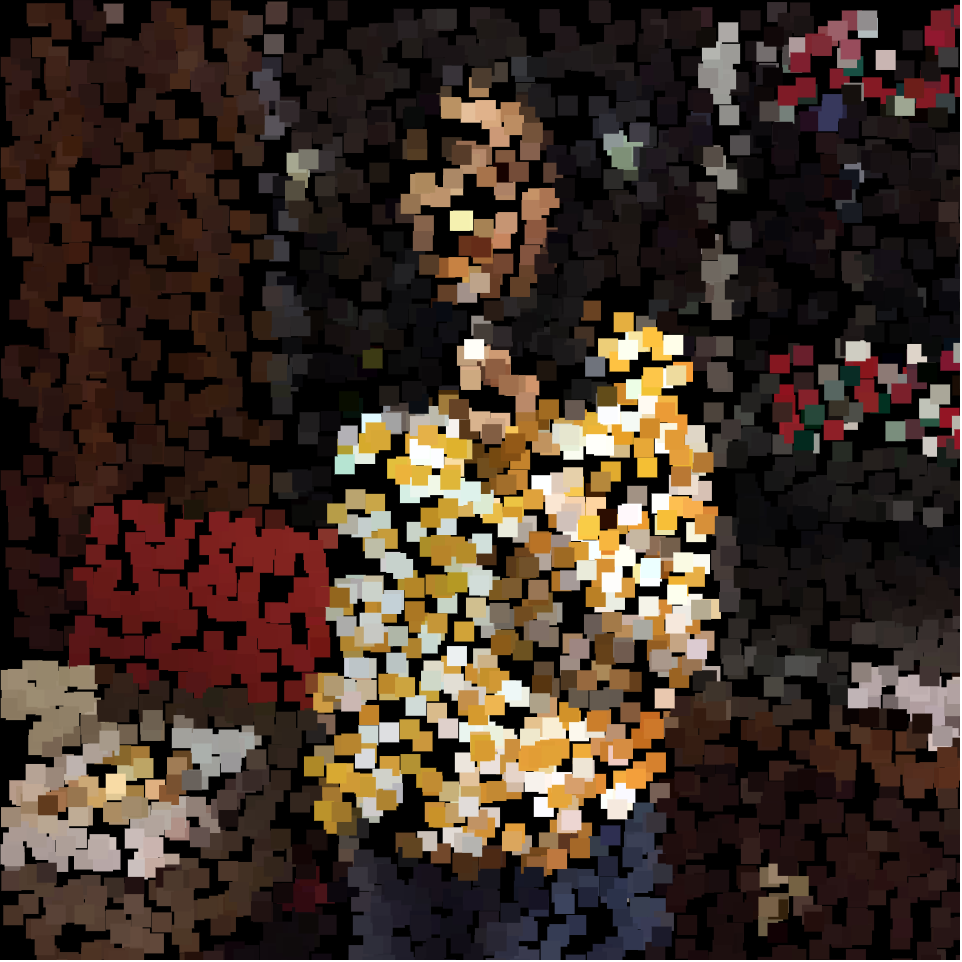
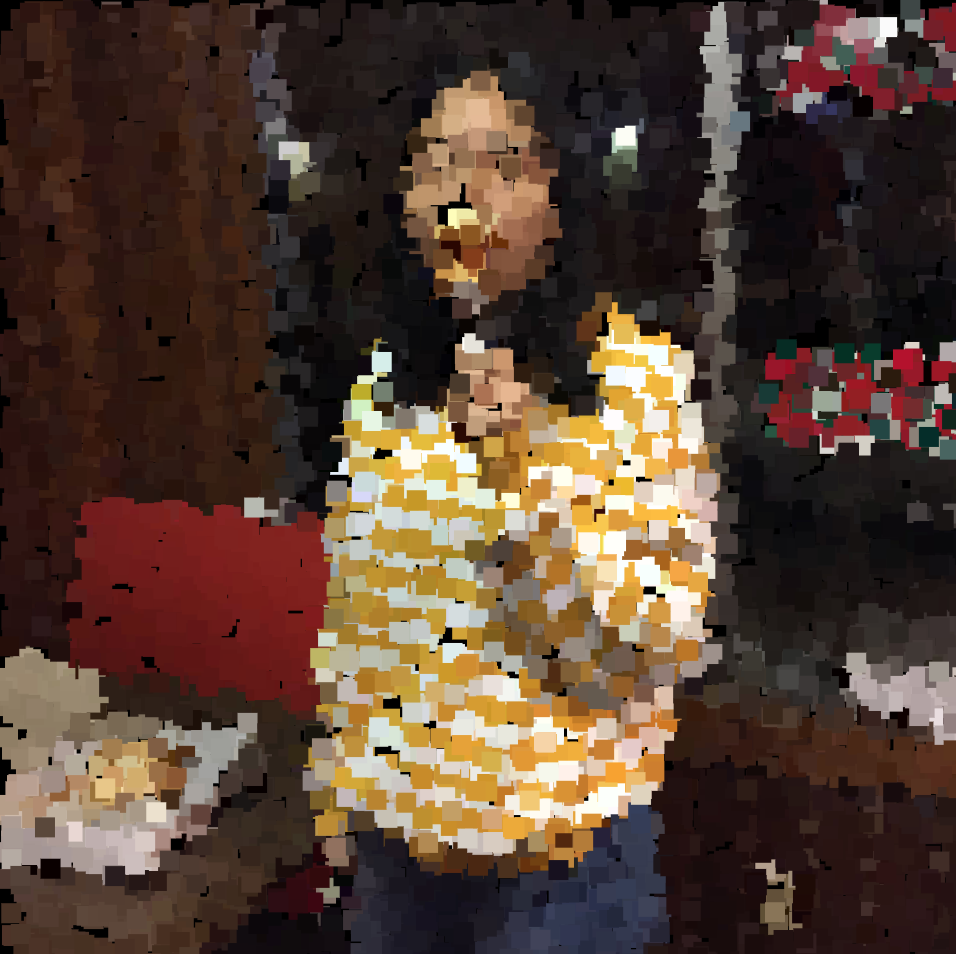
I wanted to make a portrait that emulated the updating of a radar screen. While I didn’t do it exactly, I ended up using a downward moving bar to update the portrait. At first, it was wiping the screen to black. My final has the invisible bar resolving a horizontal shift in the bars of pixels.

KadeStewart – LookingOutwards – 09

The Cat Explorer footage (Leap Motion, 2018)

Helen Reynolds highlighted an interesting project in her Looking Outwards 01. As she says, the Cat Explorer is both simple and informative. This combination makes important information accessible, which is perfect for a project, such as this, that brings niche information outside of its usual group. The Cat Explorer motivates me with its simplicity and potential for impact.

The Cat Explorer

Yiran Xuan – Project 09 – Portrait

I am using 1 of my grace days for this late submission.

This project was centered around the idea of portraying brightness by the size of the object and letting background shine through as opposed to just coloring them. This was achieved by taking the brightness value of each pixel visited (this version visits only every 15 pixels), multiplying them by a coefficient, and using as the size of the small triangles that make up the picture. The ultimate effect is surprisingly good, with just two colors and shades able to portray nuanced lighting and shadows.

sketch

var portrait;
var spacing =15; // distance between columns
var sizingcoefficient = 12; //ratio that greyscale value is converted into triangle dimension

function preload() {
    //var myImageURL = "./selfportrait.jpg";
    var myImageURL = "https://imgur.com/a/MHAIBeE"
    portrait = loadImage(myImageURL);
}

function setup() {
    createCanvas(480, 480);
    background('grey');
    portrait.loadPixels();
    frameRate(120);

   	/*
	for(var i = 0; i <width*height; i+=15){
    	var pixelx = i%width; //x position of pixel
    	var pixely = floor(i/width); //y position of pixel
    	var greyscalevalue = brightness(portrait.get(pixelx, pixely))/12;

    	
    	noStroke();
    	//fill(greyscalevalue);
   		//ellipse(pixelx, pixely, 3, 3);
   		fill('orange');
   		//ellipse(pixelx, pixely, greyscalevalue, greyscalevalue);
   		triangle(pixelx, pixely, 
   			pixelx + greyscalevalue, pixely - greyscalevalue, 
   			pixelx + greyscalevalue, pixely + greyscalevalue);

  	}
	*/
	}

var i = 0;

function draw() {
		
	var pixelx = i%width; //x position of pixel
   	var pixely = floor(i/width); //y position of pixel
   	var greyscalevalue = brightness(portrait.get(pixelx, pixely))/sizingcoefficient; //retrieving brightness of pixel and converting into "greyscale value"

   	noStroke();
   	//fill(greyscalevalue);
   	//ellipse(pixelx, pixely, 3, 3);
	fill('orange');
   	//ellipse(pixelx, pixely, greyscalevalue, greyscalevalue); 
	triangle(pixelx, pixely, 
   	pixelx + greyscalevalue, pixely - greyscalevalue, 
   	pixelx + greyscalevalue, pixely + greyscalevalue); //drawing triangle; size of triangle is determined by brightness of pixel

	i+= spacing; //incrementing pixel; draw loop is essentially a giant for-loop

	if (i == width*height){
		i = 0;
	}
}

Jenni Lee — Looking Outwards — 09

For this week’s looking outwards, I chose to analyze my classmate Elena Deng’s post about the disney movie, Frozen. She chose to analyze a video which described the process of creating life-like snow in the movie. The animators explain that they used a method where they created very small particles of snow and assign them a random volume and size. After factoring velocities as well as collision variables for each of those particles, the grain of snow is then able to move. I found this to be particularly interesting, as I am a designer who has interest in motion graphics and animation, and seeing the behind-the-scenes making of this animation was very inspiring and creatively stimulating. The methods used in this project very applicable to a blend of interests in both physical products and also animation.

Jenni Lee — Project 09 — Portrait

sketch

/* Jenni Lee
Section E
jennife5@andrew.cmu.edu
Project - 09
*/

var underlyingImage;

function preload() {
  var myImageURL = "https://i.imgur.com/VBTpoj5.jpg"; // i uploaded my own photo to http://i.imgur.com and get this link
  underlyingImage = loadImage(myImageURL);
}

function setup() {
  createCanvas(720, 480);
  background(0);
  underlyingImage.loadPixels();
  frameRate(2000); // make frame rate high to updare the image faster
}

// this function/routine is to get the pixel value of (x, y)
function getPixel(image, x, y) {
  var pix = 4 * (y * image.width + x);
  return color(image.pixels[pix], image.pixels[pix + 1], image.pixels[pix + 2]);
}

var iClickCurrent = 0,
  iCurrentEffect = 0,
  iPrevEffect = 0;

function draw() {
  if (iClickCurrent == 0) {
    drawGraduallyUsingEffects();
  } else { // display the final result at once instead of waiting for gradual update
    drawAtOnceUsingEffects();
  }
}

function drawGraduallyUsingEffects() {
  var px = random(width); // get a random x position
  var py = random(height); // get a random y position
  var ix = constrain(floor(px), 0, width - 1); // constrain it within canvas
  var iy = constrain(floor(py), 0, height - 1); // constrain it within canvas
  var theColorAtLocationXY = getPixel(underlyingImage, ix, iy);

  if (iCurrentEffect == 0) {
    fill(theColorAtLocationXY);
    text("i am jenni", ix, iy); // using text to update the image
  } else if (iCurrentEffect == 1) {
    noStroke();
    fill(theColorAtLocationXY);
    ellipse(ix, iy, 10, 10); // using circle
  } else if (iCurrentEffect == 2) {
    noStroke();
    fill(theColorAtLocationXY); 
    rect(ix, iy, 10, 10); // using rect
  }
}

function drawAtOnceUsingEffects() {
  var i = 0;
  // noprotect
  for (var iy = 0; iy < underlyingImage.height; iy += 5) {
    for (var ix = 0; ix < underlyingImage.width; ix += 5) {
      var theColorAtLocationXY = getPixel(underlyingImage, ix, iy); // get the color of the current pixel and drive an effect
      if (iCurrentEffect == 0) {
        fill(theColorAtLocationXY);
        text("i am jenni", ix, iy);
      } else if (iCurrentEffect == 1) {
        noStroke();
        fill(theColorAtLocationXY);
        ellipse(ix, iy, 10, 10);
      } else if (iCurrentEffect == 2) {
        noStroke();
        fill(theColorAtLocationXY);
        rect(ix, iy, 10, 10);
      }
    }
  }
}

function mousePressed() {
  iClickCurrent = (iClickCurrent + 1) % 2;
  if (iClickCurrent == 0) {
    while (iCurrentEffect == iPrevEffect) { // make sure the effect doesn't repeat
      iCurrentEffect = floor(random(0, 3)); // get random selection of effect
    }
    iPrevEffect = iCurrentEffect;
    loop ();
  }
  else {
    noLoop ();
  }
  background(0);
}

For this portrait project, I applied 3 effects onto a photo of myself from when I was in elementary school. The 3 effects I used were squares, ellipses, and the phrase “I am Jenni.” It was fun to choose a photo and customize the effects.

JasonZhu-Project-09-Portrait

sketch

/* Jason Zhu
Section E
jlzhu@andrew.cmu.edu
Project-10
*/

var terrainSpeed = 0.0003;
var terrainDetail = 0.0008;
var flags = [];

function setup() {
    createCanvas(480, 300);
    frameRate(50);
    for (var i = 0; i < 10; i++){
        var rx = random(width);
        flags[i] = makeflag(rx);
    }
}

function draw() {
    background(246,201,116)
    push();
    beginShape(); 
    noStroke();
    fill(104,176,247)
    vertex(0, height);
    for (var x = 0; x < width; x++) {
        var t = (x * terrainDetail) + (millis() * terrainSpeed);
        var y = map(noise(t), 0,1, 0, height);
        vertex(x, y - 50); 
    }
    vertex(width, height)
    endShape();
    pop();
    displayHorizon();
    updateAndDisplayflags();
    removeflagsThatHaveSlippedOutOfView();
    addNewflagsWithSomeRandomProbability(); 
}
function updateAndDisplayflags(){
    // Update the flag's positions, and display them.
    for (var i = 0; i < flags.length; i++){
        flags[i].move();
        flags[i].display();
    }
}

function removeflagsThatHaveSlippedOutOfView(){
    var flagsToKeep = [];
    for (var i = 0; i < flags.length; i++){
        if (flags[i].x + flags[i].breadth > 0) {
            flagsToKeep.push(flags[i]);
        }
    }
    flags = flagsToKeep; // remember the surviving flags
}

function addNewflagsWithSomeRandomProbability() {
    // With a very tiny probability, add a new flag to the end.
    var newflagLikelihood = 0.007; 
    if (random(0,1) < newflagLikelihood) {
        flags.push(makeflag(width));
    }
}

// method to update position of flag every frame
function flagMove() {
    this.x += this.speed;
}
    

// draw the flag
function flagDisplay() {
    var floorHeight = 10;
    var bHeight = this.nFloors * floorHeight;
    noStroke();
    // pole
    push();
    translate(this.x, height - 30);
    fill(30, 37, 35);
    rect(0, -bHeight * 1.03, this.breadth, bHeight);
    // flag 
    fill(12, 36, 112);
    triangle(5, -bHeight * 1.03, 40, 20-bHeight, 5, 30 - bHeight);
    pop();
}

function makeflag(birthLocationX) {
    var bldg = {x: birthLocationX,
                breadth: 6,
                speed: -.75,
                nFloors: round(random(1,10)),
                move: flagMove,
                display: flagDisplay}
    return bldg;
}


function displayHorizon(){
    noStroke();
    fill(55,222,153)
    rect (0,height-30, width, height-30); 
}

For this project, I wanted to look at recreating a scene from an old film. I created flags underwater to get the look and feel of what I was going for. It was a bit hard to get what I wanted to happen so I had to simplify quite a bit. This project was definitely a struggle for me compared to past projects.

MirandaLuong-Project-09-Portrait

sketch

/* Miranda Luong
Section E
mluong@andrew.cmu.edu
Project-09
*/

var underlyingImage;

function preload() {
    var myImageURL = "https://i.imgur.com/Lq0vGxO.jpg";
    underlyingImage = loadImage(myImageURL);
}

function setup() {
    createCanvas(480, 480);
    background(0);
    underlyingImage.loadPixels();
    frameRate(10000);
}

function draw() {
    var px = random(width);
    var py = random(height);
    var ix = constrain(floor(px), 0, width-1);
    var iy = constrain(floor(py), 0, height-1);
    var theColorAtLocationXY = underlyingImage.get(ix, iy);

    noStroke();
    fill(theColorAtLocationXY);
    rect(px, py, 10, 10);

}

This is Mimi. She is eating pizza. I thought it’d be a fun creating this build up to see a girl munching on pizza.

Original Photo

Mid-way through Rendering

Nearly finished Rendering

Yiran Xuan – Looking Outwards 09

Audrey Zheng’s Looking Outward 03 Entry about Madeline Gannon’s work, REVERB caught my attention due to my own interest into 3D printing and bringing digital objects into the physical world. I was curious about what the explanation meant by “tracking a squid’s movements through time and space”, and what it had to do with a kinect, until I watched the video. Essentially, a hand’s movements are tracked, and a virtual “squid” follows it and mirrors it across a virtual human model. A snapshot of its tentacle’s positions are recorded and the compilation of these snapshots form a discrete but connected shape. It looks beautiful for 3 reasons I believe: it is complex at first glace, it is symmetrical, and its lines are smooth. I have concerns whether all generated necklaces are structurally sound when printed, however…

Link to the work

Jisoo Geum – Looking Outwards 09


https://itunes.apple.com/us/app/seaquence/id1106270489?mt=8

Seaquence (app) by  Gabriel Dunne and Ryan Alexander (2017).

Of all the Looking Outwards written by my peers, I really liked Emily Shou’s week 4 – sound art post. I felt like the direction she took in choosing the sound art piece was very interesting since the project, Seaquence, is an iOS app that can be downloaded by everyone. I agree with Emily that the creators did a great job visualizing the forms of living organisms since they tend to look very complicated and unappealing.

I also agree with Emily that the creators made a unique choice in selecting the theme.  Sequence does have a unique vision in turning something unconventional into a digital masterpiece. The part that I admire the most about Sequence is the accessibility and interactivity. Music masking software tends to be very convoluted as if it is only usable by professionals. However, Seaquence flipped the whole idea of ‘music for experts’ and made the activity approachable.


Yingyang Zhou-LookingOutwards-9

This week looking outwards is about one post I found interesting and couldb be furthur looking into. It’s a sonic playground by Yuri Suzuki, original posted on Robert Oh’s post in looking outwards 4.

Sonic Playground continues the High Museum’s multiyear initiative to animate its outdoor space with commissions that engage visitors in participatory art experiences. It is the High’s first venture into exploring the notion of audible play—how the sounds all around us can be constructed, altered and experienced. The installation transforms the piazza into a welcoming atmosphere for socializing and recreation and serves as a stage for performances and art-making activities the High is co-organizing with local arts organizations.

孩子们在Yuri Suzuki周围玩彩色雕塑,在High's广场上修改和传递声音。

The project targeted on childeren but also the public because of the scale and apperance of it to get more attention on the soundwave that happning in our daily life, you’ll find something different just hearing more into detail by this device.

One of the most intriguing pieces will be the Parabolic dishes. These require a certain amount of exploring, finding the exact spot where you can hear the reflection of sound at its most prominent.

Working alongside the engineers the design was tweaked to make the piece acoustically sound as well as structurally safe. This required changing the sound horns to faceted horns and adding extra supports to enhance the structural sterdyness.