![[OLD FALL 2019] 15-104 • Introduction to Computing for Creative Practice](../../../../wp-content/uploads/2020/08/stop-banner.png)
// Timothy Liu
// 15-104 Section C
// tcliu@andrew.cmu.edu
// Openended-04
// initializing variables!
var x1;
var y1;
var x2;
var y2;
var x3;
var y3;
var x4;
var y4;
var x5;
var y5;
var x6;
var y6;
var x7;
var y7;
var x8;
var y8;
var x;
var y;
var sx1;
var sy1;
var sx2;
var sy2;
var angle = 0;
function setup() {
createCanvas(400, 300);
// initial coordinates for star
sx1 = -5;
sy1 = -5;
sx2 = 5;
sy2 = 5;
// initial coordinates for lower left dark blue lines
x1 = 0;
y1 = -250;
x2 = 0;
y2 = height;
// initial coordinates for upper right cyan lines
x3 = -150;
y3 = 0;
x4 = width;
y4 = 0;
// initial coordinates for upper left gold lines
x5 = 0;
y5 = height + 250;
x6 = 0;
y6 = 0;
// initial coordinates for lower right light teal lines
x7 = -150;
y7 = height;
x8 = width;
y8 = height;
}
function draw() {
// variables that make sure the mouse is constrained within the canvas
x = max(min(mouseX, 400), 0);
y = max(min(mouseY, 300), 0);
// background color
background("#010a43");
// dark blue lines in the lower left. This for loop makes the lines flare out to form a convex curve
// facing up and right; x and y (variables with mouseX and mouseY) allow the lines to ripple as the mouse moves.
for (var a = 0; a < 900; a += 8) {
stroke("#394a6d");
line(x1, y1 + a - y / 2, x2 + a - x / 2, y2);
}
// cyan lines in the upper right. This for loop makes the lines flare out to form a convex curve
// facing down and left; mouseX and mouseY allow the lines to ripple as the mouse moves.
for (var b = 0; b < 900; b += 8) {
stroke("#216583");
line(x3 + b - y / 2, y3, x4, y4 + b - x / 2);
}
// gold lines in the upper left. This for loop makes the lines flare out to form a convex curve
// facing down and right; x and y allow the lines to ripple as the mouse moves.
for (var c = 0; c < 900; c += 8) {
stroke("#f7be16");
line(x5, y5 - c - x / 2, x6 + c - y / 2, y6);
}
// light teal lines in the lower right. This for loop makes the lines flare out to form a convex curve
// facing up and left; x and y allow the lines to ripple as the mouse moves.
for (var d = 0; d < 900; d += 8) {
stroke("#00818a");
line(x7 + d + x / 2, y7, x8, y8 - d + y / 2);
}
// star that follows the mouse. The rotating star is meant to convey the dynamic nature of my piece,
// as well as imply the fact that the user can move the mouse to alter the piece.
push();
translate(mouseX, mouseY);
rotate(radians(angle));
for (var s = 0; s < 16; s += 15) {
stroke("#f7be16");
line(sx1, sy1 + s / 4, sx2, sy2 - s / 4);
}
for (var s = 0; s < 16; s += 15) {
stroke("#f7be16");
line(sx1 + s / 4, sy1, sx2 - s / 4, sy2);
}
for (var s = 0; s < 16; s += 15) {
stroke("#f7be16");
line(sx1, sy1 + s / 2, sx2, sy2 - s / 2);
}
for (var s = 0; s < 16; s += 15) {
stroke("#f7be16");
line(sx1 + s / 2, sy1, sx2 - s / 2, sy2);
}
pop();
angle = angle + 1;
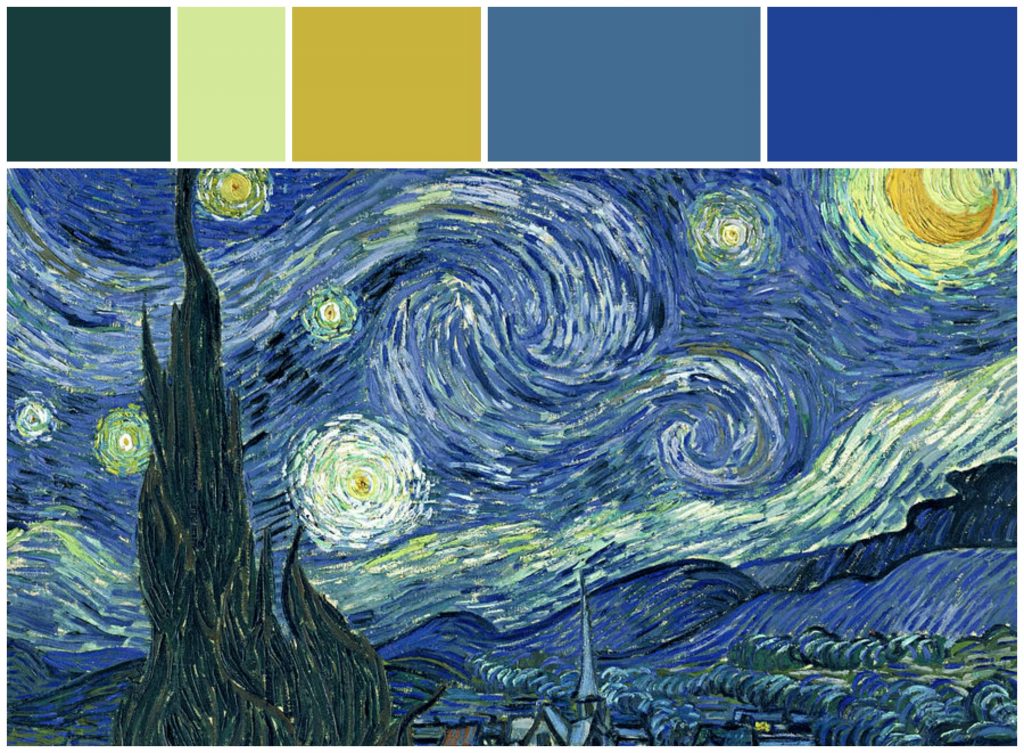
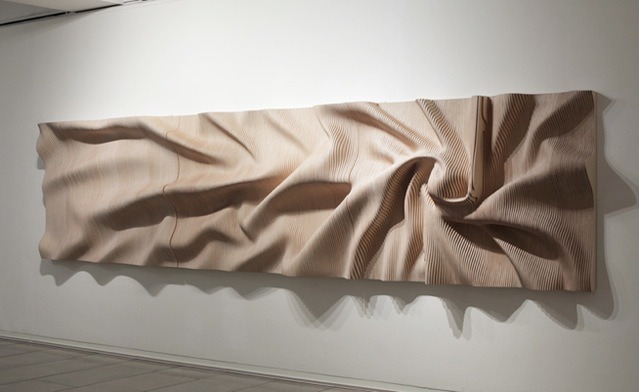
}My project this week was inspired by the color palette from Van Gogh’s “Starry Night.” I wanted my string art to feel both clean and dynamic, and I immediately knew I wanted to have multiple convex curves framing the center of my piece. I was also inspired by my Looking Outward piece from last week; I looked at a piece of wood that had a rippling effect, and I wanted to convey that sense of dynamic motion as well. In order to do that, I chose to have my strings be responsive to the mouse’s motion, and I created a spinning yellow star that follows the mouse to further imply motion.