Liz Maday LO4


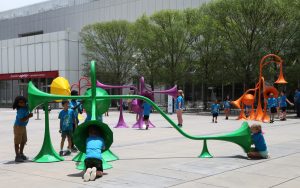
Sonic Playground (2018) is an interactive installation created by Yuri Suzuki, as part of an initiative to make the space outside the High Museum of Art in Atlanta more playful and engaging. When you speak into these horn like structures, they manipulate sound depending on your position. The sound was developed in Grasshopper using “wave tracing techniques”. The program allows the user to test different geometric shapes, and how they would affect the sound actually being produced.

This project is inspiring to me because I appreciate the way that it suggests that adults are capable of play and wonder in the same way that children are. Although this installation is reminiscent of the child like structure of a playground, it is intriguing to think about all the complicated programming that went into its precise design.

Sonic Playground, by Yuri Suzuki, at the High Museum of Art in Atlanta

Connor McGaffin – Project 04 – String Art

sketch

/*
Connor McGaffin
Section C
cmcgaffi@andrew.cmu.edu
Project-04
*/

function setup() {
    createCanvas(300,400);
    strokeWeight(2);
    }
function draw(){
    background (220,45,0);
    //sun
    fill(250);
    ellipse(250,250,50,50);
    //farthest web away(in background)
    for (var e = 0; e < width; e += 8) {
        stroke(150,150,150);
        line(-5, e,e*1.5, 0); 
    }
    //draw architectural structure
    for (var a = 0; a < width; a += 5) {
        stroke(0);
        line(0, 0, a, 400);
    }
    for (var b = 0; b < width; b += 9) {
        stroke(150,0,0);
        line(300, 400, b * 1.5, 0);
    //draw top web
    }
    for (var c = 0; c < width; c += 15) {
        stroke(250);
        line(250,75, c * 1.2, 1);
        //draw web moving off screen
        //hinting where spiderman is at
        line(250,75,350,height);
    }
    //draw closest web that goes off screen
    for (var d = 0; d < width; d += 20) {
        stroke(250);
        line(0,d*1.5, d*1.2, height);
    }


}

This project was challenging yet rewarding to work through. I wanted to create something abstract, yet still derivative of something else. After playing around with the different line generations I could create, I noticed the spiderweb-like quality to the pattern. Playing off of this, I used functions described in class and in the brief to create an abstracted scene inspired by Spiderman, with lines that suggest him to have just swung off screen.

Hannah Cai—Looking Outwards—04

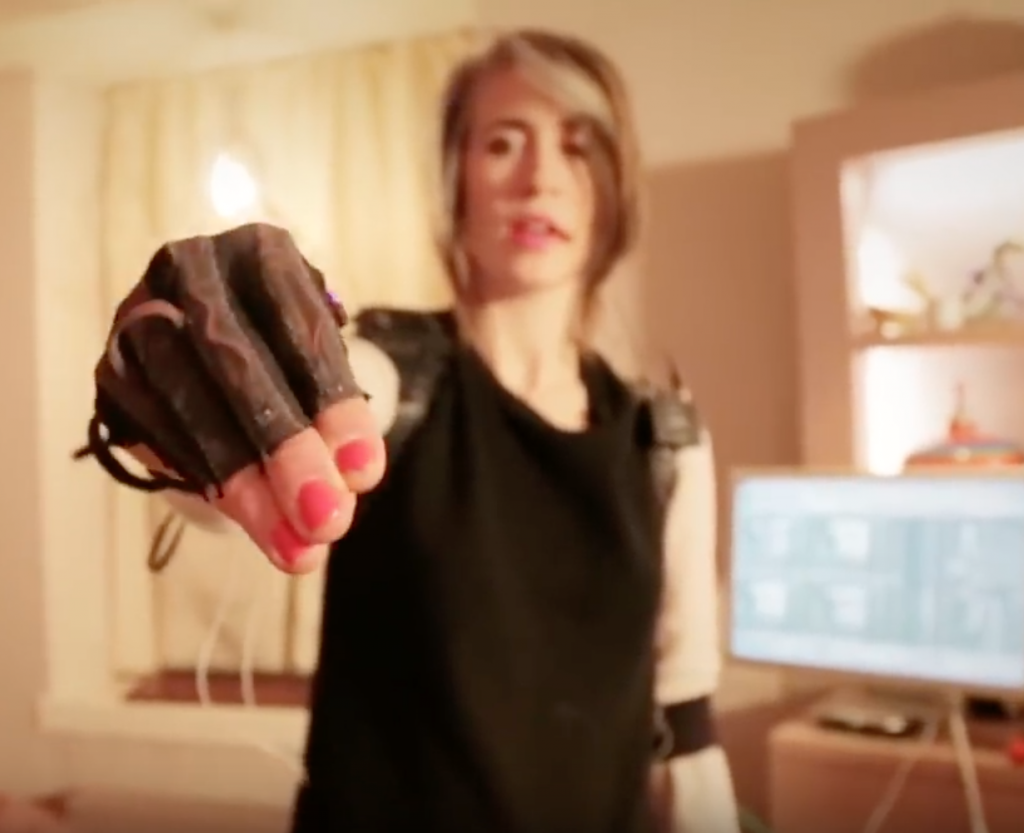
Imogen Heap demonstrating her mi.mu gloves

Mi.mu

While looking for stuff on youtube, I came across this video. It caught my eye because I’m a fan of Imogen Heap, and I have to say that after watching this, I’ve become an even bigger fan of her. Using these “mi.mu” gloves developed by Imogen Heap, a person can basically generate music with a flick of the wrist. I’d love to see a dancer wearing them, composing music from choreography, rather than choreographing to music.

The gloves connect to her computer, and change the sound produced based on factors such as position in space, pressure, hand position, etc. Altering the filter and other details basically makes for real-time generated sound. The computational part is deciding how all the variables would influence the sound that’s generated; how pitch, range, and other factors are mapped to 3d space. Since Imogen Heap usually works a lot with free-flowing, unstructured electronic music (check out her song “you know where to find me”), her characteristic style is present in her use of these gloves, and the two really mesh well and augment each other. I know that a few other artists have used these gloves for performances as well (including Ariana Grande), but I doubt that their music would really benefit as much from these gloves as Imogen’s does, due to stylistic differences. All in all, I’m really impressed with how Imogen Heap created what’s basically an amazing instrument of her own, and how she’s using it to enhance and showcase her already distinctive approach to music.

Jisoo Geum – Looking Outwards 04 – Sound Art

Mileece “Nightfall” 2003

Mileece Abson is a sonic artist and an environmental designer who creates sound art using plants. Mileece generates original sound by connecting electrodes to plants that conduce bioelectric emissions. Bioelectric emissions are currents that come from different plants. The electrodes that are attached to leaves then conduct currents and send the information to an amplifier. The amplifier than transfers the currents into codes and transmit the codes into a software that animates the sound.

Her music tends to be extremely subtle and abstract, capturing the movement and growth of nature. I liked the organic and peaceful energy that her sound creates; it felt like I was brought to a different space. Miller’s music style and vision were also very inspiring because of her vision behind the work. As an ambassador of environments and renewable energy, Mileece mirrors her passion by creating sound art that facilitates connections between people and nature.

Sonic Playground

Yuri Suzuki is a sound artist and designer who has created this public art installation comprised of giant playground “talk tubes” in Atlanta, Georgia.

Sculptural playground talk tubes

Immediately, my interest was peaked because of the architectural implications of these forms. Not only have they taken on a truly human scale, but they have transformed this plaza by generating a field of interactive and communicative pieces.

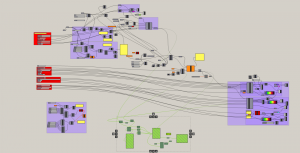
As I began to read about this project, I became even more excited as these forms were driven by software that analyzed how best sound waves traveled through these horns and pipes. The software they used is a 3D modeling software, Rhinoceros, and a parametric software plugin, Grasshopper:

Screenshot of Grasshopper Script, a Rhinoceros software plug-in

In collaboration with the Yuri Suzuki Design Studio, Luca Dellatorre created a plugin for this Grasshopper script that allows a sound source to be captured and sent in a specific direction which helped to optimize the geometries for the pipers, horn, and acoustic mirrors which allow the sound to reflect in different directions. In this way, the horns can capture as much sound as possible and then reflect and spread the noise level as much as possible to the receiver. While Grasshopper is not an acoustic software, due to the wave behavior of sound, it can be simulated and analyzed in similar ways to other physical elements.

For more information on the Yuri Suzuki Design Studio go to: http://yurisuzuki.com/design-studio

Project 4 rrandell

sketch

/* Rani Randell
rrandell@andrew.cmu.edu
Project 4 
Section A */

function setup() {
    createCanvas(400, 300);
    background(210, 40, 230);
}

function draw() {

	for(var i = -40; i < 600; i += 20){
		strokeWeight(4);
		stroke(200, 50, 180);
		line(i, 150, 150, i);

	}
	for(var x = 0; x < 300; x += 15){
		strokeWeight(2);
		stroke(180, 20, 170);
		line(x, 200, 100, x);
	}
	for(var y = 0; y < 400; y += 10){
		strokeWeight(2);
		stroke(170, 70, 190);
		line(y, 0, 300, y);
	}
	for(var r = 60; r < 200; r += 5){
		strokeWeight(.5);
		stroke(210, 30, 150);
		line(r + 6, 0, 400, r);
	}
	for(var q = 80; q < 300; q += 7){
		strokeWeight(.1);
		stroke(255, 0, 100);
		line(q, 300, 5, q)
	}
	for(var e = 30; e < 600; e += 10){
		strokeWeight(1)
		stroke(250, 30, 200);
		line(200, e, e, 100)
	}

}

For my project I wanted to see how shades of pink interacted with each other and how the curves can frame parts of the canvas.

Tanvi Harkare – Project 04 – String Art

tanviharkare_sketch

/*Tanvi Harkare
Section B
tharkare@andrew.cmu.edu
Project-04-String Art */

var R; //variables for random color for line
var G;
var B; 

var x1 = 0; //starting points for location of lines
var x2 = 0;
var y1 = 0; 
var y2 = 100;

var x3 = 25; //starting position for second set of lines
var x4 = 25;
var y3 = 25;
var y4 = 150;

var x5 = 50; //starting position for third set of lines
var x6 = 50;
var y5 = 50;
var y6 = 200;

var x7 = 75; //starting position for fourth set of lines
var x8 = 75;
var y7 = 75;
var y8 = 250;

var x1stepSize = 15; //increment values for each point
var x2stepSize = 5;
var y1stepSize = 0;
var y2stepSize = 10;

var x3stepSize = 20; //increment values for second set of lines
var x4stepSize = 10;
var y3stepSize = 0;
var y4stepSize = 10;

var x5stepSize = 25; //increment value for third set of lines
var x6stepSize = 15;
var y5stepSize = 0;
var y6stepSize = 10;

var x7stepSize = 20; //increment value for fourth set of lines
var x8stepSize = 10;
var y7stepSize = 0;
var y8stepSize = 10;

function setup() {  
    createCanvas(400, 300);
    background(0);
}

function draw() {
    //curve starting from 0, 0
    for(var i = 0; i < 50; i++){
        curveChange = random(.35, 1);
        changeColor(); 
        stroke(R, G, B);
        line(x1, y1, x2, y2);
        x1 += x1stepSize;
        x2 += x2stepSize;
        y2 -= y2stepSize;
        y2stepSize -= curveChange;       
    }

    //curve starting from 25, 25
    for(var i = 0; i < 50; i++){
        curveChange = random(.35, 1);
        changeColor(); 
        stroke(R, G, B);
        line(x3, y3, x4, y4);
        x3 += x3stepSize;
        x4 += x4stepSize;
        y4 -= y4stepSize;
        y4stepSize -= curveChange;       
    }

    //curve starting from 50, 50
    for(var i = 0; i < 50; i++){
        curveChange = random(.35, 1);
        changeColor(); 
        stroke(R, G, B);
        line(x5, y5, x6, y6);
        x5 += x5stepSize;
        x6 += x6stepSize;
        y6 -= y6stepSize;
        y6stepSize -= curveChange;       
    }

    //curve starting from 75, 75
    for(var i = 0; i < 50; i++){
        curveChange = random(.35, 1);
        changeColor(); 
        stroke(R, G, B);
        line(x7, y7, x8, y8);
        x7 += x7stepSize;
        x8 += x8stepSize;
        y8 -= y8stepSize;
        y8stepSize -= curveChange;       
    } 
}

function changeColor(){
    /* assigns different color values for every
    line that is drawn in the draw() function */ 
    R = random(0, 255);
    G = random(0, 255);
    B = random(0, 255);
}

I had a lot of fun with this project, especially in creating different ways to show the curves made through the string art. In my sketch, the color of each line is different and changes each time you run the code; I did this by creating my own function. Additionally, the curvature of the string art changes slightly to create a different effect ever time.
Katherine Hua – Looking Outwards-04

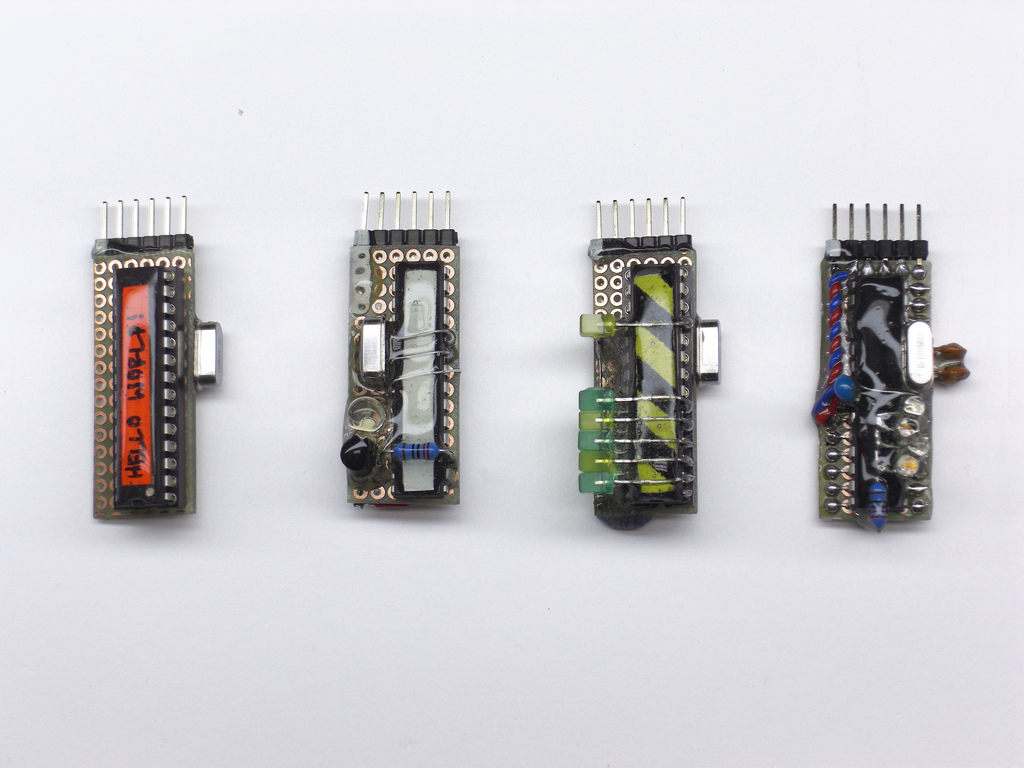
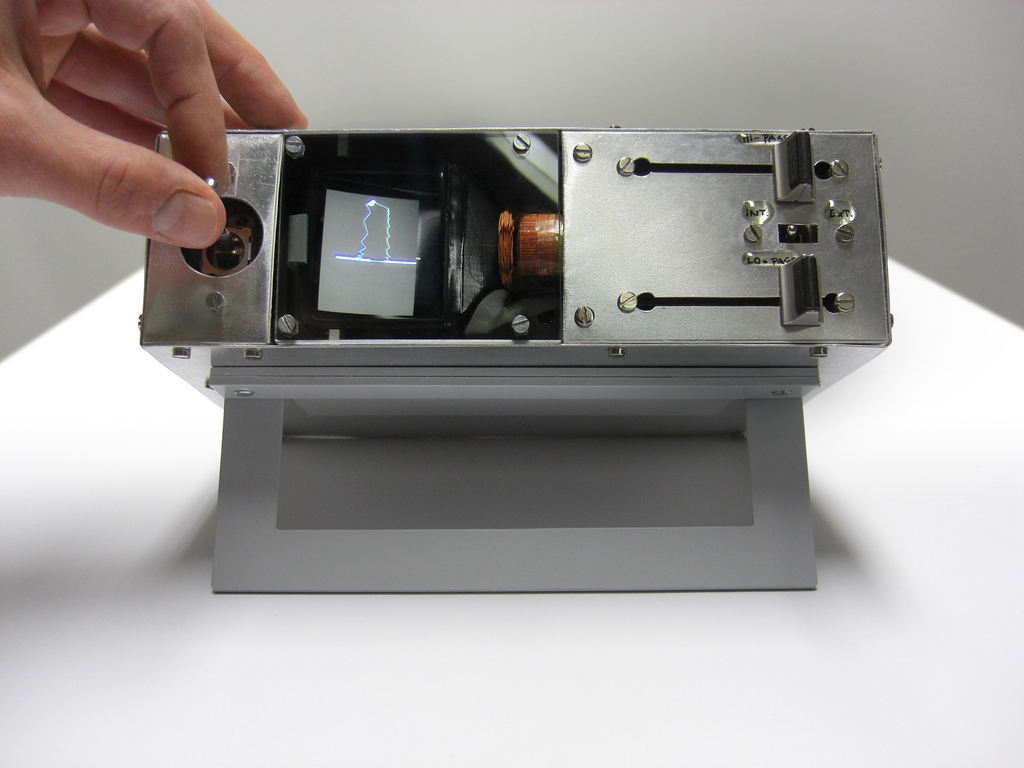
Niklas Roy created a generative sound synthesizer in 2010 that he named “Vektron Modular” that acts as a pocket sound performer.  It is a playback machine in which compositions are stored on microcontroller modules. The compositions can then be played. The modules in this are programmed so that the device is able to produce sound through algorithms stored within the modules. This sound synthesizer device interface was inspired by the PlayStation controllers.

Sound modules with algorithms stored within them

Through this algorithmic synthesizer, Niklas Roy is able to explore the binary structures within music and compare different rhythmic patterns and number systems for counting the beat. The user of the synthesizer can alter the parameters of the algorithm producing the sound by moving the joystick around. I think this project of his really peaked my interest because of how there is a visual experience that reflect the movements of the sound through computational algorithms.

Using the joystick to navigate through the computational soundscapes

“Vektron Modular” by Niklas Roy, 2010

Joanne Lee – Project 04

Joanne Lee – Project 04

// Joanne Lee
// Section C
// joannele@andrew.cmu.edu
// Project-04

function setup() {
  createCanvas(400,300);
  background (255);
}

function draw() {

  var leftX1 = 0;
  var leftX2 = 0;
  var leftY = height/40
  var rightX1 = 400;
  var rightX2 = 400;
  var rightY = height/40;

  // step sizes
  var vertStep = height / 40;
  var horizStep1 = width / 15;
  var horizStep2 = height / 150;
  var i = 0;

  strokeWeight(0.1);

  //bottom left curve loop
  for (i = 0; i < 40; i ++) {
    stroke(0,80,115,10);
    line(leftX1, 300, leftX2, leftY);
    // x-values move in opposite directions
    leftX1 += horizStep1;
    leftX2 -= horizStep2;
    leftY += vertStep; // increase y2 value
  }

  // bottom right curve loop
  for (i = 0; i < 40; i ++) {
    stroke(38,128,167,15);
    line(rightX1, 300, rightX2, rightY);
    // x-values move in opposite directions
    rightX1 -= horizStep1;
    rightX2 += horizStep2;
    rightY += vertStep; // increase y2 value
  }

  // code reset
  leftX1 = 0;
  leftX2 = 0;
  leftY = 300 - vertStep;

  // top left curve loop
  for (i = 0; i < 40; i ++) {
    stroke(38,128,167,15);
    line(leftX1, 0, leftX2, leftY);
    // x-values move in opposite directions
    leftX1 += horizStep1;
    leftX2 -= horizStep2;
    leftY -= vertStep; // decrease y2 value
  }

  // code reset
  rightX1 = 400;
  rightX2 = 400;
  rightY = 300 - vertStep;

  // top right curve loop
  for (i = 0; i < 40; i ++) {
    stroke(130,175,195,40);
    line(rightX1, 0, rightX2, rightY); // decrease rightY value
    // x-values move in opposite directions
    rightX1 -= horizStep1;
    rightX2 += horizStep2;
    rightY -= vertStep; // decrease y2 value
  }
}

The most difficult part of this project was determine what kind of shape I wanted to make. However, ultimately I decided that I wanted to create something that has a bit of depth as well as looks like something that is opening up. I am happy with the results and hope to be able to create more complex results in the future.

Nina Yoo- Project 04- String Art

sketch

/* Nina Yoo
Section E
nyoo@andrew.cmu.edu
Project-04*/

var change = 5 // changing the lines position from one another (increments)

function setup() {
    createCanvas(400, 300);
    background(0);
    
    
}

function draw() {
	
	
	for(var r=100; r < height; r+= change){ // starting at x position 100 and spreading height --> change is space between lines
		stroke(150,11,200);
		strokeWeight(.5);
		line(r, 0, width, r*.5);
		} // line goes along width, divides change by half

	//right side pattern reaching to bottom of canvas at 300	starting at y coordinate 100 from right side 

	for(var l=100; l < width; l+= change){
		stroke(90,112,6);
		strokeWeight(.5);
		line(l, 300, width, l *.3);
	}
	//overlaying previous to make curved design change

	for(var g=50; g < height; g+= change){
		stroke(75,154,22);
		strokeWeight(1);
		line(g, height,500, g);
	}
	//left side bottom --> turning at same point the top patter starts
	for(var h= 100; h<height; h+= change){ //100 is the starting value of change
		stroke(111,23,200);
		strokeWeight(.5);
		line(h, height, 0 ,h);
	}

	//overlaying left side bottom shape

	for(var j= 0; j<height; j += change){ //starts at 0 --> limit is height 
		stroke(68,112,115);
		strokeWeight(.5);
		line(j, width, 0, j);
		} 

	for(var m = 0; m < width; m+= change){
		stroke(100,78,150)
		strokeWeight(.5);
		line(m, 0, height,m)

	}
}


This project was fun to experiment with the different line patterns and textures you can create. For example, by overlapping sets of line you can create interesting shapes that look like after images and play with your eyes, which is what I experimented with on the green part of the project. It was also fun to see how shadows worked on the lines depending on the spacing set.