Final Project: Video Effects with a Pseudo Half Tone

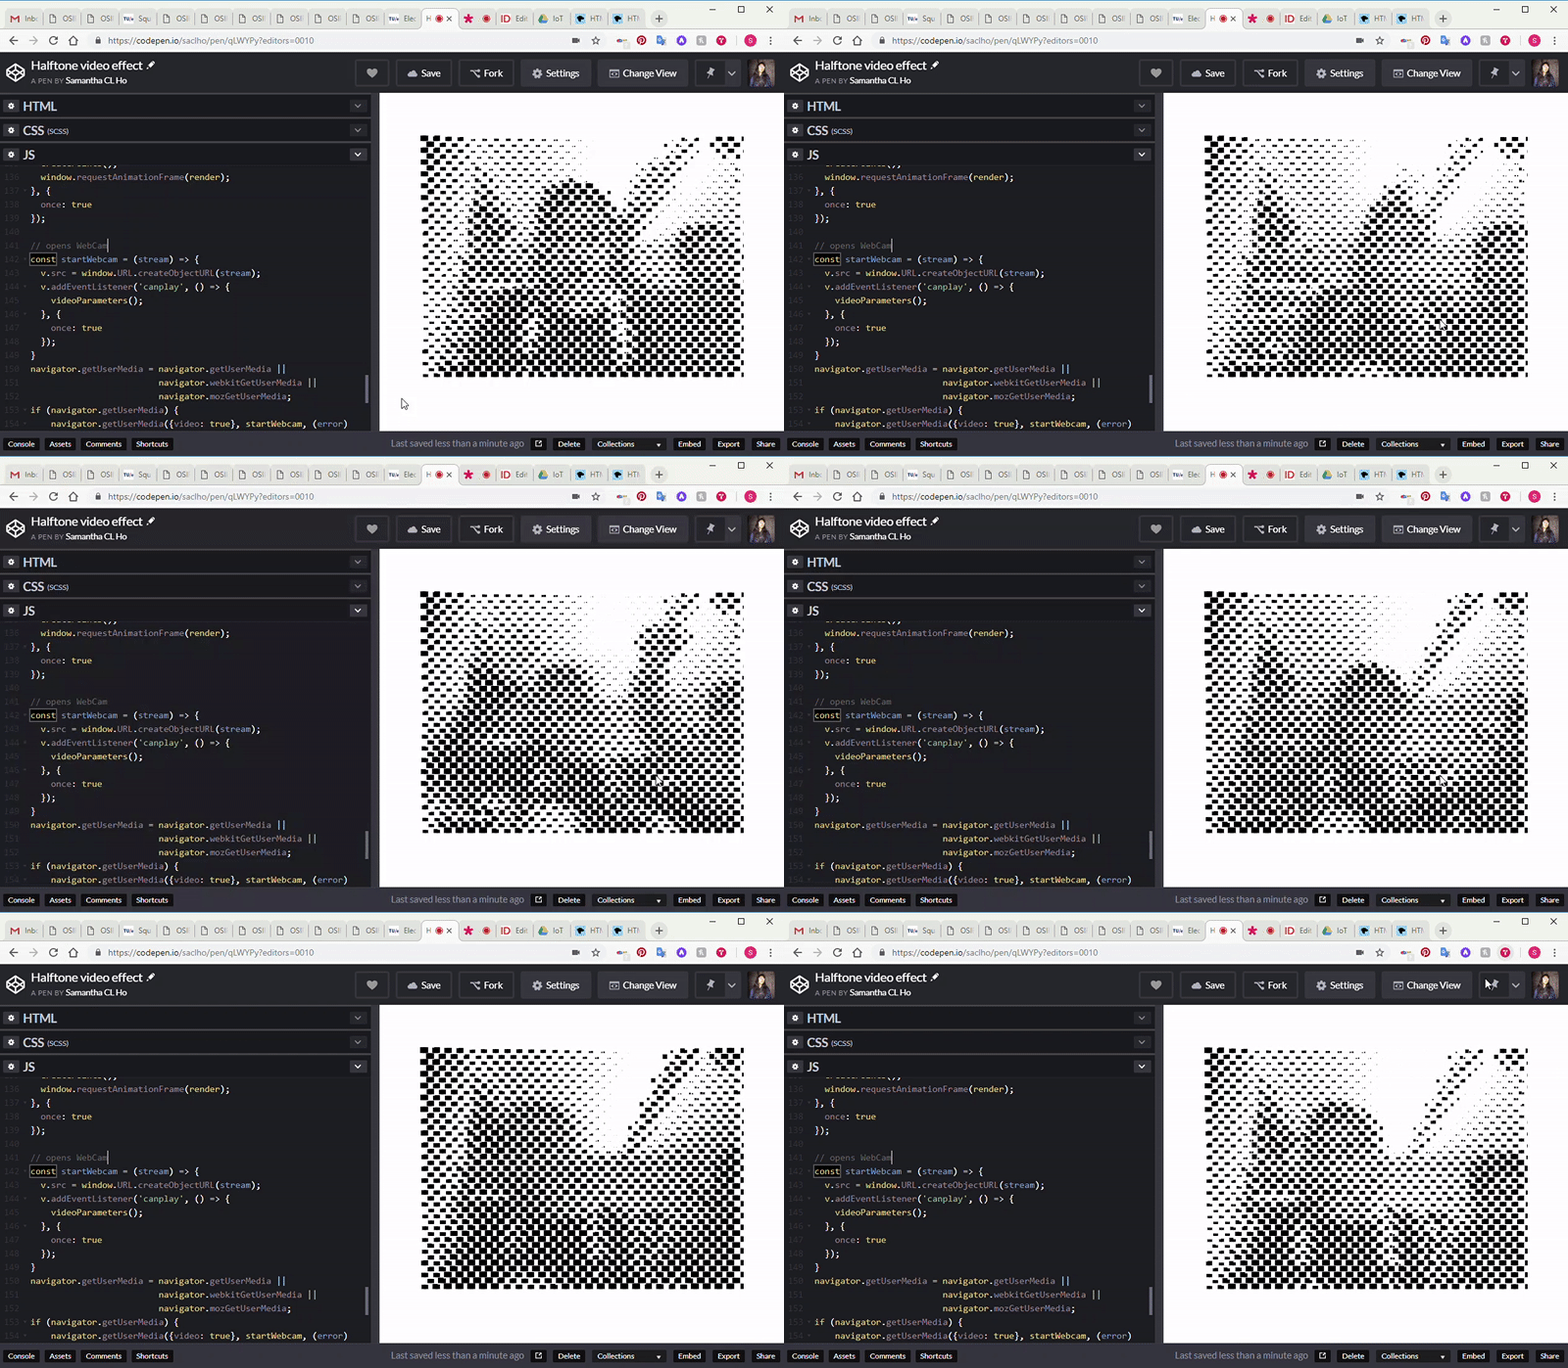
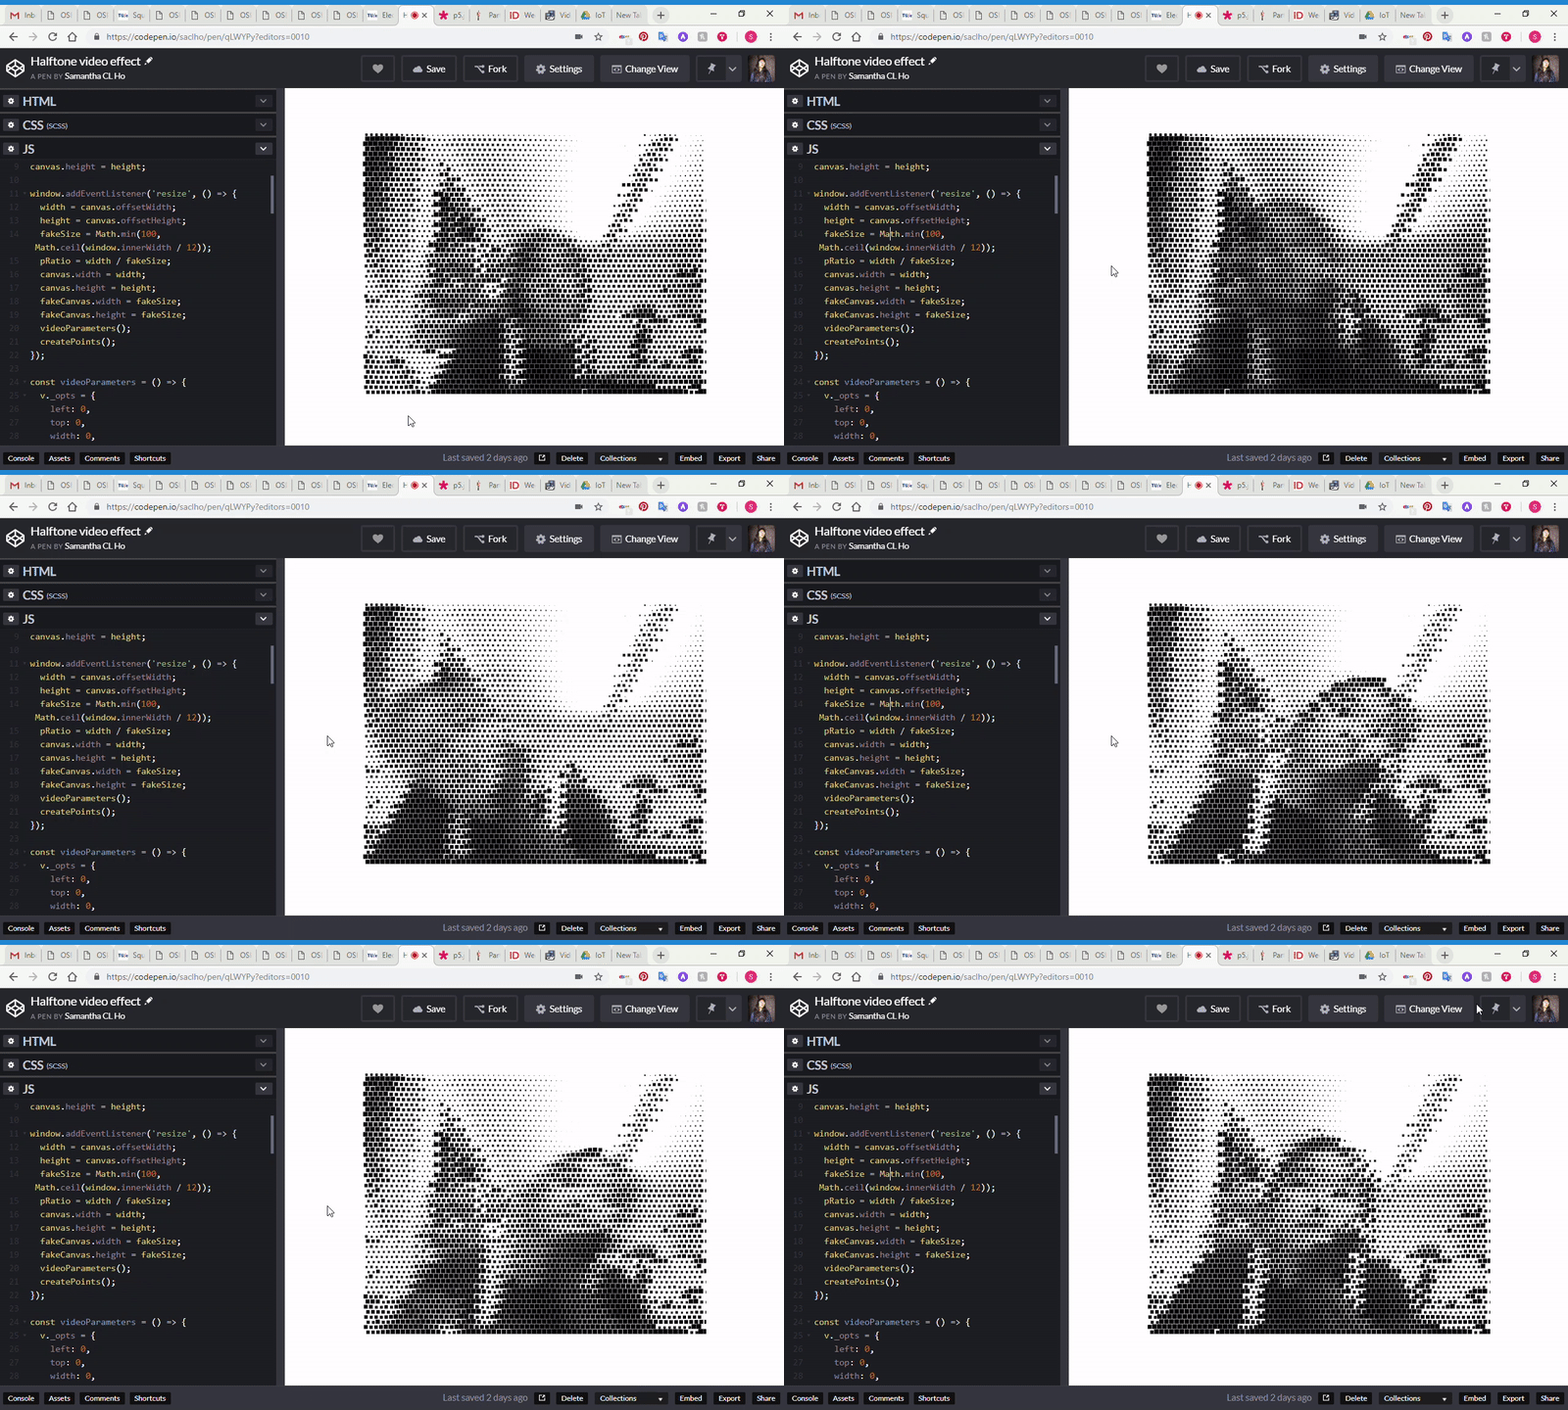
I wanted to do something having to do with video effects and I eventually settled on this version. Ok for starters, I came across several challenges–> the first of which was, how am I going to embed this into my website? With some aggressive internet scouting, I dove deeper into javascript and jQuery learned about new functions like getContext() and offsetWidth()–> These were straight JS functions that I learned I could integrate nicely with html and css. I also edited in codepen so I could play around with html, css, and js at the same time.

Also with some experimenting I used const instead of var because I discovered that when I used var, the blocks became much too cumbersome.

Halftone large, no restrictions
halftone, with restrictions

This in addition to some other changes, I was able to create a much clearer video image.

The whole project can be found here on codePen.

Project 12: Final Project

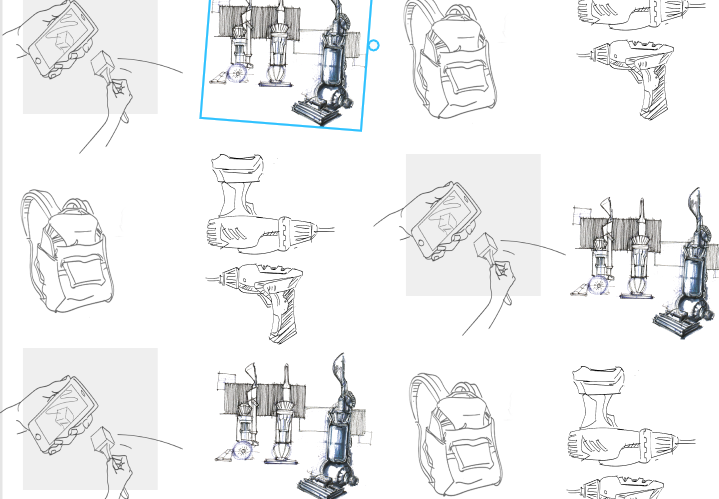
This summer, I got sucked into a web development hole and found a couple examples of item parallaxing that i found extremely exciting. I thought i would take this opportunity to completely craft it in JS and create a paper cutout effect. This is intended to just be a page where the user will scroll around and the image changes perspective. I want to do something similar where it seems these sketches are on different planes as the user interacts with the webpage. Essentially that means moving each type of sketch at different rates. Depending on how this translates to code, I’m going to try to recreate these sketches and apply effects on them so they look like cutouts of paper.

example of images on the canvas

An additional goal would be to try to get it to react to mouseX and mouseY to control the parallax effect.

Looking outwards 12: Parallaxing

I’ve always been interested in Javascript features on websites so I’m going to try to create a parallax effect type of papercut artwork.

I bring up this example because parallaxing creates an illusion of depth that I think very much enhances the digital experience. (click 0.25x to get the full effect)

As seen here, the artwork is directly interactive with the user’s mouse. I like this because it is a subtle interaction that changes the feeling of the entire webpage.

See the Pen Papercut effect – mouse parallax by Julien Barreira (@JulienBarreira) on CodePen.

Both of these examples were developed with a mixture of html,css, and js. I’d love to see if I can compute this in pure Javascript.

Looking Outwards 11: Hans Zimmer and his music technology

Hans Zimmer is well known for his epic movie scores, but little do people know about the computational power behind his music.

Though Zimmer is more associated with his orchestral scores now, his early film work was largely composed solo, on the synthesizer and through the use of samples that Zimmer took himself. But as his career expanded, so did the scope of his music, and it’s that scope that’s made him so enduring in the musical cultural consciousness. Zimmer is a constant innovator, and his embrace of technology means he’s able to adapt without compromising for the sake of whatever is trendy at the moment. More recently, Zimmer helped develop an app showcasing the score for Inception that took into account the user’s whereabouts and movements, and even launched a viral event to help populate the 100,000 voices he wanted for the “rise up” chant that forms the base of much of The Dark Knight Rises’ score.

Hans composing

So much of his music nowadays are composed and performed with custom built and programmed synthesizers that create the iconic sound that is so often associated with him.

My grand musical education is two weeks of piano lessons. So I’m not a good player, but I’m a good programmer. I’ve always felt that the computer was my instrument.

Project 10: Pat

pat


var terrainSpeed = 0.0005;
var terrainDetail = 0.002;
var terrainDetail1 = 0.00125;
var terrainDetail2 = 0.001;
var terrainDetail3 = 0.0005;
var yaxis = 1;
var c;
var c1;
var c2;
var xStart = 0, pat, patY;
var swimmer = 'https://vignette.wikia.nocookie.net/spongebob-polska/images/d/d5/Patryk.gif/revision/latest?cb=20180830203043&path-prefix=pl';

function preload(){
    pat = loadImage(swimmer);
}

function setup() {
    createCanvas(480, 480);
    frameRate(10);
    c2 = color(179, 77, 37);
    c1 = color(200, 200, 200);
    c = color(247, 222, 85);
 patY = height/2;
		

}


function waveback() {
	beginShape();
	stroke(250, 250, 255);
    for (var x = 0; x < width; x++) {
        var t = (x * terrainDetail) + (millis() * terrainSpeed);
        var y = map(noise(t), 0, 5, 0, height / 4);
        line(x, y + (height / 10), x, height); 
    }
    endShape();
}

function wavemidback() {
	beginShape();
	stroke(224, 224, 224);
    for (var x = 0; x < width; x++) {
        var t = (x * terrainDetail1) + (millis() * terrainSpeed);
        var y = map(noise(t), 0, 4, 0, height / 2);
        line(x, y + 15 + (height / 10), x, height); 
    }
    endShape();
}

function wavemidfront() {
	beginShape();
	stroke(192, 192, 192);
    for (var x = 0; x < width; x++) {
        var t = (x * terrainDetail2) + (millis() * terrainSpeed);
        var y = map(noise(t), 0, 3.5, 0, height);
        line(x, y + 25 + (height / 10), x, height); 
    }
    endShape();
}

function wavefront() {
	beginShape();
	stroke(160, 160, 160);
    for (var x = 0; x < width; x++) {
        var t = (x * terrainDetail3) + (millis() * terrainSpeed);
        var y = map(noise(t), 0, 3, 0, height);
        line(x, y + 50 + (height / 1.9), x, height); 
    }
    endShape();
	
	imageMode(CENTER);
    image(pat, width/1.5, (15*noise((width/5+xStart)))+height/2);
	xStart+=10;

}

 
function draw() {
    background("white");
    setGradient(0, 0, width, height / 3, c1, c2, yaxis);
    setGradient(0, height / 3, width, 2 * (height / 3), c2, c, yaxis);

    fill(247, 222, 125);
    //ellipse(width / 2, 25 + (height / 2), 50, 50);

    push();
    waveback();
    wavemidback();
    wavemidfront();
    wavefront();
    noFill();
    rect(0, 0, width, height);
    pop();
}


function setGradient(x, y, w, h, c1, c2, axis) {
    noFill();
    if (axis == yaxis) {  // Top to bottom gradient
	    for (var i = y; i <= y+h; i++) {
		    var inter = map(i, y, y+h, 0, 1);
		    var c = lerpColor(c1, c2, inter);
		    stroke(c);
		    line(x, i, x + w, i);
		}
	}

}


I came about this thinking that I wanted to do something just very very weird. I found this gif on giphy, but could not effectively call it in my code, I ended up resolving the issue by just moving the static image
Looking Outwards 10: Neri Oxman

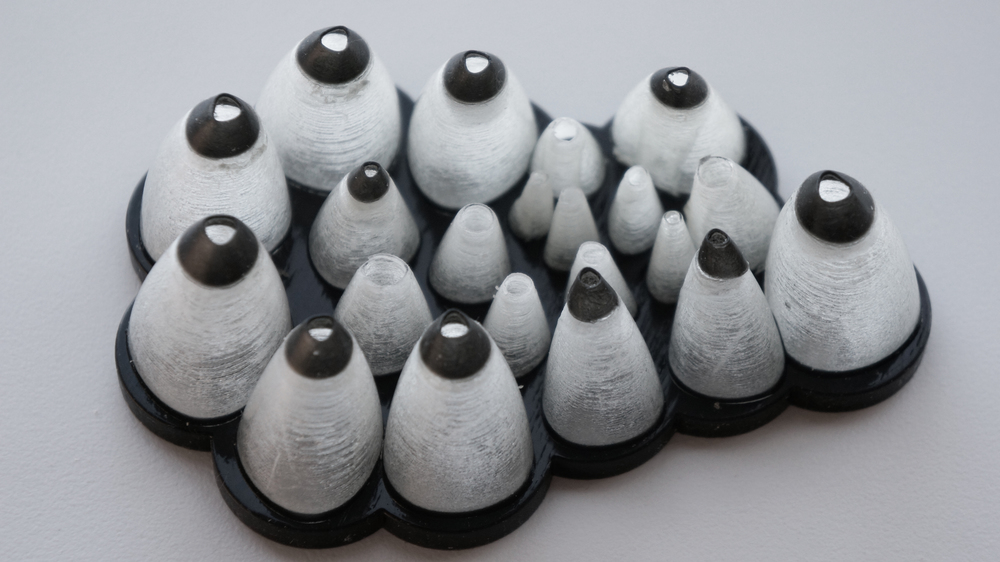
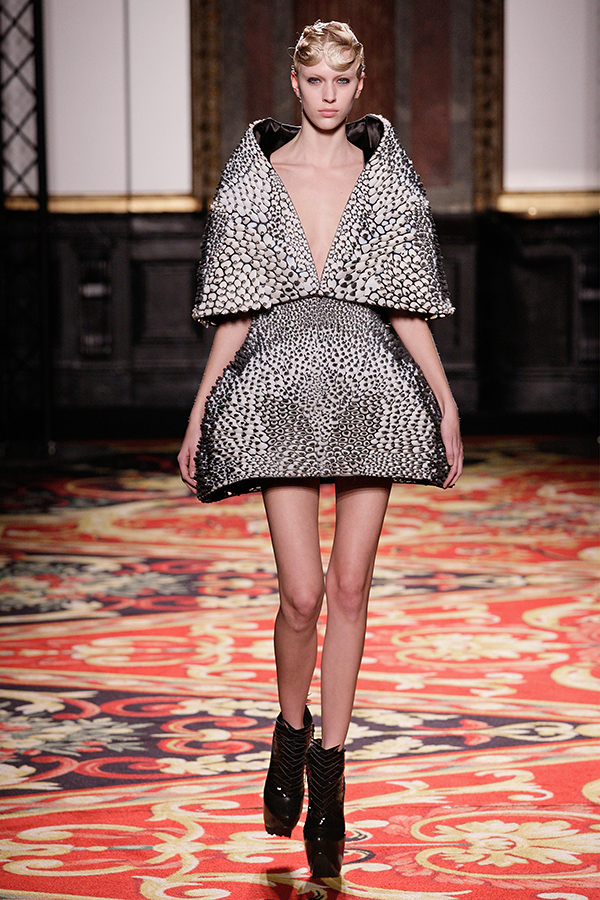
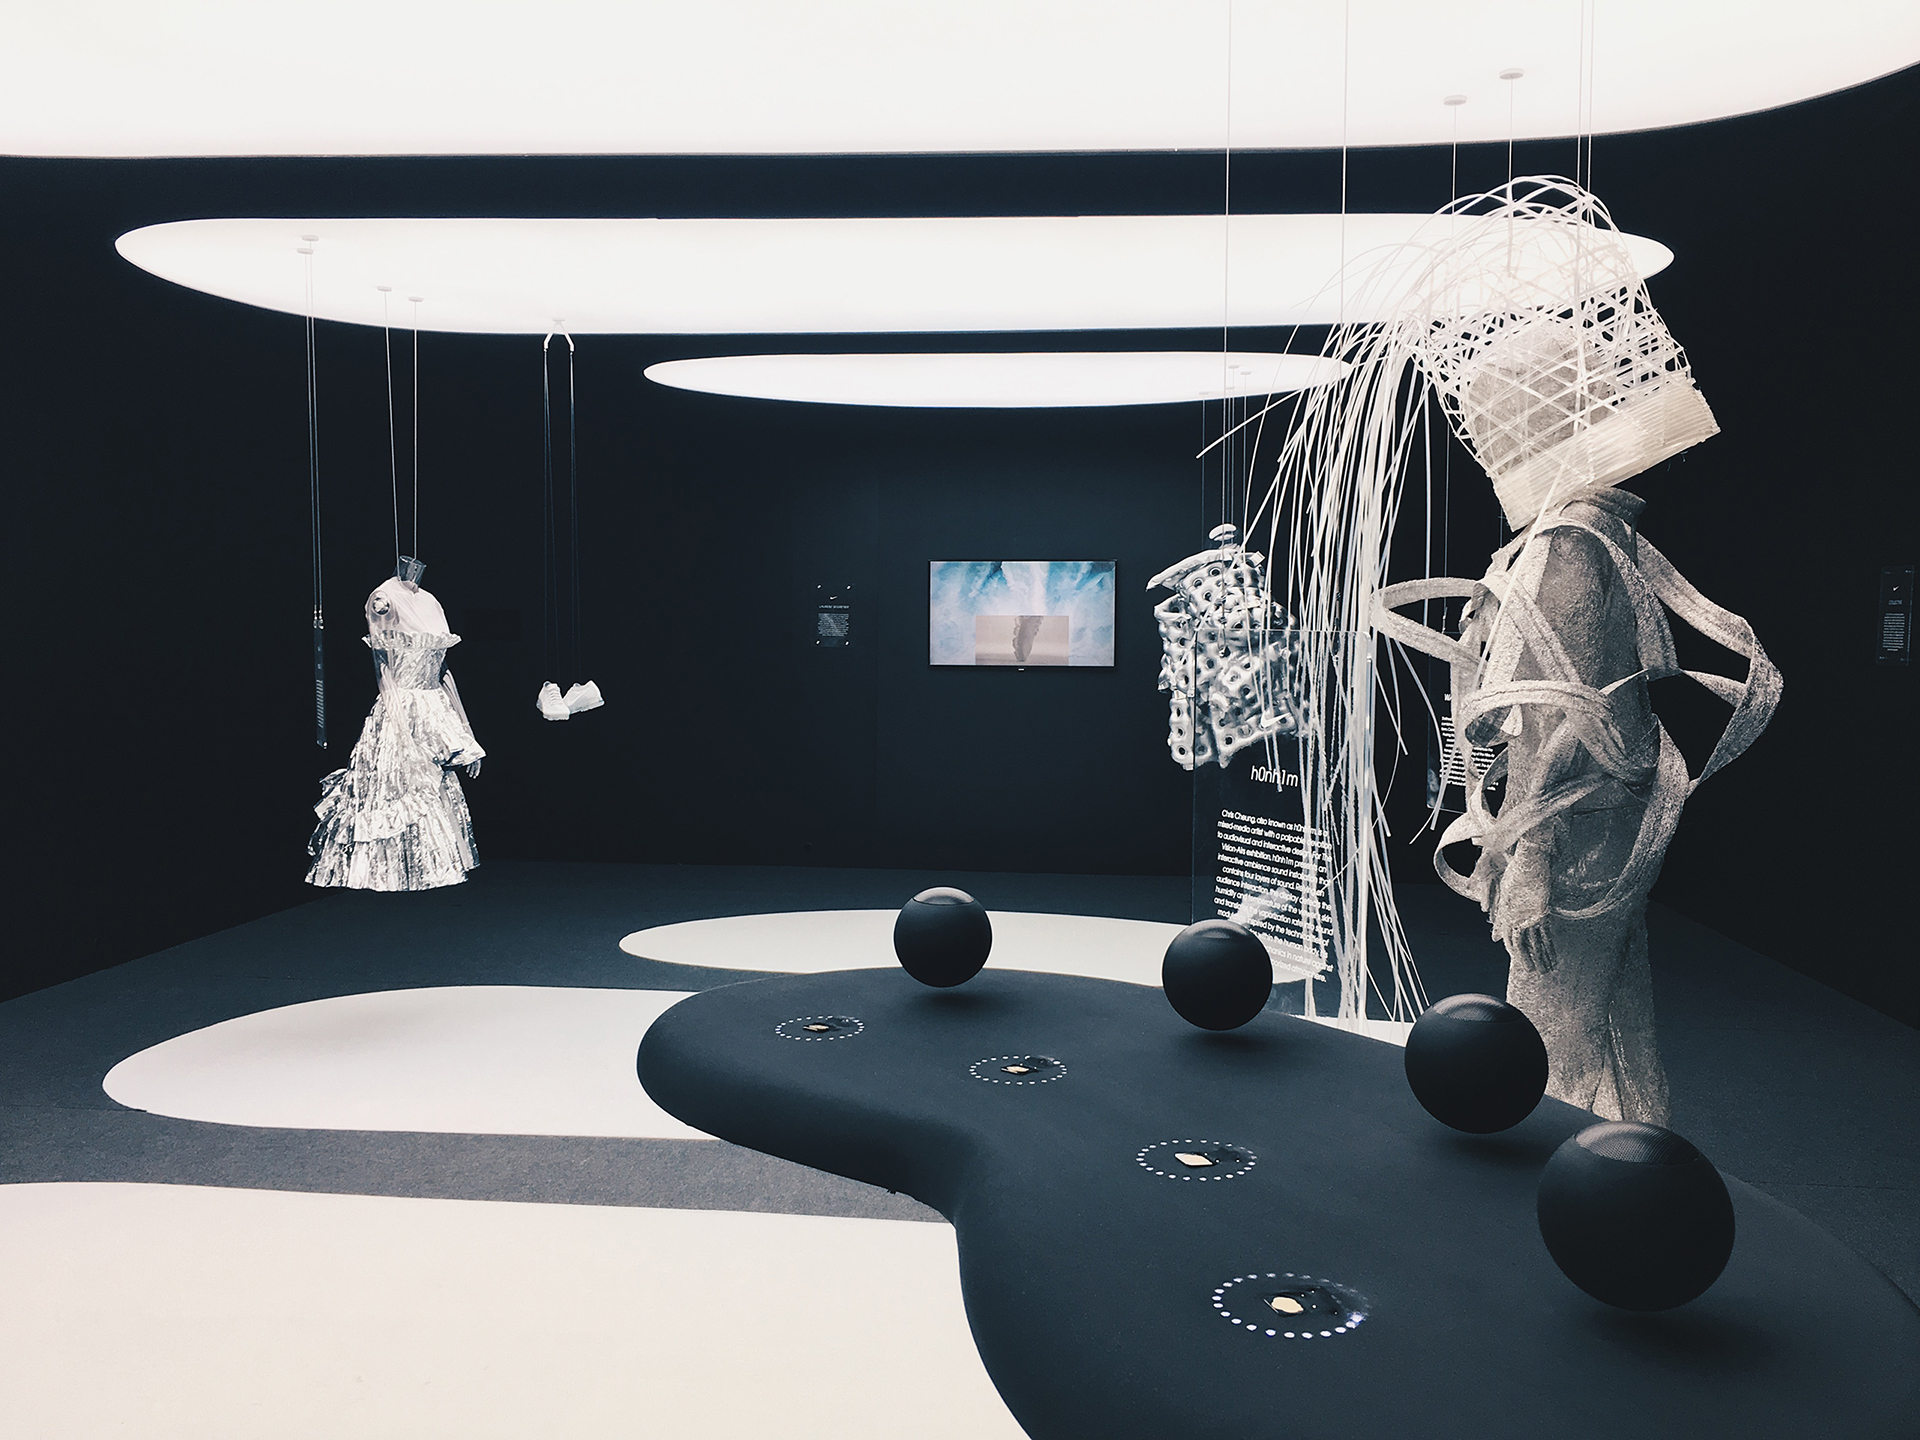
Neri Oxman is well known for a plethora of things around Mediated Matter and creating Material Ecology. As an associate professor at MIT Media Lab, she’s a well-recognized artist, designer, and architect that speaks, most famously, about the intersection of design, technology, and biology. I want to focus specifically on her collaboration with another prolific female designer, Iris Van Herpen. Anthozoa is a wearable feat of 3D printing technology where they created a custom program to enable printing in both rigid and soft materials.

close-up of 3D printing advancement


Iris van Herpen X Neri Oxman

Project 09: Portrait

sketch

var underlyingImage;

function preload() {
    var myImageURL = "https://i.imgur.com/24gq2P9.jpg"
    underlyingImage = loadImage(myImageURL);
}

function setup() {
    createCanvas(480, 480);
    background(0);
    underlyingImage.loadPixels();
    frameRate(10);
}

function draw() {
    var px = random(width);
    var py = random(height);
    var ix = constrain(floor(px), 0, width-1);
    var iy = constrain(floor(py), 0, height-1);
    var theColorAtLocationXY = underlyingImage.get(ix, iy);

    noFill();
    stroke(theColorAtLocationXY);
    line(px, py, px, py+24);
    
    var theColorAtTheMouse = underlyingImage.get(mouseX, mouseY);
    fill(theColorAtTheMouse);
    ellipse(pmouseX, pmouseY, 6, 6);

}

So like the code below wasn’t showing up and I literally did not understand what was wrong. I straight up have tried multiple methods of coding this, even duplicated the sample code(which should’ve worked) and it is still not returning the correct image. After a long period of troubleshooting I had to relent. I tried essentially the same code on a mac using the p5.js text editor and it finally worked. Still don’t really know what was wrong.

sketch try 2

// Samantha Ho
// sch1
// Project-09
// Section E

var underlyingImage;

function preload() {
    var myImageURL = "http://saho.studio/img/2018-06-28%2017_41_16.194.jpg";
    underlyingImage = loadImage(myImageURL);
}

function setup() {
    createCanvas(480   , 480);
    background(0);
    underlyingImage.loadPixels();
    frameRate(10);
}

function draw() {
    var px = random(width);
    var py = random(height);
    var ix = constrain(floor(px), 0, width-1);
    var iy = constrain(floor(py), 0, height-1);
    var theColorAtLocationXY = underlyingImage.get(ix, iy);

    noStroke();
    fill(theColorAtLocationXY);
    ellipse(px, py, 6, 6);

   
}

Looking Outwards 09

For this week I’m analyzing  Sean Meng’s review of Avatar from week 5.

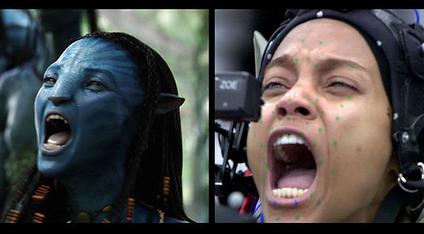
It’s been a while since this movie came out and I had nearly forgotten the sheer computational power involved in this movie. To create such realistic environments and personalities, animators had to work with a new system of motion-capture that revolutionized the industry.

What I think is worth mentioning that not only on the generated computer graphics front, there was a huge amount of processing power necessary for the film to exist. The film used a company called Weta Digital and rendered the movie, which consisted of processing 8 gigabytes of data per second running 24 hours for over a month. Often each of Avatar’s frames took several hours to render. And when you consider that is just one frame out of 24 for every second of film, you can imagine why the major processing power at Weta Digital was needed.

avatar computer generated graphics