![[OLD FALL 2018] 15-104 • Introduction to Computing for Creative Practice](../../../../wp-content/uploads/2020/08/stop-banner.png)
/*
Min Jun Kim
minjunki@andrew.cmu.edu
15104-B
Project 9
*/
var img; //sets the variable for the image to go into
//loads the image into the program
function preload() {
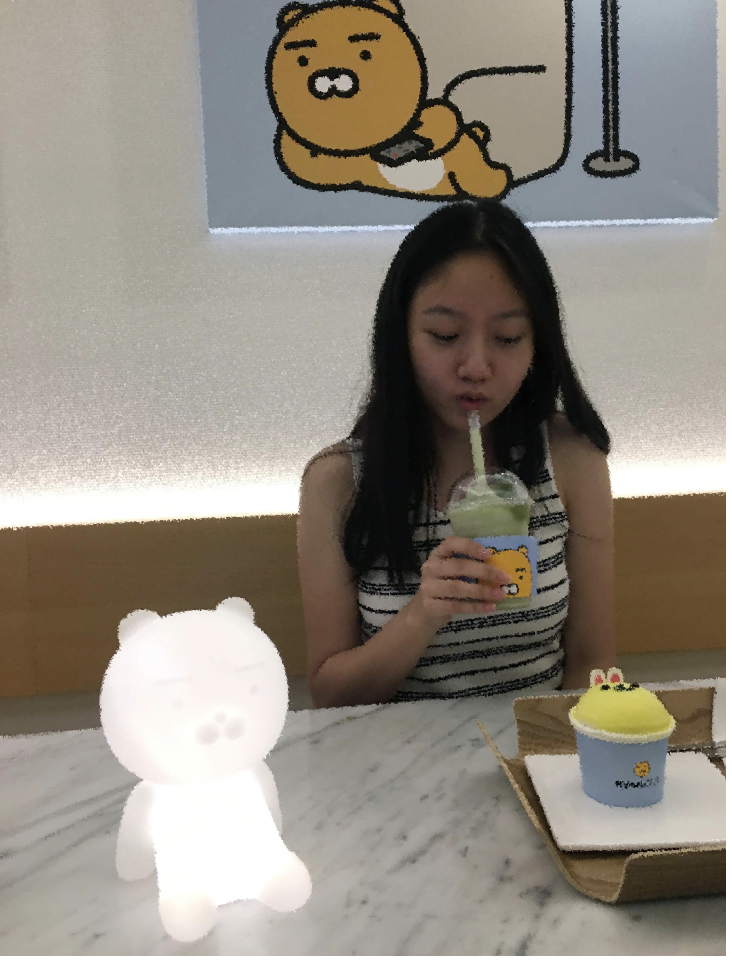
img = loadImage("https://i.imgur.com/kt8Qs81.jpg");
}
function setup() {
createCanvas(365, 480);
background(250);
//loads the pixels and sets the frame rate
img.loadPixels();
frameRate(10000000)
}
var dec = 0 //variable in which the decrease the size
var increment = 0.01 // the rate of decreasing
var scaley = 0.2 //scales the image
function draw() {
//variable that moves the pixels
var randaddx= random(200)
var randaddy= random(200)
//variable that determiens the size of pixels
var randsize = random(30-dec)
//scales the image down
scale(scaley,scaley)
noStroke()
//draws starting points on canvas
for (i = 0; i < height*1/scaley; i += 100) {
for (x = 0; x < width*1/scaley; x += 100) {
//finds the color
var c = img.get(x+randaddx, i+randaddy);
//sets pixel = to color
fill(c);
//draws the pixels
rect(x+randaddx,i+randaddy,randsize,randsize)
}
}
//makes it so that image gets more clear over time
dec += increment
if (dec > 25) {
increment =0
}
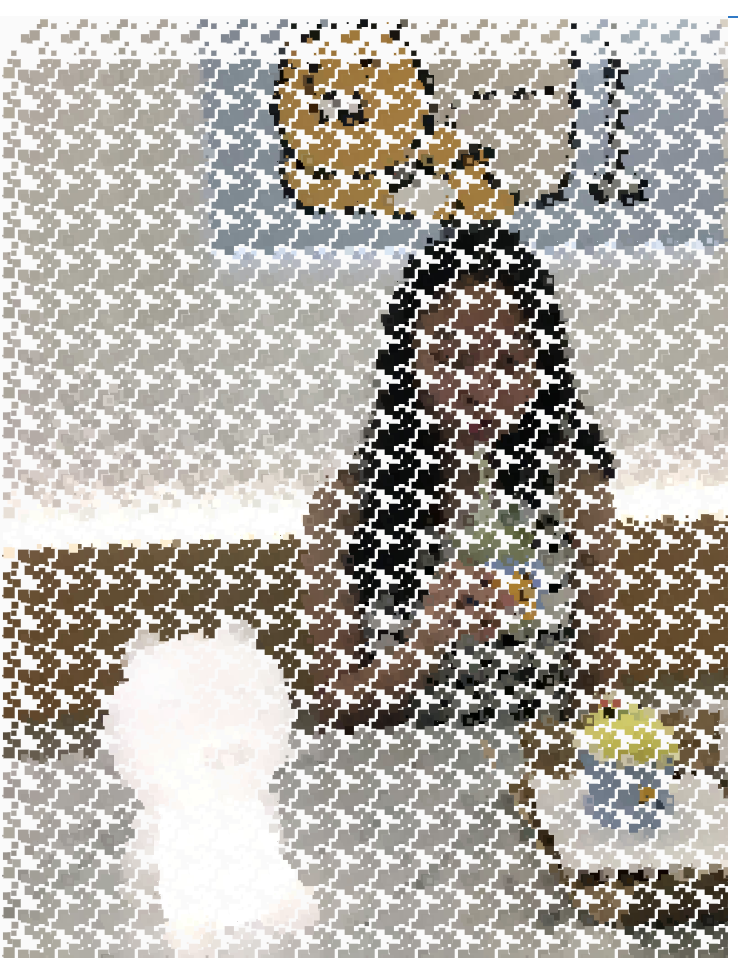
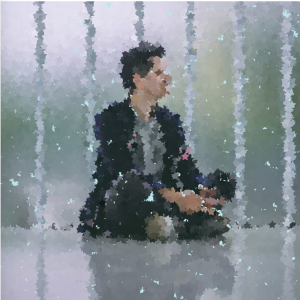
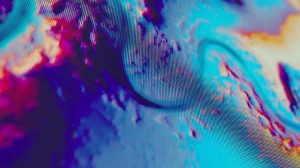
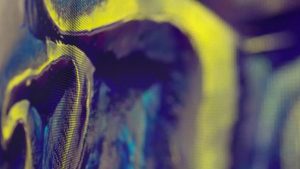
}I wanted my pixel portrait to load fast and be rather accurate, so I used for loops to draws initial starting points of the canvas then used random values to move the points in order to draw the canvas. Initially, I increased the for loop variables by a low number of 20, which resulted in the picture loading too fast and too accurately, which defeated the point of the pixel art. So I set up a parameter where the size of the pixels decreased over time. This way there are less gap points (because the starting size is big) and adds an interesting layer to the whole piece.
Process: