![[OLD FALL 2018] 15-104 • Introduction to Computing for Creative Practice](../../../../wp-content/uploads/2020/08/stop-banner.png)
function setup() {
createCanvas(500, 500);
}
function draw() {
background(245,245,220);
noStroke()
//The repreating circles
for (var x = 0; x < 10; x++) {
for (var y = 0; y < 10; y++) {
fill(178,34,34);
ellipse(50*x + 25, 50*y + 40, 10, 10);
}
}
//The first set of vertical shapes
for (var a = 0; a < 5; a++) {
for (var b = 0; b < 7; b++) {
fill(0,0,139);
rect(a*100, b*60, 5, 200)
}
}
//The second set of vertical shapes
for (var i = 0; i < 5; i++) {
for (var j = 0; j < 10; j++) {
fill(210,180,140)
rect(i*100+45, j*50, 20, 200)
}
}
//The first set of horizontal shapes
for (var m = 0; m < 5; m++) {
for (var n = 0; n < 15; n++) {
fill(240,230,140)
rect(m*120, n*50, 300, 3)
}
}
//The second set of horizontal shapes
for (var p = 0; p < 5; p++) {
for (var q = 0; q < 15; q++) {
fill(255)
rect(p*120, q*50+20, 300, 12)
}
}
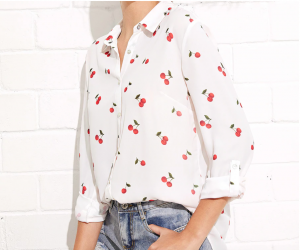
}Speaking of something that I would wear everyday, plaid pattern is one of my favorites. In this project, I played with simple geometries and designed this multicolored plaid pattern. And I added circle shapes to contrast with the rectangles to increase the visual balance.