![[OLD FALL 2019] 15-104 • Introduction to Computing for Creative Practice](../../../../wp-content/uploads/2020/08/stop-banner.png)
//Sarah Choi
//Section D
//sychoi@andrew.cmu.edu
//Project-09
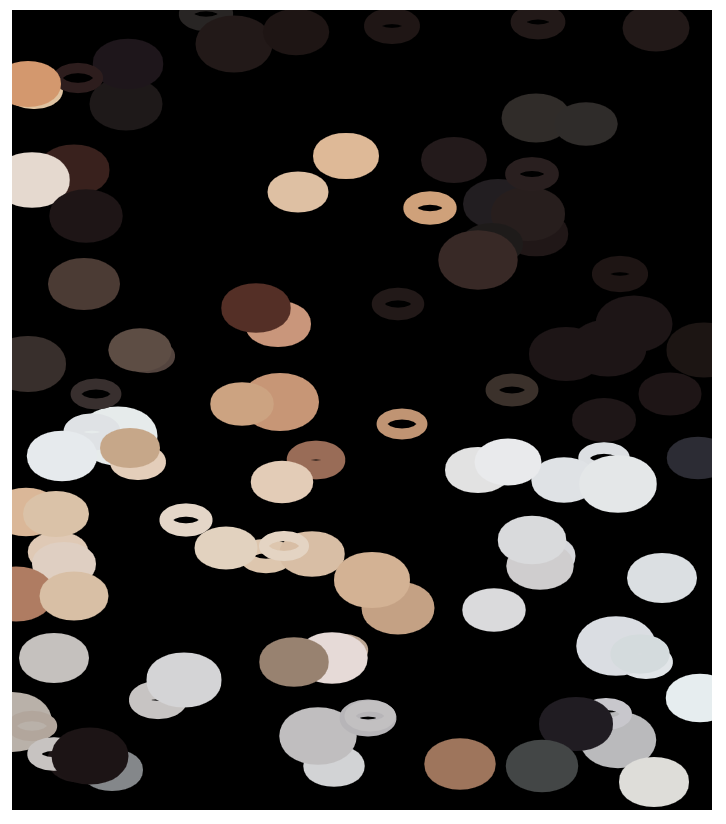
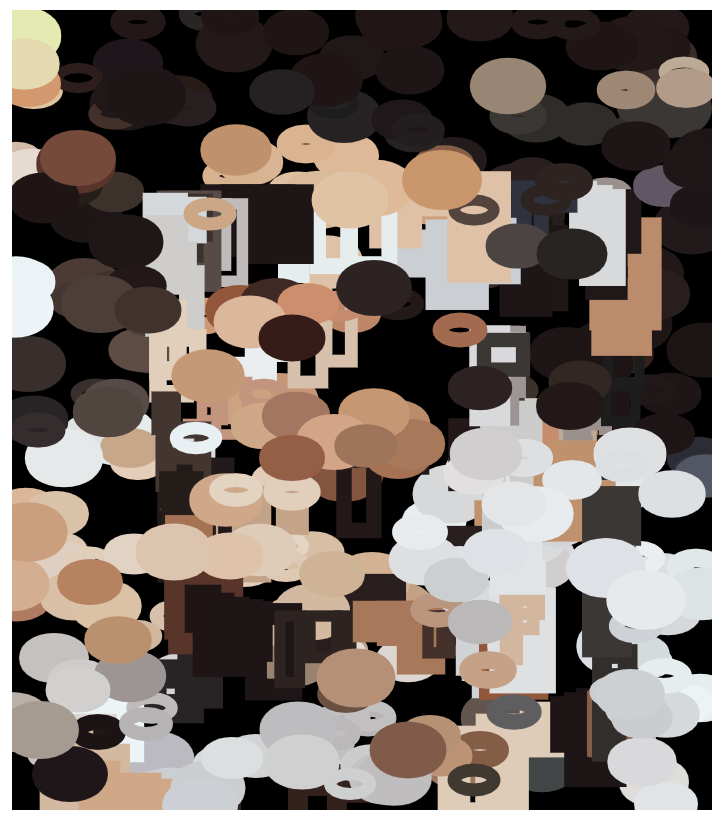
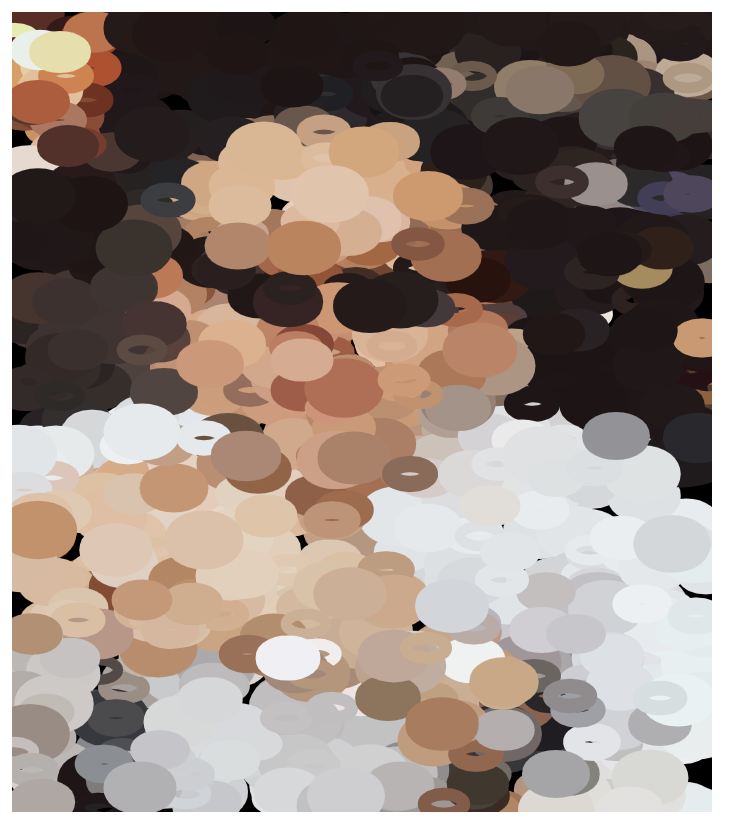
var underImage;
function preload() {
var image = "https://i.imgur.com/YcBwEXw.jpg";
underImage = loadImage(image);
}
function setup() {
createCanvas(350, 400);
underImage.resize(350, 400);
background(0);
underImage.loadPixels();
frameRate(20);
}
function draw() {
var px = random(width);
var py = random(height);
var xx = constrain(floor(px), 0, width-1);
var xy = constrain(floor(py), 0, height-1);
var colorXY = underImage.get(xx, xy);
stroke(colorXY);
strokeWeight(random(5, 20));
noFill();
ellipse(xx, xy, 20, 10);
}
function mouseDragged() {
rect(mouseX, mouseY, random(5, 20), random (5, 40));
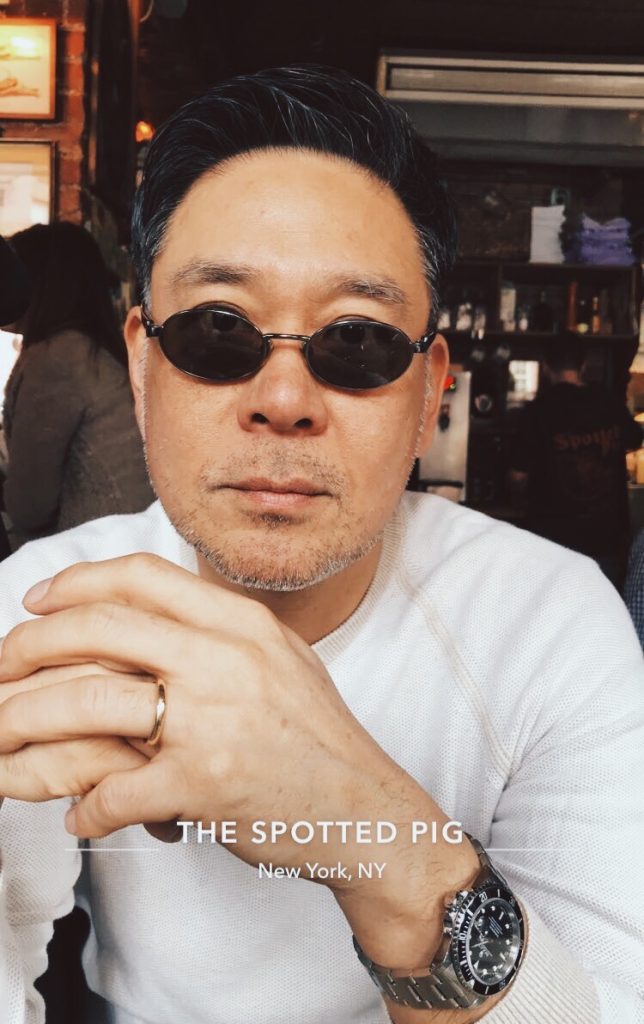
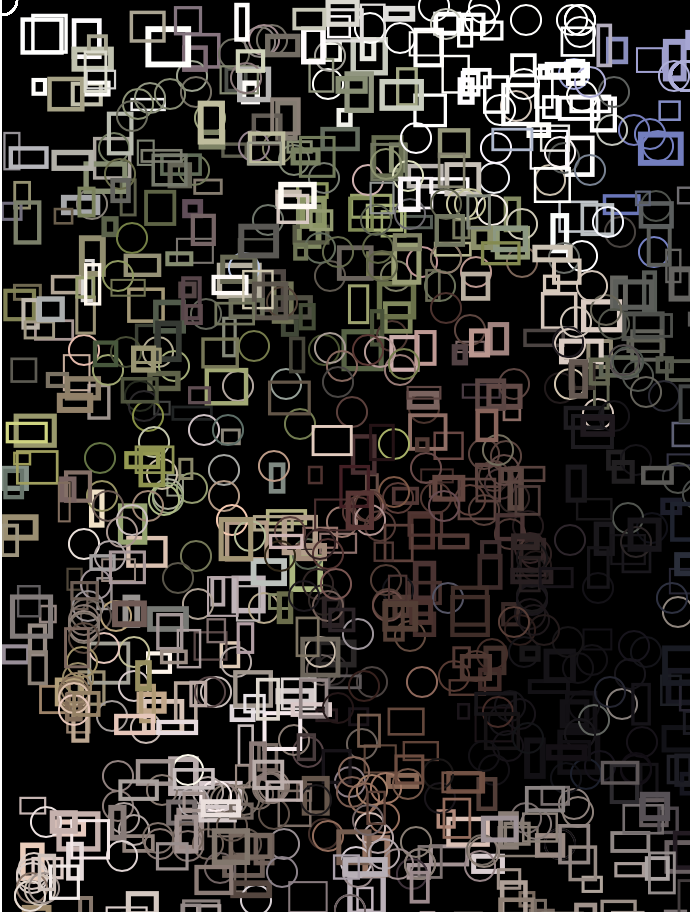
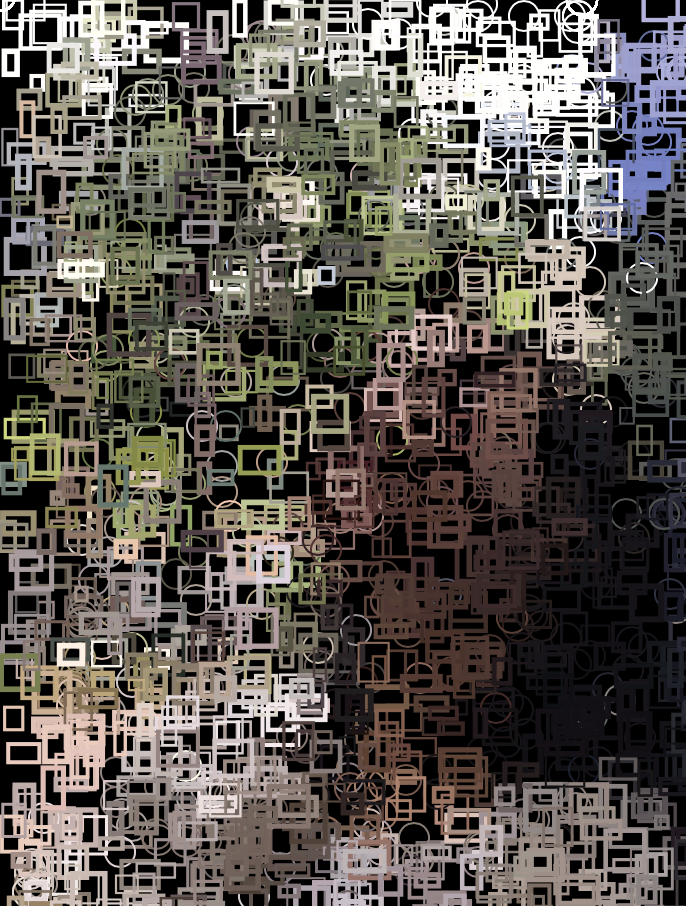
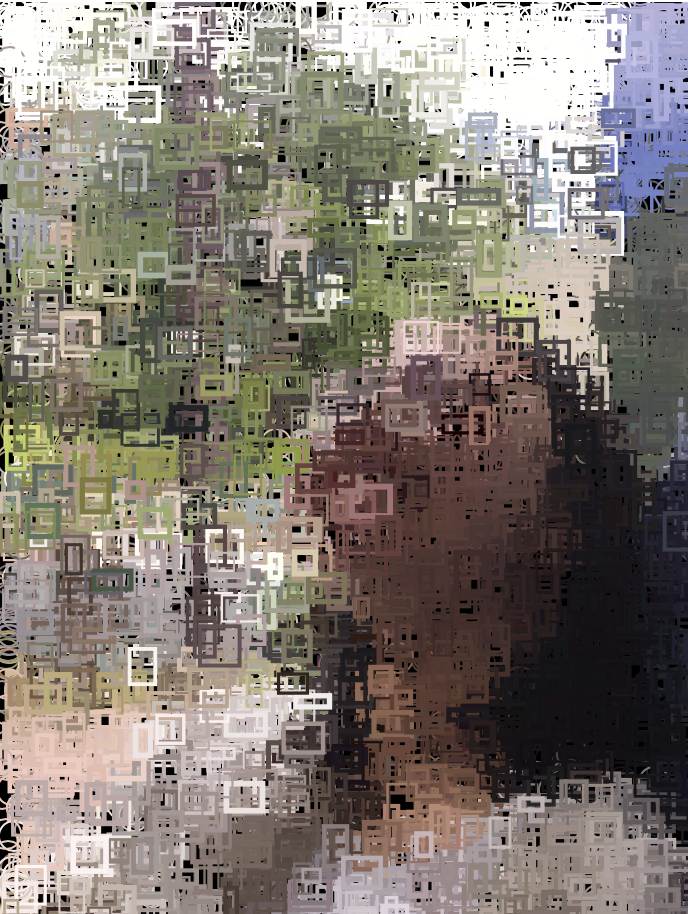
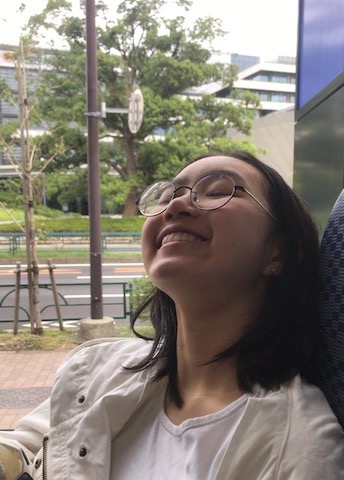
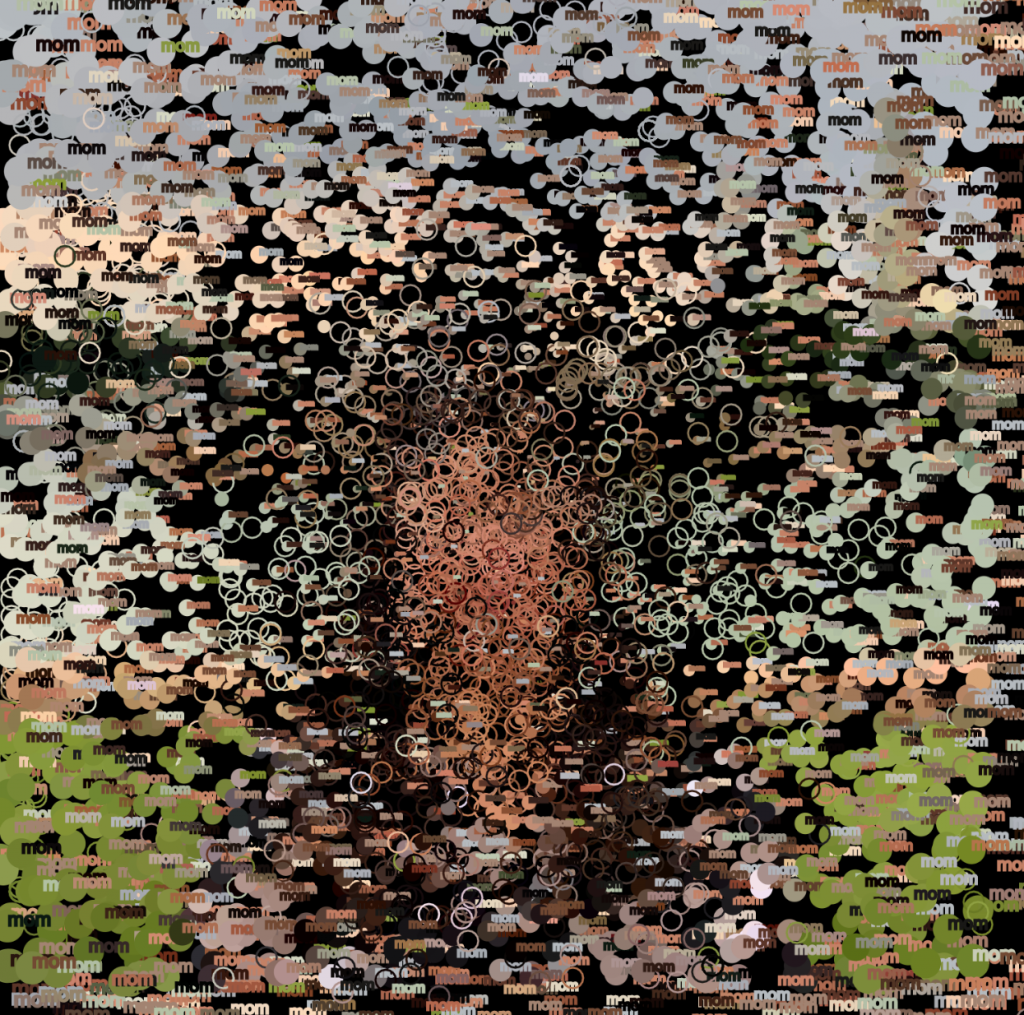
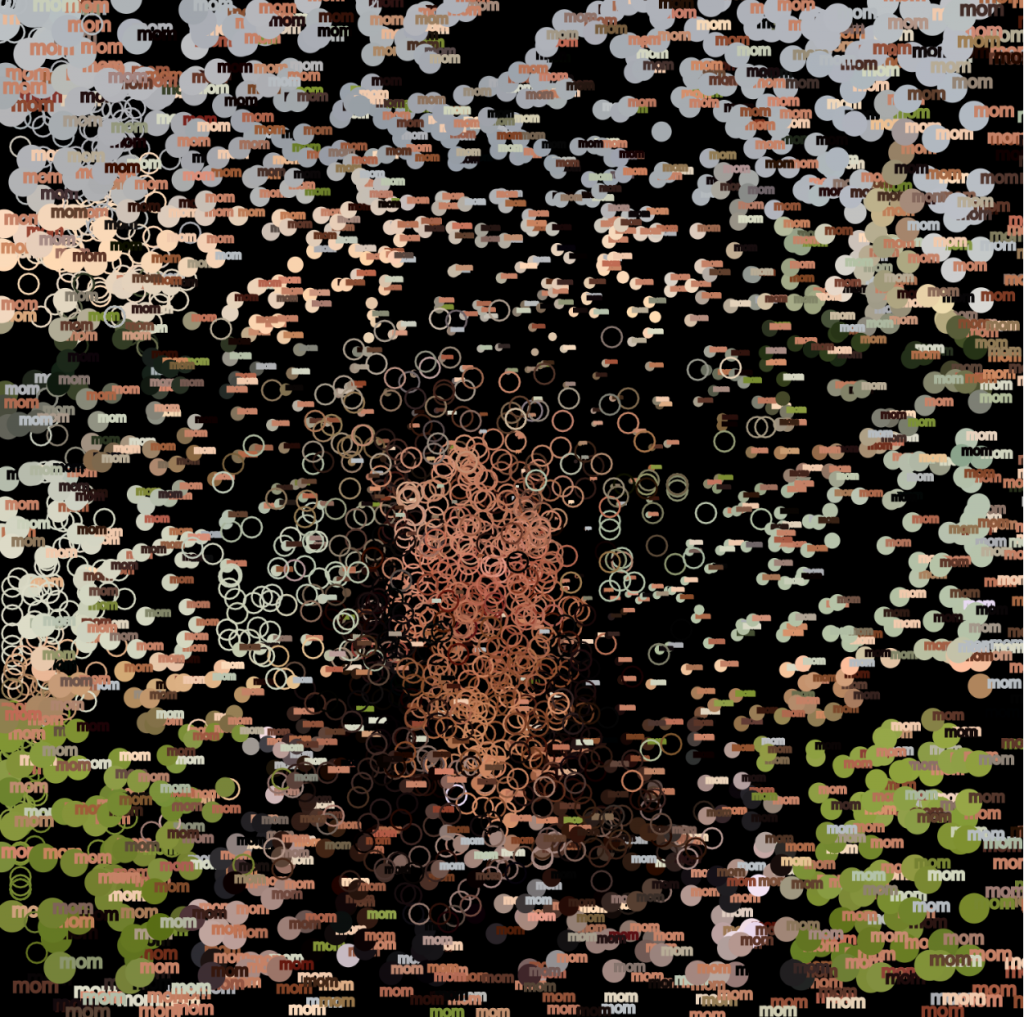
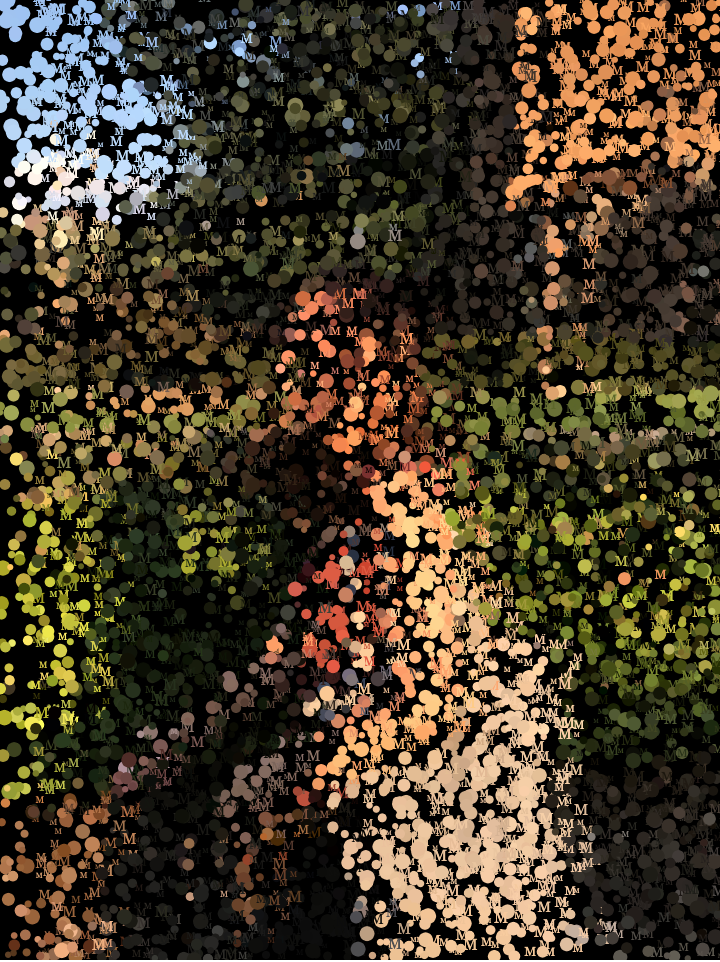
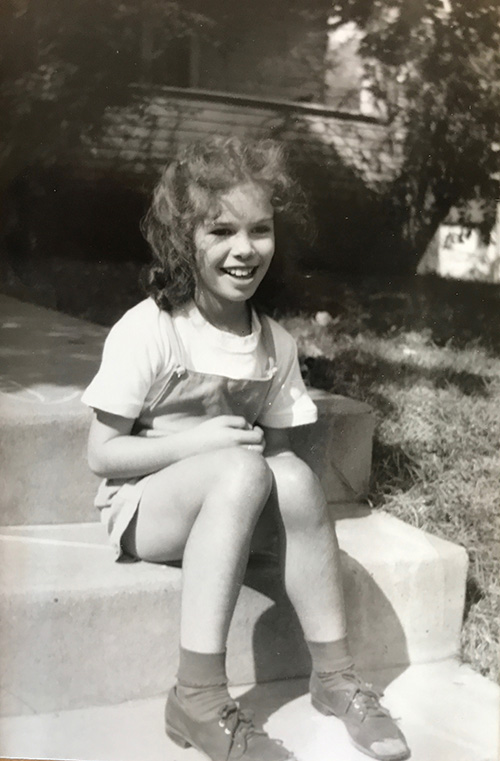
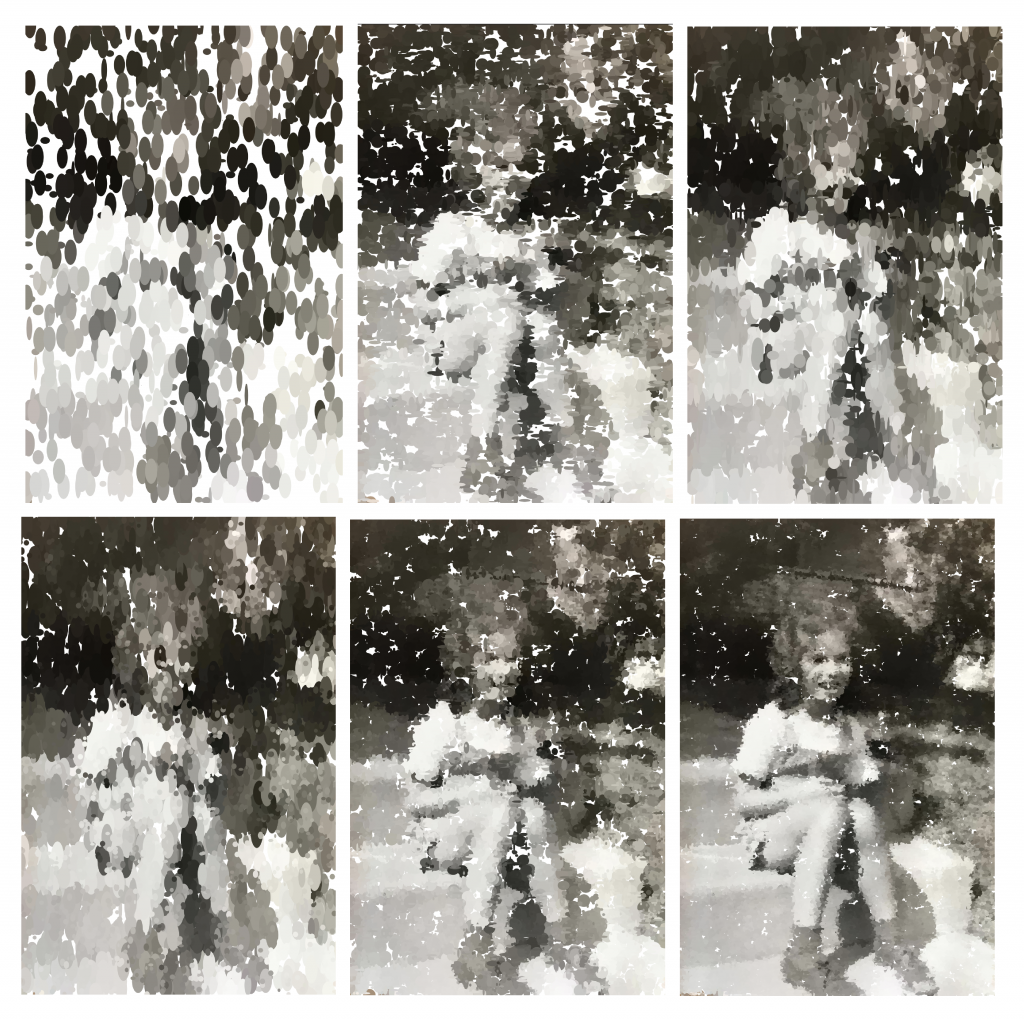
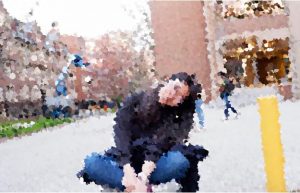
}For my project, I chose a portrait of my father when he was living in New York, and we would go on father-daughter adventures. This was one of the most memorable days I had with him, which is why I wanted to depict my father through one computational project. Because of this, I loaded the pictures with ovals as shown in the original picture below, my father was always a huge fan of vintage oval-shaped sunglasses. On top of that, I wanted to use the drag function to use rectangular shapes to fill the canvas. It reminded me of the jazz music being played in the living room every Sunday morning.