Looking Outwards 09 – On Looking Onwards

Because Season 2 of Disney’s The Mandalorian just premiered last Friday, I wanted to discuss t.chen’s 5th Looking Outwards post on Industrial Light and Magic’s phenomenal real-time 3D rendering for The Mandalorian. As t.chen mentioned in their post, ILM is a motion picture VFX company founded by George Lucas in 1975 and can trace its roots back to the original Star Wars trilogy.

Although ILM has always been a huge pioneer within the VFX industry, the company broke new ground through The Mandalorian‘s background and atmosphere through “The Volume,” a huge, circular stage of LED screens that display whatever planet or setting the scene requires. Everything within the background is rendered in real-time through Unreal Engine, so if the director wants the sun to set or entire cities to be built or put away, The Volume can provide these specifications.

I wanted to add onto t.chen’s original post that this technique is ironically not new – many films since the mid-1900’s have utilized the rear screen projection technique to achieve this effect. However, The Volume opens up new possibilities of having backgrounds respond in real-time, rather than prerecord background footage or have actors act in a green screen set and construct the world in postproduction. It’s incredibly exciting to consider how this will change filmmaking in the future.

Project 09: Custom Pixels

sketch
//Jessie Chen
//D
//Project 09
//Computational Portrait
//Custom Pixel

var img;
let flowers = ['✽', '✾', '✿', '❀', '❁']

function preload() {
    img = loadImage("https://i.imgur.com/p0nMT7R.jpg")
}

function setup() {
    createCanvas(480, 480);
    //image in the center
    imageMode(CENTER);
    img.loadPixels();
    //resize image to canvas
    img.resize(480, 480);
    frameRate(10000);
    //pink background
    background(200, 170, 170);
}

function draw() {
    //pick random x and y
    var x = floor(random(img.width));
    var y = floor(random(img.height));
    
    //pull pixel color from that x and y
    var pix = img.get(x, y);
    
    //fill using the pixel color
    fill(pix);
    
    //keeps the pixels where the face is 
    //smaller so it can have more detail
    if (x > 90 & x < 270 && y > 80 && y < 350) {
        textSize(random(5, 15));
    } else {
        textSize(random(10, 20));
    }

    //draws flower in place of the pixels
    text(random(flowers), x, y);
}

//when the mouse is clicked the blobs enlarge 
//until it no longer becomes a face
function mousePressed() {
        filter(ERODE);
}

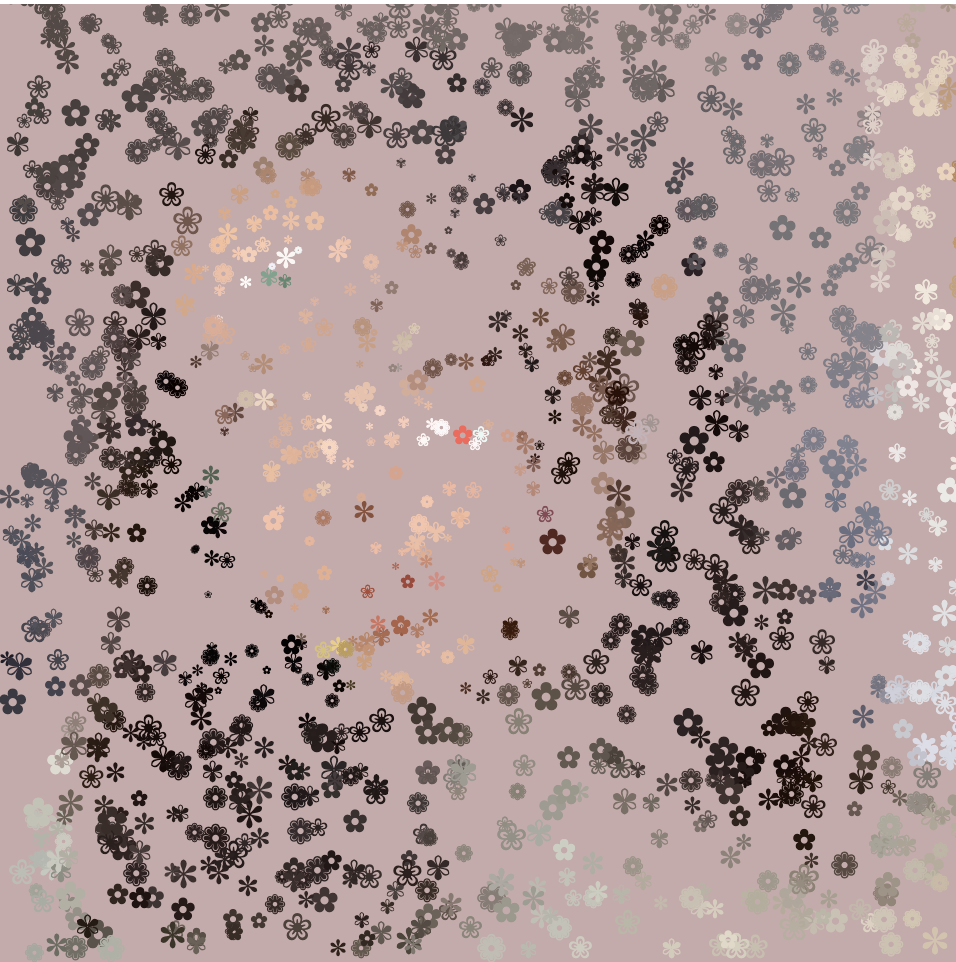
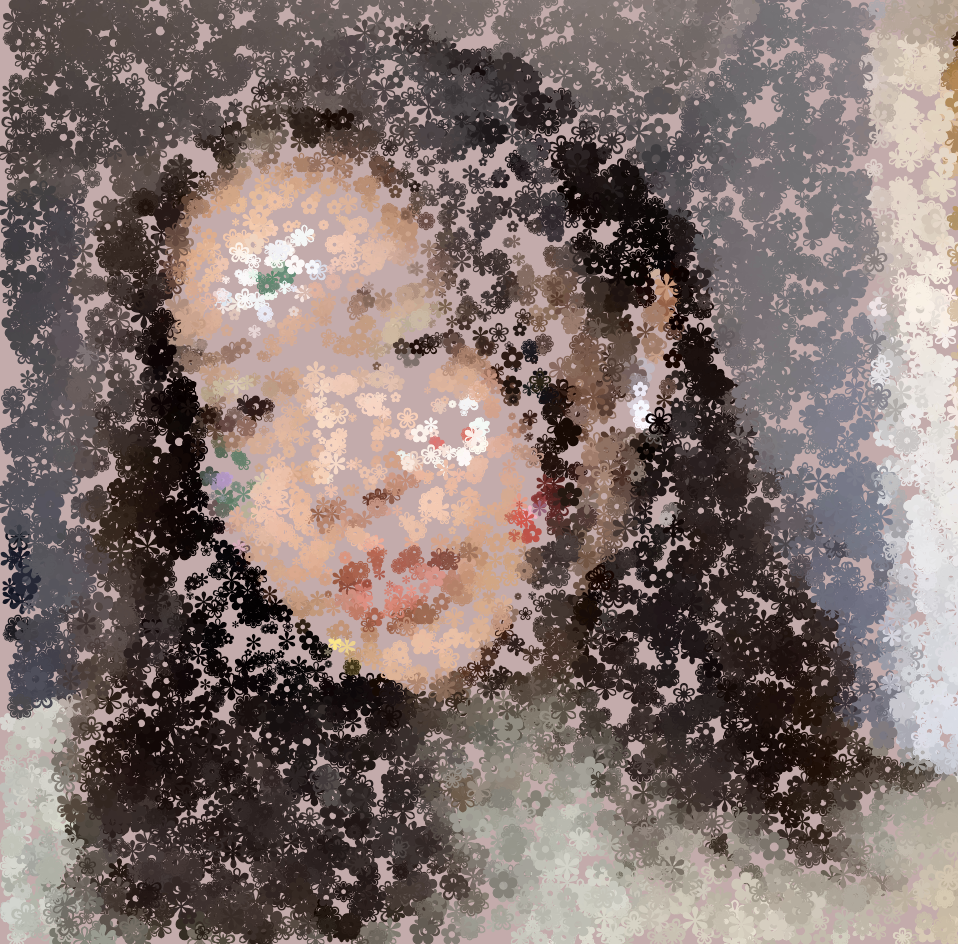
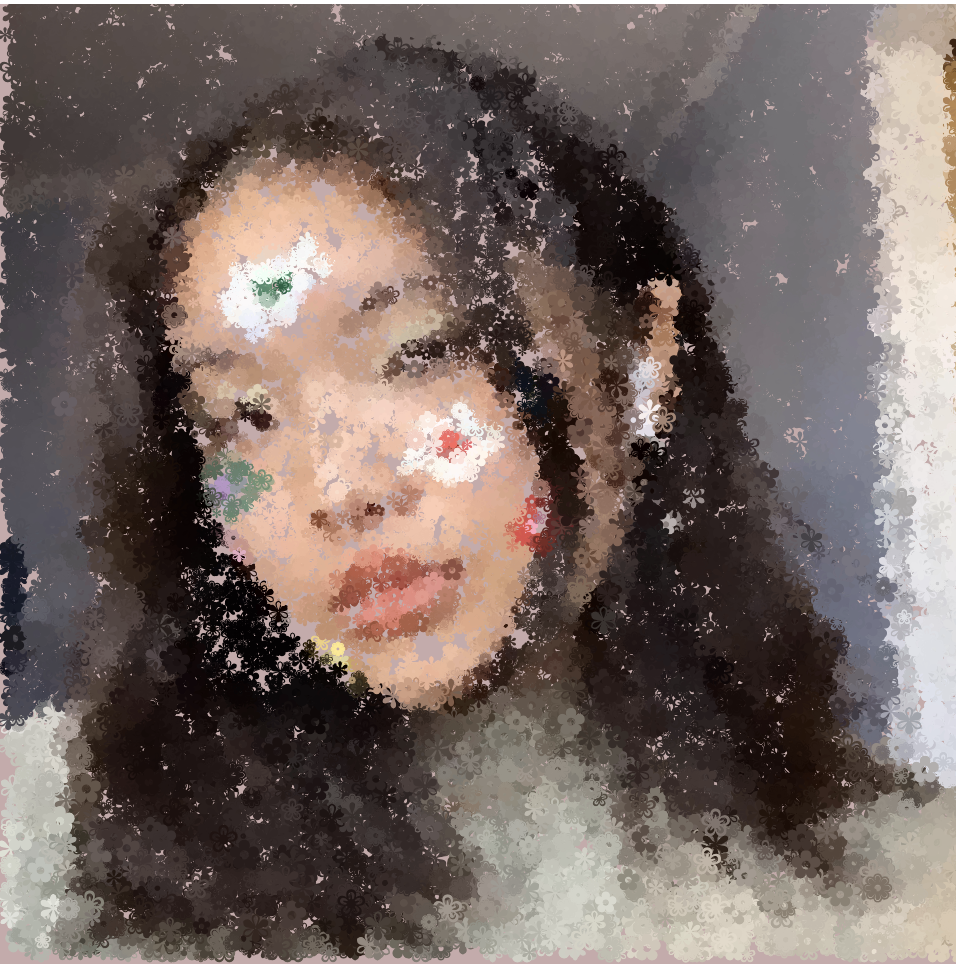
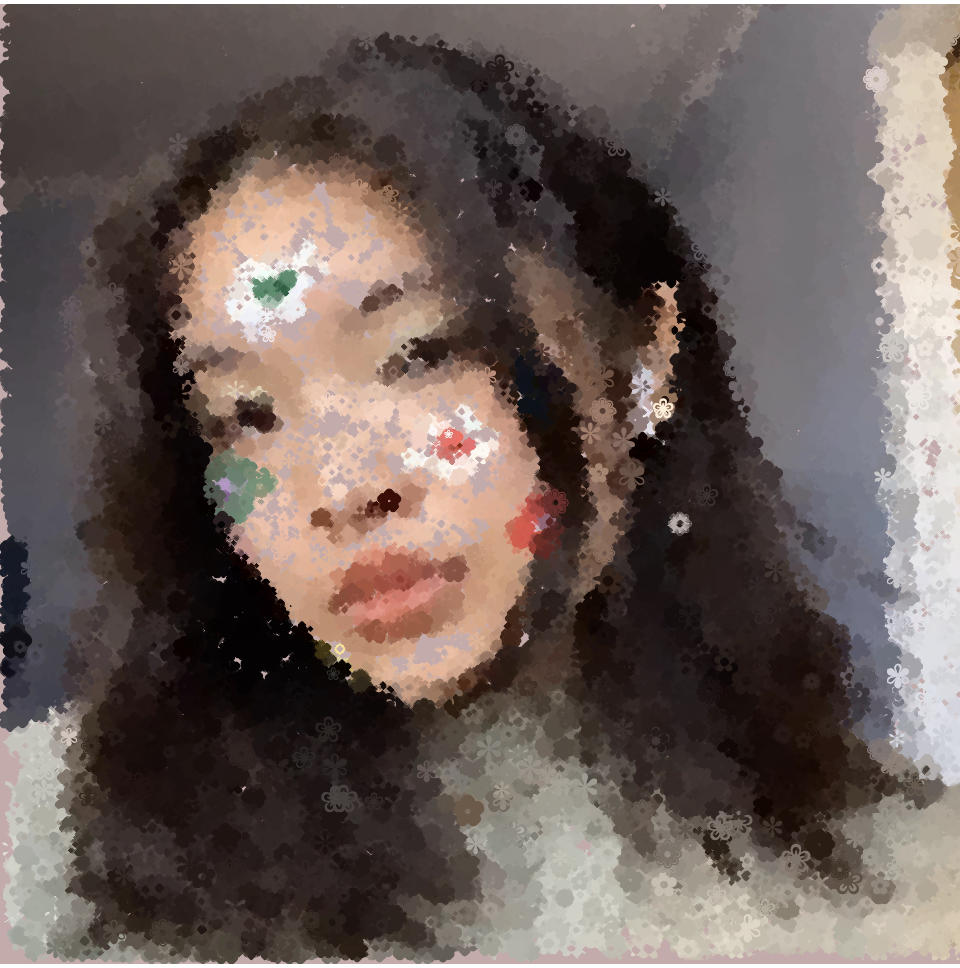
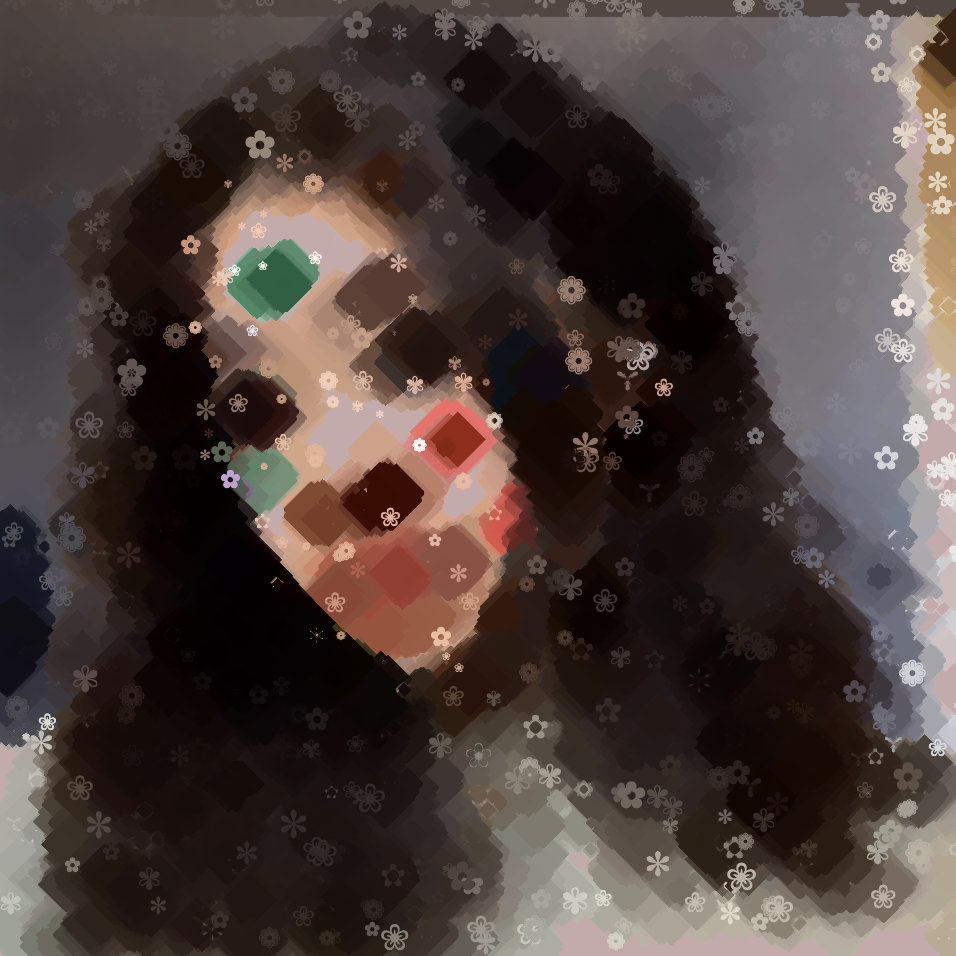
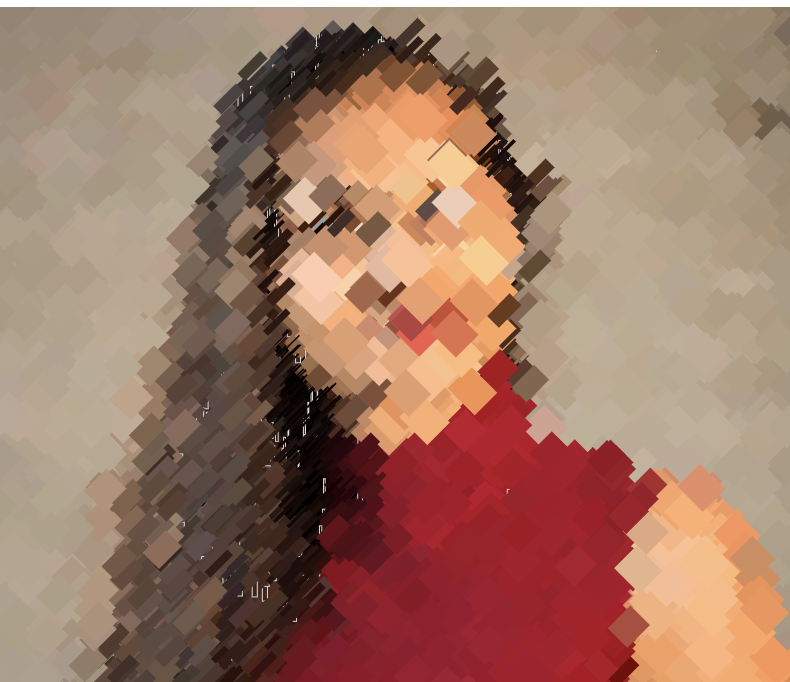
I took a selfie with a filter that drew flowers on my face. From that, I wanted to create this project using flower symbols as my custom pixel. I chose to make the pixels where the face is smaller than the background so the face would have more detail. I also added an effect where every time you click on it, the symbols would enlarge into blobs to make it seem a little bit more creepy (yay for Halloween!).

Project 9: Portrait

owl
var myPhoto;

function preload(){
    var owlPhoto = "https://i.imgur.com/ldqKQ6T.jpg";
    myPhoto = loadImage(owlPhoto);
}

function setup() {
    createCanvas(400, 375);
    imageMode(CENTER);
    noStroke();
    background(0);
    myPhoto.resize(400, 400);
    myPhoto.loadPixels();
    frameRate(20);
}

function draw() {

    //drawing color and location from the photo
    var x = floor(random(myPhoto.width));
    var y = floor(random(myPhoto.height));
    fill(myPhoto.get(x, y));

    if (mouseIsPressed) {
        textSize(10);
        text("HOOT", x, y); //write "HOOT" on the canvas
    } else {
        owl(x, y); //draw an owl's face
    }
}

//referenced from our Functions lecture
//drawing owl eyes and a beak
function owl(x, y){

    push();
    translate(x, y);
    noStroke();
    scale(0.35);
    ellipse(-17.5, -65, 20, 20);
    ellipse(17.5, -65, 20, 20);
    quad(0, -58, 4, -51, 0, -44, -4, -51);
    pop();
}

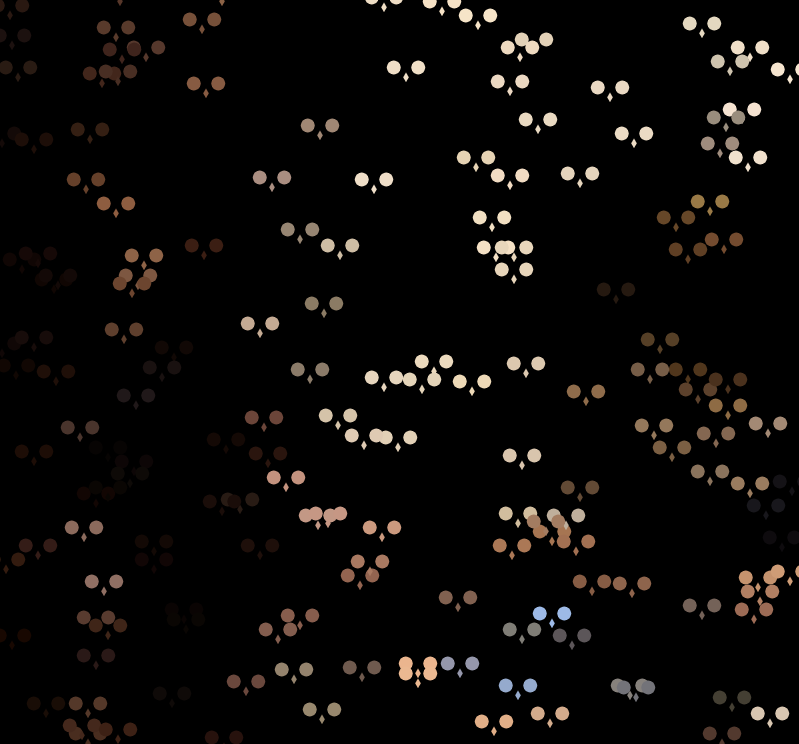
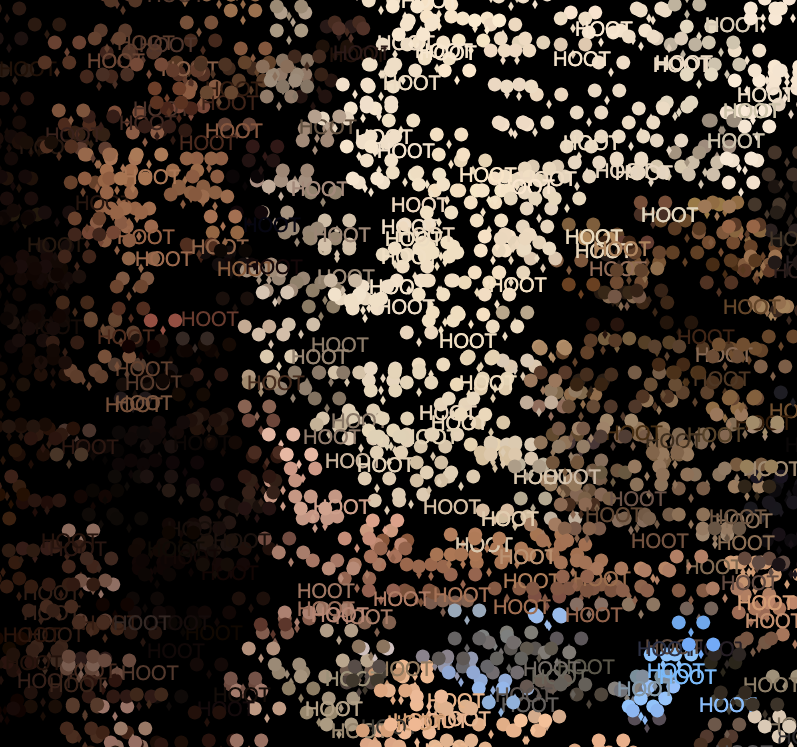
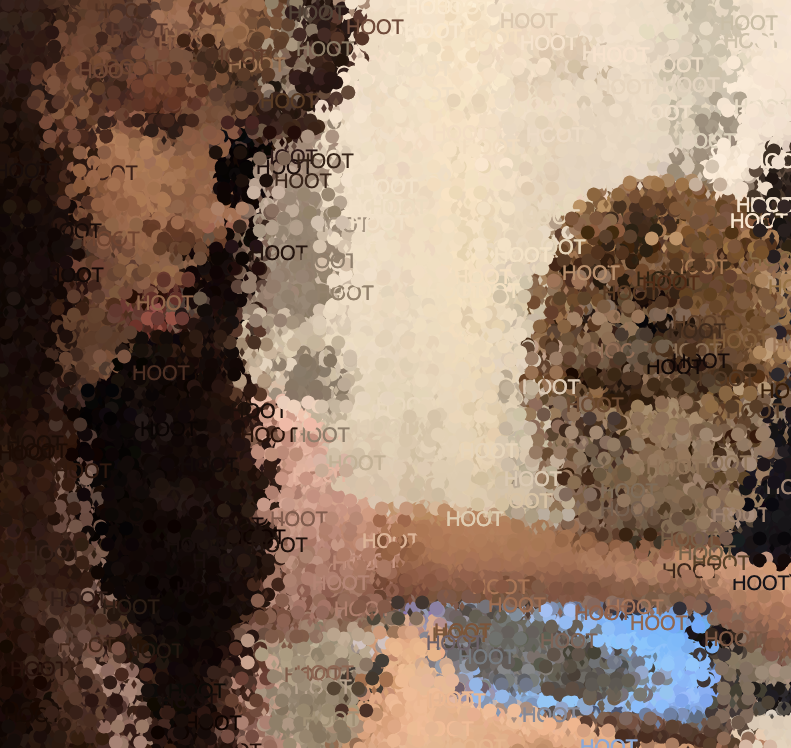
The portrait is drawn through tiny owl faces that each consist of two eyes and a beak. If you press your mouse down, you can draw the word “HOOT” all over the canvas as well.

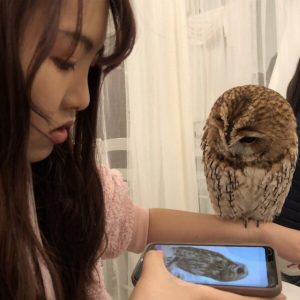
For this project, I chose a photo of myself with an owl from an owl cafe in Tokyo. I thought it was cute that the owl was also looking at its own picture on my phone.

Original Photo

Starting out
After a minute
After 2 minutes

Project 9: Portrait

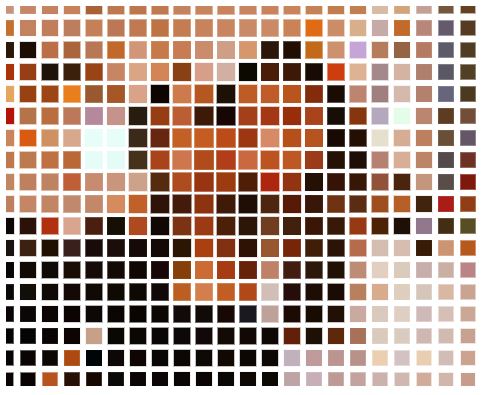
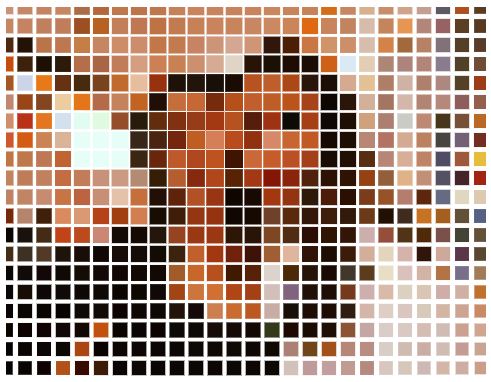
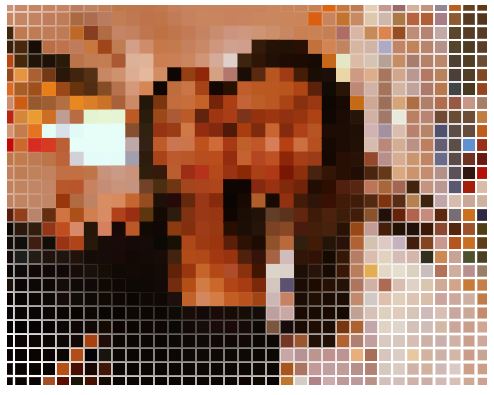
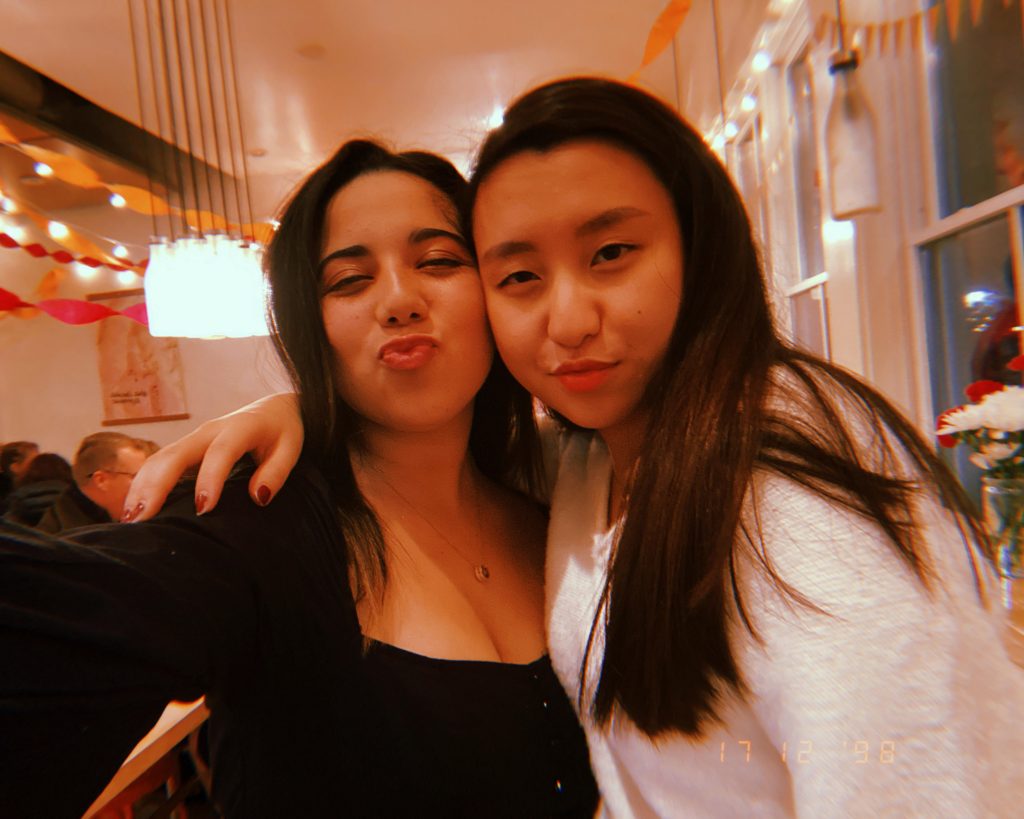
For this week’s project, I decided to abstractly depict a photo of my friend and I using the idea of a bitmap and pixels. I was inspired by various 8-bit art pieces that I had found online, and wanted to make my own interactive interpretation!

Depending on the mouse’s position, you can move around to see the pixels bigger, which ‘magnifies’ and makes clearer whatever part you are toggling over! Additionally, if you click the up and down arrow, you can see the “bitmap pixels” increase or decrease in number, respectively!

sketchDownload
// Susie Kim
// susiek@andrew.cmu.edu
// Section A
// Project 09

// set variables
var img;
var bitMap;
var grid = 19;

// load image
function preload() {
	var imgURL = "https://i.imgur.com/7Vy4Fqz.jpg";
	img = loadImage(imgURL);
}

function setup() {
    createCanvas(480, 380);
    background(255);

    img.resize(480, 380); // resize image to be canvas size
    img.loadPixels(); // load image pixels
}

function draw() {
	background(255);
	drawBits(); // call upon drawBits function
}

function drawBits() {
	noStroke();
	rectMode(CENTER);

	// make grid of rectangles, with each growing bigger or smaller depending on mouse position
	for (x = 0; x < 480; x += grid) {
		for (y = 0; y < 380; y += grid) {

			var dis = dist(mouseX, mouseY, x, y); // measure distance between mouse pos and each square bit
			var bitMap = map(dis, 0, 480, 11+(grid*.05), 3+(grid*.05)); // map width of each rectangle bit dependent on distance

			var bitColor = img.get(x,y); // get color for each rectangle bit
			fill(bitColor); 

			rect(x, y, bitMap+(grid*.35), bitMap+(grid*.35)); // draw grid of rectangles with width adjusting 
		}
	}
}

 function keyPressed() {
	// lock maximum "pixel" size at 23
	if (grid > 23) {
		grid = 23;
	}

	// lock minimum "pixel" size at 15
	if (grid < 15) {
		grid = 15;
	}

	// make "pixels" bigger with each click of up arrow, and smaller with click of down arrow
	if (keyCode === UP_ARROW) { // bigger
		clear();
		grid += 1;
	} else if (keyCode === DOWN_ARROW) { // smaller
		clear();
		grid -= 1
	}
} 
“low resolution” version
“mid resolution” version
“high resolution” version
the original image! (permission from my friend was obtained)

LO-09- On Looking Outwards

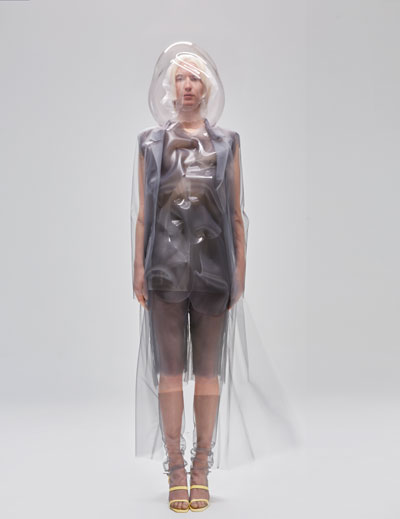
Ying Gao, Flowing Water, Standing Time, 2019. Original LO-03 by Isabel Xu. 

I found this work fascinating because of my peer Isabel Xu’s description of how the artist Ying Gao blends robotics and fabric to create ever changing clothing. Ying Gao uses color and light sensors to make clothes that respond to the chromatic spectrum using a raspberry PI and small cameras. 

What stood out to me was that Gao described the clothing line to display “perpetual metamorphosis”. Comparing the changing qualities of technology as it is used, for example a running code, clothing is quite static and existent as a sculptural piece that can be worn. By blending the two as Gao has done, you get clothing that is constantly in a state of changing. More humorously, this clothing line reminded me of a solution to our indecisive nature when deciding what to wear for the day as our clothes appear the same throughout the day. This provides a solution for those indecisive moments where the clothing is transforming and responding to its chromatic surroundings. 

This clothing line demonstrates how robotics can turn something definite in form to something responsive to the environment. Much of life is constantly changing and so the integration of AI and machine learning allows for previously static objects to evolve like a life form in response to worldly stimuli. 

Looking Outwards – 09

One Looking Outwards that I found to be pretty interesting was Francis Park’s LO-5 on virtual fashion shows. This assignment wanted us to discuss 3D computational art. With the global pandemic, it’s been difficult holding events as one usually would. A fashion label, called Hanifa, worked around this by holding a virtual fashion show. This fashion show used technology in order to stream animated 3D outfits through Instagram Live. I thought this method was very effective with the current circumstances. I’m also amazed with how well these models were rendered, as the outfits and material look so realistic. Because of this digital fashion show, I decided to do more research on how fashion companies are handling the pandemic. Though not done in the same manner of Hanifa, many fashion shows used 360 videos and VR technology to create a realistic experience. Here is an example of one: 

Project – 09 – Portrait

sketch
//Dreami Chambers; Section C; dreamic@andrew.cmu.edu; Assignment-09-Project

var img

function preload(){
	img = loadImage("https://i.imgur.com/0DgS6gY.jpg")
}

function setup() {
  var w = img.width/5 //new width
  var h = img.height/5 //new height
  createCanvas(w, h)
  background(255)
  imageMode(CENTER)
  img.resize(w, h)
  img.loadPixels()
}

function draw() {
  var m = minute() 
	var x = floor(random(img.width)) //random x value
	var y = floor(random(img.height)) //random y value
	var pixel = img.get(x, y)
	fill(pixel, 128)
  noStroke()
  drawheart(x, y, m) //draws hearts
}

function drawheart(x, y, m){
    strokeWeight(0)
    push()
    translate(x, y) //random x and y pos
    beginShape();
    scale(random(0.1, 1)) //random size
    rotate(radians(180))
    for (var i = 0; i < TWO_PI; i+=0.1) {
        var mx = constrain(m/40, 0.7, 1.5) //x multiplier based on minute
        var my = constrain(m/40, 0.7, 1.5) //y multiplier based on minute
        var x = mx*16*pow(sin(i),3)
        var y = my*13*cos(i) - 5*cos(2*i) - 2*cos(3*i) - cos(4*i)
        vertex(x,y) 
    }
    endShape(CLOSE)
    pop()
}

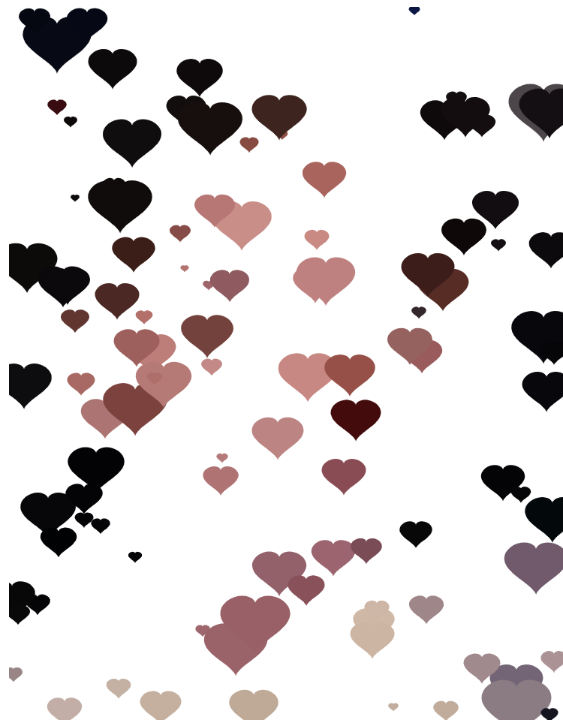
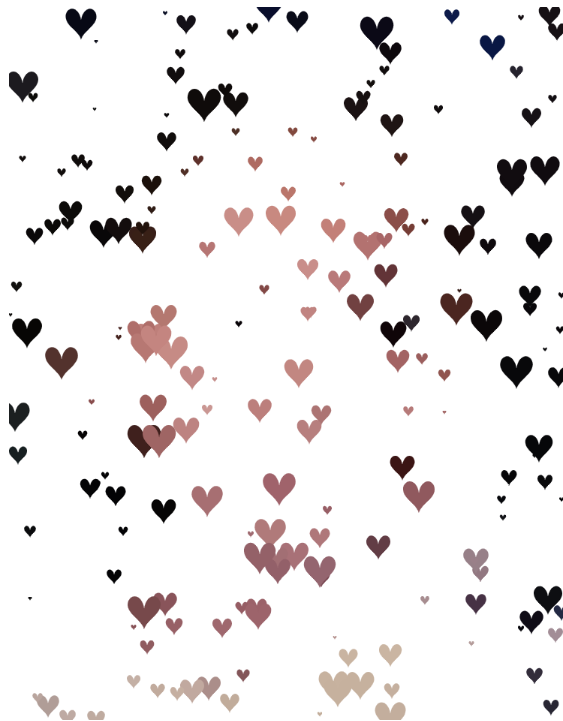
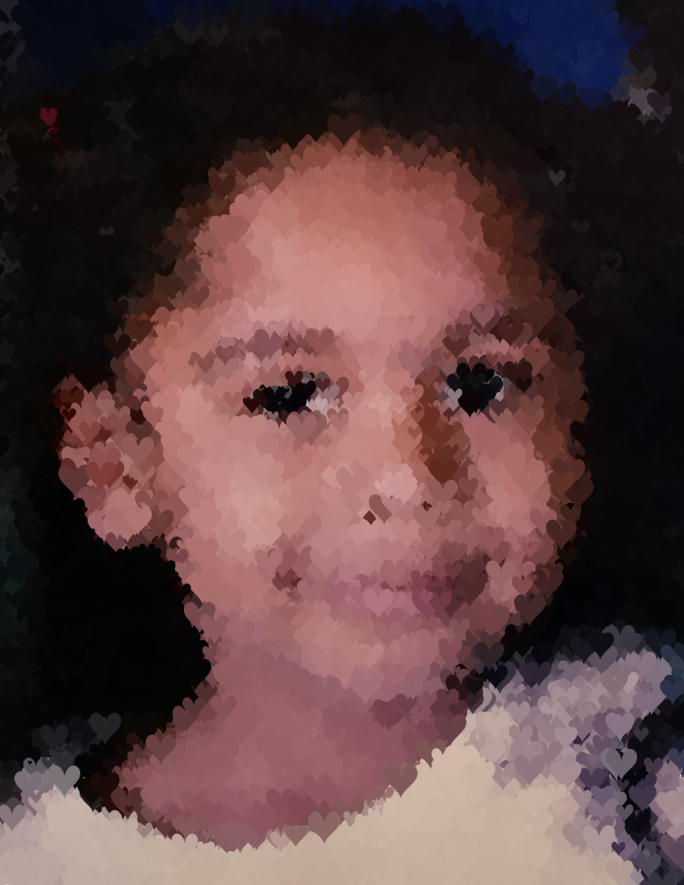
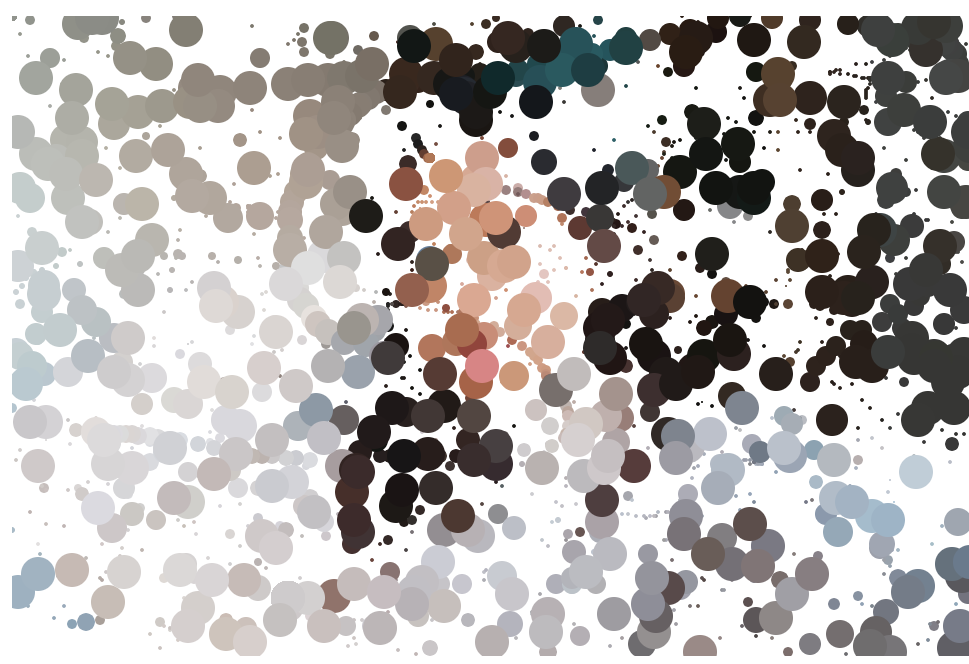
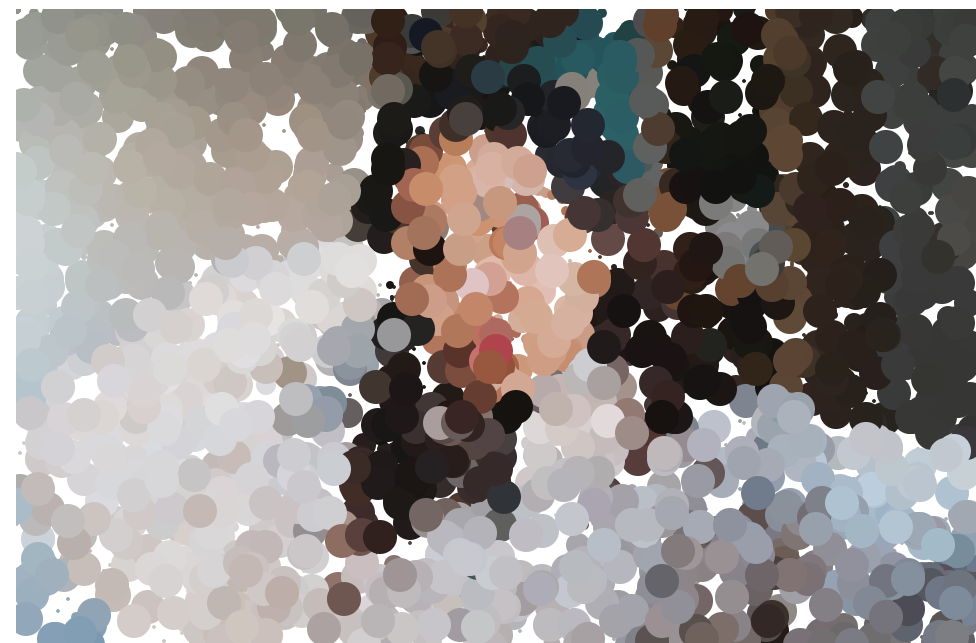
For this project, I wanted to make use of the hearts I created in the curves project. I used a picture of me as a child for the program. The size of the hearts are random, but the shape slightly changes depending on the time.

Hearts at 1:59 | Hearts at 2:00 | Image after some time has passed
Original image

Project : 09

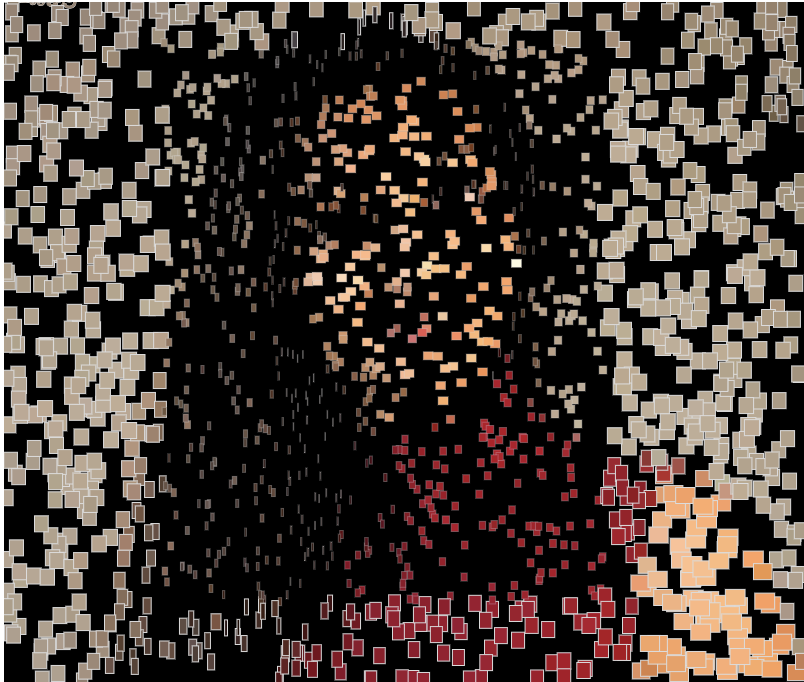
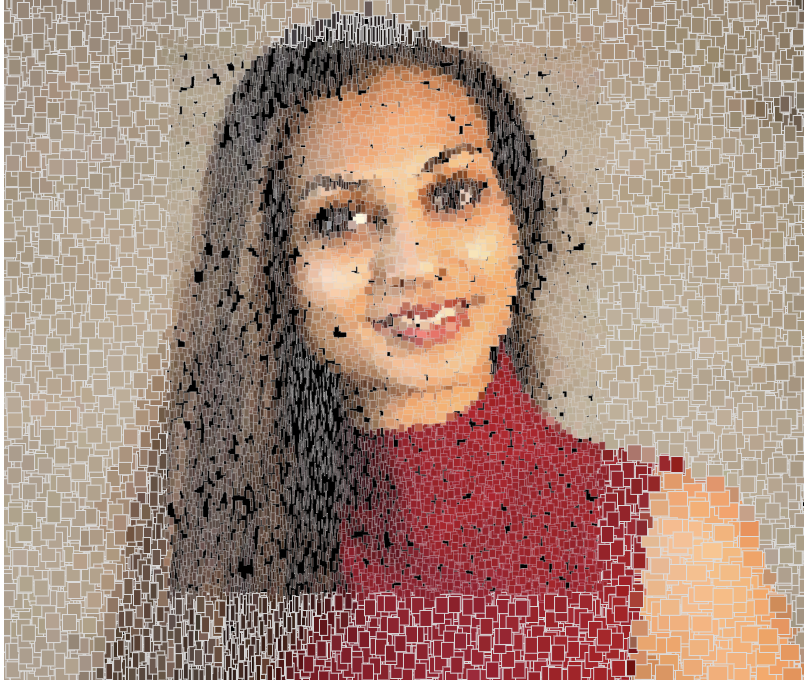
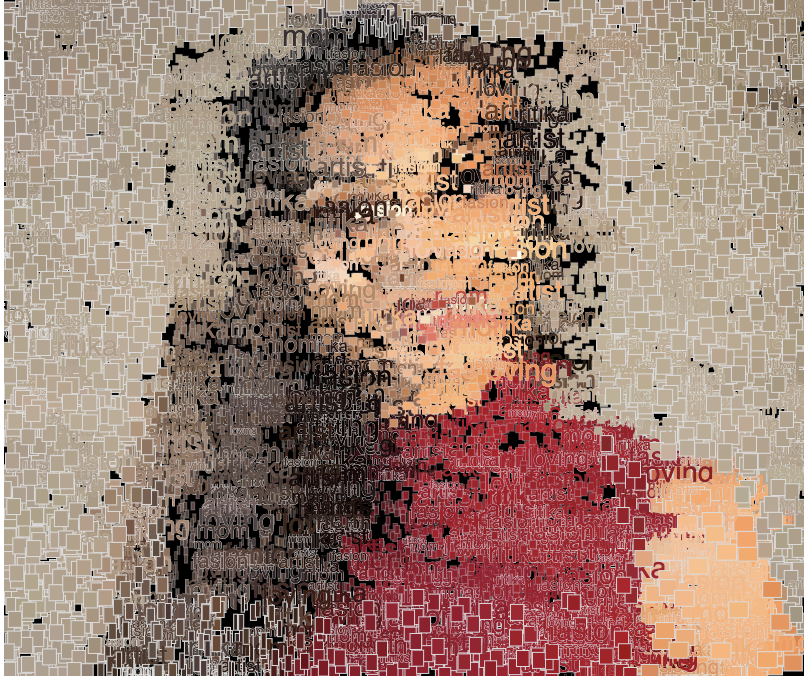
For this project I decided to create a clearer perception of the image of my aunt for the portrait and the background would start to fade away. Therefore I used smaller rectangles for the main portrait and bigger ones for the background. I also wanted to add a few interactive features so when the mouse is pressed the rectangles become bigger and rotate and when the mouse is moved around the canvas words that describe my aunt start to show up on the screen.

sketch
A couple minutes into the animation
Image almost complete without mouse being pressed or on canvas
Image with words being displayed as the mouse is moved around screen
Image with mouse pressed

//Aadya Bhartia
//Section A 
//abhartia@andrew.cmu.edu

/*The program begins to create more details with smaller rectangles for the main portrait and bigger 
rectnagles for the background. When the mouse is pressed the rectnagles rotated and scaled and when the mouse 
is moved around the screen words that describe my aunt in the portrait show up */

var port = 20; //global avriable to help determine size of portraitwhich is in focus
var img;
var word = ['artist','ritika','mom','loving','fasion']; //words displayed when mouse is on canvas
function preload(){
	var imgURL = "https://i.imgur.com/vhfzHA1.jpg" ;
	img = loadImage(imgURL);
}

function setup() {
    createCanvas(400, 340);
    background(0);
    img.loadPixels(); //loading pixels from image
    frameRate(1000);
    rectMode(CENTER);
}
function draw() {
	var px = random(width); //x position of rectangles 
	var py = random(height); //y position of rectangles
	var cx = constrain(floor(px), 0, width-1);
	var cy = constrain(floor(py), 0, height-1);
	//colour at current pixel 
	var positionColour = img.get(cx, cy);
	//colour at mouse position 
	var mouseColour = img.get(mouseX, mouseY);
	//varying width of rectangle based on brightness at current pixel 
	var rectL = map(brightness(positionColour),0,200,0,20);
	if(mouseIsPressed){ //when mouse is pressed rectangles becomes twice the size at rotate at 90 degrees 
		push();
		translate(px,py); 
		scale(2);
		rotate(PI/4);
		noStroke();
		fill(positionColour); //setting fill to colour at that pixel
		rect(0,0,rectL,8);
		pop();
	}
	//for the main portrait the rectangles are smaller while for the background they ae bigger
	else{
		if(px > port*4 & px < port*15 && py> port && py < (height- port*2)){ //setting position of the portrait 
			strokeWeight(0.1);//very thin stroke to emphasizse the portrait 
			stroke(220); //setting stroke as a light grey to distinguish between pixels 
			fill(positionColour);
			rect(px,py,rectL/2,4); //making rectnagles smaller 
		}
		//for the background 
		else{
			strokeWeight(0.5);
			stroke(220); //setting stroke as a light grey to distinguish between pixels 
			fill(positionColour); //fill based on colour at curent pixel location
			rect(px,py,rectL,8);
		}
	}
	//text is displayed based on mouse position and colour
	fill(mouseColour); //text colour based on pixel colour at current location
	textSize(random(5,15));
	text(random(word), mouseX, mouseY); //sectiong random text from arrray and displayiong at mouse position
}

Project 9: Portrait

For this assignment, I used circles that size in size in correspondence to clicking the up or down arrow. It was inspired by the concept of paint splash art where it can create a very interesting portrait when you mix different brush sizes.

sketch

//Helen Cheng
//helenc1@andrew.cmu.edu
//Section C
//Project-09

var selfie;
var pixelSize = 5;

function preload() {
  selfie = loadImage("https://i.imgur.com/TWhDyur.jpg");
}

function setup() {
  createCanvas(480, 320);
  selfie.resize(480, 320);
  selfie.loadPixels();
}

function draw() {
  //random pixel drawer
  var picX = floor(random(selfie.width));
  var picY = floor(random(selfie.height));
  fill(selfie.get(picX, picY)); 
  drawPixel(picX, picY);

  //mouse brush
  fill(selfie.get(mouseX, mouseY));
  drawPixel(mouseX, mouseY);

}

 function drawPixel(x, y) {
    //circlular brush strokes
    strokeWeight(0);
    circle(x, y, pixelSize);
  }

//increase or decreases brush stroke using up and down arrows
function keyPressed() {
  if (keyCode === UP_ARROW) {
    pixelSize += 1;
  }
  else if (keyCode === DOWN_ARROW);
    pixelSize = pixelSize - 1;
  }

Looking Outwards : 09

The Looking Outwards from week 4 was about sound art and I am extremely interested in how sound is being visualised today within generative art practices. Nick Wong’s LO on Nanotak Studio’s Daydream was extremely fascinating for me. Although the idea of adding sound visualisation has recently become prevalent in art and design. It does start to allow for a more immersive experience. This installation aimed at establishing a physical connection between the virtual space and the real space, blurring the limits and submerging the audience into a short detachment from reality. Lights generate abstract spaces while sounds define the echoes of virtual spaces. Daydream is an invitation to contemplation, and the frontality of the installation leads the visitors to a passive position, almost overwhelming them with the audiovisual effects. I definitely feel Nick could have added a video which would have helped me better understand the project at first glance.

Nick Wong’s Looking Outwards 4 on 27th September, 2020.