Vicky Zhou – Project 09 – Computational Portrait

sketch

/*Vicky Zhou
Section E 
vzhou@andrew.cmu.edu
Project-09-Computational Portrait*/


var maandpa;

function preload() {
    var myImage = "https://i.imgur.com/2z2nvGR.jpg";
    maandpa = loadImage(myImage); //image of my mom and dad 
}


function setup() {
    createCanvas(350, 370);
    background(140, 200, 200, 100);
    imageMode(CENTER);
    maandpa.loadPixels();
    frameRate(900);
}


function draw() {
    var x = 1;
    var y = 1;
    var xvel = random(1, 400); //random x to add to x position 
    var yvel = random(1, 400); //random y to add to y position 
    x += int(x * xvel);
    y += int(y * yvel);


    var pcol = maandpa.get(x, y); //getting pixel color 
    noStroke();
    tint(255, 100); //makes a white tint; half opacity 
    fill(pcol);
    var size = random(0, 10); //generating random ellipse sizes 
    ellipse(x, y, size, size);

    //creating chinese word for mom on mom's side 
    if (x >= 200 & x <= 350){
        tint(255, 150);
        textSize(random(0, 20));
        text("妈", x, y);
    }
    //creating chinese word for dad on dad's side 
    if (x >= 0 & x <= 200){
        tint(255, 150);
        var space = random(0, 30);
        text("爸", x + space, y);
    }
}


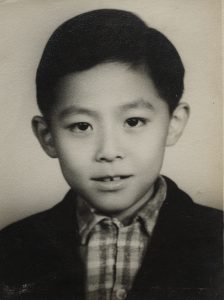
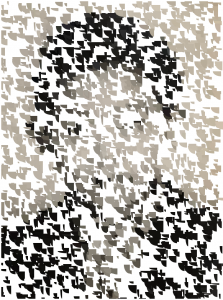
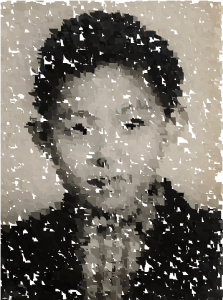
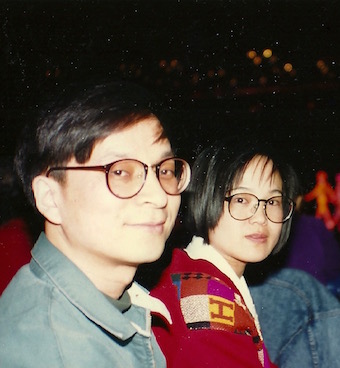
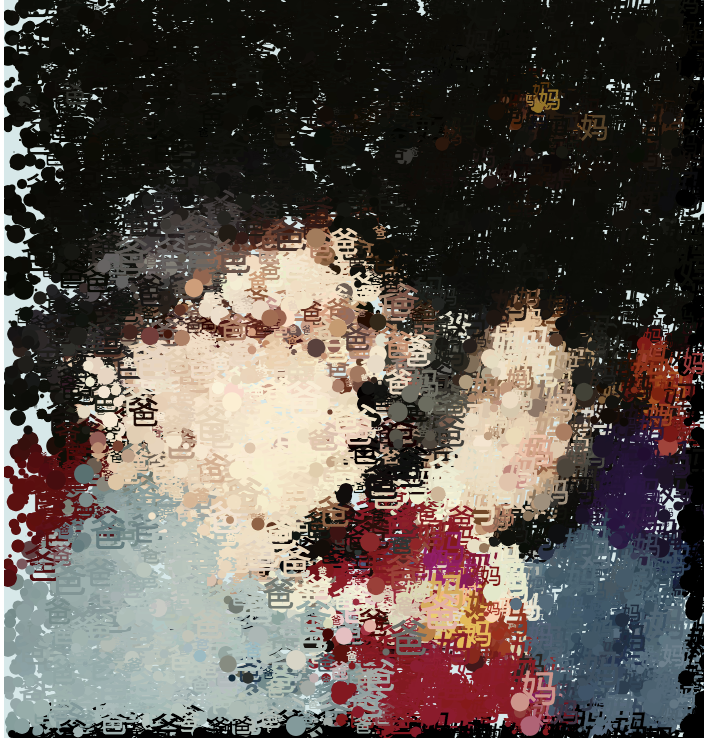
For this computational portrait project, I used a cool hip photo of my momma and papa from their ol’ days. I loved seeing other people manipulate different types of text and utilizing it as their generative pixels, and so I wanted to do the same but by using the Chinese word for “mom” and “dad” on their respective side of the image. I also included ellipses to add more to the background, because I did not like it as much with the gaps. Both text and ellipses are generated to have a certain tint, to create a better layering effect, and also are generate to be of varying random sizes.

Original Image:
Generative Image:
Jenna Kim (Jeeyoon Kim) – Project 09 – Portrait

jeeyoonk09

/* Jenna Kim (Jeeyoon Kim)
Section E
jeeyoonk@andrew.cmu.edu
Project 9: Portrait
*/

//GLOBAL variable for the IMAGE
var jen;

// preloading image ON THE CANVAS
function preload() {
    jen = loadImage("https://i.imgur.com/gvGuJiN.jpg?1"); 
}

function setup(){
	//canvas setting
	createCanvas(600, 400);
	background(255);
	jen.loadPixels(); //draw image
	noStroke();
	imageMode(CENTER);
	frameRate(150);
} 
function draw(){
	// starting from the first half of the page and then the left
	var jx = random(width);
	var jy = random(height);
	//constraining to canvas
	var jjx = constrain(floor(jx), 0, width - 15);
	var jjy = constrain(floor(jy), 0, height - 15);
	//picking color from the image
	var C = jen.get(jjx, jjy);

	//drawing rectangular pixels
	noStroke();
	fill(C);
	rectMode(CENTER);
	rect(jx, jy, random(5, 10), random(5, 10));

	//when mouse is pressed, pink circles are created
	if (mouseIsPressed){
		noStroke();
		fill("pink");
		ellipse(jx, jy, 5, 5);

	}
}

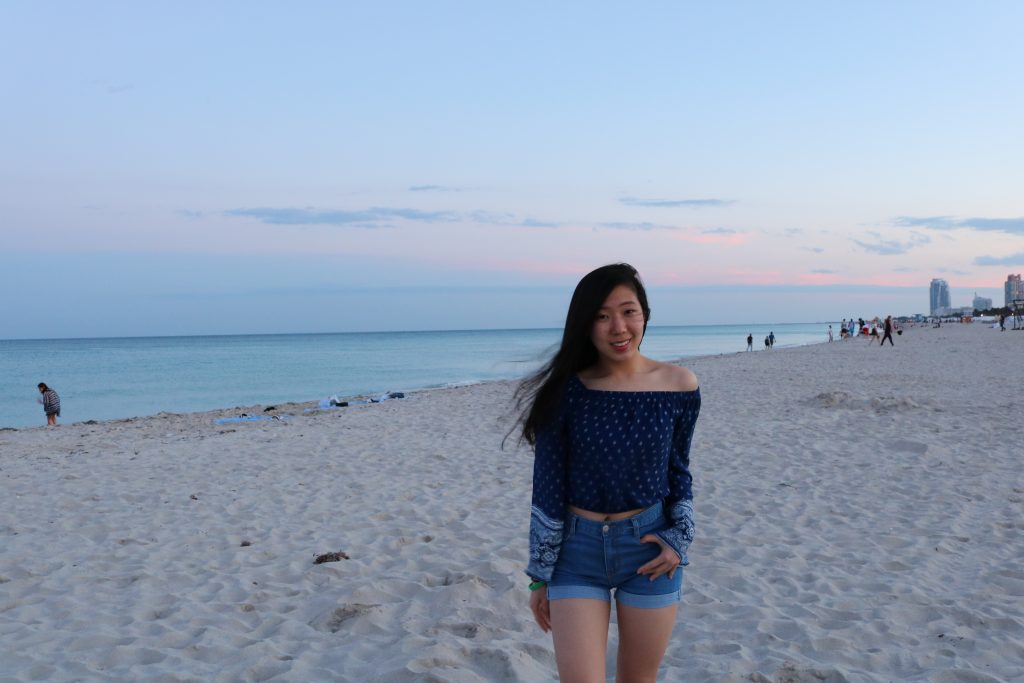
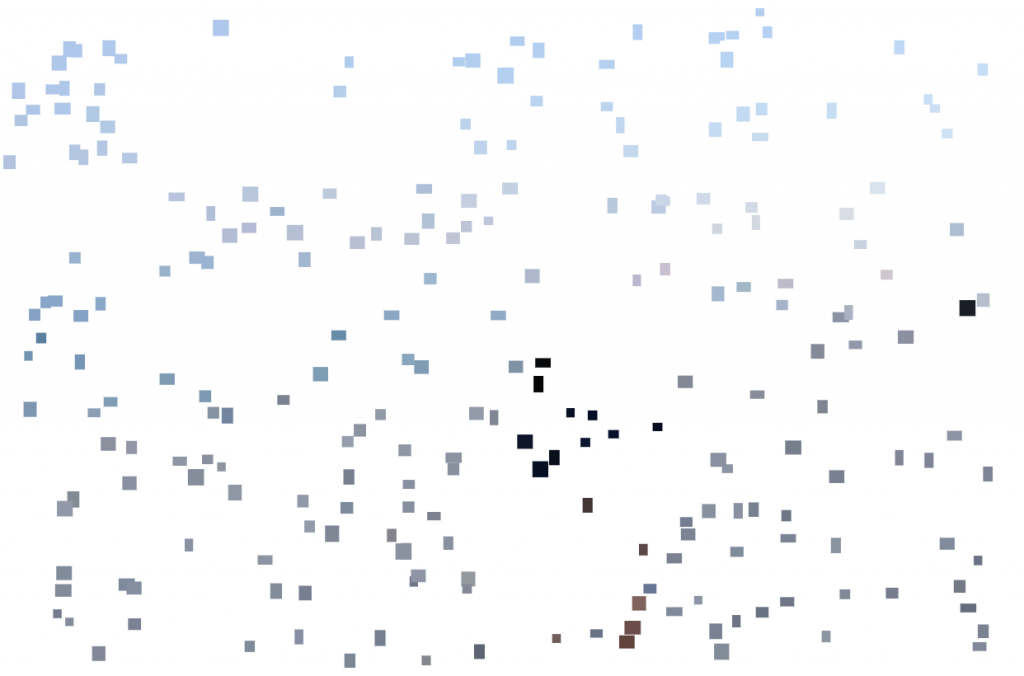
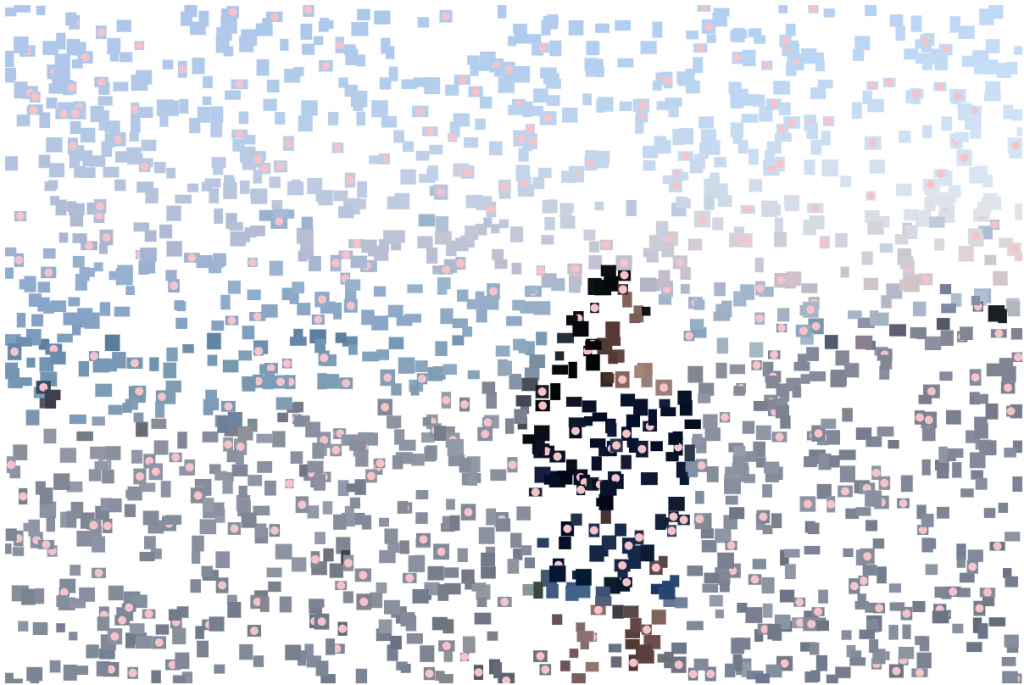
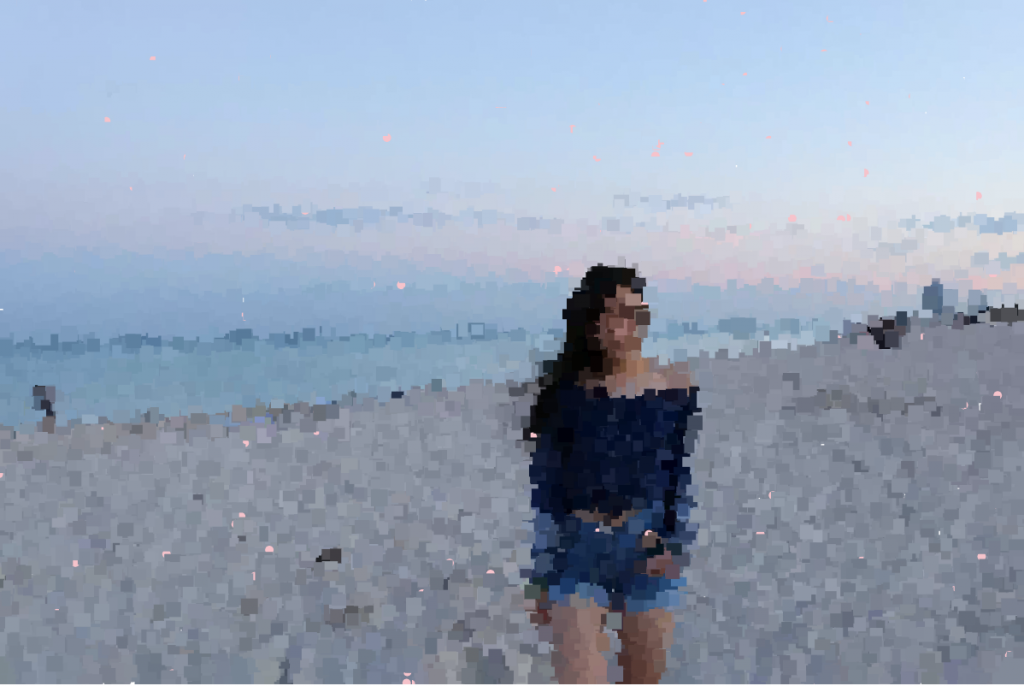
For this project, I used a portrait of my friend Jenny. I randomized simple rectangular forms to complete Jenny’s portrait. Looking at others’ portraits and trying different codes for my project, I was amazed by how many variations you can use to create a
pixelated portrait. When you click on the screen, pink circles come up because I personally like the pink sky in the back and I wanted the pink color to show up on other parts of the portrait too. It’s fun to look at the pink circles disappear as more rectangular shapes show up.

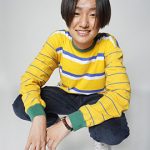
original photo

middle process
What it’s supposed to look like as the forming of portrait goes to end

Anthony Ra – Project 09 – Portrait

sketch

/* Anthony Ra
Section-A
ahra@andrew.cmu.edu
Project-09 */

var heaven;
var start = 100;
/* spelling of heaven as arrays to fill the image */
var name = ["H", "E", "A", "V", "E", "N"];

function preload() {
    var heavenUrl = "http://i.imgur.com/ILpL0Fu.jpg" /* uploading picture */
    heaven = loadImage(heavenUrl);
}

function setup() {
  createCanvas(400, 400);
  background(0);
  imageMode(CENTER);
  heaven.resize(400, 400);
  heaven.loadPixels();
  frameRate(5000);
}

function draw() {
  /* series of sizes for the letters */
  var size = random(20, 35);
  /* starting point */
  var px = randomGaussian(width/2, start);
  var py = randomGaussian(height/2, start);
  /* values constrained to the picture */
  var heavenX = constrain(floor(px), 0, width);
  var heavenY = constrain(floor(py), 0, height);
  /* getting colors from the picture */
  var col = heaven.get(heavenX, heavenY);
  /* induces the speed of pixels array */
  var i = floor(random(5));
  push();
  translate(px, py);
  noStroke();
  fill(col);
  textSize(size);
  text(name[i], 0, 0);
  pop();
}

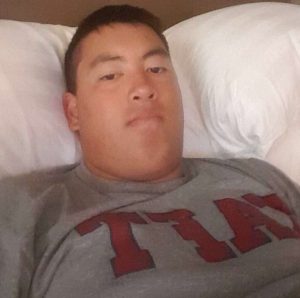
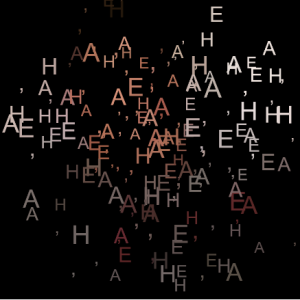
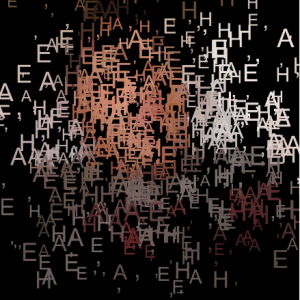
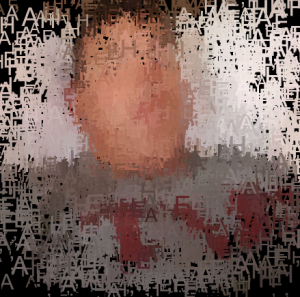
I don’t have any pictures of myself because .. I don’t. So, I used a personally funny picture of a dear friend who is always salty. Using a play on his name (Evan), I randomized the letters in the word “HEAVEN” and given each color based on the image. The origin of “Heaven” came from a typo from Au Bon Pain. I increased the rate of the letters appearing to an astronomical amount because I just want to see this face haha.

original photo
3 seconds in
13 seconds in
a lot of seconds in

Lingfan Jiang – Project 09 – Portrait

sketch

// Lingfan Jiang
// Section B
// lingfanj@andrew.cmu.edu
// Project-09

var x = [50, 61, 83, 69, 71, 50, 29, 31, 17, 39];
var y = [18, 37, 43, 60, 82, 73, 82, 60, 43, 37];
var underlyingImage;

function preload() {
    var myImageURL = "https://i.imgur.com/U0XImSh.jpg";
    underlyingImage = loadImage(myImageURL);
}

function setup() {
    createCanvas(480, 480);
    frameRate(10);
    //translate the origin a little to make the canvas filled
    translate(-20, -20);
    background(187, 230, 235);
    underlyingImage.loadPixels();
}

function drawStar(sx,sy){
    push()
    translate(sx - 20, sy - 20)
    var nPoints = x.length;

    //draw stars based on the two arrays stated at the beginning
    //also use random function to let the stars have slightly different shapes
    beginShape();
    for (var i = 0; i < nPoints; i++) {
        var ssx = x[i] + random(-3, 3);
        var ssy = y[i] + random(-3, 3);
        scale(0.85)
        vertex(ssx,ssy);
    }
    endShape(CLOSE);
    pop()
}


function draw() {
    //create random points width the size of (500, 500) 
    //to make sure the stars can reach the edge
    var px = random(width + 20);
    var py = random(height + 20);
    var ix = constrain(floor(px), 0, width + 20);
    var iy = constrain(floor(py), 0, height + 20);
    //get color from the underlying image
    var theColorAtLocationXY = underlyingImage.get(ix, iy);

    noStroke();
    fill(theColorAtLocationXY);
    //draw stars based on px, py
    drawStar(px, py);
}


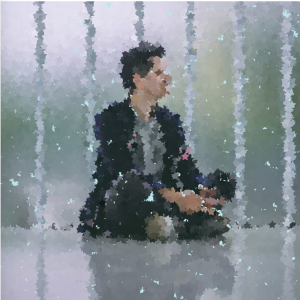
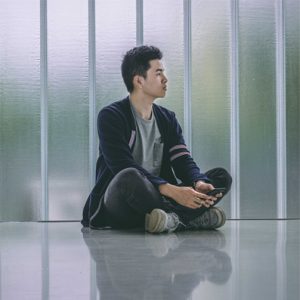
This is a very interesting project which reminds me of the first portrait project we did for the course. It is amazing how much I learned along the way.

For this project specifically, I decided to use the star shape we learned how to do earlier as my pixel. The result turns out very good in the end.

Victoria Reiter – Project 09 – Portrait

sketch

/*
Victoria Reiter
Section B
vreiter@andrew.cmu.edu
Project-09-Portrait
*/

var img;

// preoloads photo of my friend Shirley!
function preload() {
    var myImgURL = "https://i.imgur.com/n0vEZ2z.png?2";
    img = loadImage(myImgURL);
}


function setup() {
    createCanvas(480, 480);
    angleMode(DEGREES);
    background(89, 10, 201);
    imageMode(CENTER);
    img.loadPixels();
}

function draw() {
    // chooses a random x value located near the cursor
    var randomX = floor(random(mouseX - 15, mouseX + 15));
    // chooses a random y value located near the cursor
    var randomY = floor(random(mouseY - 15, mouseY + 15));
    // selects the color from a pixel at a random point near the cursor
    fill(img.get(randomX, randomY));
    // draws a flower at that point
    flower(randomX, randomY);
}

// creates flower shape
function flower(x, y) {
    push();
    noStroke();
    translate(x, y);
    ellipse(0, 2, 2, 6);
    rotate(45);
    ellipse(5, 0, 2, 6);
    rotate(90);
    ellipse(5, 0, 2, 6);
    rotate(135);
    ellipse(-8, 5, 2, 6);
    rotate(180);
    ellipse(8, 4, 2, 6);
    rotate(225);
    ellipse(-6, 11, 2, 6);
    rotate(270);
    ellipse(-6, -11, 2, 6);
    rotate(-45);
    ellipse(0, -13, 2, 6);
    pop();
}

这个周末我决定了创造我的朋友Shirley的画像。因为她很艺术的,所以我觉得可能是最好的题材。她很优雅的,所以我决定了创造花来代表这个她的性格的方面。她是我在上海留学的时候的语伴,现在在墨尔本,澳大利亚上大学。你好Shirley!!

This week I decided to make a portrait of my friend Shirley. She is very artistic, so I thought she would be the perfect subject for the project. She is very pretty and elegant, so I decided to create flowers to represent this aspect of her personality. She was my language partner when I studied abroad in Shanghai, and now she attends school in Melbourne, Australia. Hi Shirley!!

I added an aspect where you use the mouse to “paint” the flowers on the screen, and thus be able to control how the portrait is revealed. I think this is interesting, because it allows you to decide how you explore the portrait, and makes the process feel a little more intimate. You can also draw with the mouse in the earlier frames and create swirls and shapes on the screen by revealing the colors of the portrait below.

Romi Jin – Project-09-Portrait

sketch

/*
Romi Jin
Section B
rsjin@andrew.cmu.edu
Project-09
*/

var img;

function preload() {

    var imgur = "https://i.imgur.com/tbSmZ90.jpg";
    img = loadImage(imgur);
}

function setup() {

    createCanvas(360, 479); //resize image in photoshop
    background(255, 225, 225);
    imageMode(CENTER);
    frameRate(500); //speed that pixels are drawn 
    img.loadPixels();
    noStroke();

}

function draw() {

    var x = constrain(floor(random(width)), 0, width); //constrains random x values of pixels
    var y = constrain(floor(random(height)), 0, height); //constrains random y values of pixels

    var rgb = img.get(x, y); //extracts colors from image pixels

    fill(rgb);
    ellipse(x, y, 7); //circles drawing the image

}

For this project, I used an image of my best friend from home, Mina! It was a lot easier than I expected! From just a few lines of code, you can produce such a cool animated image! I am excited to try this out with different images and shapes in the future.

Mimi Jiao – Project 9 – Section E

try clicking me!

/* Mimi Jiao
wjiao@andrew.cmu.edu
Section E
Project-09
*/

var underlyingImage;
var clickCount;    
var string = "0";

function preload() {
    //preloading image into code 
    var myImageURL = "https://i.imgur.com/kkJQot1.jpg";
    underlyingImage = loadImage(myImageURL);
}

function setup() {
    //setting size of canvas to image size 
    createCanvas(underlyingImage.width, underlyingImage.height);
    background(0);
    underlyingImage.loadPixels();
    frameRate(300);
}

function draw() {
    strokeWeight(1);
    //finding color and location of the image
    var px = random(width);
    var py = random(height);
    var ix = constrain(floor(px), 0, width-1);
    var iy = constrain(floor(py), 0, height-1);
    var theColorAtLocationXY = underlyingImage.get(ix, iy);
    noFill();
    stroke(1);
    //setting up font size and type
    textSize(10);
    textFont('Courier New')
    stroke(theColorAtLocationXY);
    text("m i mi", px, py);
}

function mousePressed() {
    //if mouse is pressed, add these elements to the canvas
    textSize(20);
    //randomizes click count so that if it lands on a 
    //certain value, then something different will display
    clickCount = int(random(20));
    if (clickCount % 5 === 0) {
        strokeWeight(2);
        stroke(0, 255, 0);
        fill(255, 0, 0)
        string = "1";
    }else if (clickCount === 17) {
        strokeWeight(3);
        stroke(0, 0, 255);
        string = "error";
    }else {
        string = "0";
    }
    fill(255, 0, 0);
    text(string, mouseX, mouseY);

}

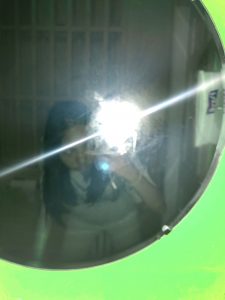
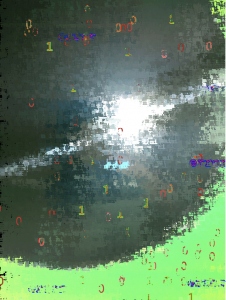
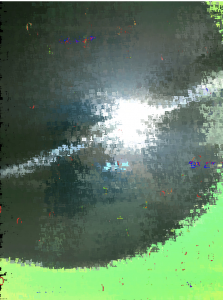
For this project, I was inspired by binary numbers and the primitive visuals of computer errors and coding. I used a picture I took of myself during the summer in a bathroom, adjusted the colors and made parts of it neon green to fit the aesthetic a bit more, and used my name, “mimi” to generate the image.
Here is the original image:

Here is the generated image:

Kyle Leve-Project-09-Portrait-Section A

sketch

// Kyle Leve
// kleve@andrew.cmu.edu
// Section A
// Project-09-Portrait

var img;

function preload() {
	var myImage = "https://i.imgur.com/lsBIvvW.jpg"; // Variable for image
	img = loadImage(myImage); // Loads image
}

function setup() {
    createCanvas(480, 480);
    background(220);
    img.loadPixels(); // Calls image
    imageMode(CENTER);
    frameRate(500);
}

function draw() {
	var x = constrain(floor(random(width)), 0, width-1); // Randomizes x position of pixels
	var y = constrain(floor(random(height)), 0, height-1); // Randomizes y position of pixels

    noStroke();
	var clr = img.get(x, y); // Gets colors from image for pixels
	fill(clr);
	rect(x, y, 10, 10); // Draws image using rectangles
}

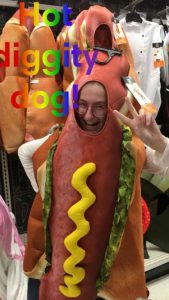
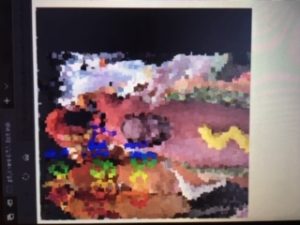
I found this project to be really fun because it allowed me to apply something from my life into my code. The image that is being created is of my friend Sara in hot dog costume while we were taking a trip to target. The one problem I faced was originally the image was too big so only a quarter of the image was being displayed. However, I went back to the image and edited it to a smaller size and that fixed the issue.


Original image


Nearly completed replication

Alice Fang – Project 9

after one image is formed, click for another!

/*
Alice Fang
Section E
acfang@andrew.cmu.edu
Project-09
*/

var friend = []; // picture of friend!
var state = 0; // indicates which picture

function preload() {
	var imgURL = [];
	imgURL[0] = "https://i.imgur.com/62FXNHg.jpg"; // full body
  	imgURL[1] = "https://i.imgur.com/ieqrCP3.jpg"; // torso
  	imgURL[2] = "https://i.imgur.com/e4nON6h.jpg"; // portrait

  	for (var i = 0; i < imgURL.length; i++) {
  		friend[i] = loadImage(imgURL[i]);
  	}
}

function setup() {
  createCanvas(270, 400);
  background('lightyellow');
  imageMode(CENTER);
  noStroke();
  friend[state].loadPixels();
}

function draw() {
	// select pixels from center of canvas outwards
	var pX = randomGaussian(width / 2, 75);
	var pY = randomGaussian(height / 2, 75);
	
	// constrain to canvas
	var cX = constrain(floor(pX), 0, width - 1);
	var cY = constrain(floor(pY), 0, height - 1);

	// get color from pixel
	var col = friend[state].get(cX, cY);

	fill(col); 
	textSize(16 - (state * 4));
	text("美", cX, cY);
}

function mousePressed() { // change image
	background('lightyellow'); // 'refresh' canvas
	state = state + 1;
	if (state > 2) state = 0;
}

This is a picture of my friend Meijie that I took for a photo class last semester! Originally, the shape I used for the color was an ellipse, and I spent a lot of time playing around with image ‘resolution’ compared to the underlying image. When I changed it to the character 美, which is ‘beauty’ in Chinese, and also part of her name, I didn’t like how large the character was and the lack of detail it created in the image. Because of that, I explored with changing the image from a full body shot, to a torso shot, to a closer crop of her face; I couldn’t decide which one I liked better so I decided to use all three! As the image zooms in, the resolution becomes sharper!

my friend!

Rachel Lee Project 09 Section E

sketch

/* Rachel Lee
Section E
rwlee@gmail.com
Project 09: Custom Pixel*/

var pic;

// preloads image
function preload() {
    pic = loadImage("https://i.imgur.com/iuFu4yy.jpg"); 
}

function setup() {
    createCanvas(358, 480);
    pic.loadPixels();
    background(255);
    imageMode(CENTER);
    frameRate(100);
}

function draw() {
	// randomizes position of pixel appearance 
    var x = constrain(floor(random(width)), 0, width - 1);
    var y = constrain(floor(random(height)), 0, height - 1);
    // randomizes arc width and height
    var w = random(5, 30);
    var h = random(5, 30);

    noStroke();
    // picks colors from pixel position 
    var picCol = pic.get(x, y);
    fill(picCol);
    // draws arcs as 'custom pixel'
    arc(x, y, w, h, HALF_PI, PI);
}

I decided to create a custom pixel portrait of my dad for his birthday this weekend. Due to its personal significance, I found this project to be super fun and rewarding, and hope he enjoys the project! I will be doing more of these in the future to try out different options.

Original photo
Custom pixel portrait stills
Close to near final stage