Hannah Cai—Project 09—Portrait

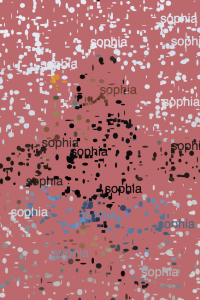
(move mouse around to paint, click and drag to erase.)

/* Hannah Cai
Section C
hycai@andrew.cmu.edu
Project-09-Portrait
*/

var img;

//brush start position is top left corner of the canvas
var x = 0;
var y = 0;

//load image
function preload() {
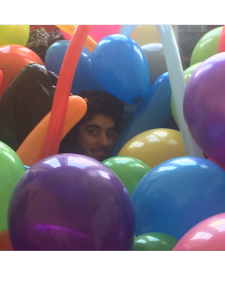
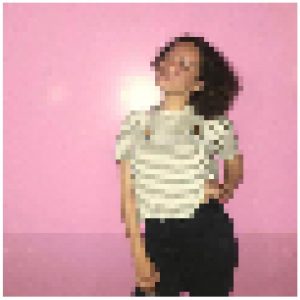
    img = loadImage("https://scontent.fagc2-1.fna.fbcdn.net/v/t1.0-9/44824245_1935019013257397_3442166024294629376_n.jpg?_nc_cat=106&_nc_ht=scontent.fagc2-1.fna&oh=20689f4ef54a6fc95922b240a2579026&oe=5C552C4F");
    
    //sorry for long link, it's from facebook,
    //I tried url shorteners but they messed up the program
}

function setup() {
    createCanvas(480, 480);
    background("RosyBrown");

    //load pixels from image
    img.loadPixels();
}

function draw() {
    
    //get the color of the image at the current position (x, y)
    var col = img.get(x, y);

    //click and drag to erase
    if (mouseIsPressed) {
        noStroke();
        fill("RosyBrown");
        ellipse(mouseX, mouseY, random(5, 20));

    } else { //if mouse isn't pressed,

        //draw an ellipse with random size at (x, y) with the color from col
        noStroke();
        fill(col);
        ellipse(x, y, random(5, 20));

        //ellipse follows mouse around; move mouse around to paint
        var dirX = mouseX - x;
        var dirY = mouseY - y;
        x += dirX / 5;
        y += dirY / 5; 
    }
}


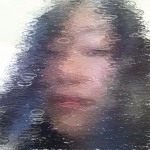
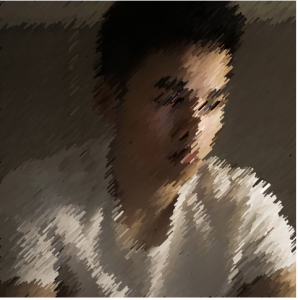
I tried a lot of different variations for this project. The one I settled on is pretty simple in terms of the code, but I liked its aesthetic the most. This program invites the user to “paint” the portrait themself (including the option to erase content by clicking and dragging) adding an element of interactive discovery and intimacy.

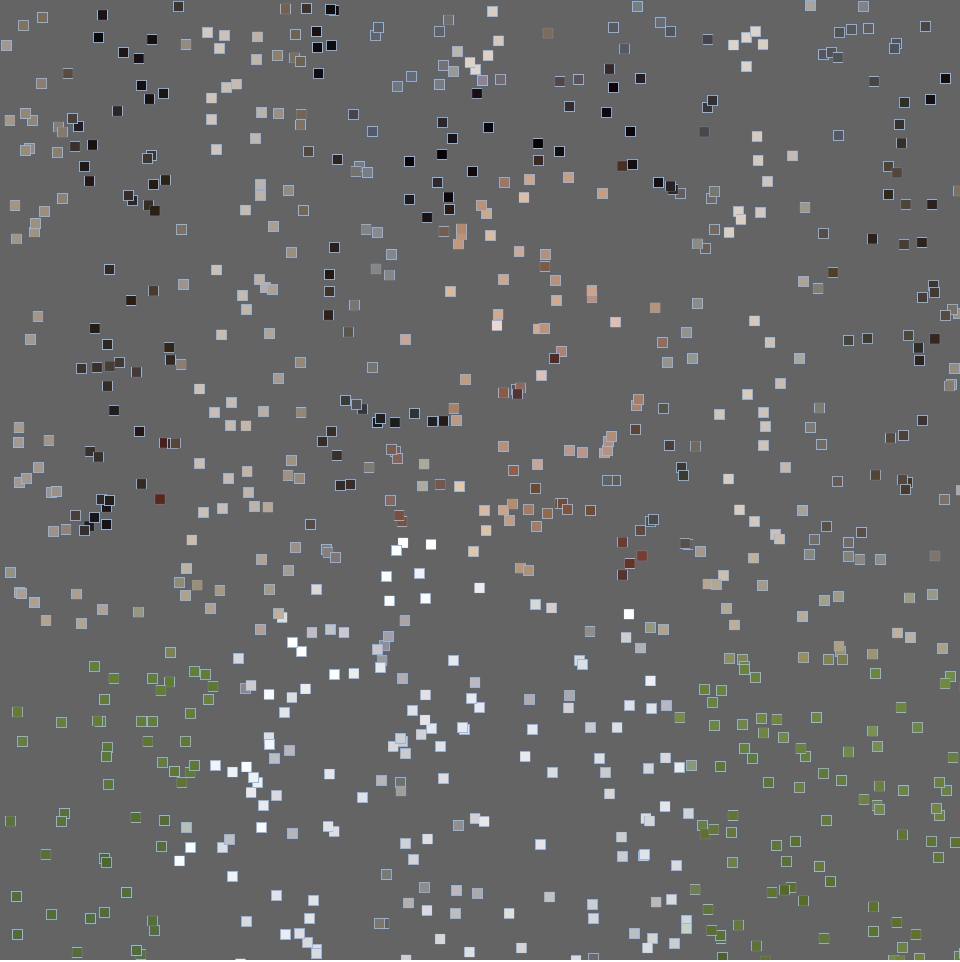
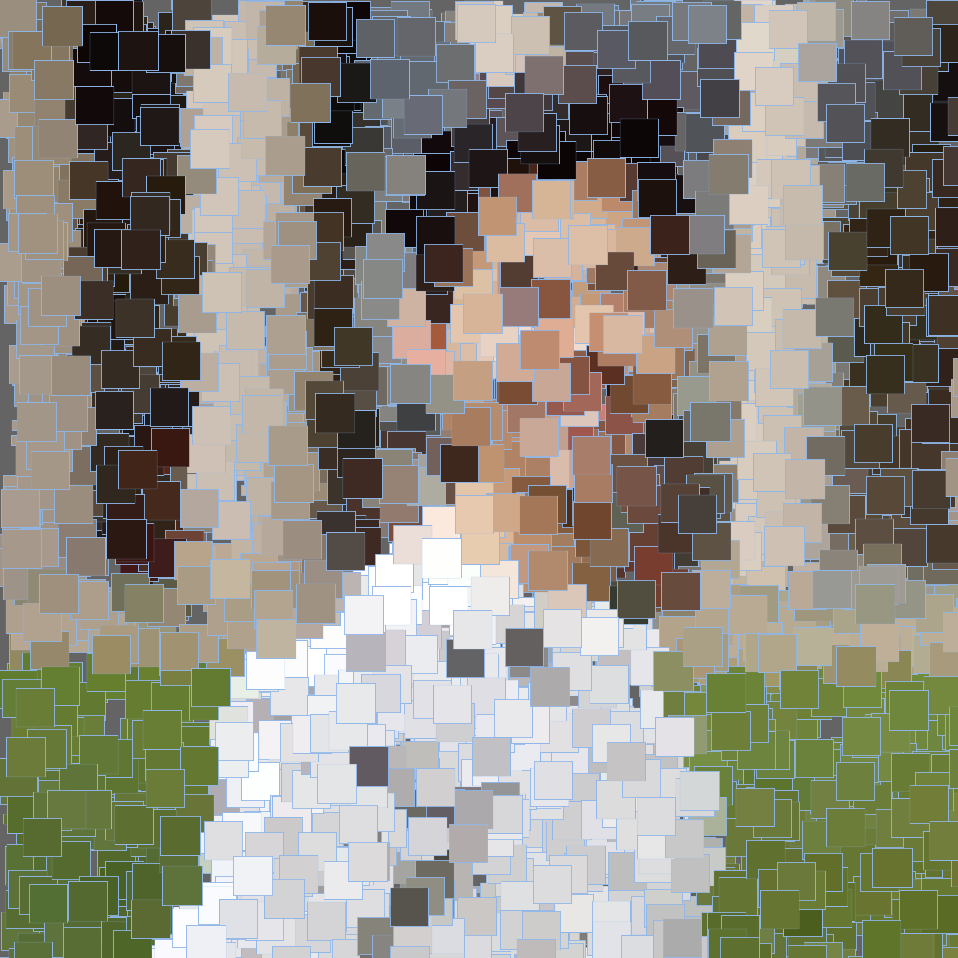
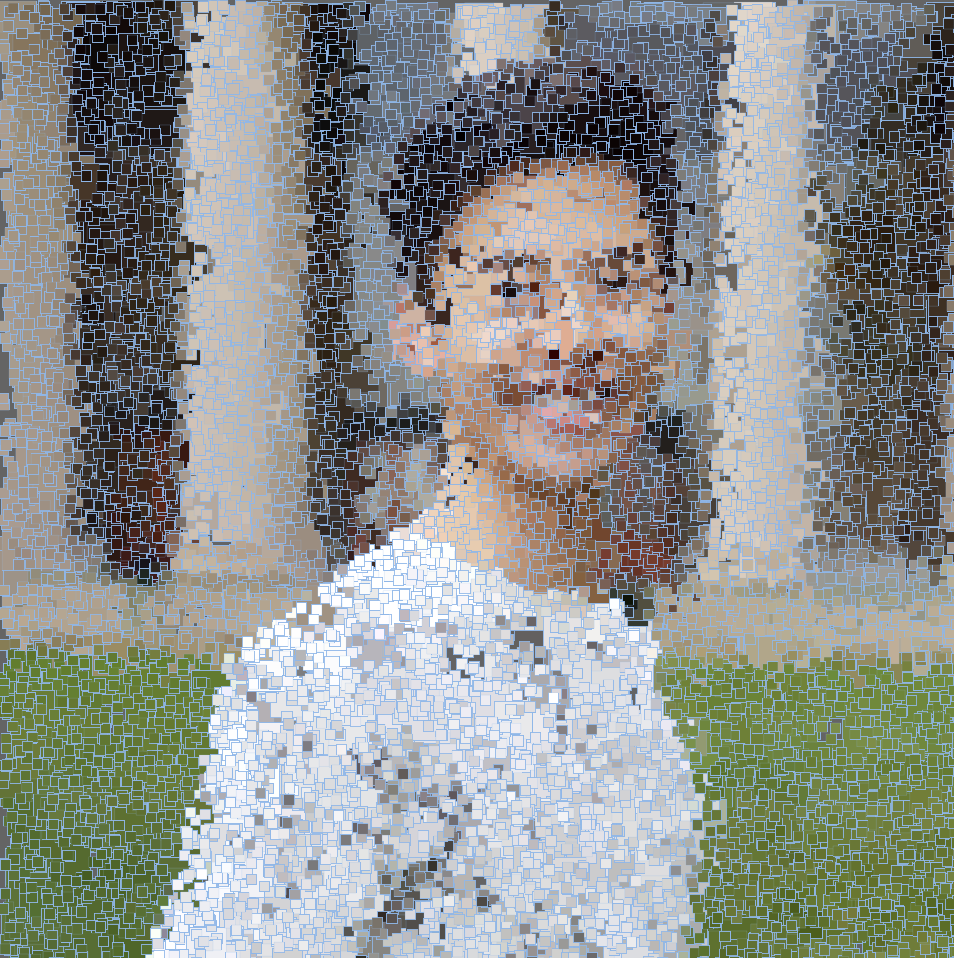
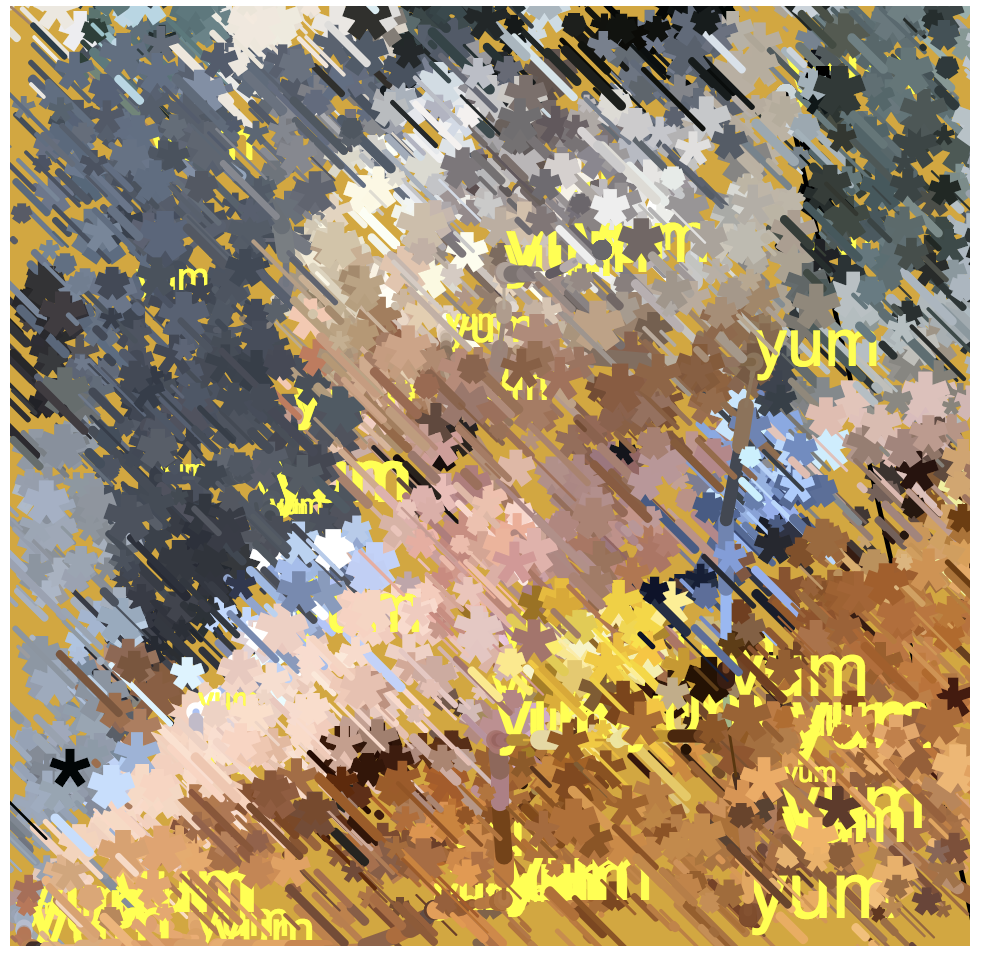
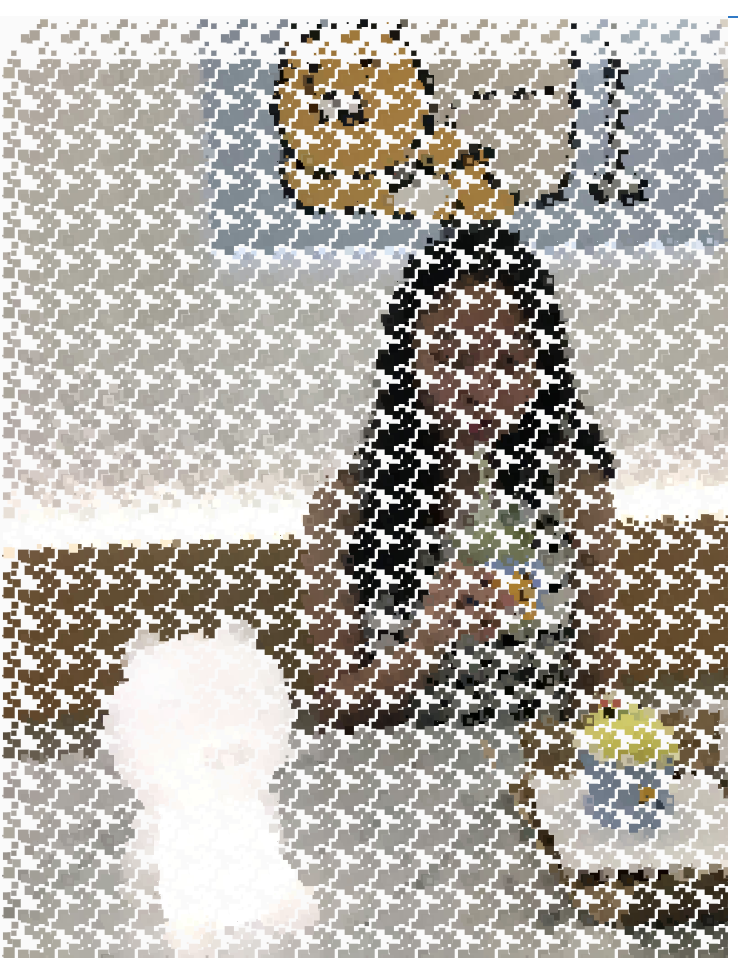
Here’s what a “painting” could look like:

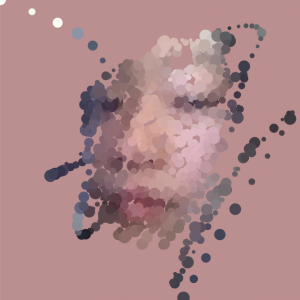
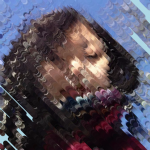
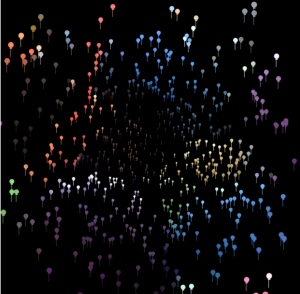
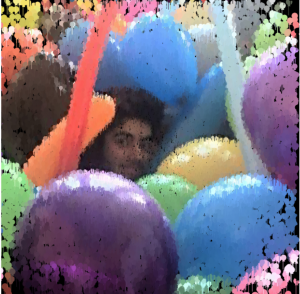
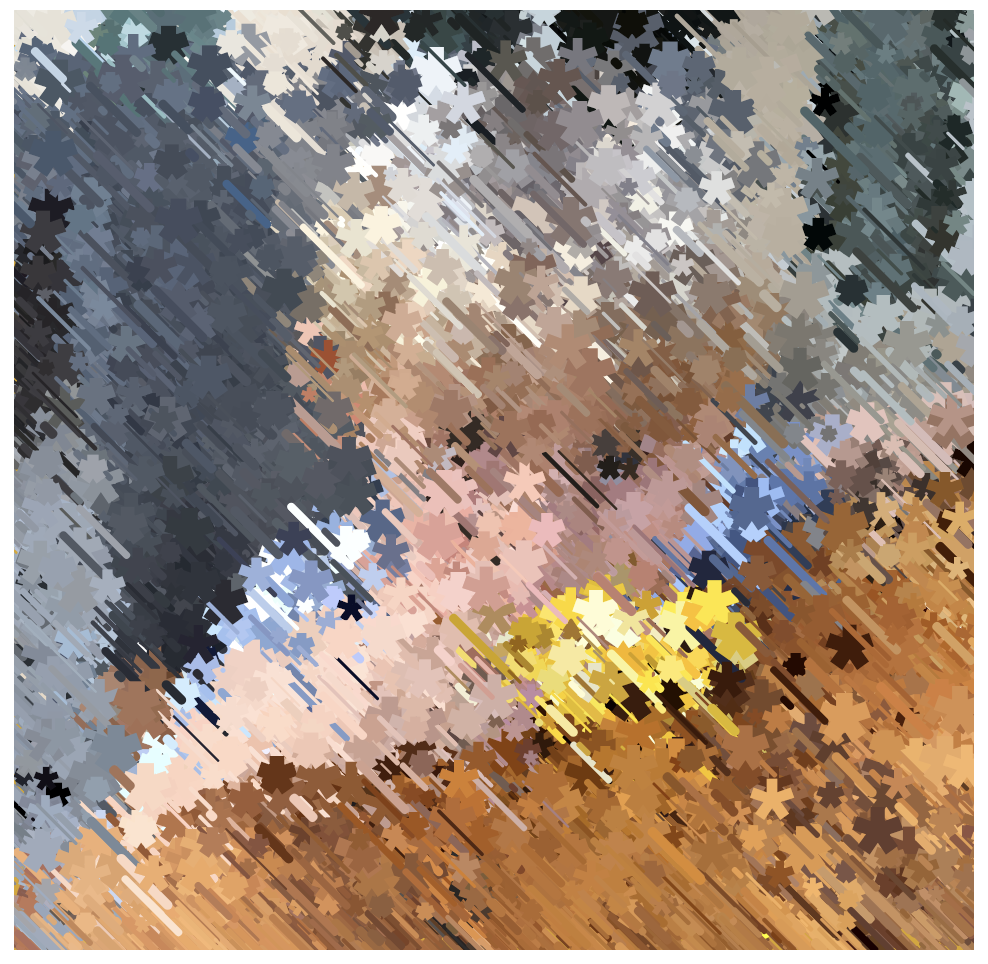
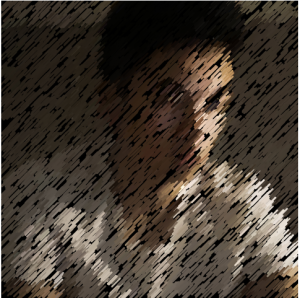
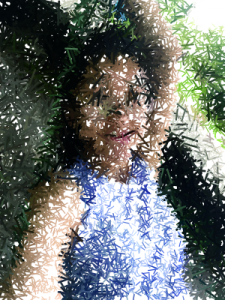
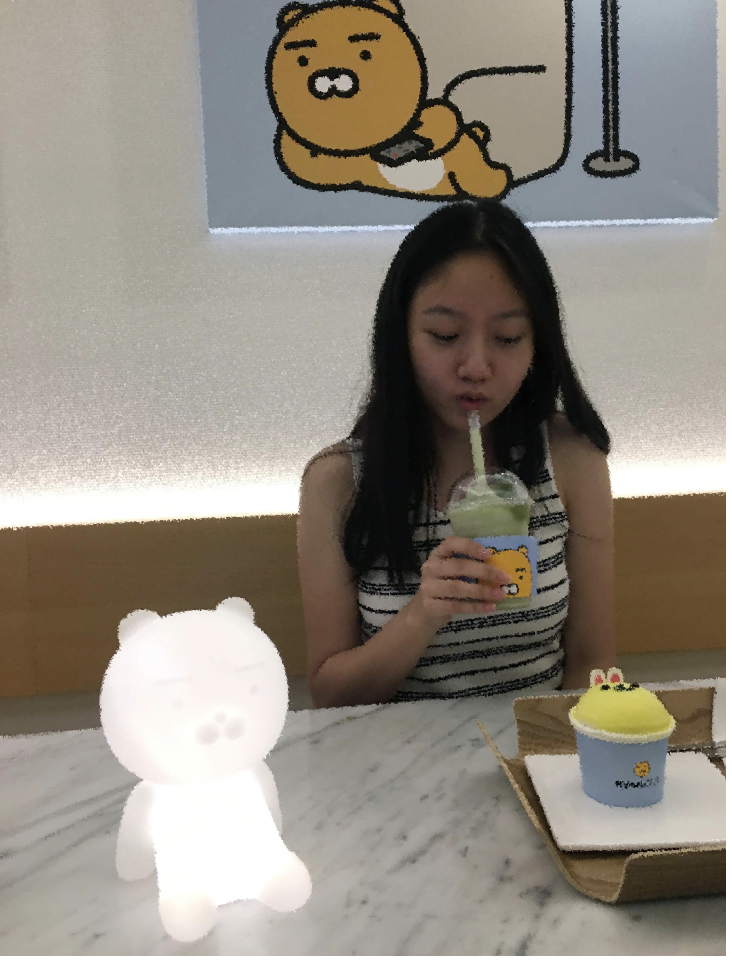
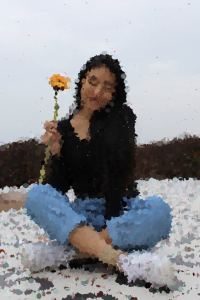
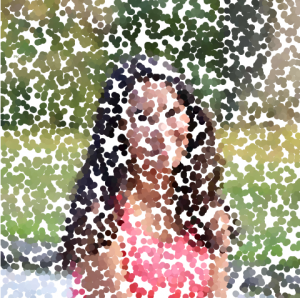
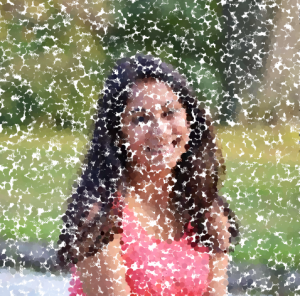
And here are some of the variations I did before choosing the final one:


Alexandra Kaplan – Project 09

sketch

/*
Alexandra Kaplan
aekaplan@andrew.cmu.edu
Section C
Project - 09
*/

var img; //image
var w; //width of balloons

function preload () {
    img = loadImage("https://i.imgur.com/0F4euVwm.jpg?2") //loads image
}

function setup() {
    createCanvas(320, 315);
    background(0);
    noStroke();
    img.loadPixels(); // loads pixels
    frameRate(200); // fast
}

function draw() {

    var x = floor(randomGaussian(width / 2, 75)); // draws balloons concentrated in the center
    var y = floor(randomGaussian(height / 2, 75)); // draws balloons concentrated in the center
    var col = color(img.get(x, y)); 
    var d = dist(x, y , width / 2, height / 2);
    w = map(d, 0, width, 1, 10); // balloons in center are smaller than edge
    fill(col); // fill is color of image at x and y
    stroke(col); // stroke color is color of image at x and y
    balloon(x, y, w, w); // draws balloon
}

function balloon(x, y, w){
	strokeWeight(0.5);
	line(x - (w / 12), y, x - (w / 12), y + (w * 2)); // draws balloon string
	strokeWeight(0);
	ellipse(x, y, w, w); // draws filled up balloon 
	triangle(x - (w / 4), y + (w / 1.5), x + (w / 4), y + (w / 1.5), x, y); // draws balloon nubbin
}

I had a lot of fun finding a picture for this project, and I ended up going with a photo I took of my housemate at the end of last year when we filled up another housemate’s room with balloons. For the computational image, I decided that it should be made up of balloon shaped pixels. The pixels are bigger and more concentrated in the center (and therefore a higher resolution) and bigger and less concentrated on the outskirts.

Beginning of image
Closer to end of image
Original Image

Christine Chen-Project-09-Portrait

Christine Chen-Project-09-Portrait

/*
Christine Chen
Section E
cyc1@andrew.cmu.edu
Project-09
*/
var hiddenImage;

function preload() {
    var imageURL = "https://i.imgur.com/uGrwjUm.jpg";
    hiddenImage = loadImage(imageURL);
}

function setup(){
    createCanvas(480, 480);
    background(100);
    noStroke();
    imageMode(CENTER);
    hiddenImage.loadPixels();
    frameRate(150);
}

function draw() {
    //randomizes pixel location
    var pixelX = random(0, width);
    var pixelY = random(0, height);

    //constrains pixel x values
    var imageX = constrain(floor(pixelX), 0, width); 

    //constrains pixel y values
    var imageY = constrain(floor(pixelY), 0, height);

    //get hiddenImage data
    var locationXYcolor = hiddenImage.get(imageX, imageY);

    //rect size increases with increasing mouseX
    var size = map(mouseX, 0, width, 5, 20)

    stroke(135, 183, 237); //blue
    strokeWeight(0.1); //thin line
    fill(locationXYcolor);
    rect(pixelX, pixelY, size, size);

    //faster on right, slower on left
    //smaller pixels on right need to run faster to show imge
    if (mouseX > width/2){
        frameRate(10);
    } else {
        frameRate(250);
    }
}

//redraws background(start over)
function mousePressed(){
    background(100);
}


For this project, I used my brother’s photo, which I took for his high school senior d. I was playing around with pixel sizes and frame rates. The smaller mouse x is, the smaller the pixels are. Because smaller pixels take more time to draw out a bigger part of the image, I made the frame rate faster for them.I gave the pixels light blue outlines to give the image more of a “mosaic” feeling.

Original photo
Initial stages
When mouse is at the right(large pixels)
When mouse is at the left(small pixels)


Project 09: Jaclyn Saik

sketch

/* Jaclyn Saik 
Section E
project 09 
*/
var ryder;

function preload(){
    var buddy = "https://i.imgur.com/PGxudTG.png"; //my brother eating corn!
    ryder = loadImage(buddy); //variable to contain the pixels in image  
}
function setup() {
    createCanvas(480, 470);
    background("goldenrod");
    ryder.loadPixels(); //loads actual pizels into program 
    frameRate(1000);
}

function draw() {
    var px = random(width); //randomized variable for x position 
    var py = random(height);//randomized variable for y position 
    var ix = constrain(floor(px), 0, width-1); //var for grabbing pixel data
    var iy = constrain(floor(py), 0, height-1);
    var theColorAtLocationXY = ryder.get(ix, iy);
    var rando = random(-30, 30); //variable to randomize stroke weight later
    var stro = random(1, 5); //variable to randomize stroke weight later
    var stroTwo = random(1, 10);

    noStroke();
    fill(theColorAtLocationXY); //fills with the color at that particular pizel
    stroke(theColorAtLocationXY);
    strokeWeight(stro); //randomized stroke weight so stars are unique
    drawStar(px, py); //draws star at random x and y position each time draw is called
    line(px, py, px+rando, py+rando); //pritns "tails" connected to stars

    var theColorAtTheMouse = ryder.get(mouseX, mouseY);
    stroke(theColorAtTheMouse);
    strokeWeight(stroTwo); //makes a line that changes stroke weight 
    line(pmouseX, pmouseY, mouseX, mouseY); //draws line with the mouse, 
    //so you can paint on the canvas a little bit

}

function drawStar(x, y) {
    textSize(random(20, 70)); //randomizes size of star
    text("*", x, y); //creates object that can be manipulated by position later

}

function mousePressed() { //draws "yum" when mouse is pressed
    noStroke();
    textSize(random(10, 40)); //alternates size of text
    fill("yellow");
    text("yum", mouseX, mouseY);

}

For this project, I instantly though of my little brother: he is always posing for funny photos and I especially miss him right now. I chose to use an asterisk to color in his image, since I think it adds a whimsical touch to the image. I added some randomized tails to each asterisk is order to try to create this oil-painting technique where the image looks like it has some motion to it. I also edited the mouse function so that the stroke is randomized each millisecond, so that it appears like your mouse is a brush that is applying varying amounts of paint. Since my brother Ryder is eating corn in this image, when you click your mouse, the word “yum” pops around. It makes him somewhat of a meme, which is how I see him a lot so it makes sense to me.

The original image: my little brother Ryder
When the image is just starting out
As it continues, you can decorate it with yellow “yums” and draw with the mouse to create a line.
Somewhat finished, with yums included
After being left alone for about 3 minutes.

Kai Zhang-Project-09-Portrait

sketch

//Kai Zhang
//Section B
//kaiz1@andrew.cmu.edu
//Project-09

var underlyingImage;

function preload() {
    var myImageURL = "https://i.imgur.com/ABkk19M.jpg";
    underlyingImage = loadImage(myImageURL);
}

function setup() {
    createCanvas(480, 480);
    background(0);
    underlyingImage.loadPixels();
    frameRate(500);
}

function draw() {
    var px = random(width);
    var py = random(height);
    var ix = constrain(floor(px), 0, width-1);
    var iy = constrain(floor(py), 0, height-1);
    var theColorAtLocationXY = underlyingImage.get(ix, iy);

    strokeWeight(3);
    stroke(theColorAtLocationXY);
    line(px + 8, py - 8, px - 5, py + 5);
}

So for this project of mine, I tried to think of how I would use graphite to quickly sketch a portrait in the shortest amount of time possible. Usually I would use very dense diagonal lines to do that. So in my code, the “drawing stroke” I chose is a line of roughly 18 pixels long and in 45 degrees with a stroke weight of 3. The stroke weight should be small to achieve a higher resolotion. The subject of the portrait is Lingfan Jiang, and I took this photo for him when he was struggling with his studio work. In the end, I increased the frame rate to 500 frames per second to generate the resulte much faster.

Following are the origianl photo and three stages of the resolution.


cmhoward-project-08

click me!

cmhoward-09

var img;

//decalre initial gridsize
var gridSize = 50

function preload() {
    var myImageURL = "https://i.imgur.com/h0fNs2y.jpg";
    img = loadImage(myImageURL);
}

function setup() {
    createCanvas(600, 600);
    background(0);
    img.loadPixels();
    frameRate(500);
}

function draw() {
    for (var x = 0; x < width; x += gridSize) {
        for (var y = 0; y < height; y += gridSize) {
            //rectangle color
            var theColorAtLocationXY = img.get(x, y);
            fill(theColorAtLocationXY);
            noStroke();
            //array squares in grid
            rect(x, y, gridSize, gridSize);
        }
    }
}

function mouseClicked() {
    //make grid size smaller when user clicks
    gridSize -= 1
    //reset gridSize
    if (gridSize < 5) {
        gridSize = 50;
    }
}

For this project, I wanted to create a pixel grid that becomes smaller and thus, clearer as the user clicks!

The  beginning image:

The final rendering:

I wanted the image to stop at a certain resolution so it maintains the pixelation effect, so it resets after a certain amount of clicks.

Lan Wei-Project 09-Portrait

my-sketch.js

//Lan wei
//lanw@andrew.cmu.edu
//Section D
//Project-09

var img;
var url;
function preload() {
    url = "https://i.imgur.com/LwxpUPT.jpg";
    img = loadImage(url);
    frameRate(10);
}

function setup() {
    createCanvas(300, 400);
    background(255);
    img.loadPixels();
}

function draw() {
   var x = floor(random(img.width));
   var y = floor(random(img.height));
   push();
   translate(x, y);
   var col = img.get(x, y);
   stroke(col);
   strokeWeight(map(brightness(col), 0, 100, 3, 1)); //line weight depending on brightness
   var length = map(brightness(col), 0, 100, 25, 5); //line length depending on brightness
   rotate(random(0, PI));
   line(- length/2, 0, length/2, 0);
   pop();
}

My idea is using lines to create the abstract portrait. To emphasize the human figure instead of the dark background, and also to make bright areas look brighter, I made the lines in areas with smaller brightness thicker and longer. I think it would look nicer if I choose a picture with more color changes.

Process effect

Min Jun Kim- Project 9 Portrait

Image gets clearer over time!

/*
Min Jun Kim
minjunki@andrew.cmu.edu
15104-B
Project 9
*/

var img; //sets the variable for the image to go into

//loads the image into the program
function preload() {
    img = loadImage("https://i.imgur.com/kt8Qs81.jpg");
    
}

function setup() {
    createCanvas(365, 480);
    background(250);
    //loads the pixels and sets the frame rate
    img.loadPixels();
    frameRate(10000000)
    
}

var dec = 0 //variable in which the decrease the size
var increment = 0.01 // the rate of decreasing
var scaley = 0.2 //scales the image

function draw() {
	//variable that moves the pixels
	var randaddx= random(200)
	var randaddy= random(200)
	//variable that determiens the size of pixels
	var randsize = random(30-dec)
	
	//scales the image down
    scale(scaley,scaley)
    noStroke()
    //draws starting points on canvas
    for (i = 0; i < height*1/scaley; i += 100) {
    	for (x = 0; x < width*1/scaley; x += 100) {
    		//finds the color
    		var c = img.get(x+randaddx, i+randaddy);
    		//sets pixel = to color
    		fill(c);	
    		//draws the pixels
    		rect(x+randaddx,i+randaddy,randsize,randsize)
    	}
    } 
    //makes it so that image gets more clear over time
    dec += increment
    if (dec > 25) {
    	increment =0 
    }
    
}

I wanted my pixel portrait to load fast and be rather accurate, so I used for loops to draws initial starting points of the canvas then used random values to move the points in order to draw the canvas. Initially, I increased the for loop variables by a low number of 20, which resulted in the picture loading too fast and too accurately, which defeated the point of the pixel art. So I set up a parameter where the size of the pixels decreased over time. This way there are less gap points (because the starting size is big) and adds an interesting layer to the whole piece.

Process:

original photo credits to my gf

Process 1
program about 30 seconds in

Eunice Choe – Project-09 – Portrait

sketch

/*Eunice Choe
Section E
ejchoe@andrew.cmu.edu
Project-09*/

var underlyingPic;

function preload(){
    var imageURL = "https://i.imgur.com/EhGYYMu.jpg";
    underlyingPic = loadImage(imageURL);
}

function setup() {
    createCanvas(320, 480);
    background(200, 100, 107);
    underlyingPic.loadPixels();
}

function draw() {
    var px = random(width);	//random y within width
    var py = random(height);	//random x within height
    var iX = constrain(floor(px), 0, width-1);
    var iY = constrain(floor(py), 0, height-1);
    //extracting color from base image
    var colorAtXY = underlyingPic.get(iX, iY);
    noStroke();
    fill(colorAtXY);
    // ellipses with random widths and heights fill canvas
    ellipse(px, py, random(1, 10), random(1, 10));

   	// when the mouse moves across canvas, rectangles of random
    // sizes will follow the mouse
    var colorAtMouse = underlyingPic.get(mouseX, mouseY);
   	fill(colorAtMouse);
    noStroke();
   	rect(mouseX, mouseY, random(3, 6), random(3, 6));
   }

function mousePressed(){
    // when mouse clicks, the name "sophia" appears on mouse location
    // with base image colors
    var colorAtXY = underlyingPic.get(mouseX, mouseY);
    textSize(20);
    text("sophia", mouseX, mouseY);


   }

My project reveals an image of my friend Sophia through ellipses of random widths and heights. Also, someone can use the mouse to speed up the image reveal because there is a trail of rectangles that follow the mouse’s location. Another fun element I added was showing Sophia’s name when the mouse is clicked on the canvas. Overall, this project was fun to complete because of its personal significance to me. Going forward, I am excited to see how I can represent more images computationally.

This screenshot shows the start of the image reveal, the trail of rectangles, and the “sophias” that appear when clicked.
The final image that appears.
The original image.

Tanvi Harkare – Project 09 – Portrait

tanvi09

/* Tanvi Harkare
tharkare@andrew.cmu.edu
Section B
Project-09*/

var img;
var ix;
var iy;
var px;
var py;
var sizeC = 10;
var colAtLoc;

function preload(){
    var url = "https://i.imgur.com/yJADhdn.jpg"
    img = loadImage(url);
}

function setup() {  
    createCanvas(480, 480);
    background(255);
    img.loadPixels();
}

function draw() {
    //x and y locations for ellipses
    px = int(random(0, 480));
    py = int(random(0, 480));
    //saving x and y locations of mouse
    ix = mouseX;
    iy = mouseY;
    //colors for circle and text
    colAtLocCircle = img.get(px, py);
    colAtLocText = img.get(ix, iy);
    //drawing text based on mouseX and mouseY
    noStroke();
    fill(colAtLocText);
    textSize(6); 
    text("PK", ix - 3, iy + 3); //so mouse is in center of text
    //setting random size and drawing circles
    randomSize();
    fill(colAtLocCircle);
    ellipse(px, py, sizeC, sizeC);
}

function randomSize(){
    sizeC = int(random(0, 10));
}

For this project I chose a picture of my friend Prerana that I took myself last year! Circles appear on the canvas in a random order, and also vary in size because of the randomSize function. In addition to the points, if you run the mouse over the canvas, her initials appear in the color of wherever the mouse position is located based off the image pixel color.

original photo
If the circles were set to the same size each frame
how the final image could potentially look