![[OLD FALL 2019] 15-104 • Introduction to Computing for Creative Practice](../../wp-content/uploads/2020/08/stop-banner.png)
//Mihika Bansal
//mbansal@andrew.cmu.edu
//Section E
//Project 12
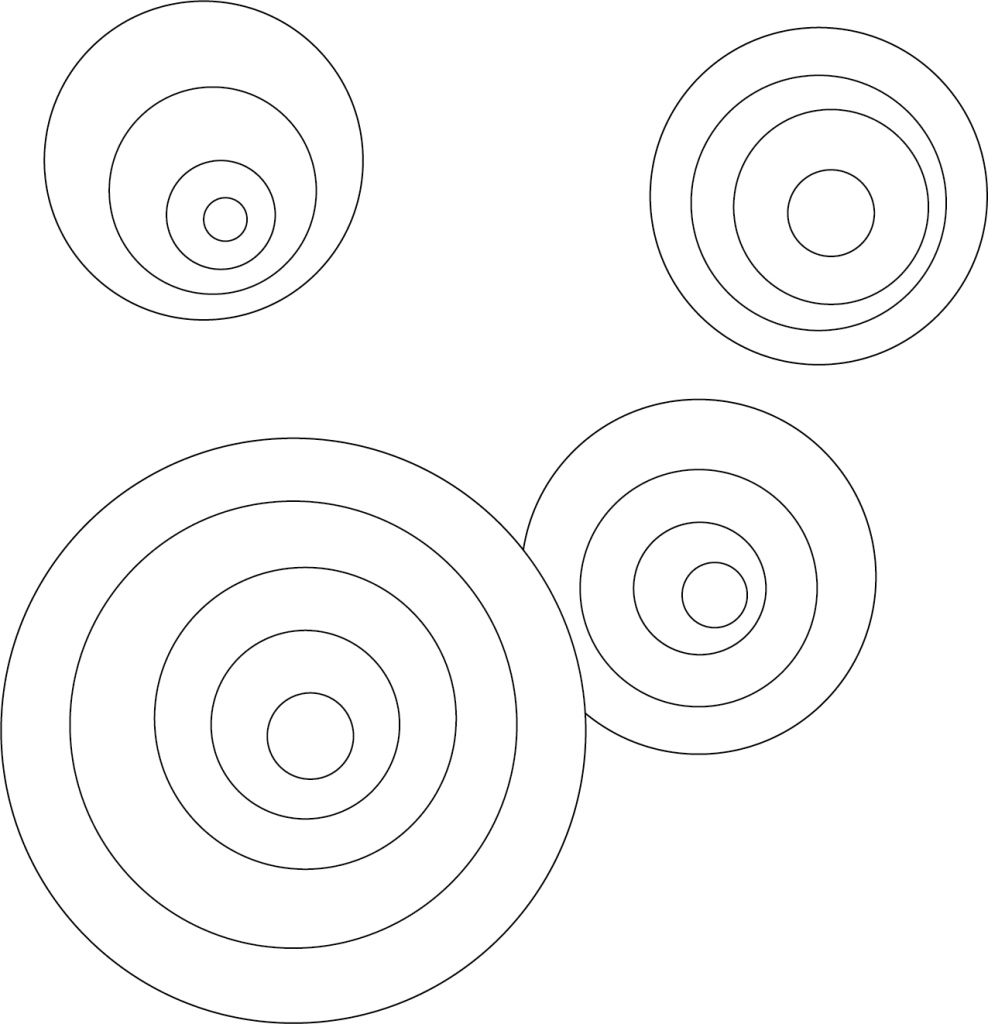
var ripples = [];
var color = [];
var b = 238;
var g = 238;
//color for background
function setup() {
createCanvas(480, 480);
}
function draw() {
background(175, g, b); // randomization of background
if (mouseIsPressed){
//when new ripple is created
var newRip = makeRipple(mouseX, mouseY);
//ripple based on mouse position
ripples.push(newRip);
b = random(200, 250);
g = random(200, 240);
//background color changes based on mouse color
}
for(var i = 0; i < ripples.length; i++){
//for the length of the array draw each of the ripples
var r = ripples[i];
r.display();
//display the ripple
}
if(ripples.length > 35){
// makes it so that when ripples are displayed, they will be removed from array
ripples.shift();
ripples.shift();
ripples.shift();
ripples.shift();//removes 4 ripples
}
}
//making the ripples objects
function makeRipple(rX, rY){
var ripple = { x: rX,
y: rY,
diam: 0,
out: 0,
fade: 0,
colorR: generateRandom(0, 75),
colorG: generateRandom(100, 200),
colorB: generateRandom(50, 200), //color stays in blue range
display: drawRipple};
return ripple;
}
function drawRipple(){ // how to display ripple
for (var i = 0; i < 5; i++){
this.diam = this.out - 25 * i; // makes circle size increase
if(this.diam > 0){
// fading out fill and stroke
this.fade = map(this.diam, 0, 300, 255, 100);
//mapping the fill to part of the canvas, so it fades in a certain time
push();
strokeWeight(1);
//stroke will be background color
stroke(175, g, b, this.fade);
fill(this.colorR, this.colorG, this.colorB, this.fade);
//fill is based on the color of the ripple object
ellipse(this.x, this.y, this.diam);
//multiple ripples made from the ellipse
pop();
}
}
// when more ripples in the array/screen, more waves and speed
if(ripples.length > 25){
this.out += 4; // amount ripple changes
}
else {
this.out += 2; //slower speed of ripples
}
}
function generateRandom(x, y){
var r = floor(random(x, y));
//creates random variable + returns it
return r;
}For my final project, I created a program that creates and animates ripples based on where your mouse touches. The color of the ripples changes randomly but stays in the blue range. The background color also changes randomly. The ripples fade using the map function, and if there are more ripples on the water, they move together faster.