![[OLD FALL 2017] 15-104 • Introduction to Computing for Creative Practice](../../../../wp-content/uploads/2020/08/stop-banner.png)
//maddy cha
//section e
//mecha@andrew.cmu.edu
//project-09
var underlyingImage;
function preload() {
//loads picture of friend in trash can
var trashCan = "https://i.imgur.com/tAUXO6y.jpg";
underlyingImage = loadImage(trashCan);
}
function setup() {
createCanvas(480,480);
background(0);
underlyingImage.loadPixels();
//frameRate(10);
fill(255);
//tells user what to do
text("drag mouse to start",180,height/2);
noLoop();
}
function mouseDragged(){
//will start drawng pixel rectangles at 0
var rX = 0;
//will start drawing pixel rectangles in row at mouseY
var rY = mouseY;
var imageX = constrain(floor(rX), 0, width-1);
var imageY = constrain(floor(rY), 0, height-1);
//take color of image at mouseX, mouseY
var imageColor = underlyingImage.get(imageX, imageY);
var incriment = 10;
if (mouseDragged){
incriment += 10;
}
//draws pixels at random width and height from 1-10
var rWidth = random(1,10);
var rHeight = random(1,10);
noStroke();
//for loop allows for pixels to be drawn through entire width
//rectangles are updated with new color depending on imageX and imageY
for(var i = imageX; i < width; i++){
imageColor = underlyingImage.get(imageX, imageY);
fill(imageColor);
rect(imageX,imageY,rWidth,rHeight);
imageX+=10;
}
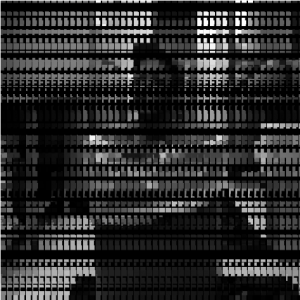
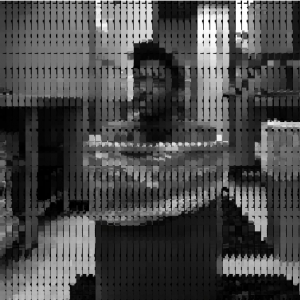
}For this project, I decided to use an image of my friend sitting in a trash can.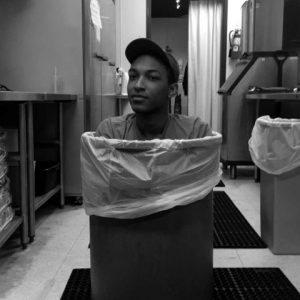
I started with a similar approach as the sample code, using rectangles at random widths and heights of the color of the background image. I decided that I wanted to display the image using the mouseDragged function, but was concerned with the issue that it would take too long for the image to appear if I had it load rectangle by rectangle. In order to combat this, I decided to load the image in the form of rows. I had issues at first with my rectangle rows all being the same color as the pixel loaded at mouseX, mouseY, but I was able to resolve this by updating the color as mouseX and mouseY updated.