Angela Lee – Looking Outwards – 09

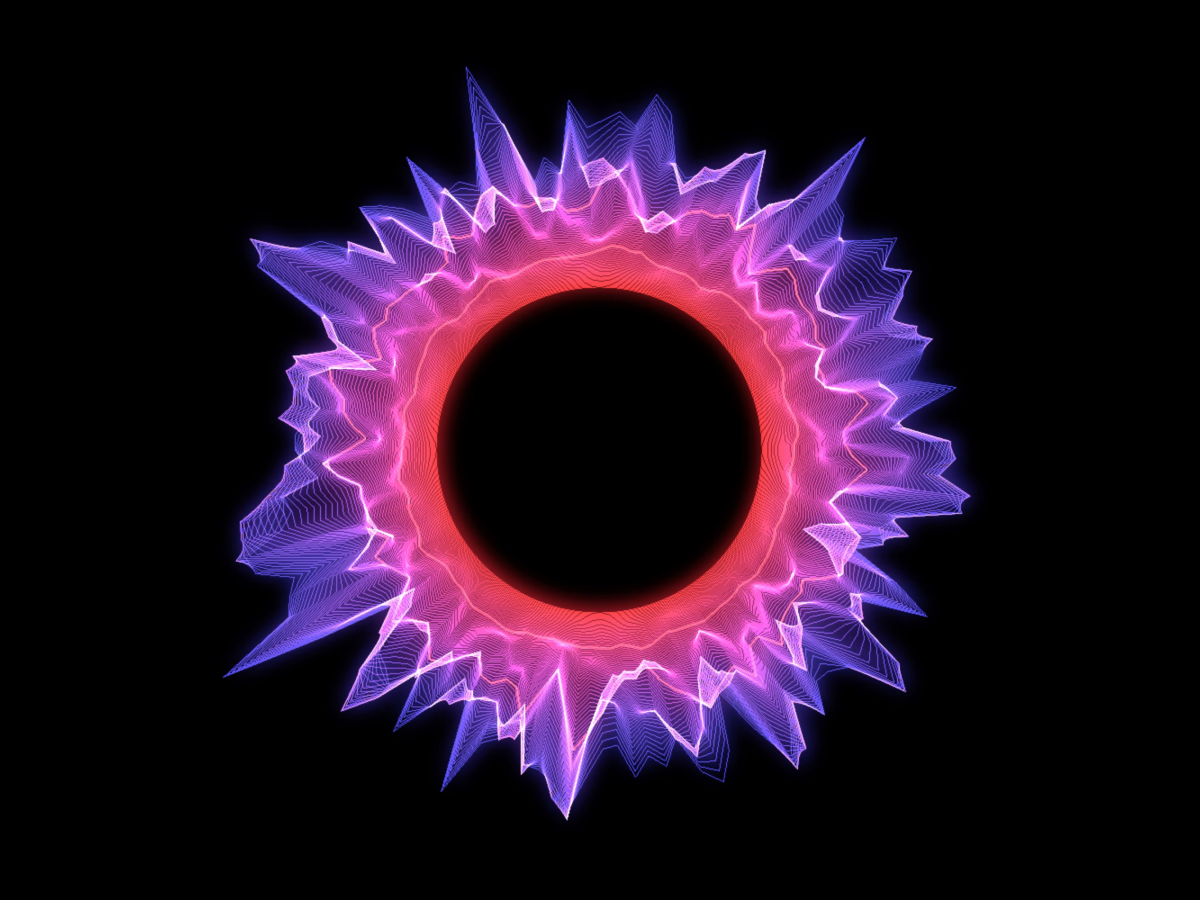
An image of the data visualization “Halo,” created by Ora Systems to communicate a user’s health status.

For this week’s Looking Outwards post, I’ll be discussing Gretchen Kupferschmid’s Looking Outwards 07 about the project “Halo.” Like Gretchen, I also appreciate that the project adds an artistic element to data visualization since data, especially in the medical field, is often displayed traditionally through graphs or just listed out as numbers. Being aware of your health data is very important so that you can make informed decisions that will affect your body positively, and I see this visualization as a way of 1. summarizing dense quantitative content into an impression (that you can take in within a glimpse) and 2. engaging users so that they will want to learn more about their own health. While a creative visualization like this by itself may not provide all the necessary details for a holistic report, integrating the two creates an experience where checking your own health can become a visual delight. I also agree with Gretchen that showing data in this visual way allows users to more intuitively and efficiently compare large sets of data without having to process all the numbers in their head.

Shannon Ha – Project 09 – Portrait

sketch

//Shannon Ha
//Section D
//sha2@andrew.cmu.edu
//Project 09 - Variable Face

//pre load my underlying image
var underlyingImage;
var frameSpeed = 15;
function preload() {
    var myImageURL = "https://i.imgur.com/AAXi1mS.jpg";
    underlyingImage = loadImage(myImageURL);
}

function setup() {
    createCanvas(344, 480);
    background(0);
//load the pixels of the image so they can be referenced later
    underlyingImage.loadPixels();
    framespeed = map(mouseX, 10, width, 2, 150);
    frameRate(frameSpeed);
}

function draw() {
//randomly select a pixel on the canvas
    var randomX = random(width); //x-coordinate
    var randomY = random(height); //y-coordinate
    var ix = constrain(floor(randomX), 0, width-1);
    var iy = constrain(floor(randomY), 0, height-1);
//loads the color from the base image so the rectangles coordinate with the colors of the base image
    var theColorAtLocationXY = underlyingImage.get(ix, iy);

//creates rectangles at different sizes.
    noFill();
    stroke(theColorAtLocationXY);
    strokeWeight(random(1,3));
    rect(randomX, randomY, random(5,20), random(5,20));

//creates circles according to position of mouse.
    var theColorAtTheMouse = underlyingImage.get(mouseX, mouseY);
    strokeWeight(1);
    stroke(theColorAtTheMouse);
    ellipse(pmouseX, pmouseY, 15, 15);
}

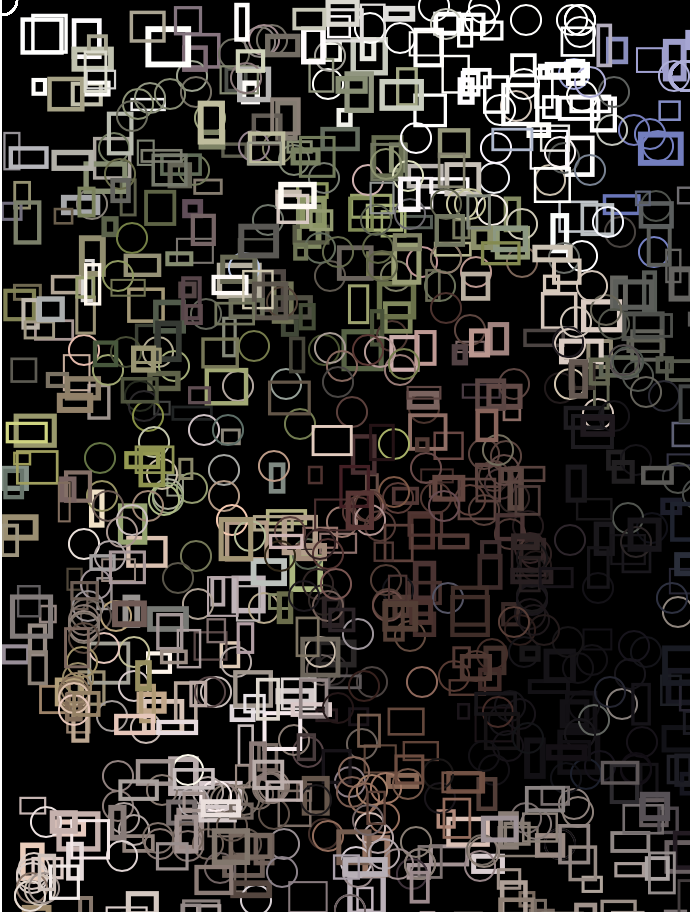
(20 seconds)
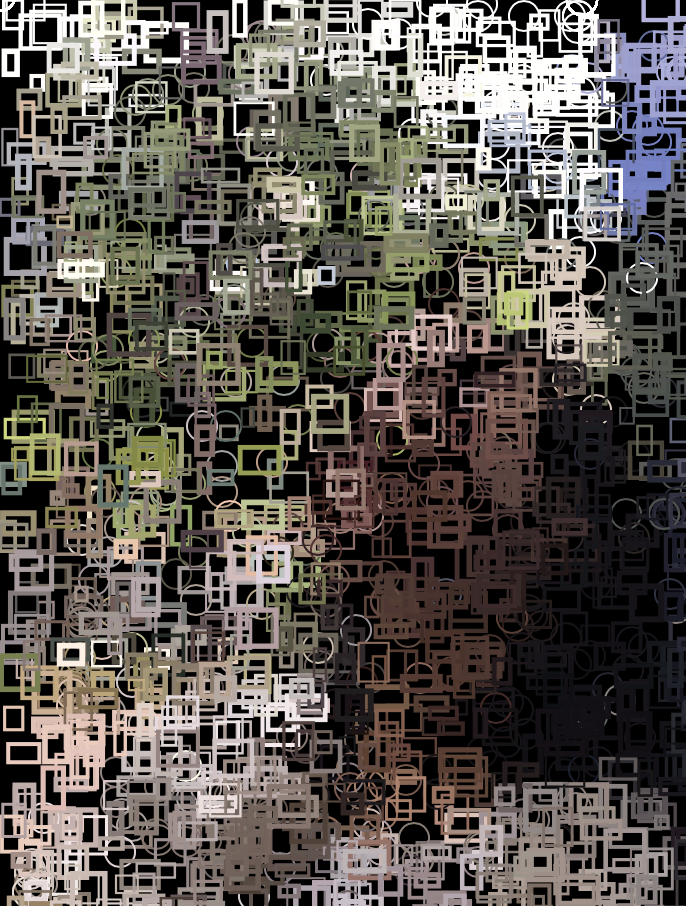
(30 seconds)
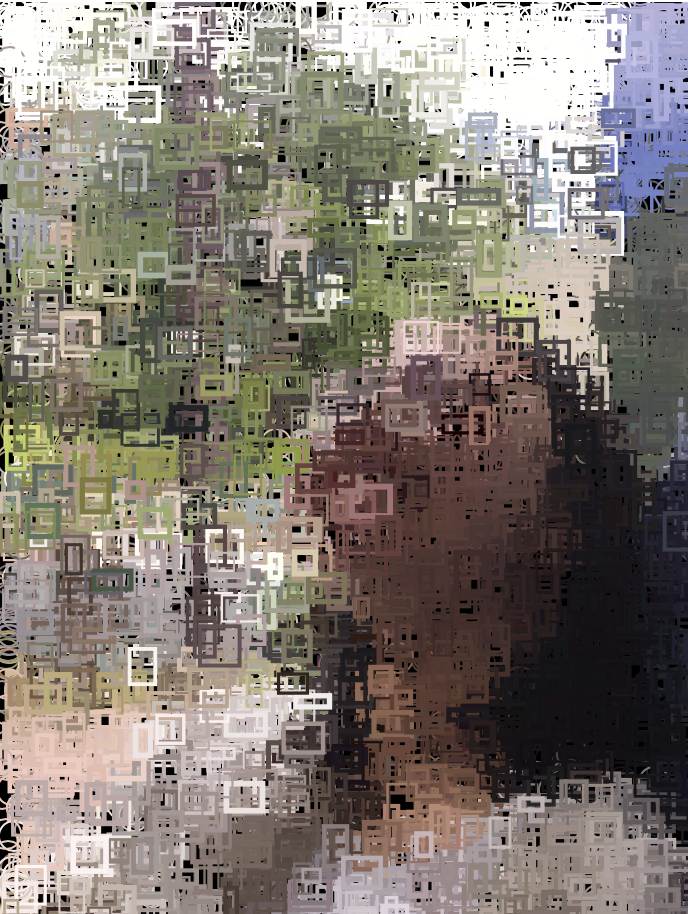
Nearly finished render (1 – 1:30 minutes)
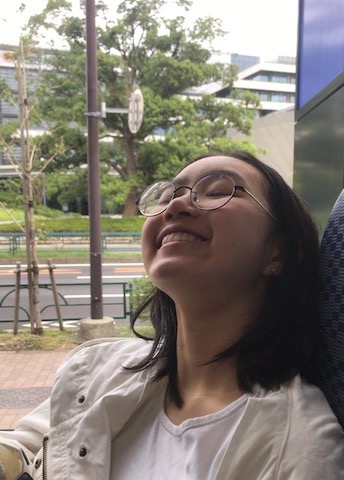
The actual photo!

For this project, I chose a portrait of my sister to recreate and explored how to randomize the dimensions of of a rectangle to create variable portrait. I tested different shapes both filled and unfilled to see which has a better effect for the end result and I realized that the filled shapes some times makes the face look too blurred out so I used stroke instead to retain some texture in the image and to distinguish facial features better. It was a fun project to do because it was interesting to see how different shapes produce different textures and effects on the image.

Angela Lee – Project 09 – Portrait

sketch

/*
 * Angela Lee
 * Section E
 * ahl2@andrew.cmu.edu
 * Project 9 Computational Portrait
 */

var underlyingImage;

// loading the image
function preload() {
    var url = "https://i.imgur.com/GsniIVQ.jpg";
    underlyingImage = loadImage(url);
}

function setup() {
    createCanvas(300, 400);
    background(145, 1, 10);
    underlyingImage.loadPixels();
    frameRate(60); // how fast the pixels come up
}

function draw() {
    var px = random(width);
    var py = random(height);
    var ix = constrain(floor(px), 0, width);
    var iy = constrain(floor(py), 0, height);
    var theColorAtLocationXY = underlyingImage.get(ix, iy);

    noStroke();
    fill(theColorAtLocationXY);
    ellipseW = random(1, 8); // original ellipse width
    ellipseH = random(1, 8); // original ellipse height
    keyPressed(); // key pressed determines ellipse width and height

    // drawing the ellipse
    ellipse(px, py, ellipseW, ellipseH);

}

// what happens if the key is pressed
function keyPressed() {
    // ellipse will grow if g is pressed
    if (key == "g") {
        ellipseW = random (5, 15);
        ellipseH = random(5, 15);
    } else if (key == "s") {
    // ellipse will shrink if s is pressed
        ellipseW = random(0.5, 3);
        ellipseH = random(0.5, 3);
    } else if (key == "n") {
    // ellipses will return to original size
        ellipseW = random(1, 8);
        ellipseH = random(1, 8);
    }
    return ellipseW;
    return ellipseH;
}

For this portrait, I started out with ellipses being randomized for a width and height ranging from 1 to 5. However, I got impatient while waiting for the portrait to finish, so I decided to make the ellipse grow when you pressed the key “g.” But since I didn’t like how blurry the portrait got, I gave the user the option of returning the ellipses back to its original size or an even smaller size.

Finished portrait
Original photo

Joseph Zhang – Project 09 – Computational Portait

sketch

 // Joseph Zhang
 // Haozhez@andrew.cmu.edu
 // Section E
 // Project 09: Portrait

 var underlyingImage;
 var words = ['joseph', 'designer', 'student', 'cmu', 'loves 104']
 function preload() {
     var myImageURL = "https://i.imgur.com/LTgLTOy.jpg";
     underlyingImage = loadImage(myImageURL);
 }
 
 function setup() {
     createCanvas(500, 500);
     background(0);
     underlyingImage.loadPixels();
     frameRate(100);
 }
 
 function draw() {
    var px = random(width);
    var py = random(height);
    var ix = constrain(floor(px), 0, width-1);
    var iy = constrain(floor(py), 0, height-1);
    var theColorAtLocationXY = underlyingImage.get(ix, iy);

    noStroke();
    fill(theColorAtLocationXY);
    //randomizes text size
    textSize(random(6));
    text(random(words), px, py);
    
    //draws text at mouseX and mouseY
    var theColorAtTheMouse = underlyingImage.get(mouseX, mouseY);
    fill(theColorAtTheMouse);
    text(random(words), mouseX, mouseY);
 }

This is a self-portrait created using words that describe who I am as an individual. Labels hold so much power in our culture whether we like it or not, so why not define yourself?

Few Minutes
Many many minutes

Alice Cai Project 9

sketch

let img;
//my name is an array of letters
let name = ['a', 'l', 'i', 'c', 'e'];

//load image
function preload() {
  image = loadImage('http://i.imgur.com/S0F2kRi.jpg');
}

function setup() {
  createCanvas(720, 400);
  imageMode(CENTER);
  noStroke();
  background(255);
  image.loadPixels();
}

function draw() {
  let px = floor(random(image.width));
  let py = floor(random(image.height));
  let pix = image.get(px, py);
  fill(pix, 128);
  textSize(20);
  textFont("Impact");
  //call random letter from name array
  text(random(name), py, px);
}


Progression

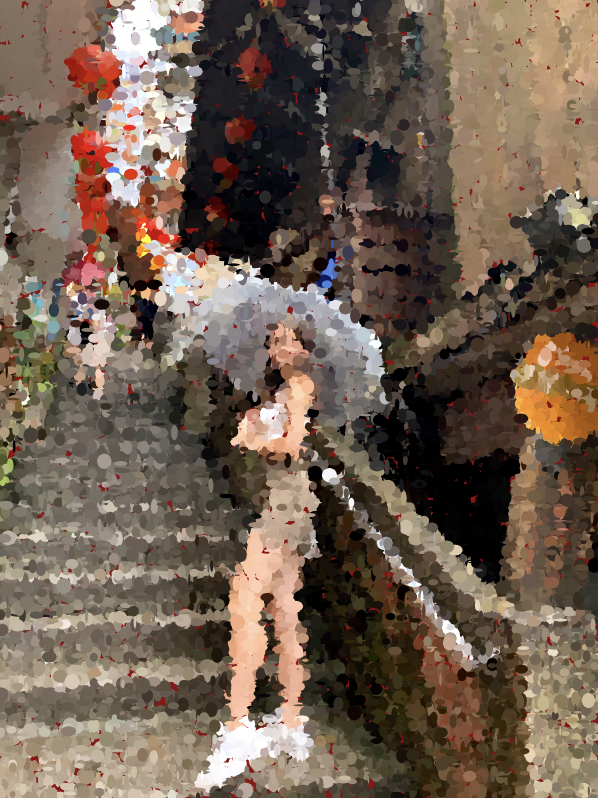
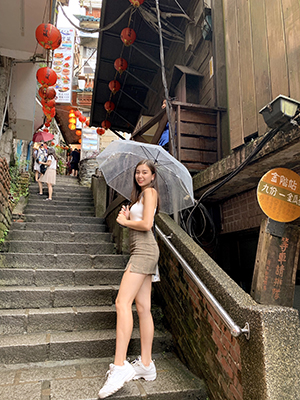
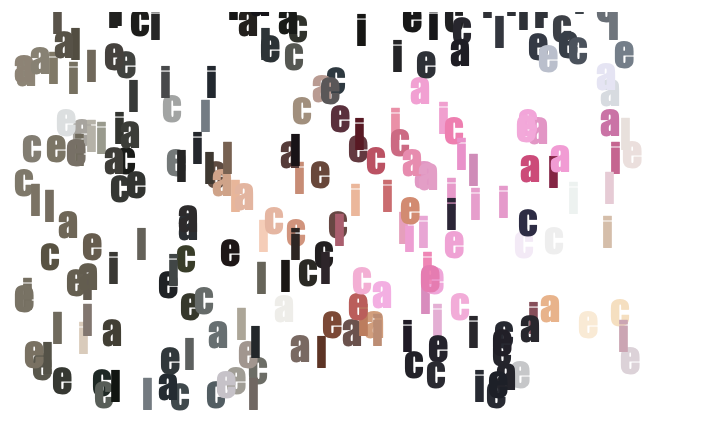
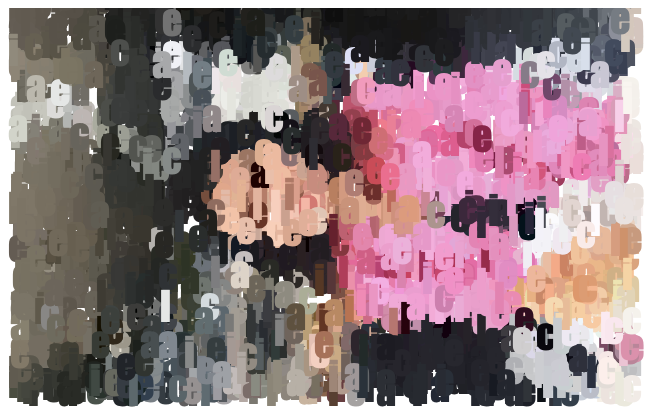
Here is my “pointillism” self-portrait. I wanted to change the points to the letters of my name, so I created an array and called random letters from that array. The letters are called at random coordinates.

Alec Albright – Looking Outwards – 09

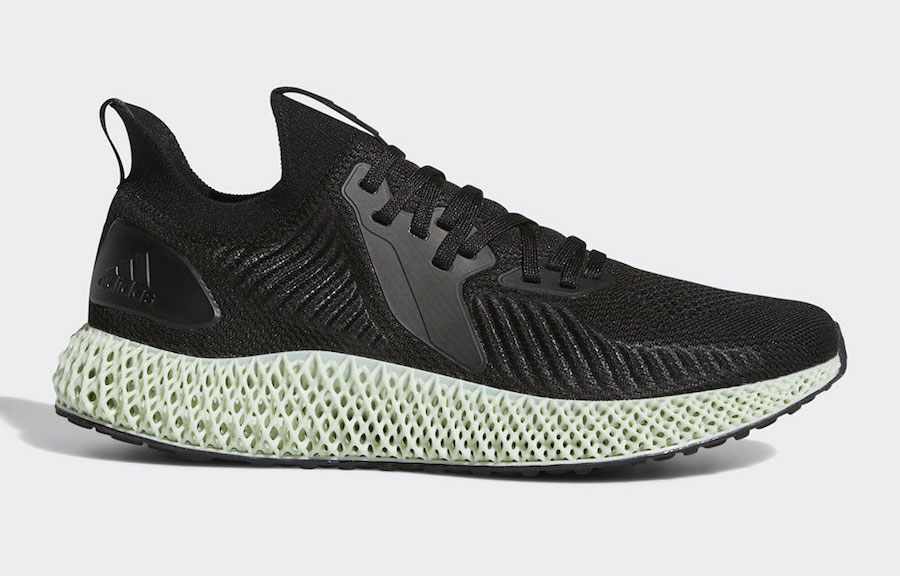
3D printed Adidas shoe
Inside look of the Carbon x Adidas collaboration

The Looking Outwards post that I found particularly interesting was Stefanie Suk’s Looking Outwards 03, in which she discussed Adidas’s recent initiative to create 3D printed shoes. This project has consisted of a partnership between Adidas and Carbon, and the above shoe is one of the first to be created through their method of Digital Light Synthesis.

I agree with Stefanie in the way that this project is admirable because its impact on the sustainability of the shoe manufacturing industry. The method that Adidas and Carbon are using to create these shoes is very environmentally friendly and minimizes waste. I would also add that the creation of 3D printed shoes is a progressive direction for the general clothing manufacturing industry, entering into a space with an abundance of potential. This is a groundbreaking project with a very positive upside.

Lauren Park – Looking Outwards – 09

This project seems very fascinating in ways that animation and software can be used to make very detailed graphics of the respiratory system. 

I agree with Danny that this animation is not a literal representation of the system, but that it abstracts from actual biological processes that happen in our bodies. I feel that the artist, Alexey Kashpersky did not have in mind how accurate this representation was, and that maybe it was not as important as the visual appeal of the inside of the respiratory system and to let the audience know how vast and unique our bodies are by using color and different forms interacting.

The zoom in and out effect throughout this piece really added a flow to this whole experience that made the system feel like viewers are being walked through a story. Because of this, I enjoyed what seemed like a virtual tour of the many wonders that take place in our bodies.

This overall experience also makes me curious about the software used to create this animation and has me realize how much this tool can be useful in our creative practice.

Lungs in Silico 2019 – Alexey Kashpersky

Lauren Park – Project 09 – Portrait

sketch

//Lauren Park
//Section D
//ljpark@andrew.cmu.edu
//Assignment-09
var selfportrait;

function preload() {
//load image
  var imageURL = "https://i.imgur.com/Z0Egws0.jpg";
  selfportrait = loadImage(imageURL);
}

function setup() {
  createCanvas(480, 480);
  background(0);
//load pixels at a rate
  frameRate(200);
  selfportrait.loadPixels();  
}

function draw() {
 var px = random(width);
 var py = random(height);
  
 var qx = constrain(floor(px), 0, width);
 var qy = constrain(floor(py), 0, height);
  
 var colorMylocation = selfportrait.get(qx, qy);
 var colorMymouse = selfportrait.get(mouseX, mouseY);
  
//fill and color pixels with text
 strokeWeight(3);
 fill(colorMylocation);
 text("Lauren", px, py);
  
//draw and color ellipse at my mouse location
 fill(colorMymouse);
 noStroke();
 ellipse(pmouseX, pmouseY, 8, 8);
}

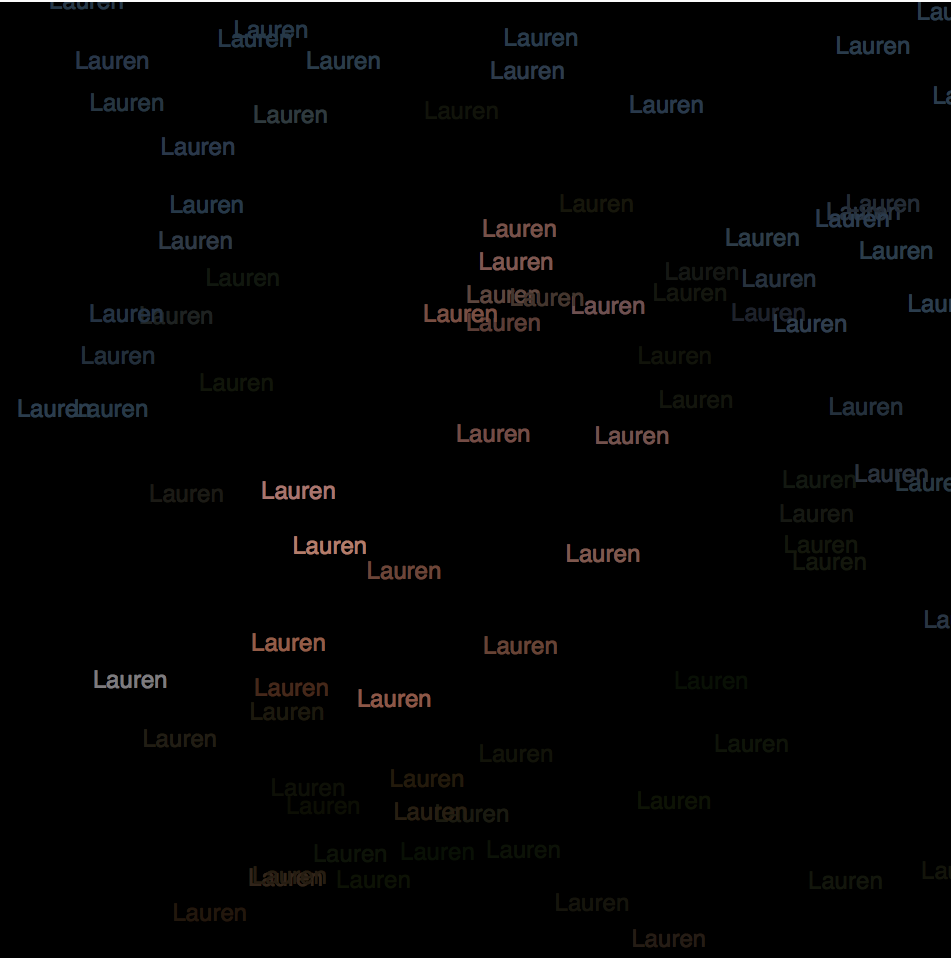
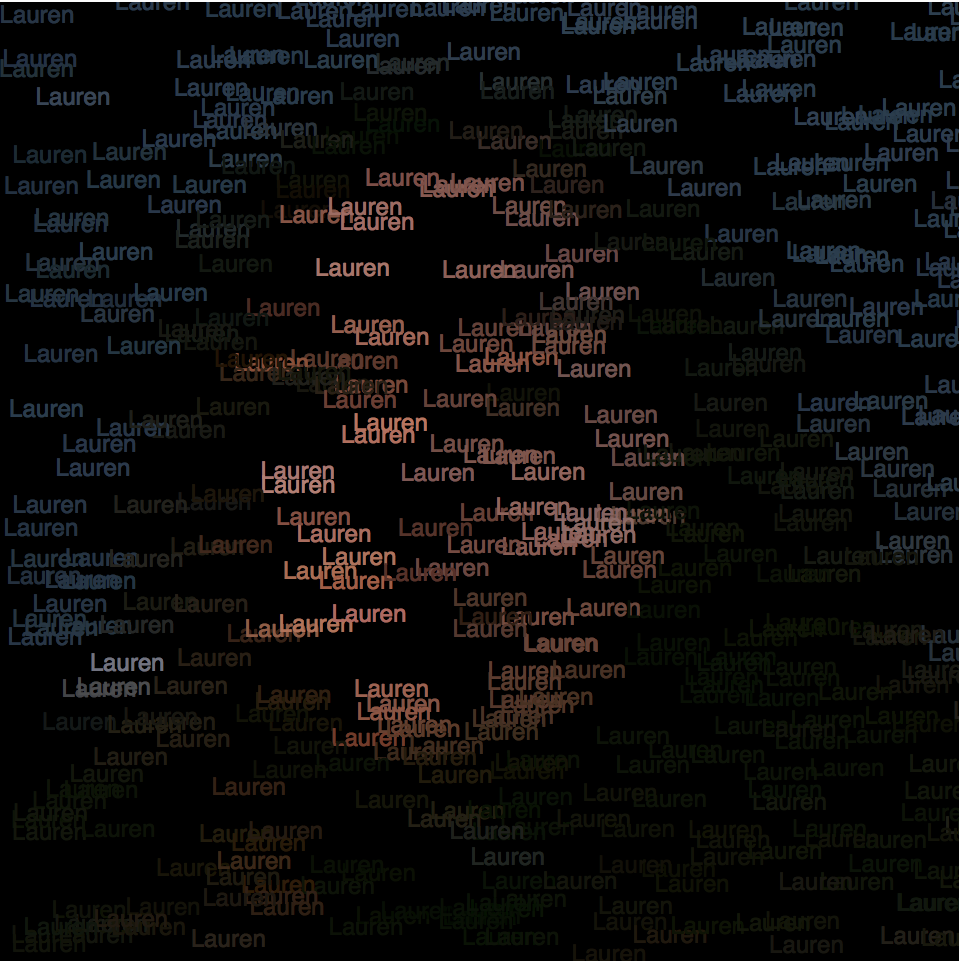
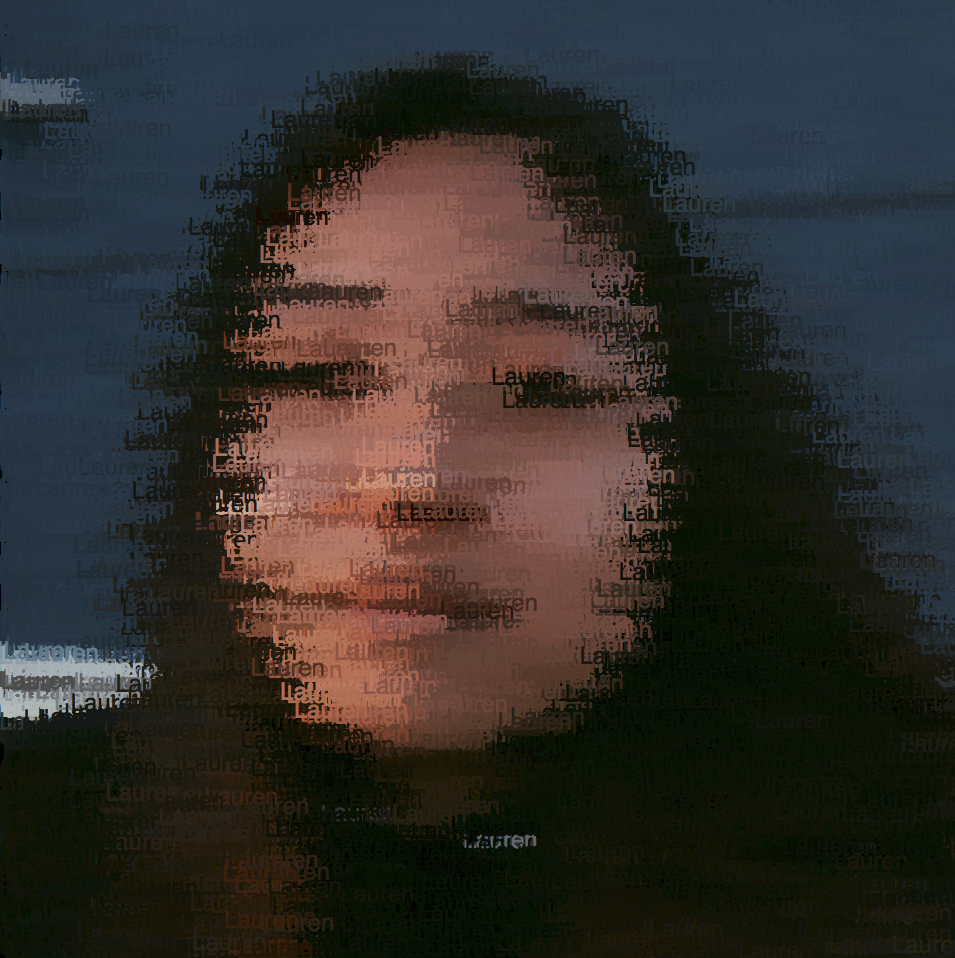
For this project, I decided to make a computational self-portrait using my name in text to create and color the image. Adding my name I think adds another personal element that goes along with my self-portrait and I also wanted to incorporate using the mouse to load the pixels, using ellipses, in the picture faster.

Jina Lee – Looking Outwards 09

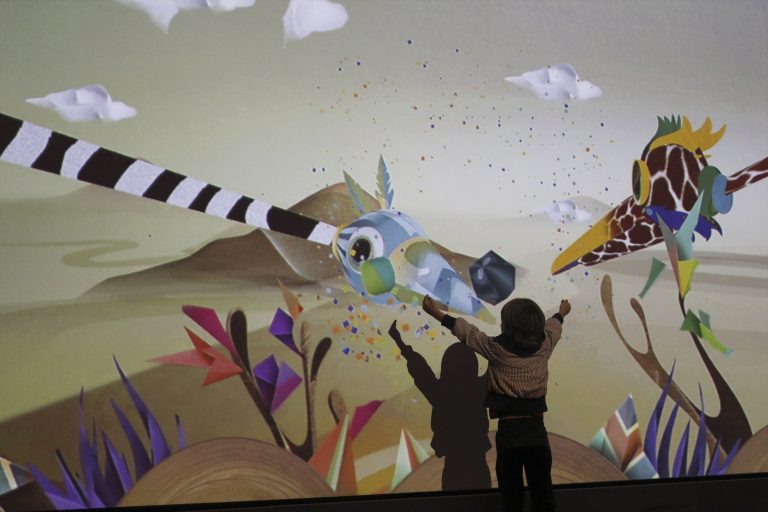
Puppet Parade

For this weeks looking outwards, I was able to go back and look through all the other projects that my classmates looked at. I found Margot Gersing’s Looking Outwards week 8 to be extremely interesting. She watched a lecture by Theo and Emily of  Design I/O from Eyeo 2012. I was intrigued with what this studio does particularly their interactive shadow hand puppets project: Puppet Parade. 

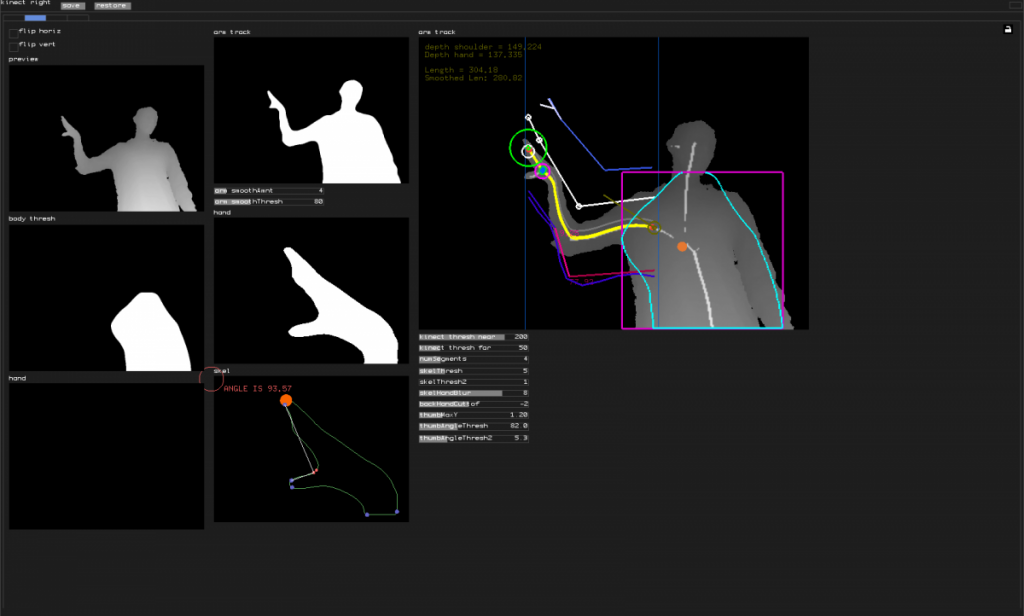
They used Kinect to do arm tracking for the Puppet Parade.

I thought it was cool that the reason they create these projects is to encourage children to explore and openly play. One of their projects is a game about sharing resources and sustainability and the children not only have to interact with the program but also each other in order to keep up the simulation. They use the Kinect tracking device quite a lot in their projects and hack it different ways to do what they want, like make giant animated. While looking at this project, even though it is for children, for me it seems fun and a design that I would like to interact with.

YouieCho-Project-09-Portrait

sketch

/* Youie Cho
   Section E
   minyounc@andrew.cmu.edu
   Project-09-Computational-Portrait*/

var myImage;

function preload() {
    var myImageURL = "https://i.imgur.com/42viitv.jpg";
    myImage = loadImage(myImageURL);
}

function setup() {
    createCanvas(500, 500);
    background(0);
    myImage.loadPixels();
    frameRate(2000);
}

function draw() {
    var px = random(width);
    var py = random(height);
    var ix = constrain(floor(px), 0, width-1);
    var iy = constrain(floor(py), 0, height-1);
    // Color at the current pixel
    var theColorAtLocationXY = myImage.get(ix, iy);
    // Random sizes of ellipses
    var w = random(2, 8);
    var h = random(.5, 3);
    // Draw ellipses
    fill(theColorAtLocationXY);
    ellipse(px, py, w, h);

    // Use color at the mouse
    var theColorAtTheMouse = myImage.get(mouseX, mouseY);
    // Draw the dog bone only every 30 frames
    if (frameCount % 30 == 0) {
    noStroke();
    fill(theColorAtTheMouse);
    dogBone();
    }
}

// Draw dog bone pattern according to mouse movement
function dogBone() {
    rectMode(CENTER);
    rect(mouseX, mouseY, 20, 8);
    ellipse(mouseX - 10, mouseY - 3, 8, 8);
    ellipse(mouseX - 10, mouseY + 3, 8, 8);
    ellipse(mouseX + 10, mouseY - 3, 8, 8);
    ellipse(mouseX + 10, mouseY + 3, 8, 8);
}

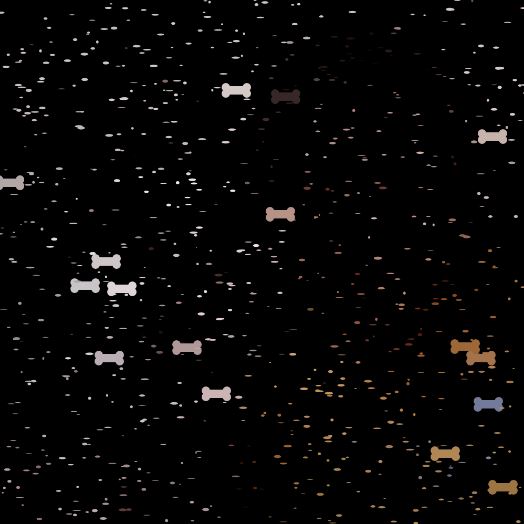
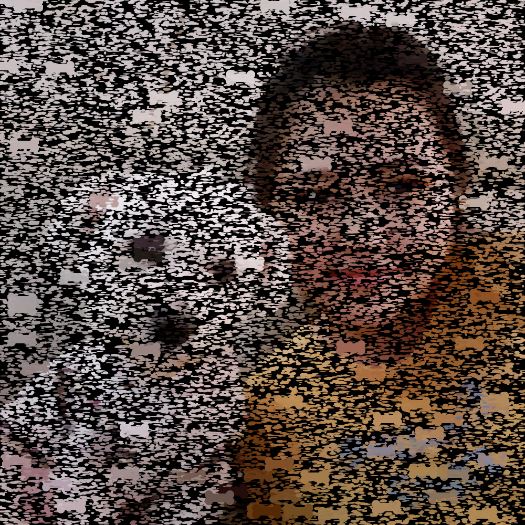
This project was fun to make and watch. Figuring out how to differentiate the drawing rate of the particles and my dog bone pattern was interesting, and it would be fun to make use of this in my future projects as well.