Jina Lee – Project 09

sketch

//Jina Lee
//jinal2@andrew.cmu.edu
//Section E
//Project-09-Portrait

var myImage;

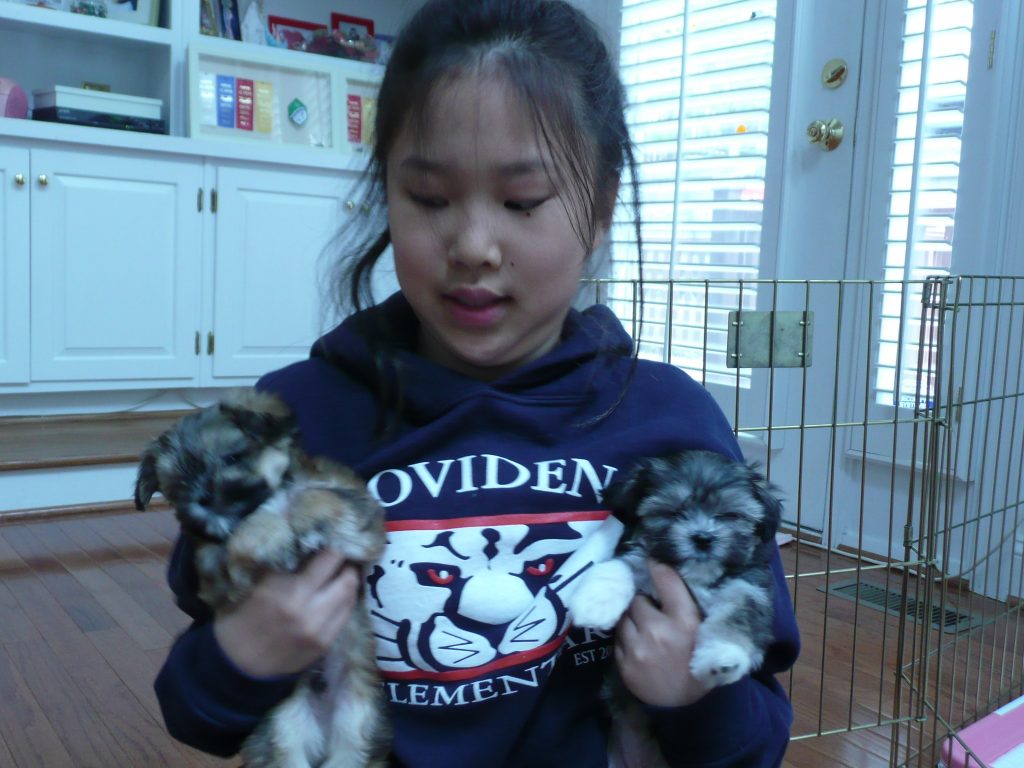
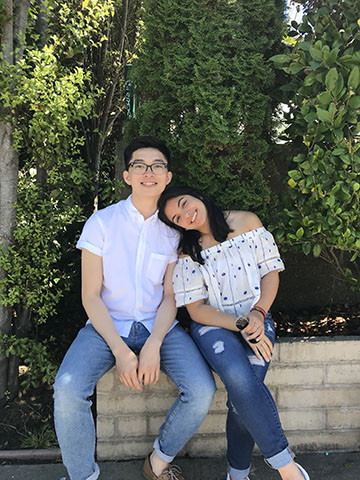
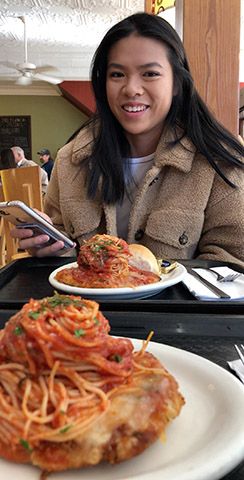
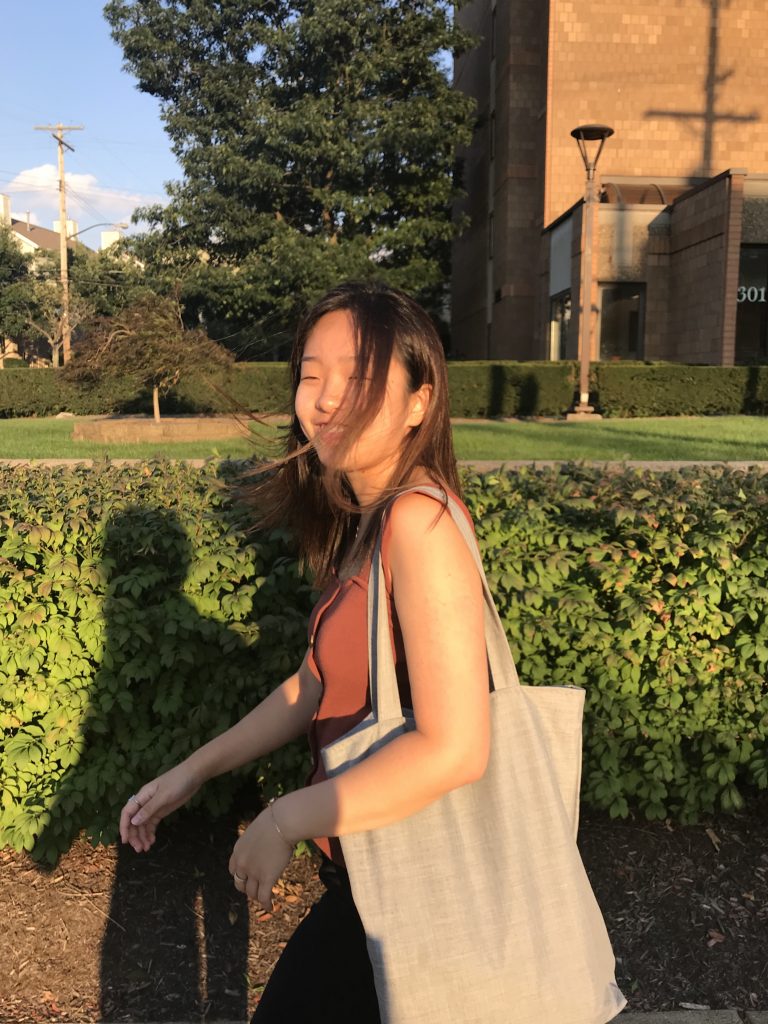
// preloads photo of my dogs and I
function preload() {
    var myImgURL = "https://i.imgur.com/Ux0KKiz.jpg";
    myImage = loadImage(myImgURL);
}


function setup() {
    createCanvas(640, 480);
    background('black');
    // the image is too big so have to shrink it to fit canvas
    myImage.resize(640, 480);
    myImage.loadPixels();
}

function draw() {
    // chooses a random x value located near the cursor
    var randomX = floor(random(mouseX - 15, mouseX + 15));
    // chooses a random y value located near the cursor
    var randomY = floor(random(mouseY - 15, mouseY + 15));
    // selects the color from a pixel at a random point near the cursor
    fill(myImage.get(randomX, randomY));
    // draws a circle
    dot(randomX, randomY);
}

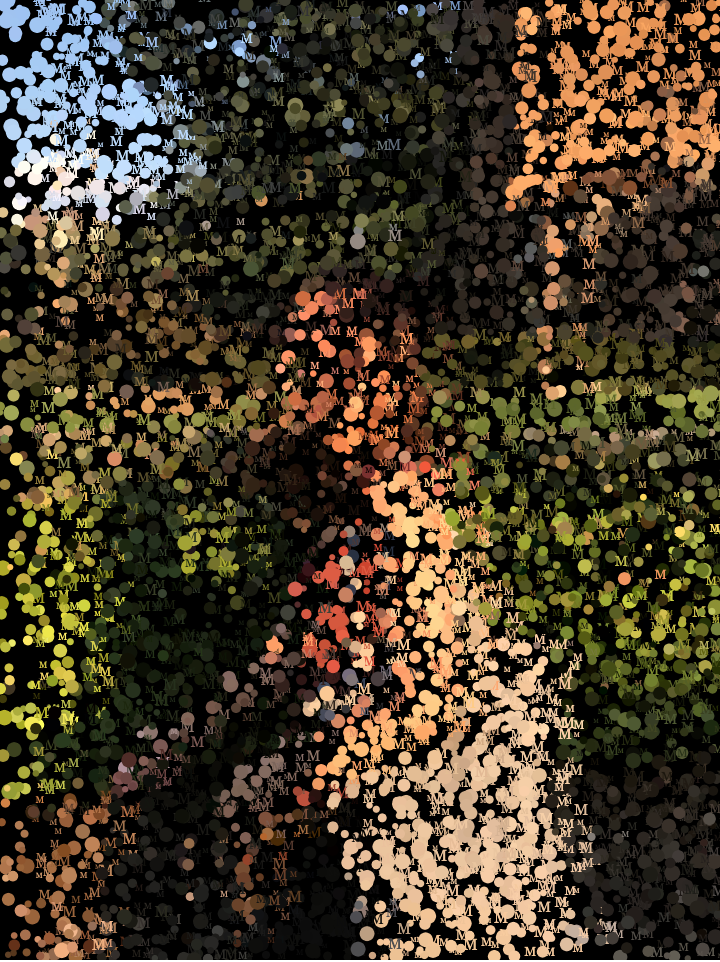
// creates dot shape
function dot(x, y) {
    push();
    noStroke();
    translate(x, y);
    ellipse(0, 2, 5, 5);
    pop();
}

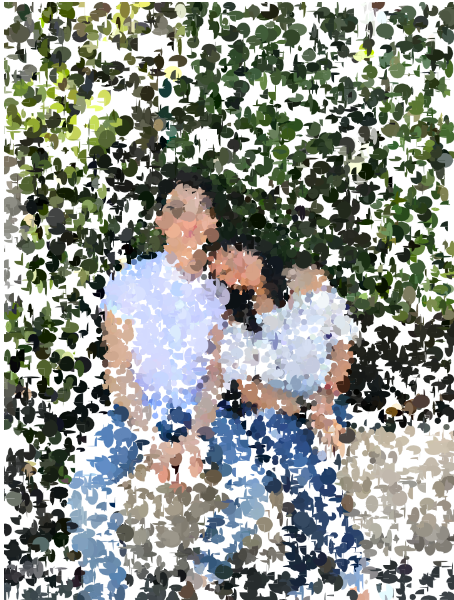
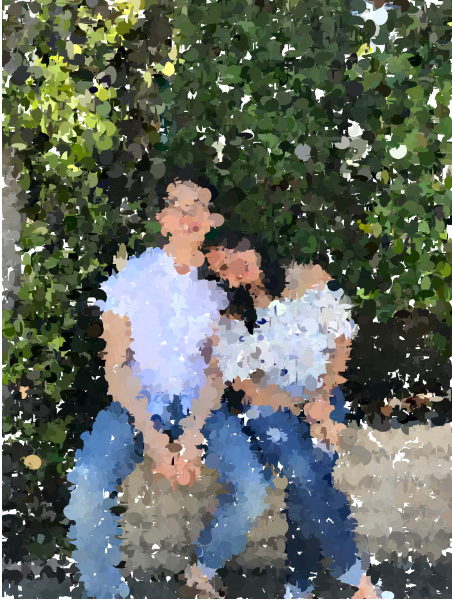
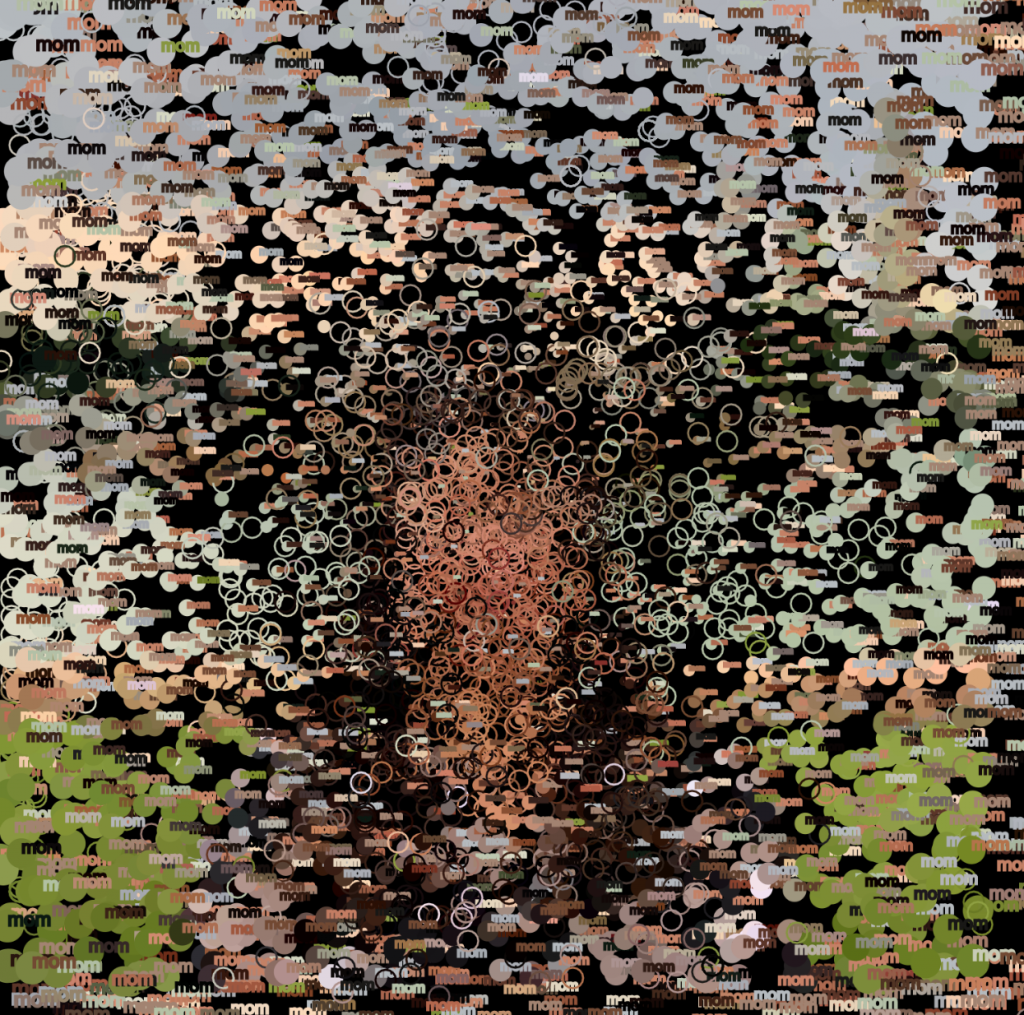
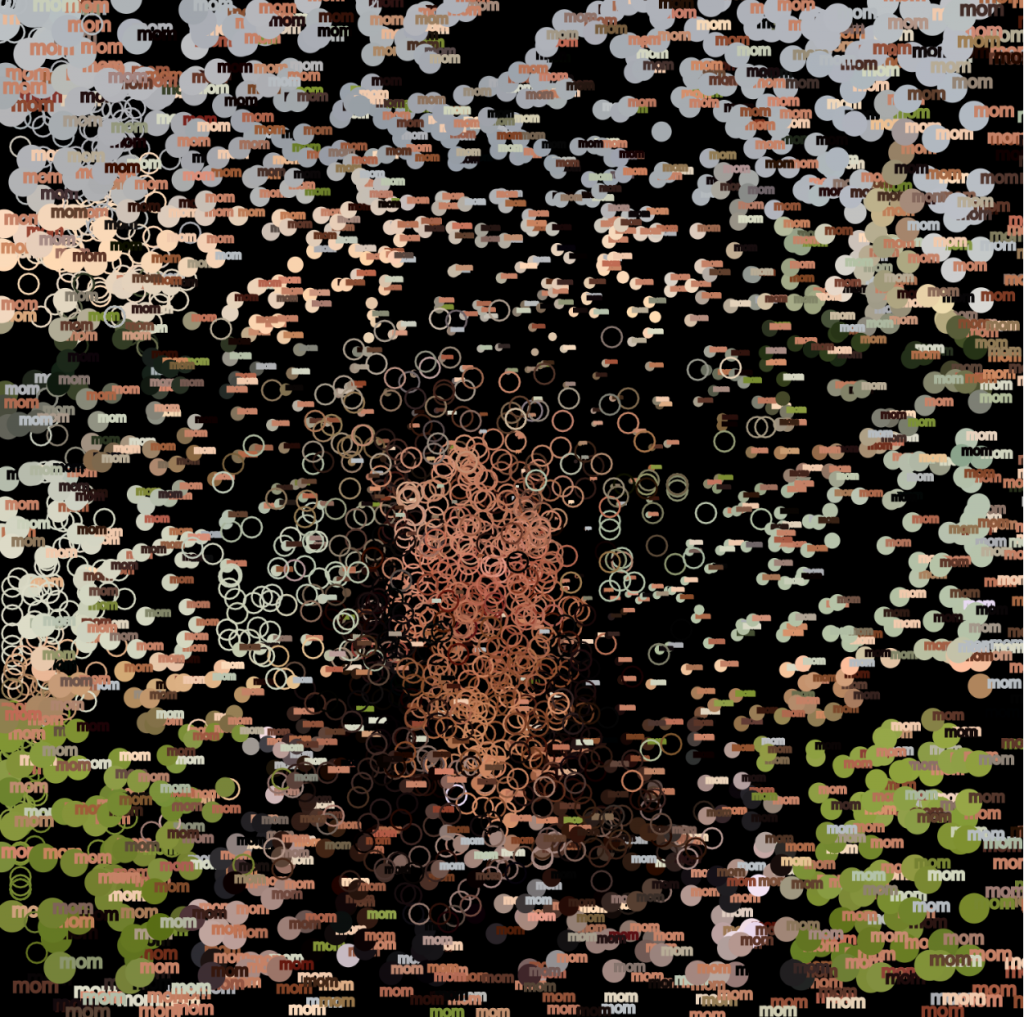
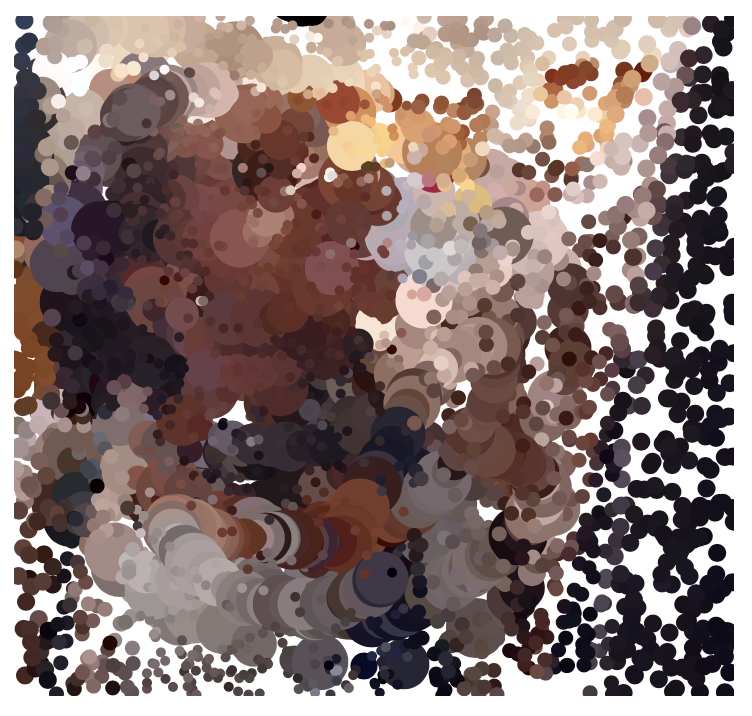
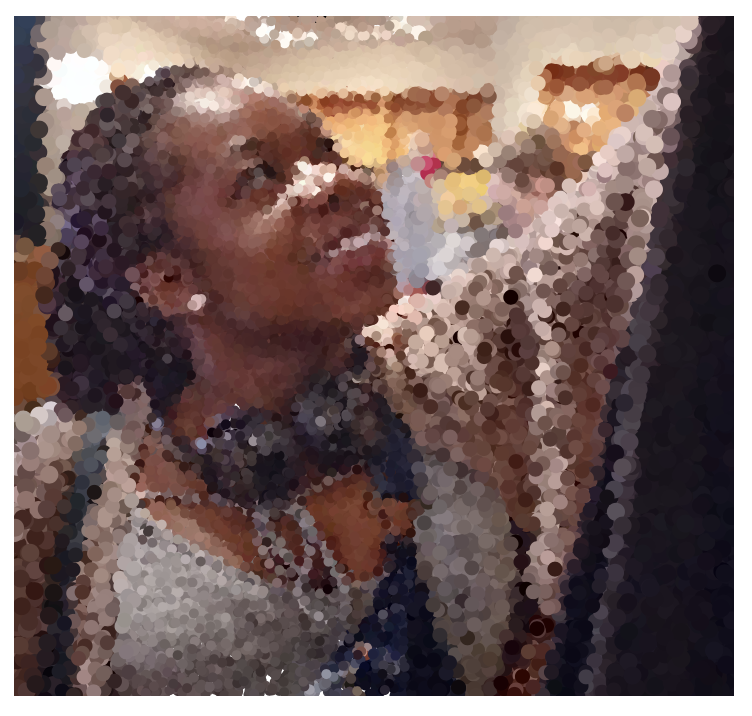
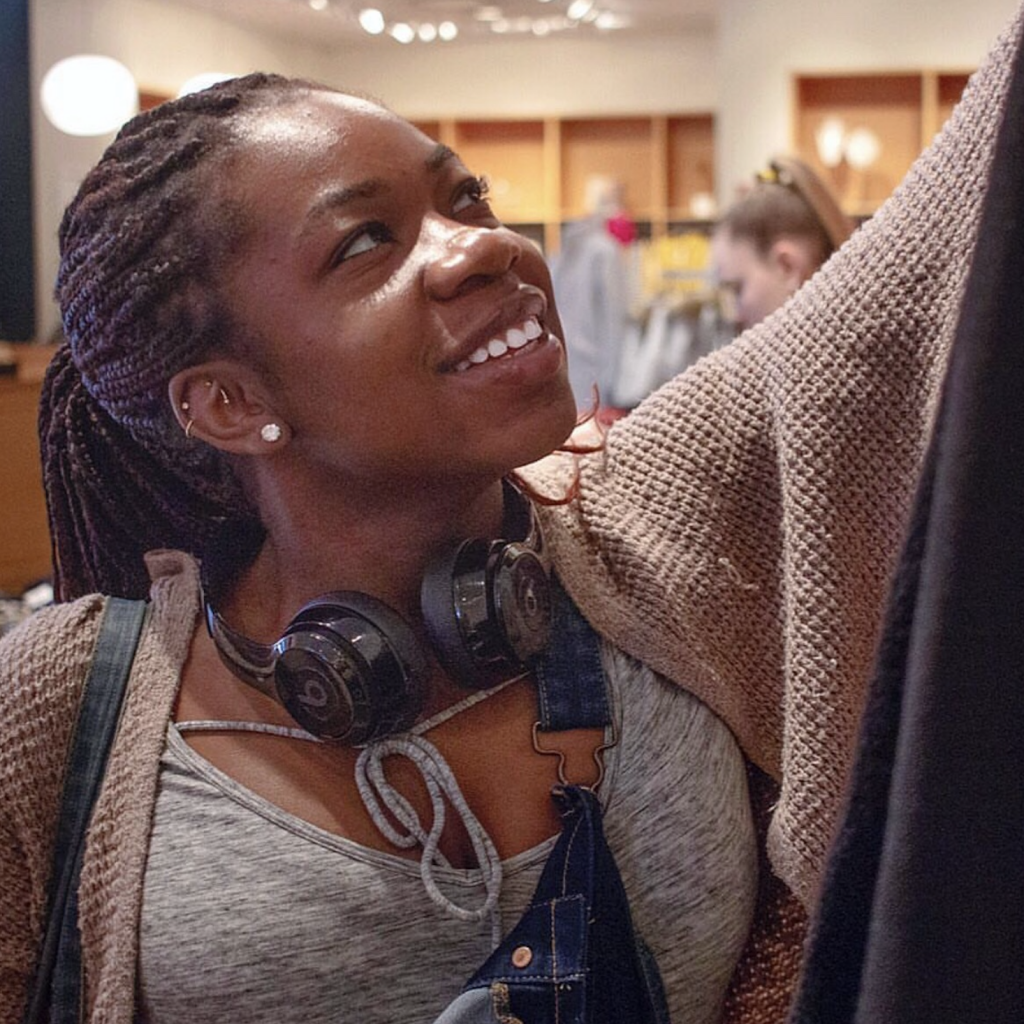
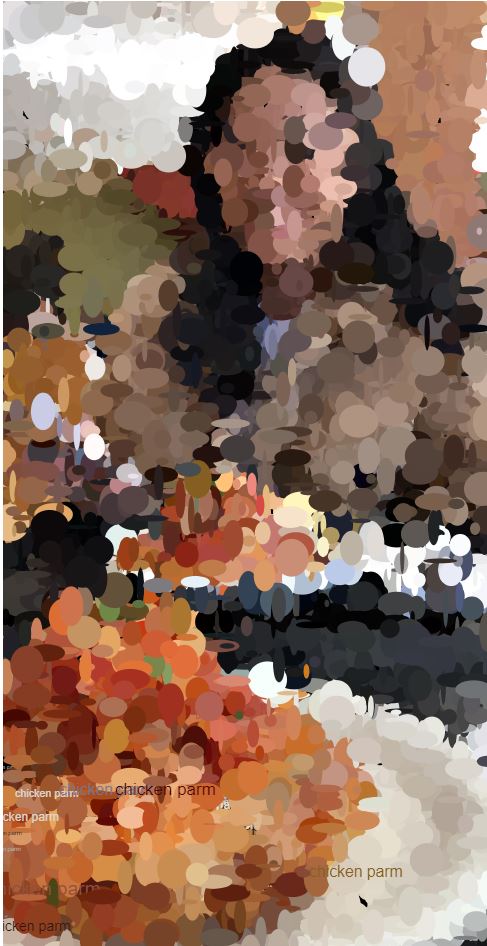
For this weeks assignment, I had a lot of fun playing with the image. I used dots to create the photo of my dogs and I when I was younger. It was interesting when I was able to change the circle sizes. I stuck with size 5 because it made the design seem easy to comprehend while also not being extremely clear. I tried size 10 and it seemed too blurry.

This is a reference of what photo I used for this project.

Carly Sacco – Project – 09 – Portrait

sketch

//Carly Sacco
//Section C
//csacco@andrew.cmu.edu
//Project 09: Computational Portrait

var myPic; //variable to reference my photo

function preload() {
	var origPic = "https://i.imgur.com/B5emP43.jpg"
	myPic = loadImage(origPic); //loading the image to the variable
}

function setup() {
	createCanvas(360, 480);
	myPic.loadPixels();
	frameRate(150); //how quickly the arc will be added
}

function draw() {
	//these variables link the pixels with the image
	var px = random(width);
	var py = random(height);
	var ix = constrain(floor(px), 0, width-1);
    var iy = constrain(floor(py), 0, height-1);
	//pixel color from the picture
	var pcolor = myPic.get(ix, iy);
	
	noStroke();
	fill(pcolor);
	//the two separate arcs used added together would be a complete circle
	arc(px, py, random(-15, 15), random(-15, 15), HALF_PI, PI); 
	arc(px, py, random(-15, 15), random(-15, 15), PI, HALF_PI);

	//the mouse can be used for more detailed filling in of the image
	var mouseColor = myPic.get(mouseX, mouseY);
	fill(mouseColor);
	ellipse(mouseX, mouseY, 8, 8);
}
	

After I chose this photo I thought to match the texture of the greenery in the background it would be fun to fill in the image with slightly jagged, but also rounded pieces. I used arc to do this and had two so that added together it would be a complete circle, but since they’re not there was more variation. I did, however make the mouse fill in with circles to get a more accurate filling in for details for the photo.

Shariq M. Shah – Project 09 – Portrait

shariqs-09-project

// Shariq M. Shah
// Project 09
// Section C

var underlyingImage;

function preload() {
    //changing example image
    var myImageURL = "https://i.imgur.com/hpfafgd.jpg[/img]";
    underlyingImage = loadImage(myImageURL);
}

function setup() {
    createCanvas(500, 500);
    background(0);
    underlyingImage.loadPixels();
    frameRate(10);
}

function draw() {
    var px = random(width);
    var py = random(height);
    var ix = constrain(floor(px), 0, width-1);
    var iy = constrain(floor(py), 0, height-1);
    var theColorAtLocationXY = underlyingImage.get(ix, iy);

    noStroke();
    fill(theColorAtLocationXY);
    //making size of "pixels" geometries proportional to distance from CENTER
    ellipse(px, py, 0.05 * dist(px, py, width/2, height/2), 0.05 * dist(px,     py, width/2, height/2));

    var theColorAtTheMouse = underlyingImage.get(mouseX, mouseY);
    stroke(theColorAtTheMouse);
    noFill();
    //drawing ellipses based on mouse location
    ellipse(pmouseX, pmouseY, 10, 10);
    //placing "mom" text at each ellipse
    textSize(0.03 * dist(px, py, width/2, height/2));
    text('mom', px, py);
}

In this project, I used a picture of my mom from when we went on a family trip to Chicago this summer. I used small ellipses and text that change in size based on their distance from the center to develop the computational portrait of my mom. In addition, small empty ellipses are drawn with colors of the picture as the user moves the mouse. The drawn ellipses, the “pixel” ellipses, and the text make up the overall computational portrait of my mom. She’ll love seeing this when I go back for Thanksgiving break.

My mom in Chicago.

Shariq M. Shah – Looking Outwards 09


The Looking Outwards that I found particularly interesting was Tai Manheim’s exploration of the work of Stamen, an artificial intelligence tool used to analyze wealth and poverty at an urban scale. The project was developed by Stamen and researchers at Carnegie Mellon University and it implements neural networks to develop machine learning frameworks that take in information on infrastructure in various neighborhoods and subsequently uses the information to make predictions on the average income of the areas. I found Tai’s explanations of the digital techniques and data structure networks that make this project possible to be highly informative and intriguing. With a project of this scope, there are inevitably associations and unintended associations made between income, race, crime, and location which can be used negatively for increased surveillance and policing strategies. This raises issues on the interface between Artificial Intelligence, machine learning, and politics, as the impressions and conclusions derived from a project like this may be based on hard data, but can be used negatively. There are also clear design incentives as to how residential areas can be organized better according to the data found from a project like this.

https://stamen.com/work/penny/

https://courses.ideate.cmu.edu/15-104/f2019/2019/10/06/taisei-manheim-looking-outward-07/

Carly Sacco – LookingOutwards – 09

The project I found that I thought was interesting, was Jai Sawkar’s first Looking Outwards on Sensacell’s New Interactive Floor in Valenciana, Spain. The floor has LED lights and sensors that light up as someone walks across it, with the lights fading as the user gets farther from the location. I think this project seems very fun to interact with and is a unique way to change up sidewalks, since they are now often something people never look at or think about now. 

I agree with Jai’s thoughts about this project where I also think this was a great way to intertwine computing with design and the product is something pleasant for people to interact with. This project does a good job at allowing new social interactions to come out of the creativity within the design.

Zee Salman-Project-09- Portrait

sketch

//Zee Salman
//SECTION E
//project 09

var picture;

function preload(){    
    var url = "https://i.imgur.com/J5xj43q.jpg"; 
    picture = loadImage(url); 
}

function setup() {
	background(255);
    createCanvas(360, 340);
    picture.loadPixels(); 
//rate of the pixels
    frameRate(8000); 
}

function mouseDragged(){
//size of the brush
    var Bmouse = random(11, 30);
//selecting the color
    var Dmouse = picture.get(mouseX, mouseY); 

//drawing with the mouse dragged    
    fill(Dmouse);
    ellipse(mouseX, mouseY, Bmouse, Bmouse);
}
    
function draw() {
//random  
    var x = random(width); 
    var y = random(height); 

//color for pixel 
    var cx = constrain(floor(x), 0, width - 1); 
    var cy = constrain(floor(y), 0, height - 1); 

    var selColor = picture.get(cx, cy); 

//color of the circles    
    noStroke(); 
    fill(selColor); 

//more focus on the person
    if (x > 60 & x < 200 && y > 0 && y < height){
        ellipse(x, y, 5, 5); 
    }

//closer to the person
    else if (x > 20 & x < 300 && y > 0 && y < height){
        ellipse(x, y, 7.5, 7.5); 
    }
    
//out of focus background
    else {
        ellipse(x, y, 9, 9); 
    }
 }


I really had fun with this project because I had the opportunity to test out and create different outcomes for different interactions. I also wanted it to still be a picture that has some sort of focus as well, so I created smaller dots/ellipses towards the figure and facial features. But, I still left room for abstraction with the interaction piece making it so that random sized dots create the pictures.

mid computation with brush interaction strokes
finished piece
Original picture

Yoshi Torralva—Looking Outwards—09

eCloud installation in the San José Airport
Schematics of the eClouds for the San José Airport
Tiles used that can go from transparent to opaque.

For this looking outwards post, I found Joseph Zhang’s looking outwards post on the eCloud for data visualization quite interesting. eCloud is a physical representation of weather conditions in the current location. On the side of the walkway, different computer-generated Created in 2010 and a permanent installment in the San Jose Airport, eClouds are generated from other sites on a screen. I want to add to Joseph’s comments on the eCoud to how this physical data-visualization of weather data improves the overall space. As a whole, the opaque tiles create a feeling of direction, leading people to move across the terminal. Additionally, I admire how unobtrusive it is to both allow people to take a glance at the screen to understand the meaning of the formation of tiles but also move quickly through space. At first, it looks as if there is no technology equipped to these tiles, but through live-imputed data, it slightly shifts from transparent to opaque.

Sarah Kang-Project-09-Computational Portrait

portrait

//sarah kang
//section c
//sarahk1@andrew.cmu.edu
//project-09-computational-portraits

var underlyingImage;

function preload() {
    var myImg = "https://i.imgur.com/kLHusSC.jpg";
    currImage = loadImage(myImg);
}

function setup() {
    createCanvas(244, 480);
    background(0);
    currImage.loadPixels();
    frameRate(100);
}

function draw() {
    var px = random(width);
    var py = random(height);
    var imgW = random(2, 20);
    var imgH = random(2, 20);
    var txtsize = random(1, 10);

    var ix = constrain(floor(px), 0, width-1);
    var iy = constrain(floor(py), 0, height-1);
    var theColorAtLocationXY = currImage.get(ix, iy);

    noStroke();
    fill(theColorAtLocationXY);
    ellipse(px, py, imgW, imgH);

    fill(theColorAtLocationXY);
    textSize(txtsize);
    textFont('Arial');
    text("chicken parm", mouseX, mouseY);

    /*var theColorAtTheMouse = currImage.get(mouseX, mouseY);
    stroke(theColorAtTheMouse);
    line(pmouseX, pmouseY, mouseX, mouseY);*/
}

This was the most recent portrait picture I had on my phone, from when I visited my best friend from home last weekend. I thought the random ellipses made nice compositions and texture with the color areas and palettes in this picture. “chicken parm” is also what we had for breakfast in this picture.

After a few minutes
my best friendd

Sarah Kang-Looking Outwards-09

Baby Groot, Guardians of the Galaxy Vol. 2, Framestore, 2017

For this week’s post, I found Youie Cho’s looking outwards post in week 5 to be particularly interesting because it had Baby Groot, my favorite Guardians of the Galaxy character. The artwork in focus is the computer graphics work of Framestore, a collective of film, advertising, and content artists. Like Youie, I’m also inspired and impressed by the attention to detail and careful development in putting Baby Groot’s animated character into the context of the movie, down to the details of its walking patterns and speed. I especially love how Framestore extensively researched the characteristics of babies and children when imagining Baby Groot’s character. Being aware of the these “behind-the-scenes” processes in Baby Groot’s character development enables viewers to make a more humanistic connection to the character in the movie and makes Baby Groot even more lovable.

Youie Cho’s original Looking Outwards Post

Monica Chang – Project – 09 – Portrait

sketch

//Monica Chang
//mjchang@andrew.cmu.edu
//Section D
//Project 09 - Computational Portrait

function preload() {
    var myImageURL = "https://i.imgur.com/3WVgXfE.jpg";
    itMe = loadImage(myImageURL); //uploading my image
}


function setup() {
    createCanvas(360, 480);
    background(0);
    itMe.loadPixels(); //pixelates the image
    frameRate(4000); // rate of generating pixels
}

function draw() {
    var px = random(width);
    var py = random(height);
    var size = random(3, 8);
    var offset = 15;

    var cx = constrain(floor(px), 0, width-1);
    var cy = constrain(floor(py), 0, height-1);
    var imgColor = itMe.get(cx, cy);

    noStroke();
    fill(imgColor);
    ellipse(px, py, size);
    textSize(size);
    textFont("Georgia");
    text("M", px + offset, py);
}

Original Image of myself. Self-Portrait.
Mid-drawing of computational portrait.

I chose to approach this project with a self-portrait.

I think this was one of the easiest but one of the more fun projects we have done this semester. Just like all the other projects, this was very open-ended which allowed me to explore different options comfortably although I struggled to find what else I could do to the image. This also gave me a chance to look at some beautiful photos I had abandoned.