Since I don’t know many people in our class, I decided to go through one specific Looking Outwards week, rather than through a specific person’s assignments. I chose LO-02, because I personally loving generative art and really enjoyed researching that topic that week.
I chose to write about Ellan Suder’s post about Alfred Hoehn’s Drawing Machine mostly because I have never seen a project like this and find it really intriguing.
Work by Alfred Hoehn, Swiss Artist. Project: Drawing Machine Ptolemaios. Year: 2008.
Building off of Ellan’s thoughts, I also am very intrigued by this project. I appreciate the simplicity, yet complexity of the machine. It is somehow shocking how just changing a bit of the diameter/length of the spinning circles can create completely different works of art. This reminds me of the Spirograph project we did.
Something that I would add to the conversation is that why make a machine that does this, when we know we can program computers to do them better? I personally like pen-and-paper, but it gets me to wonder the wast of energy and paper of creating such beautiful artworks.
Finally, I agree with Ellan, that it is very mesmerizing and calming to watch the drawing happen.
//RAYMOND PAI
//Section D
//rpai@andrew.cmu.edu
//Project 09 Comp Portrait

//pre load image
var underlyingImage;

function preload() {
    var myImageURL = "https://i.imgur.com/SNQERwr.jpg";
    underlyingImage = loadImage(myImageURL);
}

function setup() {
    createCanvas(500, 500);
    background (0);
    //pre load image's pixels
    underlyingImage.loadPixels();
    // slightly fast frame rate
    frameRate(300);
}

function draw() {
    //random pixel
    //x of pixel
    var px = random(width);
    //y of pixel
    var py = random(height);
    var fx = constrain(floor(px), 0, width-1);
    var fy = constrain(floor(py), 0, height-1);
    //load pixel color to 'give' to the color of the circles
    var theColorAtLocationXY = underlyingImage.get(fx, fy);

    //draws circles
    fill(theColorAtLocationXY);
    noStroke();
    ellipse(px, py, 20, 20);

    //draws circles at mouse
    var theColorAtTheMouse = underlyingImage.get(mouseX, mouseY);
    //color for circles
    fill(theColorAtTheMouse);
    //draw circles at mouse
    ellipse(mouseX, mouseY, 20, 20);
}
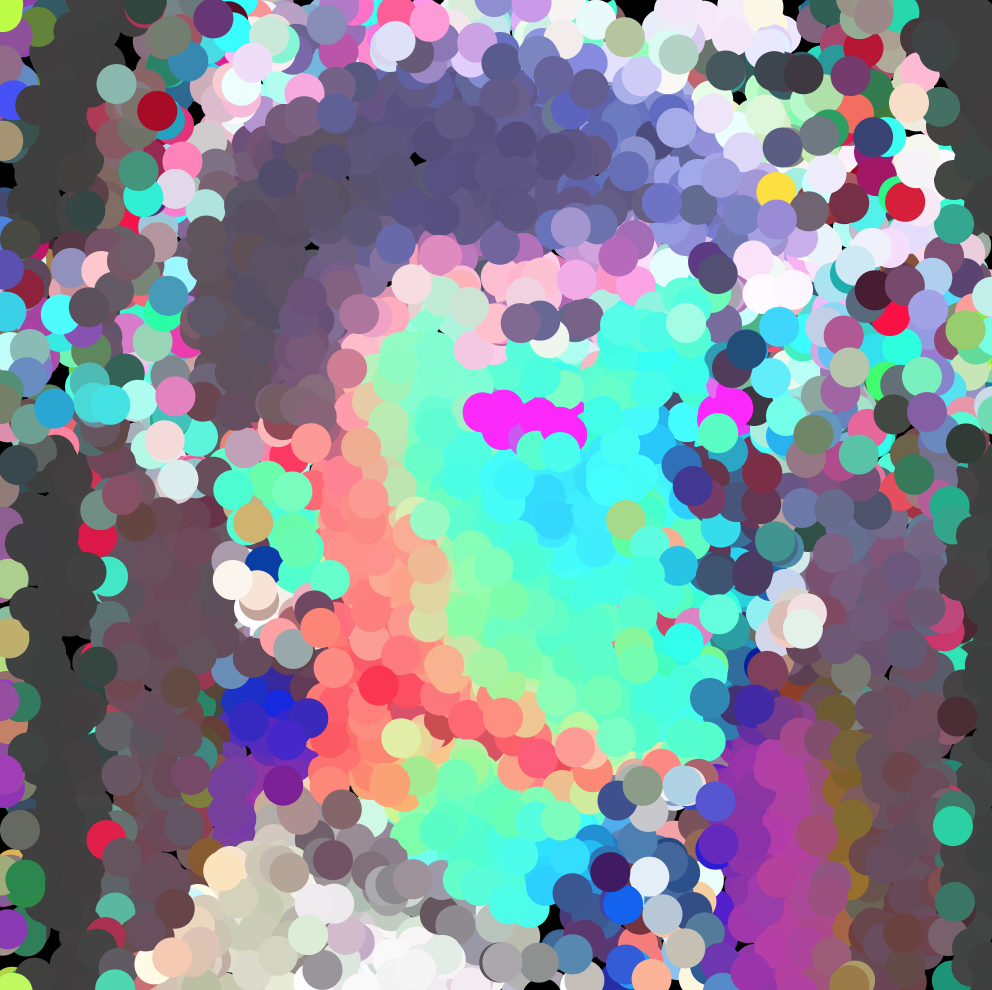
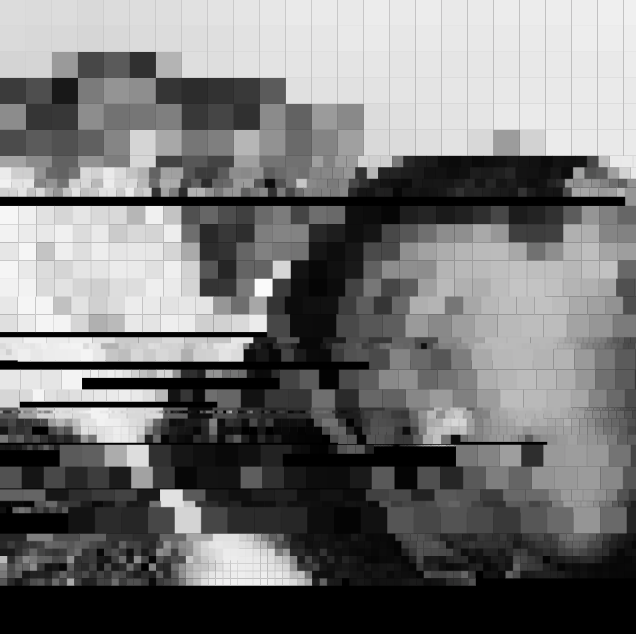
I used chunky circles to make my portrait. To emphasize the playful style, the original picture is already edited to be really colorful:
color color color more color
The picture loads pretty quickly because I don’t want to wait to see the original. You can also speed up the process even more by rapidly moving the mouse around the portrait. The whole image should appear in about a minute.
// Nawon Choi
// nawonc@andrew.cmu.edu
// Section C
// Computational Portrait


// starting with sample code
var underlyingImage;

// some code taken from my Exam 2 Problem B solution
var xArr = [];
var yArr = [];

function preload() {
    var myImageURL = "https://i.imgur.com/wDXWg1x.jpg?1";
    underlyingImage = loadImage(myImageURL);
}

function setup() {
    createCanvas(400, 400);
    background(0);
    underlyingImage.loadPixels();
    frameRate(1000);
}

function draw() {

    var px = random(width);
    var py = random(height);
    var ix = constrain(floor(px), 0, width-1);
    var iy = constrain(floor(py), 0, height-1);
    var theColorAtLocationXY = underlyingImage.get(ix, iy);

    noStroke();
    fill(theColorAtLocationXY);

    var theColorAtTheMouse = underlyingImage.get(mouseX, mouseY);

    for (var i = 1; i < (xArr.length); i++) {
        // add a random value to each point
        var rx = randomize();
        var ry = randomize();
        var x1 = xArr[i - 1];
        var y1 = yArr[i - 1];
        var x2 = xArr[i] + rx;
        var y2 = yArr[i] + ry;
        stroke(theColorAtTheMouse);
        line(x1, y1, x2, y2);
        xArr[i] = x2;
        yArr[i] = y2;
    }

    // create colored rectangles to reveal the image
    strokeWeight(3);
    stroke(theColorAtLocationXY);
    rect(px, py, 10, 10);
}

function mouseMoved() {
    // remove last point on array if length is greater than 3
    if (xArr.length > 3) {
        xArr.shift();
        yArr.shift();
    }
    // add mouse points to an array
    xArr.push(mouseX);
    yArr.push(mouseY);
}

function randomize() {
    // find a random value from -4 to 4
    var x = random(-4, 4);
    return x;
}
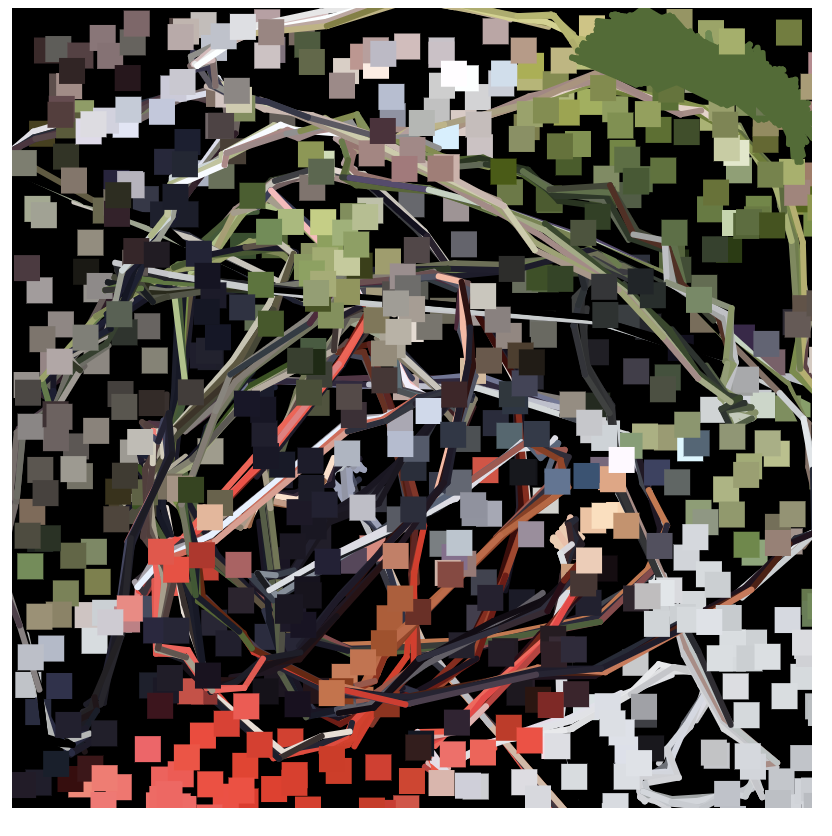
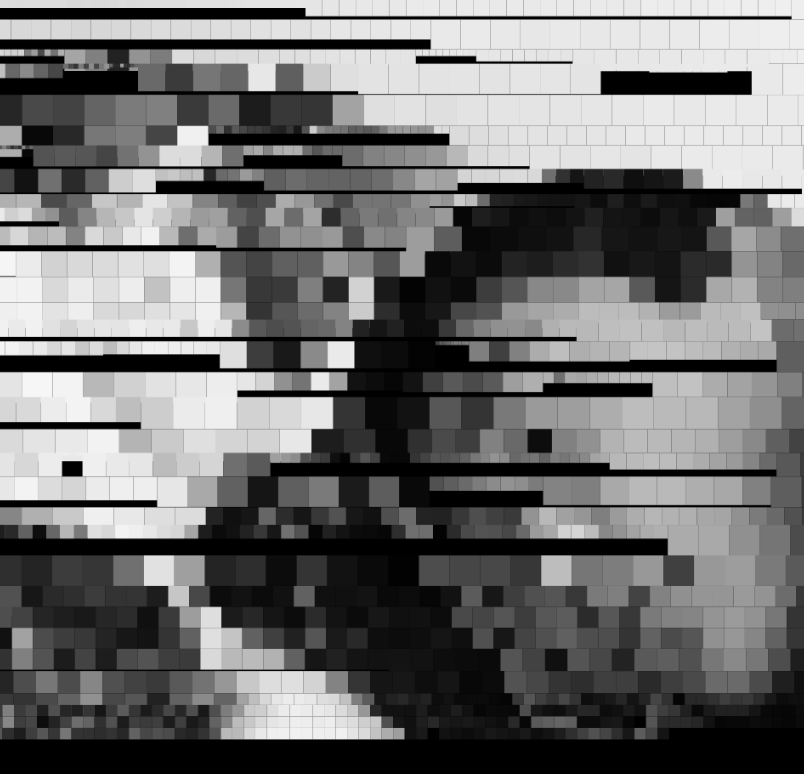
For this project, I wanted to create something interactive and playful. The user is actually disrupting the image from being revealed in an orderly way. The random lines generated by the mouse movement were taken from a previous assignment. I tried to apply it to this project because I thought the random lines would create a fun and playful brush stroke effect. Depending on how the user moves the mouse, it can either disrupt the image, or add interesting movement to the portrait. See the imgur link in the code to see original image.
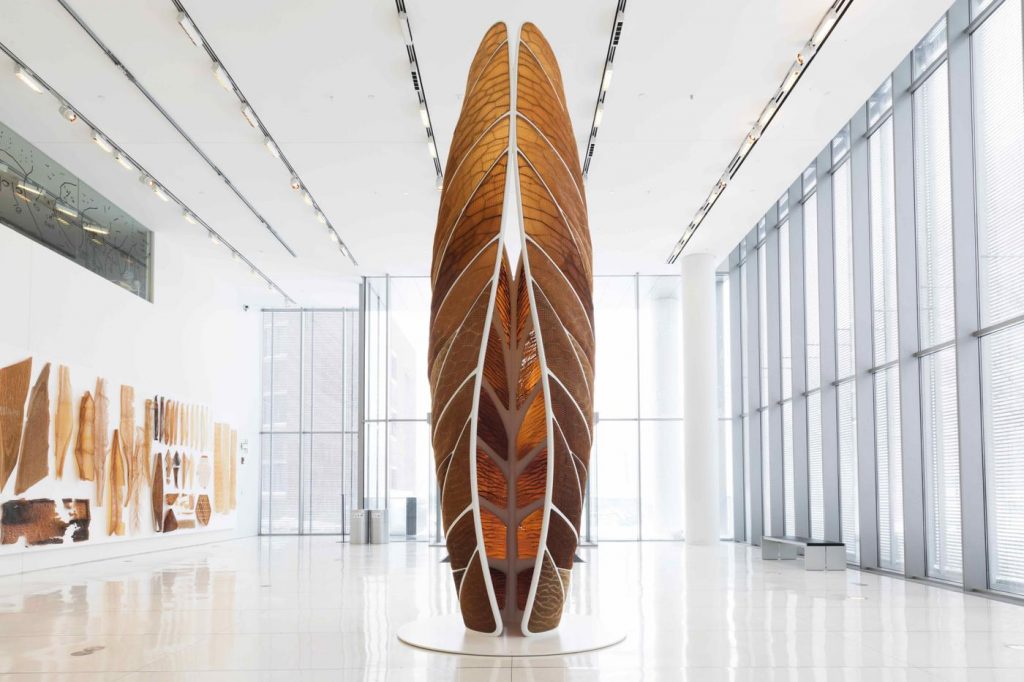
An image of the Aguahoja I pavilion exhibited in the MIT Media Lab lobby in 2018.
For my Looking Outwards this week, I looked at my classmate Shannon’s Looking Outwards from Week 3 on Aguahoja, a work by the MIT Media Lab. The prompt for that week was on Computational Fabrication, and I really liked the piece Shannon chose because of how majestic yet haunting it felt. Shannon described Aguahoja as an exploration of how human technology—specifically, 3D printing—could emulate natural and biological materials such as tree branches and bones. The MIT Media Lab took an innovative design approach using algorithms, water-based design, and digital fabrication to erect these massive sculptures that represent nature’s intricacies.
I really enjoyed Shannon’s reflection on Aguahoja because it was concise yet contemplative, explaining how although Aguahoja is an effective representation of nature’s form, it still requires manpower and technology. One thing I would add onto her discussion points are the incredible amount of research the MIT team undertook to develop their algorithms for printing. It took them 6 whole years of research into computationally manufactured functional biopolymers for them to feel confident enough in their ability to emulate these biological structures, a testament to how wonderfully unique nature really is.
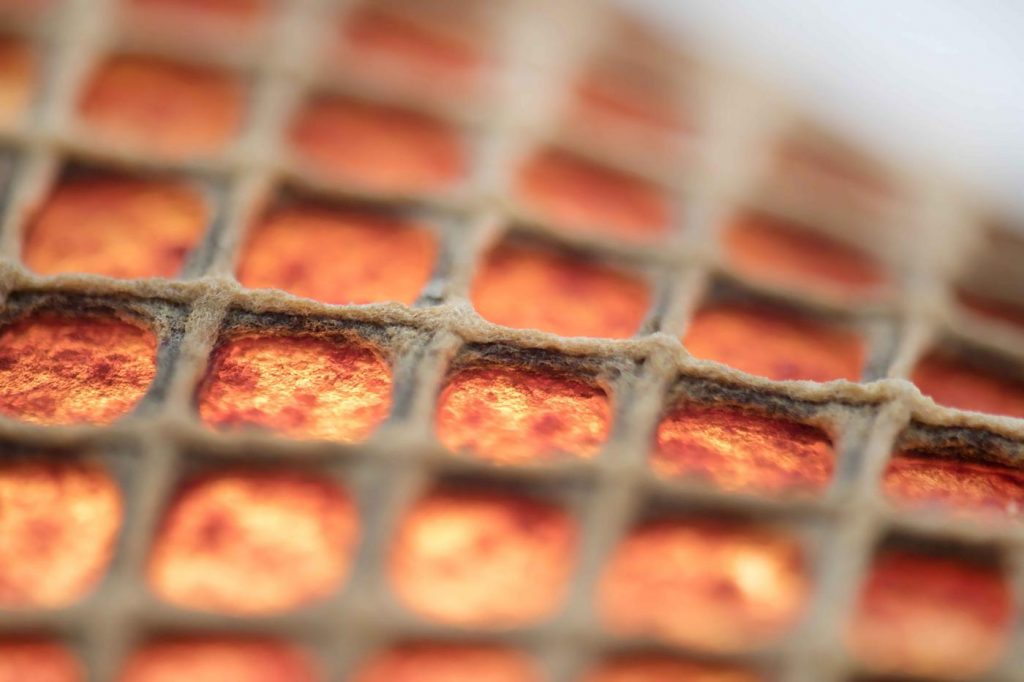
An example of one of the biological exoskeletons Aguahoja strove to emulate.
//Ghalya Alsanea
//Section B
//galsanea@andrew.cmu.edu
//project-09

var img;
var WIDTH;
var HEIGHT;

var brightnessValues = [];  //stores the brightness values
var toggle = true;          //add a toggle for the for loop to help the code run faster

//x and y coordinate arrays for 4 shades
var curve1x = [];
var curve2x = [];
var curve3x = [];
var curve4x = [];

var curve1y = [];
var curve2y = [];
var curve3y = [];
var curve4y = [];

function preload() {
  img = loadImage("https://i.imgur.com/Aqg5q8V.jpg");

}

// getPixel: fast access to pixel at location x, y from image
function getPixel(image, x, y) {
    var i = 4 * (y * image.width + x);
    return color(image.pixels[i], image.pixels[i + 1], image.pixels[i + 2]);
}

function setup() {
    //image is 480 x 480
    WIDTH = img.width;
    HEIGHT = img.height;
    createCanvas(WIDTH, HEIGHT);
    noFill();
    img.loadPixels();
}

function draw() {
    background(255);

    // Search and store brightness of each pixel.
    //toggle: you only really need to load the brightness once, toggle can be re-toggled later
    if (toggle) {
    for (var i = 0; i < img.width; i++) {
        for (var j = 0; j < img.height; j++) {
            var b = brightness(getPixel(img, i, j));

            //sort vertices depending on brightness levels
            if (b < 0.04) {
                curve1x.push(i);
                curve1y.push(j);
            }
            if (b >= 0.04 & b < 10) {
                curve2x.push(i);
                curve2y.push(j);
            }
            if (b>= 10 & b < 40) {
                curve3x.push(i);
                curve3y.push(j);
            }
            if (b >= 40 & b < 100) {
                curve4x.push(i);
                curve4y.push(j);
            }
        }
    }
    toggle = false;

    }

    //LIGHTEST - light blue
    stroke(200, 220, 255, 50);
    drawCurve (curve4x, curve4y);
    //LIGHT -medium blue
    stroke(100, 120, 255, 50);
    drawCurve (curve3x, curve3y);
    //DARK - blue
    stroke(0, 0, 255, 50);
    drawCurve (curve2x, curve2y);
    //DARKEST - dark gray
    stroke(50, 100);
    drawCurve (curve1x, curve1y);
}

function drawCurve (x, y) {
    //originally I wanted to create a continous line through vertices,
    //but it was getting overcrowded, so to ket the sketch-like feeling
    //I used random circle sizes
    // beginShape();
    for (i = 0; i < x.length; i+=4) {
        circle(x[i], y[i], random(10));
        // curveVertex(x[i] + random(15), y[i] + random(15));
    }
    // endShape();
}
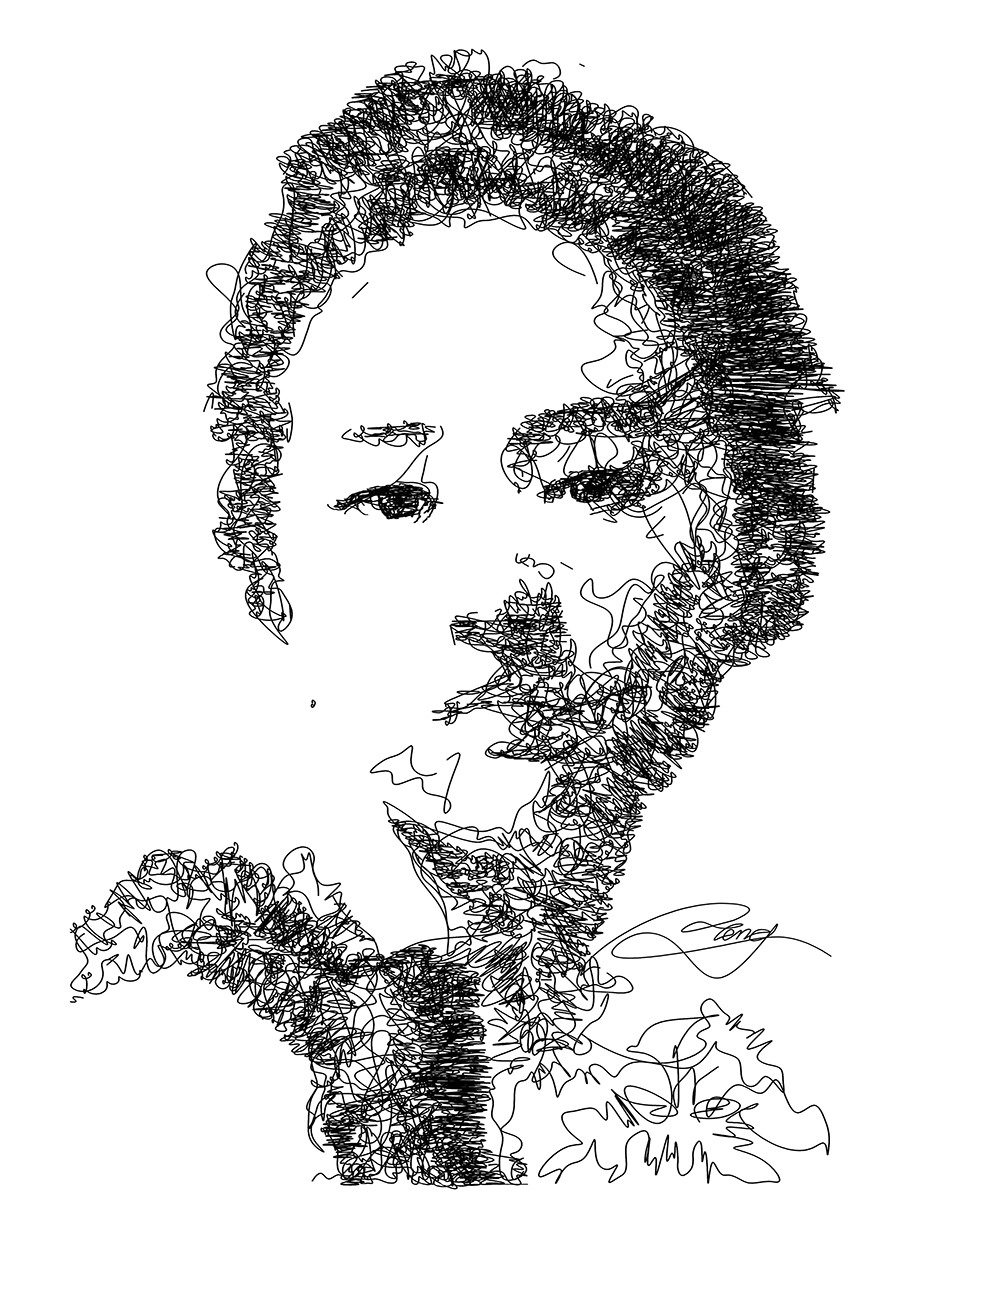
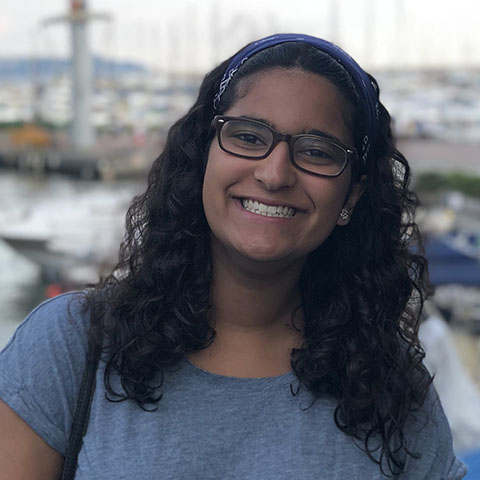
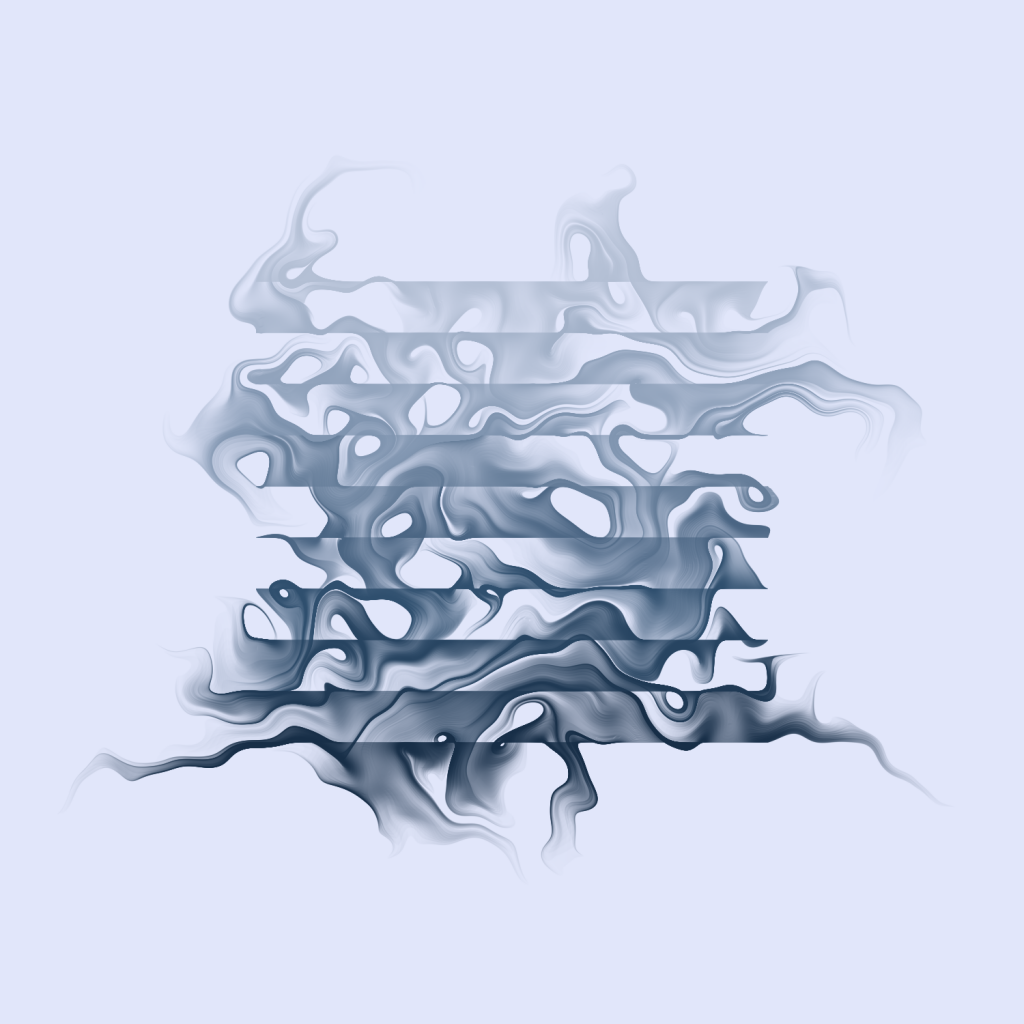
For this assignment, I used a portrait I took of my sister. I wanted to somehow show her personality through the portrait, hence using blue, her favorite color. Originally, I was inspired by the one-line contour drawings and set out to create those with 4 different continuous lines, each for 4 different shades of brightness.
I was inspired by Teng Teng’s Computational portrait drawings. Find more here.
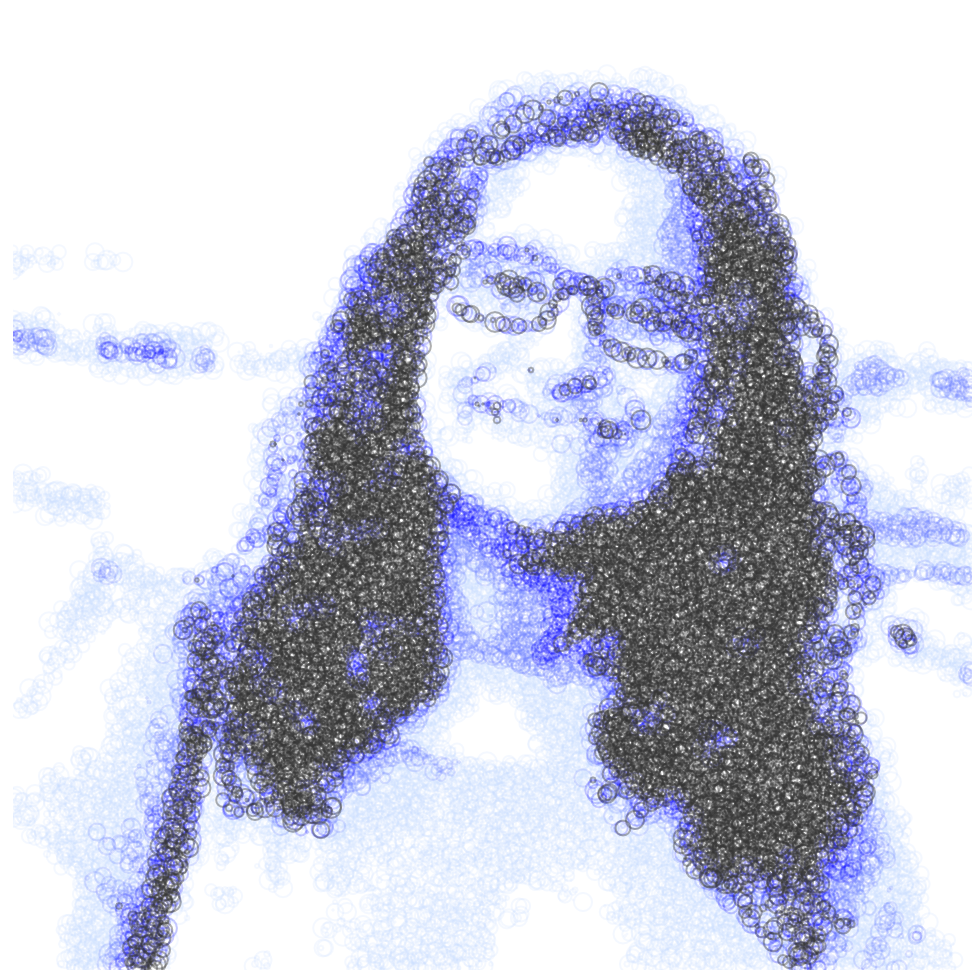
I couldn’t figure out how to create a non-messy looking portrait, so instead I slowly shifted to using circles. I still wanted to retain the drawing-like feel, which can be shown in the final right now. Going back to showing her personality through the piece, I thought the varying sizes of the circles and varying capacities also shows her kind and loving personality.
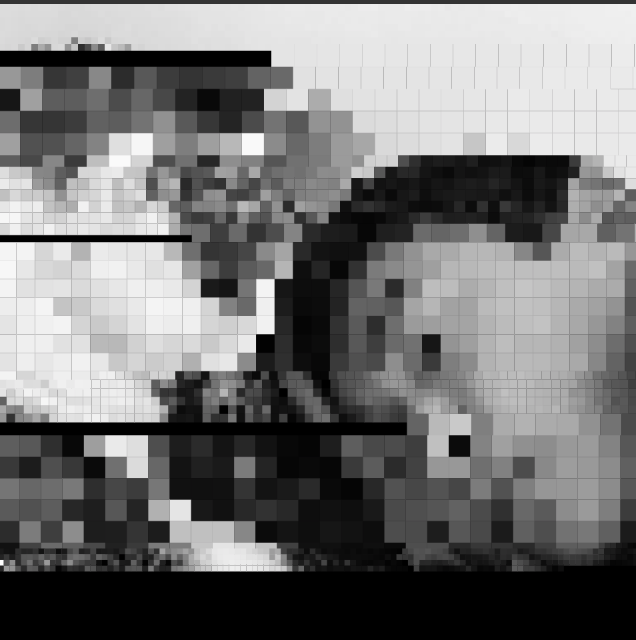
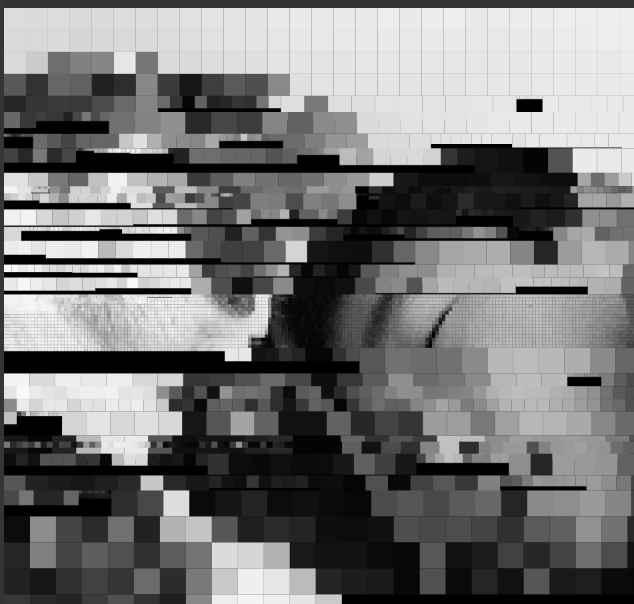
I don’t have any paper sketches, but I have some screenshots of the earlier versions. I wanted to make it “print” from left to right and go down to a new row once it reaches the end (width). When it reaches the end of the canvas (width, height), it moves back to 0,0 and starts printing the image again.
Early version 1: step was something like 15px and size was 5px
Early version 2: step and size are the same small value
I wanted to add some interactivity using mousePressed. Every time the mouse is clicked:
A number between 1 and 20 is added to the step and size arrays.
i increases by 1, so that it accesses the newly generated elements in the arrays.
/*
Ellan Suder
15104 1 D
esuder@andrew.cmu.edu
Project-09
*/

var underlyingImage;
var rectX = 0;
var rectY = 0;
var i = 0;
rectstep = [5];
rectsize = [5];

function preload() {
    var myImageURL = "https://i.imgur.com/frUuo2H.png";
    underlyingImage = loadImage(myImageURL);
}

function setup() {
    createCanvas(480, 480);
    background(0);
    underlyingImage.loadPixels();
    frameRate(10000);
}

function draw() {
    var theColorAtLocationXY = underlyingImage.get(rectX, rectY);

    noStroke();
    fill(theColorAtLocationXY);
    rect(rectX, rectY, rectsize[i], rectsize[i]);

    rectX += rectstep[i];

//rectX return to 0 when hit edge of canvas
    if (rectX >= width)
    {
      rectX = 0;
      rectY += rectstep[i];
    }
//restarts when hits end of canvas
    if (rectY >= height)
    {
      rectX = 0;
      rectY = 0;
      background(0);
    }
}

function mousePressed() {
    var r = random(1,20);

    rectstep.push(r);
    rectsize.push(r);
    i += 1;
}
I am reflecting on Gretchen’s Looking Outwards from Week 1! In this looking outwards, she studied “The Emotional Art Gallery”. The emotional art gallery is an installation in many public places in Stockholm like public transportation buildings. It was created by the company Clear Channel and a design studio called Affairs. The digital billboards display a portrayal of emotion; however, not just any emotion. It is actually an interaction with the people in Stockholm; the emotions that are displayed are a direct reflection of the mood of the city.
Gretchen’s refection of this project and understanding of the benefits of the projects is pretty similar to mine and overall aligns with the goals of the creators. Displaying these emotions makes this project a human center focus. While other artworks might display a unique perspective of emotion, the interaction allows viewers to learn not only about themselves but the community that they are in. This allows civilians to ponder about negative emotions and perhaps be more conscious of ways that they can create a positive impact.
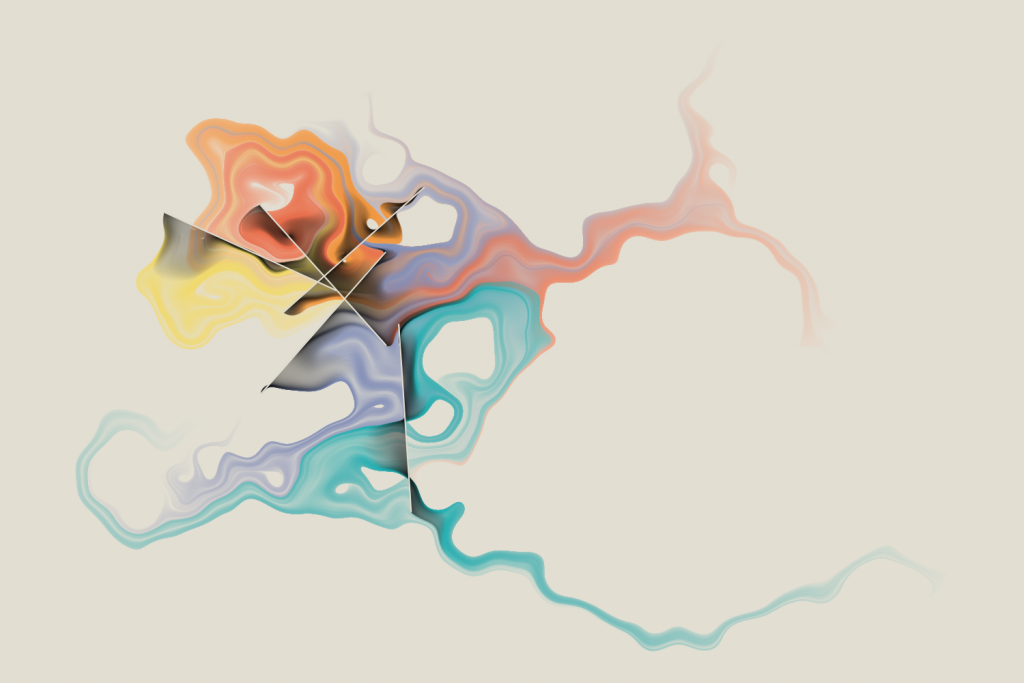
Fallon Creech’s LookingOutwards-05 is particularly interesting to me when I was looking through some of my peer’s posts. The generative artist Thomas Lin Pedersen created this series of art pieces by programming and using visualization techniques.
He believes “the process of generative art is dual,” meaning both system development and visualization method are required. I think that computational generative art is about developing a system that assists the delivery of an idea and its artistic value. I understand the artist thinks that the techniques should be focused less than the art itself. However, even without programming code being shared, I would love to see the generative progress of the artwork, and how the piece comes up together.
“genesis338” belongs to Pedersen’s Generative Art collection. “genesis4321” belongs to Pedersen’s Generative Art collection.
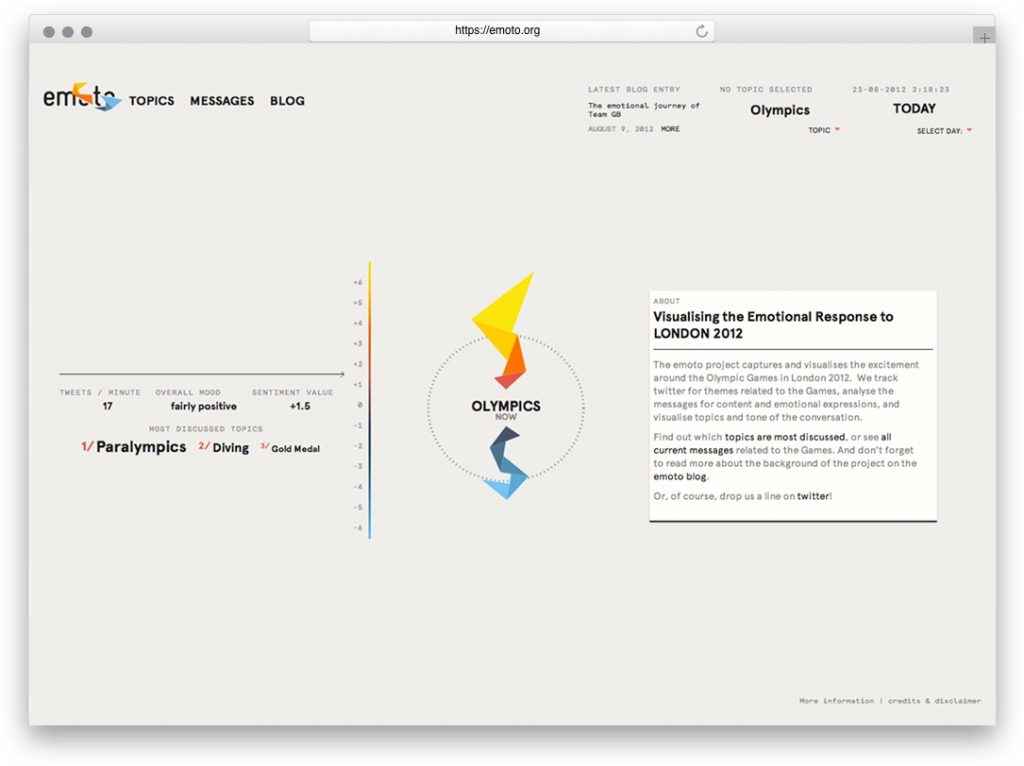
For this weeks post, I will be looking at Jina Lee’s Week 07 Looking Outwards post on data visualization. The emote project for the London 2012 Olympics assessed the global audiences’s real time emotional response to the different events throughout out the games and visualized it physically through a generative physical sculpture. I agree with Jina’s point about how innovative and well executed this project was as it was able to synthesize everyone’s opinions within a small amount of space. This allows people to unify and gain new perspectives on a general response to this global event. One thing that Jina did not touch upon was how this information can help improve future games as the Olympic Committee can use this data to improve parts of the event that weren’t well received by the general public. I think that’s a very effective way to utilize this data beyond an observation tool for visitors of the exhibition
As a designer I also admire the simplicity of the control’s design. The singular nob/button really invites the user to interact with it as there isn’t much complication beyond that one button. This is important as the intent behind this project is to make this information to be as accessible and inclusive to all people as possible.
//Kristine Kim
//Section D
//younsook@andrew.cmu.edu
//Project 09: computational portrait

var newimage;

function preload(){
//loads image from imugr.com
    var OGimage = "https://i.imgur.com/nYi2hyU.jpg[/img]"
    newimage = loadImage(OGimage);
}

function setup(){
    createCanvas(480,320);
    background(181, 209, 255);
    newimage.loadPixels();
    frameRate(20);
}

function draw(){
    var px = random(width);
    var py = random(height);
    var ix = constrain(floor(px), 0, width -1);
    var iy = constrain(floor(py), 0, height -1);
//retrieve colors at a certain location from the image
    var pixelcolorT = newimage.get(ix,iy);
//retrieve colors at mouseX and mouseY location from the image
    var pixelcolorE = newimage.get(mouseX, mouseY)

//draws ellipses controlled by mouseX and mouseY
//draws random diameters
    noStroke();
    fill(pixelcolorE);
    ellipse(pmouseX, mouseY, random(5,15), random(5,15));

//draws text "Miss" and "you" with colors retrieved from OGimage
//and random placements

    fill(pixelcolorT);
    text("Miss", px,py);

    fill(pixelcolorT);
    text("you", py, px);

}
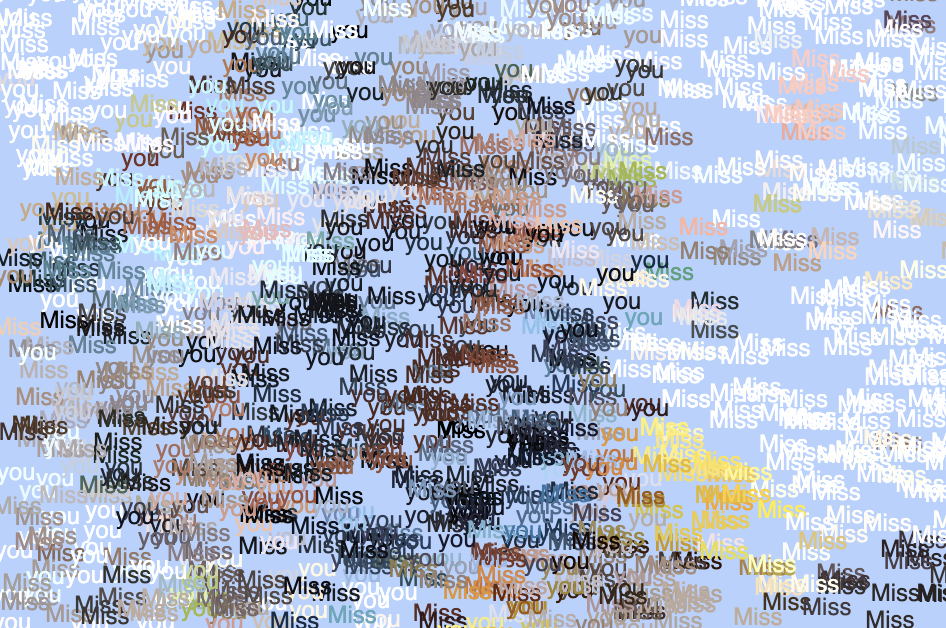
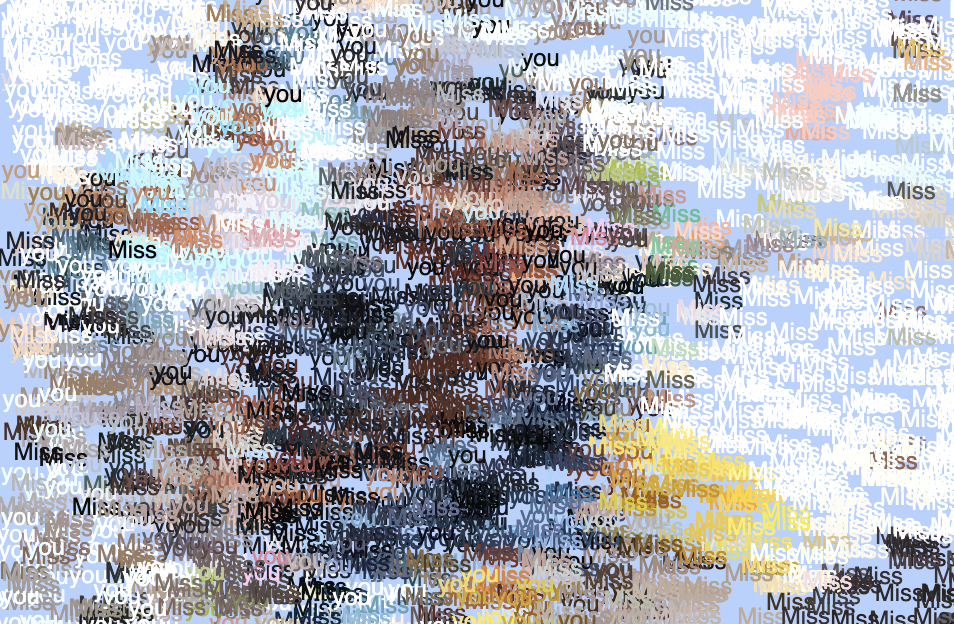
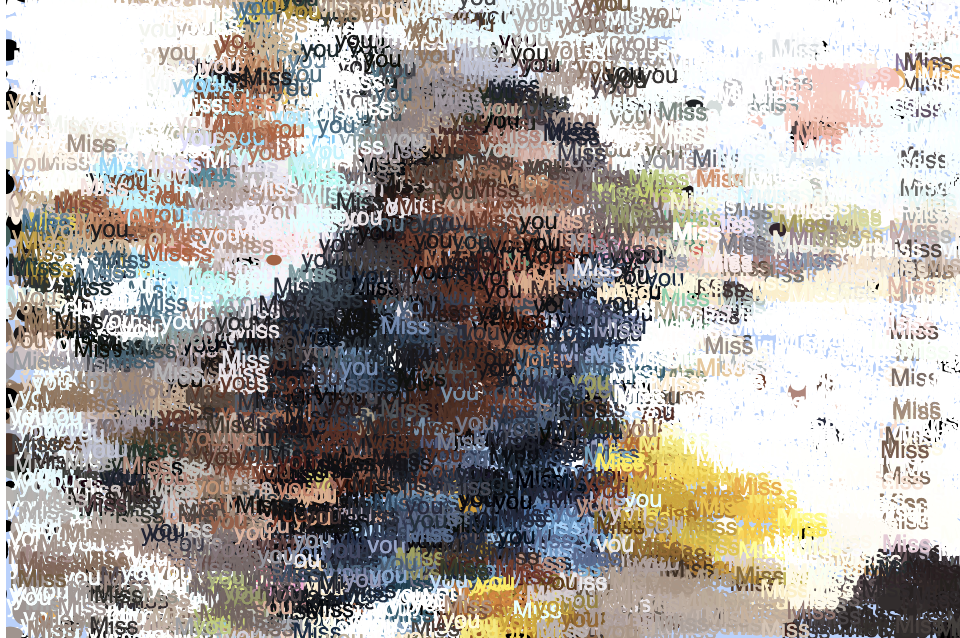
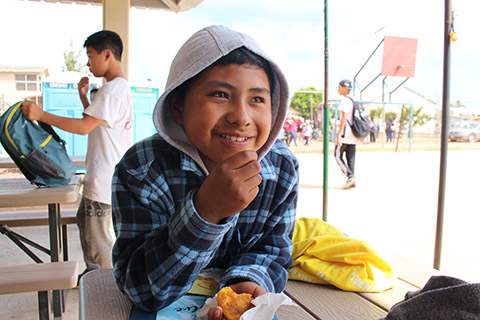
For my project, I used an image of a picture I took of one of my students that I served in Mexico this summer. I played around with different background colors. To add diversity into my project, I added 3 different elements into my piece, two texts and ellipses that drew with random diameters between 5 to 15. A problem I ran into was that my OGimage was bigger than my canvas size so my code was drawing only white ellipses. I went into photoshop and rescaled my image to 480 x 320 pixels and that solved the problem.
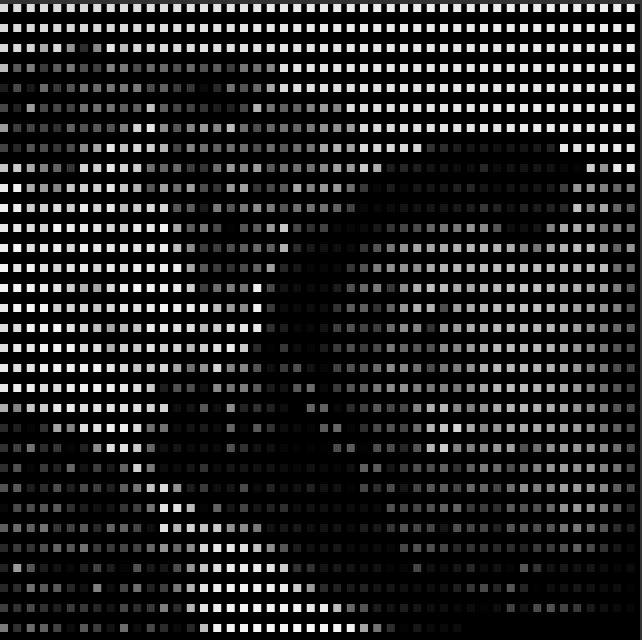
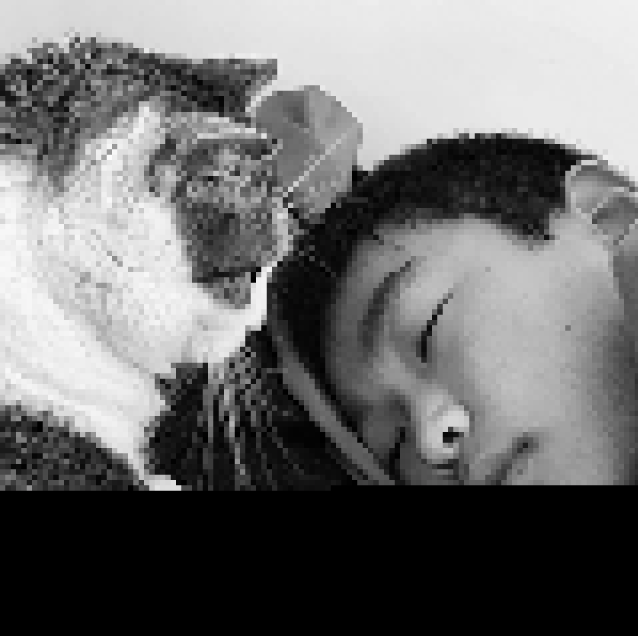
30 seconds1 minuteImage when almost fully rendered ( 4 minutes)Original picture of my student, Jorge.
![[OLD FALL 2019] 15-104 • Introduction to Computing for Creative Practice](../../../../wp-content/uploads/2020/08/stop-banner.png)