![[OLD FALL 2018] 15-104 • Introduction to Computing for Creative Practice](../../../../wp-content/uploads/2020/08/stop-banner.png)
click me!
var img;
//decalre initial gridsize
var gridSize = 50
function preload() {
var myImageURL = "https://i.imgur.com/h0fNs2y.jpg";
img = loadImage(myImageURL);
}
function setup() {
createCanvas(600, 600);
background(0);
img.loadPixels();
frameRate(500);
}
function draw() {
for (var x = 0; x < width; x += gridSize) {
for (var y = 0; y < height; y += gridSize) {
//rectangle color
var theColorAtLocationXY = img.get(x, y);
fill(theColorAtLocationXY);
noStroke();
//array squares in grid
rect(x, y, gridSize, gridSize);
}
}
}
function mouseClicked() {
//make grid size smaller when user clicks
gridSize -= 1
//reset gridSize
if (gridSize < 5) {
gridSize = 50;
}
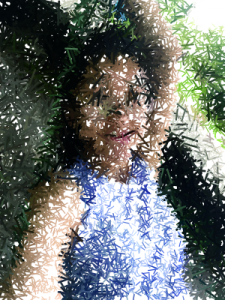
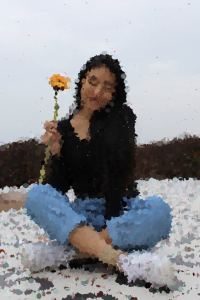
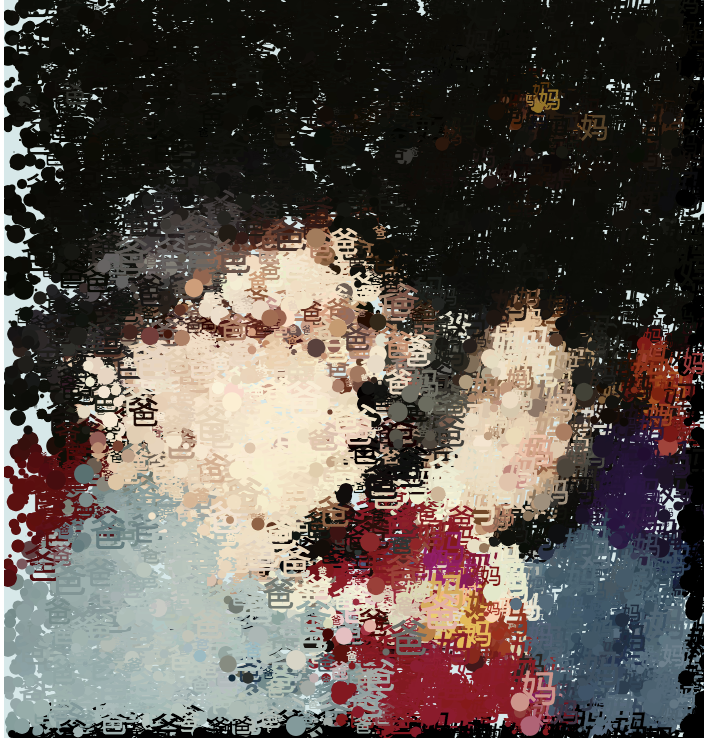
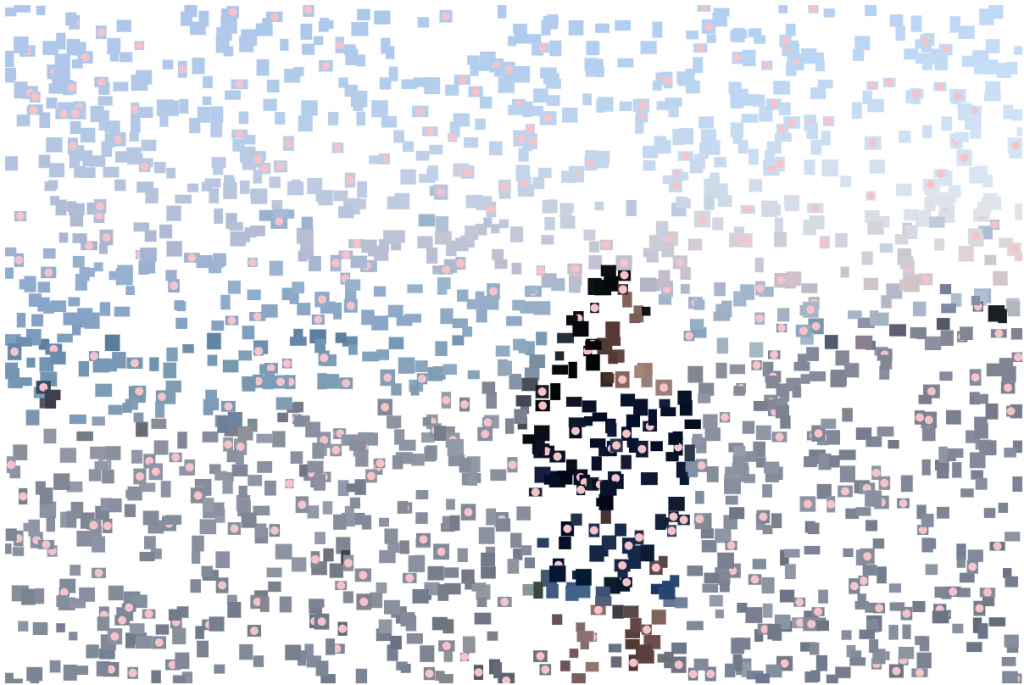
}For this project, I wanted to create a pixel grid that becomes smaller and thus, clearer as the user clicks!
The beginning image:

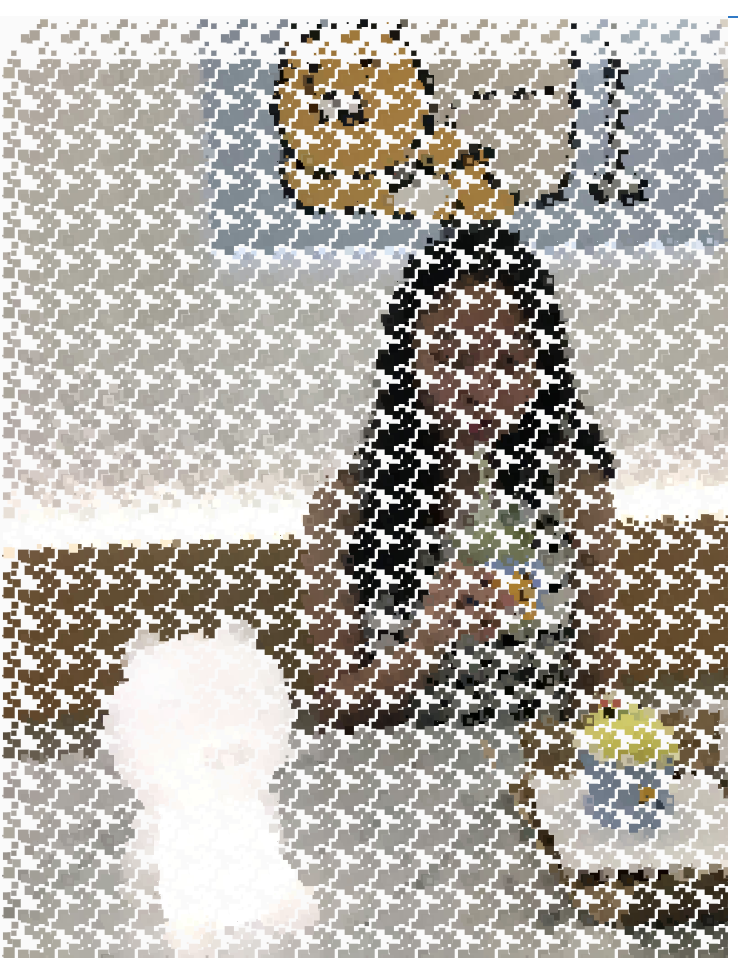
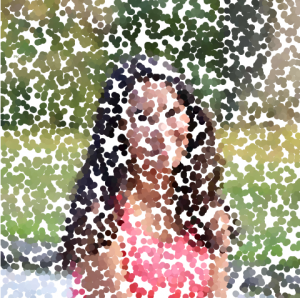
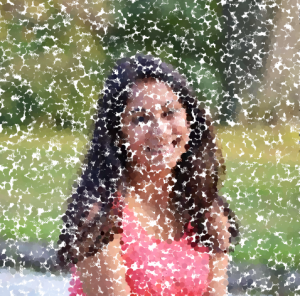
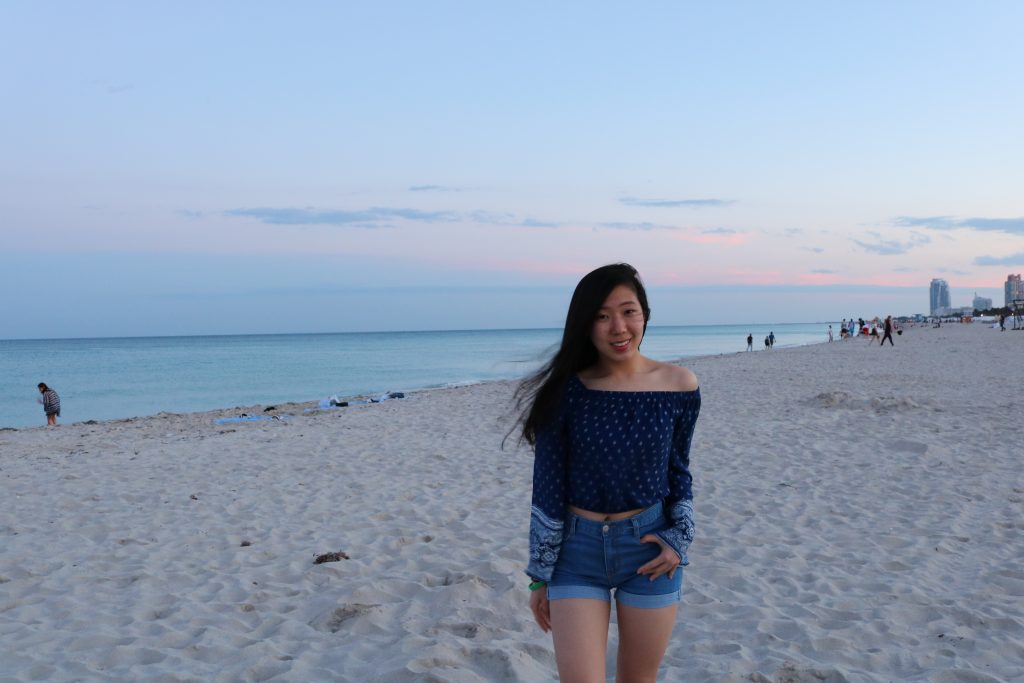
The final rendering:
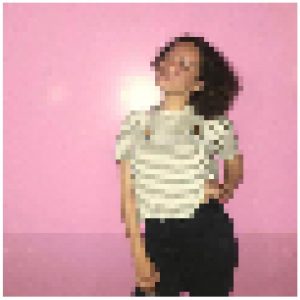
I wanted the image to stop at a certain resolution so it maintains the pixelation effect, so it resets after a certain amount of clicks.