![[OLD – FALL 2016] 15-104 • COMPUTING for CREATIVE PRACTICE](../../../../wp-content/uploads/2020/08/stop-banner.png)
var underlyingImage;
function preload() {
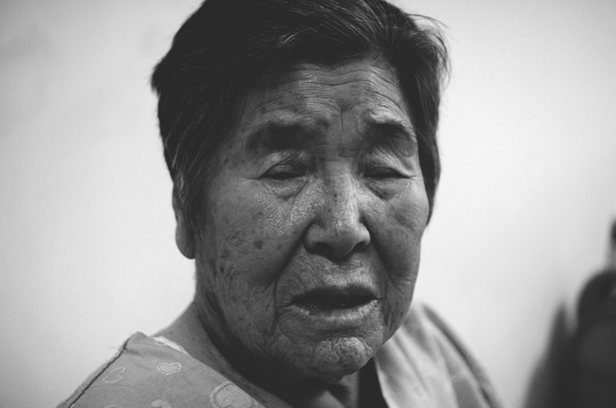
var friendImageURL = "http://i.imgur.com/2b0zZtx.png";
friendImage = loadImage(friendImageURL);
}
function setup() {
createCanvas(738, 800);
background(0);
friendImage.loadPixels();
rectMode(CENTER);
}
function draw() {
var xCoord = random(width);
var yCoord = random(height);
var imageX = constrain(floor(xCoord), 0, width);
var imageY = constrain(floor(yCoord), 0, height);
var xyColor = friendImage.get(imageX, imageY);
console.log(xyColor);
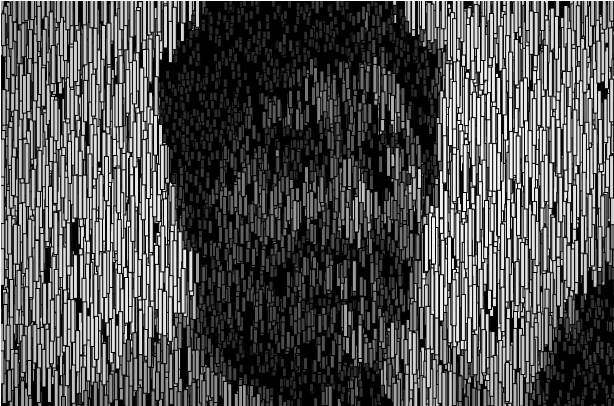
var rectHeight = random(0,20);
var rectWidth = random(0,10);
noStroke();
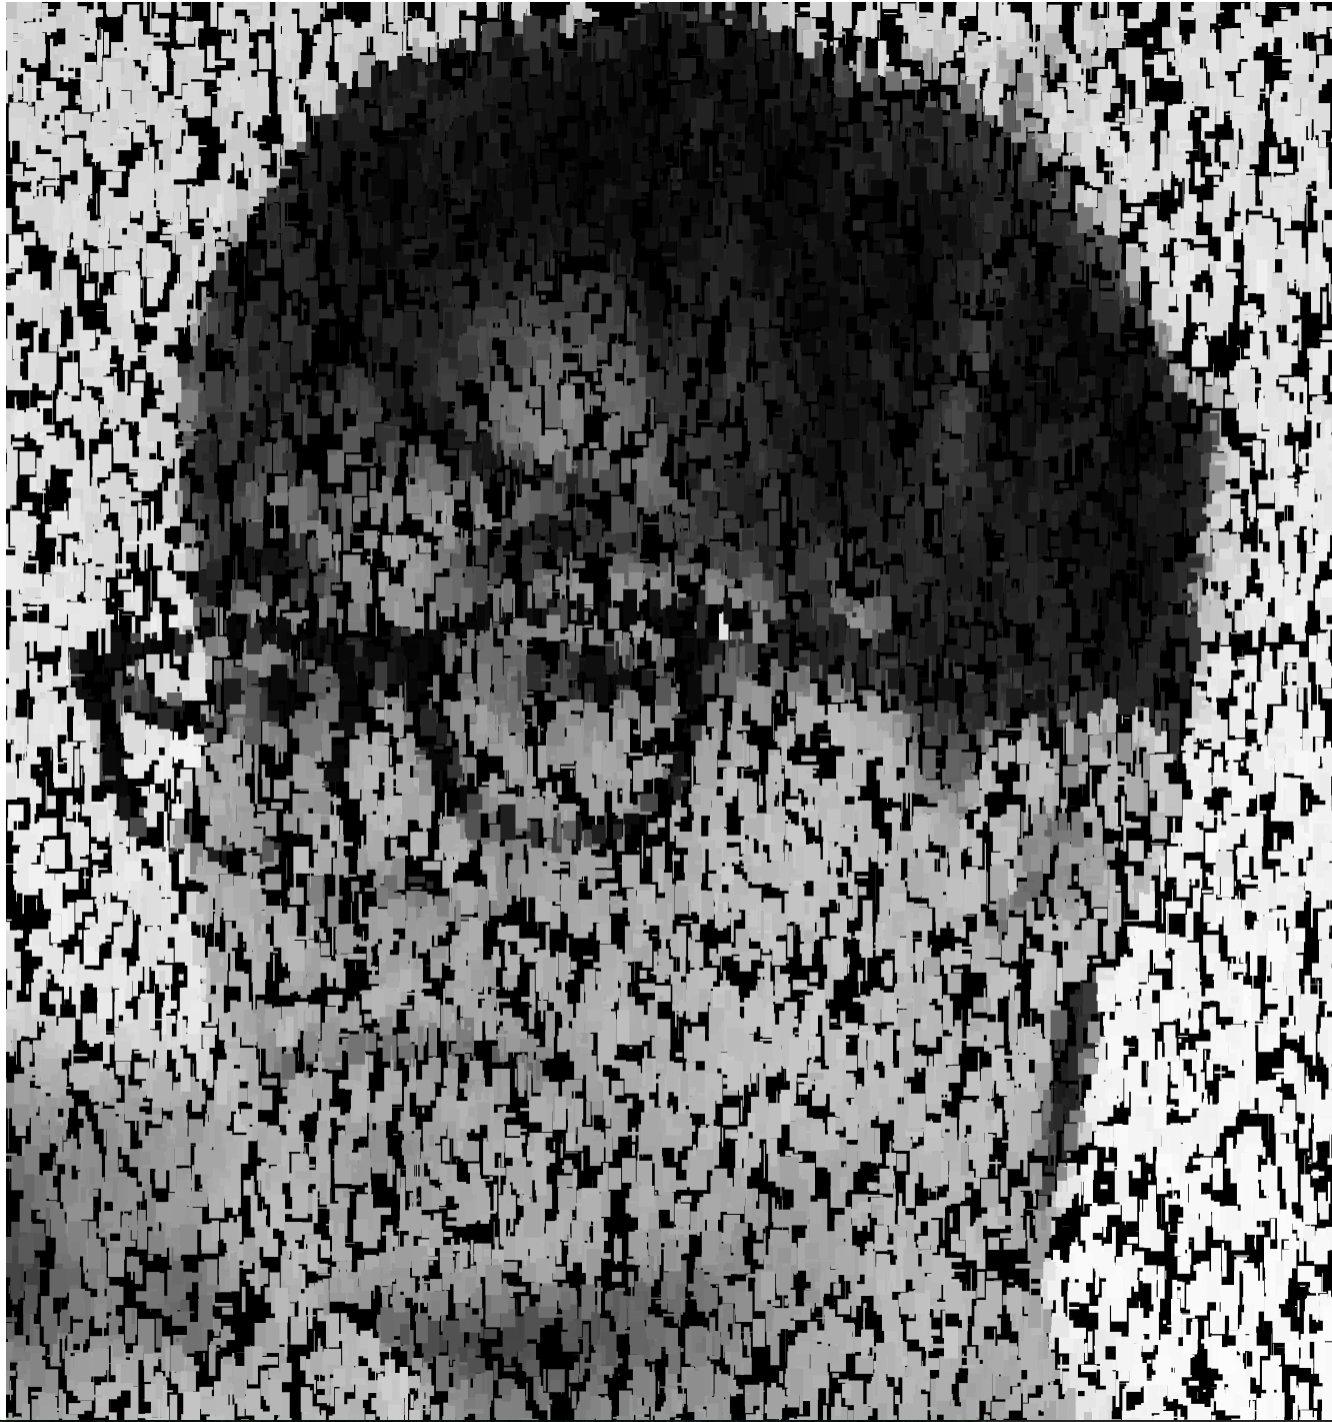
fill(xyColor[0]);
rect(xCoord, yCoord, rectWidth, rectHeight)
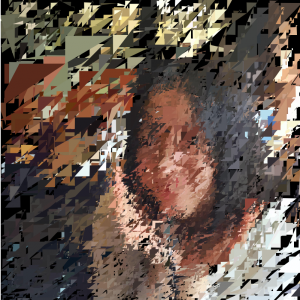
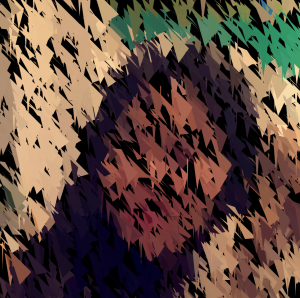
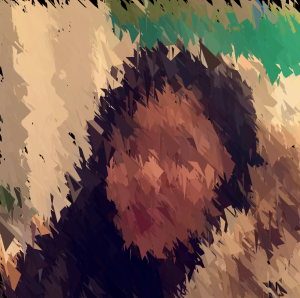
}Initially I wasn’t sure how I should format the picture, but after trying out some different things I took only the greyscale value out of the pixel get function, and used rectangles of varying widths and heights to create the image. I thought that it would be cool to create an effect as if the image was crafted onto a tree bark.