Project 3: Dynamic Drawing

sketch
//Anthony Pan
//Section C
var size;
var colorRect; 
var wave;

function setup() {
    createCanvas(600, 450);
}

function draw() {
    scale(0.5); //zoom out
    translate(300, 200); //moves origin of canvas
    background(0);
    fill(255,0,0); //fills rectangles red
    rotate(radians(30)); //rotates canvas clockwise 30 degrees 
    mouseX = constrain(mouseX, 20, width); //constraining mouseX to canvas
    mouseY = constrain(mouseY, 0, height - 100); //constraining mouseY to canvas
    

    //rectangles created with for loop because of repeating pattern.
    for (let x = 0; x < 100; x++) {
        //initial rectangle 
        var position1 = (750 - 15 * x) + 200;
        var position2 = (-300 + x * 10) - 200;
        var rectWidth = 10;
        var rectHeight = 120;

        // size (further away from mouse, longer rectangle gets)(mouseX)
        size = dist(mouseX, 0, position1, position2); 
        position2 -= size/2; 
        rectHeight += size;

        //color (mouseY)
        //distance of mouseY from each rectangle gives color a value
        color = dist(0, mouseY, position1, position2); 
        //color creates a gradient from red to white
        color = (color/2.8 - 150) % 510
        //color = abs(255 - (color % 510)); // used so that there is a smooth transition from red to white to red again.
        fill(255, color, color);

        //wave (mouseX)
        wave = sin((PI/7) * x); //shifts the position of rectangles into a sin() wave
        position2 += wave * mouseX/3; //adjusting posiition based off of mouseX/3

        //twist (mouseY)
        rotate(radians(mouseY/100)); //reduces sensitivity of mouseY, also rotates canvas based on position of mouseY

        rect(position1, position2, rectWidth, rectHeight); //draws rectangle

    }
}

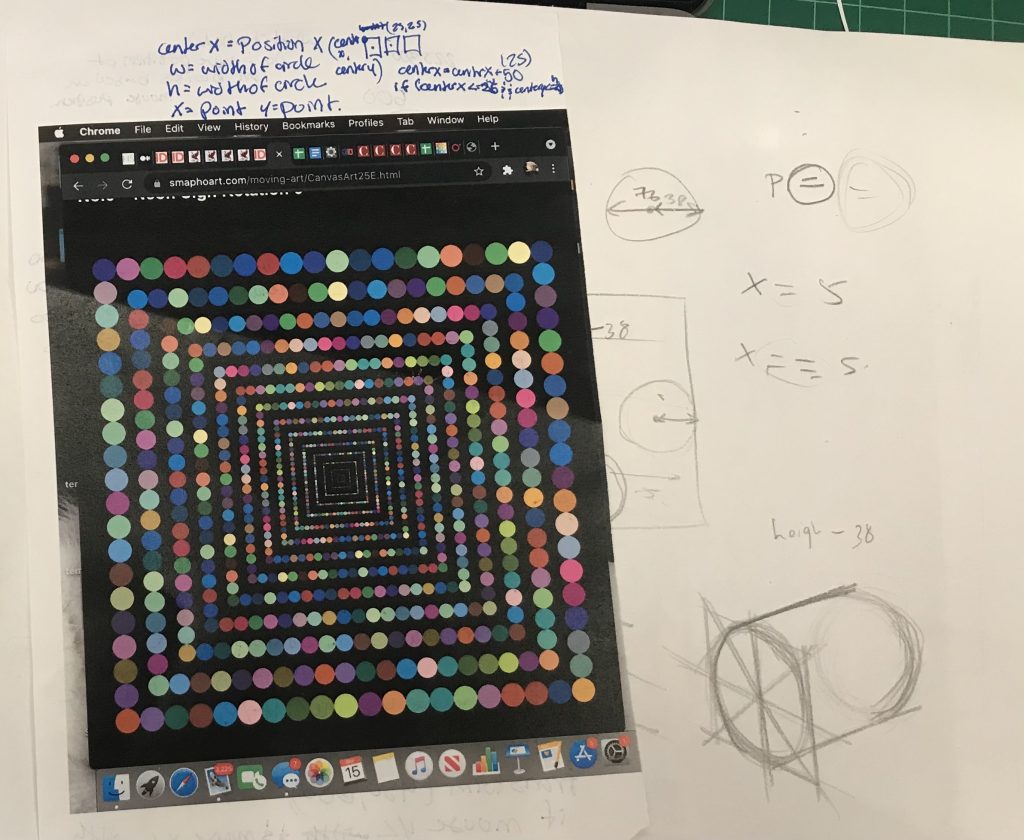
Using a for loop, I was able to create a rectangle and iterate it multiple times without having to repeatedly create every rectangle.

mouseX controls the size/length and the position of each rectangle through a sin() wave function as you move from left to right.

mouseY controls the color gradient from red to white as you move from top to bottom of the canvas. It also controls the rotation of the canvas.

Looking Outwards 03: Computational Fabrication

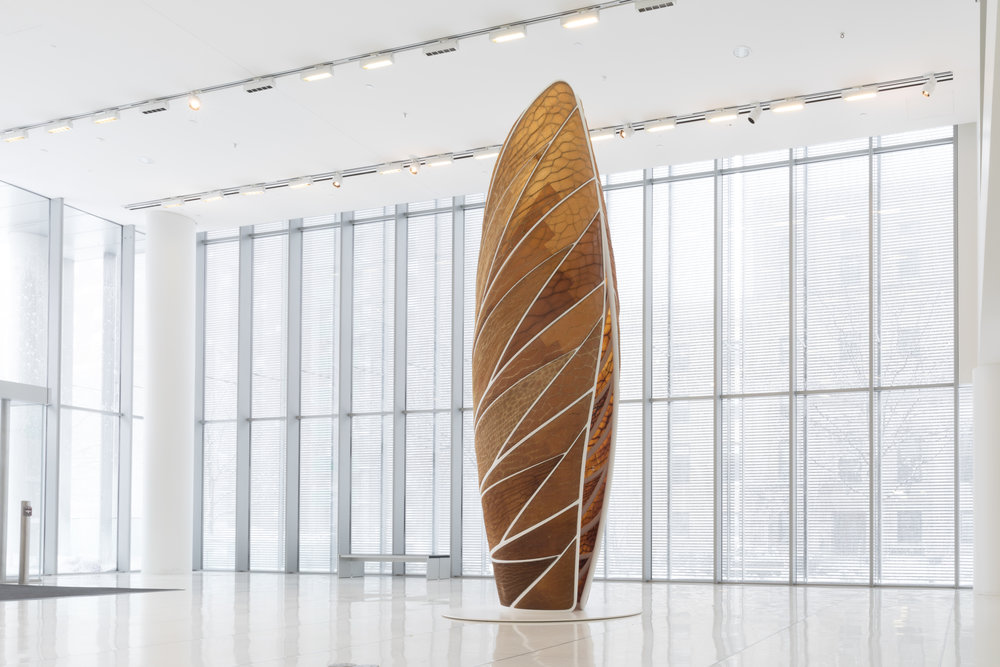
Today, I took a look at Project Aguahoja, a project done by the MIT media lab. The main focus of this project is waste reduction. Because so much of what we create ends up being waste, never to be used again, MIT media lab started a project where the grown and the made unite. They “aim to subvert the industrial, vicious cycle of material extraction and obsolescence through the creation of biopolymer composites that exhibit tunable mechanical and optical properties, and respond to their environments in ways that are impossible to achieve with their synthetic counterparts”. This is achieved through three parts, but I wanted to focus on the software and wetware designed by the Mediated Matter group. The Aguahoja Pavillion 1 can be programmed to degrade in water. This was especially inspiring to me because sustainability and technology can be mutually beneficial, and this project captures exactly that. The different structures that Aguahoja Pavillion 1 is made of are 3D printed from biomaterials and closely resemble natural structures. They didn’t disclose the programming used to create the structures, but I would have to guess that they used a series of equations to create a procedurally generated structure.

Project Aguahola

Project 3: Dynamic Drawing

Dynamic Drawing


function setup() {
    createCanvas(500, 500);
    
    text("p5.js vers 0.9.0 test.", 10, 15);
}

function draw() {

    //setting up the background color
    let firstColor = color(45,0,85); //first color to be blended from
    let secondColor = color(219,146,7); //second color to be blended from
    bldval = map(mouseX, 0,width,0,1,true); //the blending proportion 
    bColor = lerpColor(firstColor,secondColor,bldval); // the background color based on mouseX
    background(bColor); //setting background 

    //vertical and horizontal rectangle
    noStroke()
    rectColor = lerpColor(secondColor,firstColor,bldval);
    move = map(mouseY,0,height,300,320,true); //constraining the position of the horizintal rectangle
    fill(rectColor);
    rect(mouseX-40,0,80,height); //vertical rectangle
    rect(0,move-40,width,80); //horizontal rectangle

    //circle on top right moving to top left
    fill(255);
    ellipse(450 - mouseX,100,30,30);
    fill(rectColor);
    crcWidth = 100 - mouseX/2;
    crcHeight = 200 - mouseX/2;
    push();
    translate(450 - mouseX,100);
    rotate(0+mouseX);
    ellipse(0,0,crcWidth,crcHeight);
    pop();
      
    //rotating white circles around mouse X and mouse Y
    push();
    fill(255)
    translate(mouseX,mouseY);
    rotate(mouseX/10);
    ellipse(0,-30,+10,10);
    ellipse(0,30,-10,10);

}

I enjoyed doing this. The hardest idea was possibly to start the project. After that it was pretty quick.

Project 03: Dynamic Drawing

dynamic drawing

//Max Stockdale, Section D

var R = 50; //color   
var G = 100;
var B = 255;

var angle = 0; 

var xs = 15; //scale
var ys = 20;

var circlesize = 80;

function setup() {
    createCanvas(600, 450);
    rectMode(CENTER);
}


function draw() {

    if (mouseX < (width / 2) & mouseY < (height / 2)){   //background changes color in different quadrants 
        background(251,215,90);
    } else if (mouseX < (width / 2) & mouseY > (height / 2)){
        background(156,158,251);
    } else if (mouseX > (width / 2) & mouseY < (height / 2)){
        background(198,149,198);
    } else {
        background(36,110,237);
    }

    noStroke();


    var m = max(min(mouseX, 600), 0);  //maintaing size of ellipses
    var size = m * 300 / 600;


    fill(R + mouseX / 2, G + mouseX / 2, B + mouseX / 2); //ellipses
    ellipse(width / 2, height / 2, size, size);

    fill(R + mouseX / 2, G + mouseX / 2, B + mouseX);
    ellipse(width / 2, height / 2, size * 0.9 , size * 0.9);

    fill(R + mouseX, G + mouseX / 2, B + mouseX / 2);
    ellipse(width / 2, height / 2, size * 0.7 , size * 0.7);

    fill(R + mouseX / 2, G + mouseX, B + mouseX / 2);
    ellipse(width / 2, height / 2, size * 0.5 , size * 0.5);

    fill(R + mouseY / 2, G + mouseY, B + mouseX / 2);
    ellipse(550, 225, size * 0.1 , size * 0.1);

    fill(R + mouseY /2, G + mouseY, B + mouseX /2);
    ellipse(30, 225, size * 0.1, size * 0.1);
    
    fill(255);
    rect(mouseX, mouseY, 50, 50); //x,y position square 1


    //side circle_1
    translate(-150, + 100);
    
    fill(R + mouseX / 2, G + mouseX / 2, B + mouseX / 2);//ellipses
    ellipse(width / 2, height / 2, size, size);

    
    fill(R + mouseX / 2, G + mouseX / 2, B + mouseX);
    ellipse(width / 2, height / 2, size * 0.9 , size * 0.9);

    
    fill(R + mouseX, G + mouseX / 2, B + mouseX / 2);
    ellipse(width / 2, height / 2, size * 0.7 , size * 0.7);


    fill(R + mouseX / 2, G + mouseX, B + mouseX / 2);
    ellipse(width / 2, height / 2, size * 0.5 , size * 0.5);
    
    fill(255);
    rect(mouseX , mouseY, 50, 50); //x, y position square 2


    //side circle_2
    translate(+300, -200);
    //ellipse 1
    fill(R + mouseX / 2, G + mouseX / 2, B + mouseX / 2);
    ellipse(width / 2, height / 2, size, size);

    //ellipse 2
    fill(R + mouseX / 2, G + mouseX / 2, B + mouseX);
    ellipse(width / 2, height / 2, size * 0.9 , size * 0.9);

    //ellipse 3
    fill(R + mouseX, G + mouseX / 2, B + mouseX / 2);
    ellipse(width / 2, height / 2, size * 0.7 , size * 0.7);

    //ellipse 4
    fill(R + mouseX / 2, G + mouseX, B + mouseX / 2);
    ellipse(width / 2, height / 2, size * 0.5 , size * 0.5);


    fill(255);
    rect(mouseX, mouseY, 50, 50); //x,y position square 3


    fill(36,110,237); //spinning square(blue)
    push();
    translate(-75,+175);
    rotate(radians(angle));
    rectMode(CENTER); 
    rect(0,0,50,50);
    pop();
    angle += 5;  

    fill(251,215,90); //spinning square(yellow)
    push();
    translate(+375,+475);
    rotate(radians(angle));
    rectMode(CENTER); 
    rect(0,0,50,50);
    pop();
    angle += 5;  

    
    angle = angle + 0.5;  
    xs = width - (0.5 * mouseX); //scale based on x
    ys = height - (0.5 * mouseY); //scale based on y

}

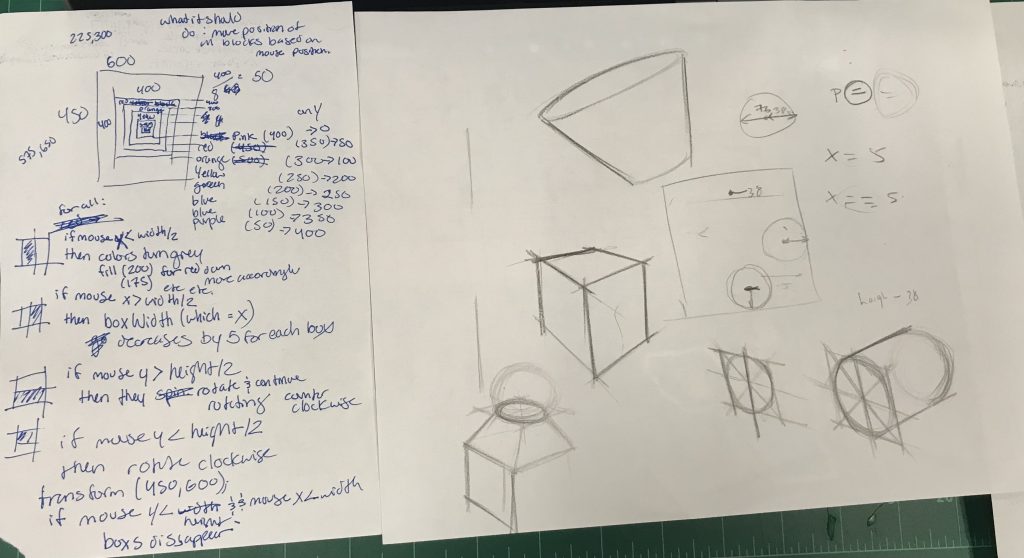
For this project, I wanted to play around with the scale of circles and the gradient of the colors. I also wanted to include a background that changes color based on the mouse position, with spinning squares on the corners.

lmattson-project-03

lmattson-03-project
//Luke Mattson
//section A


function setup() {
    createCanvas(600, 450);
    background(120)
}

function draw() {
// draw a face in the background
    background(173,216,230)
    fill(167,199,231);
    strokeWeight(1);
    stroke(140,170,220);
    triangle(0,0,600,600,0,600);
    stroke(0);                  
    fill(223,180,130);      
    ellipse(300,250,230,320);
    fill(250,231,218);          
    ellipse(412,276,30,60);
    ellipse(188,276,30,60);
    fill(250,231,218);          
    ellipse(300,300,230,320);
    fill(245,245,245);         
    stroke(0);
    strokeWeight(2);
    circle(265,245,40,40);
    circle(335,245,40,40);
    fill(0,0,200,30);
    circle(270,250,18,18);
    circle(330,250,18,18);
    line(300,260,310,300);      
    line(310, 300,290, 295);
    fill(255,160,160);          
    ellipse(300,350,25,35);
    line(310,230,350,215);      
    line(290,230,250,215);
    stroke(255,160,160,40);      
    fill(255,160,160,40);
    ellipse(240,325,30,50);
    ellipse(360,325,30,50);
    noFill();                    
    strokeWeight(2);
    stroke(0);
    arc(300,425,70,40, 2*PI+1/8*PI, PI-1/8*PI);
    stroke(255,255,255);        
    line(300,500, 300, 460);
    line(300,500, 310, 510);
    line(300,500,290,510);
    line(300,480,310,470);
    line(300,480,290,470);

// the text "Hi" comes onto the canvas when the mouse is on the right side
     text("Hi", 1175 - mouseX, mouseY)

//use for loops to draw the hexagons
    var hexX = 20
    var hexY = 30
    for (let hexX = 0; hexX <= 600; hexX += 20){									
        for(let hexY = -10; hexY <= 500; hexY+= 20){

            // variables to determine each hexagon's color
            var hexR = (dist(hexX, hexY, mouseX, mouseY)/150)*100
            var hexG = (dist(hexX, hexY, mouseX, mouseY)/150)*20
            var hexB = (dist(hexX, hexY, mouseX, mouseY)/150)*120

            // variable to determine each hexagon's size
            var size = constrain((dist(hexX, hexY, mouseX, mouseY)/150),.3,1.5)

            // drawing a hexagon
            fill(hexR,hexG,hexB)
            beginShape()
            vertex(hexX,hexY)
            vertex(hexX-size*10,hexY-size*5)
            vertex(hexX-size*10,hexY-size*15)
            vertex(hexX,hexY-size*20)
            vertex(hexX+size*10,hexY-size*15)
            vertex(hexX+size*10,hexY-size*5)
            endShape(CLOSE)
        }
    }

// angular movement of the circles
    push()
    translate(300,225);

    // positioning and opacity variables
    var circleX = 100;
    var circleY = 100;
    var circleOpacity = mouseX/2

    fill(0,0,0,circleOpacity)

    // rotating the origin based on mouseX positioning
    var rotationrr = radians(mouseX);
    rotate(rotationrr);

    //drawing each circle
    ellipse(circleX,circleY,20);
    ellipse(circleX+50,circleY+50,20)
    ellipse(circleX+100,circleY+100,20)
    ellipse(circleX+150,circleY+150,20)
    ellipse(circleX-50,circleY-50,20)
    ellipse(circleX-100,circleY-100,20)
    ellipse(circleX-150,circleY-150,20)
    ellipse(circleX-200,circleY-200,20)
    ellipse(circleX-250,circleY-250,20)
    ellipse(circleX-300,circleY-300,20)
    ellipse(circleX-350,circleY-350,20)
    
    // returning the origin to the default
    pop()


}

Wherever the mouse is, the hexagons get smaller, colors change, and circles rotate. put your mouse as far right on the canvas as you can for a surprise!

LO-03

Mediated Matter from MIT

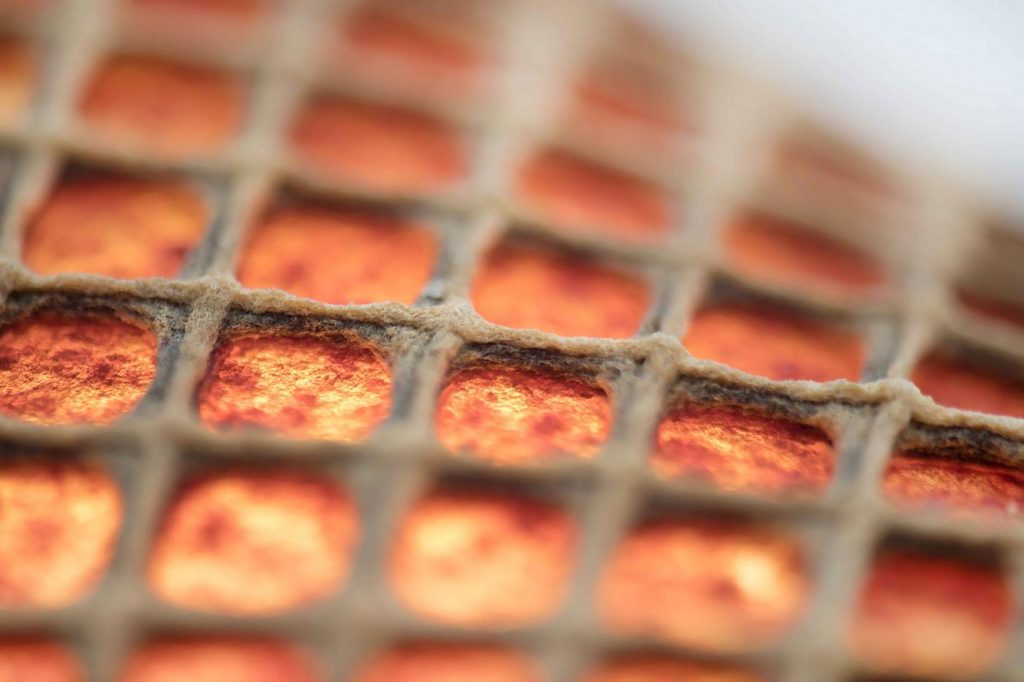
The Mediated Matter group focuses on Nature-inspired design and design-inspired Nature. They create biologically inspired and engineered design fabrication tools and technologies aiming to enhance the relation between natural and man-made environments. I admire this project a lot because I think humans should try to harmonize with nature more. They use algorithms in order to enhance the relation between natural and man-made environments by achieving high degrees of design customization, environmental performance integration, and material efficiency. The work they are doing is very interesting. It is very cool how they are pretty much creating materials that can only be made through a use of an algorithm. An publication by Mediated Matter is titled “Hybrid Living Materials: Digital Design and Fabrication of 3D Multimaterial Structures with Programmable Biohybrid Surfaces.” Even the title alone brings lots of curiosity about what they are creating.

Programmable Water-Based Biocomposites for Digital Design and Fabrication across Scales

Looking Outwards 03: Computational Fabrication

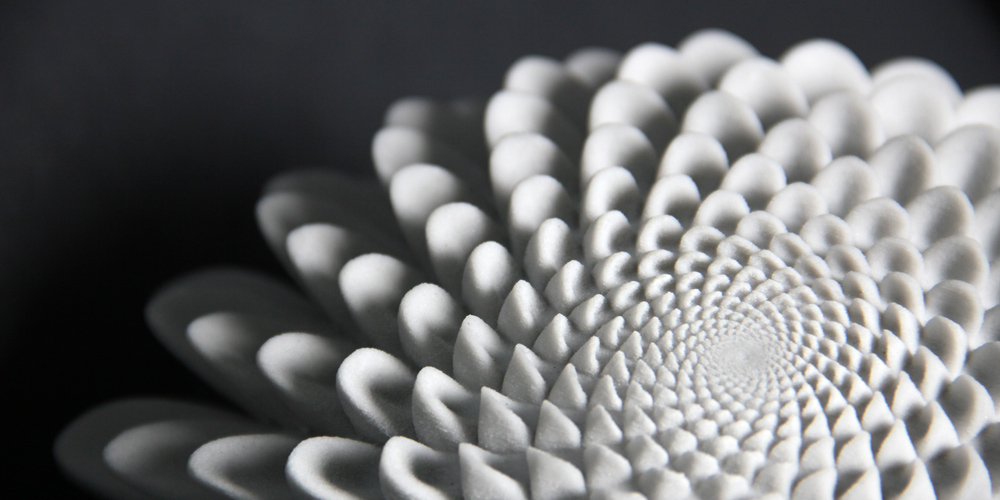
One project I found really interesting was John Edmark’s work. He creates these 3D printed sculptures that use the fibonacci sequence to create these cool optical illusions. His series is called, “Blooming Zoetrope Sculptures,” and these pieces work when they are spun and lit by a strobe light. From what I know about the code, each of the pedals are placed at a different distance from the center and if you follow a single pedal, it looks like it works down and out of the sculpture. Knowing the basics of the fibonacci sequence, it works using the golden ratio where each number in the sequence is the sum of the two numbers that precede it. Something I really admire about it, is that these pieces resemble nature and can be represented using a mathematical equation. Overall, his work inspires me to learn more about coding and learn how to make these really unique patterns. 

Link: https://www.instructables.com/Blooming-Zoetrope-Sculptures/

LO-Computational Fabrication

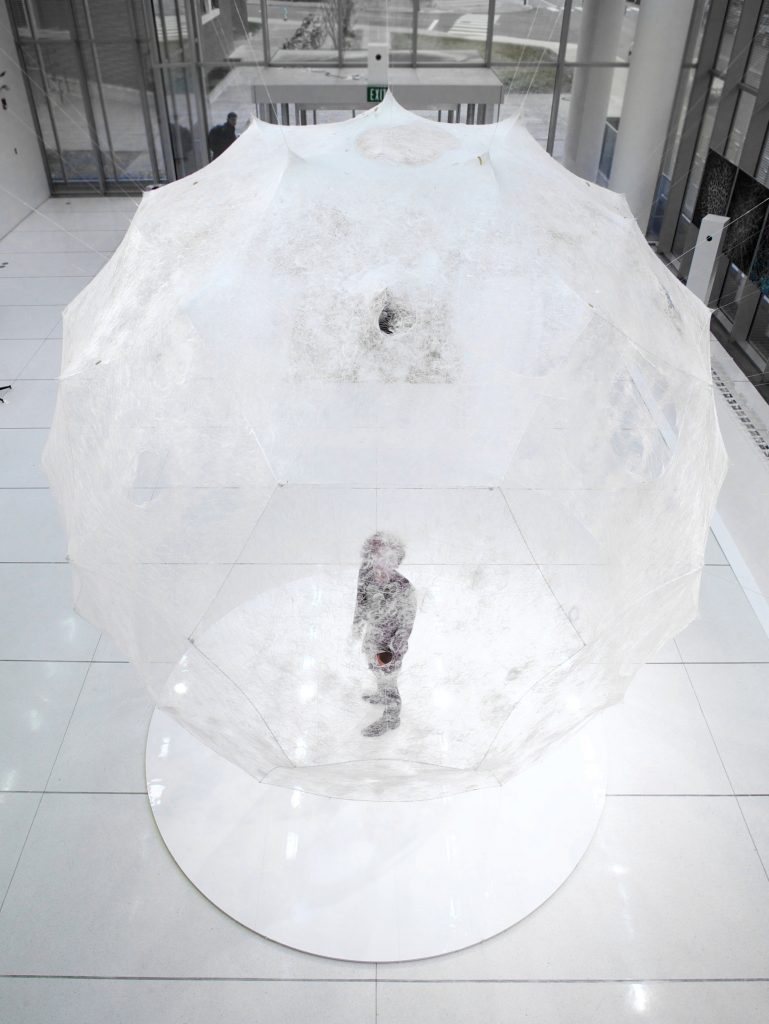
I looked at the silk pavilion project by The Mediated Matter Group at the MIT Media Lab in 2020. The thing I find inspiring about this project is how their team organically combine the algorithm calculations of digital media and biological features of silkworm. By mimicking the way natural worms form their silk, their team efficiently brings beauty of nature into something that’s created manually. I believe that nature is not only the source of our information and our living foundation, it also provides examples for us to learn from for further development. This pavilion project reminds me of biomimicry buildings that save energies by means learned from insects, plants, and other creatures from nature. By doing the series of work like this, it brings the connection between human and nature closer, and art and technology into another level.

The Final Pavilion

Dynamic Drawing

file

//Georgia Miller
//15-104 Section D
//mouse controls change from moving along x axis
function setup() {
    createCanvas(450, 600);
    background(220);
    text("p5.js vers 0.9.0 test.", 10, 15);
}

function draw() {
background(0);
translate(225,mouseX); //center //mouseX changes position
var sqrWidth = 50;
if(mouseX<225){ //clockwise rotation
rectMode(CENTER);
rotate(radians(frameCount)); //typically 10 frameRate
}
if(mouseX>225){ //counterclockwise rotation
rectMode(CENTER);
rotate(radians(-frameCount)); //typically 10 frameRate
}
srqWidth = sqrWidth + 10 * mouseX; //for size change
if (mouseX<225) {//Color change to greys on left
    fill(255);
    rect(0,0,mouseX/2+120,mouseX/2+120); //mouse for size change
    fill(220);
    rect(0,0, mouseX/2+100,mouseX/2+100);
    fill(185);
    rect(0,0,mouseX/2+80,mouseX/2+80);
    fill(150);
    rect(0,0,mouseX/2+60,mouseX/2+60);
    fill(115);
    rect(0,0,mouseX/2+40,mouseX/2+40);
    fill(80);
    rect(0,0,mouseX/2+20,mouseX/2+20);
    fill(45);
    rect(0,0,mouseX/2,mouseX/2);
}
if (mouseX > 225){ //colorchange to rainbow on right
    fill(255,0,255);
    rect(0,0,mouseX/4+120,mouseX/4+120);
    fill(255,0,0);
    rect(0,0, mouseX/4+100,mouseX/4+100);
    fill(255,150,10);
    rect(0,0,mouseX/4+80,mouseX/4+80);
    fill(255,255,0);
    rect(0,0,mouseX/4+60,mouseX/4+60);
    fill(0,255,0);
    rect(0,0,mouseX/4+40,mouseX/4+40);
    fill(10,215,255);
    rect(0,0,mouseX/4+20,mouseX/4+20);
    fill(0,0,255);
    rect(0,0,mouseX/4,mouseX/4);
} 

}

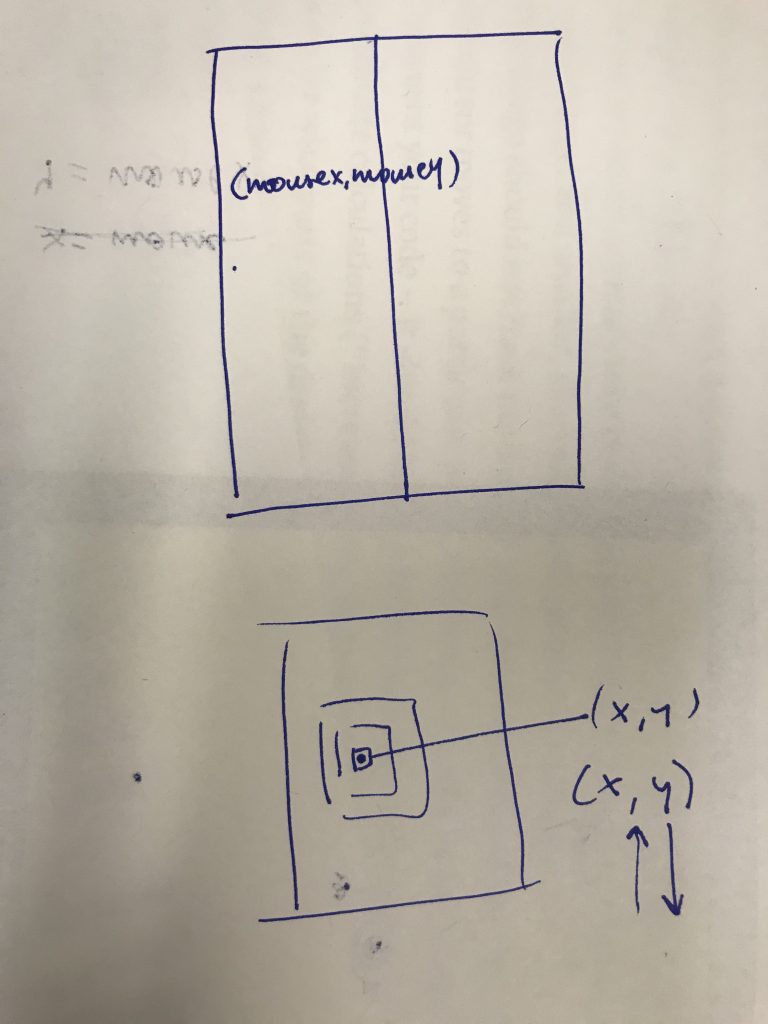
I had an idea coming in and got really stuck so I decided after a while to change my idea. I struggled trying to work around my translation for a while especially when considering up and down motions. It was weird to see all my mistakes before I put my background in because everything kept looping over each other because of my frameRate, which created this cool circle around my rotating square.

LO week 3 Troche

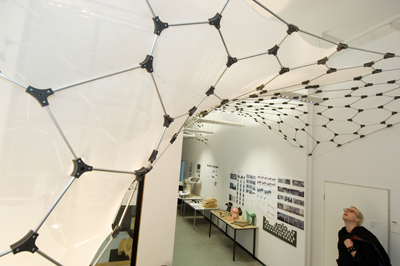
Image of finished insulation. Nodes are black.

I ended up coming across Christan Troche’s Radiolaria Project. The project was intended to rethink architectural design, but I think it can also be stretched to environments design because of how it changes the feeling of the space that the Structural Tessellation is in. I think it is cool to see people creating things based on nature.Troche explains that its design is based on the skeletons of radiolarians. Troche most likely used generated forms for the individual nodes. Because this project is based on something organic, the skeleton, I would imagine that he had many elements of his computation obey flocking behavior. What I find especially cool is how the form supports itself and can transform its shape.

http://www.uni-kassel.de/fb12/wwtwl/projekte/RadiolariaProject/index.html