Project 10: Sonic Story

My project is a simple animation of a bee flying through some daisies and a sunflower to collect nectar. For my process, I created several objects that I animated first. Afterward, I inserted sounds that at different places within the story where the action was happening.

Canvas is 900 pixels wide so you can see the right side on here 🙁

sketch
//Anthony Pan
//Section C

var index = 0;
var duration = 0;
var sunflower;
var daisy;
var daisy2;
var bee;
var cloud;

//sounds
var beeSound;
var windSound;
var popSound;
var yumSound;


//bee positions
var beex = [900, 880, 860, 840, 820, 800, 780, 760, 740, 720, 700, 
680, 660, 640, 620, 600, 580, 560, 540, 540, 540, 540, 540, 540, 540, 540, 500, 450, 400, 200, -100];

//noise for beey heights
var noiseParam = 0;
var noiseStep = 0.05;
var beey = [];

//cloud positions
var cloudX = [];

function preload() {
    beeSound = loadSound("https://courses.ideate.cmu.edu/15-104/f2021/wp-content/uploads/2021/11/beeBuzz.wav");
    windSound = loadSound("https://courses.ideate.cmu.edu/15-104/f2021/wp-content/uploads/2021/11/wind.wav");
    popSound = loadSound("https://courses.ideate.cmu.edu/15-104/f2021/wp-content/uploads/2021/11/pop.wav");
    yumSound = loadSound("https://courses.ideate.cmu.edu/15-104/f2021/wp-content/uploads/2021/11/yum.wav");

}


function soundSetup() {
    windSound.amp(0.4);
    beeSound.amp(0.8);
    popSound.amp(1.0);
    yumSound.amp(0.8);
}


function setup() {
    createCanvas(900, 400);
    frameRate(1);
    useSound();

    //random y positions of beey
    for(var i=0; i < 30; i++) {
        var n = noise(noiseParam);
        var value = map(n, 0, 1, 0, height);
        beey.push(value);
        noiseParam += noiseStep;
    }

    //positions for cloudX
    for(var j = 0; j < 30; j++) {
        var cloudvalue = 900 - (j * 20);
        cloudX.push(cloudvalue);

    }


    //make objects
    daisy = makeDaisy(width/2, 2* height/3, 100);
    sunflower = makeSunflower(width/4, height/2, 80);
    daisy2 = makeDaisy(2 * width/3, height/3, 100);
    bee = makeBee(beex[index], beey[index]);
    cloud = makeCloud();

    
}

function draw() {
    //draw sky
    background(149, 217, 255);
    cloud.draw(cloudX[index], 100);

    //play windSound at end
    if(frameCount >= 28 & frameCount <= 31) {
        windSound.play();

    } 
    
    sunflower.draw();
    daisy.draw();
    daisy2.draw();

    //daisy petal fall 
    if(index >= 20) {
        fill(255);
        ellipse(600, index * 15, 60, 160);
    }

    //daisy petal pop
    if(frameCount >= 23 & frameCount <= 24) {
        popSound.play();
    }

    //play yum sound when bee is above flower
    if(index >= 20 & index < 21) {
        yumSound.play();
    }

    //sunflower petal pop
    if(frameCount >= 24 & frameCount <= 25) {
        popSound.play();
    }

    //sunflower petal fall
    if(index >= 24) {
        fill("yellow");
        ellipse(width/4, 50+index*15, 20, 180);
        ellipse(1.25 * width/4, 50+index*15, 20, 180);

    }

    bee.draw(beex[index], beey[index]);

    //play bee sound at beginning
    if(frameCount >= 0 & frameCount <= 3) {
        beeSound.play();

    }

    
    index += 1;

    //stop sounds at 30 seconds
    if(index >= 32) {
        popSound.stop();
        windSound.stop();
        beeSound.stop();
        yumSound.stop();
        background(0);
        noLoop();
    }


}

//cloud constructor
function makeCloud(cx, cy) {
    var cloud = {x: cx, y: cy, draw: drawCloud}
    return cloud;

}

//draw cloud
function drawCloud() {
    fill(230);
    ellipse(cloudX[index], 100, 300, 100);
    ellipse(cloudX[index]-90, 110, 100, 80);
    ellipse(cloudX[index]-30, 120, 100, 80);
    ellipse(cloudX[index]+30, 120, 100, 80);
    ellipse(cloudX[index]+90, 110, 100, 80);

    ellipse(cloudX[index]-90, 90, 100, 80);
    ellipse(cloudX[index]-30, 80, 100, 80);
    ellipse(cloudX[index]+30, 80, 100, 80);
    ellipse(cloudX[index]+90, 90, 100, 80);

}

//constructor for daisy
function makeDaisy(fx, fy, fh) {
    var daisy = {x: fx, y: fy, height: fh, draw: drawDaisy}
    return daisy; //return daisy as object

}

//draw daisy
function drawDaisy() {
    fill(10, 200, 20);
    rect(this.x, this.y, 40, height);
    //petals
    for(var i = 0; i < 10; i++) {
        push();
        translate(this.x, this.y);
        noStroke();
        var rotationAngle = radians(36);
        rotate(i * rotationAngle);
        fill(255);
        ellipse(0, -60, 60, 160);
        pop();

    }

    fill("yellow");
    noStroke();
    circle(this.x, this.y, 80);

}

//constructor for sunflower
function makeSunflower(sx, sy, sh) {
    var sunflower = {x: sx, y: sy, height: sh, draw: drawSunflower}
    return sunflower;

}

function drawSunflower() {
    fill(10, 200, 20);
    rect(this.x, this.y, 40, height/2);
    for(var i = 0; i < 40; i++) {
        push();
        translate(this.x, this.y);
        var rotationAngle2 = radians(9);
        rotate(i * rotationAngle2);
        fill("yellow");
        ellipse(0, -80, 20, 180);
        pop();
    }
    fill(33, 12, 11);
    circle(this.x, this.y, 200);
}


//bee constructor
function makeBee(bx, by) {
    var bee = {x: bx, y: by, draw: drawBee}
    return bee;

}

function drawBee() {
    //wings
    stroke(0);
    fill(255);
    ellipse(beex[index]-5, beey[index]-30, 20, 40);
    ellipse(beex[index]+10, beey[index]-20, 20, 40);

    //body
    fill(0);
    ellipse(beex[index], beey[index], 60, 40);

    //stinger
    triangle(beex[index]+25, beey[index]+5, beex[index]+40, beey[index], beex[index]+25, beey[index]-5);

    //stripes
    noStroke();
    fill("yellow");
    rect(beex[index], beey[index]-20,5, 40);
    rect(beex[index]-10, beey[index]-20, 5, 40);
    rect(beex[index]+10, beey[index]-20, 5, 40);


}


Designable Face

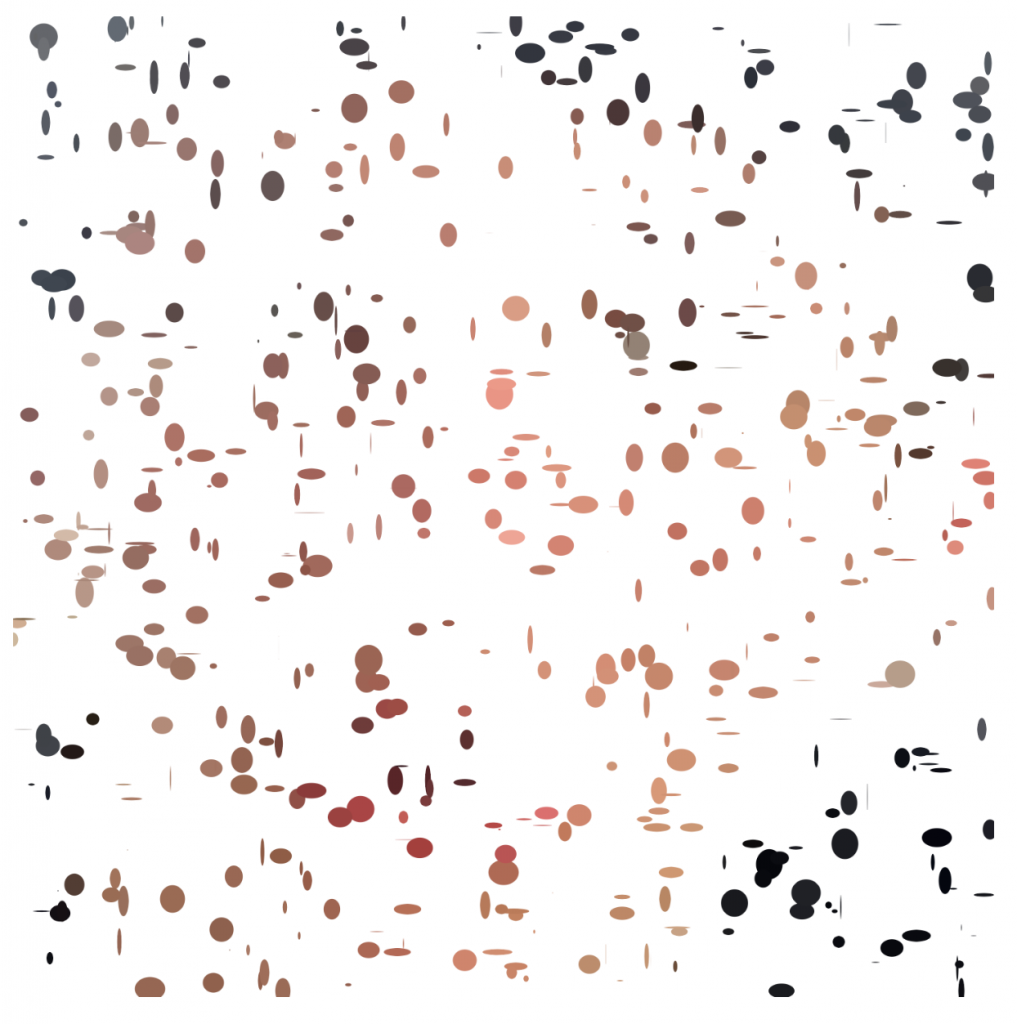
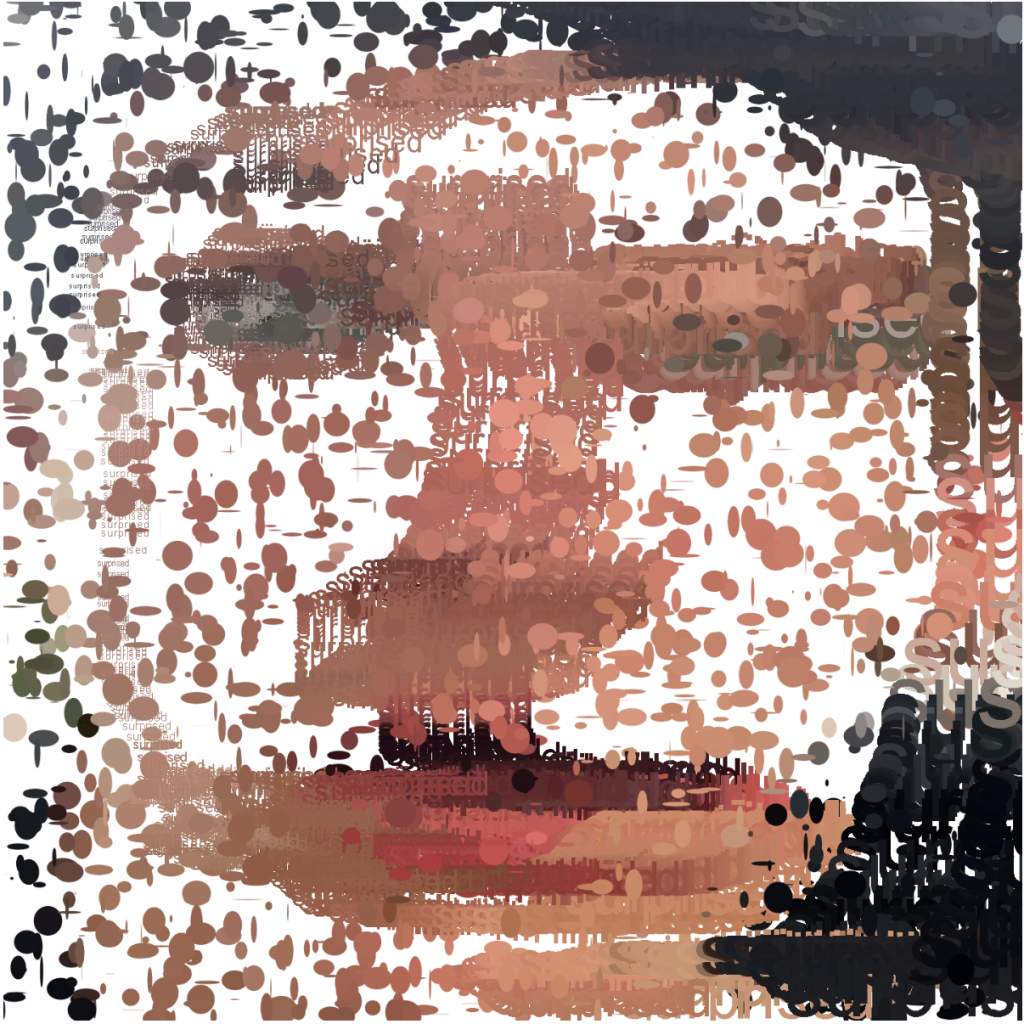
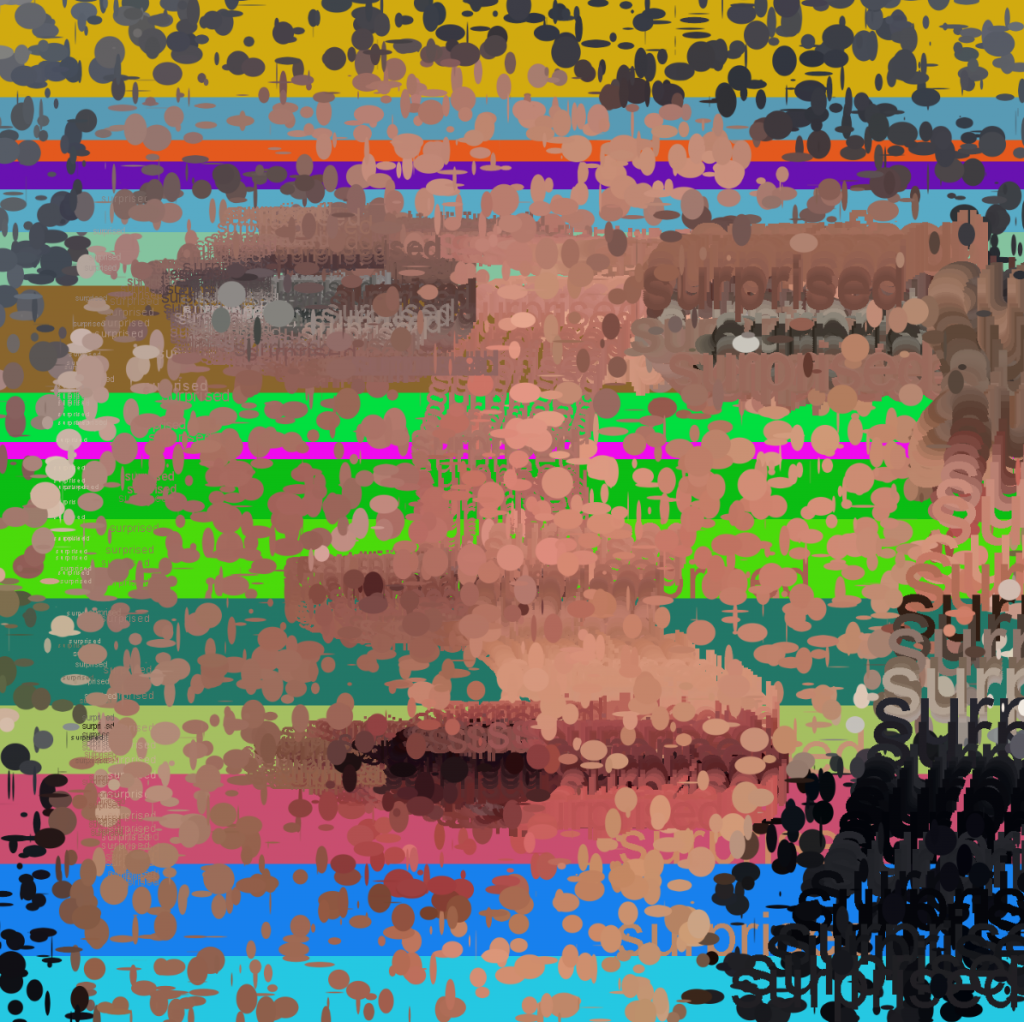
My process for this project was to design a way for each created image to be unique. The double clicked function allows one to create and vibrant background that can then be drawn over with the original image. My face in the original is a surprised face so I used that text to allow one to create funny moments where certain parts of the image can be filled in more than other parts. I was unable to embed the code as the embeding instructions do not work.

Looking Outward -09

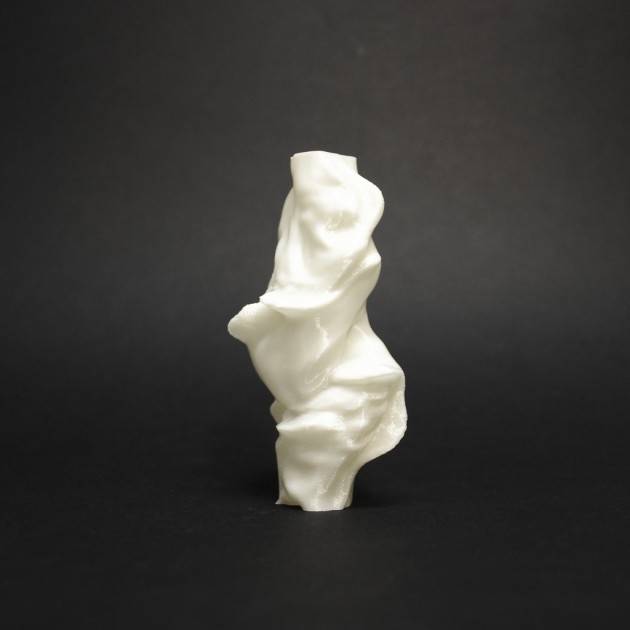
Final Sculpture

A particular artist that inspires me is Eva Schindling. Schindling is a master in digital art, creating hardware and software solutions within the fields of art and technology, reaching far past the typical staticness of graphic design. She studied Art and Technology gaining masters from Chalmers University as well as a degree in Interaction and Media Design from FH Joanneum. She currently works in Montreal and has seemingly studied all around the world. Broadly speaking, she’s very interested in the dynamics of non-linear processes with her work ranging from robotics, art, and sculpture, creating complex algorithms that drive her projects. One project I found particularly inspiring was her project called “Liquid Sound Collision”. This project is a sculpture she made with a very unique modeling process after which she 3D printed the structure in an ABS plastic. Using a 2D fluid to create data sets that she interacts with sound files. The amplitude information of the sound files affects the velocity field of the fluid and as sounds move toward the center of that field Schindling manually chose moments before they collide, storing the velocity field data at that point. The values of the velocity field are then “mapped to a height value to create a 3-dimensional landscape.” This is then wrapped around a cylindrical form to create the final sculptures displayed. I admire the extensive processes she takes in order to create her artwork, using deep analysis to create form. This type of work allows for a really complex piece of work with a strong underlying context that grounds her project.

Link: http://www.evsc.net/home/liquid-sound-collision

Project 9: Computational Portrait

For my portrait, I knew I wanted to do something where the user of my program could participate in while creating the portrait. I really enjoy active interactions in my pieces within design, so I’ve been trying to bring that into my coding work as well. So, I decided that the way to do that was to create a click and drag style generator, where the user drags around their mouse to “paint” my portrait. From there, I created randomly generated “pixels” within a certain radius of the mouse, to add an element of randomization to the “painting”. Finally, because it was taking me a long time to actually paint the portrait and I found that annoying, I added in a larger “brush” size through the use of larger random pixels. I think the final outcome is pretty cool, I like how it came out.

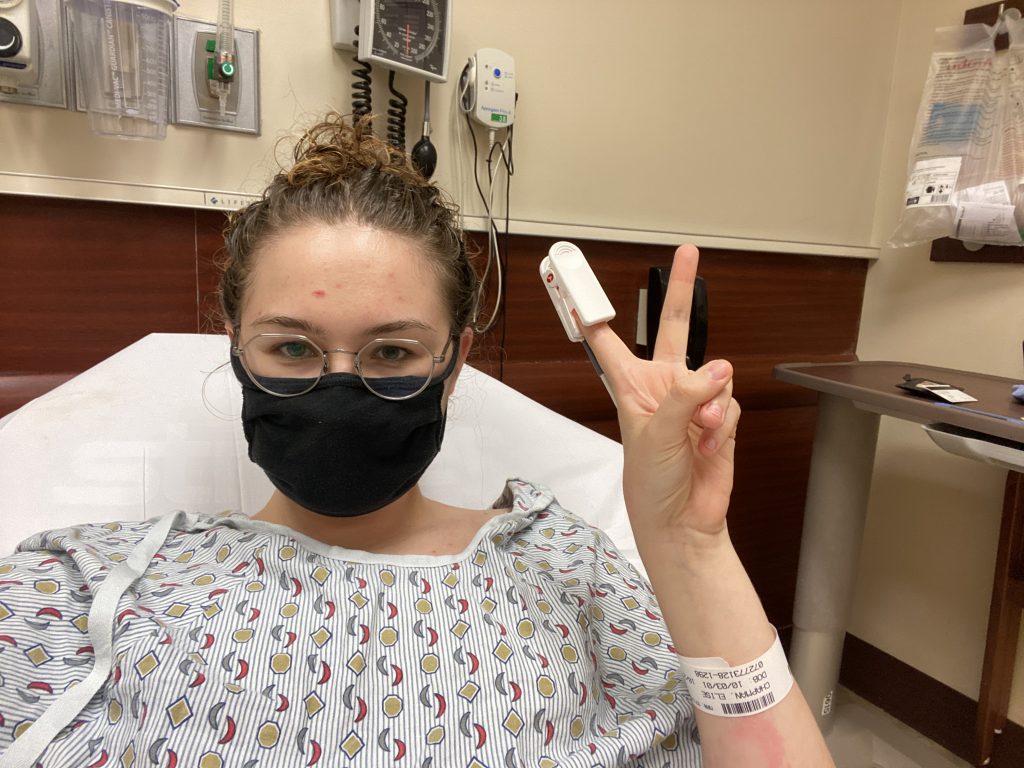
Original photo from this last Monday

sketch

//Elise Chapman
//ejchapma
//ejchapma@andrew.cmu.edu
//Section D

var erSelfie; //image storage

//loads the image to be used
function preload() {
    erSelfie = loadImage('https://i.imgur.com/GbuQVul.jpg?1');
}

function setup() {
    createCanvas(340,480);
    imageMode(CENTER);
    noStroke();
    background(200);
}

function draw() {
    // gives radius to the area in which random pixels can appear
    var xPos=random(-10,10);
    var yPos=random(-10,10);
    // gives the mouse access to the entire image's pixels
    var x = map(mouseX, 0, width, 0, 2117);
    var y = map(mouseY, 0, height, 0, 3000);
    var pixSize;
    var pix = erSelfie.get(x, y); //color of pixel
    if (mouseIsPressed) {
        push();
        translate(mouseX,mouseY);
        fill(pix);
        // option for large or small pixel generation
        if (keyIsPressed) {
            pixSize=random(10,20);
        } else {
            pixSize=random(1,10);
        }
        ellipse(xPos, yPos, pixSize);
        pop();
    }
}

Looking Outwards 09

This week I am looking at Heather Kelley.

Heather Kelley is a designer that does game design, sense design, and interaction design.

She studied at University where she got her MA in advanced communications technologies. She works at perfect plum currently but she has done many amazing things like co-found Kokoromi and named as one in five of the most powerful women in gaming.

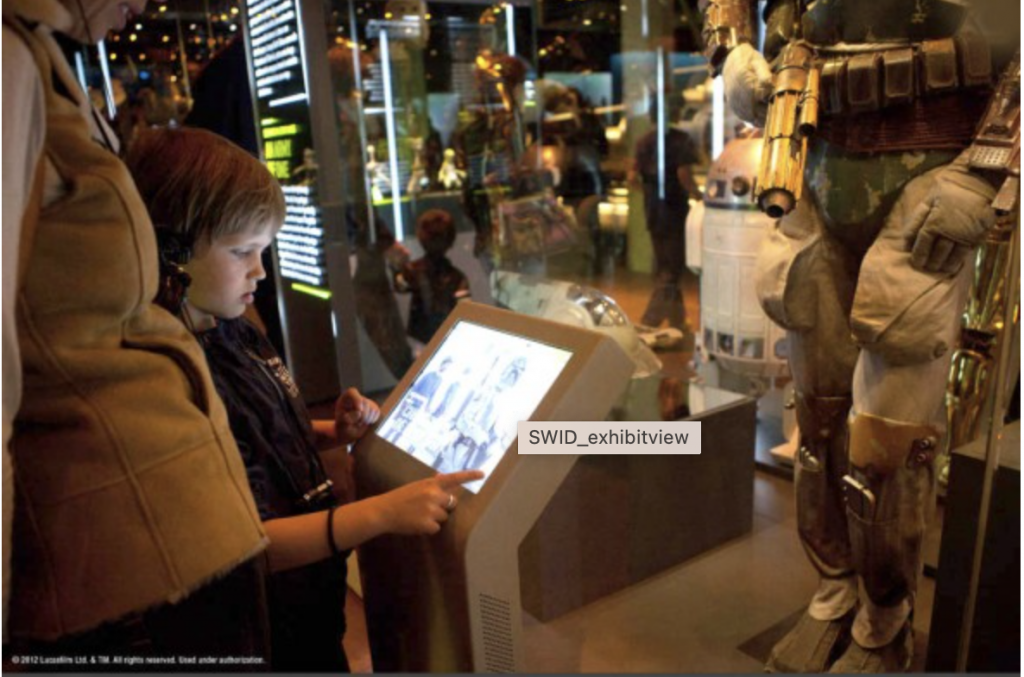
One project I thought was cool was how she added onto a Star Wars exhibit. Basically, she designed kiosks that were in front of characters in the movies and it reveals their origin, family, mentors, careers, and personal values, so people can figure out which character they identify with.

A picture of a kid interacting with one of the kiosks she designed

Link to Project: https://www.perfectplum.com/portfolio_category/interaction/

I really admire this project because one it shows how to enhance the experience of an exhibit which in nature can often be boring. Also, it allows people to explore identities and see how they may identify with a character they may not expect.

Link to her website: https://www.perfectplum.com/

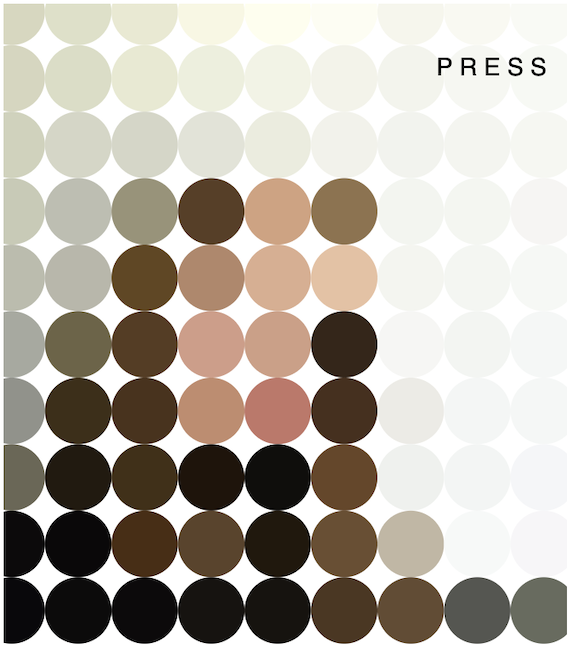
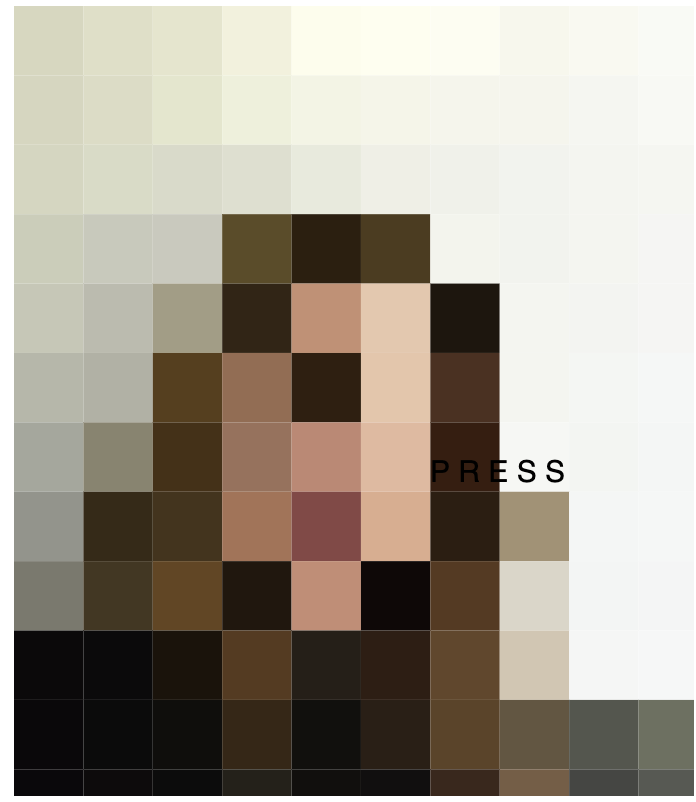
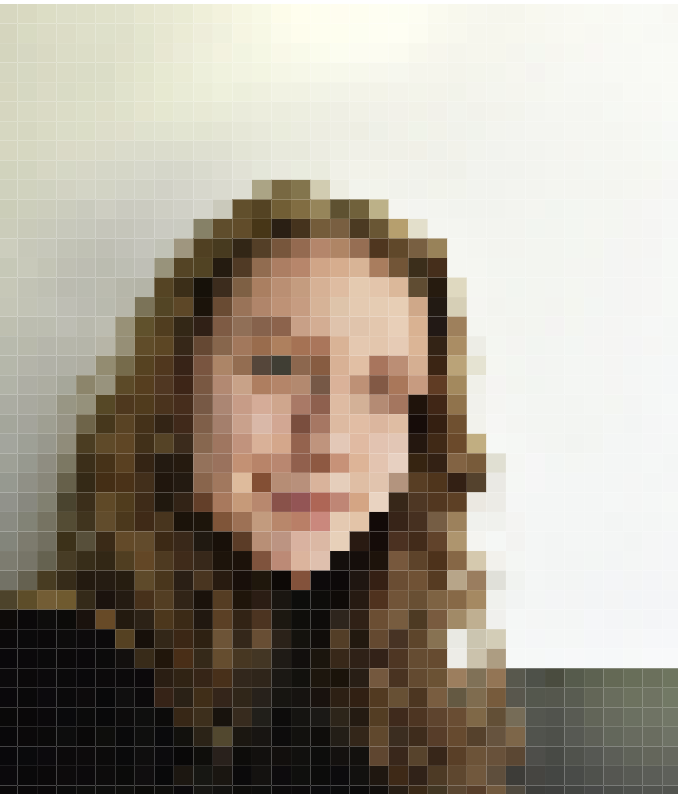
Project 09: Portrait

sketch

//Jacky Lococo
//jlococo
//Section C
var photoFace; //stores the image
var size = 10 //stores size of the images

function preload() {
    photoFace = loadImage('https://i.imgur.com/vdN43xy.png?1');
}

function setup() {
    createCanvas(345, 400);
    imageMode(CENTER);
    noStroke();
    photoFace.loadPixels(); 
}

function draw() {
    background(255);
    drawPixleate();
    fill(0);
    textSize(15)
    text('P R E S S', mouseX, mouseY); // writes press
    size = map(mouseX, 0, width, 10, 50); // will map the size of the 
    if (size == 0) size = 1;


}

function drawPixleate(){
    for (var y = 5; y < height + 50; y += size) {
        for (var x = 5; x < width + 50; x += size) {
            print(photoFace.width);
            var pix = photoFace.get(x, y); //extracts color from the image
            fill(pix);
            if(mouseIsPressed){
                ellipse(x, y, size, size); //ellipse instead of rectangles when mouse is pressed
            } else {
                rect(x, y, size, size);//rectangled when mouse is not pressed
            }
        }
    }
}


Project 9

sketch

// gnmarino
// Gia Marino
// section D

var img;

function preload() {
    img = loadImage("https://i.imgur.com/0H1pS9T.jpg"); 
}

function setup() {
    createCanvas(480, 350);
    background(220);
    noStroke();
    background(255);
    frameRate(20);
}

function draw() {

    // captures the color of every 3 pixels and fills the circles
    for(var x = 0; x < width; x+= 3){
        for(var y = 0; y <= height + 100; y+= 3){

            var color = img.get(x, y);
            fill(color);

            // when mouse pressed the image is less blurred 
            if(mouseIsPressed) { 
                size = random(5);
                ellipse(x, y, size);
            } else {
                size = random(50);
                ellipse(x, y, size);
            }

        push();
        stroke(0);
        text("Press Mouse", 15, 15);
        pop();

        }
    }
}

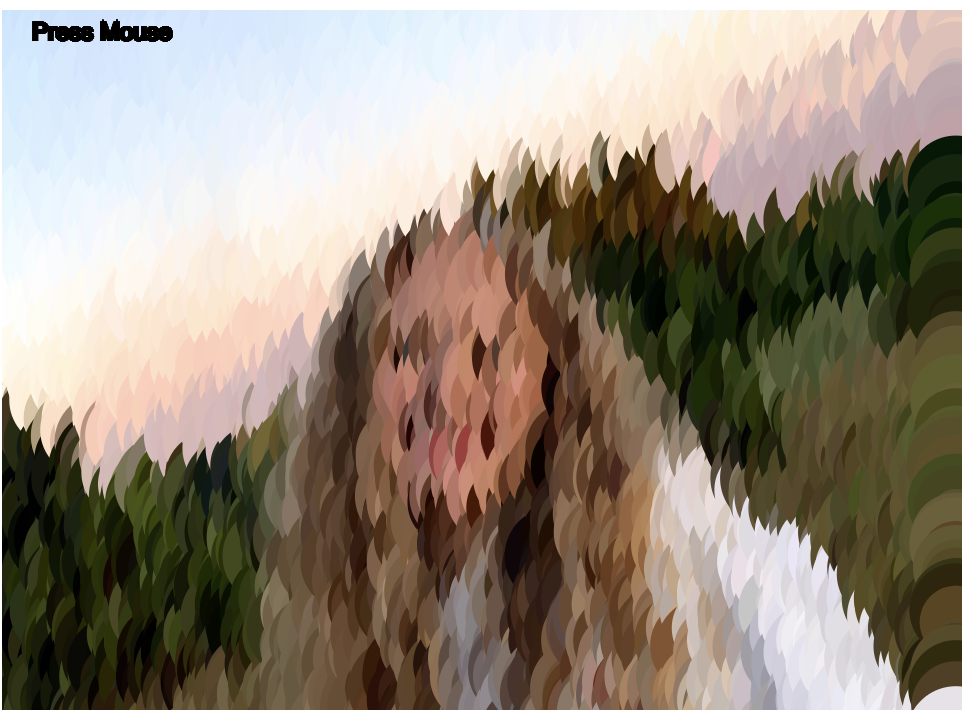
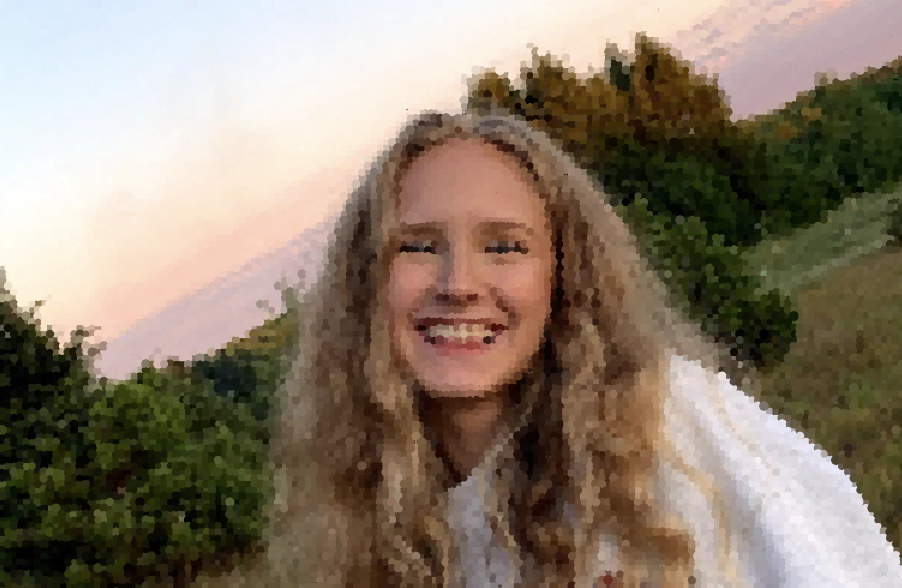
For this project I had a hard time figuring out how to be creativity without overloading my code. This is because I loop my code so many times to create my picture out of dots that when I went in to change things or print things in the loop my computer would just be having to run way too much. Thus, I decided it be cool to make a project where you uncover my face by clicking on the screen rather than adding anymore to the final image.

Before Doing Anything
After Holding Down the Mouse For 3 Seconds

Project 9

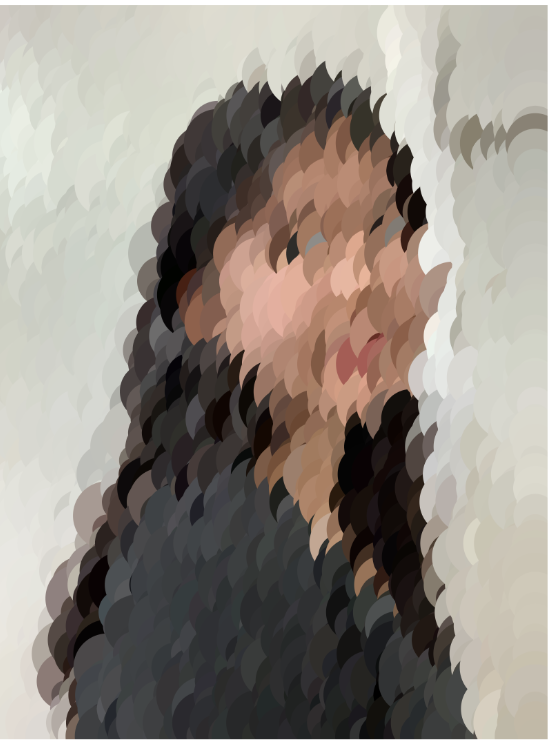
I had a lot of fun with this project, but I definitely think i could’ve gone a little farther with it. If I had more time, I would add some more interactive elements with mouseX/mouseY

sketch

//Michelle Dang
//mtdang@andrew.cmu.edu
//Project 9
//Section D

var portrait;
var smallPoint, largePoint;

var barY=0;

function preload() {
  portrait = loadImage("https://i.imgur.com/8eYjWUj.jpg");
}

function setup() {
  portrait.resize(portrait.width/2.5, portrait.height/2.5)
  createCanvas(portrait.width, portrait.height);
  print(portrait.width)

  smallPoint = 20;
  largePoint = 40;
  imageMode(CENTER);
  noStroke();
  background(255);
  portrait.loadPixels();
}

function draw() {

  for (var x=0; x<portrait.width; x+=10) {
    for (var y=0; y<portrait.height; y+=10) {
      var c = portrait.get(x, y);
      push();
      fill(color(c))
      noStroke();
      circle(x, y, random(20,50),random(20,50));
      circle(x, y, random(20,50),random(10,15));

    }
  }

  var pointillize = map(400, 0, width, smallPoint, largePoint);
  var x = floor(random(portrait.width));
  var y = floor(random(portrait.height));
  var pix = portrait.get(x, y);
  fill(pix, 128, 128);
  stroke(10)
  rect(x, y, pointillize, pointillize);


  rect(0, barY, width, 40); //horizontal bar
  barY+=12;

  if (barY > portrait.height) {
  barY = 0;
  }


}


LO: A Focus on Women and Non-binary Practitioners in Computational Art

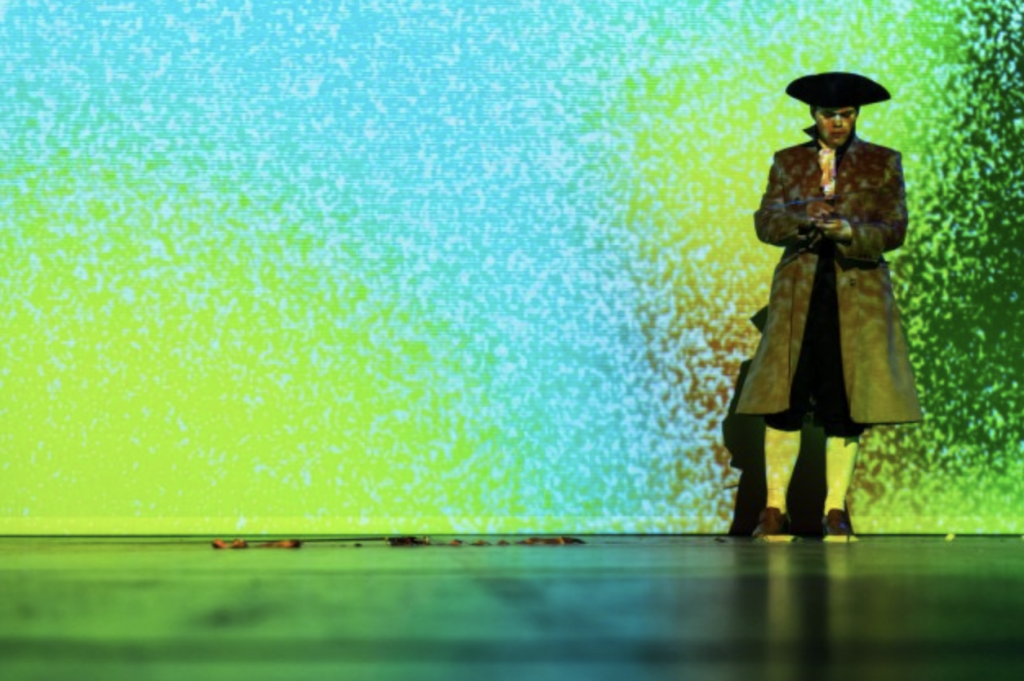
One female artist that I find inspiring is Eva Schindling. She got a MSc. in art and technology from Chalmers University in Sweden. She “creates hardware and software solutions in the interdisciplinary zone between art, science, technology and design.” Her work has been exhibited all over the world including the Japan Media Arts festival, Hong Kong’s Museum of Art, Moscow’s Biennale of Contemporary Art, and even Burning Man! A project that I find very interesting from her portfolio is La Figure de la Terre. This was a work for the contemporary Finish Opera La Figure de la Terr and it is an Audio-reactive video software. There is not that much explaining the piece, but from the images it seems like this was used as a background to the opera itself. I think it is always exciting to see different applications of computer generated art, and this marriage between theater and computer generated art is especially inspiring!

Link: http://www.evsc.net/projects/la-figure-de-la-terre
Artist: Eva Schindling

Project: Computational Portrait (Custom Pixel)

project pixel sketch luca

var img;//image
var imgang = 90;//image angle

function preload(){
  img = loadImage('https://i.imgur.com/XCeFp0s.png');//load image from imgur.com
}

function setup() {

  createCanvas(391, 480);
  //background for contrast
  noStroke();
  imageMode(CENTER);
}

function draw() {

  background(0,0,0);

  for (var col = 0; col < img.height; col+=10){//I did column for height because my image was incorrectly loaded.
    for (var row = 0; row < img.width; row+=10){//row for height.

      var c = img.get(row,col);//extract pixel from image and set as color

      //set image to correct and central position
      push();
      translate(391,0);
      rotate(radians(imgang));
      fill(color(c));//fill with picture colors
      ellipse(col,row,7,7);//ellipses as pixels
      pop();

    }
  }

  push();//needs to be separate because of background setting

  //draw head
  stroke(230,230,0);
  strokeWeight(5);
  line(50,150,320,150);
  line(50,150,50,400);
  line(50,400,320,400);
  line(320,400,320,150);
  line(125,360,255,360);

  //moving eyes
  var wall1 = constrain(mouseX,120,150)
  var c = constrain(mouseY,225,255);
  var wall2 = constrain(mouseX,240,280)

  //eyes
  fill(230,230,0);
  ellipse(wall1,c,30,30);
  ellipse(wall2,c,30,30);

  pop();

}


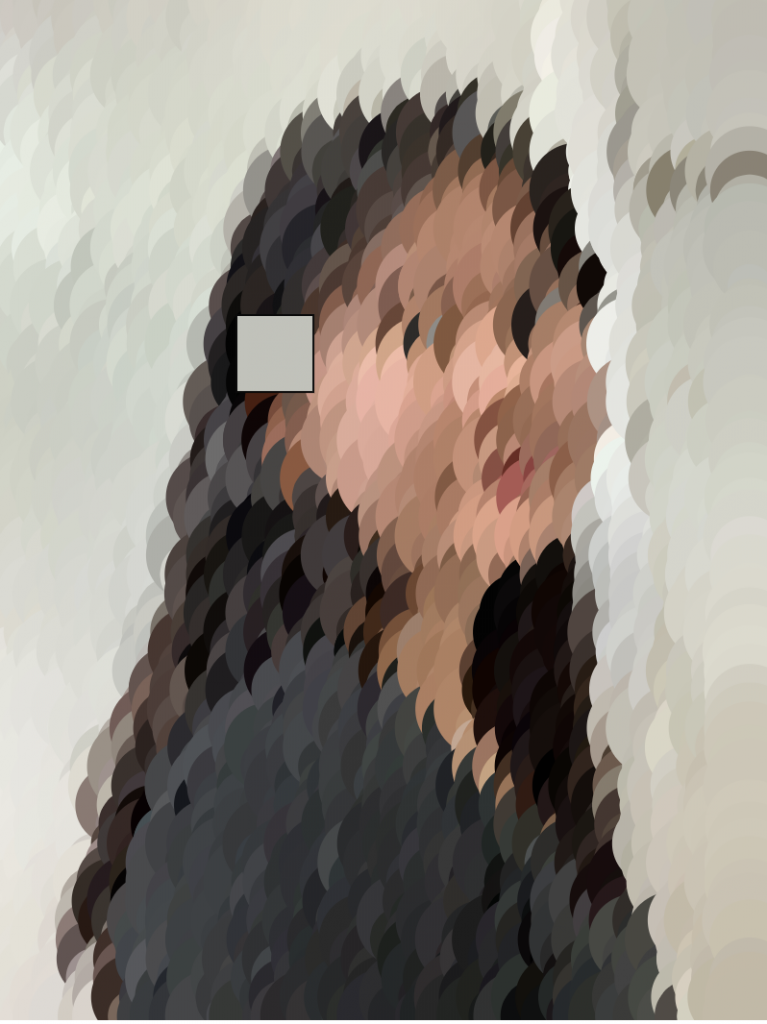
I enjoyed making this project. I faced challenges when I tried to load my images and match pixels according to the image. I changed the image link to a direct link on Imgur and solved the problem. For the pixels, I used a for loop to match the pixels to the image, and by changing the number of increments for each run, I was able to change the size and density of my pixels. For my composition, I did not want to create a photorealistic representation, instead, I wanted some sort of interaction with the image, so I created the yellow face. Overall, this project was a challenge, but I learned more about images in p5.js.