![[OLD – FALL 2016] 15-104 • COMPUTING for CREATIVE PRACTICE](../../wp-content/uploads/2020/08/stop-banner.png)
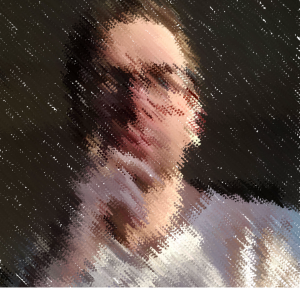
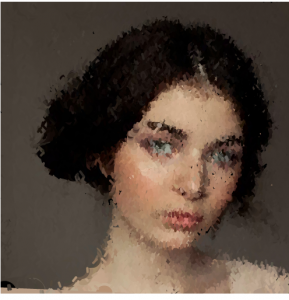
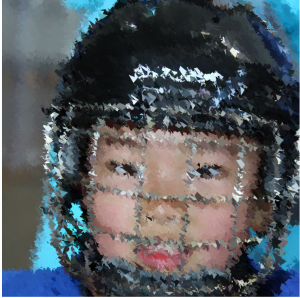
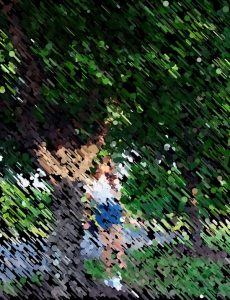
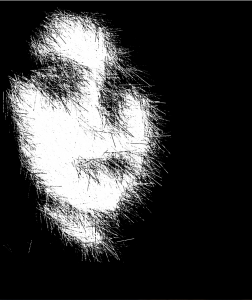
For this portrait, I liked the idea of making it out of slashes of ellipses that to me looked like raindrops. The result ends up creating a portrait that feels like looking at someone through a rainy window or in a carwash.
//Jessica Medenbach
//jmmedenb@andrew.cmu.edu
//Tuesdays at 1:30PM
//Assignment-09B

var img;
var Point;

function preload() {
  img = loadImage("http://i.imgur.com/lYuqE9A.jpg");
}

function setup() {
  createCanvas(800, 800);
  Point = 5;
  imageMode(CENTER);
  noStroke();
  background(255);
  img.loadPixels();

}

function draw() {
  var pointillize = map(mouseX, 0, width, Point, Point);
  var x = floor(random(img.width));
  var y = floor(random(img.height));
  var pix = img.get(x, y);
  fill(pix, 128);
  ellipse(x+5, y+5, pointillize, pointillize);
  ellipse(x,y,pointillize,pointillize);
  ellipse(x-5,y-5,pointillize,pointillize);
  ellipse(x-10,y-10,pointillize,pointillize);
  ellipse(x+10,y+10,pointillize,pointillize);


}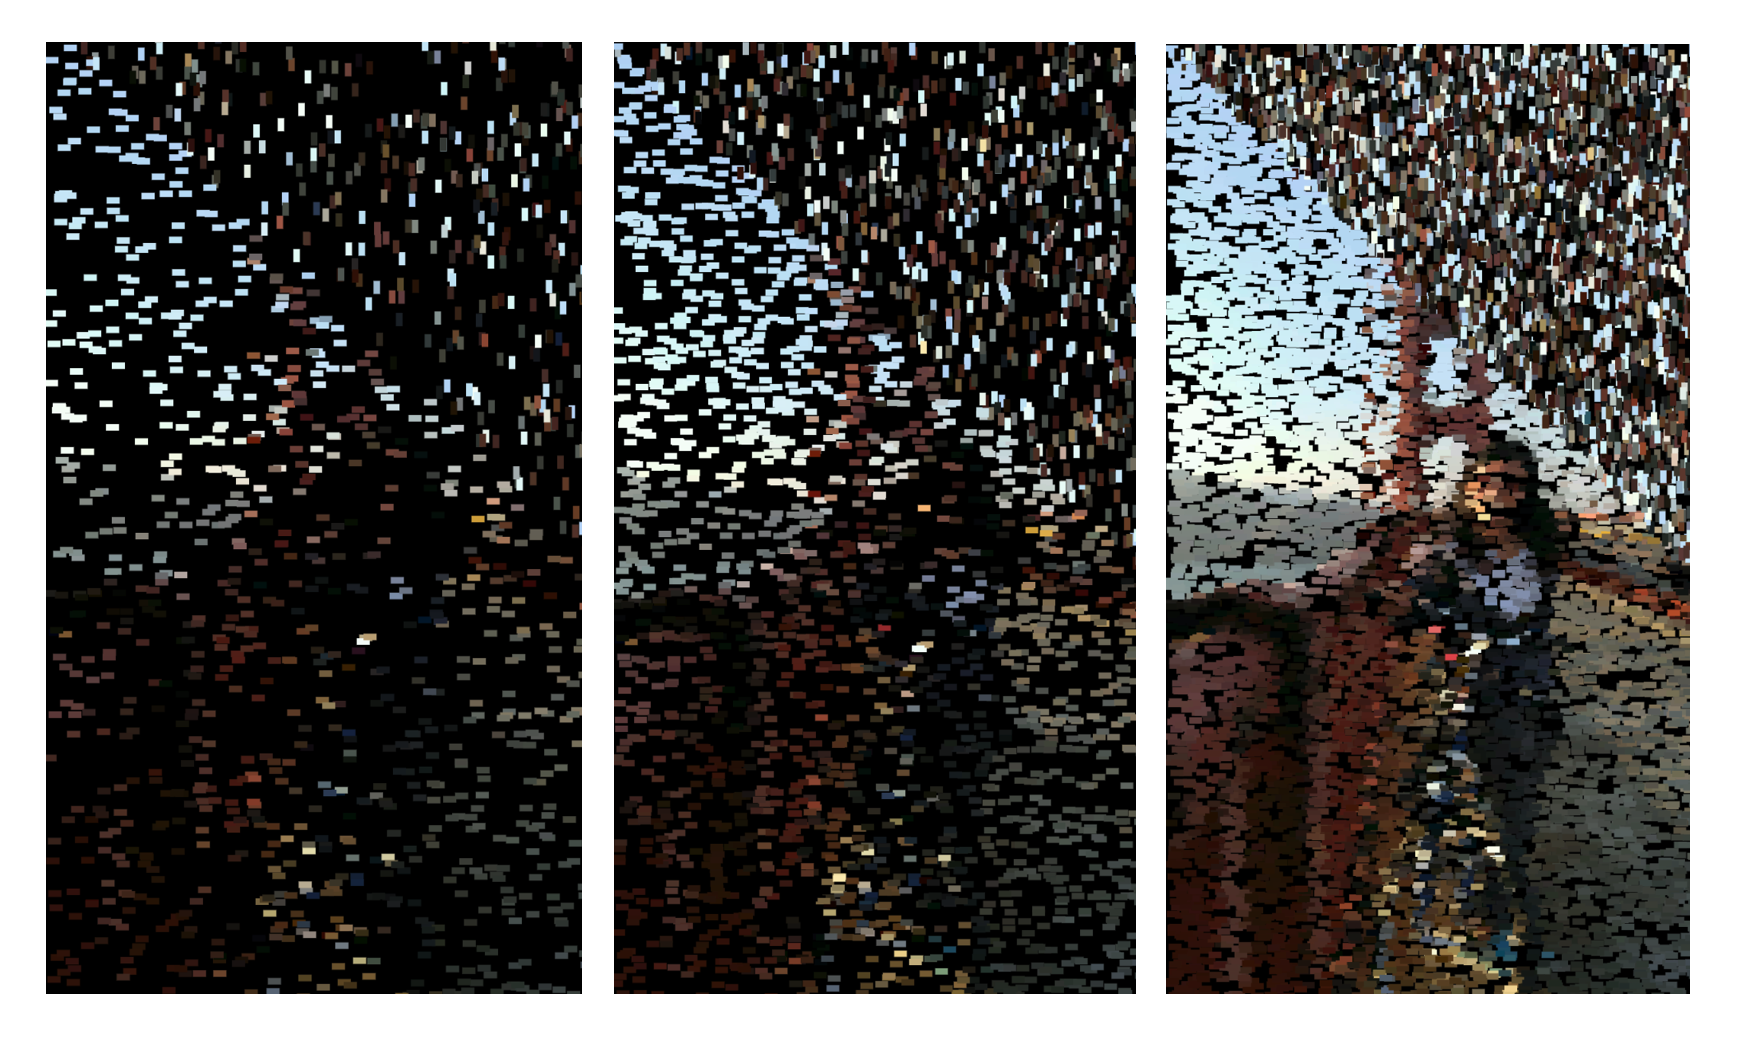

 .
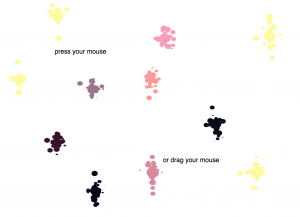
.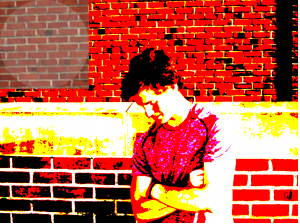 beginning
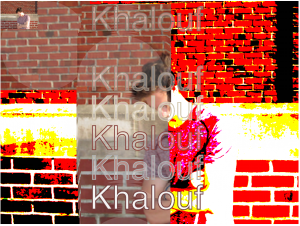 after one movement with the mouse
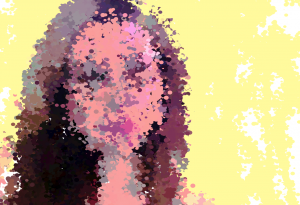
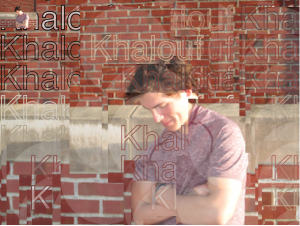 after scrolling over the image multiple times