Danny Cho – LookingOutwards 9

For this week’s LookingOutwards, I was inspired by Refik Anadol’s work, Melting Memories, previously reviewed by Kristine Kim, my classmate. Initially, the display that replicates the characteristics of solid and liquid caught my attention, assuming that it is actually a material, not a 2D display. However, it turned out that it was a visualization on a screen.

This made me curious to see how can real physical materials could become ephemeral. It certainly is magical to imagine a tangible form constantly morphing or growing into something else. I also was intrigued by New Balance’s 3D printed midsole, seeing how generative design is affecting a 3D form that will later become tangible and be used in actual products.

This project was reviewed by another classmate Ilona Altman. With Melting Memories project, this led me wondering and eager to see a physical form shifting in realtime as a reaction to generative design algorithm.

Danny Cho – Project 9


Sketch

I made a self portrait generator that recognizes and connects bright red spots in an image and emphasizes / connects them. I also tried to imitate the characteristic of water color by playing with the transparency of ellipses being drawn.

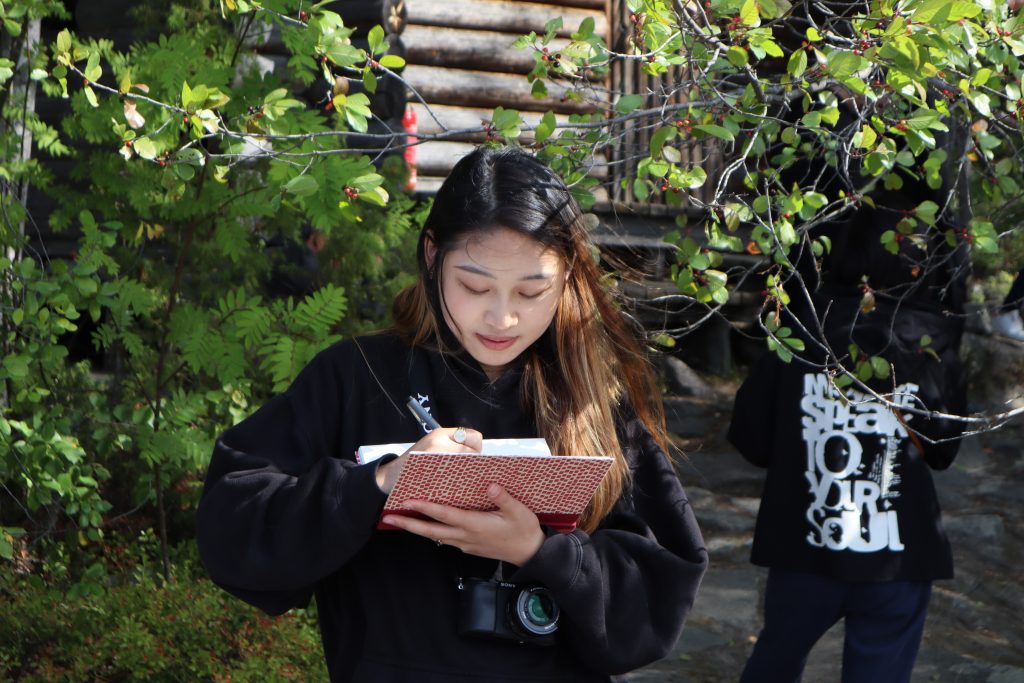
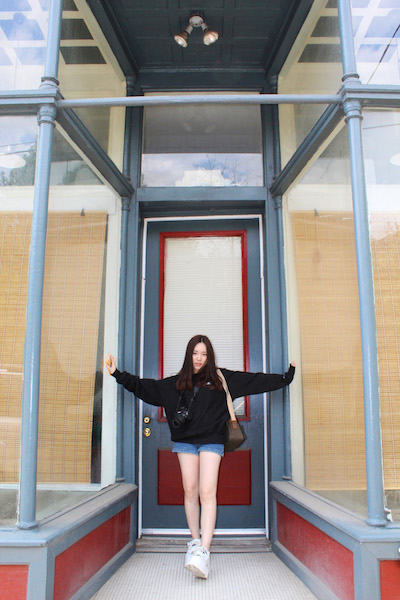
This is the original image

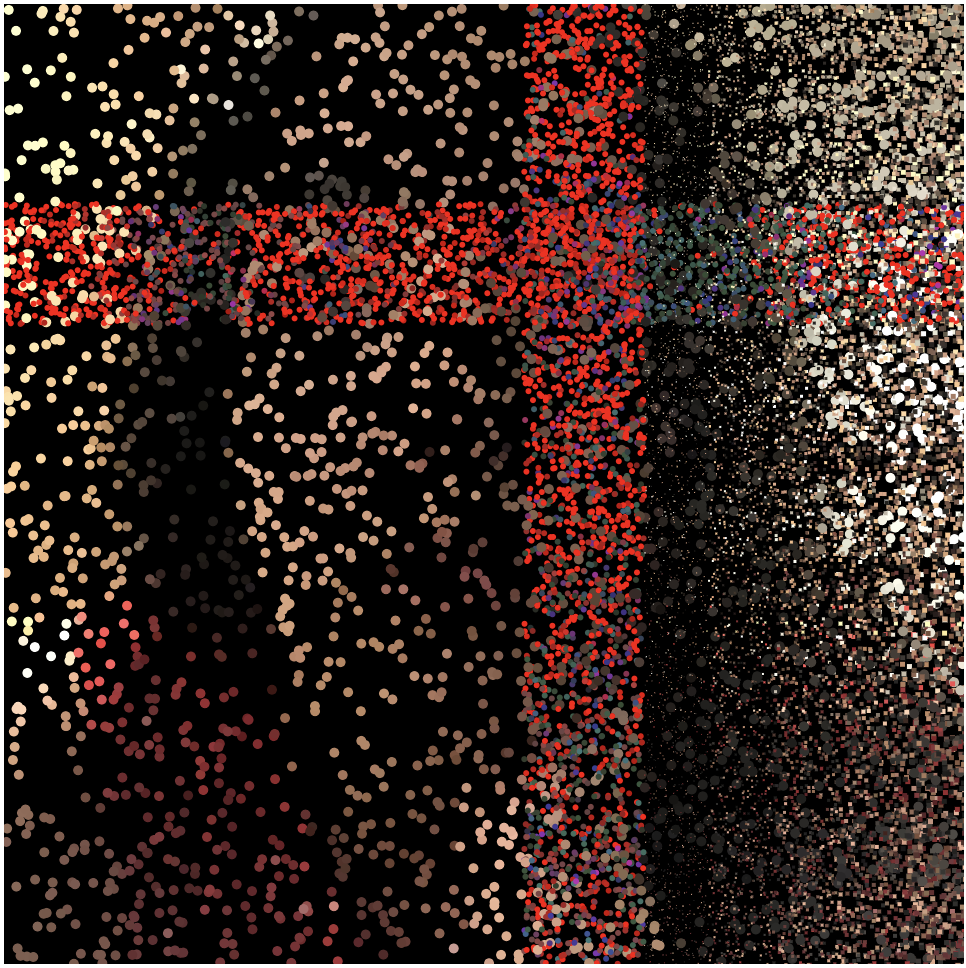
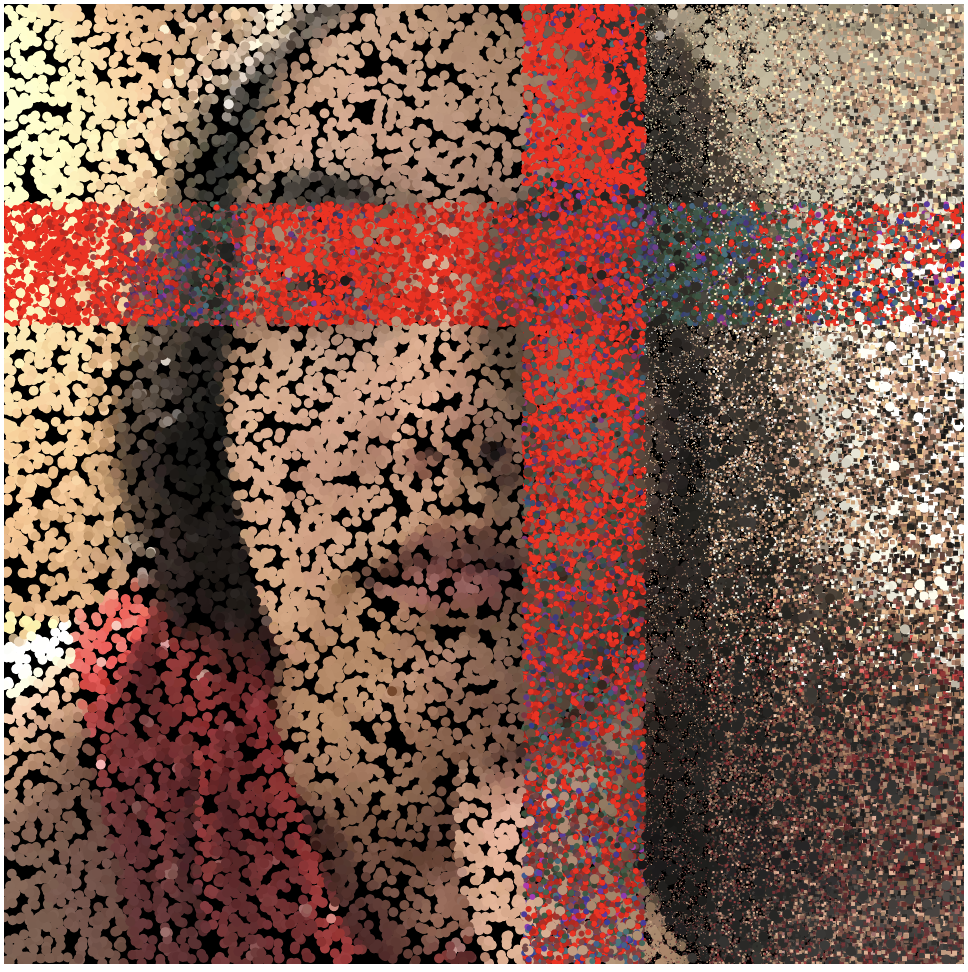
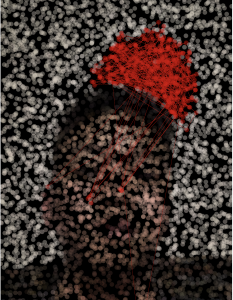
This is what has been generated by the algorithm

//Danny Cho
//Project 9
//changjuc@andrew.cmu.edu
//section A

var underlyingImage;
var pixColor;
var squareColor;

//arrays for red spots' coordinates
var redSpotsX = [];
var redSpotsY = [];

//preloads image
function preload() {
    var myImageURL = "https://i.imgur.com/5PlTu4V.jpg";
    underlyingImage = loadImage(myImageURL);
}

//sets up the canvas
function setup() {
    createCanvas(750, 1334);
    background(0);
    underlyingImage.loadPixels();
    frameRate(1000);
}

function draw() {
    //random pixels chosen
    var px = random(width);
    var py = random(height);
    //limiting the randomness to be integers within the canvas boundary
    var ix = constrain(floor(px), 0, width-1);
    var iy = constrain(floor(py), 0, height-1);
    //color at the location
    var theColorAtLocationXY = underlyingImage.get(ix, iy);
    pixColor = color(theColorAtLocationXY);

    //if red value is the highest number out of RGB palette,
    //and is higher than 230, the part becomes pure red
    //and saves the coordinates of them for the lines to be drawn
    if (Math.max(red(pixColor), green(pixColor), blue(pixColor)) == red(pixColor)
        & red(pixColor) > 230) {
        redSpotsX.push(ix);
        redSpotsY.push(iy);
        
        pixColor = color(255, 0, 0);
    }
    //connects the red spots with lines
    for (var i = 0; i < redSpotsX.length - 1; i++) {
            stroke(200, 0, 0);
            strokeWeight(.1);
            line(redSpotsX[i], redSpotsY[i],
                 redSpotsX[i + 1], redSpotsY[i + 1]);
        }

    noStroke();
    // changes the transparency of the ellipses
    pixColor.setAlpha(100);
    fill(pixColor);
    ellipse(px, py, 15, 15);

}

Minjae Jeong-project09

sketch

//Minjae Jeong
//Section B
//minjaej@andrew.cmu.edu
//Project-9


var underlyingImage;

function preload() {
    var myImageURL = "https://i.imgur.com/4WraCGa.jpg";
    underlyingImage = loadImage(myImageURL);
    underlyingImage.resize(480,480);
}

function setup() {
    createCanvas(480, 480);
    background(0);
    underlyingImage.loadPixels();
    frameRate(10);
}

function draw() {
    var px = random(width);
    var py = random(height);
    var ix = constrain(floor(px), 0, width-1);
    var iy = constrain(floor(py), 0, height-1);
    var theColorAtLocationXY = underlyingImage.get(ix, iy);

    noStroke();
    fill(theColorAtLocationXY);
    var size = random(10, 30); //random from 1-10
    ellipse(px, py, size, size); //draw circles!

    var theColorAtTheMouse = underlyingImage.get(mouseX, mouseY);
    stroke(theColorAtTheMouse);
    textSize = random(10, 30);
    text("SQUARE", mouseX, mouseY); //draw "squares"
}

For this project, I used a photo of my roommate. One issue I could not solve was to adjust the size of the picture according to the canvas size, which is currently 3024 x 4032. Because of it, I do not think canvas is showing the whole image properly, which is why there are so many browns on canvas.

SooA Kim: Looking Outwards-09


I’m citing on the week 5 of Looking Outwards and the topic was on 3D Computer Graphics. As a person who follows this artist’s work on instagram, I thought Sydney Salamy’s topic on Tyson Ibele’s work would be enthusiastic.

I agree on the peer’s assessment with the psychological play of the imagery in the work. The artist approached the viewer, using realistic texture and simulations to create the animation. Nowadays, most of the 3D animation software programs provide these simulations with scripts encoded. So, it gives more flexibility and options for 3D artist to just apply their objects/polygons to soft body or cloth simulation tag. Some of these software programs, such as Maya, provide a script content window for VFX artist to write their own Python code and generate it. Every time I watch this video post, it gives me chills as if my limbs were getting cut off; pretty similar to the reaction when you see someone getting a paper cut. However, there is this weird, visual pleasure of watching his 3D generative animation post in loop.

Peer’s link: https://courses.ideate.cmu.edu/15-104/f2019/2019/09/21/sydney-salamy-looking-outwards-05/

Fallon Creech-Project-09-Portrait

sketch

//Fallon Creech
//Section B
//fcreech@andrew.cmu.edu
//Project-09

var underlyingImage;

function preload() {
    var myImageURL = "https://i.imgur.com/nmxNHkl.jpg?1";
    underlyingImage = loadImage(myImageURL);
}

function setup() {
    createCanvas(500, 500);
    background(0);
    underlyingImage.loadPixels();
    frameRate(10);
}

function draw() {
    var px = random(width);
    var py = random(height);
    var ix = constrain(floor(px), 0, width-1);
    var iy = constrain(floor(py), 0, height-1);
    var theColorAtLocationXY = underlyingImage.get(ix, iy);

    noStroke();
    fill(theColorAtLocationXY);
    textStyle(NORMAL);
    textSize(random(15, 25));
    text("sketch", px, py);

    var theColorAtTheMouse = underlyingImage.get(mouseX, mouseY);
    stroke(theColorAtTheMouse);
    textStyle(BOLDITALIC);
    textSize(random(25, 35));
    text("doodle", pmouseX, pmouseY);
}

For this project, I used a picture of a friend sketching in her sketchbook. I decided to differentiate between interactions of the animation by using different text styles and words; the animation randomly generates the word “sketch,” but the word “doodle” appears at the mouse’s location, giving the animation some visual complexity. 

after 30 seconds
after 2 minutes
original image

Stefanie Suk – Project 09 – Portrait

sketch

//Stefanie Suk
//15-104 D
//ssuk@andrew.cmu.edu
//Project 09 - Portrait

var self;
var size;

function preload() {
  self = loadImage("https://i.imgur.com/oLizrAT.jpg");
} //load image

function setup() {
  createCanvas(400, 600);
  size = 6; //size of heart
  noStroke();
  background(20); //background color before image shows
  imageMode(CENTER);
  self.loadPixels(); //loading pixels
  frameRate(30); //how fast heart covers canvas
  
}

function draw() {
    var x = random(self.width);
    var y = random(self.height);
    var pixie = map(0, 0, width, size, size);
    var p = self.get(x, y); //variables to create heart
    fill(p);
    ellipse(x+5, y-5, pixie, pixie);
    ellipse(x, y, pixie, pixie);
    ellipse(x-5, y-5, pixie, pixie);
    ellipse(x-10, y-10, pixie, pixie);
    ellipse(x+10, y-10, pixie, pixie);
    ellipse(x+2.5, y-2.5, pixie, pixie);
    ellipse(x-2.5, y-2.5, pixie, pixie);
    ellipse(x+7.5, y-7.5, pixie, pixie);
    ellipse(x-7.5, y-7.5, pixie, pixie);
    ellipse(x+7.5, y-12.5, pixie, pixie);
    ellipse(x-7.5, y-12.5, pixie, pixie);
    ellipse(x+5, y-15, pixie, pixie);
    ellipse(x-5, y-15, pixie, pixie);
    ellipse(x+2.5, y-12.5, pixie, pixie);
    ellipse(x-2.5, y-12.5, pixie, pixie);
    ellipse(x, y-10, pixie, pixie); //coordinates to create heart
}

I created hearts to cover up the canvas and show an image of me in Lawrenceville. I tried to show how much fun I had in Lawrenceville by filling up the canvas with hearts, and the bright colors of the image fits well with the hearts as well. 

original photo

Project-09-Portrait

After looking through all the examples and code offered on the website, I decided I wanted to experiment with a number of designs. I decided I would do this by dividing up my screen and designating a type of design/pattern for each section. I was originally going to divide it up equally into three parts, but then I experimented a bit and decided to make it more interesting than that. I first decided to bring attention to my eyes by having the section over them be in HSB color value. Then I had there be two sections like this, one vertical and one horizontal, overlapping on one of my eyes, creating a cross section. This divided up the screen, and I filled up the sections this cross created with different patterns.

sketch

var myImage;
var topOfEyes = 100;//general height of where the top of my eyes are
var bottomOfEyes = 160;//general height of where the bottom of my eyes are
var leftOfEye = 260;//general left of where the left of my right eye is
var rightOfEye = 320;//general right of where the right of my right eye is

function preload() {
    var imgURL = "https://i.imgur.com/P9ng7Hd.jpg";
    myImage = loadImage(imgURL);//loads image
}

function setup() {
    createCanvas(480, 480);
    background(0);
    myImage.loadPixels();//loads pixels from image
    frameRate(1000);//faster framerate
}

function draw() {
    myImage.resize(620,480);//resizes image so my face fits onscreen
    var pixlX = random(width);//random pixel from width values
    var pixlY = random(height);//random pixel from height values
    var constrX = constrain(floor(pixlX), 0, width - 1);//constrains x value 
    //and keeps it at whole number
    var constrY = constrain(floor(pixlY), 0, height - 1);//constrains y value 
    //and keeps it at whole number
    var colorFromXY = myImage.get(constrX, constrY);//constrains color to image
    noStroke();

    push();
    colorMode(HSB,100);//changes color value to HSB
    fill(colorFromXY);//takes color from photo "below" it
    //ribbons
    ellipse(pixlX, random(topOfEyes,bottomOfEyes), 3, 3);//verticle red line
    ellipse(random(leftOfEye,rightOfEye),pixlY, 3, 3);//horizontal red line
    pop();

    fill(colorFromXY);//takes color from photo "below" it
    ellipse(pixlX,pixlY, 5, 5);//puts circles of portrait across screen
    //gradation of rectanbgles that slowly increases from 320 to width
    rect(random(rightOfEye,rightOfEye + 32),pixlY, .5,.5);
    rect(random(rightOfEye + 32,rightOfEye + (32 * 2)),pixlY, 1,1);
    rect(random(rightOfEye + (32 * 2),rightOfEye + (32 * 3)),pixlY, 1.5,1.5);
    rect(random(rightOfEye + (32 * 3),rightOfEye + (32 * 4)),pixlY, 2,2);
    rect(random(rightOfEye + (32 * 4),rightOfEye + (32 * 5)),pixlY, 2.5,2.5);
}

Portrait In Process
Final Product

Stefanie Suk – Looking Outwards – 09

Video of Digital Grotesque

I looked at Sammie’s assessment on the “Digital Grotesque,” which is a large architectural artwork that was 3D printed out of sandstone. I agree with Sammie that the massive scale of this piece blows my mind because in the past 3D technology was used for small objects/projects, but the “Digital Grotesque” is a huge architectural piece. The extremely complex details and geometry (260 million individual facets) amazes me as well. She mentions how she was admired by the fact that “the base algorithms produce results that are not entirely predictable, though not random,” which I couldn’t agree more with. I feel like Sammie really looked deeply into the project and research a lot about how the artwork was structured. In her Looking Outwards, I can see she deeply understands how the piece was created in detail. I feel like she explained well about how the piece was structure/created, but I feel like it would’ve been more interesting if she also mentioned about the meaning behind the artwork. 

https://courses.ideate.cmu.edu/15-104/f2019/2019/09/09/sammie-kim-looking-outwards-03/

Sammie Kim, Looking Outwards 03, 2019

Julia Nishizaki – Looking Outwards 09

For this week, I chose to look at Margot Gersing’s post on Zeitguised Studios, and specifically their project in 2014 titled “Birds.” Using 3D computer graphics, the now Berlin based studio is known for creating compelling narratives, quirky characters, and fun, playful projects.

“Birds” by Zeitguised Studios

On their website, Zeitguised describes their project, “Birds,” as a “lighthearted essay on contextualized characters.” Throughout the video, this work portrays representations of birds made only out of objects we associate with birds, like eggs, worms, or bird houses.

An image taken from the “Birds,” a project that represents birds without actually showing a bird

I decided to write about this project, as I’m not very familiar with 3D animation or how it can be utilized, and I was drawn to the very creative nature of the work’s concept, the beautiful graphics, the bright colors, and the fun animations.

In her post, Margot reflects on the playful choice to represent a bird out of everything except for the bird. I thought this was an interesting point, and I’m curious as to what the deeper meanings in this piece are, as far as what a bird actually is and how our relationship to birds shifts that definition.