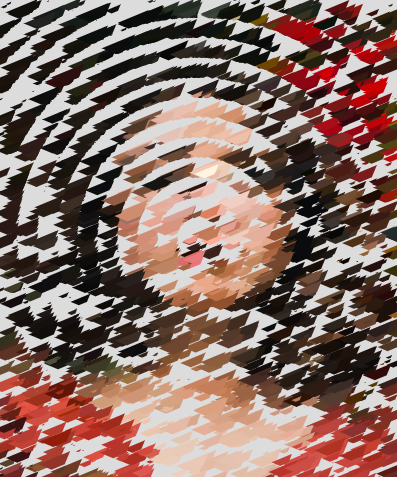
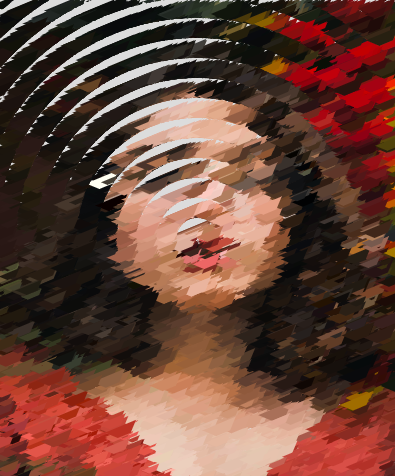
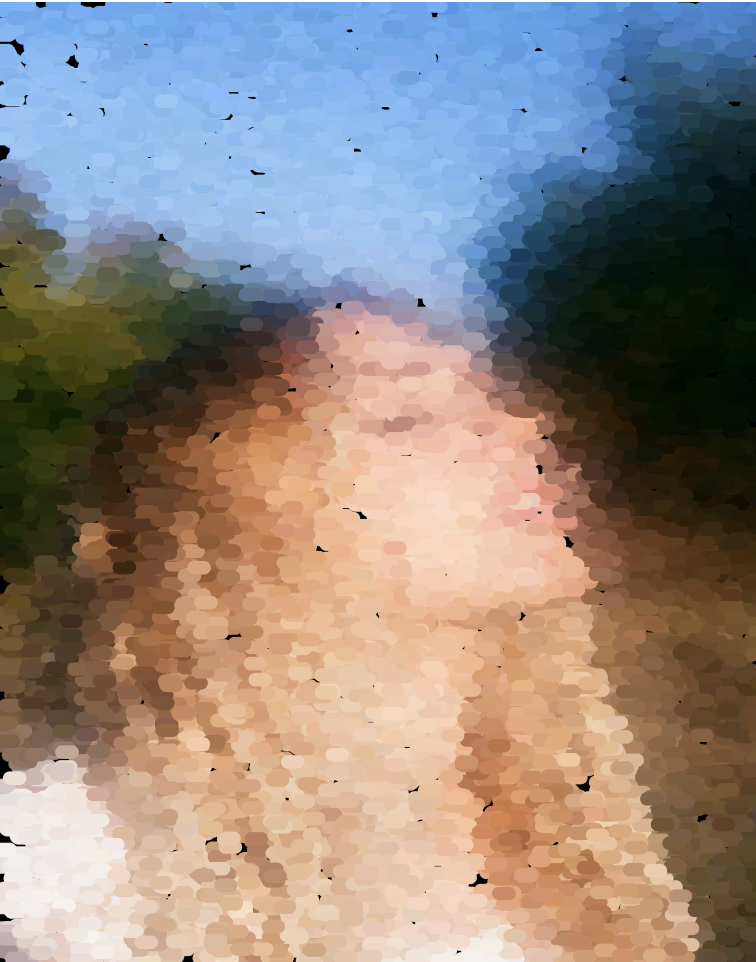
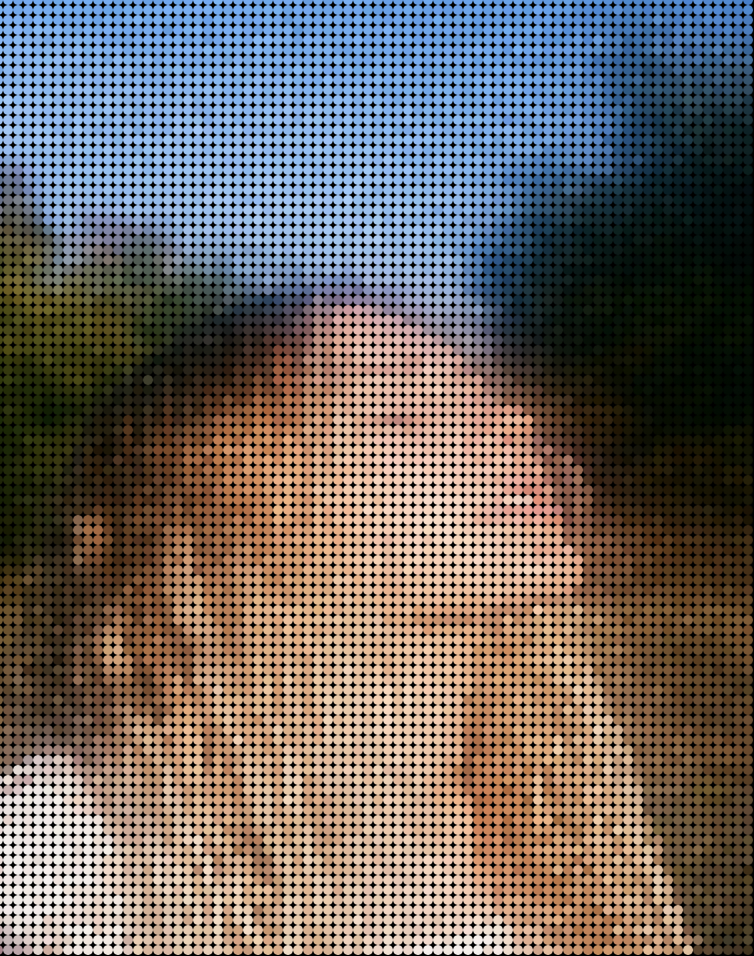
![[OLD SEMESTER] 15-104 • Introduction to Computing for Creative Practice](../../../../wp-content/uploads/2023/09/stop-banner.png)
sketch
//Anthony Pan
//Section C
//empty variable to hold/load portrait
var img;
//load portrait
function preload() {
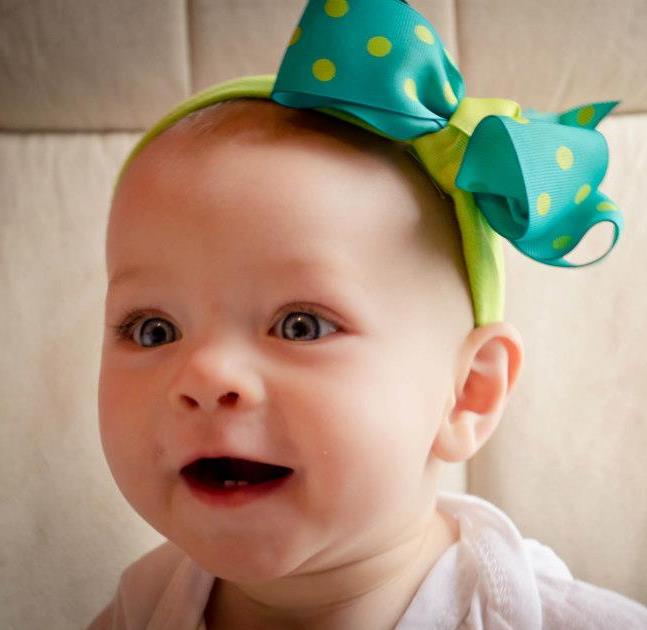
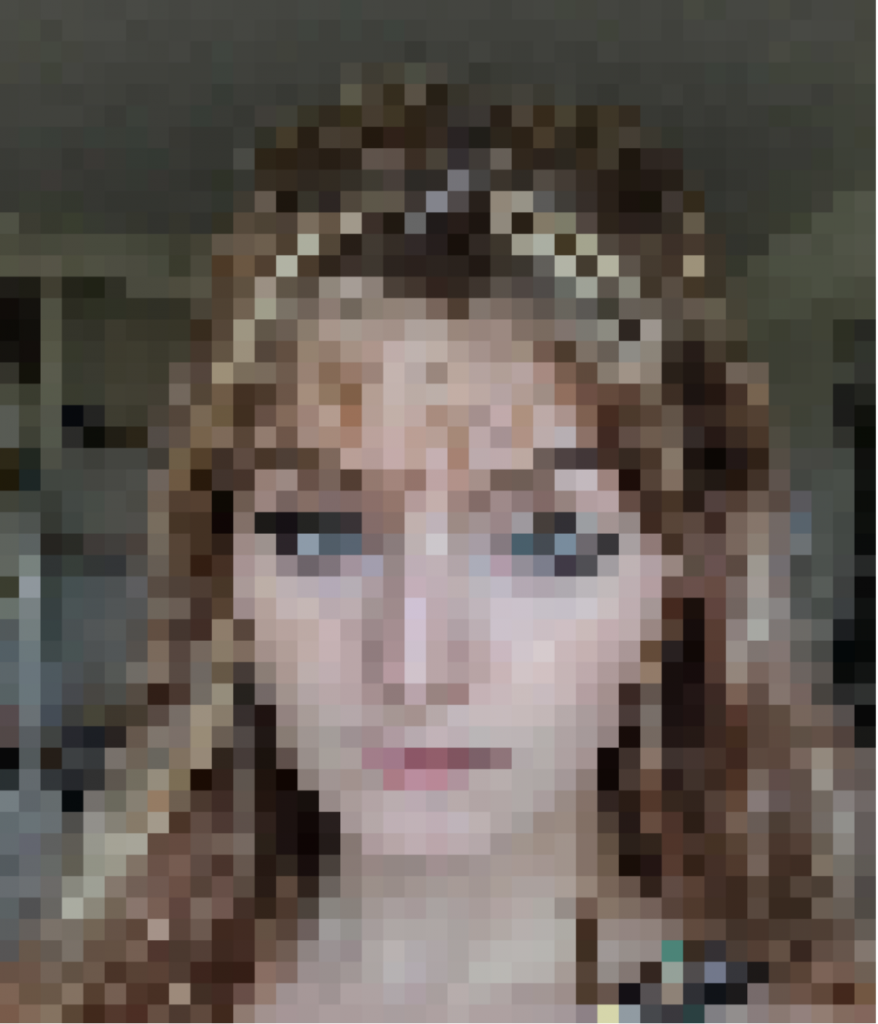
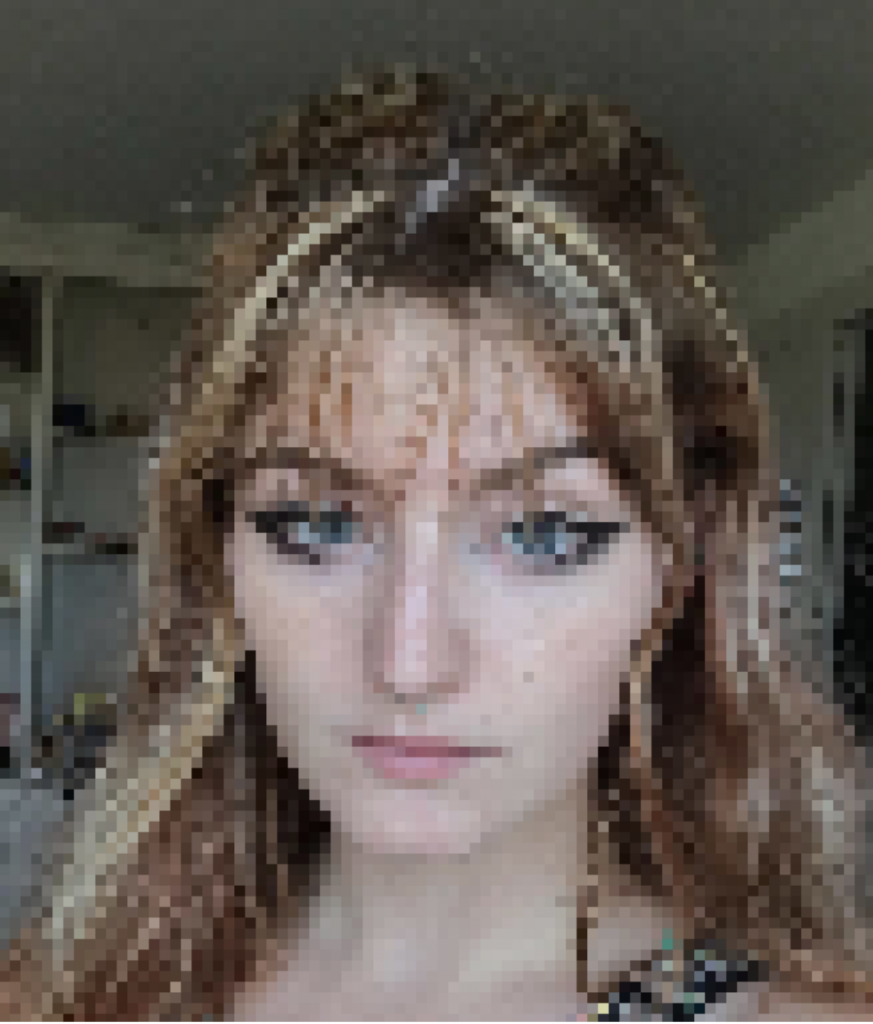
img = loadImage("https://i.imgur.com/OZnUWbW.jpg");
}
//set up canvas
function setup() {
createCanvas(420, 280);
}
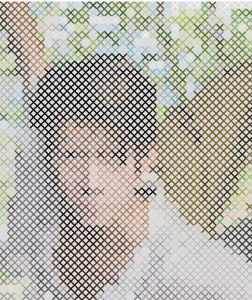
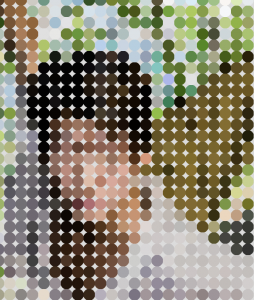
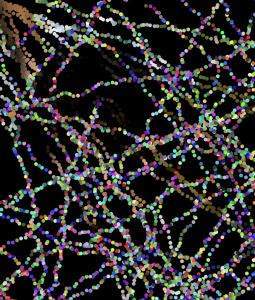
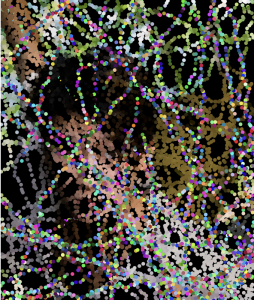
//create pixelation effect using mouseX position
function draw() {
background(220);
//diplay image
image(img, 0, 0, width, height);
//constrain mouseX position to canvas and change diamter of circles according to mouseX position
var mousePosition = map(constrain(mouseX, 0, 280), 0, width, 0, 20);
//create circles
for(var row = 0; row < 32; row++) {
for(var col = 0; col <= 48; col++){
var x = col * 10;
var y = row * 10;
//sample pixel color
var sampleColor = img.get(x*15, y*15);
noStroke();
fill(sampleColor);
//draw circle
circle(x + 10, y + 10, mousePosition);
}
}
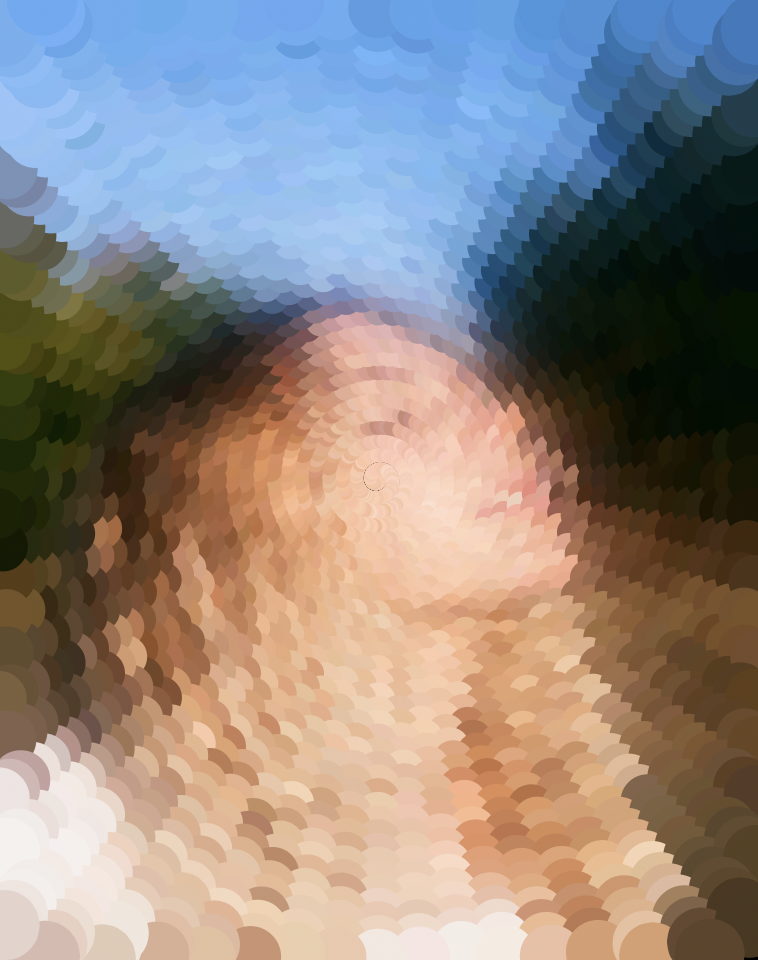
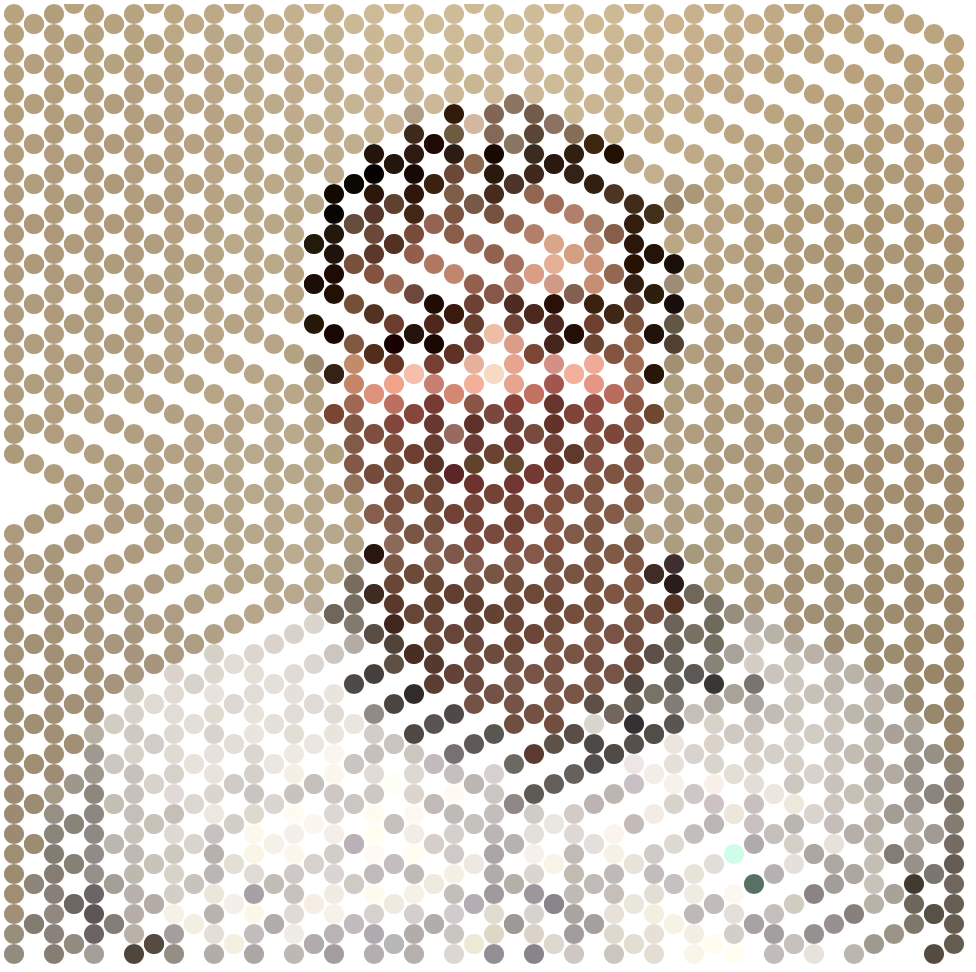
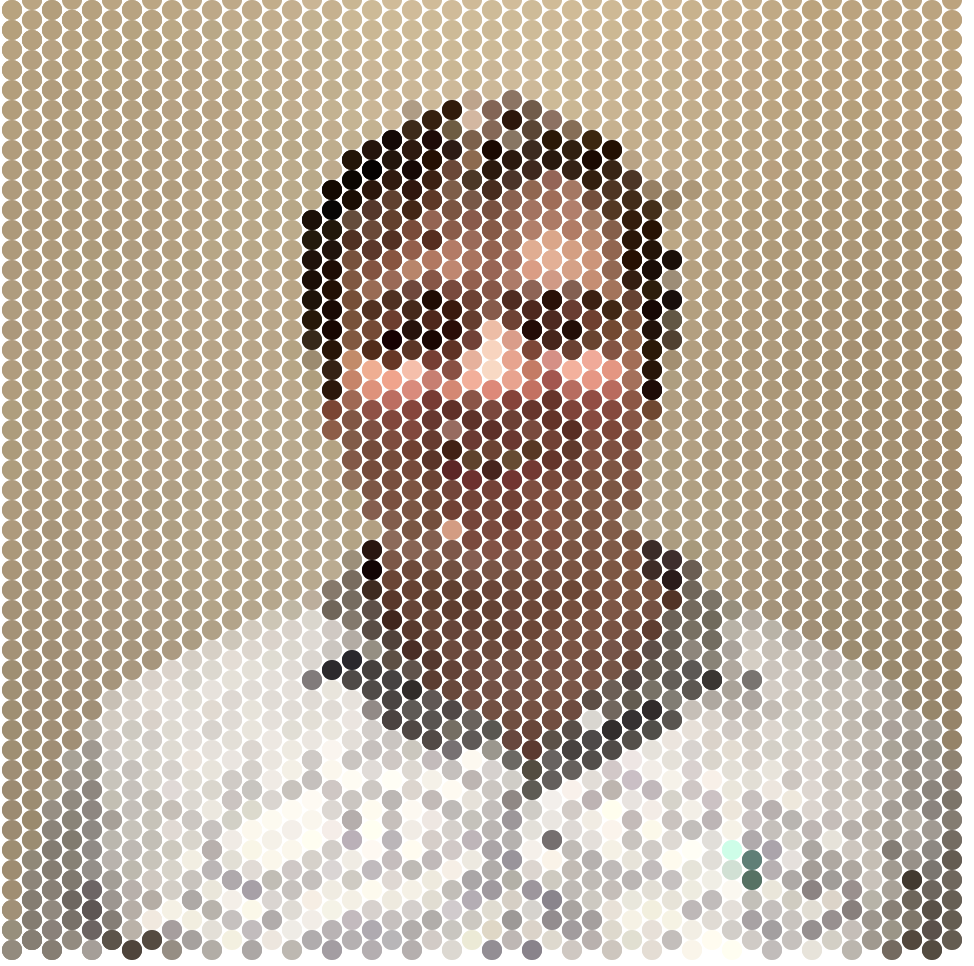
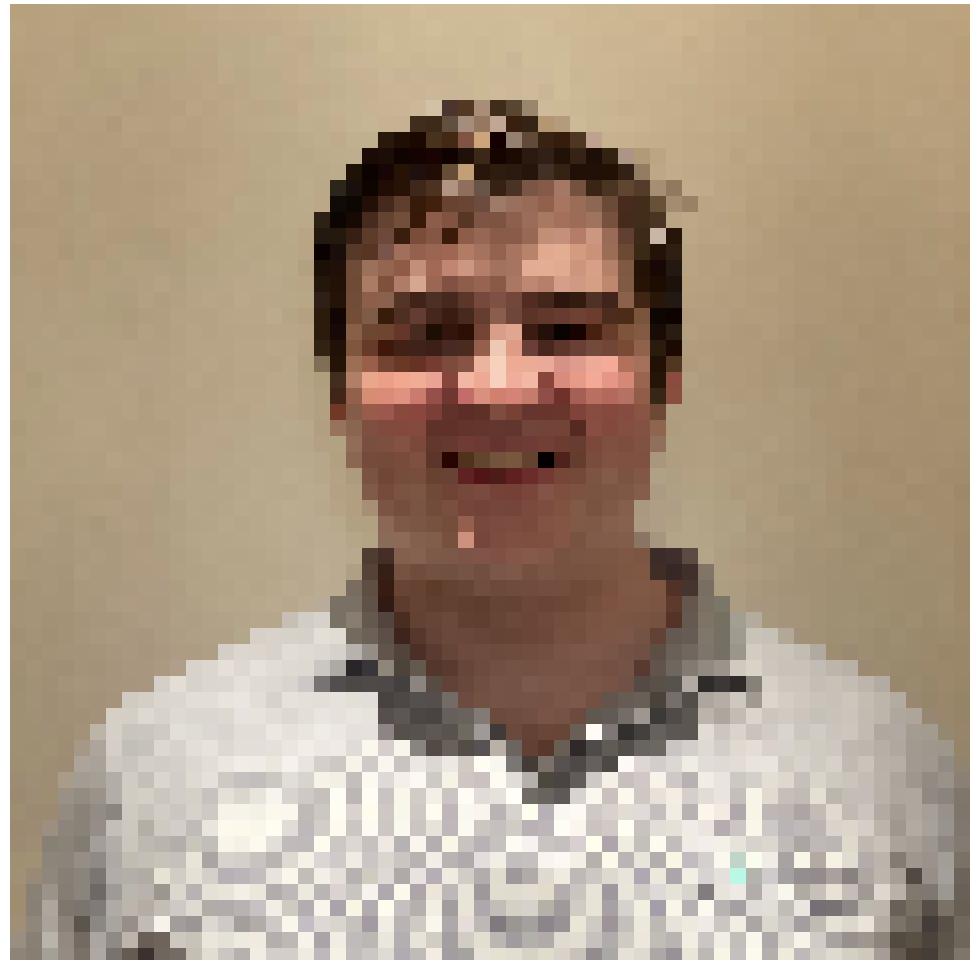
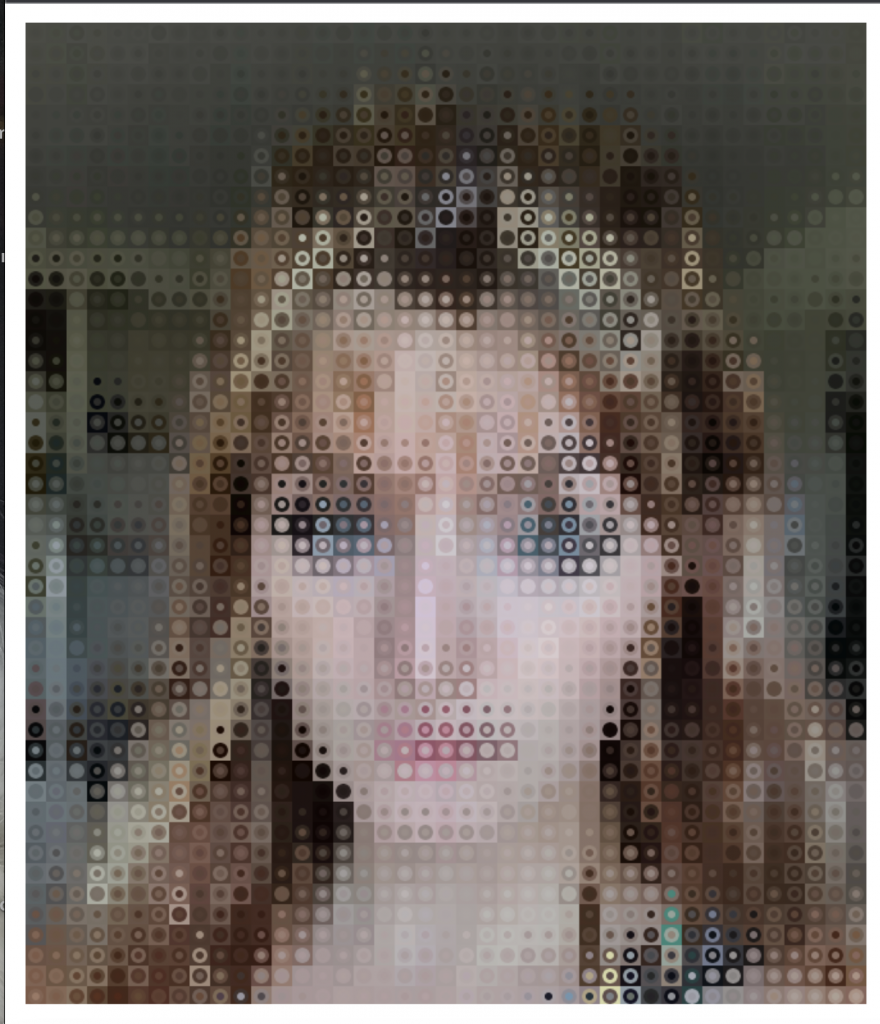
}I wanted to create a portrait that would get pixelated as you moved the mouse from left to right. It was cool to see it become stylized, almost like I was applying a filter to the image.