rgriswol_project-08

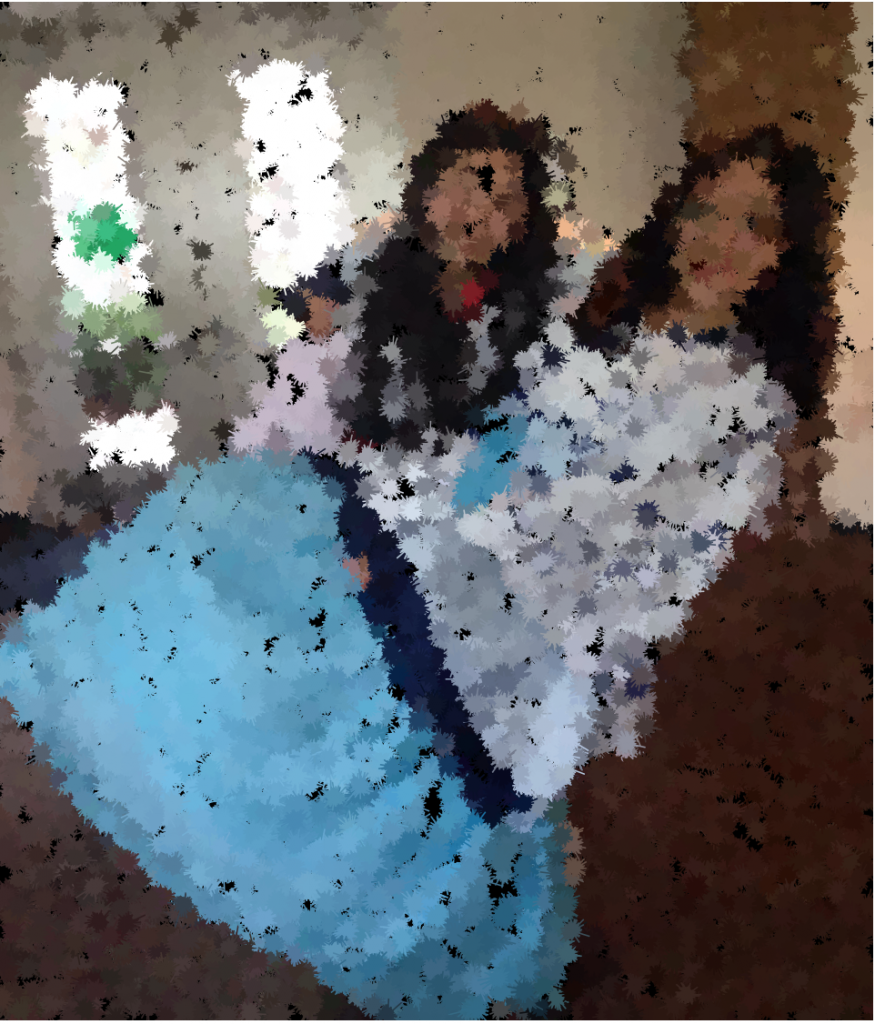
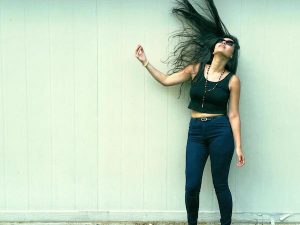
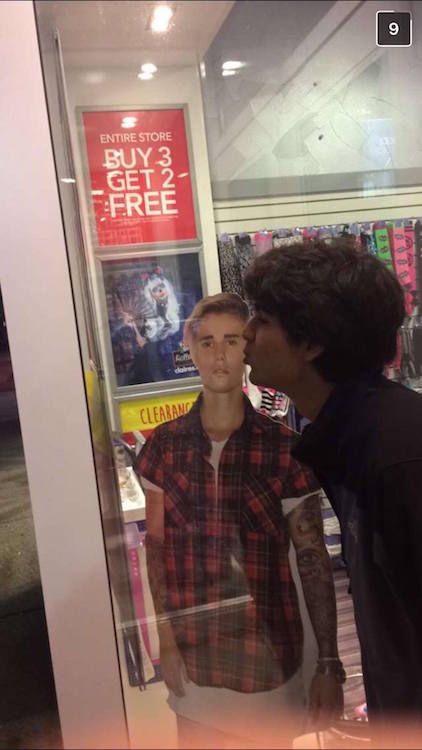
For this project, I decided to use a more amusing photo of my boyfriend.

feat. Justin Bieber cutout

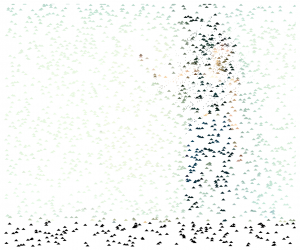
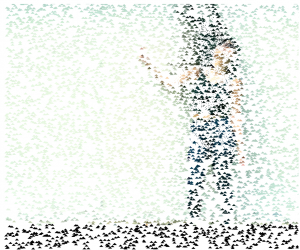
I used randomly generated squares, which change size depending on the position of your mouse. Here’s some examples of what it might look like:

1

2

3

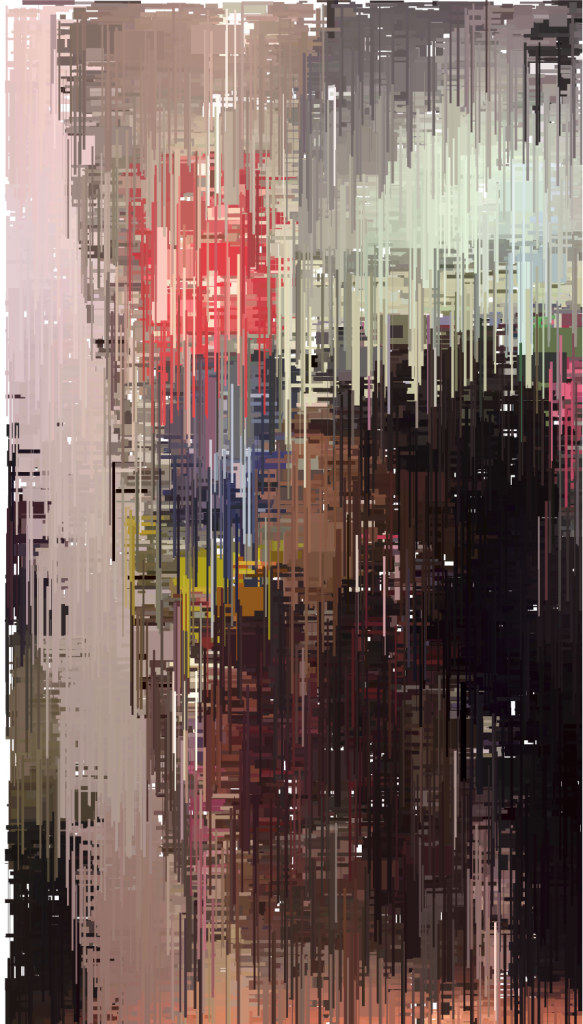
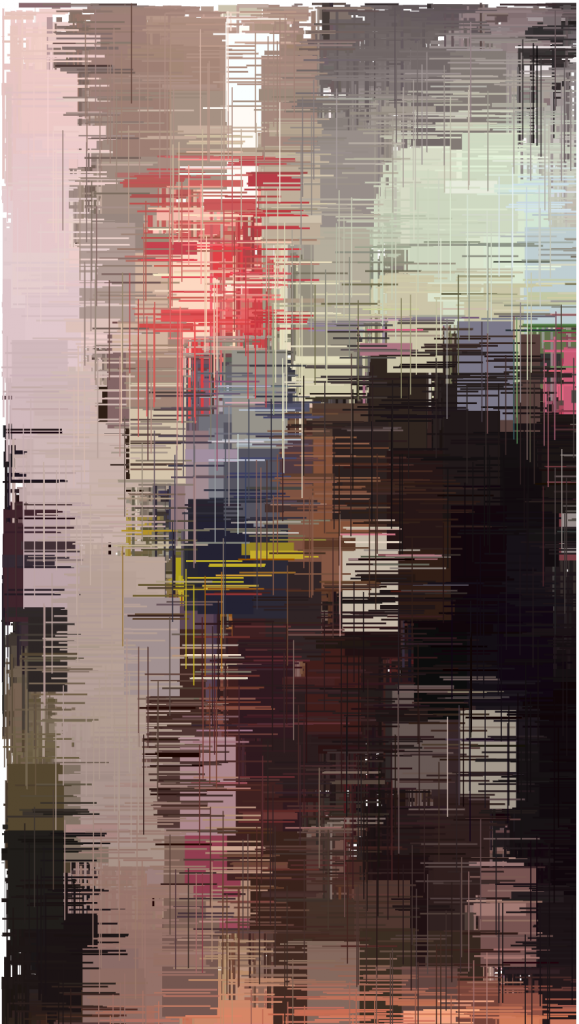
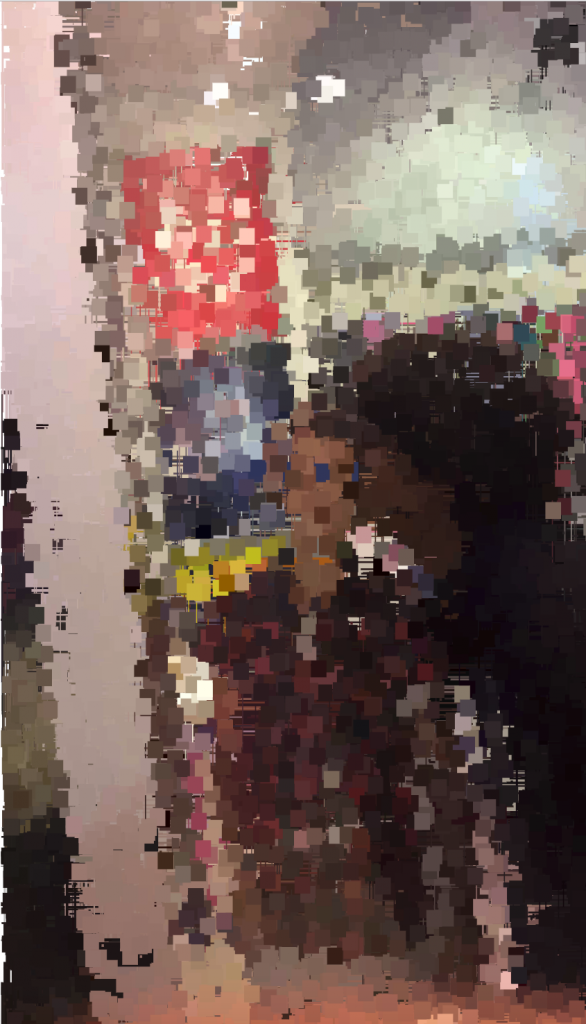
I tried to get the picture to generate on the faster side, though this was about as fast as I could make it, because even if I made the frame rate 2000 it didn’t appear to be faster than 50.

sketch

/*
* Rachel Griswold
* rgriswol@andrew.cmu.edu
* Section B
* Project 08
*
*/

var underlyingImage;

function preload() {
    var cem = "http://i.imgur.com/yOjwaHP.jpg";
    underlyingImage = loadImage(cem);
}

function setup() {
    createCanvas(422, 750);
    background(255);
    underlyingImage.loadPixels();
    frameRate(50);
}

function draw() {
    var px = random(width);
    var py = random(height);

    var ix = constrain(floor(px), 0, width-1);
    var iy = constrain(floor(py), 0, height-1);
    var colorXY = underlyingImage.get(ix, iy);

    noStroke();
    fill(colorXY);
    rect(px, py, mouseX/10, mouseY/10);
}

Owen Fox Looking Outwards 9

In this post I’ll be looking at this Gerhard Richter painting, entitled 4900 colors, from this Looking Outwards post. in the original post, the author pointed out that even though every color in this piece was chosen at random, the painting still seems to evoke something. I agree, and I think that the way people can find patterns in things that are totally random is really interesting. In this painting in particular, the white squares look like the outline of some sort of object to me, and I think that by curating random elements so that some of them contrast in neat ways with eachother, artists can create very evocative works of art through random processes.

I also think it’s interesting that this piece, with each square painted at random, is indistinguishable from paintings where the artist chose colors deliberately. This kind of serialized art could potentially be made without an artist at all, and that’s cool to see in a very ego-driven medium.

Richter’s work can be found here.

Owen Fox project 9

customportrait

//Owen Fox
//olf@andrew.cmu.edu
//Section C
//Project week 9

var face0;
var x = 0;
var y = 0;
var r1 = 128;
var r2 = 255;
var g1 = 0;
var g2 = 230;
var b1 = 0;
var b2 = 230;

function preload() {
    //loads image of roommate's face
    var img0url = "http://i.imgur.com/xoW2D1C.png";
    face0 = loadImage(img0url);

}


function setup() {
    createCanvas(410, 804);
    background(0);
    face0.loadPixels();

}

function draw() {

    customPixel(x,y,face0,r1,g1,b1,r2,g2,b2);

    x = x + 10;
    //resets x to 0 after each line
    if (x > width) {
    x = 0;
    y = y + 10;
    }
    //when the progression reaches the bottom of the page, restarts and chooses a new random color pallete
    if (y > height) {
    clear();
    background(0);
    x = 0;
    y = 0;
    r1 = random(0,100);
    g1 = random(0,100);
    b1 = random(0,100);
    r2 = random(101,255);
    g2 = random(101,255);
    b2 = random(101,255);
    }


}

function customPixel(px,py,img,redstart,redstop,greenstart,greenstop,bluestart,bluestop) {

    //based on example code
    this.px = px;
    this.py = py;

    //gets the color of a given pixel of the image, then creates variables for each rgb value
    var theColorAtLocationXY = img.get(px, py);
    var r = theColorAtLocationXY[0];
    var g = theColorAtLocationXY[1];
    var b = theColorAtLocationXY[2];

    //maps natural colors to a monochromatic color pallete, or any colors assigned to the function
    red = map(r,0,255,redstart,redstop);
    green = map(g,0,255,greenstart,greenstop);
    blue = map(b,0,255,bluestart,bluestop);

    //draws each circle
    noStroke();
    fill(red,green,blue);
    ellipse(px, py, 10, 10);

}

draws a series of colored circles based on a picture taken of my roommate. When the circle progression gets to the bottom the program restarts, this time with a new set of colors.


ex1

ShanWang-Project-09

sketch

//Shan Wang
//Section A
//shanw1@andrew.cmu.edu
//Project-09

var distribution = 360;
var disArray = [];

//load image
function preload(){
    var imgURL = "https://scontent.fphl2-2.fna.fbcdn.net/v/t1.0-9/10616240_357271987758524_8469922251060207807_n.jpg?oh=0a6b950bcacdcf0e10d694c50ead4472&oe=588F8977";
    underlyingImage = loadImage(imgURL);
}

function setup() {
    createCanvas(600, 700);
    background(0);
    //resize the image to fit canvas
    underlyingImage.resize(600,700);
    underlyingImage.loadPixels();
    frameRate(1000);
}

function drawSplash(x,y,color){
    push();
    translate(x,y);
    //create the splash at the given position
    for (var i = 0; i < disArray.length; i++) {
        rotate(TWO_PI/disArray.length);
        stroke(color);
        var dist = abs(disArray[i]);
        line(0, 0, dist, 0);
    }
    pop();

}

function draw() {
    var px = random(width);
    var py = random(height);
    var ix = constrain(floor(px), 0, width-1);
    var iy = constrain(floor(py), 0, height-1);
    var theColorAtLocationXY = underlyingImage.get(ix, iy);
    //reset the array to empty for every frame;
    disArray = [];
    //store in total 360 lines radiating from one center for splash;
    for (var i =0; i<distribution; i++){
        var size = random(2,4);
        disArray.push(floor(randomGaussian(0,size)));
    }
    drawSplash(ix, iy, theColorAtLocationXY);


}


function mouseDragged(){
    disArray = [];
    //store in total 360 lines radiating from one center for splash;
    for (var i =0; i<distribution; i++){
        var size = random(2,4);
        disArray.push(floor(randomGaussian(0,size)));
    }
    //get the color at the mouse position
    var theColorAtTheMouse = underlyingImage.get(floor(mouseX), floor(mouseY));
    //draw the splash
    drawSplash(mouseX,mouseY,theColorAtTheMouse);

}

I was exploring the how I can achieve a splashing effect for each point that the image renders. I use the randomGaussian command and tested out the relatively reasonable range. The overall aesthetic sensibility of this computational portrait kind of resembles the view that one will see through the car window when it’s rainy, and I found the result pretty interesting.

I also added the mouseDragged function just so user can see the image faster if they don’t want to wait for the automatic render.

screen-shot-2016-10-28-at-8-02-02-pm

render example


Simin Li – Project 9

screen-shot-2016-10-27-at-9-35-34-pmsiminl-project9inobjects

// Simin Li
// Section C
// siminl@andrew.cmu.edu
// Project 9 in objects
var d = 9;
//side length of each rhombus
var portrait;
//the image to be preloaded
var cubes = [];
//create array named cubes
var m = 0;
//index of the array cubes
var pointt = [];
//create an array to store coordinates not yet used 
var getIndex = 0;
//the index of the number of array[2]
for(var k = -45; k < 62; k++){
    for(var n = -45; n < 62; n++){  
        pointt.push([k,n]); 
    }
}
//create a 2D array called pointt and store arrays of length of 2 using a for loop in it
function preload(){
    portrait = loadImage("http://i.imgur.com/QPplgCrg.jpg");
    //load image
}
function setup() {
    createCanvas(600, 600);
    background(0);
    portrait.resize(610,610);
    //resize the original image to fit on a 800 by 800 canvas
    //when resized to 600 by 600 rgb values of border points are undefined
    //so it is resized to 610 by 610
    portrait.loadPixels();
    //load pixels
    frameRate(100);
    
}

function draw() {
 
    colorMode(RGB);
var gapY = d * sqrt(3) / 2;
//differnce of x values between two adjacent hexagon left corners
var gapX = d *  3 / 2;
//differnce of y values between two adjacent hexagon left corners     

IndexofCoordinate = floor(random(0,pointt.length));
//randomly select an array inside the array pointt 
var j = pointt[IndexofCoordinate][0];
//j is the first element of the selected array
//assign a random value to j so it draws in a random hexagon slot
var i = pointt[IndexofCoordinate][1];  
//i is the second element of the selected array
//assign a random value to i so it draws in a random hexagon slot  
var X = 18 + gapX * j;
var Y = gapY * j;

    cubeX = X + gapX * i;
    //x coordinates of hexagon
    cubeY = Y - gapY * i;
    //y coordinates of hexagon
    color1 = portrait.get(cubeX + d , cubeY + 3);
    //color of bottom left rhombus is determined by a pixel in that rhombus
    color2 = portrait.get(cubeX + d , cubeY - 3);
    //color of top left rhombus is determined by a pixel in that rhombus
    color3 = portrait.get(cubeX + d + 3, cubeY);
    //color of right rhombus is determined by a pixel in that rhombus
    cubes[m] = new Cube(cubeX,cubeY,color1,color2,color3);
    cubes[m].draw();
    m ++;
    pointt.splice(IndexofCoordinate, 1);
    //remove the coodinate that has already been used so it doesn't redraw in the same slot
    println(IndexofCoordinate);
}

function rhombus(x,y,angle){
//create function that draws rhombus at x,y
//rotate by angle
    var h = d * sqrt(3)/2;
    //height of rhombus
    push();
        translate(x, y);
        rotate(radians(angle));
        shearX(radians(30));
        //shifts a rectangle into a parallelogram by 30 degrees
        rect(0, 0, d, h);
    pop();
}
function Cube(x,y,color1,color2,color3){
//creates object that combines three rhombuses into a cube at x,y
//each filled by color1,color2,color3
    this.x = x;
    this.y = y;
    this.color1 = color1;
    this.color2 = color2;
    this.color3 = color3;

this.draw = function(){
	noStroke();
	fill(color1);
    rhombus(x,y,0);//draws bottom left rhombus
    
    fill(color2);
    rhombus(x,y,300);//draws top left rhombus
    push();
        translate(1.50 * d, d * sqrt(3)/2);
        fill(color3);
        rhombus(x,y,240);//draws right rhombus
    pop();
    }
}

  I wanted controlled randomness in my portrait because I don’t like overlapping geometric shapes so I decided to use my wallpaper project as a template and treated the tiles as “slots” I could fill in randomly. I wanted to practice my objects so in the end I organized my code using an object. After I finished, I realized that a lot of spots were being reused so it is takes a long time to fill in the last few slots. So with help, I decided to create a 2d array that stored all of the coordinates that have not been used yet. After I drew that cube I removed it from the array.

file_000

LookingOutwards-09-sehenry

The post that I thought had an interesting yet simple concept was found in Vtavarez‘s week 4 post. He wrote about how an artist made a graphical representation of a musical composition called He’s a Pirate. I listened to the soundtrack and it was the one from Pirates of the Caribbean. If you click on the link, then you can see that the The Wrong Way to Draw a Pirate is a animation of how the song comes to be. In the past LookingOutwards, I loved when we analyzed the relationship between sound and animation and this is just another example of how cool these things can be when they are illustrated clearly. The person who made this composition has made a series called The Wrong Way to Draw Music. On there, they have many different types of songs that are portrayed the same way as the Pirate song was. I do agree that the way that the song is drawn, could have been better. All the layers that were written before hand just get layered over by new sounds and pitches. However, I still think it was a really cool idea.

Sarita Chen – Looking Outwards – 09

This week, I decided to look at this post for my Looking Outward’s entry. There’s nothing I particularly disagree about in her post, as it relates to the Google Tilt Brush. Personally I think the Tilt Brush is impressive, and I like that there are multiplayer options so that you can use it with friends. I’ve noticed an increase in the amount of virtual reality software, and I guess it comes as no surprise that Google would hop on board with the trend. I myself am not too interested in virtual reality, but the idea itself is pretty creative and I admire the artistic capabilities. It was created in 2014, and is available on Steam and HTC Vive.

Here is a video with visuals of how the Tilt Brush works.

Here is a link to the website.

Project-09 Portrait

img_5712

This is the self-portrait image I used for this project. I had a lot of trouble with uploading the image, I tried to use Imgur but couldn’t get it to work properly, and so I tried to publish it on here instead. Below is the code and computed portrait, I modified it so that it would be created out of randomly placed triangles.

sketch

//Rebecca Enright
//Section A
//renright@andrew.cmu.edu
//Portrait assignment

var portrait;

function preload() {
    var myImage = "https://courses.ideate.cmu.edu/15-104/f2016/wp-content/uploads/2016/10/IMG_5712-225x300.jpg";
    portrait = loadImage(myImage);
}

function setup() {
    createCanvas(500, 500);
    background(0);
    portrait.loadPixels();
    frameRate(10);
}

function draw() {
    var px = random(width);
    var py = random(height);
    var ix = constrain(floor(px), 0, width-1);
    var iy = constrain(floor(py), 0, height-1);
    var theColorAtLocationXY = portrait.get(ix, iy);

    noStroke();
    fill(theColorAtLocationXY);
    triangle(px + 10, py + 10, px, py, px - 10, py - 10);

}

Project 09 – Computational Portrait – sehenry

For this project I wanted to use a photo that looked really clear and artistic. So as I was scrolling through photos on my phone, I found a photo that my girlfriend took of herself and edited. I thought that the green background of the building would look really good split apart by many pixels. As I looked at the example on the deliverable page, I wanted to include a different shape and background to present itself as the picture comes together. So I decided to use small triangles while allowing the user to use their mouse to drag even smaller circles to reveal more detail in the face or clothing.

I enjoyed this project.

rachelhairflip

screen-shot-2016-10-27-at-5-23-29-pm

screen-shot-2016-10-27-at-5-27-25-pm

screen-shot-2016-10-27-at-5-34-36-pm

sketch

//Seth Henry

//Tuesdays at 10:30

//sehenry@andrew.cmu.edu

//Project 09 Computational Portrait 

//Global Variable 

var rachelImg;

function preload() {
    var rachelUrl = "http://i.imgur.com/z5nysOD.jpg" //Upload Picture
    rachelImg = loadImage(rachelUrl);
}

function setup() {
    createCanvas(600, 500);
    background(255); //white background
    rachelImg.loadPixels(); //Grab pixels
    frameRate(1500);//Pixels Appear Fast
}

function draw() {
  
    var rW = random(width); //Random x Loc
    var rH = random(height); //Random y Loc
    var posX = constrain(floor(rW), 0, width-25); //Will not appear past boundaries
    var posY = constrain(floor(rH), 0, height-25);
    var rachelColor = rachelImg.get(posX,posY) //Retrieve color pixels of image
    noStroke();
    fill(rachelColor);
    rectMode(CENTER)
    triangle(rW,rH, rW+4,rH-4, rW+8,rH); //draw triangles


}
function mouseDragged(){
    var rachelColor = rachelImg.get(mouseX,mouseY) //Retrieve color of pixel where mouse is
    noStroke();
    fill(rachelColor);
    ellipse(mouseX,mouseY,1,1) //Drags smaller, more defined pixels in shape of circle
}