jdperez Project 9

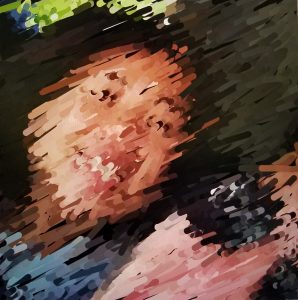
This project was SO MUCH FUN. I had way too many ideas for just this week, so after I finish this post I’ll probably go back to making portraits.

At first I had only abstract concepts to work towards. Like gravity was definitely something I wanted to play around with. Unfortunately, I ran into issues with how ridiculously long it took to load the program every time I ran it…. there was no way I was going to be able to make anything that complicated. I was worried that I might not even finish the project! (every time I loaded the image it took on average 7 minutes to load. That’s like 8 an hour).

So, a good portion of my work on this project was figuring out how to make it run faster. After reading around on the reference page, I figured out if I used loadPixels, I could directly access the pixels[] array, and thus get the pixels information way faster. And.. hurray the code runs almost instantly!

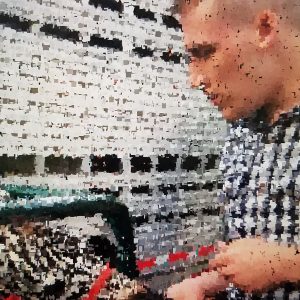
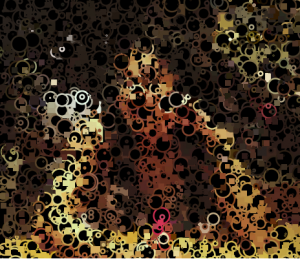
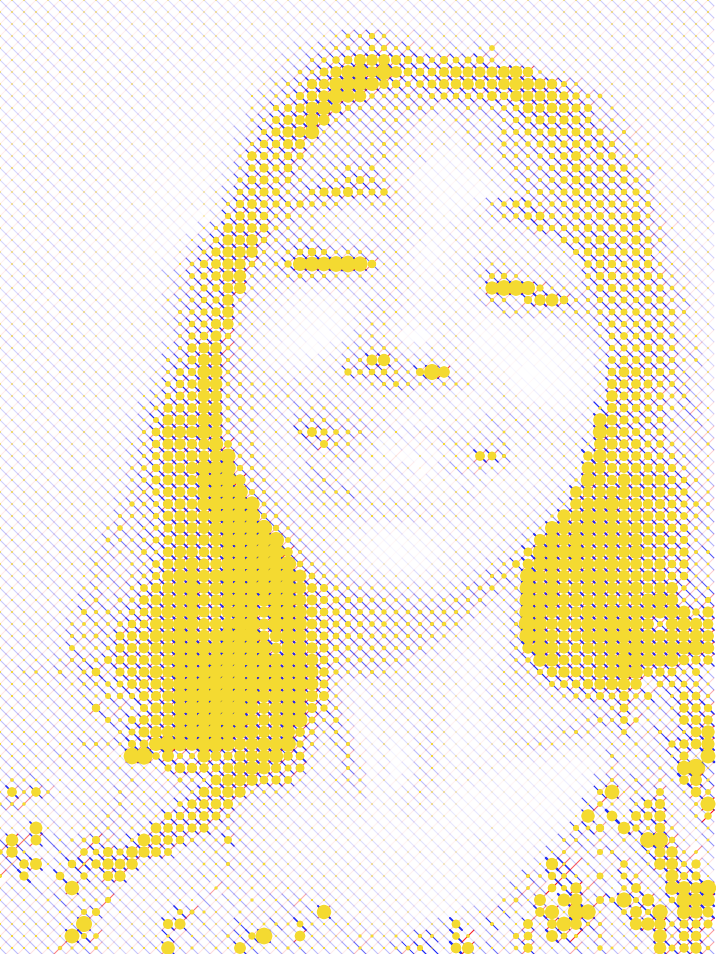
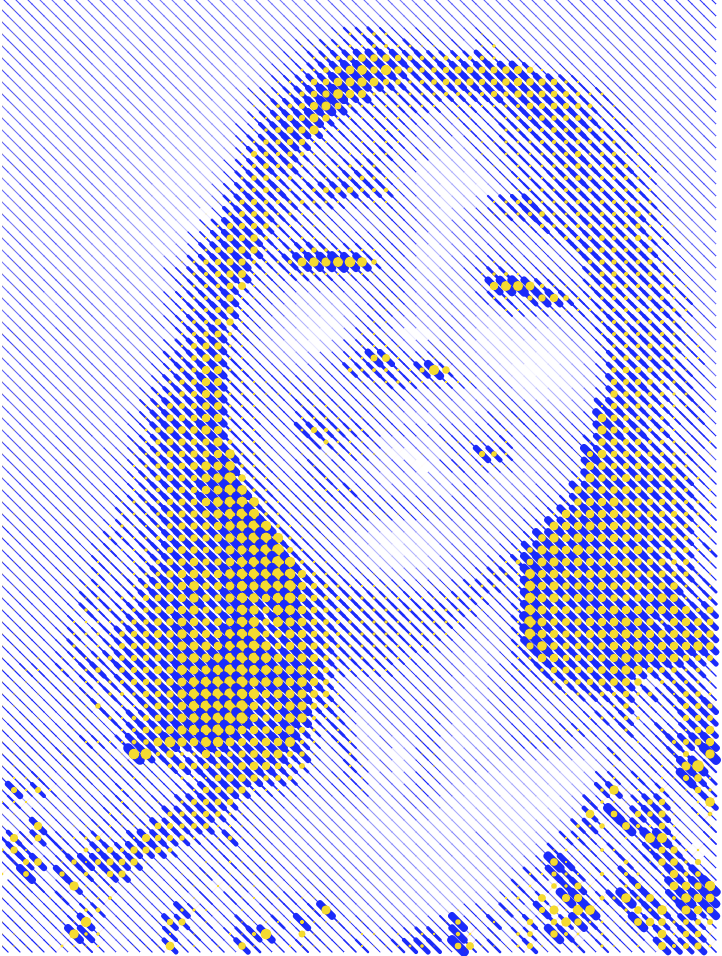
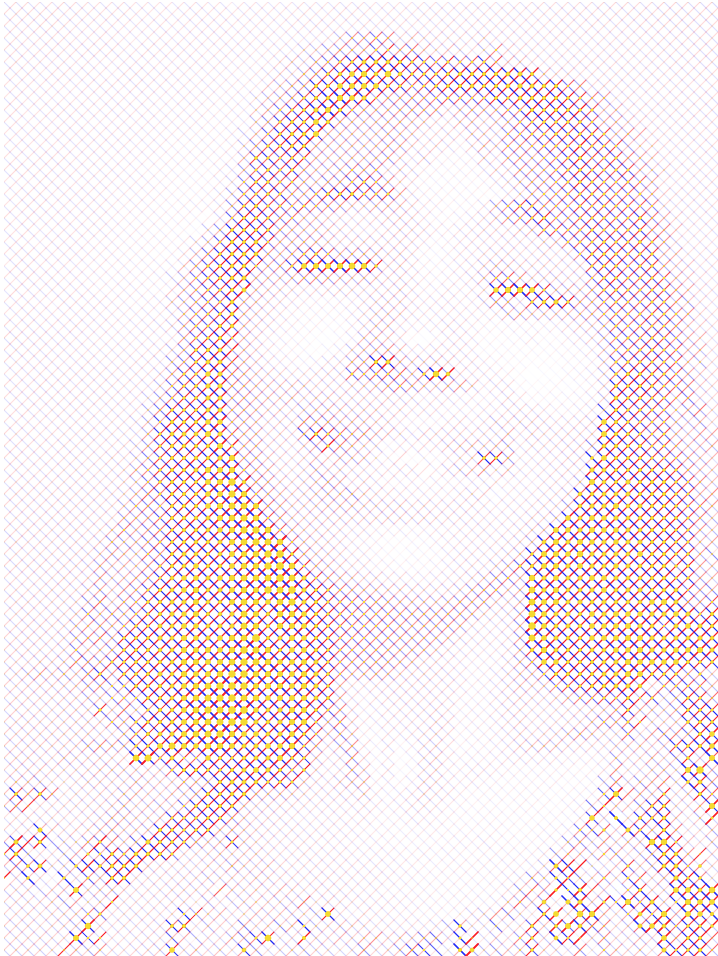
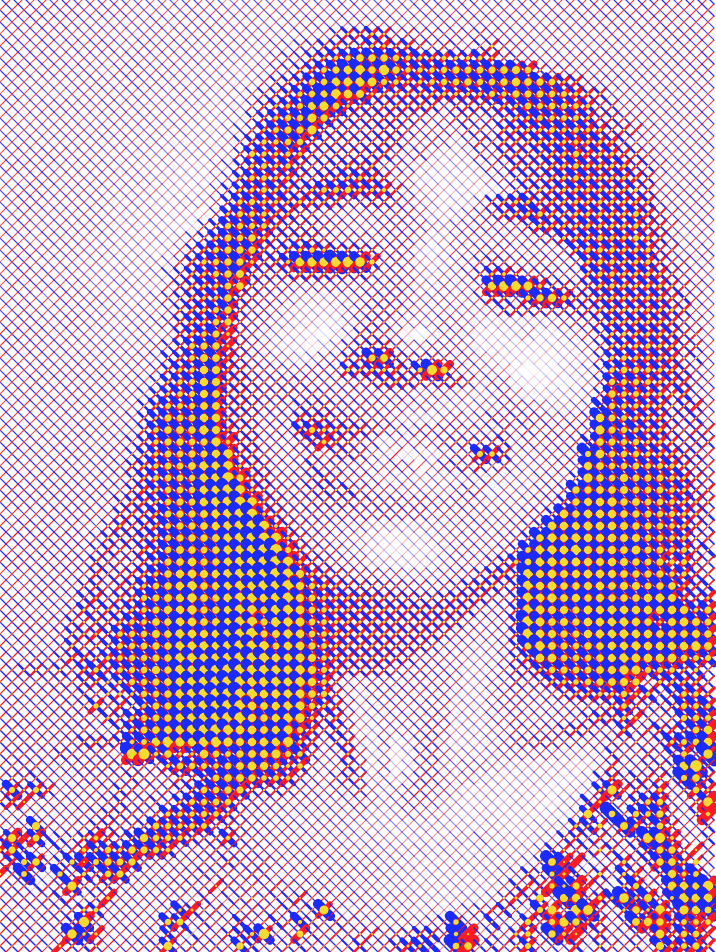
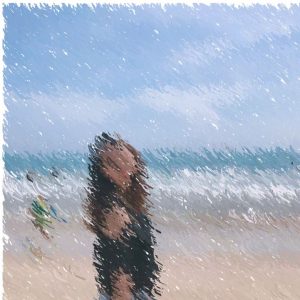
I had a couple hours left, so I didn’t have room to be QUITE as ambitious as I wanted to be for this project (I was honestly going to turn in like 5 different codes as variations on a theme). Nonetheless, I think it turned out pretty well. I wanted to get a sort of old video game aesthetic going, so first I coded that up.


First step in the process. transforming the image into these block-ey pixels and getting the contrast right.

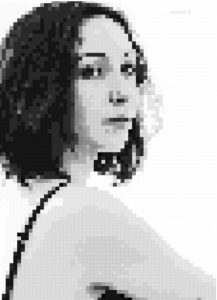
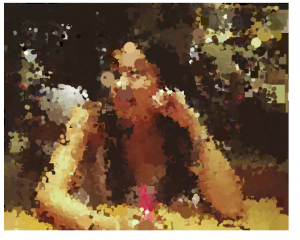
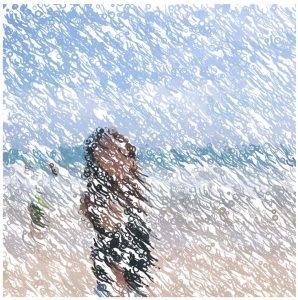
I played around with the size of the squares used to create the image, and the contrast between the darker parts (like the hair and lips) and the lighter parts (skin), but ultimately settled on the image above. Next, I (accidentally) made the stroke() color on the square pixels 10 below the fill color. This gave the image a more tile-esque look to it — closer to that old video game vibe I was going for. I decided to play around with that (intentionally this time), and settled on a white stroke. The reason being, is I wanted to print out the image on a huge poster, and have the affect of a bunch of separated squares, instead of a filled canvas.

Second step in the process. I was playing around with adding a border around the block pixels, and decided I liked the white border.

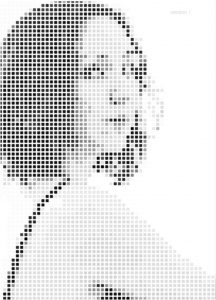
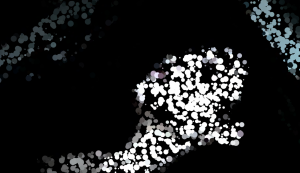
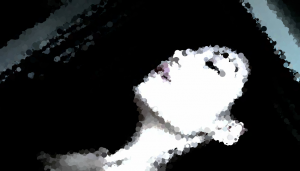
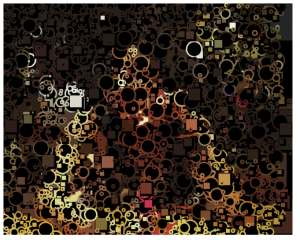
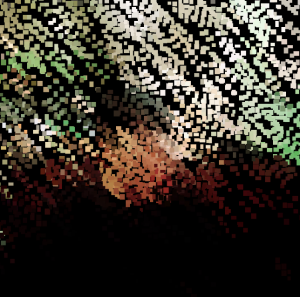
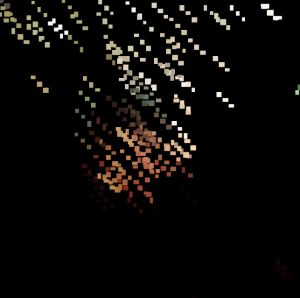
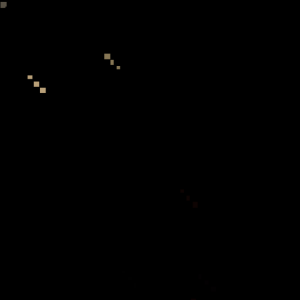
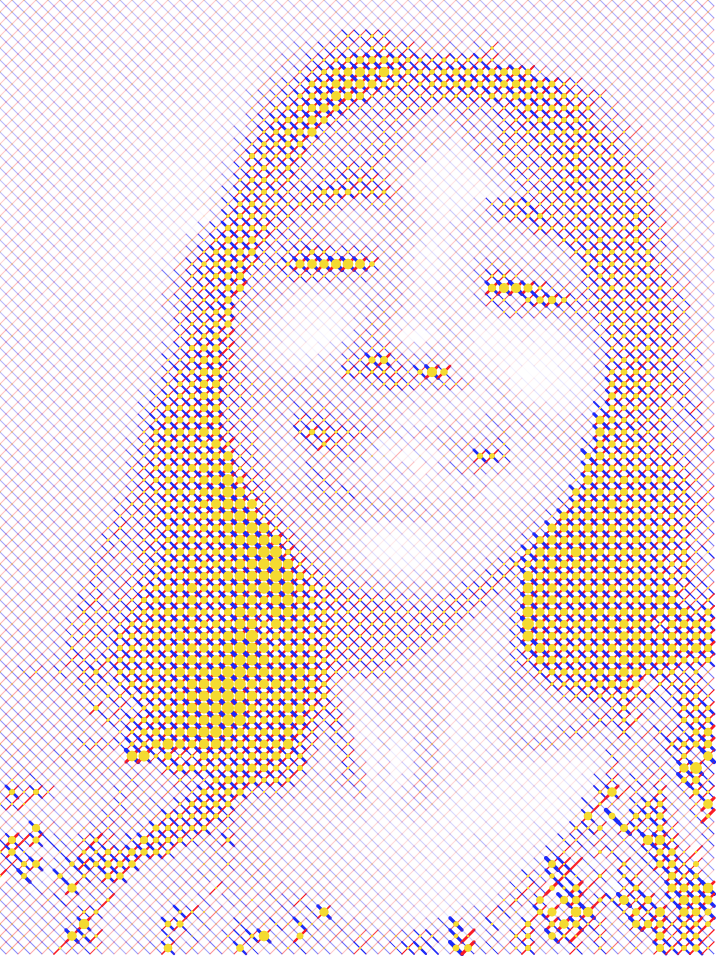
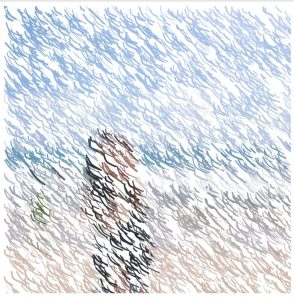
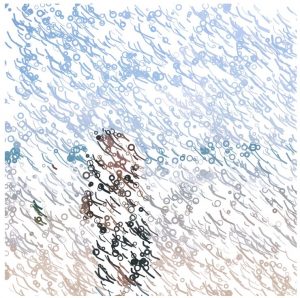
At this point, I felt like the portrait was pretty good, but I wanted to do something a little bit more. Also, I just wanted to do something with code that is a bit out of my comfort zone… so I implemented objects into the portrait. I made each “tile” start at the bottom of the canvas, and slide upwards at varying speeds until it reached its correct location on the canvas.

I particularly like the effect that occurs around the bottom of the hair, as the dark pixels are sliding under the lighter pixels that have already reached their destination.

Click the in the image below if you want to see the program run again!

sketch

//Jonathan Perez
//Section B
//jdperez@andrew.cmu.edu
//Project 9

var img;
var rectSize = 9 //size of square pixels
var margin = 1 //gap between square pixels


function preload() {
    img = loadImage("https://i.imgur.com/DjcKS6b.jpg");
}

function myTile(x, y, finalY, dy, color) {
    this.x = x
    this.y = y
    this.finalY = finalY
    this.dy = dy
    this.color = color
    this.draw = function() {
        rectMode(CENTER);
        stroke(255);
        strokeWeight(margin+1) // creates a white border around the tiles for visual emphasis and irregularity
        rect(this.x, this.y, rectSize, rectSize);
    };

    this.move = function() {
        if(this.y > this.finalY) {
            this.y = this.y - this.dy; //move the tile upwards
        }
        
    };
}

var myTile
var allTiles = [];

function setup() {
    createCanvas(img.width, img.height);
    background(200); 
    pixelDensity(1); //scales pixelDensity to image
    image(img, 0, 0)
    loadPixels(); //loads pixel array
    for(y = 0; y < img.height; y += rectSize+margin) { //scans through one row at a time from top to bottom
        for(x = 0; x < img.width; x += rectSize+margin) { //scans through all of the pixels in the row
            var d = pixelDensity();
            var off = (y * width + x) * d * 4; //location of the R value of x and y coordinate in pixel array
            var bright = pixels[off];
            
            if(bright  < 30) { //checks current pixels brightness against current brightest pixel
                allTiles.push(new myTile(x, height+(rectSize/2), y, random(2,4), 0));
            } else if(bright < 40 & bright >= 30) {
                allTiles.push(new myTile(x, height+(rectSize/2), y, random(2,4), 20));
            } else if(bright < 60 & bright >= 40) {
                allTiles.push(new myTile(x, height+(rectSize/2), y, random(2,4), 40));
            } else if(bright < 70 & bright >= 60) {
                allTiles.push(new myTile(x, height+(rectSize/2), y, random(2,4), 60));
            } else if(bright < 80 & bright >= 70) {
                allTiles.push(new myTile(x, height+(rectSize/2), y, random(2,4), 70));
            } else if(bright < 90 & bright >= 80) {
                allTiles.push(new myTile(x, height+(rectSize/2), y, random(2,4), 130));
            } else if(bright < 100 & bright >= 90) {
                allTiles.push(new myTile(x, height+(rectSize/2), y, random(2,4), 140));
            } else if(bright < 110 & bright >= 100) {
                allTiles.push(new myTile(x, height+(rectSize/2), y, random(2,4), 140));
            } else if(bright < 120 & bright >= 110) {
                allTiles.push(new myTile(x, height+(rectSize/2), y, random(2,4), 150));
            } else if(bright < 130 & bright >= 120) {
                allTiles.push(new myTile(x, height+(rectSize/2), y, random(2,4), 160));
            } else if(bright < 140 & bright >= 110) { //switch from lower bound to upper bound
                allTiles.push(new myTile(x, height+(rectSize/2), y, random(2,4), 175));
            } else if(bright < 170 & bright >= 140) {
                allTiles.push(new myTile(x, height+(rectSize/2), y, random(2,4), 210));
            } else if(bright < 200 & bright >= 170) {
                allTiles.push(new myTile(x, height+(rectSize/2), y, random(2,4), 220));
            } else if(bright < 220 & bright >= 200) {
                allTiles.push(new myTile(x, height+(rectSize/2), y, random(2,4), 230));
            } else if(bright < 240 & bright >= 220) {
                allTiles.push(new myTile(x, height+(rectSize/2), y, random(2,4), 250));
            } else if(bright < 260 & bright >= 240) {
                allTiles.push(new myTile(x, height+(rectSize/2), y, random(2,4), 255));
            }
            
        }
    }
    print(img.width, img.height)


}

function draw() {
    scale(.65);
    background(255);
    for(i = 0; i < allTiles.length; i++) {
        fill(allTiles[i].color);
        allTiles[i].draw();
        allTiles[i].move();
        
    }
}

function mouseClicked() {
    for(i = 0; i < allTiles.length; i++) {
        allTiles[i].y = height + rectSize/2
        
    }
}

Project 9, odh

odhP9

//Owen D Haft
//Section D
//odh@andrew.cmu.edu
//Project 9

var underlyingImage;
var pict;

function preload() {
    //Loads two different images:
    //Image 1
    var myImageURL = "https://i.imgur.com/AOEHv7s.jpg";
    //Image 2
    var myImageURL2 = "https://i.imgur.com/iGOj0Sd.jpg"; 
    underlyingImage = loadImage(myImageURL);
    underlyingImage2 = loadImage(myImageURL2);
}

function setup() {
    createCanvas(480, 480);
    background(0);
    underlyingImage.loadPixels();
    underlyingImage2.loadPixels();
    frameRate(60);
    pict = random(1,2);
}

function draw() {
    var px = random(width);
    var py = random(height);
    var ix = constrain(floor(px), 0, width-1);
    var iy = constrain(floor(py), 0, height-1);
    //"gets" the pixels color in each image
    var theColorAtLocationXY = underlyingImage.get(ix, iy);

    //Draws Randomly sized, randomly located rectangles reflecting the colors in image 1
    noStroke();
    fill(theColorAtLocationXY);
    rect(px, py, random(1, 10), random(1, 10));

    //Draws a line the follows the mouses location that reflects the colors in image 2
    var theColorAtTheMouse = underlyingImage2.get(mouseX, mouseY);
    stroke(theColorAtTheMouse);
    strokeWeight(10);
    line(pmouseX, pmouseY, mouseX, mouseY);
}

I chose to have different photos in my portrait, each revealed and shown in different ways. One image is revealed with random varying sized rectangles and the other with the mouse with ellipses. One appears cubist-like, and the other more expressionist.

Both shown finished:

monicah1-project-09-SectionA


sketch


var frames = []; // An array to store the images
var characterX;  // The X location of the character
var characterY;  // The Y location of the character
var targetX;     // The X goal, from the user's click
var targetY;     // The Y goal, from the user's click
var exampleImgOnly; 

 
//---------------------------------------
function preload(){
  
    // These URLs are for the individual walk cycle images,
    // stored in the imgur album http://imgur.com/a/85DTu
    var filenames = [];
    filenames[0] = "http://i.imgur.com/svA3cqA.png";
    filenames[1] = "http://i.imgur.com/jV3FsVQ.png";
    filenames[2] = "http://i.imgur.com/IgQDmRK.png";
    filenames[3] = "http://i.imgur.com/kmVGuo9.png";
    filenames[4] = "http://i.imgur.com/jcMNeGq.png";
    filenames[5] = "http://i.imgur.com/ttJGwkt.png";
    filenames[6] = "http://i.imgur.com/9tL5TRr.png";
    filenames[7] = "http://i.imgur.com/IYn7mIB.png";
  
  
    // LOAD THE IMAGES INTO THE frames ARRAY,
    // USING THE FILENAMES STORED IN THE filenames ARRAY.
    for (var i = 0; i < filenames.length; i++){
    	frames.push(loadImage(filenames[i]));
    } 
}
 
//---------------------------------------
function draw() {
    background(222);
  
    // MOVE THE CHARACTER TOWARDS THE TARGET.
    var dx = targetX - characterX;
    var dy = targetY - characterY;
    var distanceFromCharacterToTarget = sqrt(dx*dx + dy*dy);
  
  
    // DISPLAY THE CHARACTER, CYCLING THROUGH THE FRAMES.
    image(frames[frameCount%8], characterX, characterY);
    
    // FLIP THE IMAGE IF THE CHARACTER'S HEADING LEFT. 
    /*if(mouseX < targetX){
        image= scale(filesnames, -1,1);
    }
    image*/
    // Don't touch this:
    // Draw a spot at the target, colored based on the character's proximity. 
    drawTargetEllipse (distanceFromCharacterToTarget);
    characterX = lerp(characterX,targetX,0.1);
    characterY = lerp(characterY,targetY,0.1);
}
 
 
//=======================================================
// PROBABLY NO REASON TO CHANGE ANYTHING BELOW THIS LINE. 
function setup() {
    createCanvas(800, 480);
    imageMode(CENTER);
    frameRate(12);
  
    // Initialize the character and target positions. 
    characterX = width / 2; 
    characterY = height / 2; 
    targetX = characterX;
    targetY = characterY;
}
 
//---------------------------------------
function drawTargetEllipse(distanceFromCharacterToTarget){
    if (distanceFromCharacterToTarget < 80){
        fill(0,200,0, 40); // Green if we're nearby
    } else {
        fill(255,0,0, 40); // Red if we're far away
    }
    noStroke();
    ellipse(targetX, targetY, 160,160); 
}
 
//---------------------------------------
function mousePressed() {
    targetX = mouseX;
    targetY = mouseY;
}

This is a portrait of my grand-grand-father. The effect of slowly revealing  pixels of the portrait brings in the sense of history and senses. I almost want the picture to become three dimensional and see my grand-grand-father in reality.

gyueunp – Project-09: Computational Portrait

computational portrait (custom pixel)

//GyuEun Park
//gyueunp@andrew.cmu.edu
////15-104 E
//Project-09

var image;

//load image using an imgur url
function preload() {
    var myImageURL = "https://i.imgur.com/epczjju.jpg";
    image = loadImage(myImageURL);
}

function setup() {
    createCanvas(480, 274);
    background(0);
    image.loadPixels();
    frameRate(2000);
}

function draw() {
//set colors and positions for ellipses to create the image 
    var px = random(width);
    var py = random(height);
    var ps = random(0.5,10);
    var ix = constrain(floor(px), 0, width-1);
    var iy = constrain(floor(py), 0, height-1);
    var theColorAtLocationXY = image.get(ix, iy);

    noStroke();
    fill(theColorAtLocationXY);
    ellipse(px, py, ps, ps);
}

This project resembles pointillist artworks in that the dots of color gather to form an image. In this case, I chose to use a photo of myself. I love how oddly unsettling the dots are as they grow into my body. The auditory element also adds on to the disturbing nature of the work.


hannahk2-Project-09

sketch

//Hannah Kim
//Section A
//hannahk2@andrew.cmu.edu
//Project-09

var img;
var small, big;

function preload() {
  var myImageURL = "https://i.imgur.com/7sW6Was.jpg";
	img = loadImage(myImageURL);
}

function setup() {
  createCanvas(500, 400);
  small = 4;
  big = 30;
  imageMode(CENTER);
  noStroke();
  background(0);
  img.loadPixels();
}

function draw() {
  var pointCircle = map(mouseX, 0, 250, small, big);
  var pointSquare = map(mouseX, 250, width, small, big);
  var x = floor(random(img.width));
  var y = floor(random(img.height));
  var pix = img.get(x, y);
  fill(pix, 100);
  if(mouseX<240){
  ellipse(x, y, pointCircle, pointCircle);
  fill(0);
  ellipse(x, y, pointCircle-5, pointCircle-5);

  } else {
  fill(pix, 100);
  rect(x, y, pointSquare, pointSquare);
  }

}


There were a few versions I messed around with before coming to my final version. I chose to create a portrait of my sister.

Below is an image of the final result which I felt was the most visually interesting.


Below are my other iterations.

The first one on the bottom was personally my favorite, however I felt it wasnt as interesting as the image above.

mjeong1-Project-09-Portrait

sketch

//Min Young Jeong
//mjeong1@andrew.cmu.edu
//Section A
//Project-09

var underlyingImage;

function preload() {
    var myImageURL = "https://i.imgur.com/sDyW7gl.jpg";
    underlyingImage = loadImage(myImageURL);
}

function setup() {
    createCanvas(500, 500);
    background(0);
    underlyingImage.loadPixels();
    frameRate(10);
}

function draw() {
    var px = mouseX;
    var py = mouseY;
    var ix = constrain(floor(px), 0, width-1);
    var iy = constrain(floor(py), 0, height-1);
    var theColorAtLocationXY = underlyingImage.get(ix, iy);

    noStroke();
    fill(theColorAtLocationXY);
    rect(px,py,random(5,10),random(5,10));
    rect(px+10,py+10,random(5,10),random(5,10));
    rect(px-10,py-10,random(5,10),random(5,10));
}

For this project I created a pixelated portrait that the user can control. Each set of rectangles are created on the position of mouse X and mouse Y. The viewer can control the number of rectangles and the position of rectangles that are drawn.

haewanp – Project 09 – Computational Portrait

Computational Portrait

var img;
var x;
var y;
var blue_range;
var red_range;
var yellow_range;

function preload() {
    img = loadImage("https://i.imgur.com/boCvJXd.jpg");
}

function setup() {
    createCanvas(360, 480);
    img.loadPixels();
    noFill();
    yellow_range = 7; //initial value;
}

function draw() {
    background(255);
    blue_range = map(mouseX, 0, width, 0, 8);
    red_range = map(mouseY, 0, height, 0, 10);
    
    for (y = 0; y < height; y+=6) {
        for (x = 0; x < width; x+=6) {
            var i = y * width + x;
            //color
            var redness = (255 - img.pixels[i*4]) / 255;
            var yellowness = (255 - img.pixels[(i+1)*4]) / 255;// I just decide to represent green value among RGB as yellow color
            var blueness = (255 - img.pixels[(i+2)*4]) / 255;
            
            //blue diagonal line
            stroke(20, 20, 255);
            strokeWeight(blueness * blue_range);
            line(x - 3, y - 3, x + 3, y + 3);
            //red diagonal line
            stroke(255, 20, 20);
            strokeWeight(redness * red_range);
            line(x + 3, y - 3, x - 3, y + 3);
            //yellow ellipse
            noStroke();
            fill(245, 220, 0);
            ellipse(x, y, yellowness * yellow_range, yellowness * yellow_range);

        }
    }
}

function mousePressed() {
    yellow_range = random(1, 12); //yellow range changes when you press mouse
}


In this project, I learned that there are many ways to depict pixels. I represent this portrait with dividing each R, G, B value (Later, I represent green value with yellow color). Based on each R, G, B value, size and stroke weight are determined. Also, this can be played around with the mouse behaviors. There are several variations based on mouse behavior below.

Project 09 – Yugyeong Lee

sketch

//Yugyeong Lee
//Section B
//yugyeonl@andrew.cmu.edu
//Project 09

var imgYugy;

function preload() {
    var yugyURL = "https://i.imgur.com/Ghau5tT.jpg"; 
    //load image using the URL
    imgYugy = loadImage(yugyURL);
}

function setup() {
    createCanvas(480, 480);
    background(255);

    imgYugy.loadPixels();
    //how fast curves get drawn on canvas
    frameRate(750);
}
 
function draw() {
    //calling created functions
    circleYugy();
    curveYugy();
}

//circular pixels following position of mouse
function circleYugy() {
    var startX = mouseX;
    var startY = mouseY;
    var limitX = constrain(floor(startX), 0, width - 1);
    var limitY = constrain(floor(startY), 0, height - 1);
    var color = imgYugy.get(limitX, limitY);
    var diam = random(3, 10);

    noFill();
    stroke(color);
    ellipse(startX, startY, diam, diam);
}

//diagonal lines at random
function curveYugy() {
    var startX = random(0, width);
    var startY = random(0, height);
    var limitX = constrain(floor(startX), 0, width-1);
    var limitY = constrain(floor(startY), 0, height-1);
    var color = imgYugy.get(limitX, limitY);
    var diagonalLength = random(5, 25);
    var thickness = random(.5, 3);
    var curveScale = random(.1, .6)

    stroke(color);
    strokeWeight(thickness);
    noFill();
    beginShape();
    curveVertex(startX, startY);
    curveVertex(startX, startY);
    curveVertex(startX+curveScale*diagonalLength, startY+.6*diagonalLength);
    curveVertex(startX+diagonalLength, startY+diagonalLength);
    curveVertex(startX+diagonalLength, startY+diagonalLength);
    endShape();
}

There are two ways the portrait gets drawn onto the canvas: through random curves following the FrameRate and circular lines that follow the position of the mouse while capturing pixel color of each location. I wanted to create a paint-brushed effect as the end product while incorporating another geometry to disturb what could be a smooth surface. Bellow are the screenshots of the stages with just the curves and with circular curves.

           original picture                first stage (just curves)               second stage

   first stage (with circles)                 second stage                            third stage

Project-09 Portrait in Jasper

This is Jasper.

sketch

//Ty Van de Zande
//ctv@andrew.cmu.edu
//Section B
//Project-09

//sorry for not commenting

var underlyingImage;
var dir = 1;

function preload() {
    var myImageURL = "https://i.imgur.com/xIecQsR.jpg";
    underlyingImage = loadImage(myImageURL);
}

function setup() {
    createCanvas(420, 420);
    background(0);
    underlyingImage.loadPixels();
    frameRate(60);
}

function draw() {
    var r = random(90);
    var r2 = random(3, 20);
    
    if(r <= 1){
    underlyingImage.loadPixels();
    var stepSize = round(constrain(mouseX / 8, 6, 32));
    for (var y=0; y<height; y+=stepSize) {
    for (var x=0; x<width; x+=stepSize) {
      var i = y * width + x;
      var darkness = (255 - underlyingImage.pixels[i*4]) / 255;
      var radius = stepSize * darkness;
      ellipse(x, y, r2, r2);
    }
  }
    }
    
    var px = random(width);
    var py = random(height);
    var ix = constrain(floor(px), 0, width-1);
    var iy = constrain(floor(py), 0, height-1);
    var theColorAtLocationXY = underlyingImage.get(ix, iy);
    var sz = random(0, 30);
    

    noStroke();
    fill(theColorAtLocationXY);
    ellipse(px, py, sz, sz);
}

function mousePressed(){
    dir = dir *(-1);
}