aerubin-LookingOutwards-09-Section-C

Anna Boyle wrote about the Flow Machines Project for her Week 4 Looking Outwards post. This project was designed to have a computer program compose music in the style of a specific composer. The video Anna provided was a computer composed piece in the style of the Beatles. She writes about the mathematical algorithms utilized to create sequences that then are combined to create a piece.

Although the melodies are composed utilizing this algorithm, there are still aspects of the piece that are created with help from human intelligence. The harmonization is all done by people as chord progressions that make musical sense are difficult to accomplish because the melodic line effects the sound of the chordal progression. In addition, the words were composed by humans as the syllables of the words must match the music and make cohesive sense. So although the melodic line is computer generated, many other aspects of the piece are still composed by humans.

Link to Anna’s Blog Post

ablackbu-Project-09-Computational Portrait

Press mouse!!!

sketch

var micah;
var diam = 6;

function preload() {
    //load image
    var image = "https://i.imgur.com/XqeXMOd.png";
    micah = loadImage(image);
}

function setup() {
    createCanvas(300, 300);
    background(0);
    textSize(8);
    textAlign(CENTER);
}

function draw() {
    for(var x = 0; x < width; x+=6){
        for(var y = 0; y < height; y+=6){
            //get pixle color
            var pix = micah.get(x,y);
            strokeWeight(0);
            fill(pix);
            //draw dollar signs collored to var micah
            text("$",x,y);
        }   
    }
}

function mousePressed() {
        //if mouse is pressed, change text size and flash dollar signs
        fill(255);
        textSize(100);
        for(i = 0; i < 5; i++){
            for(j = 0; j < 5; j++){
                text("$",i*80,j*80);  
            }
        }
}

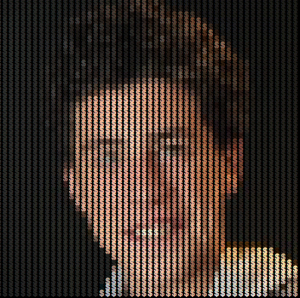
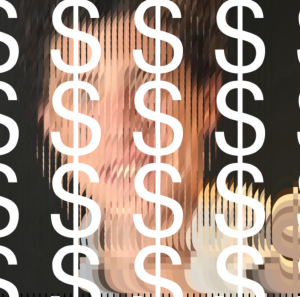
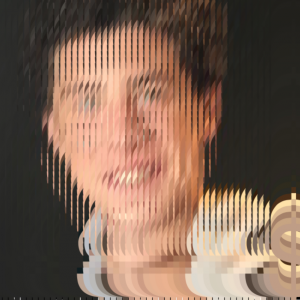
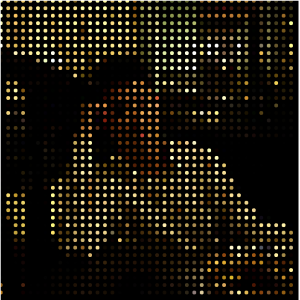
For this project I chose my little brother as the subject. Our family always makes jokes about how much money he spends on clothes so I wanted to create him out of dollar signs. When a key is pressed, a frame flashes and the signs grow so make a more interesting portrait. I decided to steer away from all the examples where dots filled in the image and do something a little different more artistic, and a little more interesting. I feel like I am finally getting a hang of image preloading and the get() function. Hope you enjoy.

abradbur – Looking Outwards- 09

beyond the edge

A post shared by agatha (@eggbadger) on

alchan-Looking Outwards 05

I chose this post by alchan(andrew ID leaves their true name a mystery), because I really enjoyed the style of artwork she chose to write about. I’m a big fan of low poly, soft colored, images and animations and works of art, and “Crystal Shore” (February 21, 2017) by Agatha Yu was especially soothing for me to look at. Usually video games are criticized or made fun of for low poly graphics, but in reality this style makes for some very intriguing art pieces and graceful animations. I would agree with alchan in that low poly lends itself to create entirely new art styles instead of video game or true to life graphics. Said simply, low poly images like this one and all others by Agatha Yu have a bouncy, fun, simplicity to them, while also remaining strikingly elegant.

Here is Agatha Yu’s Instagram.

Here is Crystal Shore.

ashleyc1-SectionC-Project-09-Portrait

sketch

//Ashley Chan
//Section C
//ashleyc1@andrew.cmu.edu
// Project-09-Portrait

var portrait;

var particles = []; 


function preload () {
    var portraitURL = "https://i.imgur.com/ZaGPL9g.jpg?7";
    portrait = loadImage(portraitURL);

}


function setup() {
   createCanvas(230, 300);
    frameRate(10);

    //draw a cloud of particles that will draw face
    for (var i = 0; i < 200; i++) {

        //drawing a bunch of new particles and having them start at random origins
        particles[i] = new Particle(random(width), random(height));

    }

    background(210);

}

function draw() {
    //image(portrait, 0, 0);
   portrait.loadPixels();

       //draw a bunch of pixels
       for (var i = 0; i < particles.length; i++) {
            particles[i].update();
            particles[i].show();
        }
}


//define the pixel particles
function Particle(x, y) {

    //controls positions
    this.x = x;
    this.y = y;
    //controls sizes of ellipses
    this.r = random(1, 10);

    //new pixel particles drawn in random directions within 5 pixel radius
    this.update = function() {
        this.x += random(-5, 5);
        this.y += random(-5, 5);
    }

    //physical appearence of pixel particles and associated constraints
    this.show = function() {
        //setting parameters to draw using color of pixels in image
        var ix = constrain(floor(this.x), 0, width-1);
        var iy = constrain(floor(this.y), 0, height-1);
        var col = portrait.get(ix, iy);

        //getting the pixel particle to draw using color of pixels in image
        noStroke();
        fill(col[0], col[1], col[2]);
        rect(this.x, this.y, this.r, this.r);

        //sets default forces to pixel particles to mimic brush strokes 
        //rather than random pointalism
        var pxv = random(-1, 1); //velocity of x
        var pyv = random(-1, 1); //velocity of y
        var drag = 1; //force that pushes in opposite direction of velocity

        //applies forces
        this.x += pxv;
        this.y += pyv;

         pxv -= pxv * pxv * drag;
         pyv -= pyv * pyv * drag;

        //if pixel particles exceeds canvas height, reset to origin
        if (this.y > height) {

            this.x = 0;
            this.y = 0;

            }
        }
    }

For this project I was really inspired by Dan Shiffman’s Painting with Pixels video where you can recapture videos by using a painterly effect to replicate the image. To make it my own creation, I applied what we learned in lecture about forces to manipulate the pixels to “paint” with specific directions, sizes and motions.

Here are some process shots:

project-09-portrait

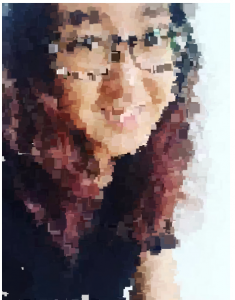
For this assignment I chose to use a colorful picture of a high school friend.

Initially, I wanted the interaction to be like painting on a canvas; as the mouse drags, part of the image appears. However, I felt that given the small size of the squares that appear while “painting”, it would take too long to paint the entire image. Therefore, I added random squares that would simultaneously appear as mouse drags and paints.

At first, I also randomized the size of the squares, however the random larger squares were too large and not detailed enough to create the image.

Then, I changed the size of the dots to be consistently small and decided to add two more lines of squares that would appear to the upper right and lower left of the mouse as it dragged. I also sped up the appearance of the random dots.

sketch

var photo;

function preload(){
    var URL = "https://i.imgur.com/wxV6HZw.jpg"; //image URL
    photo = loadImage(URL); //loaded image into variable
}

function setup(){
    createCanvas(314, 480);
    background(255); //black background
    frameRate(500); //sped up the frame rate
}

var rSize = 3;

function draw(){
	noStroke(); //no outline
	fill(photo.get(mouseX, mouseY)); //fill of square is color of background photo
	var locX = random(0, width); //random x coordinate
	var locY = random(0, height); //random y coordinate
	rect(locX, locY, rSize, rSize); //draw square
}

function mousePressed(){
	fill(photo.get(mouseX, mouseY)); //fill of square is color of background photo
	rect(mouseX, mouseY, rSize, rSize); //square drawn when mouse is clicked
	fill(photo.get(mouseX - 50, mouseY + 50, mouseY)); //fill of square is color of background photo
	rect(mouseX - 50, mouseY + 50, rSize, rSize); //square drawn towards upper right 
	fill(photo.get(mouseX + 50, mouseY - 50)); //fill of square is color of background photo
	rect(mouseX + 50, mouseY - 50, rSize, rSize); //square drawn towards lower left
}

function mouseDragged(){
	fill(photo.get(mouseX, mouseY)); //fill of square is color of background photo
	rect(mouseX, mouseY, rSize, rSize); //squares drawn as mouse is dragged
	fill(photo.get(mouseX - 50, mouseY + 50)); //fill of square is color of background photo
	rect(mouseX - 50, mouseY + 50, rSize, rSize); //squares drawn towards upper right
	fill(photo.get(mouseX + 50, mouseY - 50)); //fill of square is color of background photo
	rect(mouseX + 50, mouseY - 50, rSize, rSize); //squares drawn towards lower left
}

afukuda-Project09

sketch

/* 
 * Name | Ai Fukuda 
 * Course Section | C 
 * Email | afukuda@andrew.cmu.edu
 * Project | 09
 */ 

var underlyingImage; 

function preload() {  // load image 
    var myImageURL = "https://i.imgur.com/HE5yzx9m.jpg";
    underlyingImage = loadImage(myImageURL);
}

function setup() {
    createCanvas(300, 300);
    background(0);
    underlyingImage.loadPixels(); // load pixel data of image 
    frameRate(15);
}

function makeCorner(x, y) {  // x-coordinate & y-coordinate 
    noStroke();
        for (var i=0; i<width; i+=6) {                      // horizontal lines of dots 
            var colorLocationH = underlyingImage.get(i, y); // gets color value of image at (i,y)

            noStroke();
            fill(colorLocationH);                           // fills circles with color of image at (i,y)
            ellipse(i, y, 2, 2);

                                                            // vertical lines of dots 
            var colorLocationV = underlyingImage.get(x, i); // gets color value of image at (x,i)

            noStroke();
            fill(colorLocationV);                           // fills circles with color of image at (x,i)
            ellipse(x, i, 4, 4);
        }
}

var timer = 0;

function draw() {             // draw at a defined time (0, 6, 12, etc.)
   makeCorner(timer, timer);
   timer += 6;
}


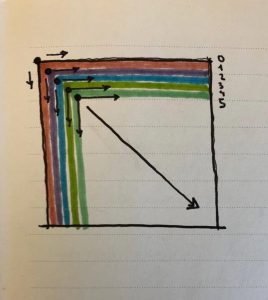
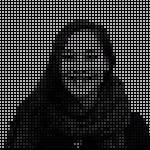
Using the sample code given for this project as a starting point, I wanted to create more directionality & structure in how the points aggregated to create the underlying portrait. Starting at the top-left corner of the canvas, I wanted the pixels to aggregate horizontally until the edge of the canvas, then vertically (see sketch). I ended up writing a code which does all the horizontal and vertical pixels in each row simultaneously, however, through the variance in point sizes I was able to make the aggregate of the pixels more engaging and interesting and am overall content with the result.


karinac-Project-09

karinac-Project-09

//Karina Chiu
//Section C
//karinac@andrew.cmu.edu
//Project-09

var portrait;
var x = 230;
var y = 0;


function preload() {
    var portraitURL = "https://s1.postimg.org/1qix3ahu5r/IMG_6211.jpg";
    portrait = loadImage(portraitURL);
}

function setup() {
    createCanvas(230, 300);
    background(229,203,170);
    portrait.loadPixels();
    frameRate(60);

}

function draw() {
    //finding color
    var px = x;
    var py = y;
    var ix = constrain(floor(px), 0, width);
    var iy = constrain(floor(py), 0, height);
    var colorOfPoint = portrait.get(ix, iy);

    //generates waterfall effect
    push();
    y += 2.5;
    noStroke();
    fill(colorOfPoint);
    rect(x, y, 2, 2);
    pop();

    if (y > height) {
        x -= 2.5;
        y = 0;
    }
}

This is a portrait of my friend, Amara. At first, I really wanted to code a waterfall effect into the picture, but I was unsuccessful. Still, I spent a lot of time of this project and learned a lot, and I am pleased with the results.

ziningy1 – section c – project 09

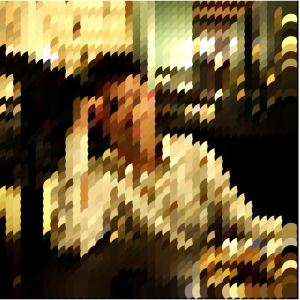
After being inspired by Professor Golan’s work, I decided to approach this project by laying a grid of circles on the picture. The grid using the nested for loop will create a sense of geometric order of the display. I also find it interesting that I can play with the visibility of the content by adjusting the size of the circles. So I added the Mouse Pressed so that when pressed the circle will become larger, which will gradually shows a clearer version of the picture.

*Please load my project in Safari browser, the chrome browser does not really load, thanks.

First look

After few clicks

After more clicks

sketch 

//Zining Ye 
//15104 lecture 1 recitation C
//ziningy1@andrew.cmu.edu 
//Project-08

var backimage;

var size1=1; 

function preload() { //preload the image 
    var ImageURL = "https://i.imgur.com/JuT5ojz.jpg"
    backimage = loadImage(ImageURL);
}

function setup() {
    createCanvas(400, 400);
    background(0);
    
    backimage.loadPixels(); //load the pixel of the images 


}

function draw() {

    var space1=10; //spacing of the balls 

    //creating a for loop the circle grids 
    for(var i=0;i < 50; i++){ 

        for(var j=0; j < 50; j++ ){

            
            var ex=i*space1;
            var ey=j*space1; 
            var space=10;
            var brightness = backimage.get(ex,ey) // gets the color from the back image 
            fill(brightness); //fill the color 
            noStroke(); 
            ellipse(ex,ey,size1,size1); // draw the circles 
            
        }
    }
    
}

function mousePressed(){

    size1+= 2 // when mouse pressed the circles become larger so that the image become clearer


}


ablackbu-Looking-Outwards-09

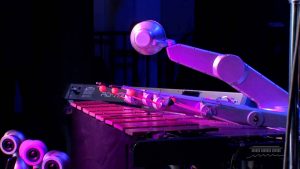
Georgia Tech’s Shimon robot writes and plays its own music using machine learning.

___________________________________

For this looking outwards post, I am getting inspiration from svitoora’s post on sept. 18:

svitoora – 04 Looking Outwards

___________________________________

As svitoora mentions in his post, this robot was given more than 5,000 songs and riffs and is able to, with these, compose its own music. What this robot does is so human like and the focus on the implications of this were stated in his reflection very thoroughly. The fact that you could walk into a room and hear this playing and think it is a human is crazy. Not only does it emit music, but it creates its own non-random but incredibly calculated notes. The most mesmerizing part of this project to me is that it takes from other music. Like a human, it takes cues from different genres and mixes them to make something with its “taste.”

___________________________________

http://www.wired.co.uk/article/ai-music-robot-shimon

Bettina-Project09-SectionC

sketch

// Bettina Chou
// yuchienc@andrew.cmu.edu
// Sectin C
// Project 9: Pixelated Image

var img;

function preload() {
    img = loadImage("https://i.imgur.com/H1lewvj.jpg");
}

function setup() {
    createCanvas(320,480);
    imageMode(CENTER);
    background(255);
    img.loadPixels();
}

function draw() {
      scale(.5,.5); //image is double size of canvas, just scaling down to fit
      var x = floor(random(img.width));
      var y = floor(random(img.height));
      var col = img.get(x, y); //retrives RGBA value from x,y coordinate in image
      //fill(col);
      var weight = 640/(brightness(col));
      stroke(col);
      strokeWeight(weight);
      strokeCap(SQUARE);
        //ellipse(x,y,30);
      line(x, y, x-25, y-25);
      }

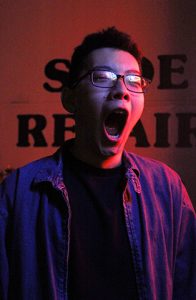
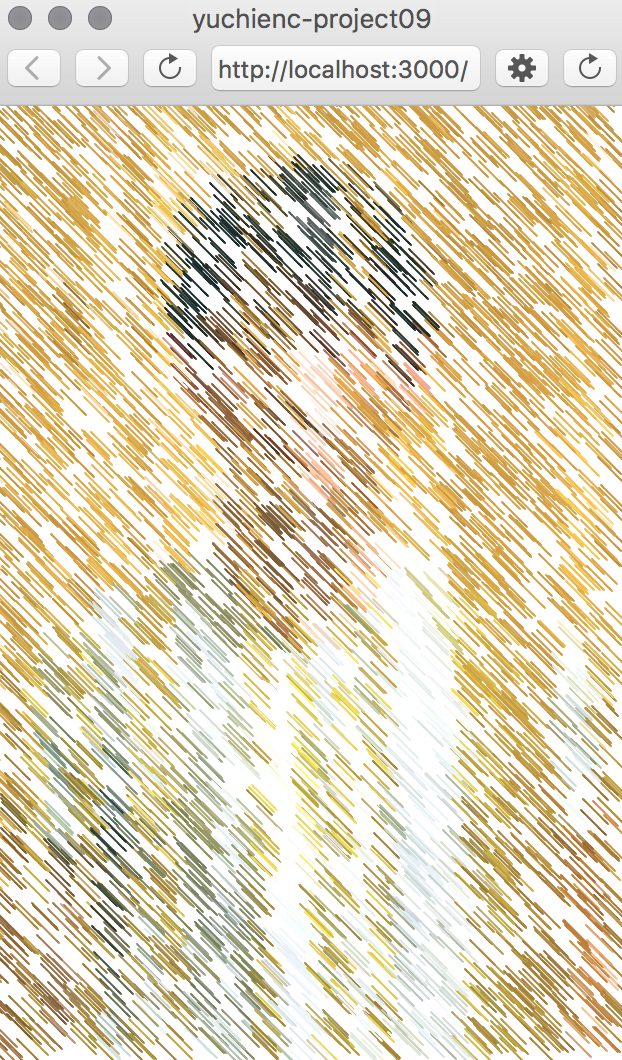
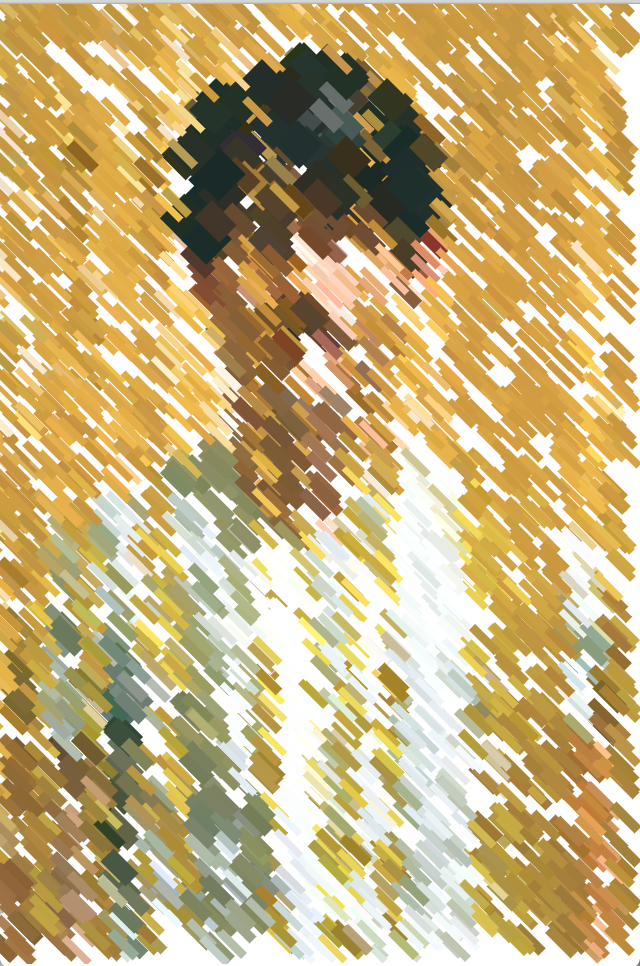
I wanted to build off the brightness indicators we learned last week with the eye-tracking project. In art, darker colors have more weight, so I made the thickness of the strokes depend on the darkness. I chose diagonal lines to mimic the motion in the original picture, in which my friend stands within the famous LACMA spaghetti installation. Initially, I tried drawing each line in order by calling each pixel by row and column. However, that method not only was inefficient (taking at least 10 seconds to compile) but the order felt rigid. Instead, I call each pixel randomly. Not only is it more efficient, but the audience can watch the image unfold and the randomness adds a sense of movement to the piece that honors the original photo.

Top: An early iteration. Below: Screenshot of what the final image may look like.