![[OLD FALL 2017] 15-104 • Introduction to Computing for Creative Practice](https://courses.ideate.cmu.edu/15-104/f2017/wp-content/uploads/2020/08/stop-banner.png)
var image;
var circleDiam = 15; //diameter of dots


function preload() {
    var URL = "https://i.imgur.com/tOU8IHH.jpg"; //locating image on web
    image = loadImage(URL);
}

function setup() {
    createCanvas(480, 480);
    background(255);
    image.loadPixels();
    frameRate(60); // 60 circles a second
}

function draw() {
	var x = random(width);
	var y = random(height);
	var pixelColor = image.get(x, y); //retrieve color value of pixel;
	noStroke();
	fill(pixelColor); //fill circle with color of pixel at x,y
	ellipse(x, y, circleDiam, circleDiam); //draw circles at random locations

	//buttons to make the circles smaller or larger
	fill(180, 244, 180); //green fill
	rect(10, 220, 50, 30); //"smaller" button
	rect(415, 220, 50, 30); //"larger" button
	fill(0); //text fill
	text("smaller", 15, 238);
	text("larger", 425, 238);

}

function mousePressed() {
	if (mouseX < 60 & mouseX > 10 && mouseY > 220 && mouseY < 250 && circleDiam > 4) {
		circleDiam += -3; //if the mouse is over the smaller button, and the current diameter is greater than 4, make the circles smaller by 3 px
	}

	if (mouseX < 465 & mouseX > 415 && mouseY > 220 && mouseY < 250 && circleDiam < 100) {
		circleDiam += 3; //if the mouse is over the "larger" button, and the current diameter is less than 100, make the circles alrger by 3 px
	}
}
I had trouble at first, because my diameter values were going negative and doing weird things so I tried using constrain() to no avail. Then, I just added a few more conditions to my if() statements, and that worked.
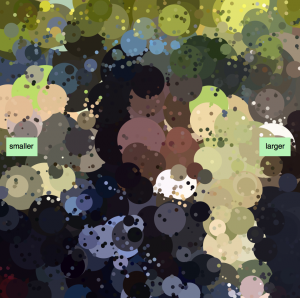
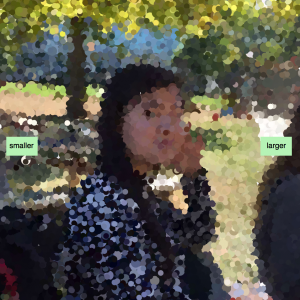
Some possible outcomes:
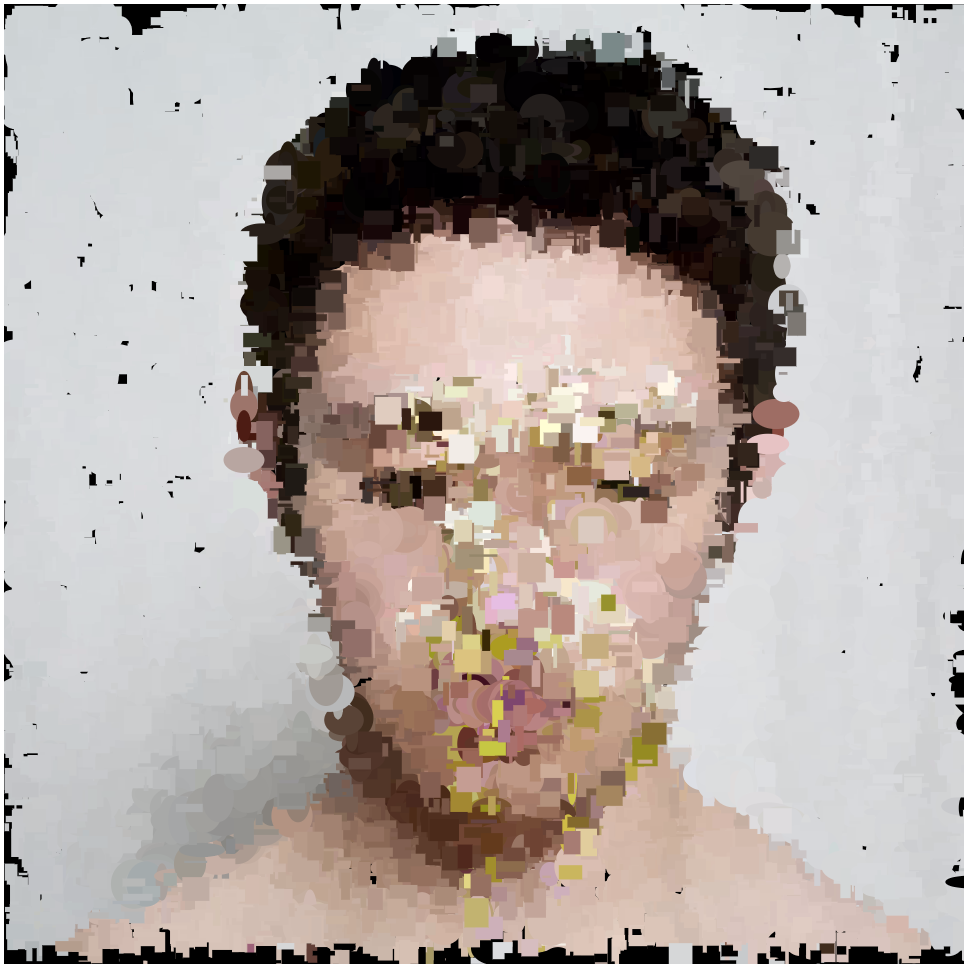
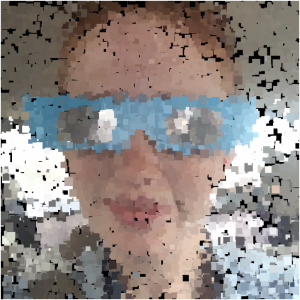
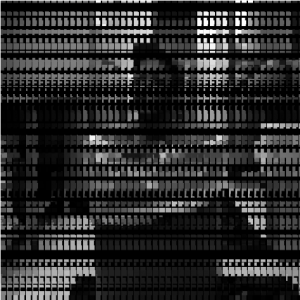
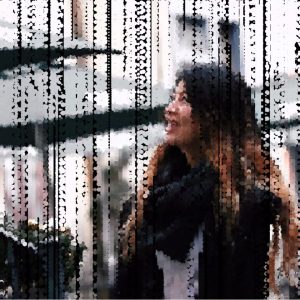
A portrait rendered with a combination of large and fine dots.
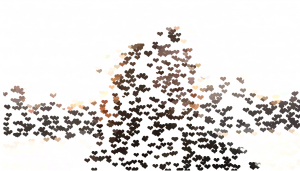
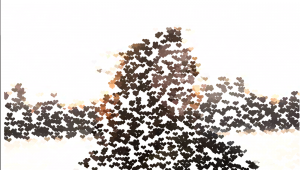
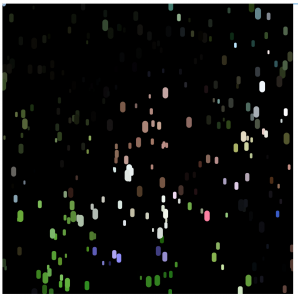
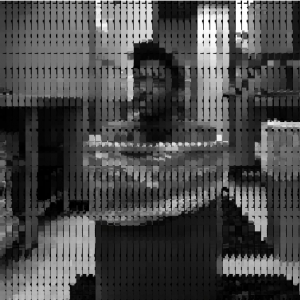
A portrait rendered with finer dots.
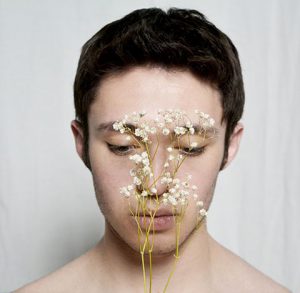
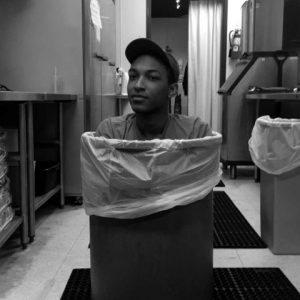
This is a portrait of my friend, Amber. Mine uses a very basic element, just circles so I wanted to make it more interactive. Using my highly-advanced HCI skills, I devised a very intuitive interface, consisting of two buttons that say “smaller” and “larger.”
When you click on each corresponding button, the dots get larger or smaller.
I had trouble at first, because my diameter values were going negative and doing weird things so I tried using constrain() to no avail. Then, I just added a few more conditions to my if() statements, and that worked.
Some possible outcomes: