haewanp – Project 09 – Computational Portrait

Computational Portrait

var img;
var x;
var y;
var blue_range;
var red_range;
var yellow_range;

function preload() {
    img = loadImage("https://i.imgur.com/boCvJXd.jpg");
}

function setup() {
    createCanvas(360, 480);
    img.loadPixels();
    noFill();
    yellow_range = 7; //initial value;
}

function draw() {
    background(255);
    blue_range = map(mouseX, 0, width, 0, 8);
    red_range = map(mouseY, 0, height, 0, 10);
    
    for (y = 0; y < height; y+=6) {
        for (x = 0; x < width; x+=6) {
            var i = y * width + x;
            //color
            var redness = (255 - img.pixels[i*4]) / 255;
            var yellowness = (255 - img.pixels[(i+1)*4]) / 255;// I just decide to represent green value among RGB as yellow color
            var blueness = (255 - img.pixels[(i+2)*4]) / 255;
            
            //blue diagonal line
            stroke(20, 20, 255);
            strokeWeight(blueness * blue_range);
            line(x - 3, y - 3, x + 3, y + 3);
            //red diagonal line
            stroke(255, 20, 20);
            strokeWeight(redness * red_range);
            line(x + 3, y - 3, x - 3, y + 3);
            //yellow ellipse
            noStroke();
            fill(245, 220, 0);
            ellipse(x, y, yellowness * yellow_range, yellowness * yellow_range);

        }
    }
}

function mousePressed() {
    yellow_range = random(1, 12); //yellow range changes when you press mouse
}


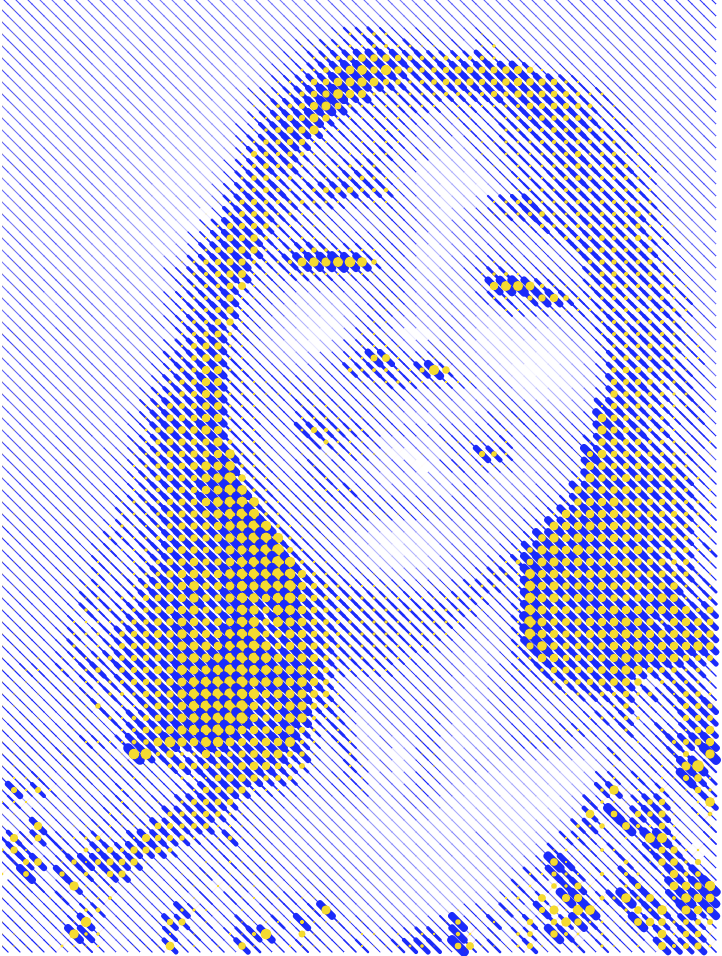
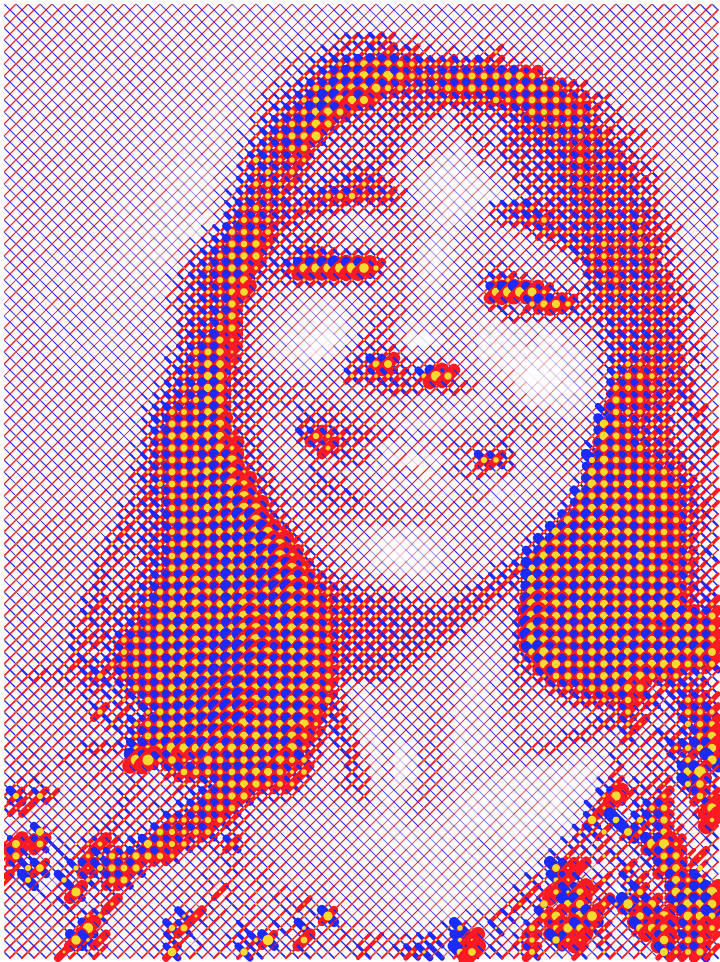
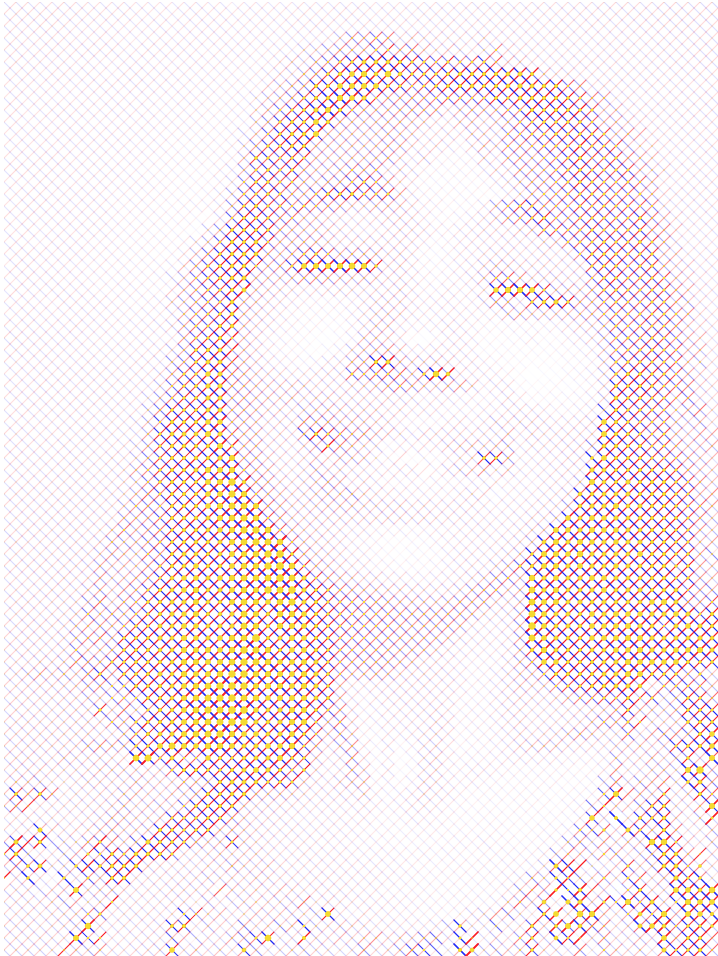
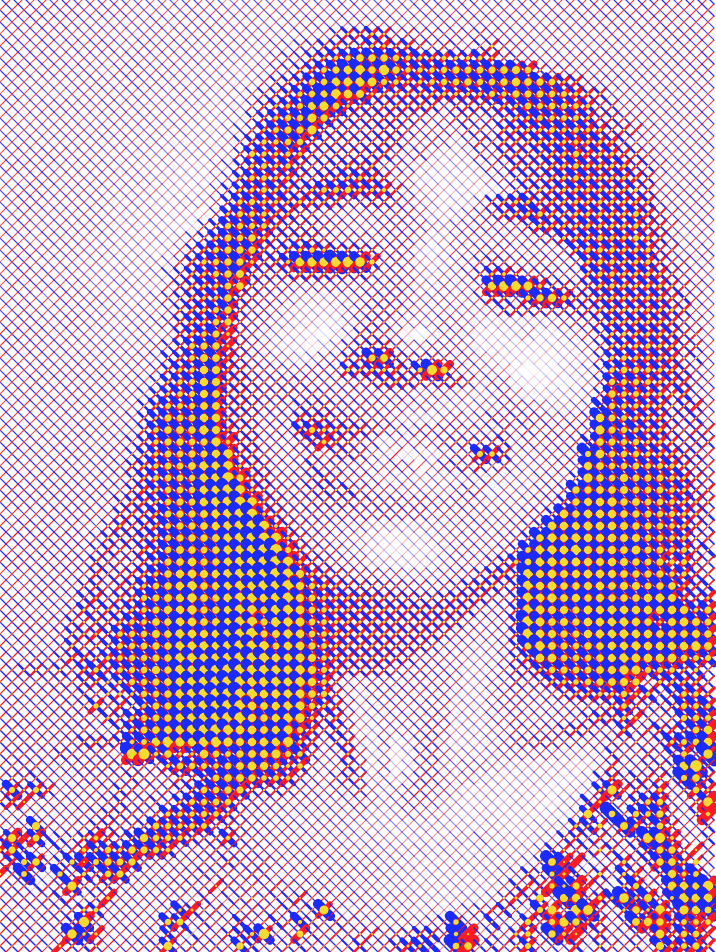
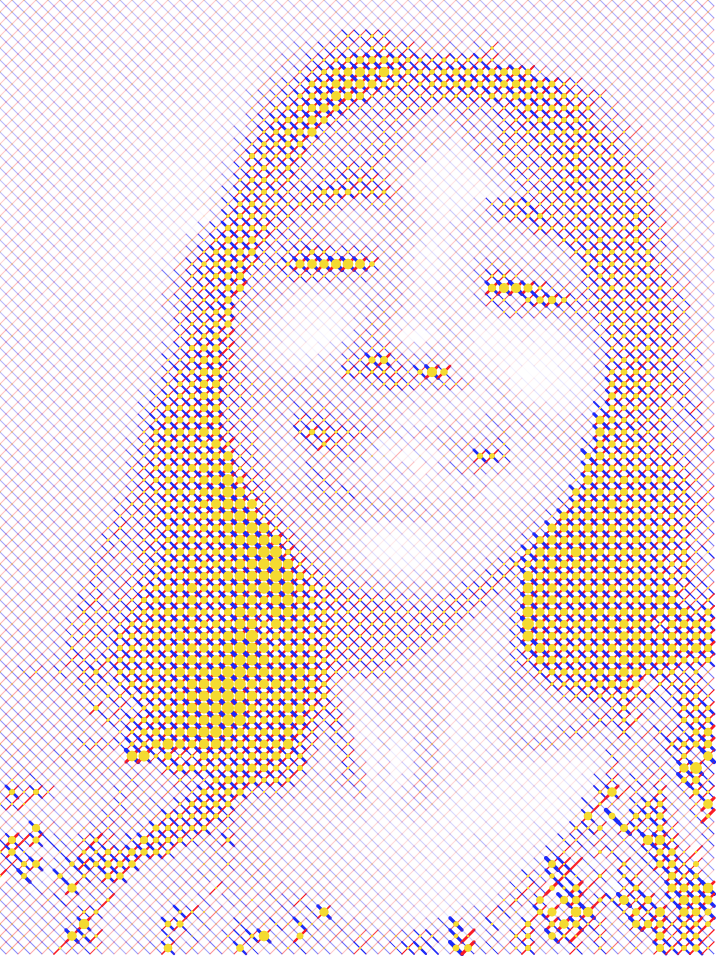
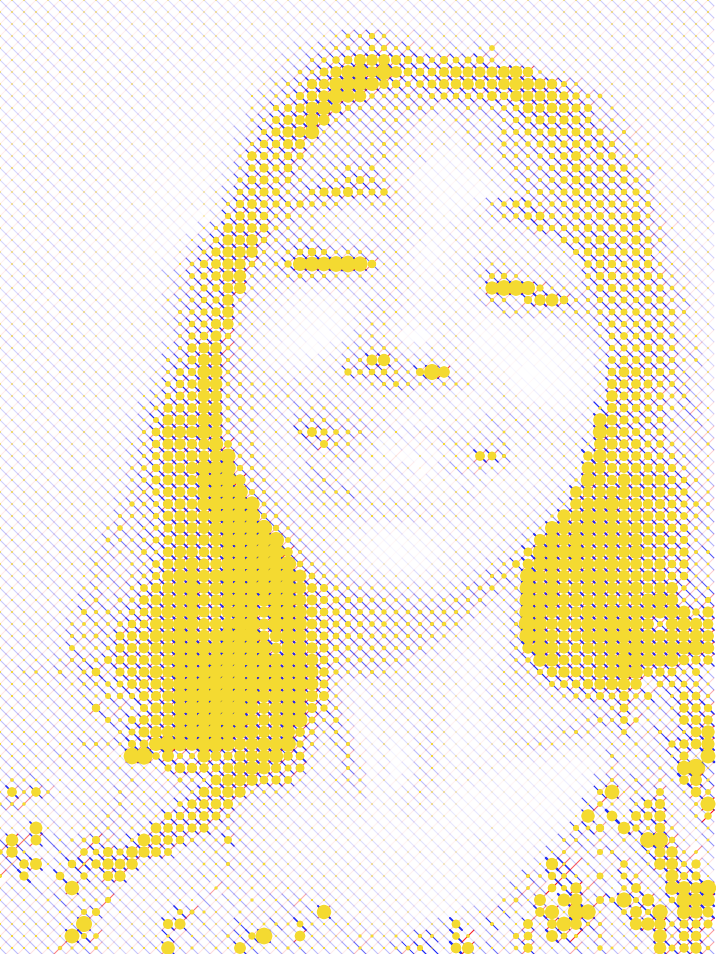
In this project, I learned that there are many ways to depict pixels. I represent this portrait with dividing each R, G, B value (Later, I represent green value with yellow color). Based on each R, G, B value, size and stroke weight are determined. Also, this can be played around with the mouse behaviors. There are several variations based on mouse behavior below.
akluk-SectionA-LookingOutwards-09

The project that my peer and I have chosen to talk about is the Hexagonal Generative Game of Life by Charlotte Dann.

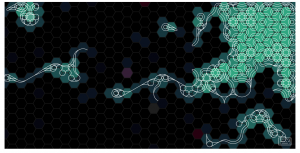
A still of an iteration of the animation

I think the cited project is definitely one of the more interesting and mesmerizing generative art project that I have seen. I could just picture myself staring at the animation due to how much variation there is and how smooth and organic the movement is. I completely agree with my peer’s assessment and I think my peer’s assessment gives a very good and summative explanation of the project, and also explains very clearly what she thought was impressive about the project. I think Charlotte, the creator of this project is very honest on her progress, and explained what worked and what didn’t. I especially how she explain a very simple algorithm, where the “ant” just decides on one of two direction, could create such interesting and intricate systems and diagrams. Below is the link to her entire project and my peers evaluation.
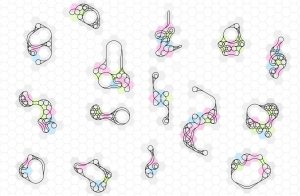
Some of her initial drawings and ideas

Link to project
Link to Peer Evaluation

akluk-Project-09-portrait

sketch

// Alvin Luk
// akluk@andrew.cmu.edu
// Section A
// Project 9

// variable to store the image
var img;
var cur_x;
var cur_y;
var rand_x;
var rand_y;
var rand_t;
var type_shape;
var pix;
var siz;

function preload(){
  img = loadImage("https://i.imgur.com/z1yTE1v.jpg");
  img.loadPixels();
}

function setup(){
  createCanvas (477,478);
  background(255);
  noStroke();
  //set ellispe mode to center
  ellipseMode(CENTER);
  frameRate(10000);
}

function draw(){
  //Select random point on canvas to draw
  rand_x = random(img.width);
  rand_y = random(img.height);
  cur_x = floor(rand_x);
  cur_y = floor(rand_y);
  //get the value at the position of the image
  pix = img.get(cur_x, cur_y);
  //generate a random size of the shape
  siz = random(3,6);
  //randomize which shape to draw 
  type_shape = random([0,1,2]);
  fill(pix);

  //depending on the random value of type shape: choose triangle circle or square
  if (type_shape == 0){
  	triangle(cur_x, cur_y-(2/3)*siz, cur_x-(1/2)*siz, cur_y+(1/3)*siz, cur_x+(1/2)*siz, cur_y+(1/3)*siz); 	
  }
  else if (type_shape == 1){
  	ellipse(cur_x, cur_y,siz,siz);
  }
  else {
  	rect(cur_x-siz/2,cur_y-siz/2,siz,siz);
  }

}

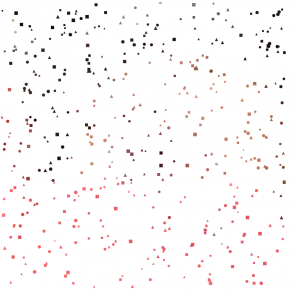
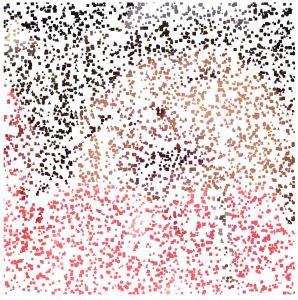
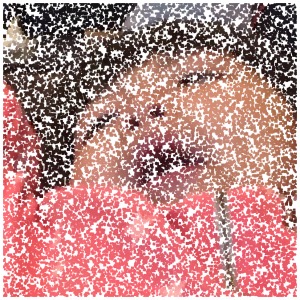
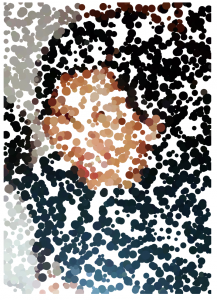
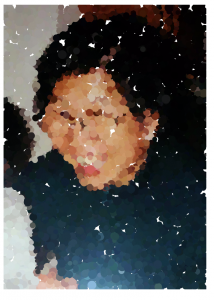
For this portrait, I asked if my sister if I could use one of her older photos. For the project, I just played around with what variables I could randomize to make it more interesting. I decided to incorporate the three elementary shapes, a square, a triangle, and a circle to reconstruct my image. I also varied the size of the shapes that were used to reconstruct the image. Below are just some screen shots of the program, at it’s initial, intermediate, and “final” reconstruction of the image.

What the canvas looks like initially

Intermediate Stage

Final result

jknip-Project-09-portrait

sketch

/*Jessica Nip
Section A
jknip@andrew.cmu.edu
Project-09
*/


var img;

//--------------------------
function preload() {
    //preload grandma's image
    img = loadImage("https://i.imgur.com/G6dnwgf.jpg");

}
 //-------------------------
function setup() {
    createCanvas(342,480);
    img.loadPixels();
    frameRate(200); //set fast frame rate
}
 
 //-------------------------
function draw() {
    //define X and Y pixels of image, randomize appearance position
    var Xpixel = constrain(floor(random(width)), 0, width-1);
    var Ypixel = constrain(floor(random(height)), 0, height-1);
    //image color = grab pixels from image
    var imgcolor = img.get(Xpixel, Ypixel);
    var randomSize = random(5,15);

    //set ellipse color to image pixel color
    fill(imgcolor);
    noStroke(); //remove border
    //set ellipse X and Y to randomized pixel positions
    ellipse(Xpixel, Ypixel, randomSize, randomSize); 
}


For this project, I wanted to create a fun randomized ellipse-based filter generated based on a photo of my grandmother. Below you will find some screenshots at different points of the rendering process. As the colors in the original image were fairly limited and grouped in simple forms, I wanted to use randomized ellipses to suggest those specific colors across the canvas from the beginning — the overall image also becomes more apparent early on due to the high visibility of these core forms.

mmiller5-Looking Outwards-09

This week, I’ll be looking at the post Hamza Qureshi made on A Text of Random Meanings by architect Rami Hammour from 2015.  What I find to be more interesting about this work isn’t the process used to make the random lines, but rather the implications of using randomness to simulate something that usually is not random — writing.  I can think of two ways to view this seeming juxtaposition:  that by having a random assortment of lines look like text, it highlights that writing is not random and should follow some goal, or that something that seems random, such as the order of letters in a language one can’t read, may in fact possess a deeper meaning and purpose that we’re just not able to understand

hschung-Project-09

sketch

//Heidi Chung
//Section A
//hschung@andrew.cmu.edu
//Project-09

var baseImage;

function preload() {
    var myImageURL = "https://i.imgur.com/FLTyc1P.jpg?1"; // a picture of myself
    baseImage = loadImage(myImageURL); //loading the image
}

function setup() {
    createCanvas(480, 480);
    background(255);
    baseImage.loadPixels(); //loading the image's pixels
    frameRate(20);
    noStroke();
}

function draw() {
    image(baseImage, 0, height, baseImage.width/2, baseImage/height/2);
    var px = random(width); //random assembly of circles being drawn in regards to x
    var py = random(height);//random assembly of circles being drawn in regards to y
    var ix = constrain(floor(px), 0, width-1);
    var iy = constrain(floor(py), 0, height-1);
    var theColorAtLocationXY = baseImage.get(ix, iy); //extracting the colors of the image

    noStroke();
    fill(theColorAtLocationXY); //colors of circles match the image's colors at the appropriate positions
    var circleWidth = random(5, 30); //variable set so the circles have the same random width and height
    ellipse(px, py, circleWidth, circleWidth); //instead of making ellipses

    var theColorAtTheMouse = baseImage.get(mouseX, mouseY);
    fill(theColorAtTheMouse); //drawing with the mouse using the image's colors at the pixels

    var whatsUpTextX = pmouseX-25; //the position of the text relative to the mouse
    var whatsUpTextY = pmouseY-20;
    textSize(15); //the text says "what's up" in japanese
    text("どうしたの?", whatsUpTextX, whatsUpTextY); //what's up is dragged along by the mouse
}

function mousePressed() {
  var theColorAtTheMouse = baseImage.get(mouseX, mouseY); //extracting the colors of the image again
  strokeWeight(3); //white stroke around the text to see it better
  stroke(255); //the text says "are you okay?" in korean
  textSize(30); //when you click, a big "are you okay?" is drawn
  text("괜찮아?", pmouseX - 45, pmouseY);
}

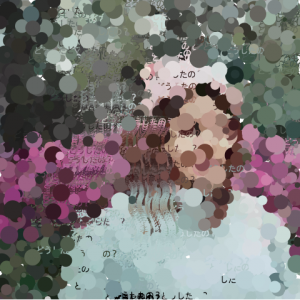
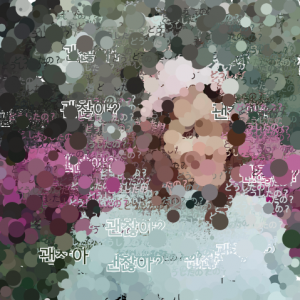
I really enjoy post-impressionism, especially Van Gogh’s art. I love that he painted scenery and people with purposeful strokes and artistic, imprecise interpretation, especially in a time where people did not appreciate his art because it wasn’t “accurate” or exact to real life images. I love the smudges and smears he made in his works. So I thought it’d be fun to make a self-portrait that feels impressionistic. When you drag the mouse across the canvas, it “paints” words that say “what’s wrong” or “what’s up” in Japanese. When you click the mouse, it “paints” a word that says “are you okay” in Korean. I can read/speak both Japanese and Korean, and I thought it’d be interesting to have both languages in my project- to say that even if you can’t understand something, you can still visually appreciate it, like you can with Van Gogh’s works.

After many circles have been drawn
You can drag the mouse to “draw” on the canvas with the words that ask “what’s up?” in Japanese
When you click, the word that appears says “are you okay?” in Korean

ssharada-looking-outwards-09

^DIFFUSION from Kouhei Nakama

I took Kornrat Euchukanonchai’s looking outwards 05 post which was a week where we were tasked with looking at 3D computer graphics and their capabilities. Kouhei Nakama is a visual art director who also works for a company that does large scale commercial work.

Here he uses a variety of generative and particle based animation to bring 3D figures to life in this motion graphics short piece titled diffusion. Nakama work destroys the boundaries between the human form and geometric using 3D graphics.

In this particular piece, the body is blended with different textures that range from organic to more alien and computer like. The human’s flesh and body is stretched and elongated to its maximum capacity. It changes colours and patterns while questions about evolution are revoked.

I really liked looking at this video because it was a complete deviation from what I had looked at in my looking outwards 5 so it was nice to see the other extent of what is possible with 3D graphics.

ssharada-project-09-computational-portrait

project09.js

//shariwa sharada
//ssharada@andrew.cmu.edu
//section a
//project 09

var pinkShari;
var blueShari;
var sAngle = 1;
var sRadius = 5;
var sFrameCount = 0;
var pEllipseW = 5;
var bEllipseW = 5;


var pinkShariArray = []

function preload(){
    //initialising my portraits 
    var pinkShariUrl = "https://i.imgur.com/Kglw2lq.png"
    var blueShariUrl = "https://i.imgur.com/4ODxlV0.png" 
 
    //loading my portraits 
    pinkShari = loadImage(pinkShariUrl);
    blueShari = loadImage(blueShariUrl);


}

function setup(){
    createCanvas(400,480); 
    background(255,255,0);
    noStroke(); //the ellipses should have no border 

    //initiallising the pixels in each of my portraits 
    pinkShari.loadPixels(); 
    blueShari.loadPixels();

}

//creating the spirals for the pink portrait 
function pinkDrawSpiral(){
    push();
    //the image begins at a part of the canvas determined by the trasnslate
    translate(300, 100);
    //creating variables to relate the spirals to the pink image 
    var pinkShariCenterX = 0;
    var pinkShariCenterY = 0;
    var pX = cos(radians(sAngle)) * sRadius; 
    var pY = sin(radians(sAngle)) * sRadius;

    //getting the colour of each of the pixels 
    var pinkColourAtpXpY = pinkShari.get(width/2 - pX, height/2 + pY);
    fill(pinkColourAtpXpY);

    //alloting the pixels so that each one matches up to the above obtained colour
    ellipseMode(CENTER);
    ellipse(pinkShariCenterX - pX, pinkShariCenterY + pY, pEllipseW, pEllipseW);

    //setting up the sizing of the pixels 
    sAngle = sAngle +3;
    sRadius = sRadius + 0.035;
    sFrameCount = sFrameCount + 1;
    pEllipseW = pEllipseW + 0.0002;


    //my image has borders but since the canvas borders aren't the image's
    //border, i had to accoung for the spiralling to only go to a certain
    //limit otherwise it would look very tacky

    //if there are more than 4750 pixels made, the spiralling will restart
    if (sFrameCount > 4750){
        sAngle = 5;
        sFrameCount = 0;
        sRadius = 1;
        pEllipseW = 5;
    }
    pop();

    print(frameCount)
}

//creating the spirals for the blue portrait 
function blueDrawSpiral(){
    push();
    //the image begins at a part of the canvas determined by the translate
    translate(100, 380);
    //creating variables to relate the spirals to the blue image 
    var blueShariCenterX = 0;
    var blueShariCenterY = 0;
    var bX = cos(radians(sAngle)) * sRadius;
    var bY = sin(radians(sAngle)) * sRadius;

    //getting the colour of each of the pixels 
    var blueColourAtpXpY = blueShari.get(width/2 - bX, height/2 + bY);
    fill(blueColourAtpXpY);

    //alloting the pixels so that each one matches up to the above obtained colour
    ellipseMode(CENTER);
    ellipse(blueShariCenterX + bX, blueShariCenterY - bY, bEllipseW, bEllipseW);

    //setting up the sizing of the pixels 
    sAngle = sAngle +3;
    sRadius = sRadius + 0.035;
    sFrameCount = sFrameCount + 1;
    bEllipseW = bEllipseW + 0.0002;

    //my image has borders but since the canvas borders aren't the image's
    //border, i had to accoung for the spiralling to only go to a certain
    //limit otherwise it would look very tacky

    //if there are more than 4750 pixels made, the spiralling will restart
    if (sFrameCount > 4750){
        sAngle = 5;
        sFrameCount = 0;
        sRadius = 1;
        bEllipseW = 5;
    }
    pop();

    print(frameCount)
}


//Creating the spirals using the ellipses of colour from the images 
function draw(){

    pinkDrawSpiral();

    blueDrawSpiral();

}


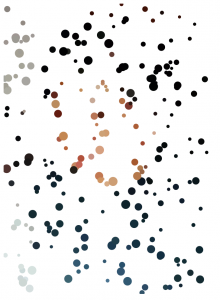
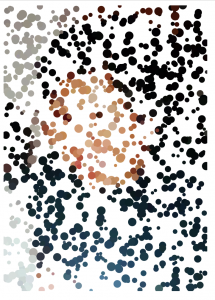
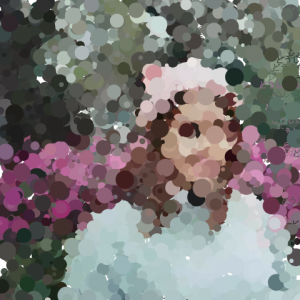
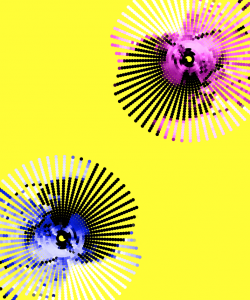
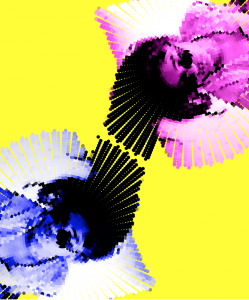
For this project I wanted to use a photo of me in two different colour filters. To do this I edited the same photo of me in photoshop in a magenta filter and in a blue filter. I then wanted to create this gradual emergence of me from the centre of the image, and then the two images would almost blend into each other.

For each of my images I had the issue of where to place it on the canvas because I had to take into account that each image was a PNG and it had no background but the code would still read the entire image and then draw the ellipses which is why I chose to mirror and translate the images.

^initial run of the spiral

^possible final outcome

amui1-Project-09-Portrait

amui1-p9

//Allison Mui
//15-104 Section A
//amui1@andrew.cmu.edu
//Project-09

//variables for image
var portraitImg = "https://i.imgur.com/UMgur46.png";
var portrait;

//list of random words
var words = ["cat","dog", "bun", "sun", "pot",
            "pen", "bot", "run", "fill the screen"];
var idx;
var word;

//variables for random coordinates
var px;
var py;


function preload() {
    //loads image into portrait variable
    portrait = loadImage(portraitImg);
}

function setup() {
    createCanvas(431,480);
    background(0);

    //variables for starting positions
    tpx = 30;
    tpy = 30;

    //identifies random word in word list
    fill(255);
    //stores length of array
    var length = words.length
    //picks random index in array
    var idx = int(random(0,length));
    //stores random word
    var word = words[idx];
    //displays random word
    text(word,width-100,380);

    //draw game like structure
    stroke(255);
    //border line
    line(0,400,width,400);
    fill(139,0,0)
    noStroke();
    //slight 3d effect
    ellipse(width/2-116,443,40,40);
    ellipse(width/2+124,443,40,40);
    fill(255,0,0);
    noStroke();
    //red buttons
    ellipse(width/2-120,445,40,40);
    ellipse(width/2+120,445,40,40);

    //loads picture pixels
    portrait.loadPixels();
}

function draw() {
    //shows timer
    fill(255);
    //if 900 frames already passed, show time alert
    if (frameCount == 500) {
      text("60 seconds left", 30, 380);
    }
    //if 1800 frames already passed, show game over alert
    if (frameCount >= 800) {
      frameRate = 60;
      fill(255,0,0);
      text("Game Over", width/2-30,380);
      //if game is over randomize locations
      px = random(0,width);
      py = random(0,height-150);
      var randomColor = portrait.get(px,py);
      fill(randomColor);
      //place circles in random locations to show the underlying picture
      ellipse(px,py,4,4);

    }

    stroke(0);

    //tfactor represents the number circle in the row
    var tfactor = 0;
    //run 8 circles/times
    for (t = 0; t < 8; t++){
      var tportraitColor = portrait.get(tpx+tfactor,tpy);
      fill(tportraitColor);
      //draw circle for the row
      ellipse(tpx+tfactor,tpy,6,6);
      tfactor += 6;
    }
    // if game is not over, allow user to move row
    if (frameCount < 800) {
      if (keyIsDown(LEFT_ARROW)) {
        tpx -= 5;

      }
      if (keyIsDown(UP_ARROW)) {
        tpy -= 5;

      }
      if (keyIsDown(DOWN_ARROW)) {
        tpy += 5;

      }
      if (keyIsDown(RIGHT_ARROW)) {
        tpx += 5;

      }
    }
    //create boundaries
    if (tpx > width - 1) {
      tpx = width-5;
    }
    if (tpx < 1) {
      tpx = 1;
    }
    if (tpy > height - 150) {
      tpy = height-150;
    }
    if (tpy < 1) {
      tpy = 1;
    }
}

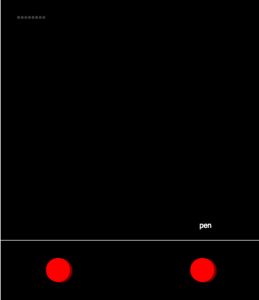
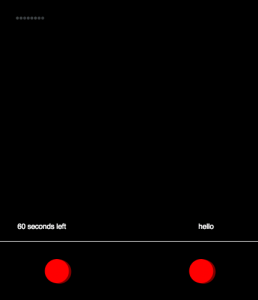
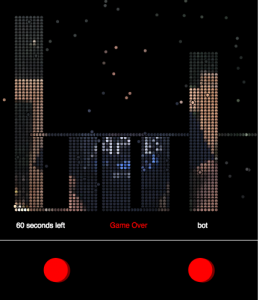
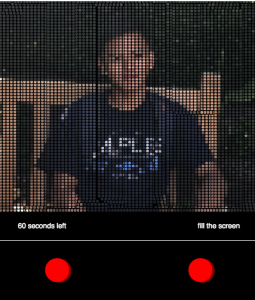
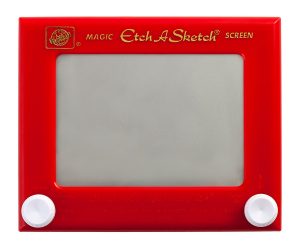
I thought this project was rather difficult. I had a lot of ideas in mind and struggled with liking my final product. However, I became inspired by a childhood toy “etch-a-sketch”. So the idea behind my project, is a random word is generated which you have to try to write before the timer runs out.

Caption: Above are different states of the project. Below is a picture of the toy I was referring to.


Disclaimer: the page will move up and down if you press the keys as well.  This was not intended. :/